Articles
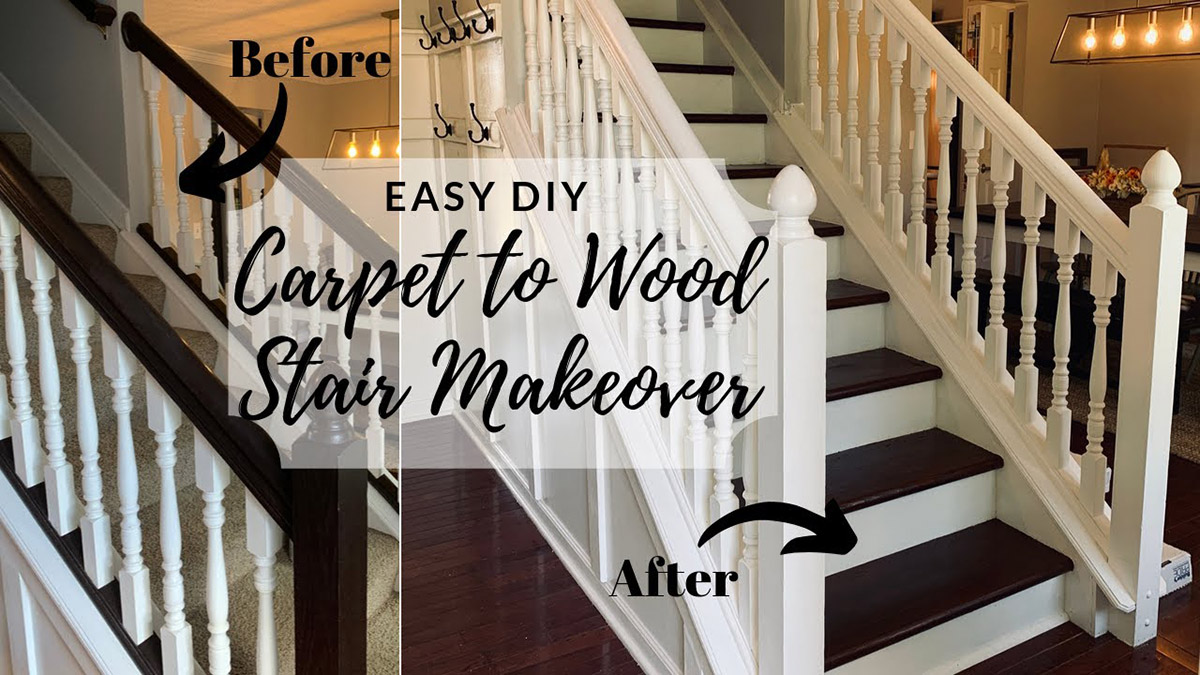
How To Replace Carpet Stairs With Wood
Modified: October 22, 2024
Learn how to replace carpet stairs with wood in this informative articles. Upgrade your staircase and give it a modern, stylish look with our step-by-step guide.
(Many of the links in this article redirect to a specific reviewed product. Your purchase of these products through affiliate links helps to generate commission for Storables.com, at no extra cost. Learn more)
Introduction
Replacing carpet stairs with wood is a great way to enhance the aesthetic appeal of your home. Wood stairs not only add a touch of elegance but also provide a durable and long-lasting solution. Whether you’re looking to upgrade your staircase or simply tired of dealing with carpet maintenance, this article will guide you through the process of replacing carpet stairs with wood.
By following a step-by-step approach and gathering the necessary tools and materials, you can transform your old carpet stairs into a stunning wooden staircase. This project requires some basic carpentry skills and can be completed over a few days with dedication and patience.
In this article, we will walk you through each stage of the process, from removing the existing carpet to applying the finishing touches. Along the way, we will provide tips and techniques to ensure a successful and professional-looking result. So let’s dive in!
Key Takeaways:
- Transform your old carpeted staircase into a stunning, durable wood staircase by following a step-by-step process. Gather tools, remove carpet, prepare, measure, install wood, and add finishing touches for a professional result.
- Elevate the aesthetic appeal of your home with a rewarding project to replace carpet stairs with wood. From careful preparation to securing the wood in place, enjoy the process and take pride in the craftsmanship.
Read more: How To Redo Stairs From Carpet To Wood
Step 1: Gather the necessary tools and materials
Before you begin the process of replacing your carpet stairs with wood, it’s important to gather all the necessary tools and materials. Having everything at hand will make the project more efficient and save you from any unexpected delays. Here is a comprehensive list of what you will need:
- Measuring tape
- Pry bar
- Hammer
- Power drill
- Screwdriver
- Nails or screws
- Circular saw or jigsaw
- Sanding block or electric sander
- Wood glue
- Wood filler
- Wood stain or paint
- Paintbrush or foam brush
- Clear coat or polyurethane
- Safety goggles and gloves
Additionally, you will need the following materials:
- Wood treads: These will be the steps of your staircase. Choose a type of wood that suits your style and budget, such as oak, maple, or pine.
- Wood risers: These are the vertical pieces that go between the steps. They provide support and create a finished look.
- Underlayment: This is a thin layer of material that goes between the wood treads and the existing stairs. It helps to reduce noise and protect the wood.
- Nails or screws: These will be used to secure the wood treads and risers in place.
- Wood glue: This is necessary for reinforcing the joints and ensuring a sturdy installation.
- Wood filler: Use this to fill any gaps or holes in the wood after installation.
- Wood stain or paint: Choose a color that complements your home’s decor and personal preferences. Stain enhances the natural beauty of the wood, while paint allows for more customization.
- Clear coat or polyurethane: This protective finish will seal the wood and provide durability against wear and tear.
Once you have gathered all the tools and materials, you’ll be ready to move on to the next step. Make sure to have everything organized and easily accessible to streamline the process and avoid unnecessary interruptions.
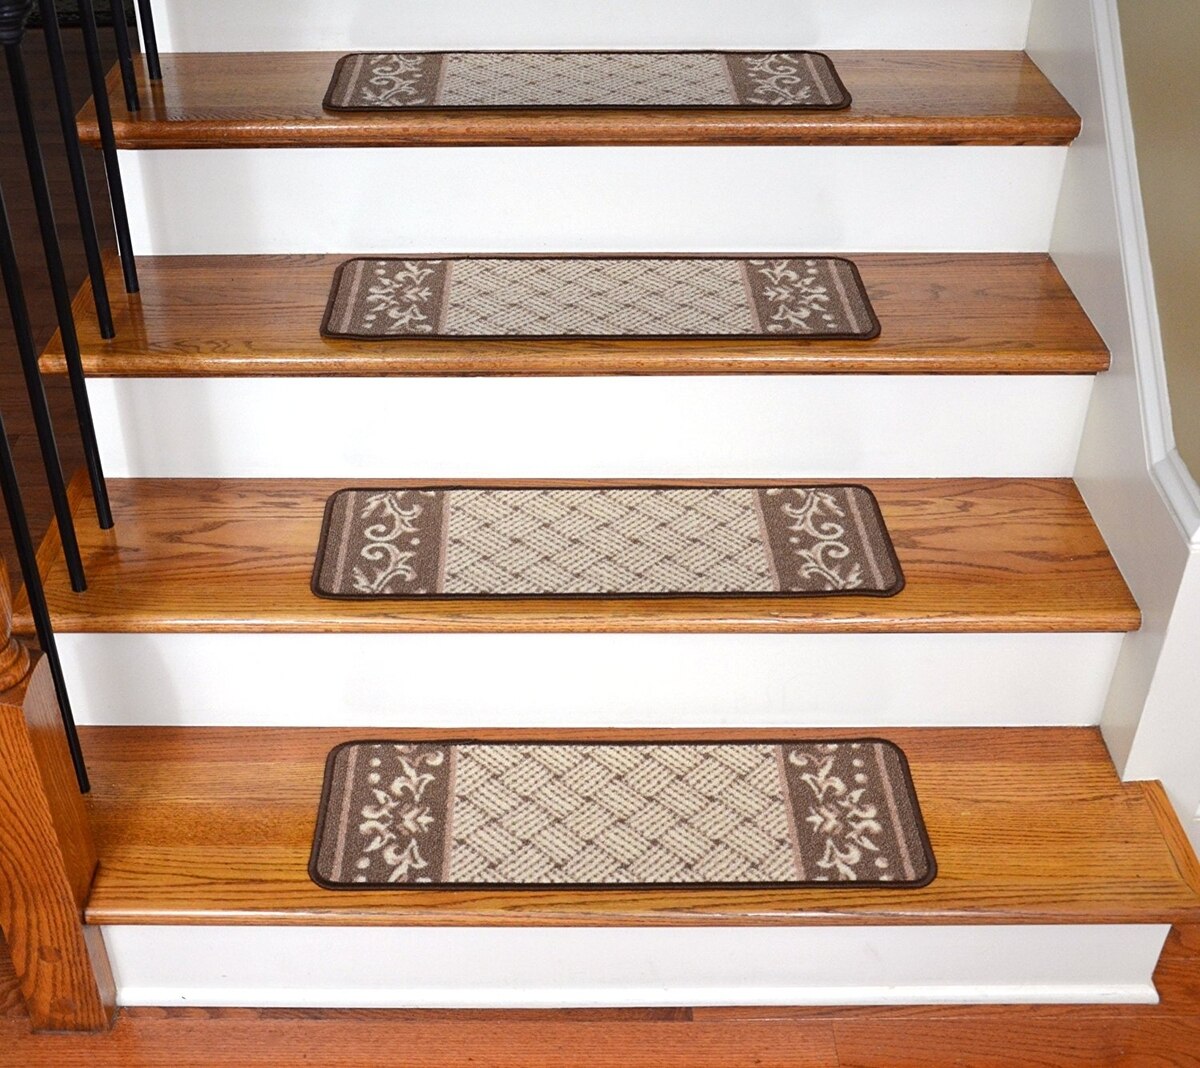
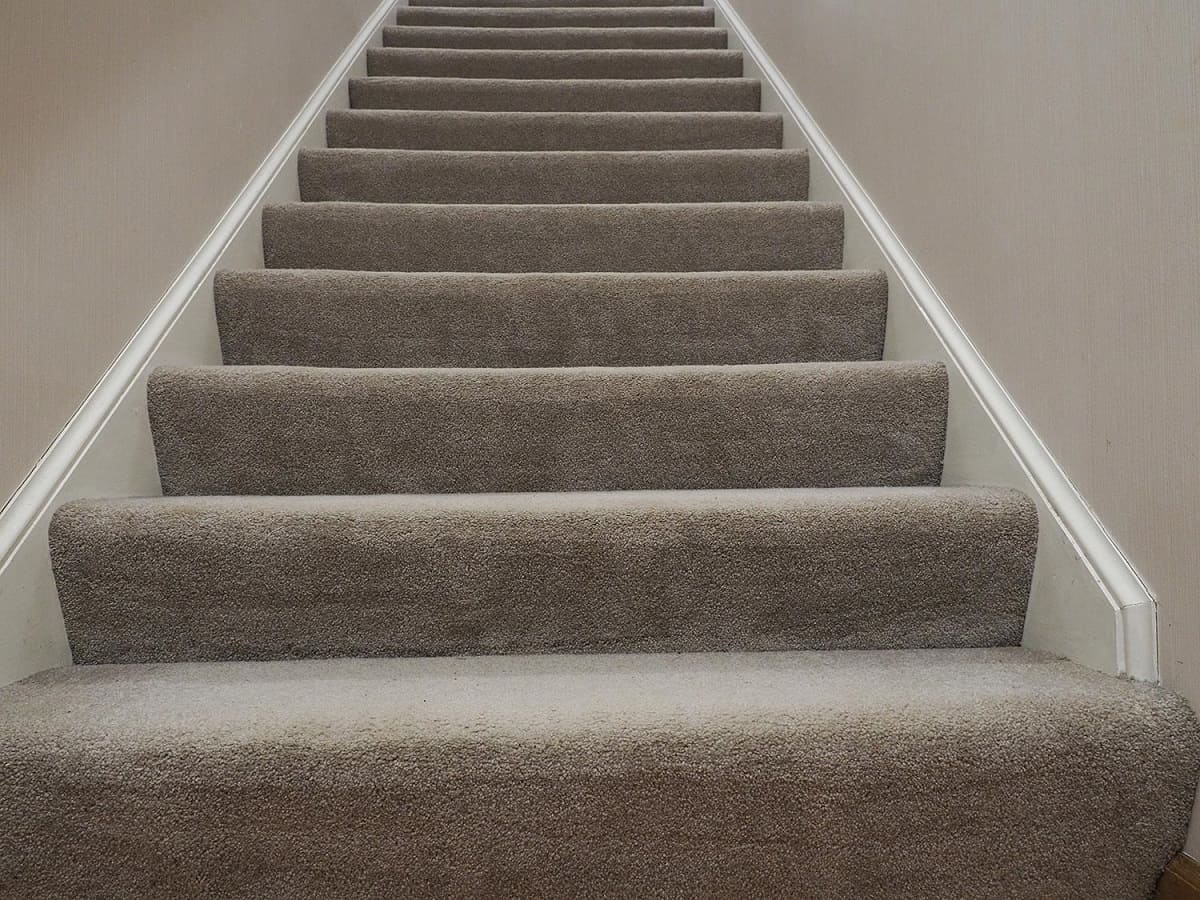
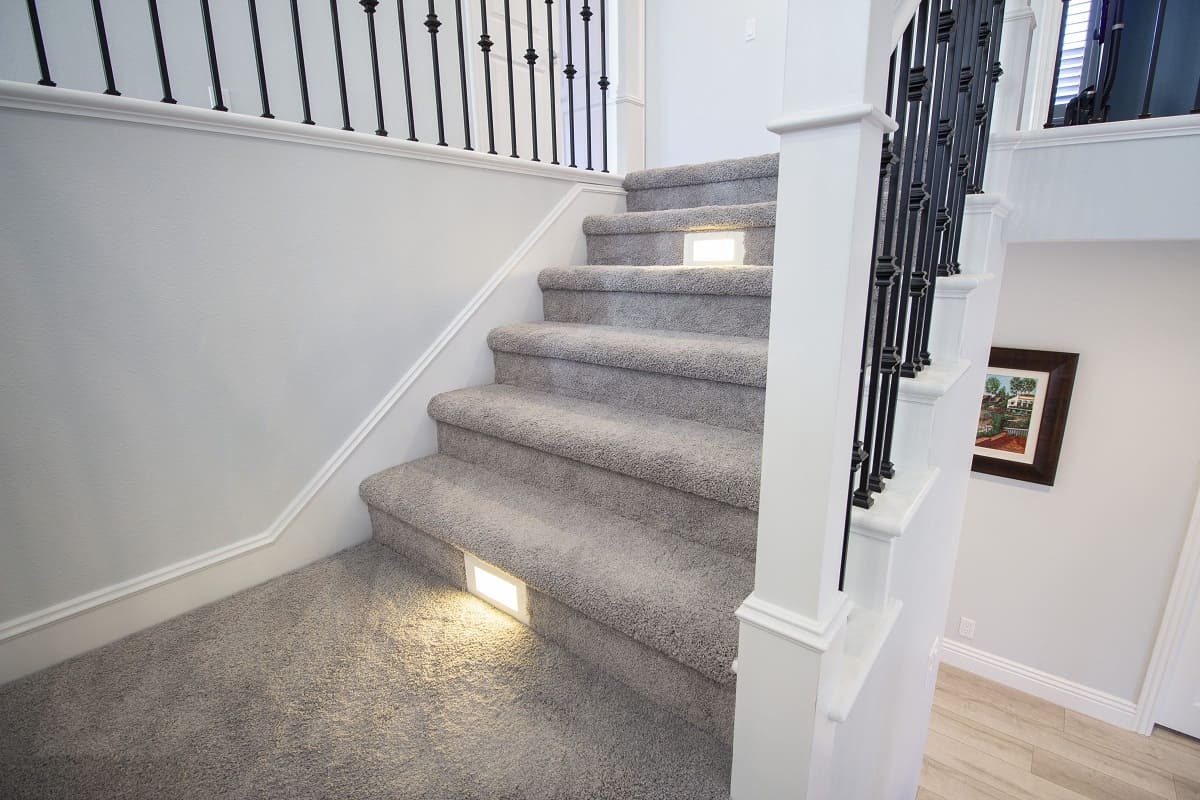
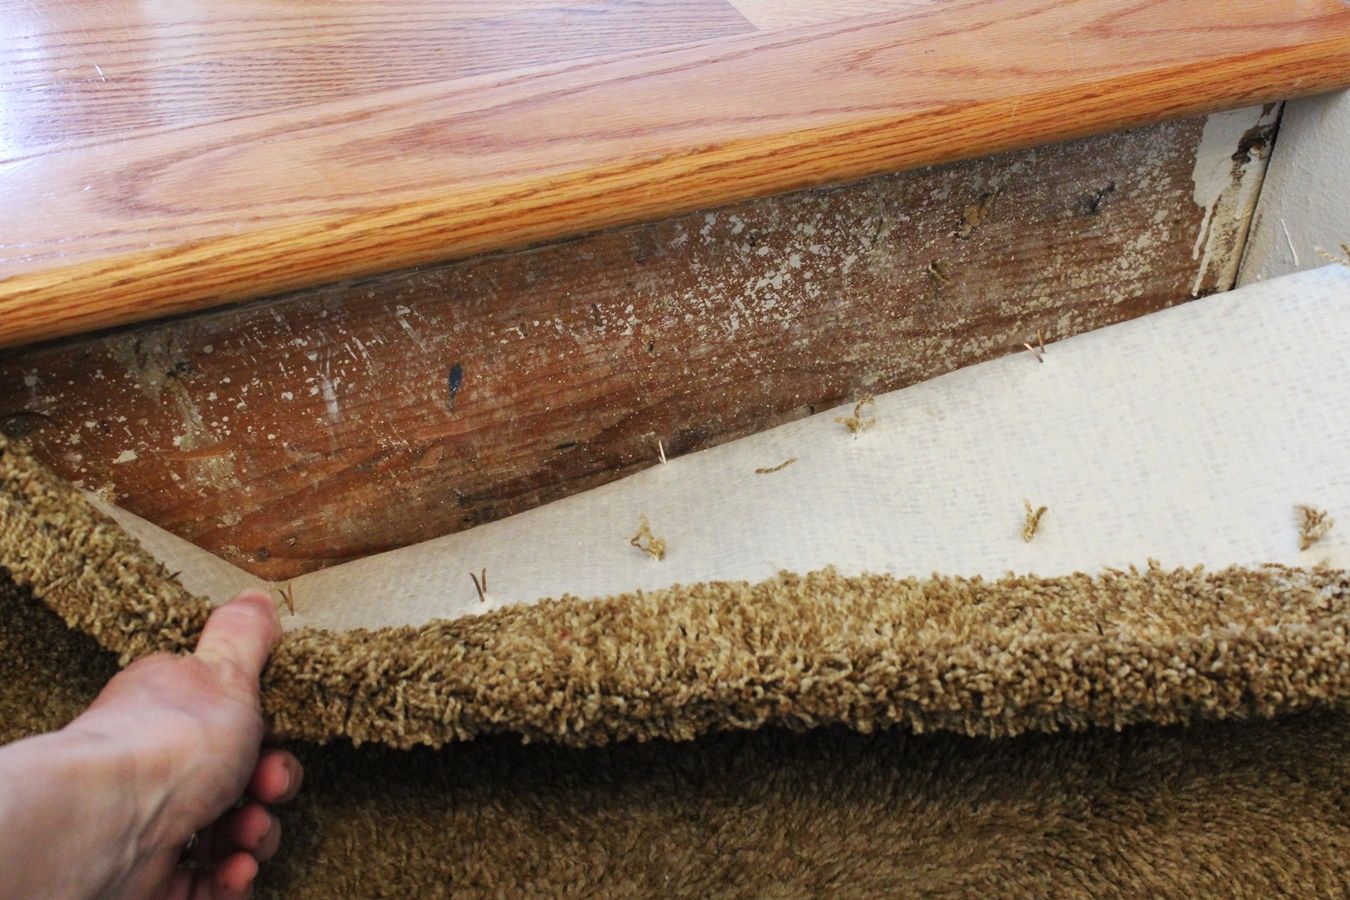
Step 2: Remove the existing carpet from the stairs
Now that you have all the necessary tools and materials, it’s time to start removing the old carpet from your stairs. Removing carpet can be a bit labor-intensive, but with the right tools and technique, it can be done efficiently. Here’s how:
- Prepare the workspace: Clear the area around the stairs and protect adjacent surfaces with drop cloths or plastic sheets. This will prevent any damage or mess during the removal process.
- Start with the top step: Begin by removing the carpet from the top step. Use a pry bar and hammer to gently loosen the carpet from the corner. Once it’s loose, grip the edge firmly and pull it upwards with a steady force. You may need to use the pry bar to lift any stubborn sections.
- Work your way down: Once the top step is cleared, move on to the subsequent steps. Repeat the same process of using the pry bar to loosen the carpet and pulling it upwards. Take care to remove any staples or nails that may be holding the carpet in place.
- Remove the carpet padding: Underneath the carpet, there is often a layer of padding. Remove this padding by pulling it away from the stairs and discarding it.
- Inspect for staples and nails: After removing the carpet and padding, thoroughly inspect the stairs for any remaining staples or nails. Use pliers to remove any protruding staples, taking care not to damage the wood.
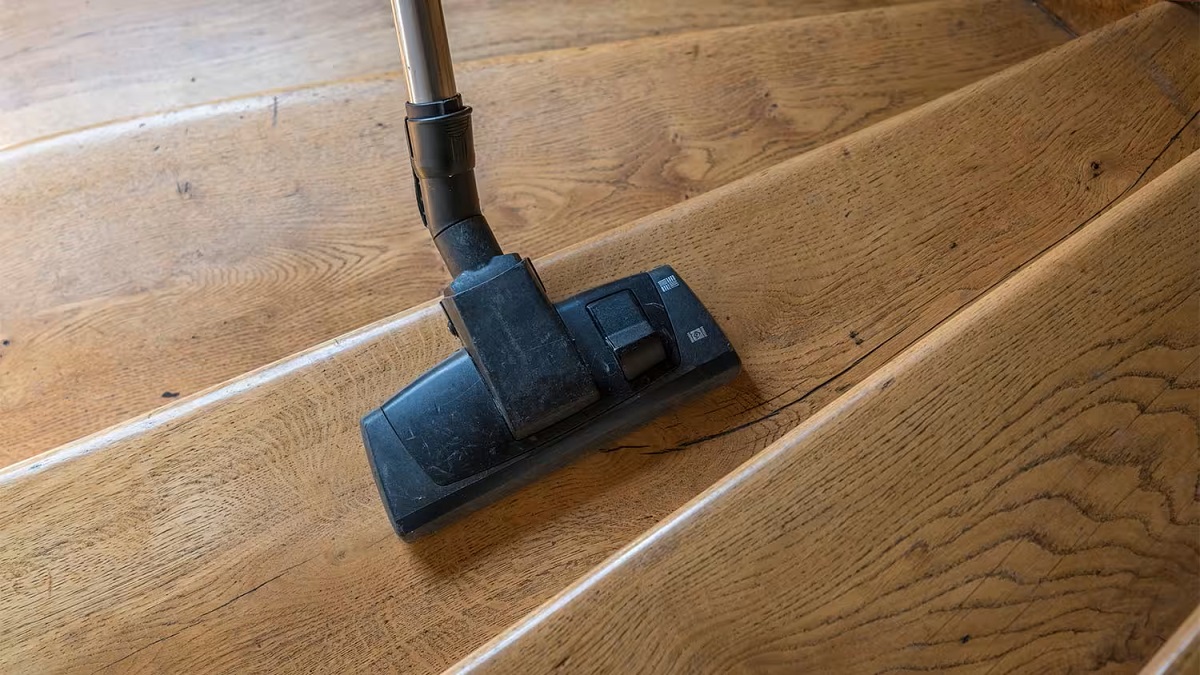
- Clean the stairs: Once all the carpet and padding are removed, it’s time to clean the stairs. Use a vacuum cleaner or broom to remove any dirt, dust, or debris. Wipe down the stairs with a damp cloth to ensure a clean surface for the wood installation.
Removing carpet from stairs can be a messy task, so be prepared for some dust and debris. It’s important to take your time and be mindful of safety, especially when using tools like the pry bar and hammer. By following these steps, you’ll successfully remove the existing carpet and be ready for the next phase of the project.
Step 3: Prepare the stairs for wood installation
Now that you have removed the old carpet, it’s time to prepare the stairs for the wood installation. This step involves ensuring that the surface is ready and suitable for the new wood treads and risers. Here’s what you need to do:
- Inspect the stairs: Carefully examine the stairs for any damage or wear. Look for loose or squeaky steps, cracks, or unevenness. Address any structural issues before proceeding with the wood installation.
- Measure the dimensions: Use a measuring tape to measure the width and length of each step. Ensure that the measurements are accurate and write them down for reference later.
- Prepare the underlayment: Cut pieces of underlayment material to fit the dimensions of each step. Underlayment helps to reduce noise and create a smooth surface for the wood treads. Secure the underlayment to the stairs using glue or staples.
- Fill any gaps or holes: Use wood filler to fill any gaps or holes in the steps or risers. Apply the filler as per the manufacturer’s instructions and let it dry completely. Sand down any excess filler to create a smooth surface.
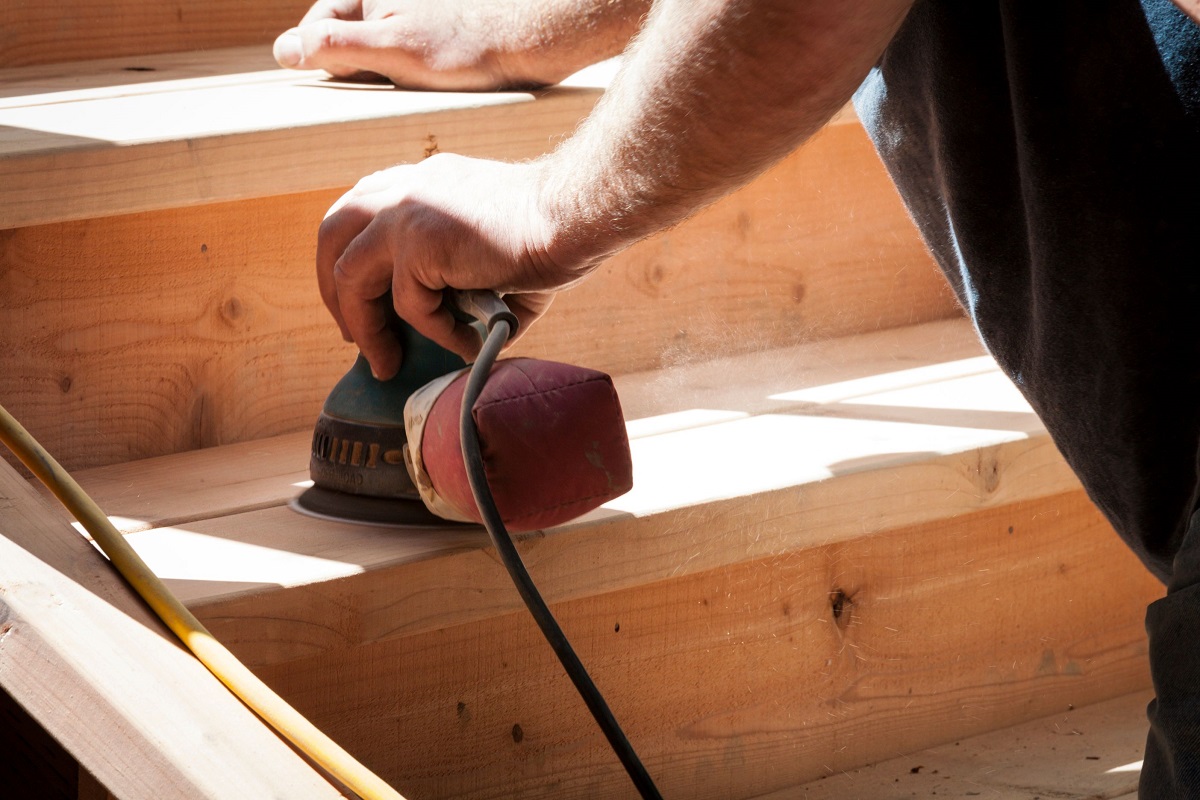
- Sand the stairs: Use a sanding block or electric sander to sand down the surface of each step and riser. This step helps to remove any roughness or imperfections and creates a better bonding surface for the wood.
- Clean the stairs: After sanding, use a vacuum cleaner or brush to remove all the dust and debris. Wipe down the stairs with a damp cloth to ensure they are clean and ready for the wood installation.
Preparing the stairs properly is crucial for a successful wood installation. By addressing any structural issues, measuring accurately, and ensuring a smooth and clean surface, you’ll lay the foundation for a professional-looking staircase. Take your time with this step to ensure a solid and secure base for the wood treads and risers.
Step 4: Measure and cut the wood treads and risers
With the stairs prepared, it’s time to measure and cut the wood treads and risers that will replace the carpet. Proper measurements and precise cuts are essential for a seamless and professional-looking installation. Here’s how to proceed:
- Measure each step: Use a measuring tape to measure the length and width of each step. Measure from the back of the tread to the front, and from side to side. Write down these measurements for reference when cutting the wood.
- Measure the risers: Similarly, measure the height and width of each riser. Make sure to take precise measurements, as any inaccuracies can affect the overall appearance of the staircase.
- Transfer the measurements to the wood: Using the measurements you obtained, transfer them onto the wood treads and risers. Use a pencil to mark the dimensions, ensuring that the lines are straight and accurate.
- Cut the wood: Use a circular saw or jigsaw to cut along the marked lines. Take your time and cut slowly and carefully to ensure clean and precise cuts. Use a straight edge or guide to help maintain accuracy.
- Double-check the fit: After cutting the wood treads and risers, test their fit on the stairs. Place each piece on its respective step and riser to ensure a snug fit. Make any necessary adjustments by sanding or recutting as needed.
It’s crucial to measure accurately and cut the wood precisely to achieve a professional-looking result. Take your time with this step and double-check all measurements before making any cuts. Remember, it’s better to measure twice and cut once to avoid any costly mistakes. When in doubt, consult a professional or experienced woodworker for guidance.
When replacing carpet stairs with wood, make sure to measure and cut the wood accurately to fit each step. Use a high-quality adhesive and nails to secure the wood in place for a durable finish.
Read more: How To Change Stairs From Carpet To Wood
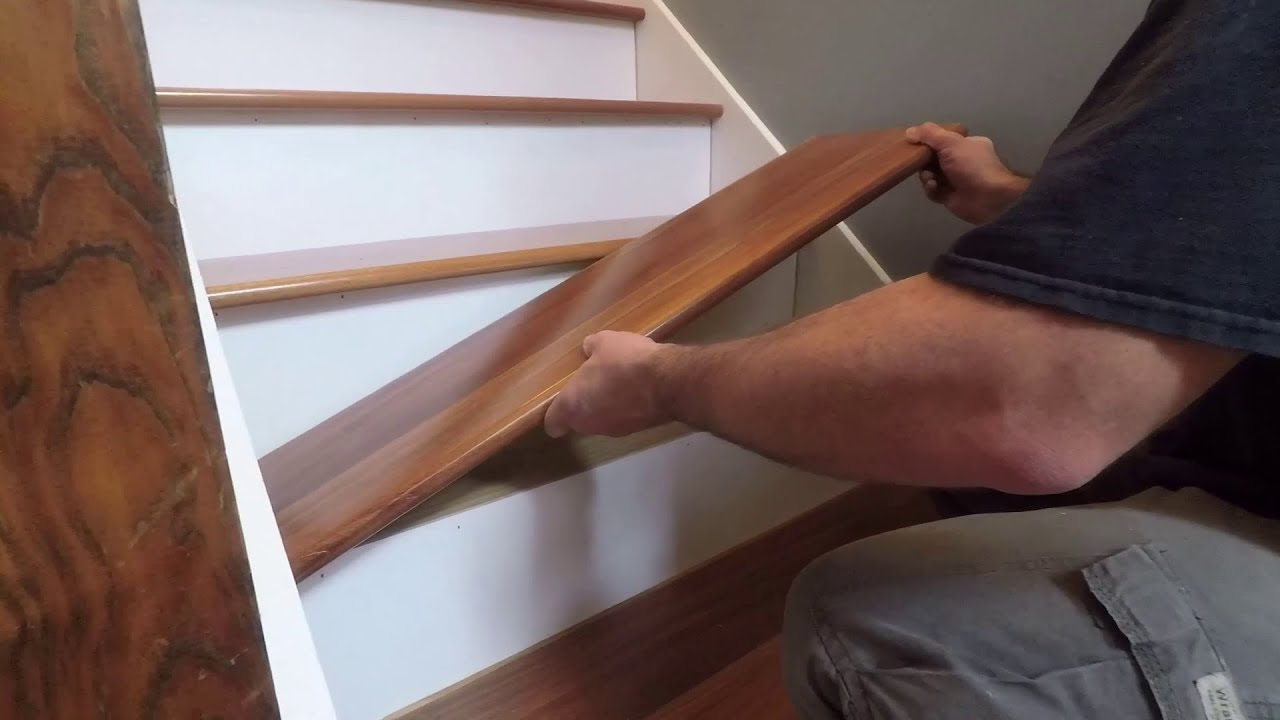
Step 5: Install the wood treads and risers
With the wood treads and risers cut to the appropriate dimensions, it’s time to install them on the stairs. Proper installation ensures a secure and stable staircase that will withstand everyday use. Follow these steps to install the wood treads and risers:
- Start with the risers: Begin by installing the risers. Apply wood glue on the backside of each riser and press it firmly against the front of the step. Use a hammer and nails or screws to secure the riser in place. Make sure the riser is level and flush with the step.
- Move on to the treads: Once the risers are installed, it’s time to install the wood treads. Apply wood glue on the top surface of each step. Place the wood tread on top, aligning it with the edges of the step. Press down firmly to ensure a strong bond between the tread and the step.
- Secure the treads: To secure the wood treads in place, use nails or screws through the top surface of each tread. Drill pilot holes to prevent splitting and then drive the nails or screws through the wood into the step below. Space the nails or screws evenly along the length of the tread.
- Continue the installation: Repeat the process of gluing and securing the risers and treads for each step of the staircase. Take your time to ensure each piece is securely attached and aligned properly.
- Clean up excess glue: As you work, be mindful of any excess wood glue that squeezes out. Wipe away the excess glue with a damp cloth to ensure a clean and polished finish.
It’s important to make sure each tread and riser is level and securely attached during the installation process. A solid and secure installation will ensure the longevity and safety of your staircase. Take your time and double-check each piece before moving on to the next step.
Step 6: Secure the wood treads and risers in place
Once the wood treads and risers are installed, it’s essential to secure them in place to ensure a stable and durable staircase. This step involves reinforcing the wood with additional fasteners and ensuring there are no loose or squeaky components. Follow these steps to secure the wood treads and risers:
- Tighten any loose treads or risers: Give each tread and riser a gentle tap with a hammer to ensure they are tightly secured. If you notice any loose pieces, use nails or screws to reinforce them further.
- Drive nails or screws through the treads and risers: To strengthen the connection between the treads/risers and the steps, drive additional nails or screws through the wood and into the steps below. This will prevent any movement or creaking over time.
- Fill counterbored holes: If you used screws to secure the treads and risers, fill the counterbored holes with wood plugs or wood putty. This will create a smooth and seamless surface on the treads.
- Inspect for any loose components or squeaks: Walk up and down the staircase to check for any signs of movement or squeaks. If you detect any loose components, reinforce them with additional nails or screws.
Securing the wood treads and risers is crucial for the integrity and longevity of your staircase. By reinforcing the connections and eliminating any loose or squeaky components, you’ll ensure a stable and reliable staircase for years to come.
Step 7: Sand and finish the wood staircase
After securing the wood treads and risers in place, it’s time to give your staircase a smooth and polished finish. Sanding and finishing the wood will enhance its appearance, protect it from wear and tear, and bring out its natural beauty. Follow these steps to sand and finish your wood staircase:
- Sand the wood: Use a sanding block or electric sander with fine-grit sandpaper to sand the surfaces of the treads and risers. Sand in the direction of the wood grain to achieve a smooth and even finish. Pay attention to any rough spots or imperfections and sand them down until they are smooth.
- Remove dust: After sanding, use a vacuum cleaner or brush to remove all the sanding dust from the wood. Ensuring a clean surface will help the finish adhere properly.
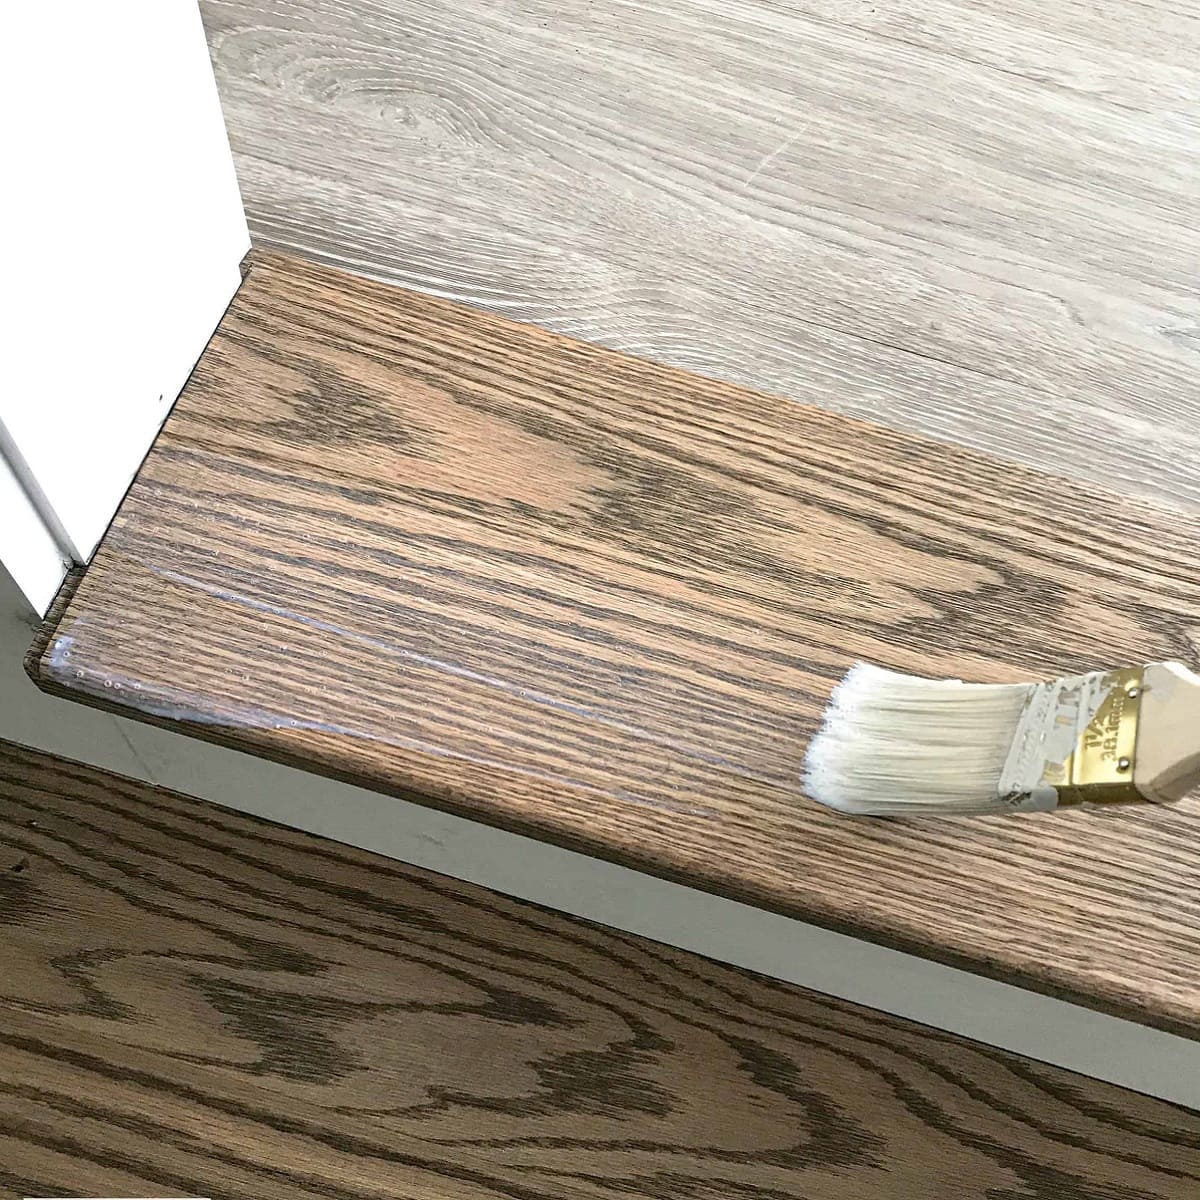
- Apply wood stain or paint: If you prefer a natural or stained finish, apply wood stain using a brush or sponge. Follow the manufacturer’s instructions for application and drying time. If you prefer a painted finish, apply paint using a brush, roller, or spray. Allow the stain or paint to dry completely.
- Apply clear coat or polyurethane: To protect the wood and provide a durable finish, apply a clear coat or polyurethane. Use a brush or foam brush to apply an even layer onto the treads and risers. Allow the coat to dry according to the manufacturer’s instructions, then lightly sand with fine-grit sandpaper between coats for a smooth finish.
- Apply additional coats (if desired): Depending on the desired level of protection and sheen, you may choose to apply multiple coats of clear coat or polyurethane. Be sure to sand lightly between coats for optimal results.
Sanding and finishing your wood staircase will not only protect the wood but also enhance its visual appeal. The finish will bring out the natural character and grain patterns, creating a stunning centerpiece in your home. Take your time during this step to achieve a flawless and professional-looking finish.
Step 8: Add finishing touches and final touches
With the wood staircase sanded and finished, it’s time to add the final touches to complete the transformation. These finishing touches will add character and polish to your newly installed wood stairs. Follow these steps to add those final touches:
- Remove any protective coverings: If you used drop cloths or plastic sheets to protect the surrounding area during the installation and finishing process, carefully remove them, ensuring not to disturb the newly installed stairs.
- Inspect and touch up: Carefully inspect the wood staircase for any imperfections or areas that require touch-up. Look for any missed spots during the finishing process or areas that may need additional coats of clear coat or polyurethane. Touch up those areas as necessary.
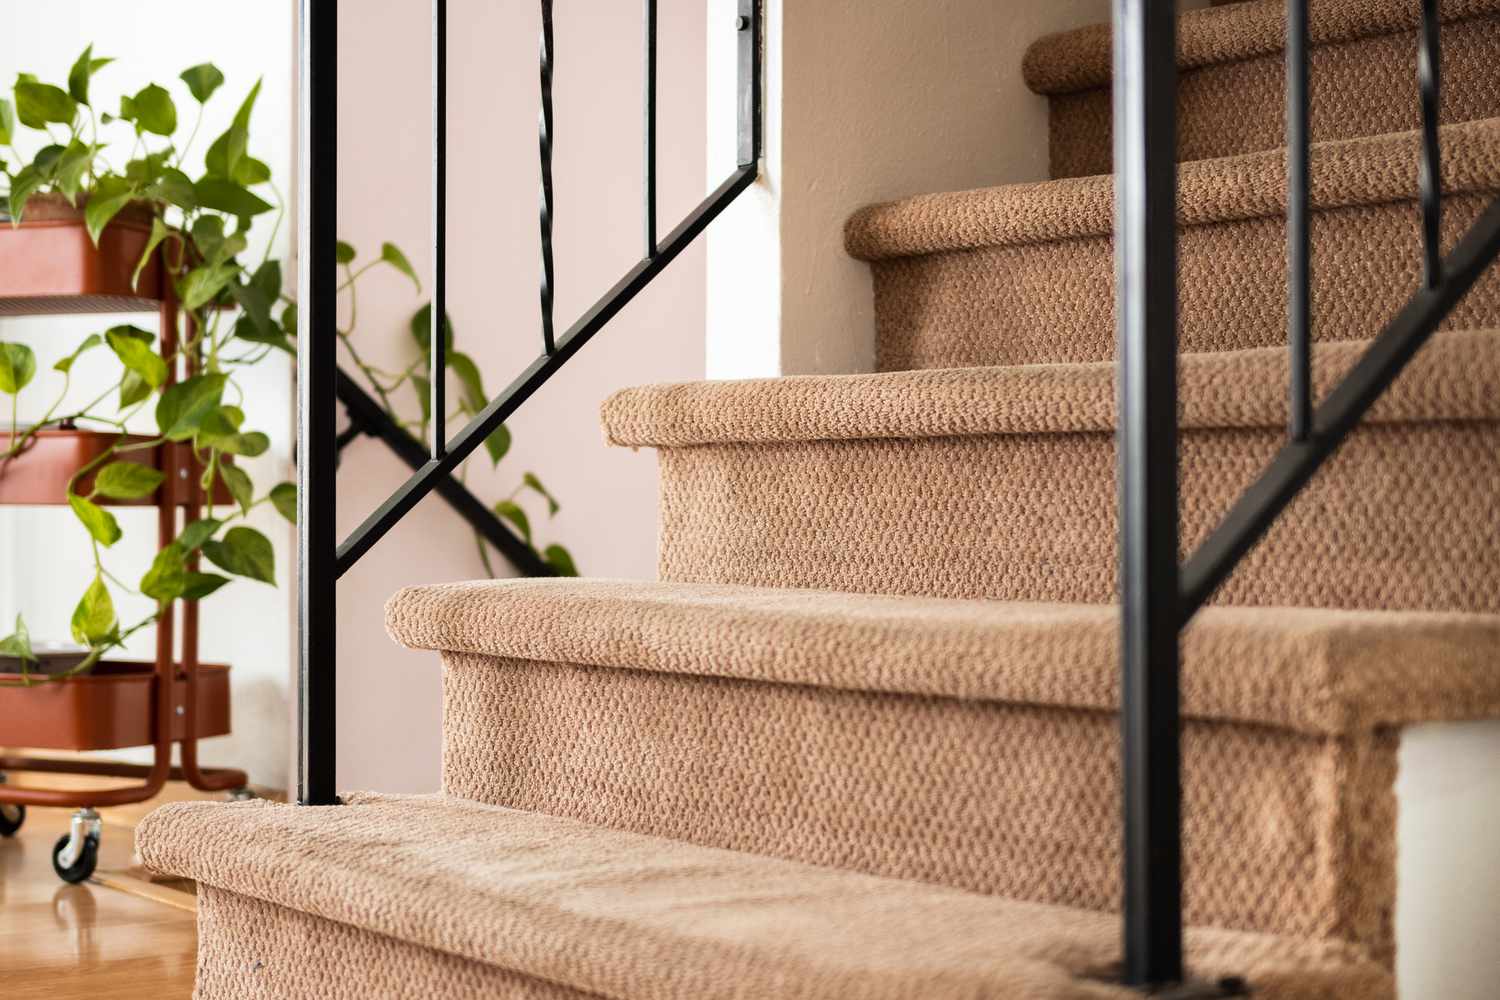
- Add stair nosing: Consider adding stair nosing, which is a decorative molding that covers the edge of the steps. Stair nosing provides an extra layer of protection and adds a visually appealing detail to your staircase. Select a style and material that complements the wood and overall design of your home.
- Install handrails: If your staircase doesn’t already have handrails, consider adding them for safety and convenience. Choose a handrail style that matches the aesthetic of your wood staircase. Install the handrails securely, following local building codes and guidelines.
- Accessorize: To further enhance the overall look of your wood staircase, consider adding decorative elements such as stair runners, artwork, or potted plants. These accessories can bring personality and style to your staircase.
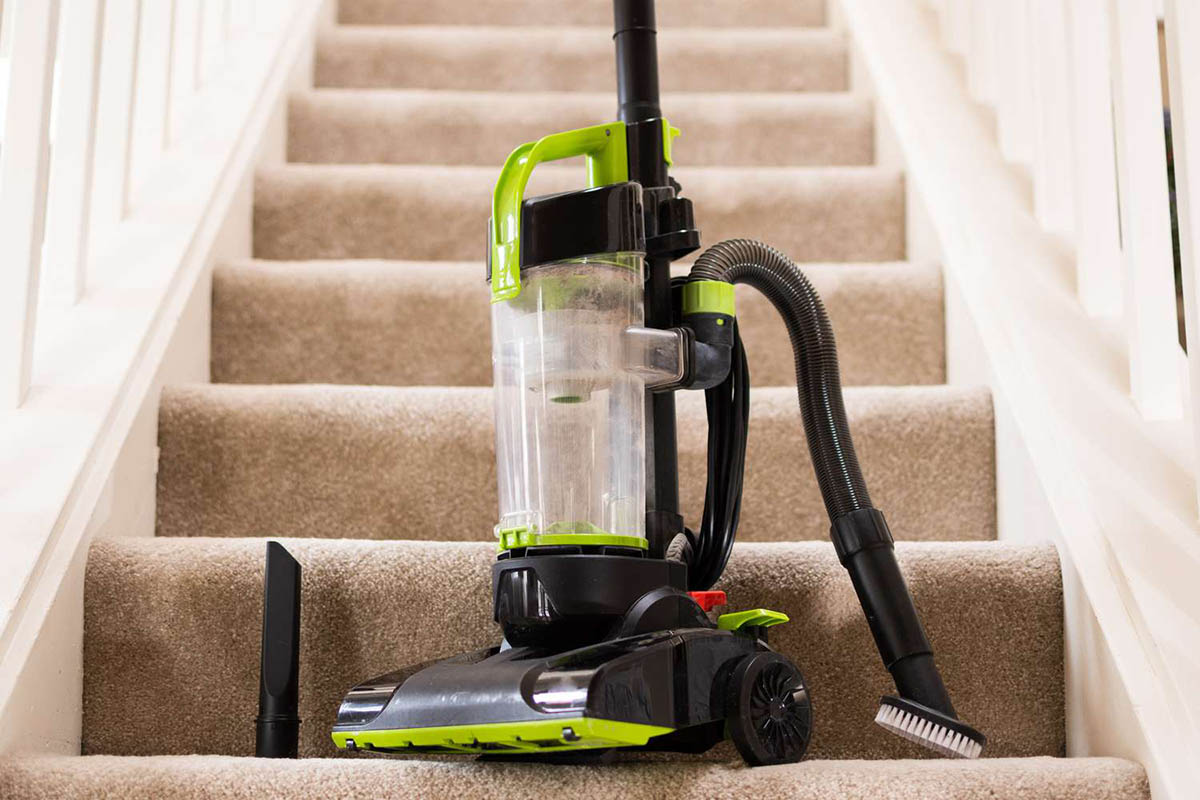
- Regular maintenance: Keep your wood staircase looking its best by implementing regular maintenance. Sweep or vacuum the stairs regularly to remove dust and debris. Clean up any spills promptly and avoid using harsh cleaning chemicals that may damage the wood finish.
By incorporating these finishing touches, you can elevate the overall aesthetic of your wood staircase and create a visually stunning centerpiece in your home. Take your time during this step, paying attention to detail, and enjoy the final result of your hard work and craftsmanship.
Read more: How To Remove Carpet Glue From Wood Stairs
Conclusion
Replacing carpet stairs with wood is a rewarding project that can dramatically enhance the look and feel of your home. By following the step-by-step process outlined in this article, you can transform your old carpeted staircase into a beautiful, elegant, and long-lasting wood staircase.
Throughout the process, it’s important to gather the necessary tools and materials, remove the existing carpet carefully, and prepare the stairs for the wood installation. Taking accurate measurements, cutting the wood treads and risers precisely, and securing them in place ensures a strong and stable staircase.
Once the wood is installed, sanding and finishing the stairs will provide a smooth, polished appearance while protecting the wood from everyday wear and tear. Adding the final touches, such as installing stair nosing, handrails, and other decorative elements, will help personalize your staircase and truly make it shine.
Remember to take your time, pay attention to detail, and prioritize safety throughout the entire process. If you’re unsure about any step or aspect of the project, don’t hesitate to seek guidance from professionals or experienced woodworkers.
Replacing carpet stairs with wood is a worthwhile investment, as it not only enhances the aesthetics of your home but also adds value and durability. Enjoy the beauty and elegance of your newly transformed wood staircase and take pride in the craftsmanship that went into creating it.
Frequently Asked Questions about How To Replace Carpet Stairs With Wood
Was this page helpful?
At Storables.com, we guarantee accurate and reliable information. Our content, validated by Expert Board Contributors, is crafted following stringent Editorial Policies. We're committed to providing you with well-researched, expert-backed insights for all your informational needs.