Home>Furniture>Kitchen Furniture>How To Reset A GE Dryer
Kitchen Furniture
How To Reset A GE Dryer
Modified: August 31, 2024
Looking for step-by-step instructions to reset your GE dryer? Check out our informative articles on how to reset a GE dryer for easy troubleshooting and maintenance.
(Many of the links in this article redirect to a specific reviewed product. Your purchase of these products through affiliate links helps to generate commission for Storables.com, at no extra cost. Learn more)
Introduction
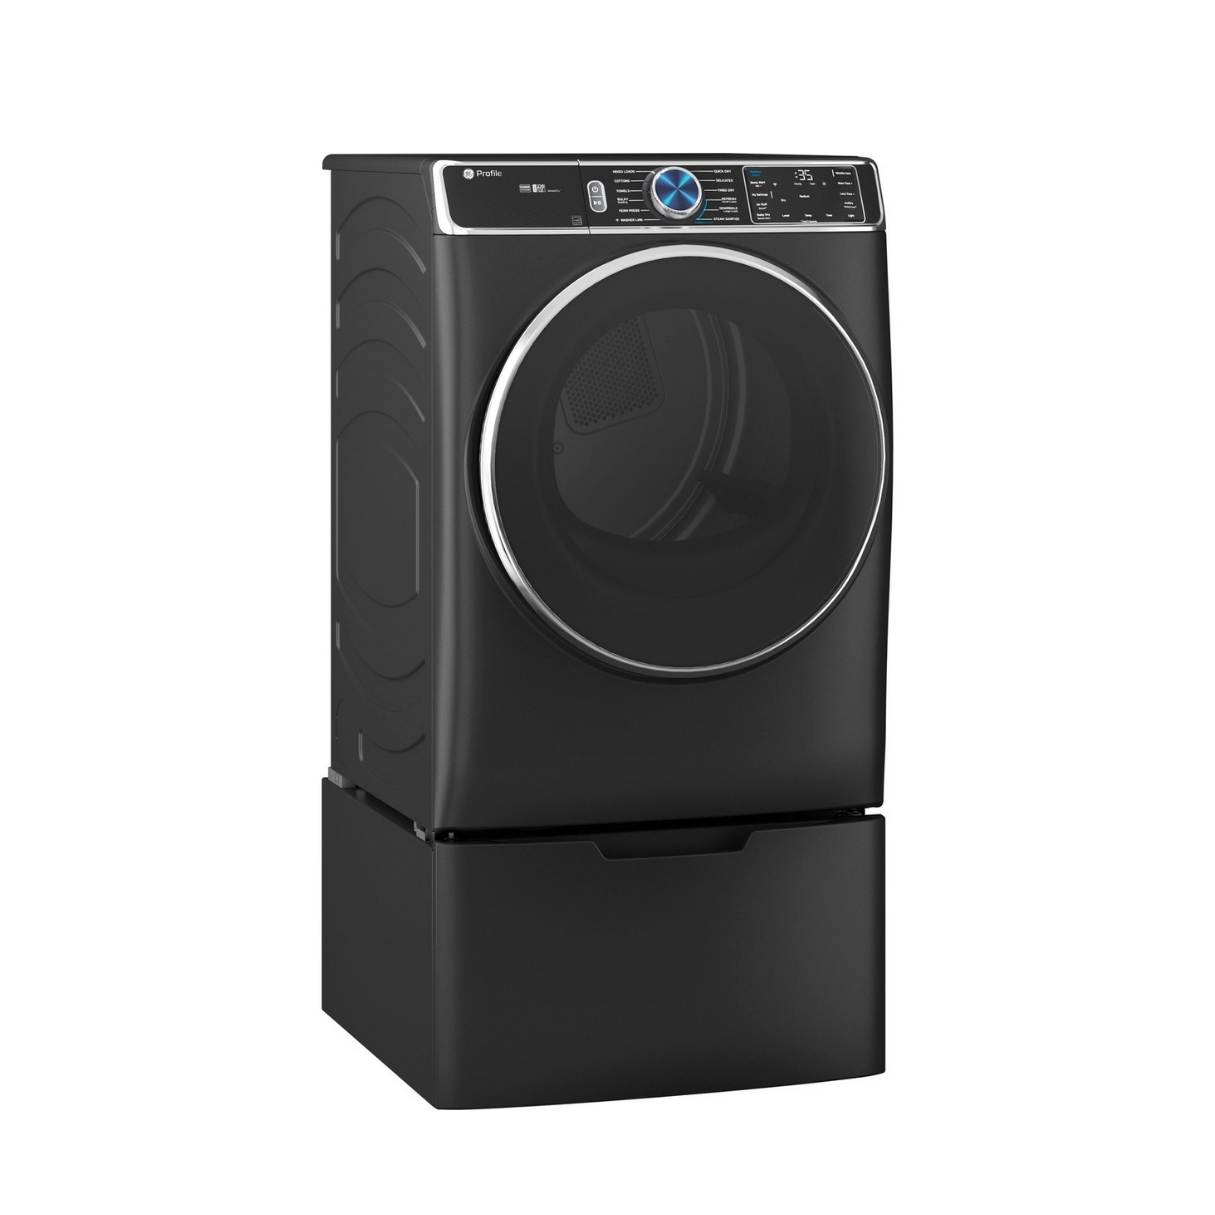
Resetting a GE dryer can be necessary in various situations, such as when the dryer stops working or when certain error codes appear on the display. Resetting the dryer essentially allows you to restart its internal system, resolving minor issues that may be causing malfunctions.
Fortunately, resetting a GE dryer is a relatively straightforward process that can be done by following a few simple steps. In this article, we will guide you through the process of resetting a GE dryer to help you troubleshoot and resolve common issues.
Before getting started, it is important to ensure your safety by disconnecting the dryer from the power source. This will protect you from any potential electrical hazards while performing the reset.
Now, let’s dive into the step-by-step process of resetting a GE dryer.
Key Takeaways:
- Safety First!
Before resetting your GE dryer, always prioritize safety by unplugging the dryer and, if applicable, turning off the gas supply. This simple precaution can prevent accidents and ensure a smooth reset process. - Precision is Key
When resetting your GE dryer, take the time to accurately locate and press the reset button. Following the recommended steps and durations will help ensure a successful reset and avoid unintended consequences.
Read more: How To Reset Whirlpool Dryer
Step 1: Unplug the Dryer
The first step in resetting a GE dryer is to unplug it from the power source. This is crucial for your safety and to avoid any electrical mishaps during the reset process.
To unplug the dryer, locate the power cord and gently remove it from the electrical outlet. Make sure that the cord is completely detached and there is no power supply going to the dryer.
It is important to note that if your dryer has a gas connection, you should also turn off the gas supply before proceeding. This will further ensure your safety and prevent any potential gas leaks.
Once the dryer is unplugged and the gas supply is turned off (if applicable), you can proceed to the next step of the reset process.
Step 2: Locate the Reset Button
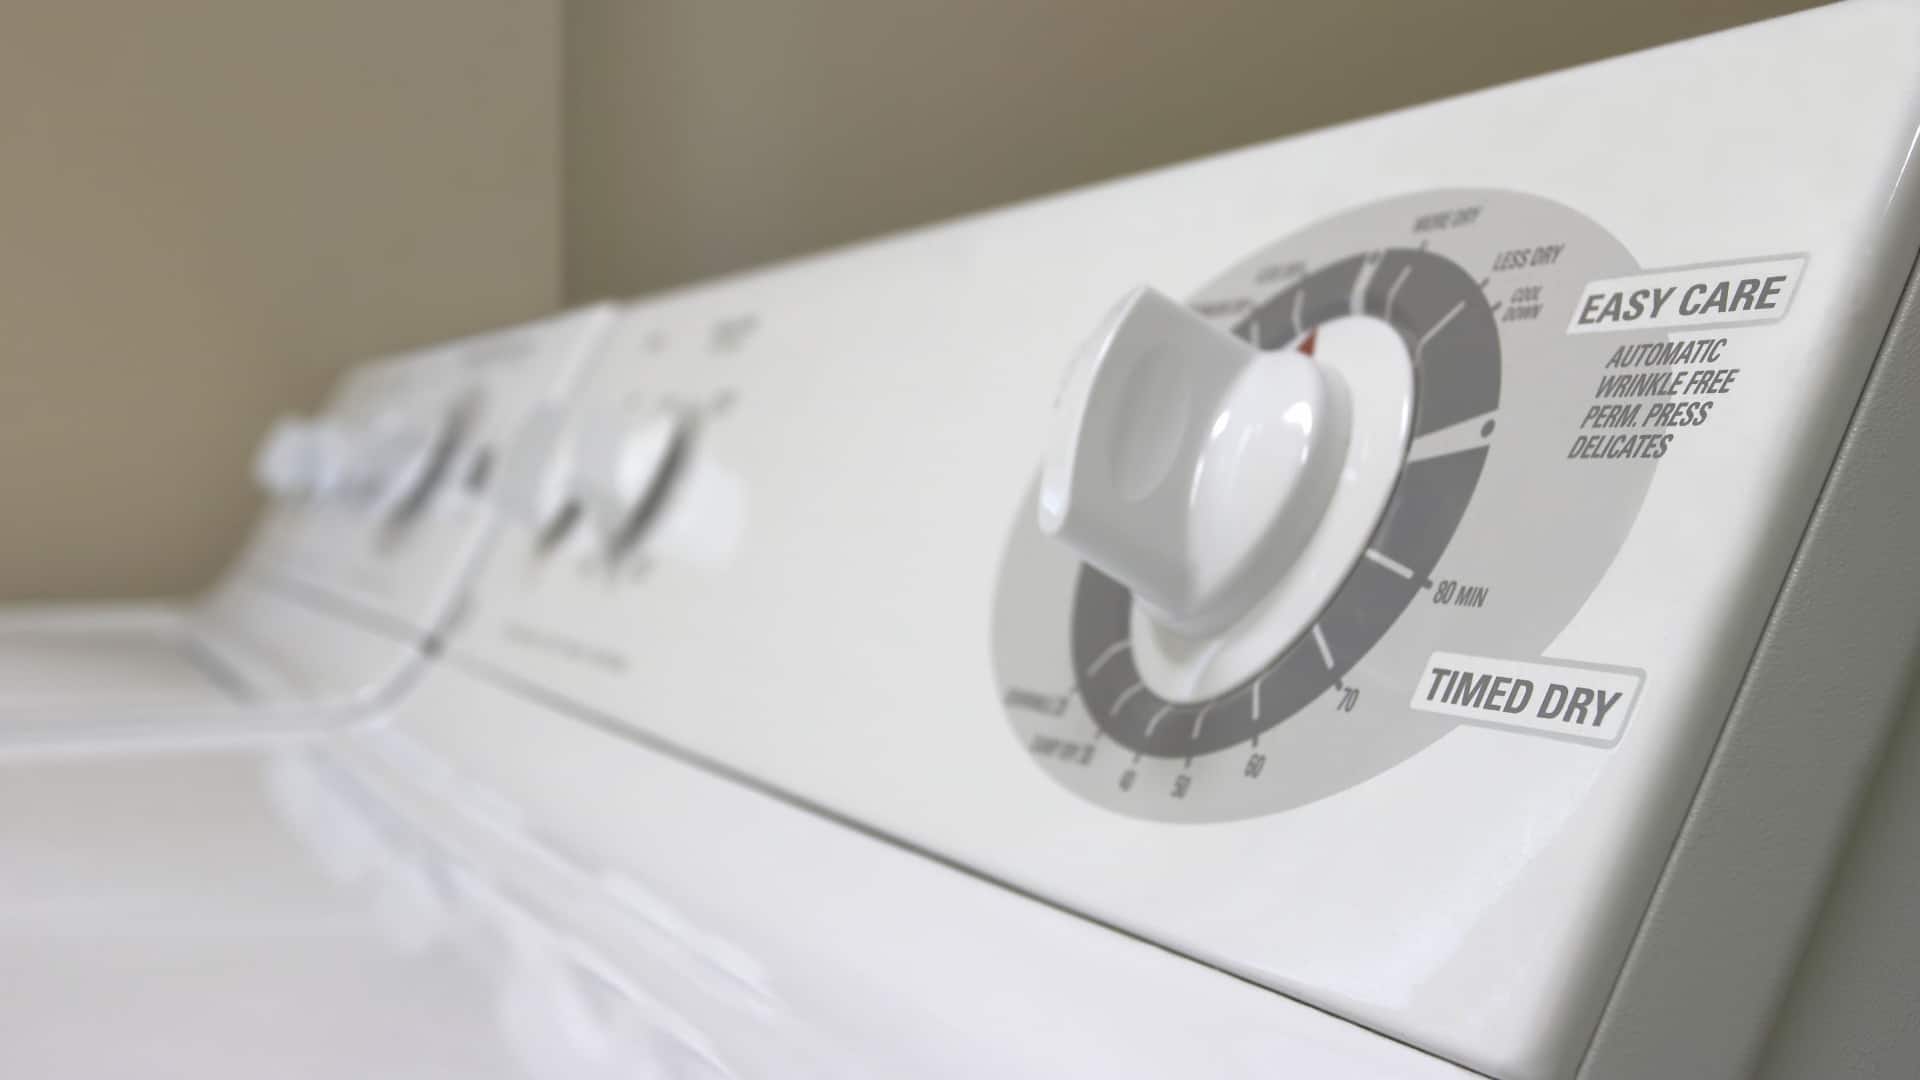
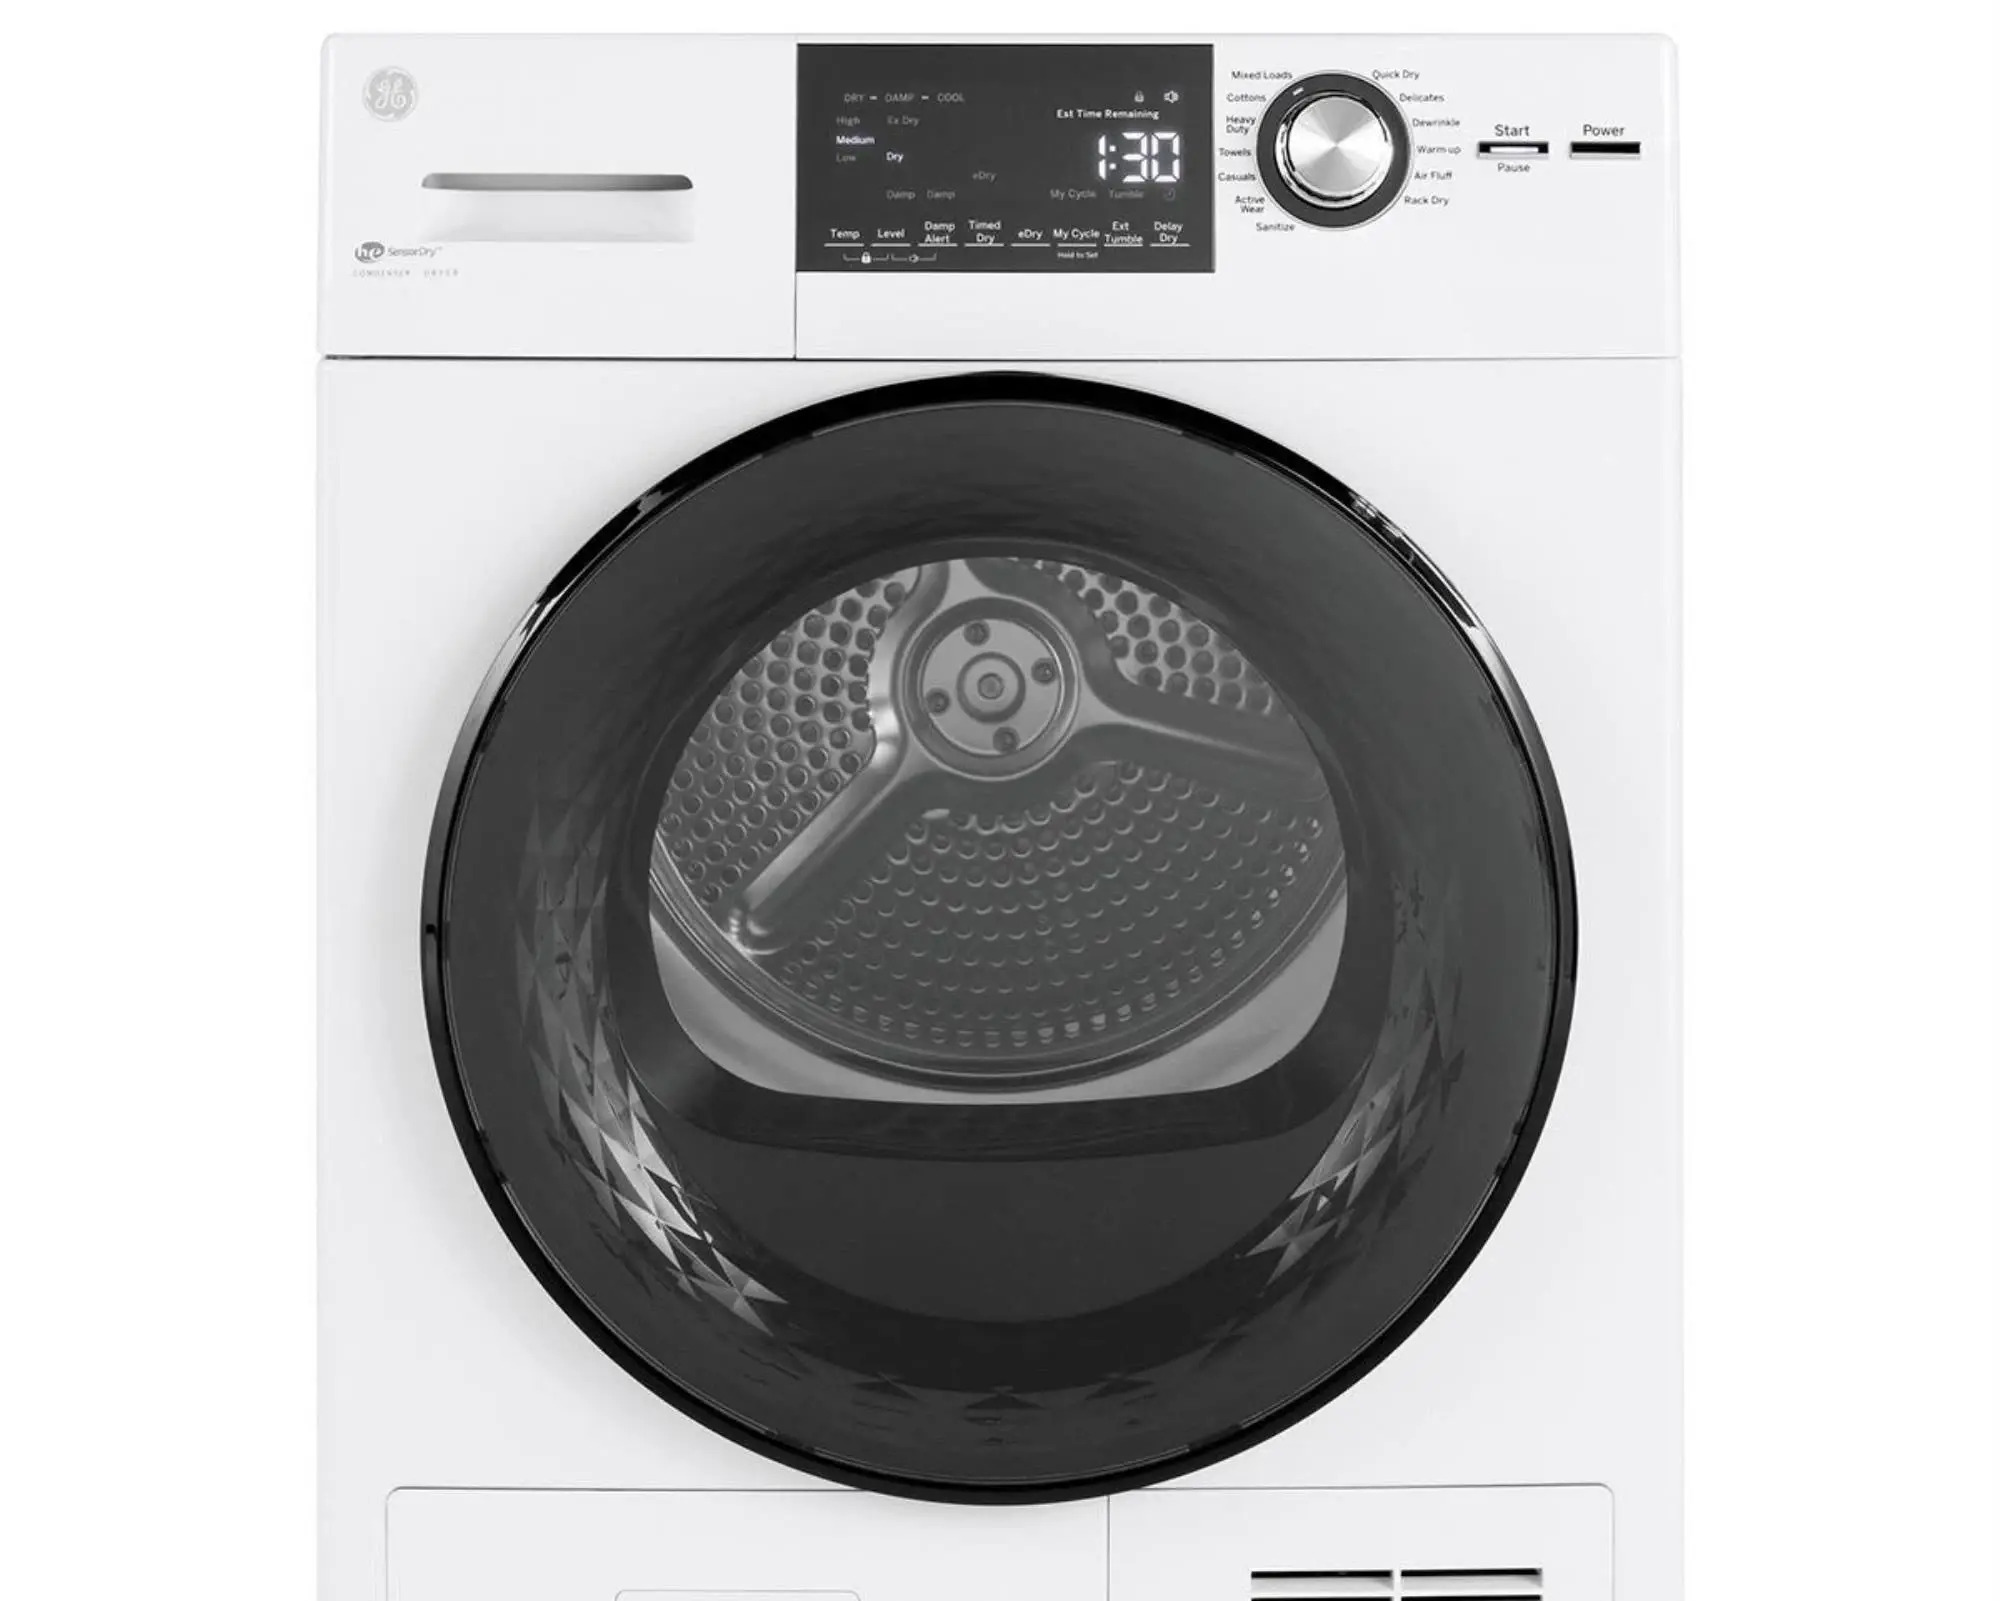
After unplugging the GE dryer, the next step is to locate the reset button. The reset button is typically situated on the control panel of the dryer, though its exact location may vary depending on the model.
You can start by visually inspecting the control panel for any conspicuous buttons or indicators. Look for a small button labeled “Reset” or a button with an icon resembling a circular arrow.
If you are unable to locate the reset button on the control panel, refer to the dryer’s user manual or consult the manufacturer’s website for specific instructions on finding the reset button for your particular model.
It is essential to find the correct reset button, as pressing the wrong button may inadvertently affect other settings or functions of the dryer. Taking the time to identify the reset button accurately will avoid any unnecessary complications.
Once you have located the reset button, you are ready to move on to the next step of the reset process.
Step 3: Press and Hold the Reset Button
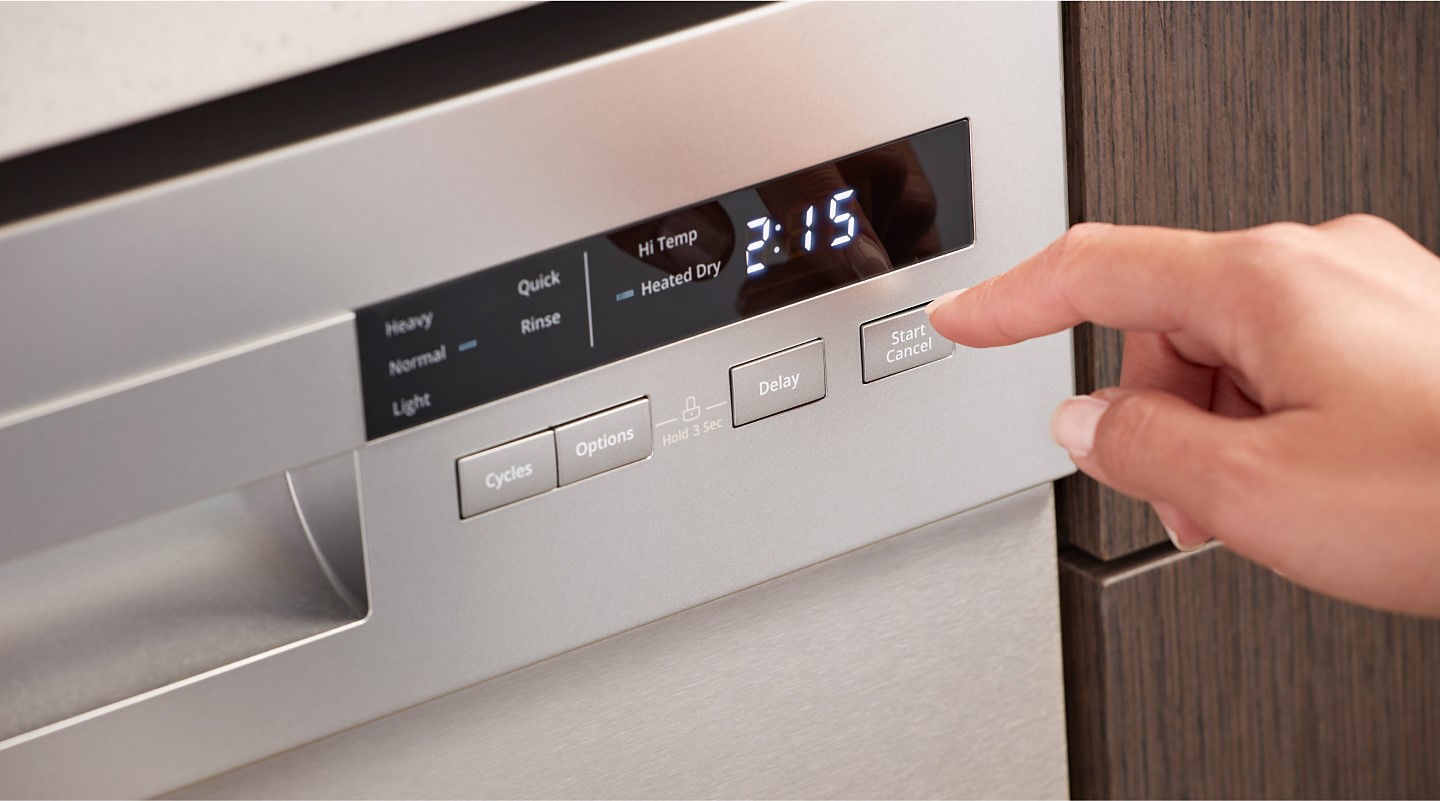
Now that you have identified the reset button on your GE dryer, it’s time to proceed with the reset process. With your dryer still unplugged, use your finger or a small tool to press and hold down the reset button firmly.
The exact duration for holding down the reset button may vary depending on the model of your GE dryer. Typically, it is recommended to hold the button for around 10 to 15 seconds.
While holding down the reset button, you may feel a slight vibration or hear a click, indicating that the reset process has initiated. This is a normal part of the reset sequence and should not cause any concern.
As you press and hold the reset button, be sure to maintain steady pressure and avoid releasing it too soon. It is essential to hold the reset button for the recommended duration to ensure that the reset process is properly executed.
Once you have held down the reset button for the designated time, you can proceed to the next step of the reset process.
To reset a GE dryer, unplug the dryer for a few minutes, then plug it back in. Press and hold the “Start” button for 5 seconds to reset the control board. This can help resolve minor issues and reset the dryer’s settings.
Step 4: Release the Reset Button
After holding down the reset button on your GE dryer for the specified duration, it is time to release the button. Simply lift your finger or tool off the reset button, allowing it to spring back to its original position.
As you release the reset button, you may notice that the dryer’s display or indicators momentarily turn off or reset. This is a normal occurrence and indicates that the reset process has been successfully completed.
It is important to note that after releasing the reset button, you should avoid touching any other buttons on the control panel until you have completed the entire reset process. Prematurely pressing other buttons or adjusting settings may interfere with the reset and negate its effectiveness.
By releasing the reset button, you have now completed the core step of the reset process. With the reset button released, you can move on to the final step to restore power to the dryer.
Read more: How To Reset A Samsung Dryer
Step 5: Plug in the Dryer
Now that the reset process for your GE dryer is complete, you can proceed to plug it back into the power source. This step will restore power to the dryer and allow it to function as normal.
Take the power cord of your GE dryer and carefully insert it into the electrical outlet. Ensure that the cord is securely connected and that there are no loose connections that may cause a power interruption.
If your dryer has a gas connection, you can also turn on the gas supply at this point. Make sure to follow the proper guidelines for reactivating the gas supply to avoid any potential gas leaks.
Once the dryer is properly plugged in and the power and/or gas supply has been restored, you can proceed to test the dryer to ensure that it is functioning correctly. Run a test cycle to confirm that the issue or error you faced previously has been resolved.
If, after completing the reset process and plugging in the dryer, you continue to experience issues or error codes, it may be necessary to consult the dryer’s user manual or reach out to a GE technician for further assistance.
Remember to keep your dryer’s model number and any error codes handy when seeking technical support, as this will help the technician provide you with accurate guidance.
By following these steps and properly resetting your GE dryer, you can address minor issues and get your appliance back up and running smoothly.
Conclusion
Resetting a GE dryer can often resolve minor issues and restore its functionality. By following the simple steps outlined in this article, you can easily reset your GE dryer and troubleshoot common problems.
Remember to always prioritize safety when working with any electrical appliance. Before attempting to reset your GE dryer, ensure that it is unplugged from the power source to prevent any accidents or electric shocks.
Locating and pressing the reset button is a crucial step in the reset process. Take the time to identify the reset button on your specific GE dryer model, as pressing the wrong button may have unintended consequences.
After pressing and holding the reset button for the recommended time, release it and avoid touching any other buttons until the reset process is fully completed. This will ensure that the reset is successful.
Finally, plug in your GE dryer and, if applicable, restore the gas supply. Test the dryer to confirm that the reset resolved the issues or error codes you encountered.
If you continue to experience problems, consult the user manual or contact a GE technician for further assistance. They will be able to provide specific guidance for your unique situation.
By following these steps, you can successfully reset your GE dryer and ensure its optimal performance. Keep this guide handy for future reference and troubleshooting needs.
Frequently Asked Questions about How To Reset A GE Dryer
Was this page helpful?
At Storables.com, we guarantee accurate and reliable information. Our content, validated by Expert Board Contributors, is crafted following stringent Editorial Policies. We're committed to providing you with well-researched, expert-backed insights for all your informational needs.

0 thoughts on “How To Reset A GE Dryer”