Articles
How To Restring Cellular Blinds
Modified: January 6, 2024
Discover the step-by-step process of restringing cellular blinds in this comprehensive article. Get expert tips and tricks to easily restore the function and beauty of your blinds.
(Many of the links in this article redirect to a specific reviewed product. Your purchase of these products through affiliate links helps to generate commission for Storables.com, at no extra cost. Learn more)
Introduction
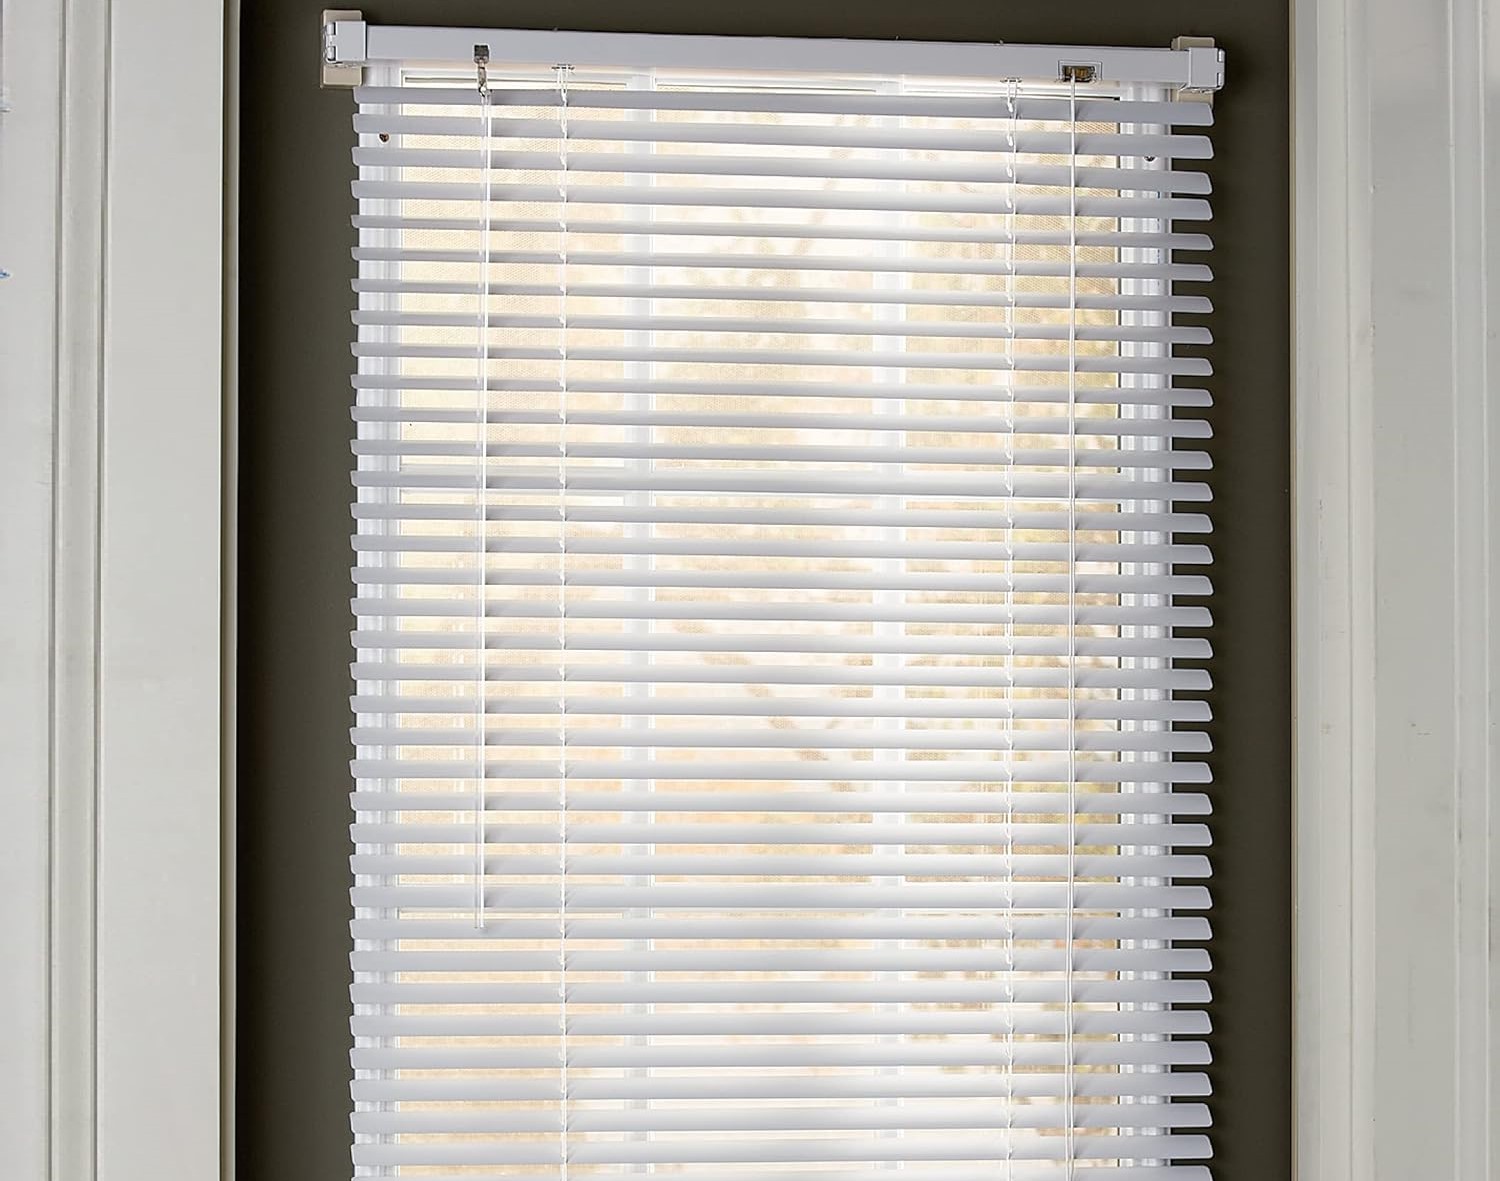
Cellular blinds, also known as honeycomb blinds, are a popular choice for many homeowners due to their sleek design and energy-efficient properties. These blinds consist of a series of cells that trap air to provide insulation and regulate temperature. Over time, the strings that hold the blinds together may become worn out or break, causing the blinds to malfunction. Fortunately, restringing cellular blinds is a relatively simple process that you can do yourself with the right tools and materials.
In this article, we will guide you through the steps to restring cellular blinds, ensuring they function properly and look as good as new. Whether you’re a DIY enthusiast or just want to save some money on professional repairs, this article will provide you with all the necessary information.
Before we dive into the restringing process, let’s gather the tools and materials you’ll need:
- Scissors to cut the new string
- Pliers to remove the old string and manipulate the cords
- Needle-nose pliers to thread the string through the blinds
- Replacement string, available at your local home improvement store or online
With these tools at hand, let’s get started with restringing your cellular blinds!
Key Takeaways:
- Restringing cellular blinds is a simple DIY project that can save you money on professional repairs. With the right tools and materials, you can restore the functionality and aesthetics of your blinds, ensuring smooth and even operation.
- Proper preparation, careful stringing, and thorough testing are key to successfully restringing cellular blinds. Take your time to measure, cut, and thread the new string, and make necessary adjustments for optimal performance.
Read more: How To Restring Horizontal Blinds
Tools and Materials Needed
Before you begin the process of restringing your cellular blinds, it’s important to gather all the necessary tools and materials. Having everything prepared beforehand will make the process smoother and more efficient. Here’s a list of what you’ll need:
- Scissors: You’ll need a pair of sharp scissors to cut the new string to the required length.
- Pliers: Get a pair of pliers, preferably needle-nose pliers, as they will come in handy when removing the old string and manipulating the cords during the restringing process.
- Replacement String: You’ll need a new string that matches the thickness and strength of the old string. It is crucial to choose the right type of string to ensure optimum performance and longevity of your blinds. You can find replacement strings specifically designed for cellular blinds at your local home improvement store or online.
Once you have gathered these tools and materials, you’re ready to proceed with the restringing process. It’s also a good idea to make sure you have a clear workspace and ample lighting, as this will make the process easier and more efficient.
It’s worth noting that some cellular blind manufacturers may have specific restringing instructions or kits available. If your blinds come with any manufacturer-provided guides or tools, be sure to consult them as well before starting the restringing process.
Now that you have all the necessary tools and materials, it’s time to move on to the step-by-step process of restringing your cellular blinds. Follow the instructions carefully to ensure a successful restringing process and restore the functionality of your blinds.
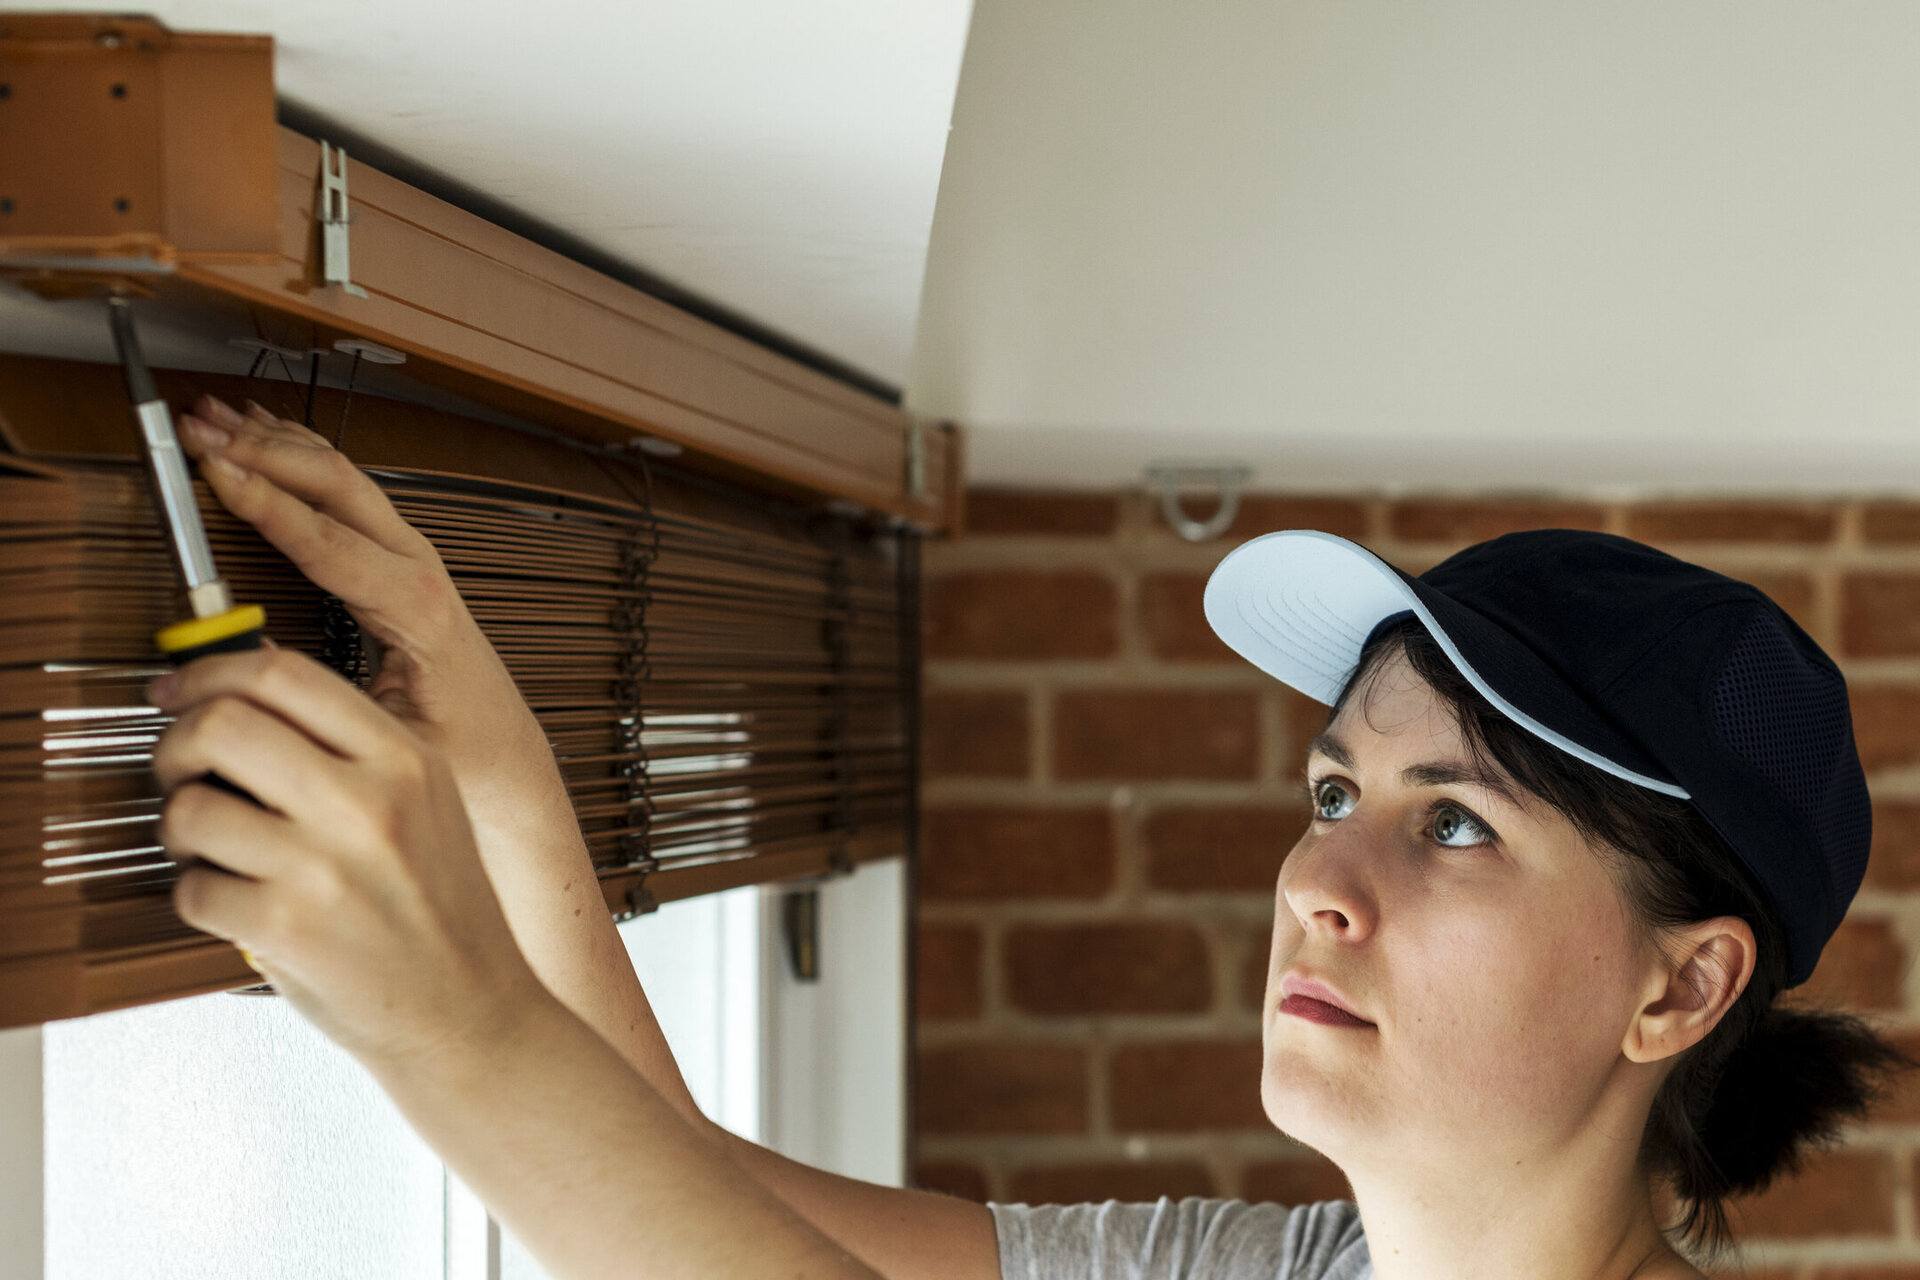
Step 1: Removing the Blinds
The first step in restringing cellular blinds is to remove them from the mounting brackets. This will give you easy access to the strings and make the restringing process much easier. Follow these steps to remove the blinds:
- Use your hand or a flathead screwdriver to gently pry the blinds away from the mounting brackets. Be careful not to force them as it may damage the blinds or the brackets.
- Once the blinds are free from the brackets, lay them down on a clean and flat surface. This will provide you with a stable work area for restringing.
- If your blinds have a cord lock mechanism, locate it and remove the cords from the cord lock. This will allow you to freely manipulate the cords during the restringing process.
- Inspect the blinds and identify the points where the old strings are tied or threaded. You may need to use pliers to undo any knots or connectors holding the old strings in place. Take your time to carefully remove the old strings without damaging the blinds.
- After removing the old strings, examine the condition of the pulleys or cord guides. If they appear worn or damaged, it’s a good idea to replace them before restringing the blinds. This will ensure smooth operation and prevent future issues.
By following these steps, you’ll be able to safely remove the cellular blinds and prepare them for restringing. Now, let’s move on to the next step: preparing the new string.
Step 2: Preparing the New String
Now that you have successfully removed the blinds, it’s time to prepare the new string for restringing. Follow these steps to ensure that the new string is properly prepared:
- Measure the Length: Take the old string or the length of the blinds as a reference and measure out the new string. It’s essential to cut the new string to the appropriate length to ensure a proper fit and smooth operation.
- Cut the String: Use a pair of sharp scissors to cut the new string to the desired length. Make sure to create a clean, straight cut to prevent fraying or unravelling.
- Prepare the Ends: Depending on the type of blinds you have, you may need to prepare the ends of the new string. Some blinds require tying a knot at both ends, while others may require inserting the string into a connector or cord lock mechanism. Refer to the manufacturer’s instructions or any included guides for specific details on how to prepare the ends of the new string.
- Test the Strength: Before proceeding with restringing, give the new string a gentle tug to ensure it is strong enough to support the weight of the blinds. If the string feels weak or breaks easily, it may be necessary to use a thicker or stronger string.
Once you have prepared the new string, you’re ready to move on to the next step: stringing the blinds. Restringing your cellular blinds will bring them back to their original functionality and ensure that they can be operated smoothly and effortlessly. Let’s proceed to the next step together.
When restringing cellular blinds, make sure to measure the new cord to the exact length of the old one to ensure a proper fit. This will help prevent any excess slack or tightness in the restringing process.
Step 3: Stringing the Blinds
Now that you have prepared the new string, it’s time to string the blinds and restore their functionality. Follow these steps to properly string the blinds:
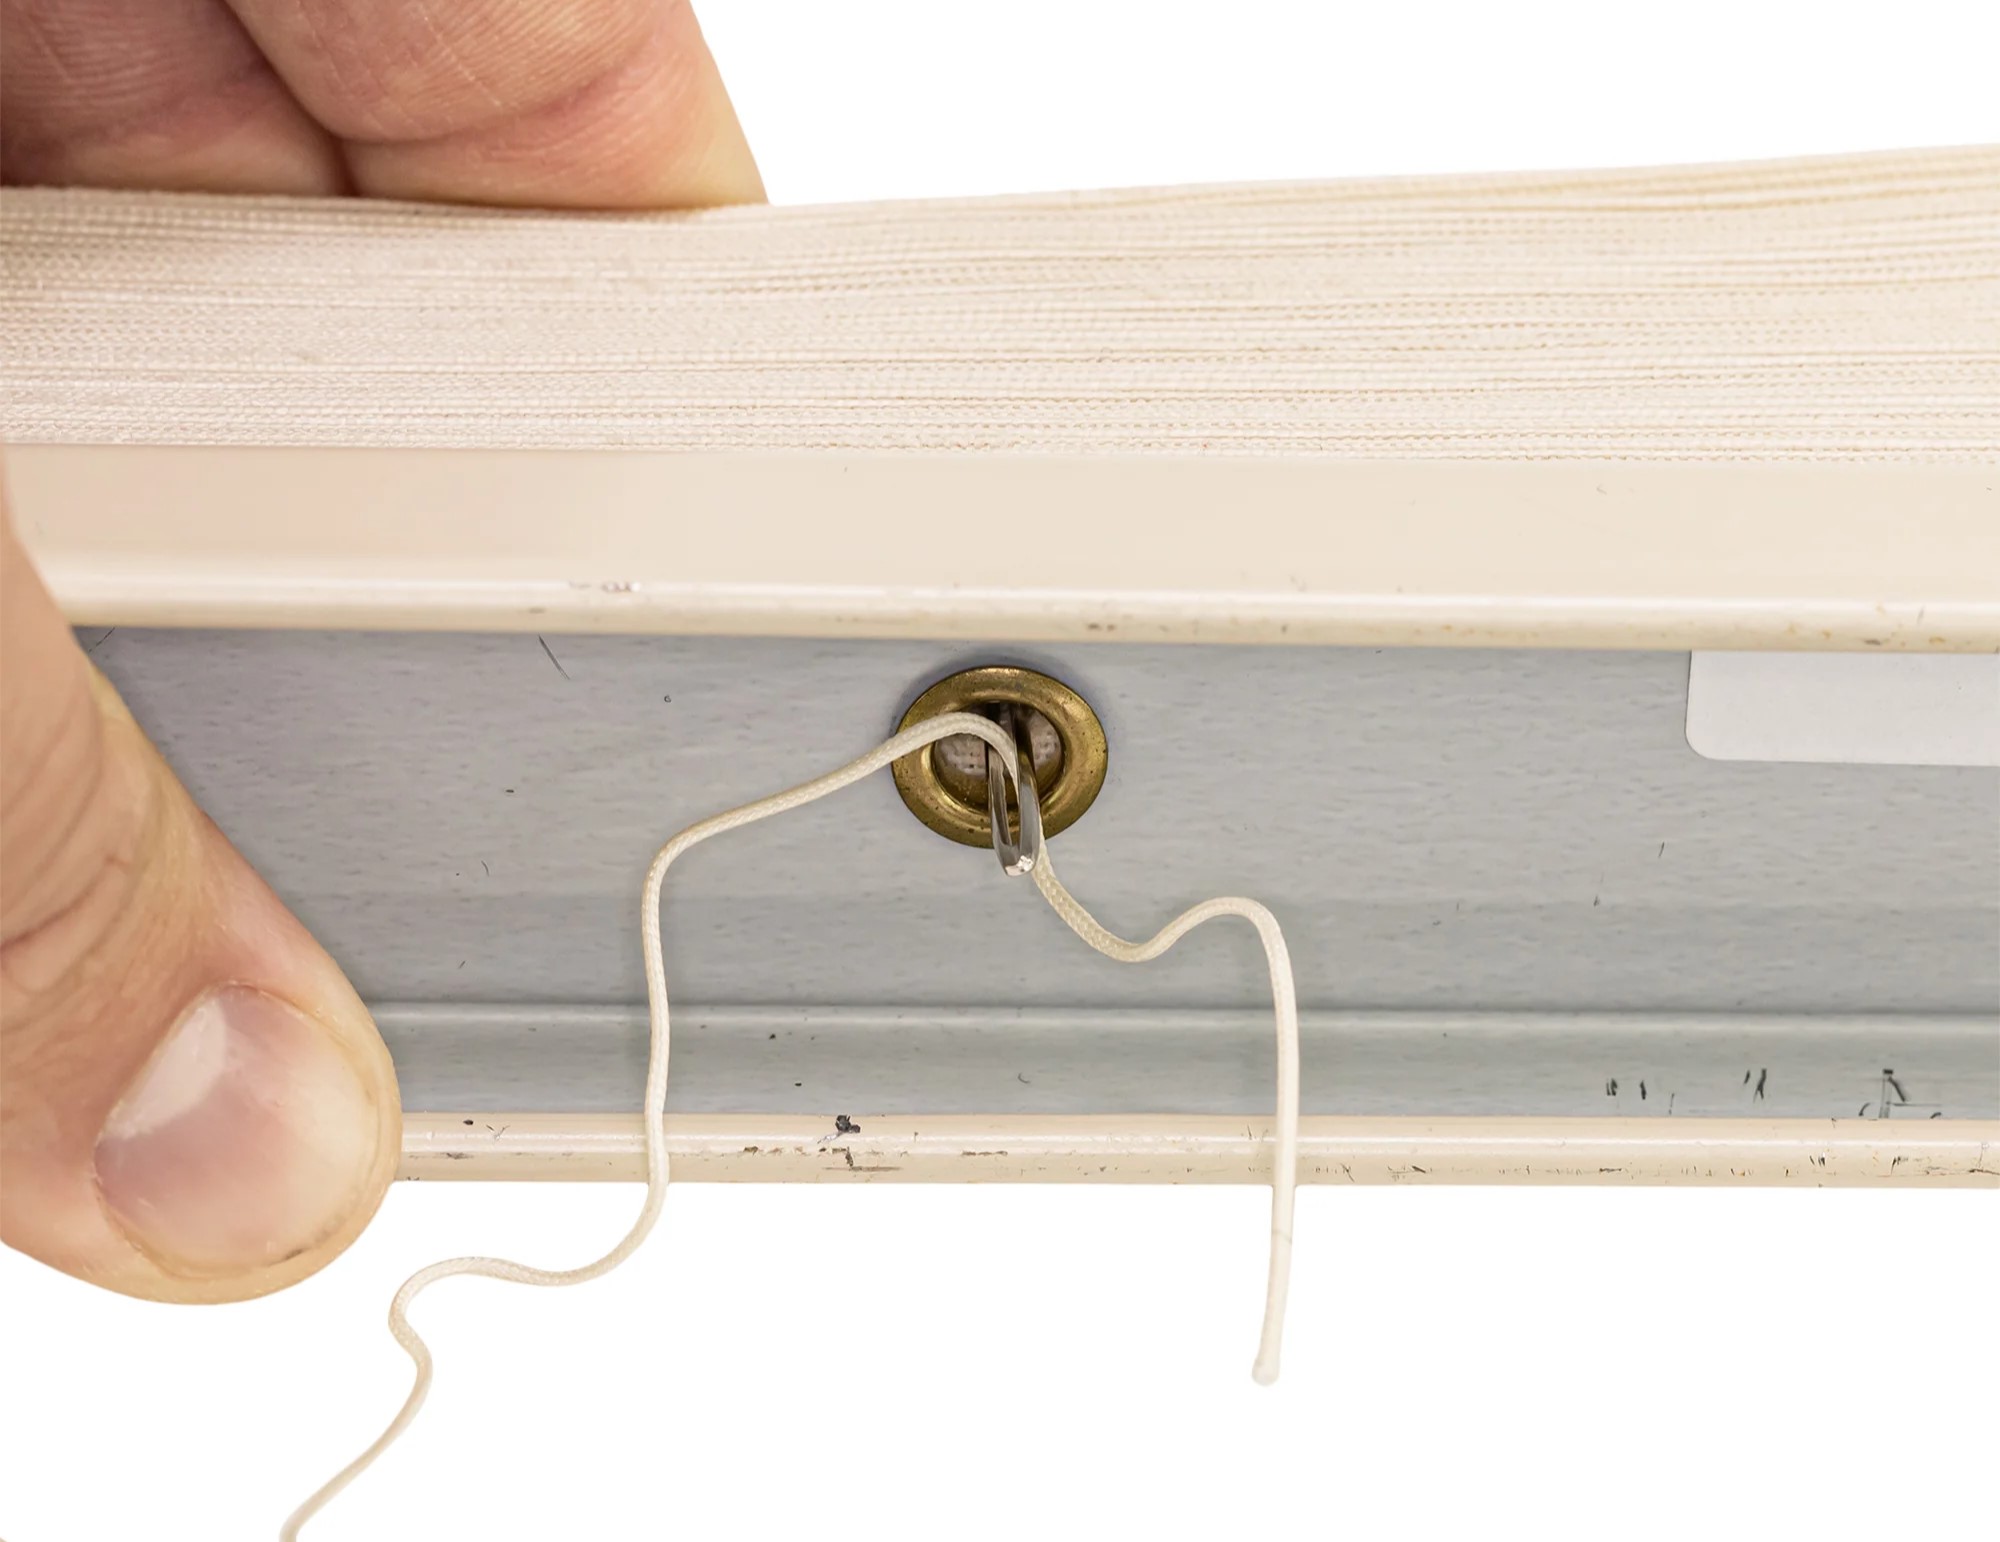
- Locate the Cord Guides: Identify the cord guides or pulleys on the blinds where the strings will be threaded through. These guides ensure smooth movement and proper alignment of the blinds.
- Start from the Bottom: Begin threading the new string through the bottom-most cord guide, also known as the bottom rail. Insert the string into the hole or slot provided and pull it through until there is an equal length of string on both sides.
- Thread through the Cells: Thread the string through each cell or honeycomb of the blinds, moving from bottom to top. Be careful to maintain an equal length of string on both sides as you go along.
- Thread through the Top Rail: Once you have threaded the string through all the cells, bring the string up through the top rail of the blinds. This is the rail that connects the blinds to the mounting brackets. Make sure the string is securely threaded through the holes or slots provided in the top rail.
- Tie or Connect the String: Depending on the type of blinds you have, you may need to tie a knot at the end of the string to secure it in place. Alternatively, you may need to insert the string into a connector or cord lock mechanism. Follow the manufacturer’s instructions or included guides for specific details on how to properly tie or connect the string.
As you thread the new string through the blinds, make sure to maintain an even tension on both sides. This will help ensure that the blinds operate smoothly and evenly when they are reinstalled.
Once you have successfully strung the blinds, move on to the next step: testing and adjusting their operation.
Read also: 15 Unbelievable Cellular Blinds for 2025
Step 4: Testing and Adjusting
After stringing the blinds, it’s important to test their operation and make any necessary adjustments for optimal performance. Follow these steps to test and adjust your newly strung blinds:
- Hold the String: Grab both sides of the string and gently pull them together to raise the blinds. Release the string to lower the blinds. Repeat this process a few times to check if the blinds operate smoothly and evenly.
- Check for Uneven Movement: Observe the blinds as they raise and lower. Look for any signs of uneven movement, such as one side raising faster or slower than the other. If you notice any unevenness, you may need to adjust the tension of the strings.
- Adjusting Tension: To adjust the tension, locate the cord lock or cord tensioner mechanism on the blinds. Use pliers or your fingers to tighten or loosen the strings slightly to achieve even movement. Be cautious not to over-tighten as it may cause the blinds to bind or become difficult to operate.
- Test Cord Lock Mechanism: If your blinds have a cord lock mechanism, test it to ensure that it securely locks the blinds in place when desired. Pull the cords to raise the blinds and release the cords to lock them at the desired height.
By properly testing and adjusting the operation of your blinds, you’ll ensure that they function smoothly and effortlessly. If you encounter any issues during the testing phase, retrace your steps and check for any mistakes or misalignments in the stringing process. Making small adjustments and fine-tuning the blinds will help achieve the best results.
Once you are satisfied with the operation and adjustments, it’s time to move on to the final step: reinstalling the blinds.
Step 5: Reinstalling the Blinds
After successfully stringing and testing your cellular blinds, it’s time to reinstall them back into the mounting brackets. Follow these steps to securely reinstall your blinds:
- Line up the Brackets: Position the blinds in front of the window, aligning the mounting brackets on the headrail with the brackets on the window frame. Make sure the brackets are properly aligned and secure.
- Insert the Headrail: Insert the headrail of the blinds into the mounting brackets, making sure that it fits snugly and securely. Apply gentle pressure if needed to slide the headrail into place.
- Secure the Blinds: Once the headrail is properly inserted, lock it into place by following the specific instructions provided by the manufacturer. This may involve flipping a latch or tightening screws to secure the blinds in the brackets.
- Test the Operation: After reinstalling the blinds, perform a final test to ensure they are operating correctly. Raise and lower the blinds multiple times, observing if they move smoothly and evenly. Check if the cord lock mechanism, if present, securely locks the blinds at the desired height.
- Make Final Adjustments: If you notice any issues or uneven movement during the test, make further adjustments to the tension or alignment of the blinds. Repeatedly test and adjust until you are satisfied with the operation.
Once you have completed the reinstallation and final adjustments, step back and admire your newly reinstalled and fully functional cellular blinds. You can now enjoy their benefits, including privacy, light control, and energy efficiency.
Remember, if you encounter any difficulties during the restringing or reinstalling process, don’t hesitate to consult the manufacturer’s instructions or seek assistance from a professional. They can provide valuable guidance to ensure a successful outcome.
With a little bit of patience and perseverance, you can successfully restring your cellular blinds and extend their lifespan, saving you both time and money. Now that you’ve completed the restringing process, sit back, relax, and enjoy the refreshed look and functionality of your cellular blinds!
Conclusion
Restringing cellular blinds can be a straightforward DIY project that allows you to restore the functionality and aesthetics of your window coverings. By following the steps outlined in this article, you can successfully restring your cellular blinds and enjoy their benefits for years to come.
Remember to gather all the necessary tools and materials before beginning the restringing process, including scissors, pliers, and the appropriate replacement string. Take your time to remove the blinds from the mounting brackets and prepare the new string with proper measurements and end preparations.
While stringing the blinds, ensure an even tension on both sides and thread the string through the cells and cord guides. It’s important to test the blinds’ operation and make any necessary adjustments to achieve smooth and even movement. Once you’re satisfied with the results, reinstall the blinds securely into the mounting brackets, following the specific instructions provided by the manufacturer.
Restringing your cellular blinds not only saves you money on professional repairs but also allows you to extend the lifespan of your blinds, maintaining their energy-efficient properties and enhancing the overall look of your home.
Remember, if you encounter any difficulties or are unsure about any step, consult the manufacturer’s instructions or seek assistance from a professional. Their expertise can help ensure a successful restringing process.
Now that you have the knowledge and confidence to restring your cellular blinds, it’s time to embark on this DIY project. Enjoy the satisfaction of bringing your blinds back to life and basking in the improved functionality and aesthetics they provide!
Frequently Asked Questions about How To Restring Cellular Blinds
Was this page helpful?
At Storables.com, we guarantee accurate and reliable information. Our content, validated by Expert Board Contributors, is crafted following stringent Editorial Policies. We're committed to providing you with well-researched, expert-backed insights for all your informational needs.