Home>Articles>How To Run Extension Cord From Inside To Outside

Articles
How To Run Extension Cord From Inside To Outside
Modified: May 6, 2024
Learn how to safely run an extension cord from inside your home to the outdoors with our informative articles.
(Many of the links in this article redirect to a specific reviewed product. Your purchase of these products through affiliate links helps to generate commission for Storables.com, at no extra cost. Learn more)
Introduction
Running an extension cord from inside to outside can be a practical solution for powering outdoor devices or lights. Whether you want to set up a festive atmosphere for a backyard party or need to run power tools in your yard, a properly installed extension cord can provide the electricity you need. However, it’s important to follow the right steps to ensure safety and avoid any electrical hazards.
In this article, we will guide you through the process of running an extension cord from inside to outside. We will cover the necessary tools and materials, as well as providing step-by-step instructions to make the process as simple as possible.
Key Takeaways:
- Ensure safety and efficiency when running an extension cord from inside to outside by accurately determining the length needed, selecting the correct type of cord, and securing and protecting the connection from potential hazards.
- Prioritize safety and proper storage to prolong the lifespan of the extension cord, prevent damage, and ensure a reliable power supply for future outdoor needs.
Tools and Materials Needed
Before you begin running an extension cord from inside to outside, it’s important to gather all the necessary tools and materials. Here is a list of items you will need:
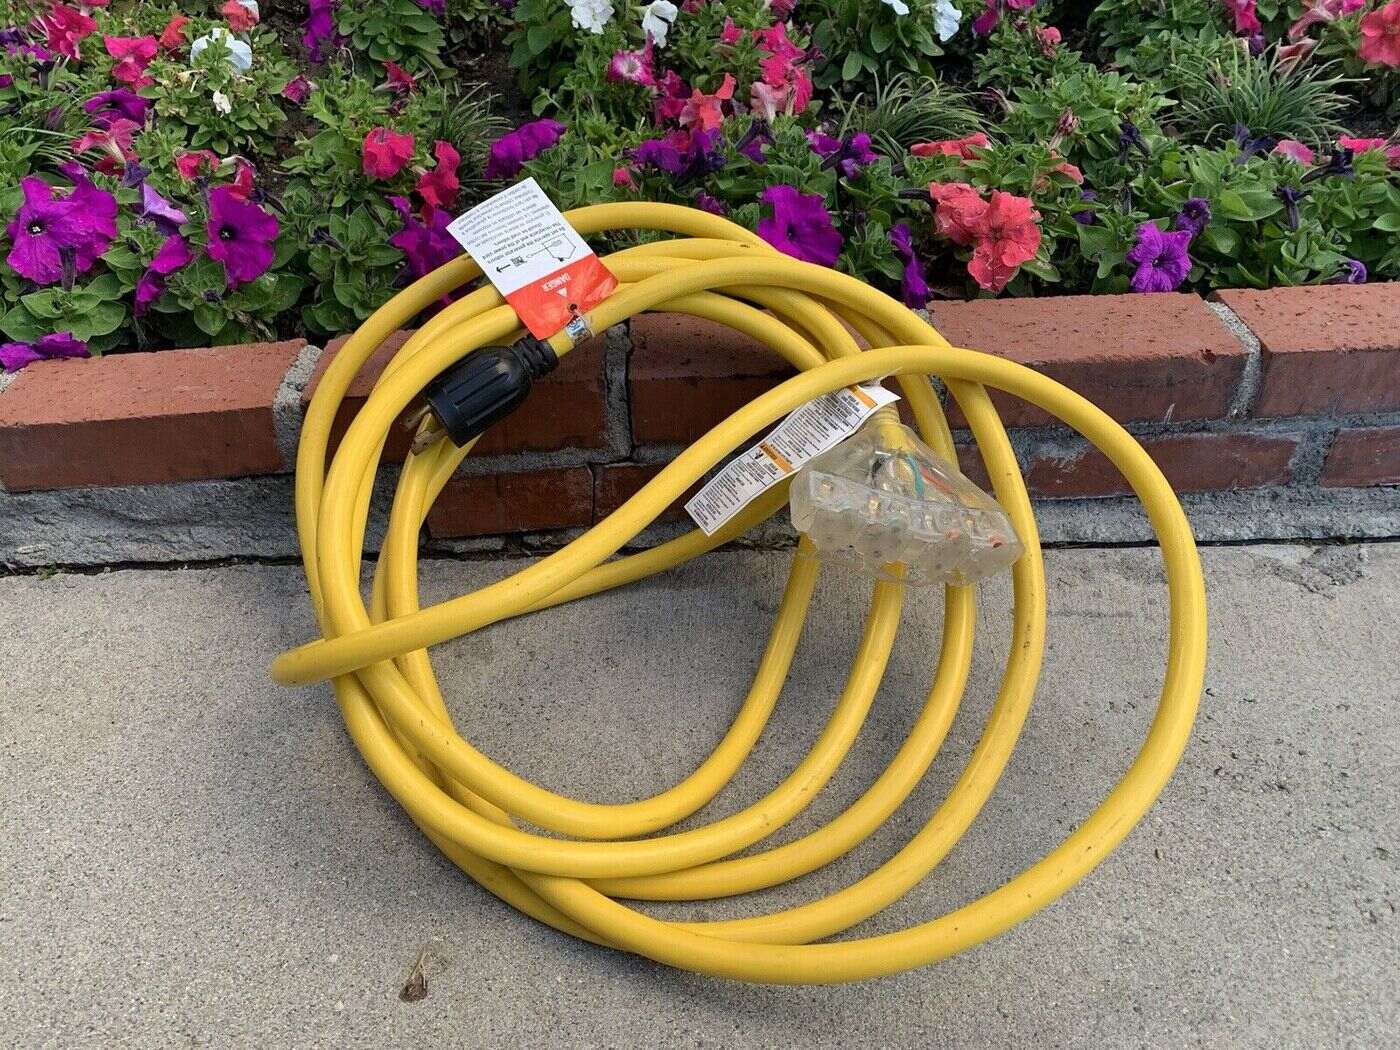
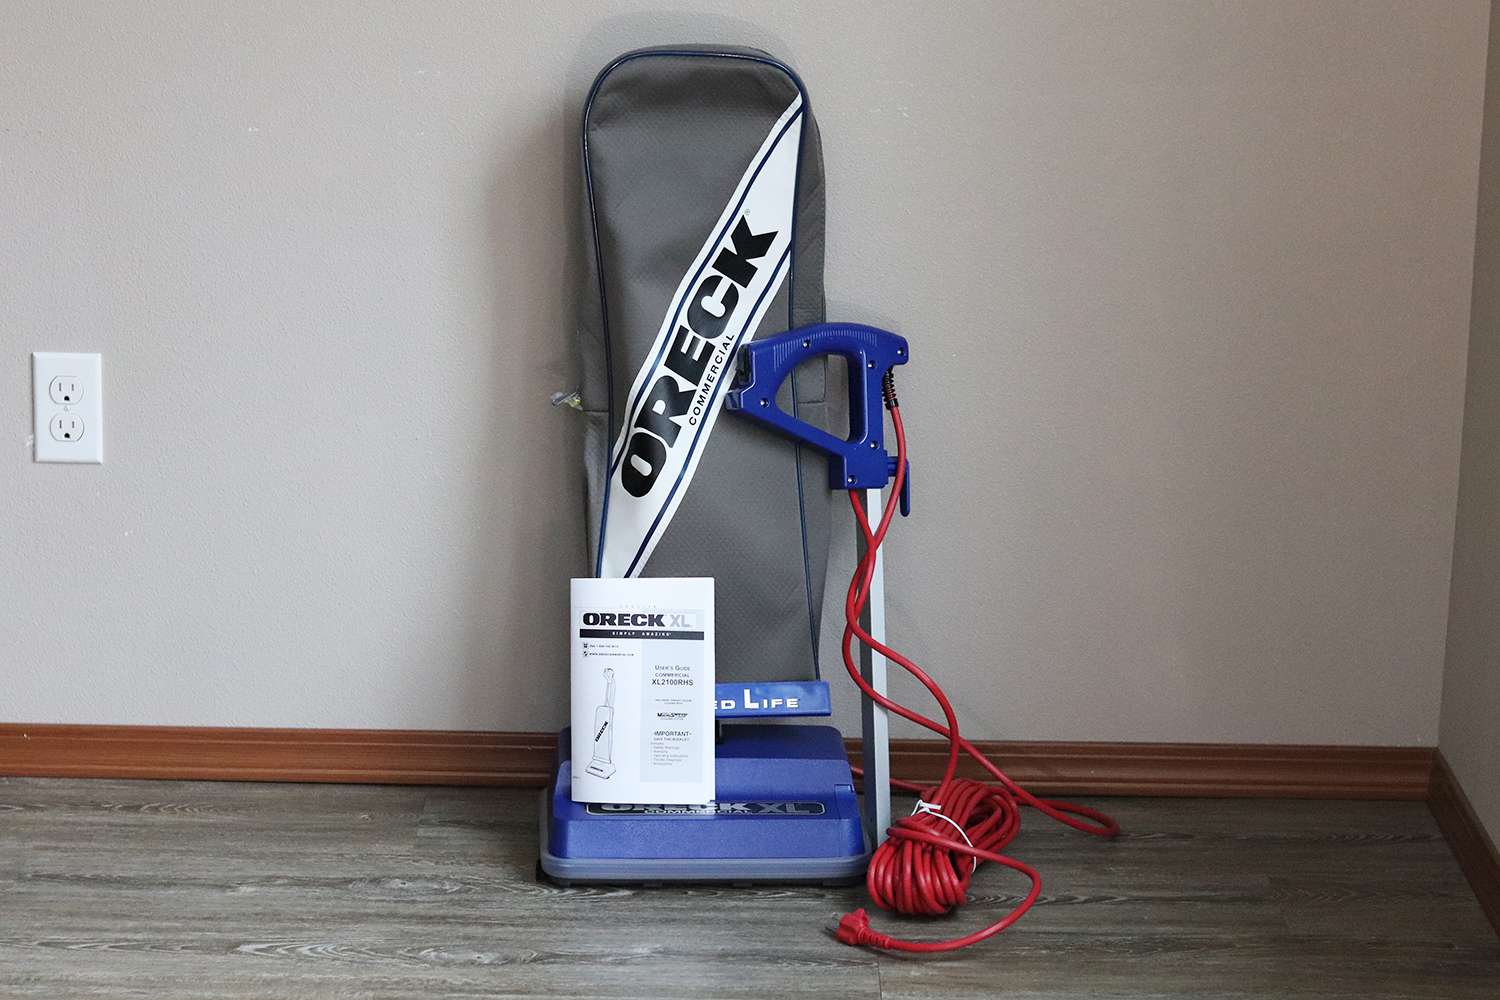
- Extension cord: Choose a heavy-duty outdoor extension cord that is appropriate for your intended use and length requirements.
- Tape measure: Use a tape measure to determine the length of extension cord needed.
- Electrical tape: Electrical tape will be used to secure and protect the connections.
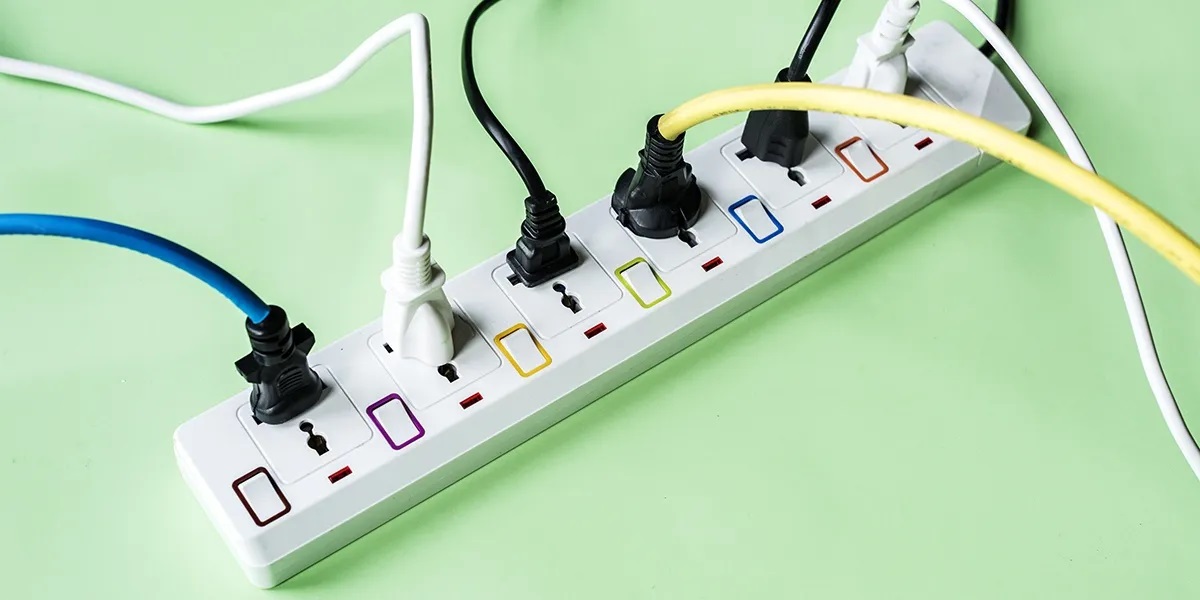
- Power strip (if needed): If you need to plug in multiple devices outside, a power strip will come in handy.
- Cord cover/protector: To prevent tripping hazards and protect the extension cord from the outdoor elements, consider using a cord cover or protector.
- Electrical box and cover plate (if needed): If you need to make a permanent outdoor outlet, you may need an electrical box and cover plate. Consult a professional if you are unsure.
- Screwdriver or drill (if needed): Depending on your setup, you may need a screwdriver or drill to secure the extension cord or electrical box.
- Outdoor-rated outlet cover (if needed): If your outdoor outlet doesn’t have a cover or is not weatherproof, you may need to purchase an outdoor-rated outlet cover.
Make sure you have all the tools and materials ready before starting the installation process. This will save you time and ensure a smoother installation.
Step 1: Determine the Length of Extension Cord Needed
The first step in running an extension cord from inside to outside is to determine the length of cord you will need. This will depend on the distance between your indoor outlet and the outdoor device or area that requires power.
Start by measuring the distance between the indoor outlet and the desired outdoor location. Use a tape measure to get an accurate measurement. Make sure to account for any obstacles or corners along the path where the extension cord will need to be routed.
It’s crucial to choose the right length of extension cord to avoid any unnecessary tangling or hazardous loose cords. If the cord is too short, it won’t reach the outdoor location, and if it’s too long, it can become a tripping hazard or increase the risk of electrical accidents.
Once you have measured the distance, choose an extension cord that is at least the measured length or slightly longer. It’s always better to have more length than not enough. If you can’t find an extension cord with the exact length, it’s generally safe to choose a slightly longer one and coil the excess cord neatly to avoid any hazards.
Keep in mind that longer extension cords may experience voltage drop, especially if you’re running power tools or devices with high power consumption. If you anticipate needing a longer cord, consider getting a thicker gauge or heavy-duty cord to compensate for the potential voltage drop.
By accurately determining the length of extension cord needed, you can ensure a safe and efficient power supply to your outdoor area without any inconveniences or hazards.
Step 2: Choose the Correct Type of Extension Cord
Choosing the correct type of extension cord is essential for both safety and performance. Not all extension cords are the same, and using the wrong one can lead to electrical hazards or damage to your devices. Here are some key factors to consider when selecting an extension cord:
1. Gauge: The gauge, or thickness, of an extension cord determines its capacity to carry electrical current. In general, the lower the gauge number, the thicker the cord and the higher its amperage capacity. For outdoor use, it’s advisable to use a 12 or 10-gauge cord to ensure it can handle the power demands of outdoor devices or tools.
2. Length: As mentioned in the previous step, the length of the extension cord should match or slightly exceed the distance between the indoor outlet and the outdoor location. Using a longer cord than necessary can lead to voltage drop, as resistance increases with length.
3. Outdoor-rated: It’s crucial to choose an extension cord that is specifically rated for outdoor use. Outdoor-rated cords are designed with materials and insulation that can withstand exposure to moisture, sun, and other outdoor elements. These cords are often marked with a “W” or “W-A” designation indicating they are suitable for outdoor use.
4. Amp rating: The amp rating of an extension cord indicates the maximum amount of electrical current it can safely handle. Before connecting any devices, make sure the extension cord’s amp rating is greater than or equal to the combined amperage of all the devices you plan to connect. Exceeding the cord’s amp rating can lead to overheating and potential fire hazards.
5. Safety features: Look for extension cords with built-in safety features such as grounded plugs, polarized plugs, and circuit breakers. These features provide added protection against electrical shocks and power surges.
Remember that extension cords are designed for temporary use. If you need a permanent power source outside, it’s recommended to consult an electrician to install a dedicated outdoor outlet.
By selecting the correct type of extension cord, you can ensure safe and reliable power delivery for your outdoor devices and minimize the risk of electrical accidents.
Step 3: Locate an Outlet Inside
Before you can run an extension cord from inside to outside, you need to locate a suitable indoor outlet to connect the cord. Here are a few factors to consider when choosing the outlet:
1. Proximity to the outdoor area: Ideally, the indoor outlet should be located close to the outdoor area where you need power. This will minimize the length of extension cord needed and reduce the chances of tripping or accidental damage to the cord.
2. Accessibility: Ensure that the chosen indoor outlet is easily accessible and unobstructed. You should be able to easily plug in and unplug the extension cord without any difficulty.
3. Power capacity: Check the power capacity of the indoor outlet to ensure it can handle the total amperage required by the devices or tools you plan to connect outside. Consult the outlet’s user manual or consult an electrician if you are unsure about its capacity.
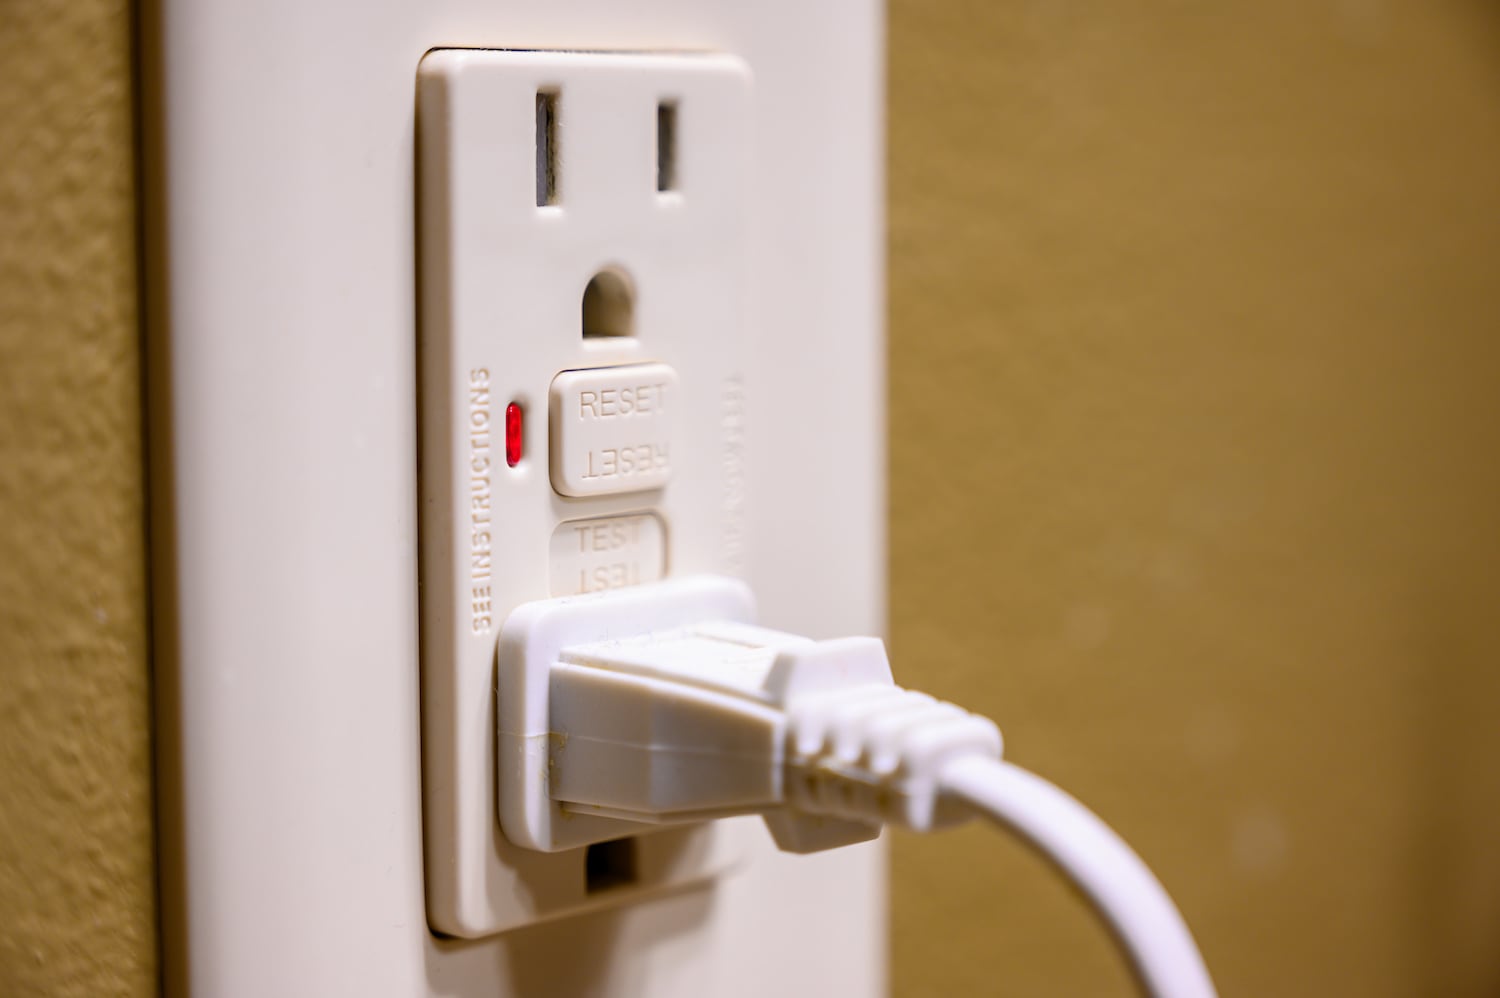
4. Type of outlet: Determine the type of indoor outlet you have. It may be a standard electrical outlet, or it could be a GFCI (Ground Fault Circuit Interrupter) outlet, which is commonly used in kitchens, bathrooms, and outdoor areas. If you’re not familiar with the different outlet types, consult an electrician to ensure proper installation.
Once you have identified the suitable indoor outlet, make sure it is in good working condition. Inspect the outlet for any signs of damage or loose connections. If there are any issues, it’s essential to get them fixed before proceeding with the installation.
Remember, safety is paramount when working with electrical sources. If you’re unsure about any aspect of locating the indoor outlet or the state of the electrical connections, it’s always best to consult a qualified electrician for assistance.
By identifying a suitable indoor outlet, you can establish a safe and reliable power source for your outdoor devices or lighting solutions.
Read more: How To Hide An Extension Cord Outside
Step 4: Prepare the Extension Cord
Before you connect the extension cord, it’s important to properly prepare it to ensure a secure and reliable connection. Follow these steps to prepare the extension cord:
1. Inspect the cord: Check the extension cord for any signs of damage, such as frayed wires, cracked insulation, or exposed conductors. If you notice any damage, do not use the cord. It’s crucial to have a cord in good condition to prevent electrical hazards.
2. Untangle the cord: If the extension cord is tangled or coiled, take the time to untangle it to avoid any potential tripping hazards or stress on the wires. Lay the cord flat on the ground or hang it loosely to straighten it out.
3. Remove any obstructions: Make sure there are no objects or debris blocking the plug or receptacle ends of the cord. Clear away any dirt, leaves, or other impediments that could hinder a proper connection.
4. Plug compatibility: Ensure that the plug on the extension cord matches the outlets you are planning to use. Some extension cords have a three-pronged plug, while others may have two prongs. Make sure the plug is compatible with your indoor outlet and any additional devices you plan to connect.
5. Wrap connections in electrical tape: To provide extra protection and secure the connection, wrap the plug and receptacle ends of the extension cord with electrical tape. This will help prevent any accidental disconnections and protect the cord from moisture or debris.
6. Store any excess cord: If you have chosen an extension cord that is longer than needed, neatly coil the excess cord and secure it with a cord organizer or Velcro strap. This will prevent the cord from becoming a tripping hazard or getting damaged.
By properly preparing the extension cord, you ensure a safe and reliable connection between the indoor and outdoor sources. Take the time to inspect and organize the cord before proceeding with the installation process.
Use a weatherproof extension cord and a cable protector to run the cord from inside to outside. Make sure to keep the connection point off the ground and away from water sources.
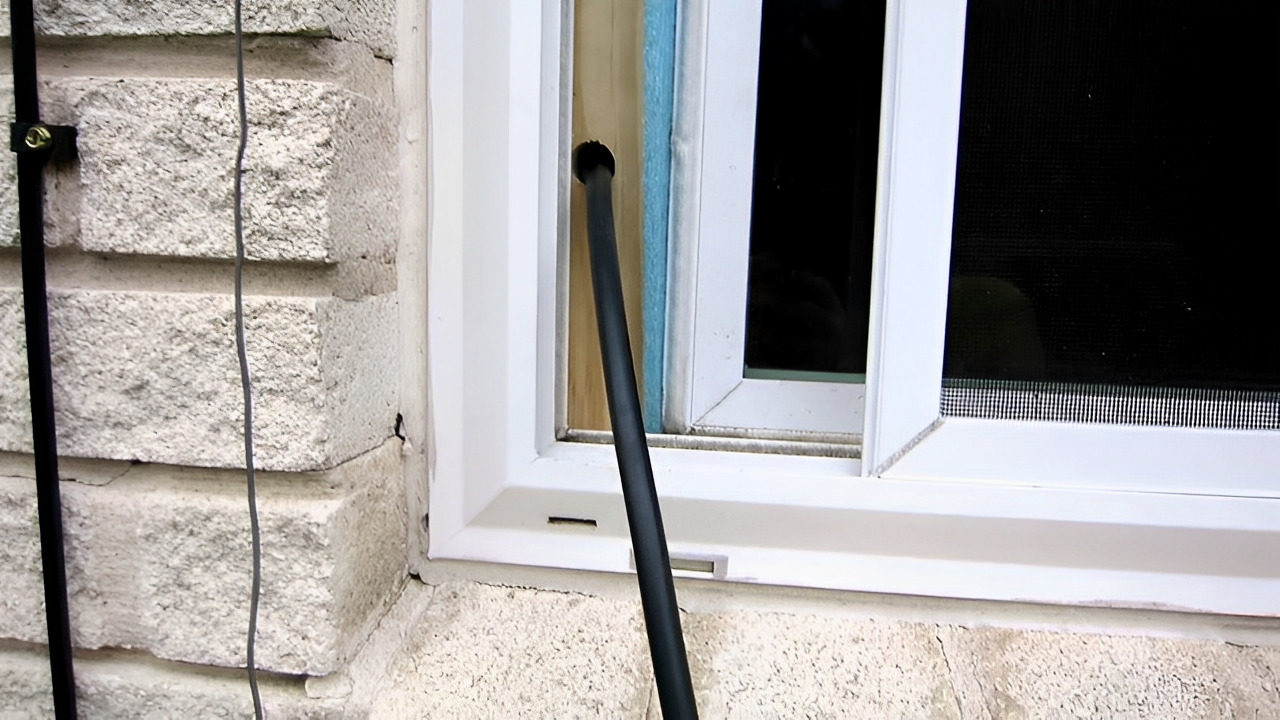
Step 5: Create an Entry Point to the Outside
Creating a proper entry point from inside to outside is crucial to protect the extension cord and ensure a safe and secure connection. Follow these steps to create an entry point for the extension cord:
1. Select a suitable entry point: Choose a location where the extension cord can exit your home and reach the outdoor area without any obstructions or risks of damage. This could be a window, a door with a gap, or a specially installed outdoor outlet.
2. Determine the best method: Depending on the chosen entry point, there are different methods to create a safe passage for the extension cord:
- Window: If using a window, make sure it remains securely closed and the cord won’t get pinched or damaged. You can use a window seal kit or a small gap between the window frame and the glass to pass the cord through.
- Door: If using a door, you can purchase a door sweep or draft stopper that allows for a small gap at the bottom to pass the cord through. Alternatively, you can use a cord protector or cover to go under the door without causing any damage.
- Outdoor outlet: If you have a specially installed outdoor outlet, ensure that it is weatherproof and equipped with a cover or an In-Use cover for additional protection against the elements.
3. Secure the cord: Once you have determined the entry point, carefully thread the extension cord through it, making sure not to damage the cord or compromise the integrity of the entry point. Avoid sharp edges or rough surfaces that can cause abrasion or cuts to the cord.
4. Seal any gaps: While passing the extension cord through the entry point, ensure that the gap is sealed properly to prevent drafts, insects, or water from entering your home. Use weatherstripping, caulking, or other suitable weatherproofing materials to seal the gaps around the cord.
By creating a proper entry point, you can seamlessly connect the extension cord from inside to outside while ensuring the safety and protection of both your home and the cord itself.
Step 6: Secure and Protect the Extension Cord
Securing and protecting the extension cord is crucial to prevent tripping hazards, damage, and electrical hazards. Follow these steps to ensure the extension cord is properly secured and protected:
1. Use cord covers: If the extension cord needs to be routed across a high-traffic area or where people may walk, consider using cord covers or protectors. These can help prevent tripping accidents and keep the cord safe from being accidentally pulled or damaged.
2. Avoid pinch points: Be mindful of areas where the extension cord may be vulnerable to pinch points, such as doorways or windows. Take care to place the cord away from closing doors or windows or use cord clips or adhesive hooks to secure the cord against the wall.
3. Elevate the cord: If the extension cord needs to cross a lawn or outdoor space, elevate it slightly to prevent it from getting wet or damaged by ground moisture. Use stakes or cord clips to secure the cord above ground level.
4. Protect from weather elements: Outdoor extension cords should be designed to withstand exposure to the elements, but it’s still essential to protect the connections from rain, snow, or excessive moisture. Use outdoor-rated electrical boxes or protective covers for both the indoor and outdoor ends of the extension cord.
5. Minimize strain on connections: Avoid placing excessive strain on the connections by ensuring the extension cord is not pulled taut. Allow some slack to avoid any stress on the plugs or outlets. Additionally, do not yank the cord forcefully when unplugging it.
6. Regularly inspect and maintain: Periodically inspect the extension cord for any signs of damage or wear. Look for frayed wires, loose connections, or cracked insulation. If you notice any issues, replace the cord immediately to prevent any potential hazards.
Remember, always exercise caution and follow safety guidelines when securing and protecting the extension cord. It’s important to prioritize safety to prevent accidents and ensure a reliable power supply to your outdoor devices or lighting fixtures.
Step 7: Connect the Extension Cord to Your Outdoor Device
Now that you have properly secured and protected the extension cord, it’s time to connect it to your outdoor device or lighting fixture. Follow these steps to safely connect the extension cord:
1. Ensure the outdoor device is turned off: Before connecting the extension cord, ensure that the outdoor device or lighting fixture is turned off and unplugged (if previously connected to a different power source).
2. Inspect the outdoor device’s plug: Check the plug of the outdoor device to make sure it is clean, undamaged, and free of debris. Wipe it down if needed, ensuring that it is dry before proceeding.
3. Connect the extension cord’s plug into the outdoor device: Align the prongs of the extension cord’s plug with the corresponding slots on the outdoor device’s plug. Insert the plug firmly and securely, making sure there is a snug fit.
4. Verify a secure connection: After inserting the plug, give it a gentle tug to confirm that it is securely connected. The plug should not easily disconnect or come loose. Ensure that the cord is properly positioned and does not create any strain on the connection.
5. Check for a grounded connection: If your extension cord has a three-pronged plug and the outdoor device has a grounded receptacle, ensure that the grounding prong is properly connected. This helps prevent electrical shocks and ensures proper grounding.
6. Avoid overloading the extension cord: Take care not to overload the extension cord by connecting devices that exceed its maximum capacity. Check the amperage ratings of both the extension cord and the outdoor device to ensure they are compatible.
7. Position the connection safely: Once the extension cord is connected to the outdoor device, position the connection in a safe and protected area. Use cable ties or clips to secure the cord against a structure or along a pathway, away from foot traffic or potential hazards.
8. Route the cord away from water: Ensure that the extension cord is routed in a way that avoids contact with water sources or wet areas. Water and electricity are a dangerous combination, so always exercise caution to prevent any accidents.
By following these steps, you can safely and securely connect the extension cord to your outdoor device or lighting fixture, ensuring reliable power supply without compromising safety.
Read more: How Far Can I Run An Extension Cord
Step 8: Test the Connection
Once you have connected the extension cord to your outdoor device, it is important to test the connection to ensure everything is working properly and safely. Follow these steps to test the connection:
1. Turn on the outdoor device: Make sure the outdoor device is in the “off” or “standby” position before plugging it in. Once the connection is secure, turn on the device to activate its power source.
2. Check for proper functionality: Verify that the outdoor device is functioning as expected. If it is a lighting fixture, make sure the lights turn on and off correctly. If it is a power tool, test its functionality to ensure it is receiving sufficient power from the extension cord.
3. Monitor for any issues: Keep an eye out for any unusual sounds, smells, or abnormal behavior from the device or the extension cord. If you notice any sparks, smoke, or overheating, immediately power off the device and unplug the extension cord. Address any issues before proceeding.
4. Verify a stable electrical supply: Watch for any flickering lights or fluctuations in power. These could indicate an overloaded circuit or an issue with the extension cord. If you experience any electrical instability, consider using a different outlet or connecting the device directly to a power source.
5. Test the device’s functionality outdoors: If the outdoor device is meant to be used in an outdoor environment, test its functionality in the intended setting. Ensure that it performs as expected and that the extension cord is providing a stable and reliable power supply.
6. Safety check: During the testing process, double-check that the extension cord remains securely connected to both the outdoor device and the indoor power source. Ensure that no one is at risk of tripping over the cord or accidentally pulling it out of the outlet.
By testing the connection, you can ensure that the devices are receiving power and functioning correctly. Regularly monitoring the connection during use will help identify any potential safety issues and allow you to address them promptly.
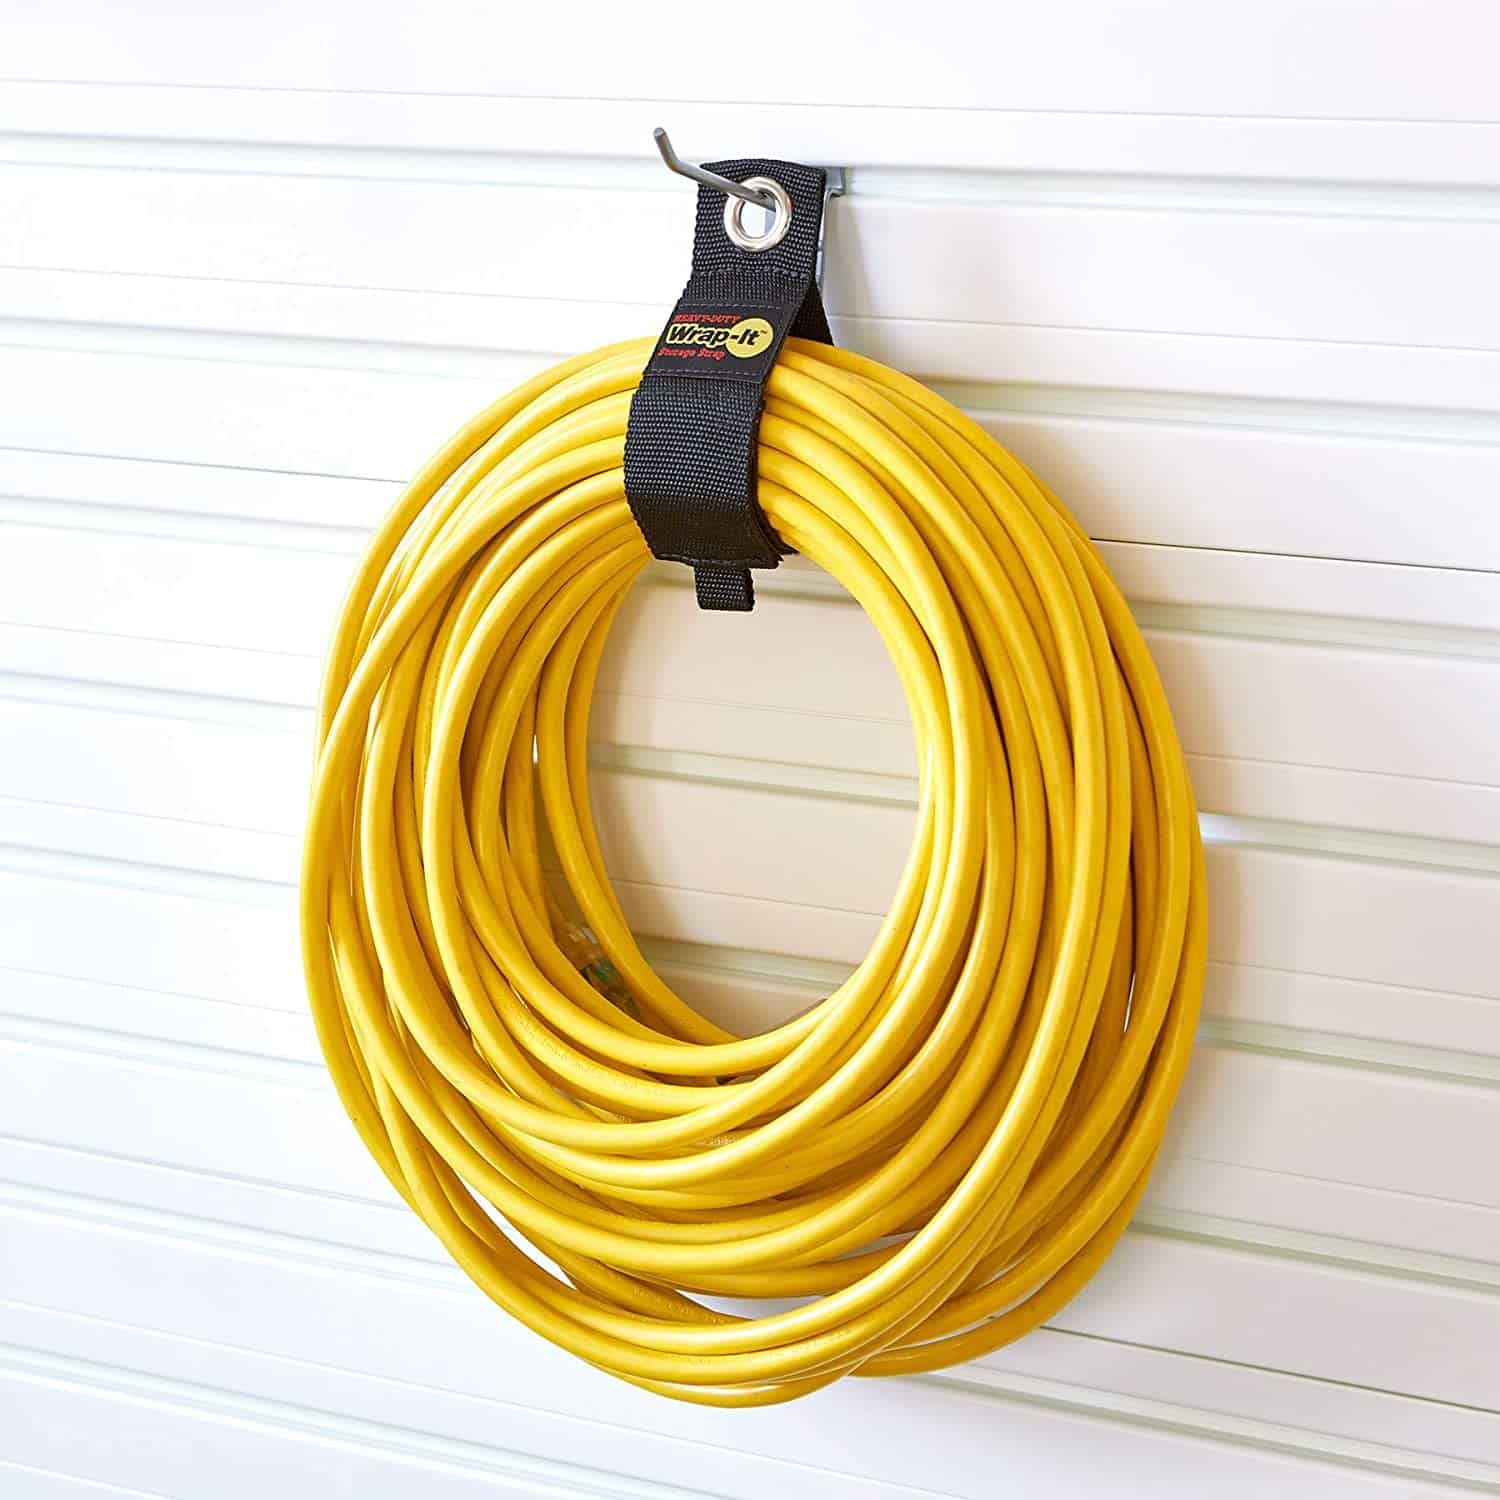
Step 9: Properly Store the Extension Cord After Use
Once you have finished using the extension cord for your outdoor needs, it’s important to properly store it to maintain its longevity and ensure its safety for future use. Follow these steps to properly store the extension cord:
1. Unplug the extension cord: First and foremost, unplug the extension cord from the indoor power source and disconnect it from the outdoor device. This will prevent any accidental electrical shocks or damage while handling the cord.
2. Inspect the cord: Take a moment to inspect the extension cord for any signs of damage or wear. Look for frayed wires, cuts, or exposed conductors. If you notice any issues, repair or replace the cord before storing it.
3. Coil the cord: Begin coiling the extension cord in a neat and organized manner to avoid tangling or knotting. Start from one end and work your way to the other, making sure to avoid twisting or bending the cord excessively.
4. Use a cord reel or organizer: Consider using a cord reel or organizer to help keep the extension cord neatly coiled and prevent it from getting tangled. Cord reels also protect the cord from damage and make it easier to transport and store.
5. Store in a dry and cool place: Choose a storage location that is away from moisture and extreme temperatures. Moisture can damage the cord and promote the growth of mold or mildew. Extreme temperatures can degrade the cord’s insulation and affect its performance.
6. Protect the cord from damage: Keep the stored extension cord away from sharp objects, heavy items, or anything that can cause physical damage. Store it in a place where it won’t be stepped on or subjected to unnecessary weight or pressure.
7. Label the cord: If you have multiple extension cords, consider labeling them for easy identification. You can use tape or labels to mark the length or specific use of each cord, making it convenient to select the appropriate one in the future.
8. Regularly check the stored cord: Periodically inspect the stored extension cord for any signs of damage or pest infestation. Rodents or insects may chew on the cord, compromising its integrity. Make sure to address any issues before using the cord again.
By properly storing the extension cord, you can prolong its lifespan, prevent damage, and ensure a safe and reliable power supply when needed. Taking the time to store the cord correctly will save you from potential headaches and hassles in the future.
Conclusion
Running an extension cord from inside to outside can provide a convenient solution for powering outdoor devices or lighting fixtures. By following the steps outlined in this guide, you can safely and effectively run an extension cord from inside your home to the desired outdoor area.
From determining the appropriate length of the extension cord to selecting the correct type, locating an indoor outlet, preparing and securing the cord, creating an entry point, connecting to the outdoor device, testing the connection, and properly storing the extension cord after use, each step is crucial in ensuring safety, functionality, and longevity.
Remember to always prioritize safety throughout the process. Inspect the extension cord for any signs of damage, secure the cord to prevent tripping hazards, and protect the connections from environmental elements. Regularly test the connection and address any issues promptly to avoid accidents or damage to equipment.
Furthermore, it’s crucial to choose the right type of extension cord for your specific outdoor needs. Consider factors such as gauge, length, outdoor rating, and amp capacity to ensure optimal performance and safety.
Lastly, proper storage of the extension cord is essential for its longevity. Coiling the cord neatly, using a cord reel or organizer, storing it in a dry and cool place, and protecting it from damage will help preserve its functionality for future use.
By following these guidelines and taking the necessary precautions, you can successfully and safely run an extension cord from inside to outside, providing the power needed for your outdoor activities or lighting needs.
Always exercise caution and, if needed, consult a professional electrician to ensure your electrical setup meets safety standards. By doing so, you can enjoy the benefits of a well-powered outdoor space while maintaining a secure and comfortable environment for you and your loved ones.
Now that you know how to run an extension cord from inside to outside, don't stop there! Upgrade your skills further with our guide on tackling DIY home improvement projects. Whether you're looking to spruce up your space or undertake a major renovation, our tips will set you on the right path. Also, managing those pesky cords doesn't have to be a hassle. Dive into our latest article on the best electrical cord management solutions for the upcoming year, ensuring your spaces are tidy and safe.
Frequently Asked Questions about How To Run Extension Cord From Inside To Outside
Was this page helpful?
At Storables.com, we guarantee accurate and reliable information. Our content, validated by Expert Board Contributors, is crafted following stringent Editorial Policies. We're committed to providing you with well-researched, expert-backed insights for all your informational needs.


0 thoughts on “How To Run Extension Cord From Inside To Outside”