
Articles
How To Braid An Extension Cord
Modified: January 8, 2024
Learn how to properly braid an extension cord with our informative articles. Discover step-by-step instructions and handy tips to ensure safety and neat organization.
(Many of the links in this article redirect to a specific reviewed product. Your purchase of these products through affiliate links helps to generate commission for Storables.com, at no extra cost. Learn more)
Introduction
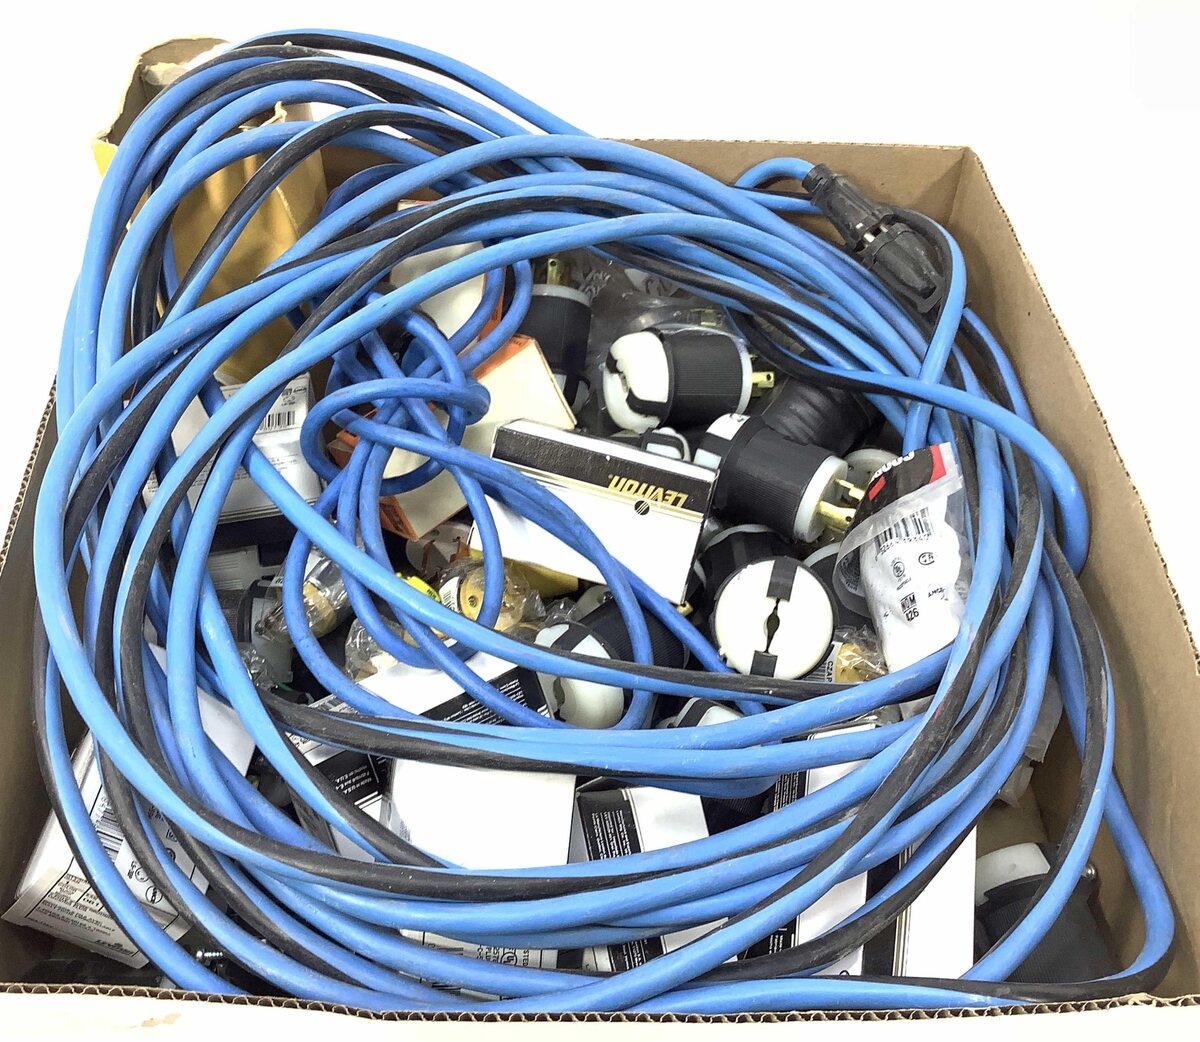
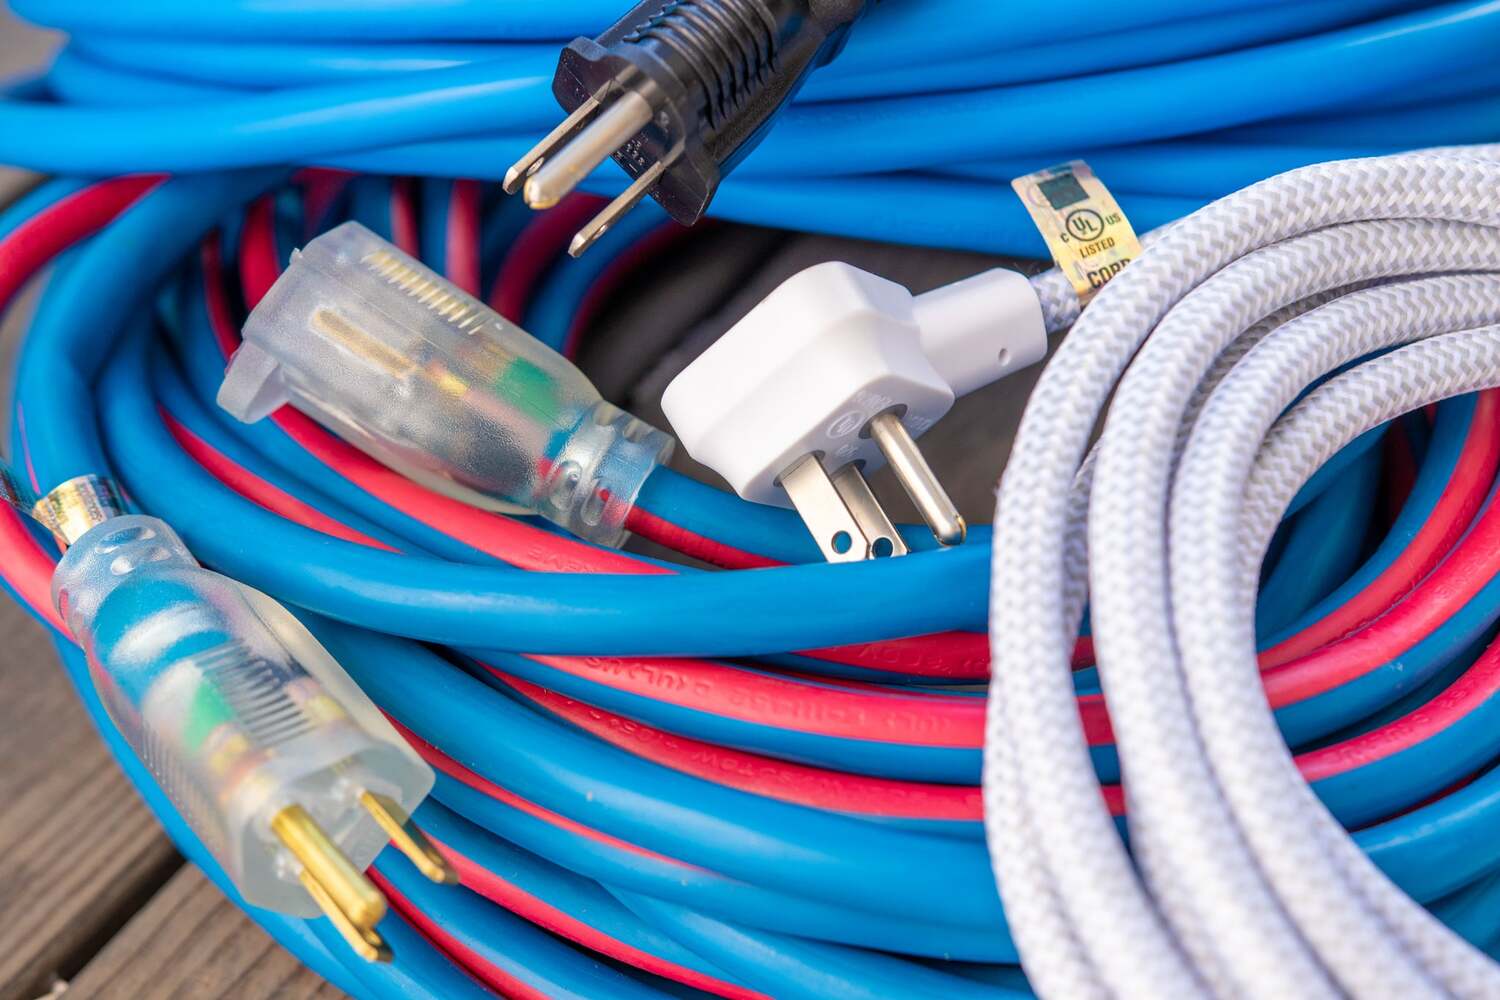
Extension cords are a handy tool, allowing us to extend the reach of electricity to various devices or areas around our homes or workspaces. However, these cords can easily become tangled and messy, causing frustration and potential safety hazards. One effective solution to prevent tangles and keep extension cords neat and organized is to braid them.
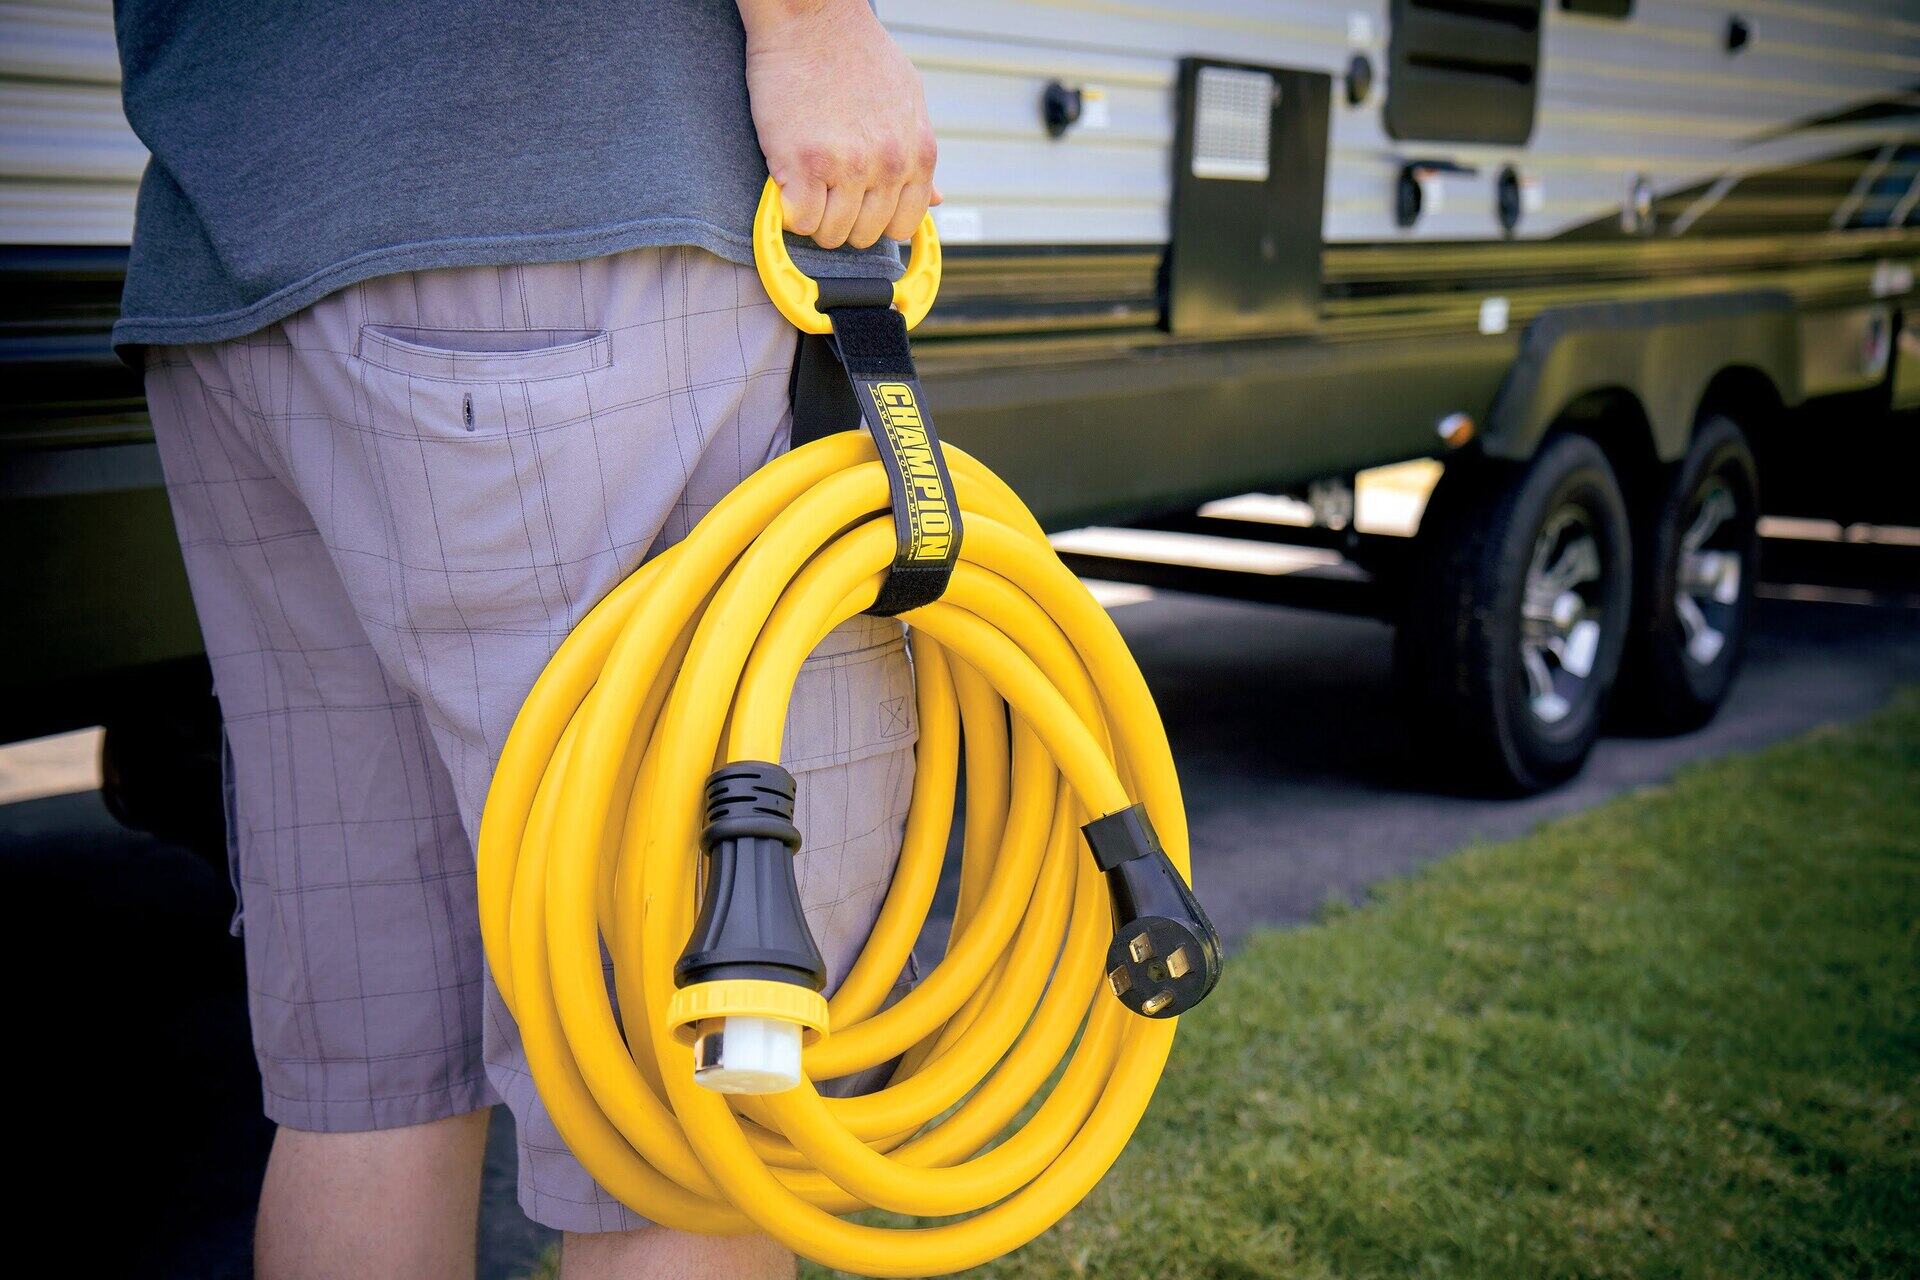
Braiding an extension cord not only helps to maintain its integrity and prolong its lifespan but also makes it easier to store and transport. By following a few simple steps, you can quickly and easily braid your extension cord, ensuring a hassle-free experience when it’s time to use it again.
In this article, we will guide you through the process of braiding an extension cord, covering everything from gathering the necessary materials to finishing the braid. Whether you’re a seasoned DIY enthusiast or new to cord management, this method will allow you to keep your extension cords tidy and untangled.
Key Takeaways:
- Braiding an extension cord not only keeps it organized and tangle-free but also prolongs its lifespan, making it easier to handle and store. It’s a simple DIY project with satisfying results.
- By following the braiding process step by step and using the right materials, you can transform a messy cord into a neatly braided one, ready for hassle-free storage and use. Happy braiding!
Read more: How To Wind An Electrical Cord In A Braid
Materials Needed
Before you begin braiding your extension cord, there are a few materials you will need to gather:
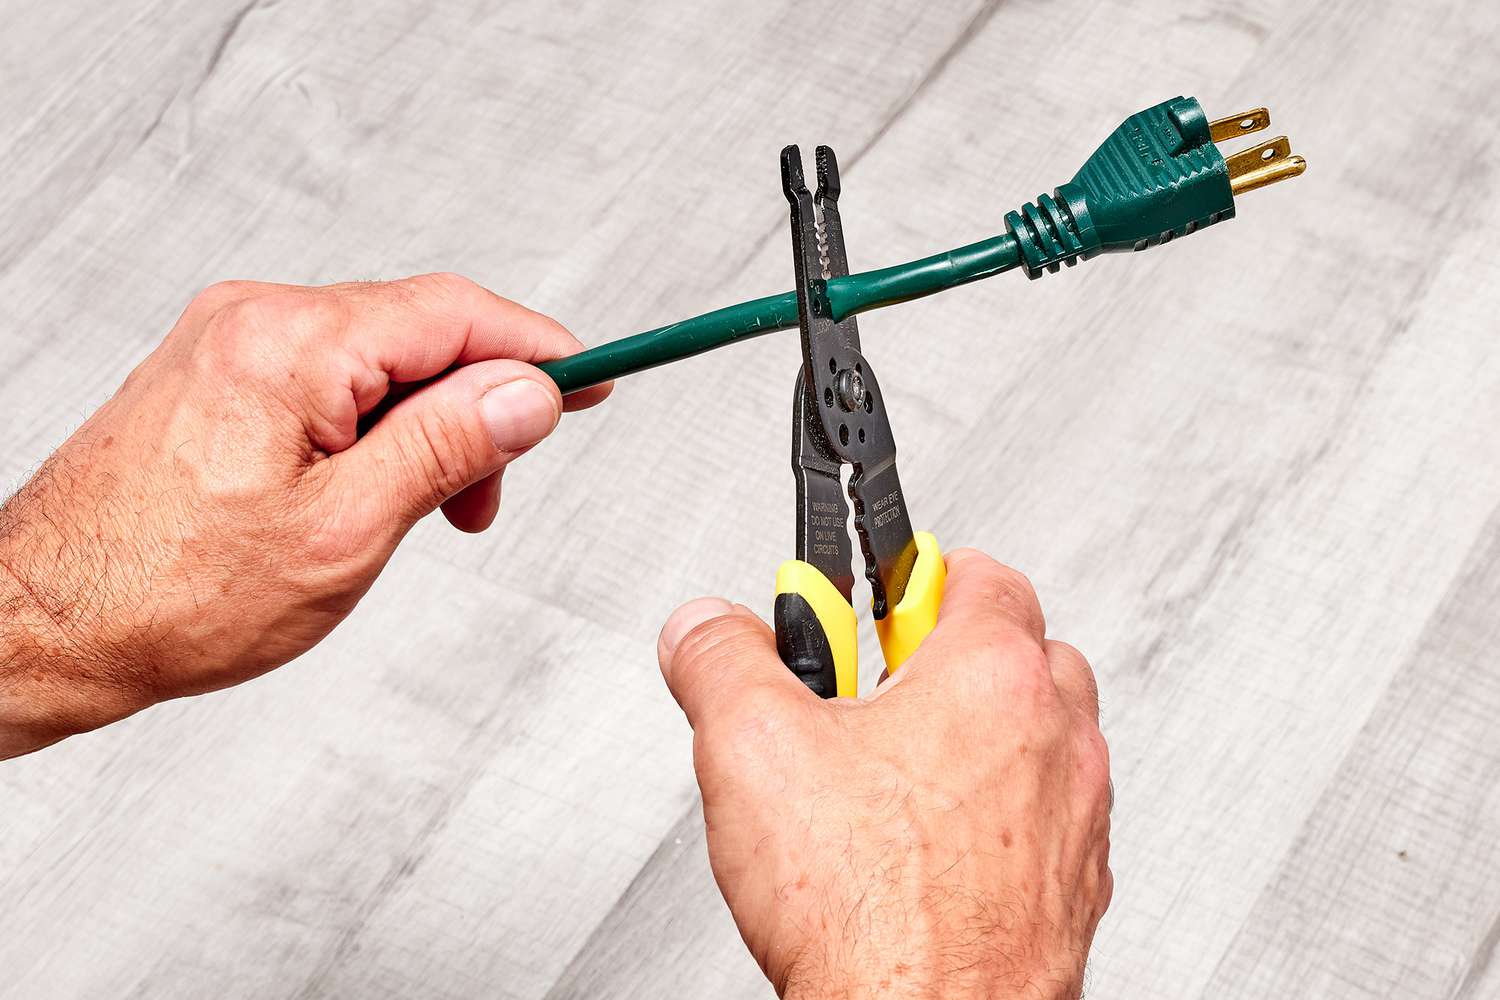
- An extension cord: Choose a cord that is long enough for your needs. Ensure that it is in good condition, without any frayed or damaged wires.
- Velcro cable ties or zip ties: These will be used to secure the braid and keep it in place.
- Scissors or a utility knife: You will need these to cut the Velcro ties or zip ties once the braid is complete.
Once you have gathered these materials, you’re ready to start braiding your extension cord.
Step 1: Gathering the Extension Cord
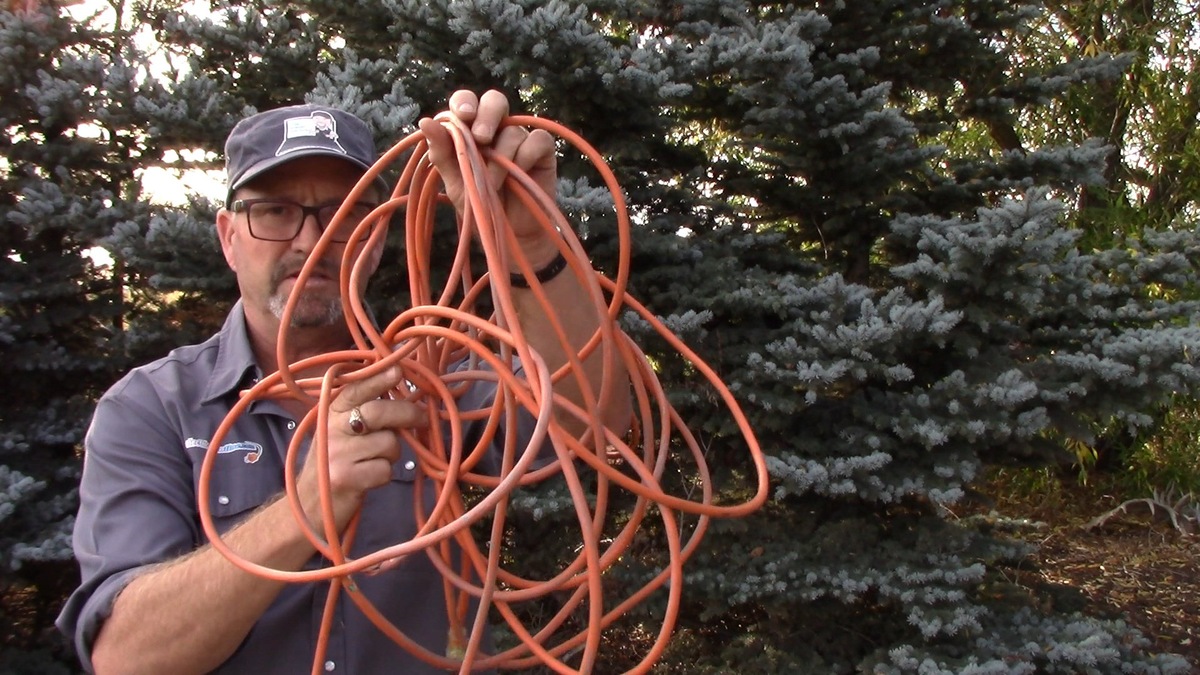
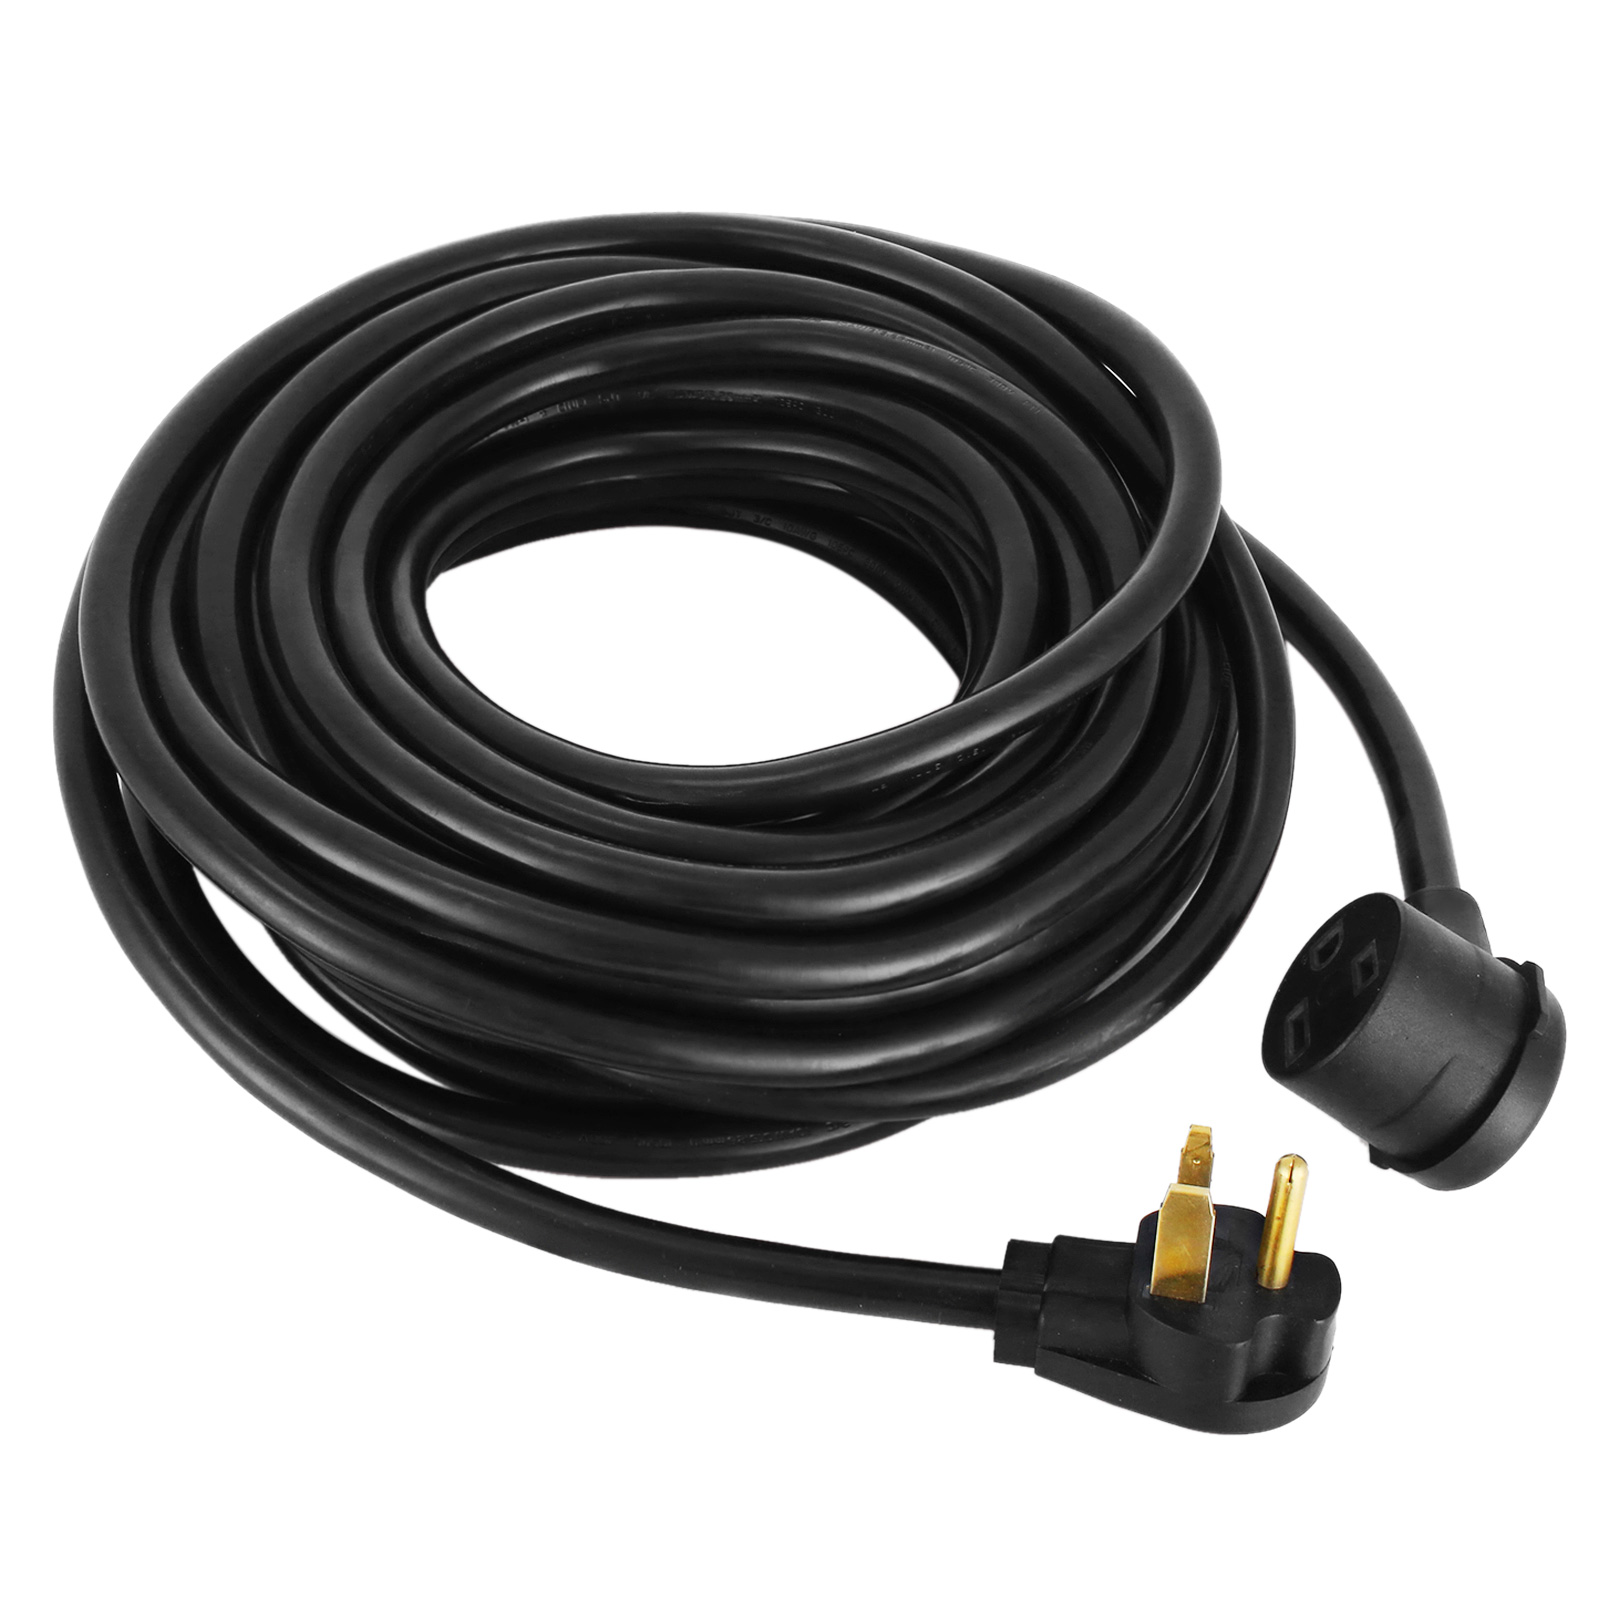
The first step in braiding an extension cord is preparing the cord itself. Start by ensuring that the cord is completely untangled and free of any knots or kinks. Lay the cord out on a flat surface, such as a table or the floor, so that it is easily accessible.
Next, determine the length of the cord you want to braid. If you have a particularly long cord, you may choose to braid only a portion of it, leaving the remainder unbraided. This will make it easier to handle and store when not in use. Measure the desired length and mentally divide it into three equal sections. This will serve as your guide when braiding the cord later on.
Once you have determined the length and divided the cord into sections, make sure the plug end of the cord is easily accessible. You want to ensure that the plug does not get in the way while braiding and that it remains at the starting point throughout the process.
By gathering the extension cord and preparing it properly, you are now ready to move on to the next step: preparing the cord for braiding.
Step 2: Preparing the Extension Cord
Before you start braiding the extension cord, it’s important to prepare it properly to ensure a smooth and seamless braiding process. Follow these steps to prepare the cord:
- Hold the end of the cord with the male plug in one hand and the remaining length of the cord in the other hand.
- Take the hand holding the plug and fold it back towards the middle of the cord, creating a small loop.
- Hold the loop in place with your fingers to secure it temporarily.
- Now, take the rest of the cord in your other hand and fold it back towards the middle, creating an identical loop of the same size as the first one.
- Hold both loops together, ensuring that they are aligned neatly.
At this point, you should have two loops side by side, ready to be braided. The loops help create a clean and organized braid, and they also serve as a starting point for the braiding process in the next step.
With the extension cord properly prepared, you are now ready to move on to the exciting part – actually braiding the cord!
When braiding an extension cord, start by untangling the cord and then divide it into three sections. Cross the right section over the middle, then the left over the new middle, and continue until the entire cord is braided. This will prevent tangles and make it easier to store.
Step 3: Starting the Braid
With the prepared loops in place, it’s time to begin the braiding process. Follow these steps to start the braid:
- Take the loop on the right and cross it over the loop on the left. This will create a crossover point where the loops intersect.
- Take the loop on the left and bring it over the top of both loops, tucking it under the right loop.
- Pull both loops tight to secure the crossover point. Make sure they are snug but not too tight, allowing for flexibility.
- Repeat this process by taking the new right loop and crossing it over the left loop, then bringing the original left loop over the top and tucking it under the right loop.
As you continue crossing the loops and bringing the top loop over the bottom loop, you will notice a braiding pattern starting to form. The loops will intertwine, creating a neat and orderly braid.
Continue braiding in this manner, keeping the loops tight and the braiding pattern consistent. As you progress, the braid will become longer and more defined.
Remember to take your time and be patient as you work through the braiding process. It may take a few tries to get the hang of it, but with practice, you will become more comfortable and efficient.
Now that you have started the braid, it’s time to move on to the next step: braiding the extension cord.
Read also: 13 Best Braided Electrical Cord for 2025
Step 4: Braiding the Extension Cord
Now that you have successfully started the braid, it’s time to continue braiding the rest of the extension cord. Follow these steps to complete the braiding process:
- Continue crossing the loops, bringing the right loop over the left loop and tucking the left loop under the right loop.
- As you braid, be mindful of the tension in the loops. You want them to be tight enough to create a secure braid but not so tight that they restrict movement.
- Maintain a consistent and steady pace as you work your way down the length of the cord, ensuring that the braid remains even throughout.
- Periodically pause to adjust the loops and smooth out any twists or knots that may have formed.
- Continue braiding until you reach the end of the extension cord or the desired length of the braid.
As you near the end of the braid, you may find it helpful to hold the loops firmly in place to prevent them from unraveling. This will make it easier to finish the braid and secure it in place.
Once you’ve completed the braiding process, you’re almost done! The next step will guide you on how to finish the braid and secure it for storage or transport.
Step 5: Finishing the Braid
After successfully braiding the entire length of the extension cord, it’s time to finish off the braid and secure it for storage or transport. Follow these steps to complete the process:
- Hold the end of the braid firmly to prevent it from unraveling.
- Using Velcro cable ties or zip ties, secure the end of the braid by tightly wrapping it around the loops and cord. Make sure the ties are snug but not too tight to avoid damaging the cord.
- Cut off any excess length from the ties using scissors or a utility knife. Be careful not to cut into the cord or yourself.
- Inspect the entire braid to ensure it is neat and free of any tangles or loose sections.
- If desired, repeat the process at the other end of the extension cord to create a symmetrical braid.
Once you have finished securing the braid, take a moment to appreciate your handiwork. You have successfully braided an extension cord, transforming it from a tangled mess into an organized and easy-to-use tool.
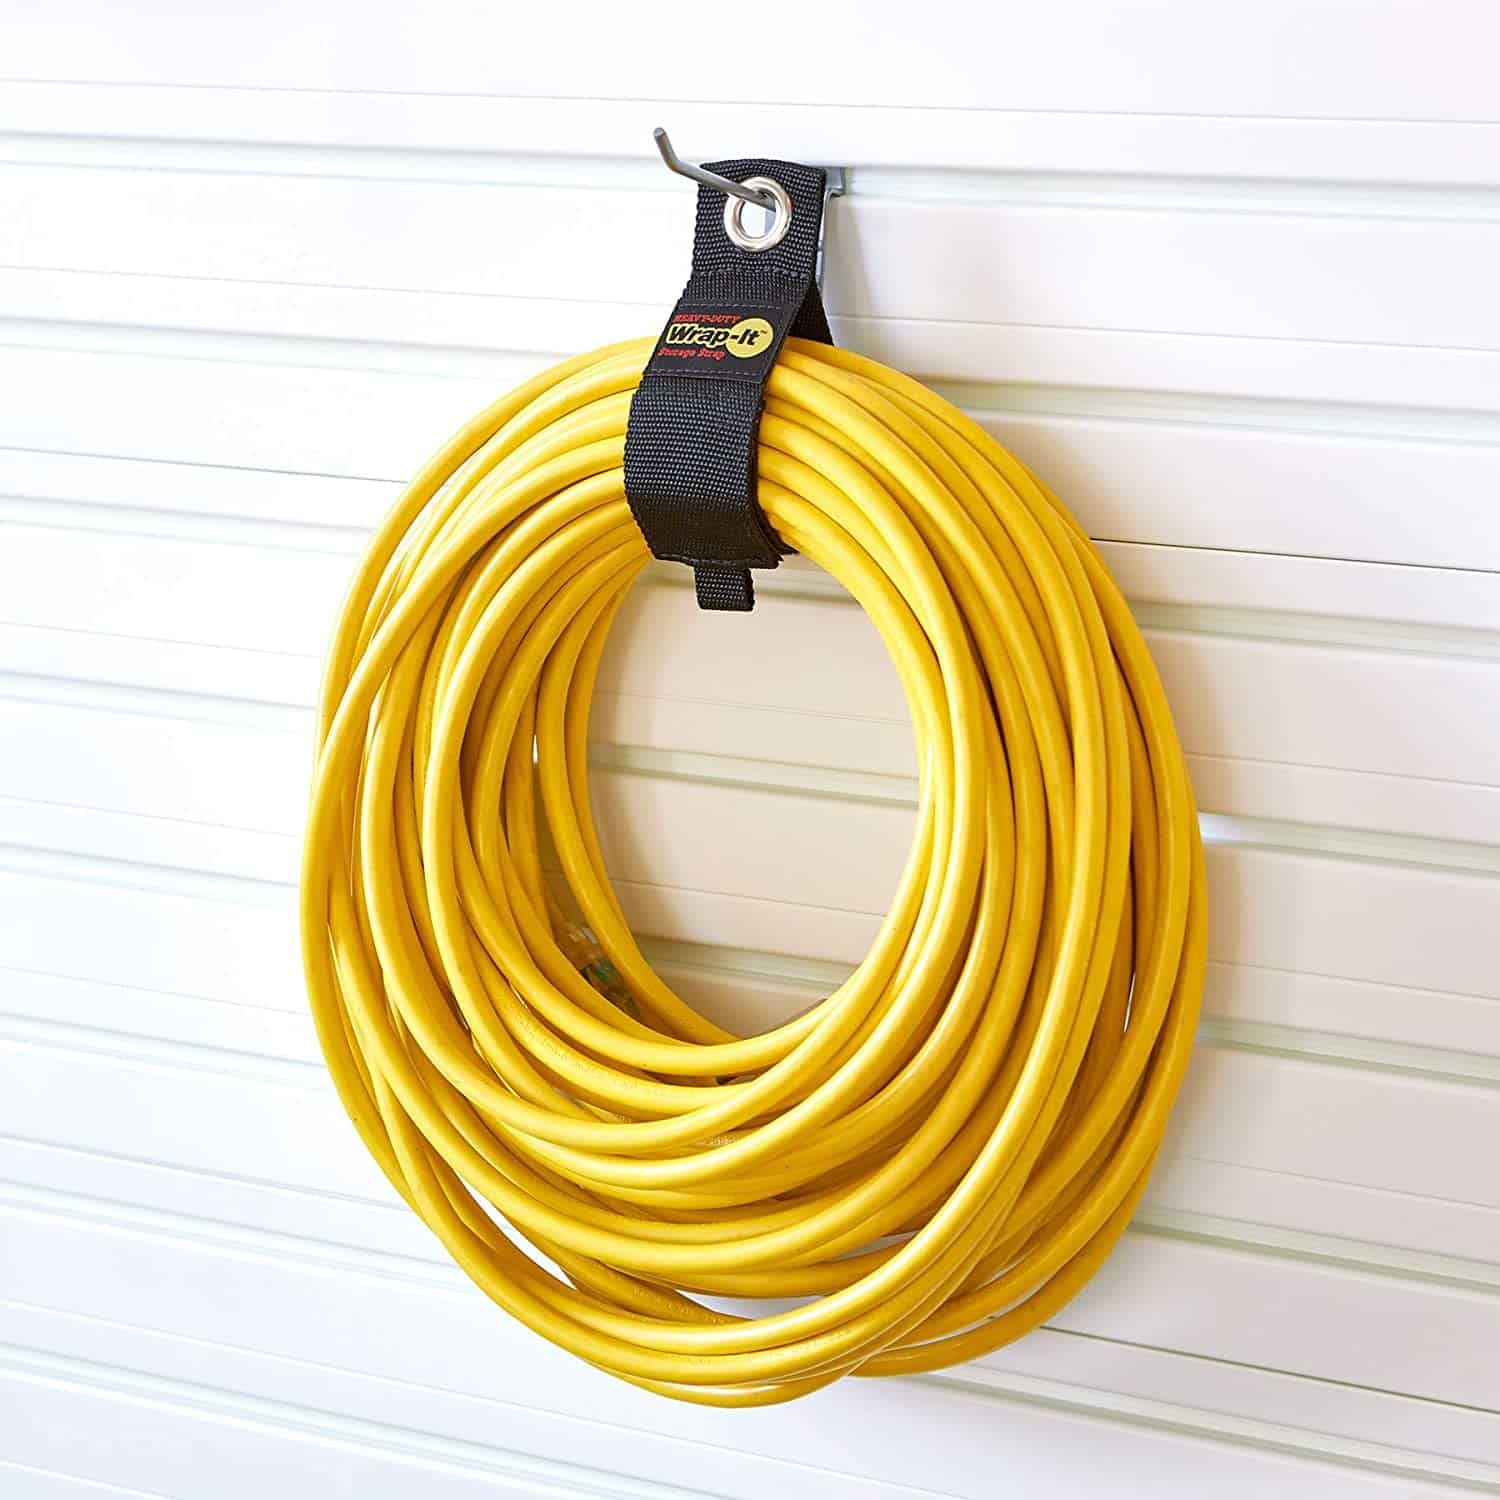
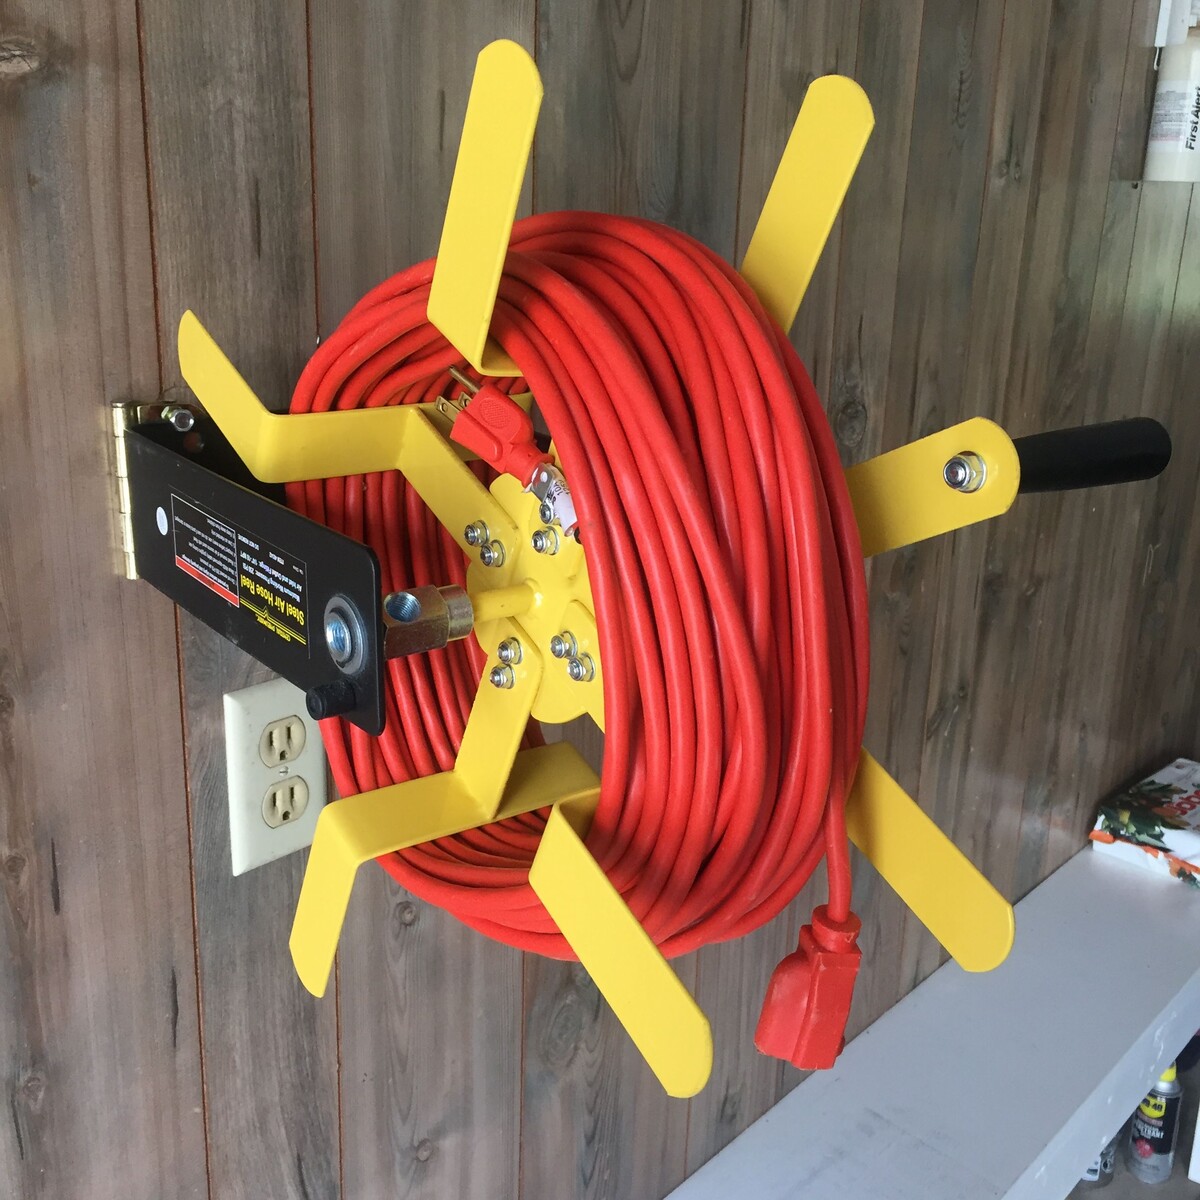
Your braided extension cord is now ready to be stored or transported. The braid will keep the cord tangle-free and help prevent any damage or wear and tear.
Remember to store the braided extension cord in a cool, dry place, away from direct sunlight and extreme temperatures. This will help maintain its integrity and prolong its lifespan.
Congratulations on braiding your extension cord! You have not only improved its functionality but also added a touch of organization and convenience to your electrical setup.
Conclusion
Braiding an extension cord is a simple yet effective method for keeping your cords organized, tangle-free, and easy to manage. By following the steps outlined in this article, you can transform a messy and unruly cord into a neatly braided one, ready for storage or transport.
Not only does braiding an extension cord improve its appearance, but it also helps to prolong its lifespan by preventing tangles and reducing the risk of fraying or damage. Additionally, a braided cord is much easier to handle and store, saving you time and frustration when you need to use it again.
Remember to gather the necessary materials, prepare the extension cord, and follow the braiding process step by step, maintaining the proper tension and keeping the braid secure. Take your time and enjoy the process, as braiding an extension cord can be a satisfying and rewarding DIY project.
Now that you have the knowledge and skills to braid an extension cord, why not apply this technique to all your cords? From power tools to holiday lights, braiding cords will help keep your space organized and reduce the chances of accidents or tripping hazards.
So, go ahead and give it a try! Your future self will thank you for the organized and hassle-free cord management.
By taking a few extra minutes to braid your extension cords, you can transform them from a jumbled mess into a neatly organized power solution, making your DIY ventures or electrical projects a breeze.
Happy braiding!
Frequently Asked Questions about How To Braid An Extension Cord
Was this page helpful?
At Storables.com, we guarantee accurate and reliable information. Our content, validated by Expert Board Contributors, is crafted following stringent Editorial Policies. We're committed to providing you with well-researched, expert-backed insights for all your informational needs.


0 thoughts on “How To Braid An Extension Cord”