Articles
How To Run Extension Cord Through Window
Modified: May 6, 2024
Looking for articles on how to run an extension cord through a window? Find step-by-step guides and tips to safely and effectively run electrical cords across window frames.
(Many of the links in this article redirect to a specific reviewed product. Your purchase of these products through affiliate links helps to generate commission for Storables.com, at no extra cost. Learn more)
Introduction
Running an extension cord through a window can be a practical solution when you need to power devices or appliances outside of your home or office. Whether you’re setting up a workstation in your backyard or need to plug in holiday lights, understanding how to safely and effectively run an extension cord through a window is essential.
In this article, we will guide you through the step-by-step process of running an extension cord through a window. By following these instructions and taking the necessary precautions, you can ensure a seamless setup that provides power where you need it.
Before we dive into the steps, it’s important to note that safety should always be your top priority. Make sure to carefully read and follow the manufacturer’s instructions for both the extension cord and the window. We also recommend consulting with a professional if you have any doubts or concerns about the electrical setup.
Now, let’s gather the tools and materials you’ll need before getting started.
Key Takeaways:
- Safely and effectively run an extension cord through a window by choosing the best window, measuring and cutting a hole in the screen, preparing the cord, securing it, sealing the hole, and testing its functionality.
- Prioritize safety, inspect the cord for damage, secure it to prevent tripping hazards, and regularly check for wear and tear. Enjoy the convenience of accessing power outdoors while maintaining safety standards.
Read more: How To Get An Electrical Cord Through A Wall
Tools and Materials Needed
Before you begin running an extension cord through a window, make sure you have the following tools and materials on hand:
- Extension Cord: Select an appropriate length and gauge extension cord for your needs. Make sure it is rated for outdoor use if you plan to run it outside.
- Tape Measure or Ruler: You’ll need this to measure the distance from the power source to the window, as well as the size of the hole you’ll need to cut in the window screen.
- Marker or Pen: Use this to mark the measurement points on the extension cord and the window screen.
- Scissors or Wire Cutters: You’ll need these to cut the hole in the window screen and possibly to trim the extension cord.
- Utility Knife: This will be used to cut through the window screen, so ensure it is sharp and handle it with caution.
- Duct Tape or Electrical Tape: This will be used to secure the extension cord and seal the hole in the window screen.
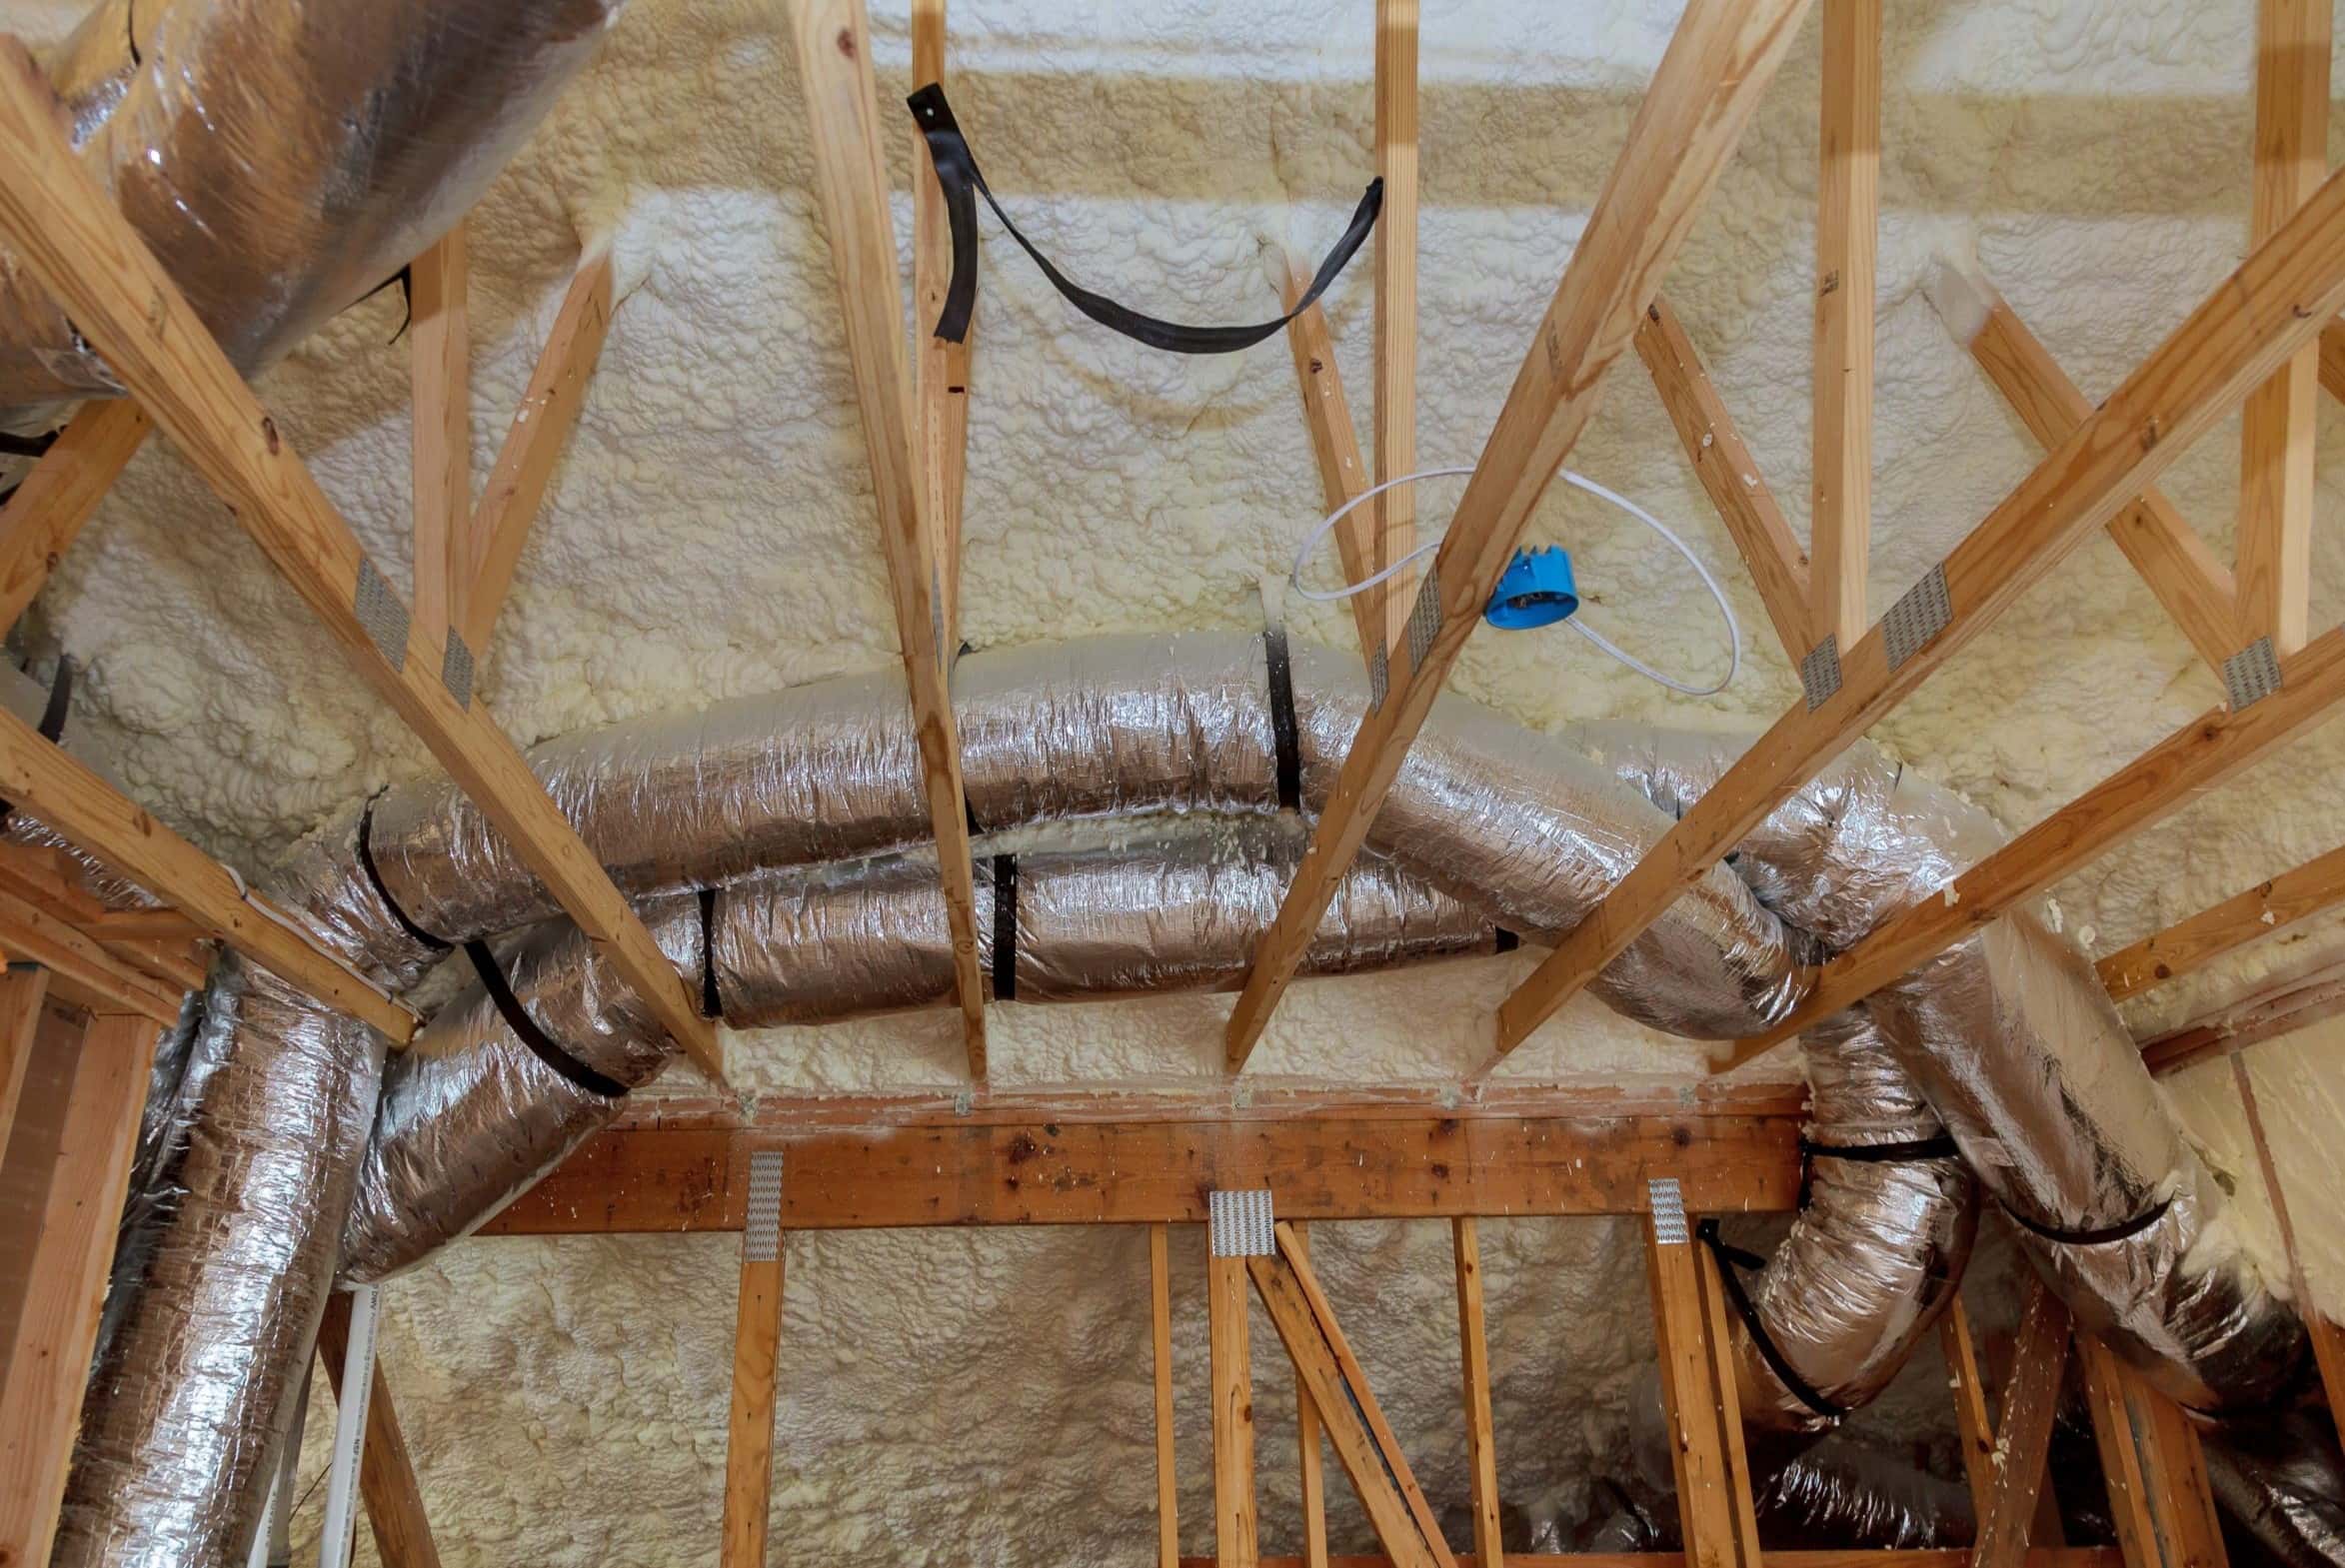
- Optional: Window Insulation Film: If you want to maintain insulation and reduce drafts around the extension cord, you may want to consider using window insulation film.
Having these tools and materials ready will help you complete the process more efficiently. Now that you’re prepared, let’s move on to the first step: determining the best window for the extension cord.
Step 1: Determine the Best Window for the Extension Cord
The first step in running an extension cord through a window is identifying the most suitable window for the task. Consider the following factors when making your decision:
- Location: Choose a window that is located closest to where you need the power supply. This will minimize the length of the extension cord needed and reduce the risk of tripping over it.
- Accessibility: Ensure that the window is easily accessible from both the inside and the outside. You will need to reach both ends of the extension cord to connect it to the power source and the device you’re powering.
- Safety: Keep safety in mind when selecting a window. Avoid windows near water sources or areas where the extension cord may be exposed to moisture. Also, avoid windows where the cord could be a potential tripping hazard.
- Window Type: The type of window you have will also influence your choice. Make sure the window can be opened and closed easily without damaging the extension cord.
Once you have determined the best window for running the extension cord, measure the distance from the power source to the chosen window. This measurement will help you determine the length of the extension cord you will need. Remember to account for any obstacles or accessories that may require extra cord length.
With the best window selected and the measurement recorded, you’re ready to move on to the next step: measuring and cutting a hole in the window screen.
Step 2: Measure and Cut a Hole in the Window Screen
Now that you have determined the best window for running the extension cord, it’s time to measure and cut a hole in the window screen. This will allow you to pass the extension cord through without compromising the integrity of the screen. Follow the steps below:
- Measure the Size of the Hole: Using a tape measure or ruler, measure the diameter of the extension cord. This measurement will determine the size of the hole you need to cut in the window screen. Allow for a little extra space to ensure the cord can pass through easily.
- Mark the Measurements: Use a marker or pen to mark the measurements on the window screen. Make clear and precise marks so that you can easily follow them when cutting.
- Cut the Hole: Carefully use a sharp utility knife to cut along the marked measurements. Take your time and make smooth, straight cuts, ensuring that you do not damage the window frame or nearby surfaces.
- Remove the Cut Section: Once the hole is cut, gently remove the cut section from the window screen. Dispose of it properly or set it aside for repairs later if needed.
With the hole cut in the window screen, you’re now ready to prepare the extension cord for installation. Move on to the next step for further instructions.
Step 3: Prepare the Extension Cord
Before inserting the extension cord through the window, it’s important to properly prepare it for installation. Follow these steps to prepare the extension cord:
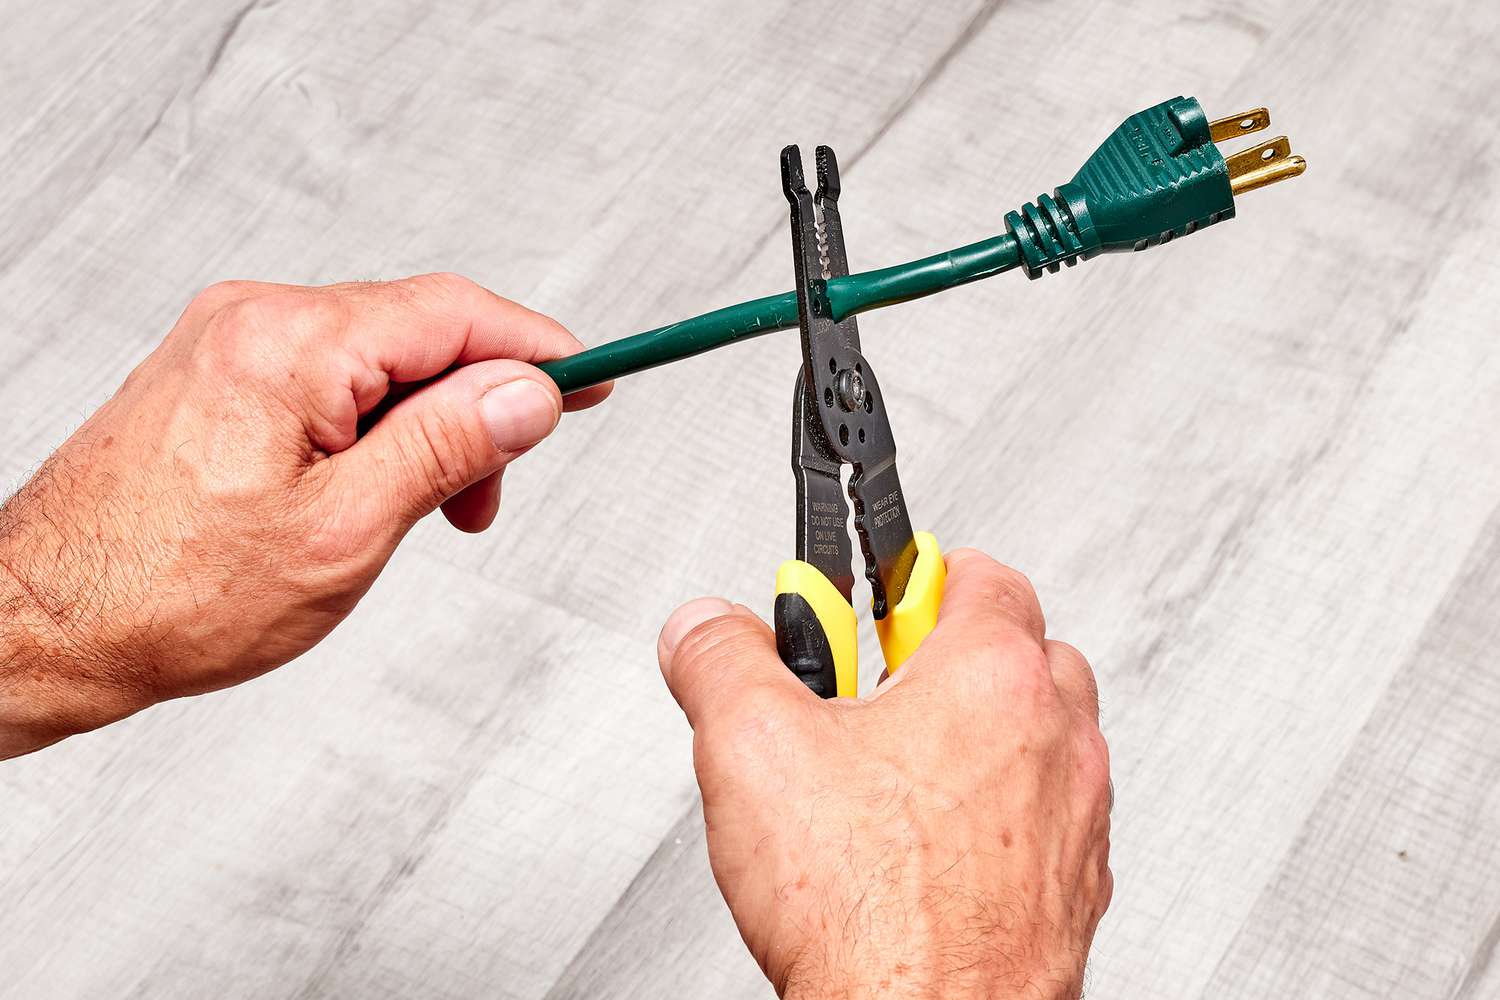
- Inspect the Extension Cord: Carefully examine the entire length of the extension cord for any signs of damage or wear. Look for frayed wires, exposed insulation, or other issues that could pose a safety risk. If you notice any damage, do not use the cord and replace it with a new one.
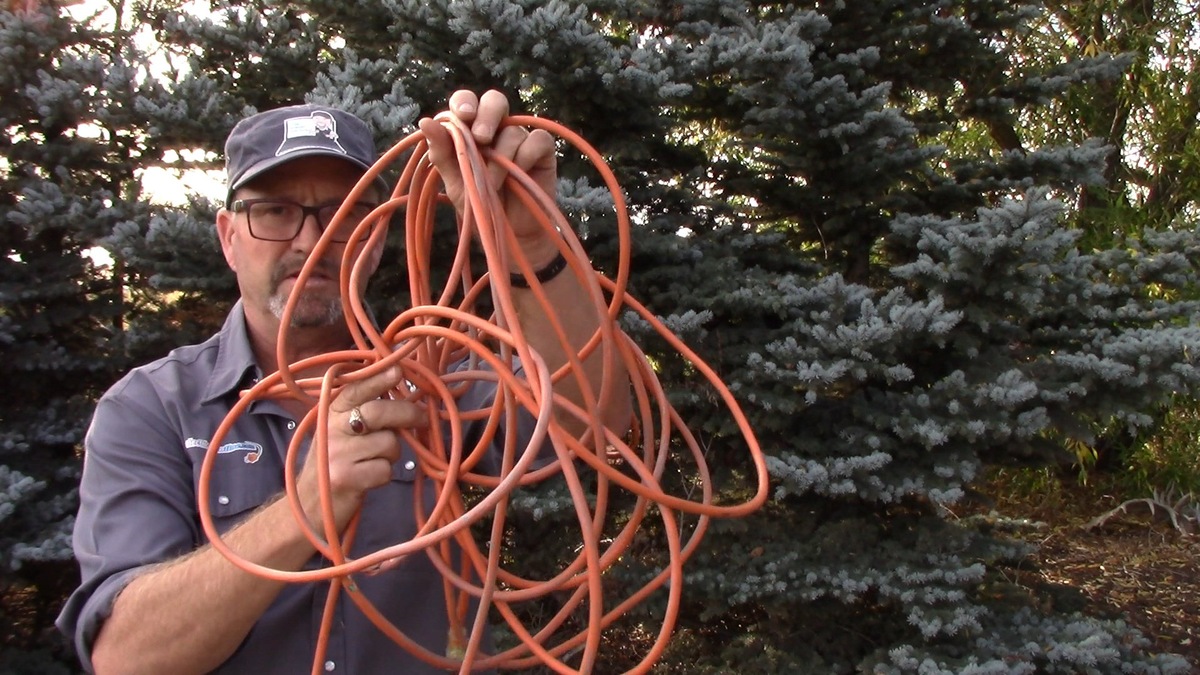
- Unroll the Extension Cord: Uncoil the extension cord and straighten any kinks or loops. This will ensure that the cord passes smoothly through the window without getting tangled.
- Trim Excess Length (Optional): If the extension cord is longer than necessary, you can trim the excess length. Use scissors or wire cutters to carefully cut the cord to your desired length. Remember to leave some slack to allow for movement and flexibility.
- Secure Loose Connections: Check the connections on both ends of the extension cord. If there are any loose plugs or sockets, tighten them securely. Loose connections can cause power fluctuations or even result in electrical hazards.
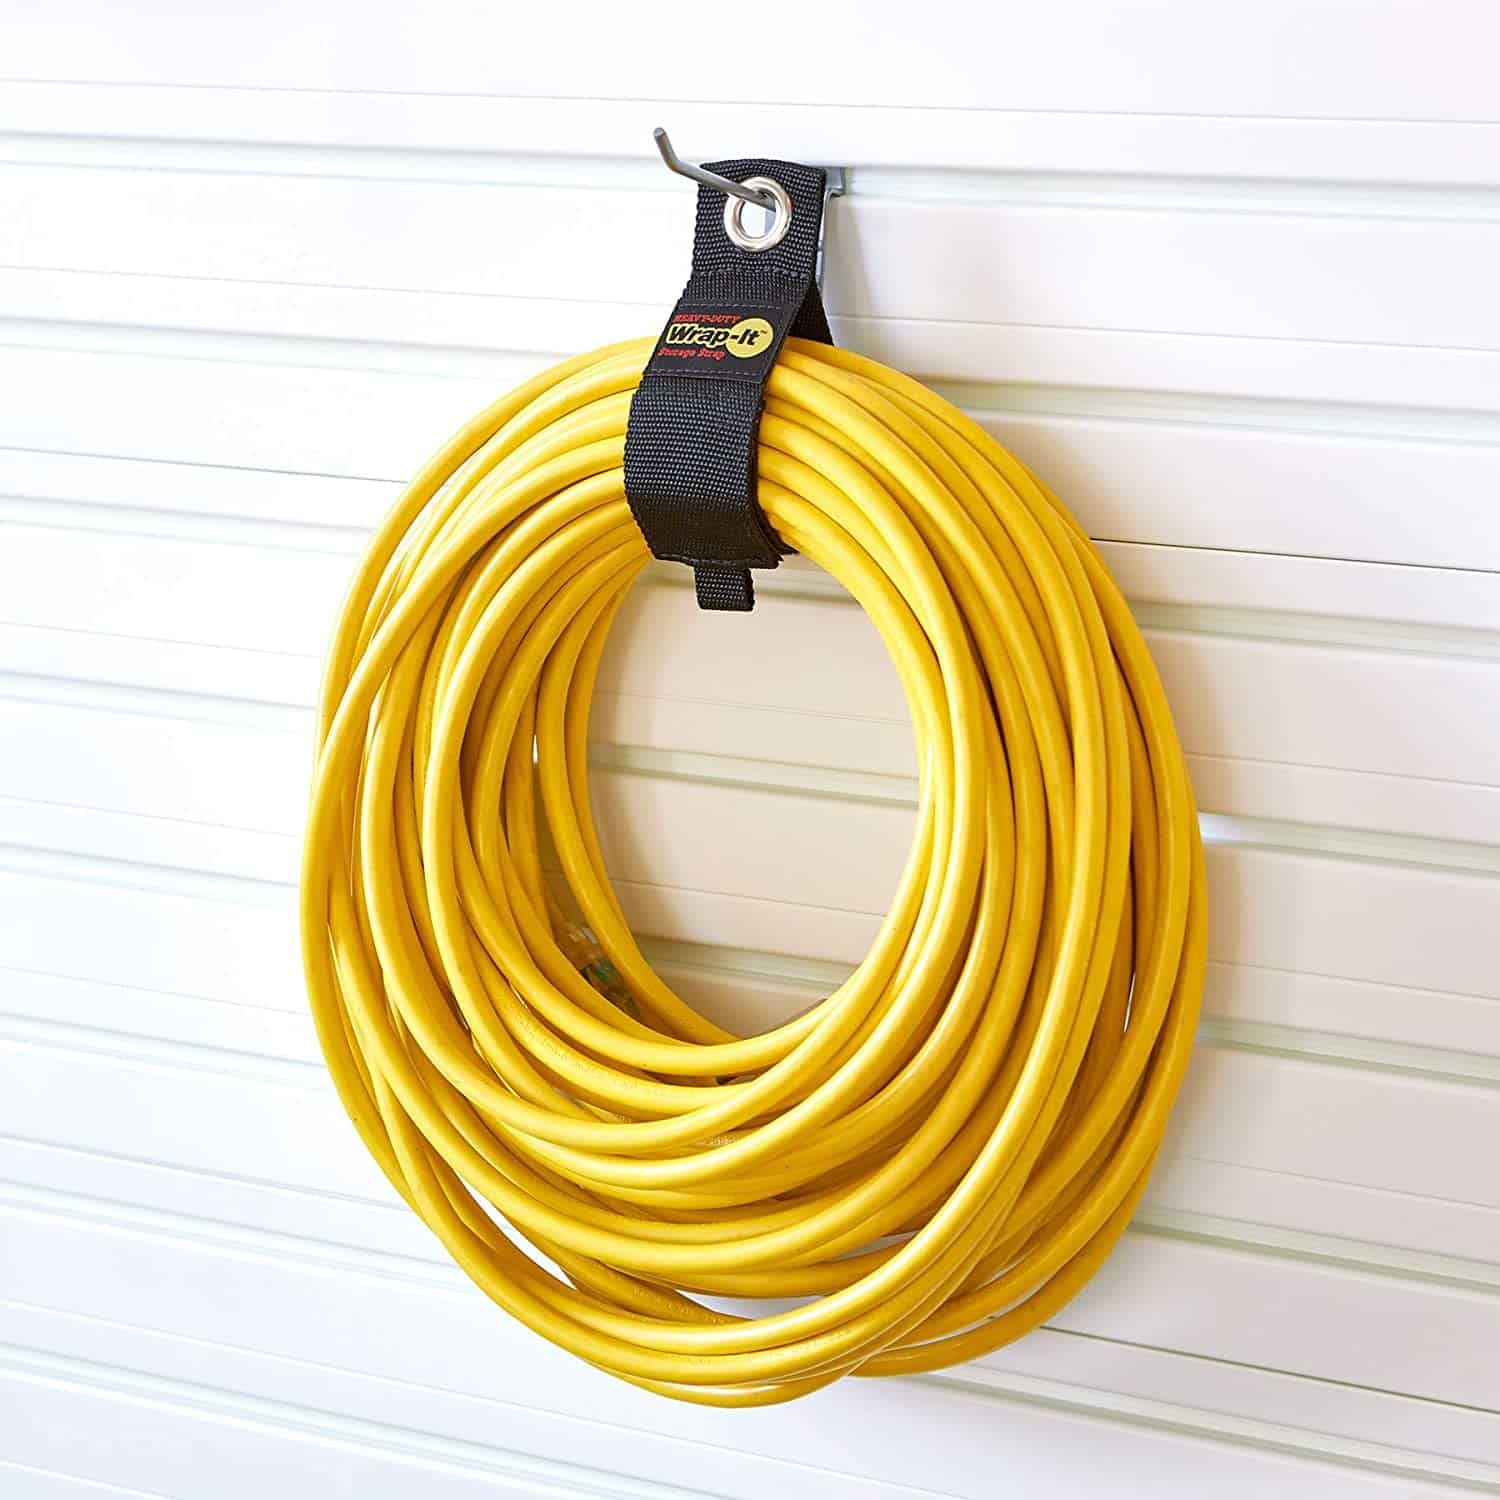
- Add Cable Management Accessories (Optional): Consider using cable management accessories such as cord clips or cable ties to keep the extension cord organized and prevent it from tangling or tripping hazards. This step is especially important if the extension cord will be exposed to foot traffic or outdoor elements.
Take the time to ensure that your extension cord is in good condition, properly unrolled, and prepared for installation. Once you have completed these preparations, it’s time to move on to the next step: inserting the extension cord through the window.
When running an extension cord through a window, use a window insulator kit to create a small opening for the cord while still maintaining a seal to keep out drafts and moisture.
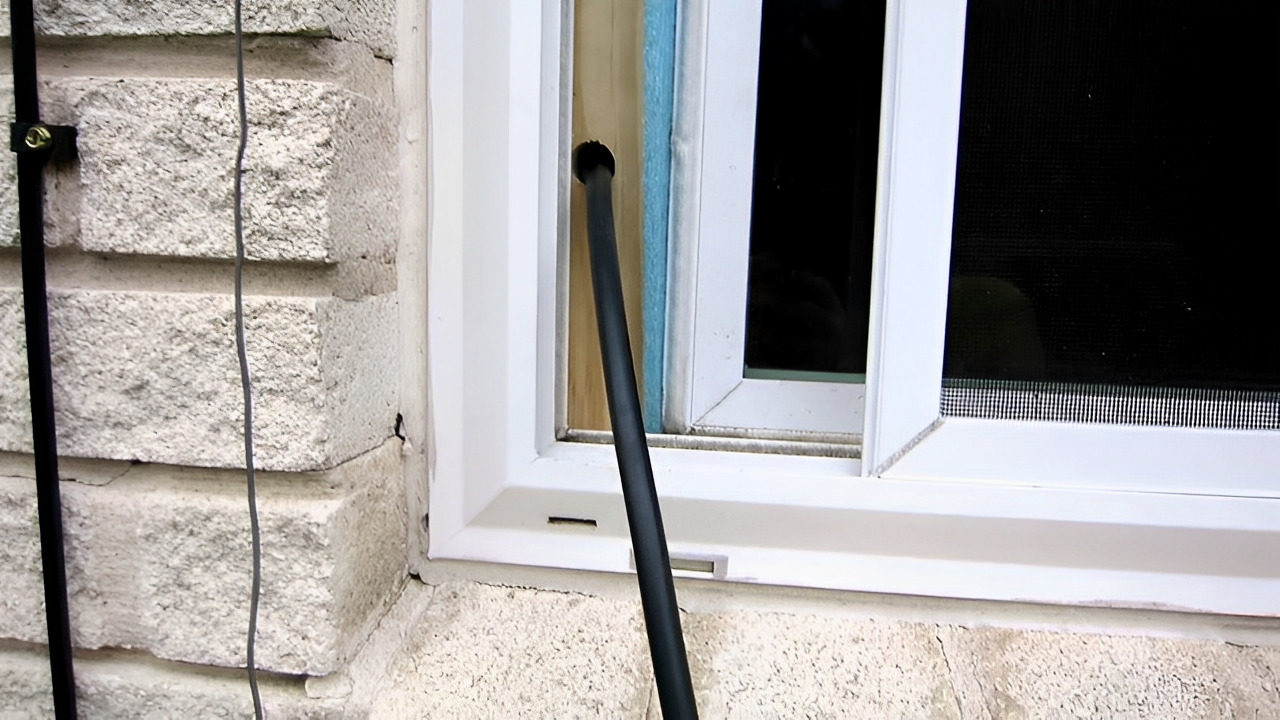
Step 4: Insert the Extension Cord through the Window
Now that you have prepared the extension cord, it’s time to insert it through the window. Follow these steps to safely and effectively insert the cord:
- Open the Window: Begin by fully opening the window to provide easy access for inserting the extension cord.
- Locate the Hole: Identify the hole you cut in the window screen. Make sure it aligns with the window opening.
- Feed the Extension Cord through the Hole: Starting from the inside, carefully pass the plug end of the extension cord through the hole in the window screen. Gently guide it through so that it extends out of the window on the other side.
- Extend the Cord to the Power Source: Slowly pull the extension cord through the window until it reaches the power source, whether it’s an electrical outlet or a power strip.
- Close the Window: Once the extension cord is fully extended and connected to the power source, close the window carefully. Ensure that it is closed securely but without putting pressure on the cord.
Take care when inserting the extension cord through the window to avoid snagging or damaging the cord. If the cord gets caught on anything, carefully release it without applying excessive force. If necessary, adjust the position of the cord to ensure its smooth passage through the window.
With the extension cord inserted through the window and connected to the power source, it’s time to secure it in place. Move on to the next step for instructions on how to do this.
Step 5: Secure the Extension Cord
Once you have inserted the extension cord through the window and connected it to the power source, it’s important to secure it properly to ensure safety and prevent tripping hazards. Follow these steps to secure the extension cord:
- Route the Cord Appropriately: Position the extension cord in a way that minimizes the risk of tripping or causing damage. Avoid running the cord across walkways, under rugs, or near water sources.
- Use Duct Tape or Electrical Tape: Use duct tape or electrical tape to secure the extension cord along the baseboard or wall. Make sure the tape is applied securely, but avoid taping it too tightly, as this can damage the cord.
- Elevate the Cord: If the extension cord needs to cross a surface, consider using cord covers or ramps to elevate it. This will help prevent people from accidentally tripping over the cord.
- Consider Temporary Outdoor Solutions: If you are using the extension cord outdoors, such as for holiday lights or outdoor equipment, consider using temporary outdoor cord covers or stake them securely to the ground to prevent them from being a tripping hazard.
- Inspect Regularly: Regularly inspect the extension cord to ensure it remains in good condition. Look for any signs of wear, fraying, or damage. If you notice any issues, replace the cord immediately.
Properly securing the extension cord will help prevent accidents and mishaps. Remember to check local regulations and safety guidelines specific to your area to ensure compliance.
With the extension cord securely in place, it’s time to seal the hole you cut in the window screen. Move on to the next step for instructions on how to do this.
Step 6: Seal the Hole in the Window Screen
After inserting the extension cord through the window and securing it, it’s essential to seal the hole you cut in the window screen. This step will help keep pests out and maintain the integrity of the screen. Follow these steps to seal the hole:
- Gather the Necessary Materials: Collect the duct tape or electrical tape and any other materials you plan to use for sealing the hole.
- Clean the Window Screen: Use a soft cloth or brush to clean any debris or dirt around the hole in the window screen. This will ensure better adhesion and a cleaner finish.
- Start at One Edge of the Hole: Begin sealing the hole by applying a small piece of tape to one edge of the hole. Press it firmly onto the screen to create a secure bond.
- Continue Sealing Around the Hole: Work your way around the hole, applying strips of tape to cover the entire perimeter. Make sure each strip overlaps the previous one slightly for better coverage.
- Smooth and Secure the Tape: Once all edges of the hole are covered with tape, run your fingers along the tape to ensure it is firmly attached and smooth out any wrinkles or air bubbles.
- Trim Excess Tape (Optional): If there is excess tape extending beyond the hole, use scissors or a utility knife to carefully trim it for a neater appearance.
Make sure the tape is applied tightly enough to create a seal, but not so tight that it distorts or damages the window screen. The tape should hold the screen securely in place while still allowing for proper circulation of air.
With the hole in the window screen sealed, you’re almost done! The final step is to test the extension cord to ensure it is functioning correctly.
Step 7: Test the Extension Cord
After completing the previous steps of running an extension cord through a window, it’s crucial to test the functionality of the cord. This final step ensures that everything is working properly and that you can safely use the power supply. Follow these steps to test the extension cord:
- Double-Check Connections: Ensure that both ends of the extension cord are securely plugged in and connected. Verify that the plug is inserted fully into the power source and that the device you’re powering is properly connected to the other end.
- Test the Power Supply: Turn on the device or appliance that is connected to the extension cord. If it’s a power strip, switch it on. Check if the device powers up and functions as expected.
- Ensure a Stable Power Source: Monitor the power supply for any fluctuations or interruptions. Observe if there are any issues with flickering lights, irregular device operation, or sudden power losses. If you notice any irregularities, unplug the extension cord immediately and investigate the cause. It may indicate a problem with the cord or the electrical system.
- Safely Disconnect: When you are finished testing, safely disconnect the device from the extension cord and unplug the cord from the power source. Do this by grasping the plug firmly and pulling it straight out without yanking or twisting.
By testing the extension cord, you can ensure that it is functioning correctly and providing a stable power supply. If any issues arise during the testing process, it’s crucial to address them before using the cord for an extended period or leaving it unattended.
Congratulations! You have successfully run an extension cord through a window. By following these steps and taking the necessary precautions, you can safely and effectively power devices or appliances outside your home or office.
Remember to periodically inspect the extension cord for any signs of wear or damage. Replace it if necessary to maintain a safe and reliable power supply.
Thank you for reading, and we hope this guide has been helpful. Stay safe and enjoy the convenience of using an extension cord through your window!
Read more: How To Run Electrical Wire Through Walls
Conclusion
Running an extension cord through a window can provide a convenient solution for accessing power outdoors or in areas where outlets are limited. By following the step-by-step process outlined in this guide, you can safely and effectively run an extension cord through a window.
Throughout this article, we discussed the tools and materials needed for the task, how to determine the best window for the extension cord, and the steps to measure and cut a hole in the window screen. We also covered how to prepare the extension cord, insert it through the window, secure it properly, seal the hole in the window screen, and test the functionality of the cord.
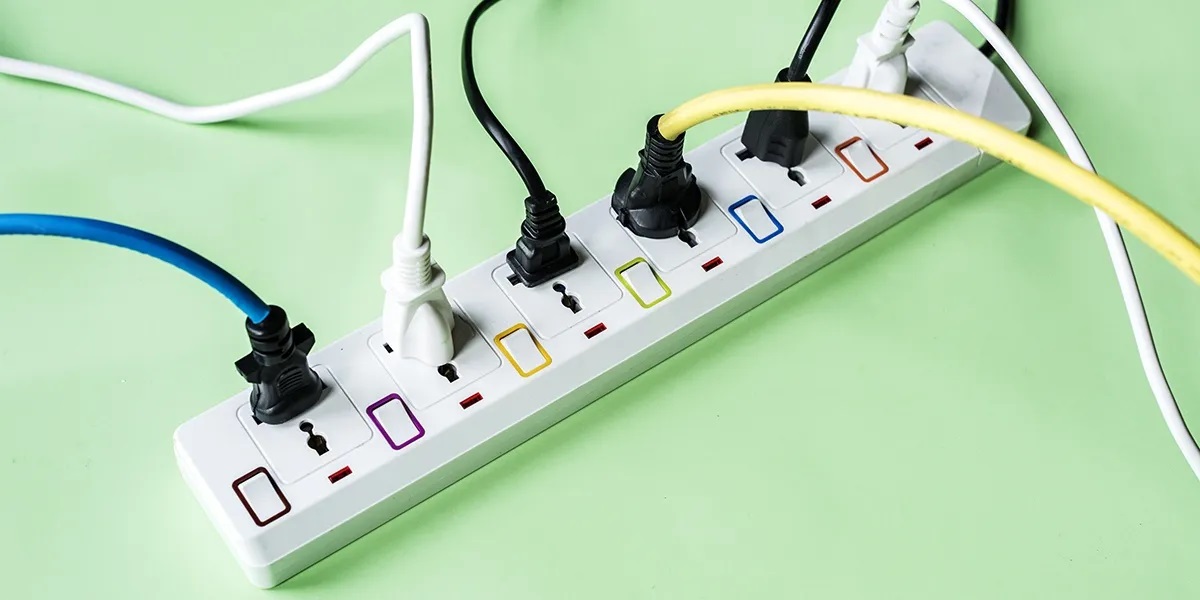
Remember that safety should always be your top priority. Be sure to inspect the extension cord for any damage before use, secure it properly to prevent tripping hazards, and regularly check for wear and tear. Never overload the extension cord or run it through areas where it may be exposed to water or excessive heat.
By following these guidelines and practicing caution, you can enjoy the convenience of running an extension cord through a window without compromising safety. Whether you’re setting up an outdoor workstation or powering holiday decorations, proper installation and maintenance of the extension cord are essential.
Thank you for reading, and we hope this guide has been helpful in successfully running an extension cord through a window. Stay safe, stay powered, and enjoy your newfound flexibility in accessing electricity!
Ready to tackle more around your home? Dive into our guide on DIY home improvement for handy tips and inventive strategies that make sprucing up your space a breeze. Whether you're reimagining a room or upgrading fixtures, practical advice awaits. Meanwhile, managing cables and cords need not be a hassle. Check out our latest recommendations on cord management solutions to keep your spaces tidy and safe ahead of the new year. Both guides offer clever insights and are just a click away!
Frequently Asked Questions about How To Run Extension Cord Through Window
Was this page helpful?
At Storables.com, we guarantee accurate and reliable information. Our content, validated by Expert Board Contributors, is crafted following stringent Editorial Policies. We're committed to providing you with well-researched, expert-backed insights for all your informational needs.


0 thoughts on “How To Run Extension Cord Through Window”