Articles
How To Set Remote Garage Door Opener
Modified: August 22, 2024
Learn how to set your remote garage door opener with our informative articles. Get step-by-step instructions and troubleshooting tips to ensure smooth operation.
(Many of the links in this article redirect to a specific reviewed product. Your purchase of these products through affiliate links helps to generate commission for Storables.com, at no extra cost. Learn more)
Introduction
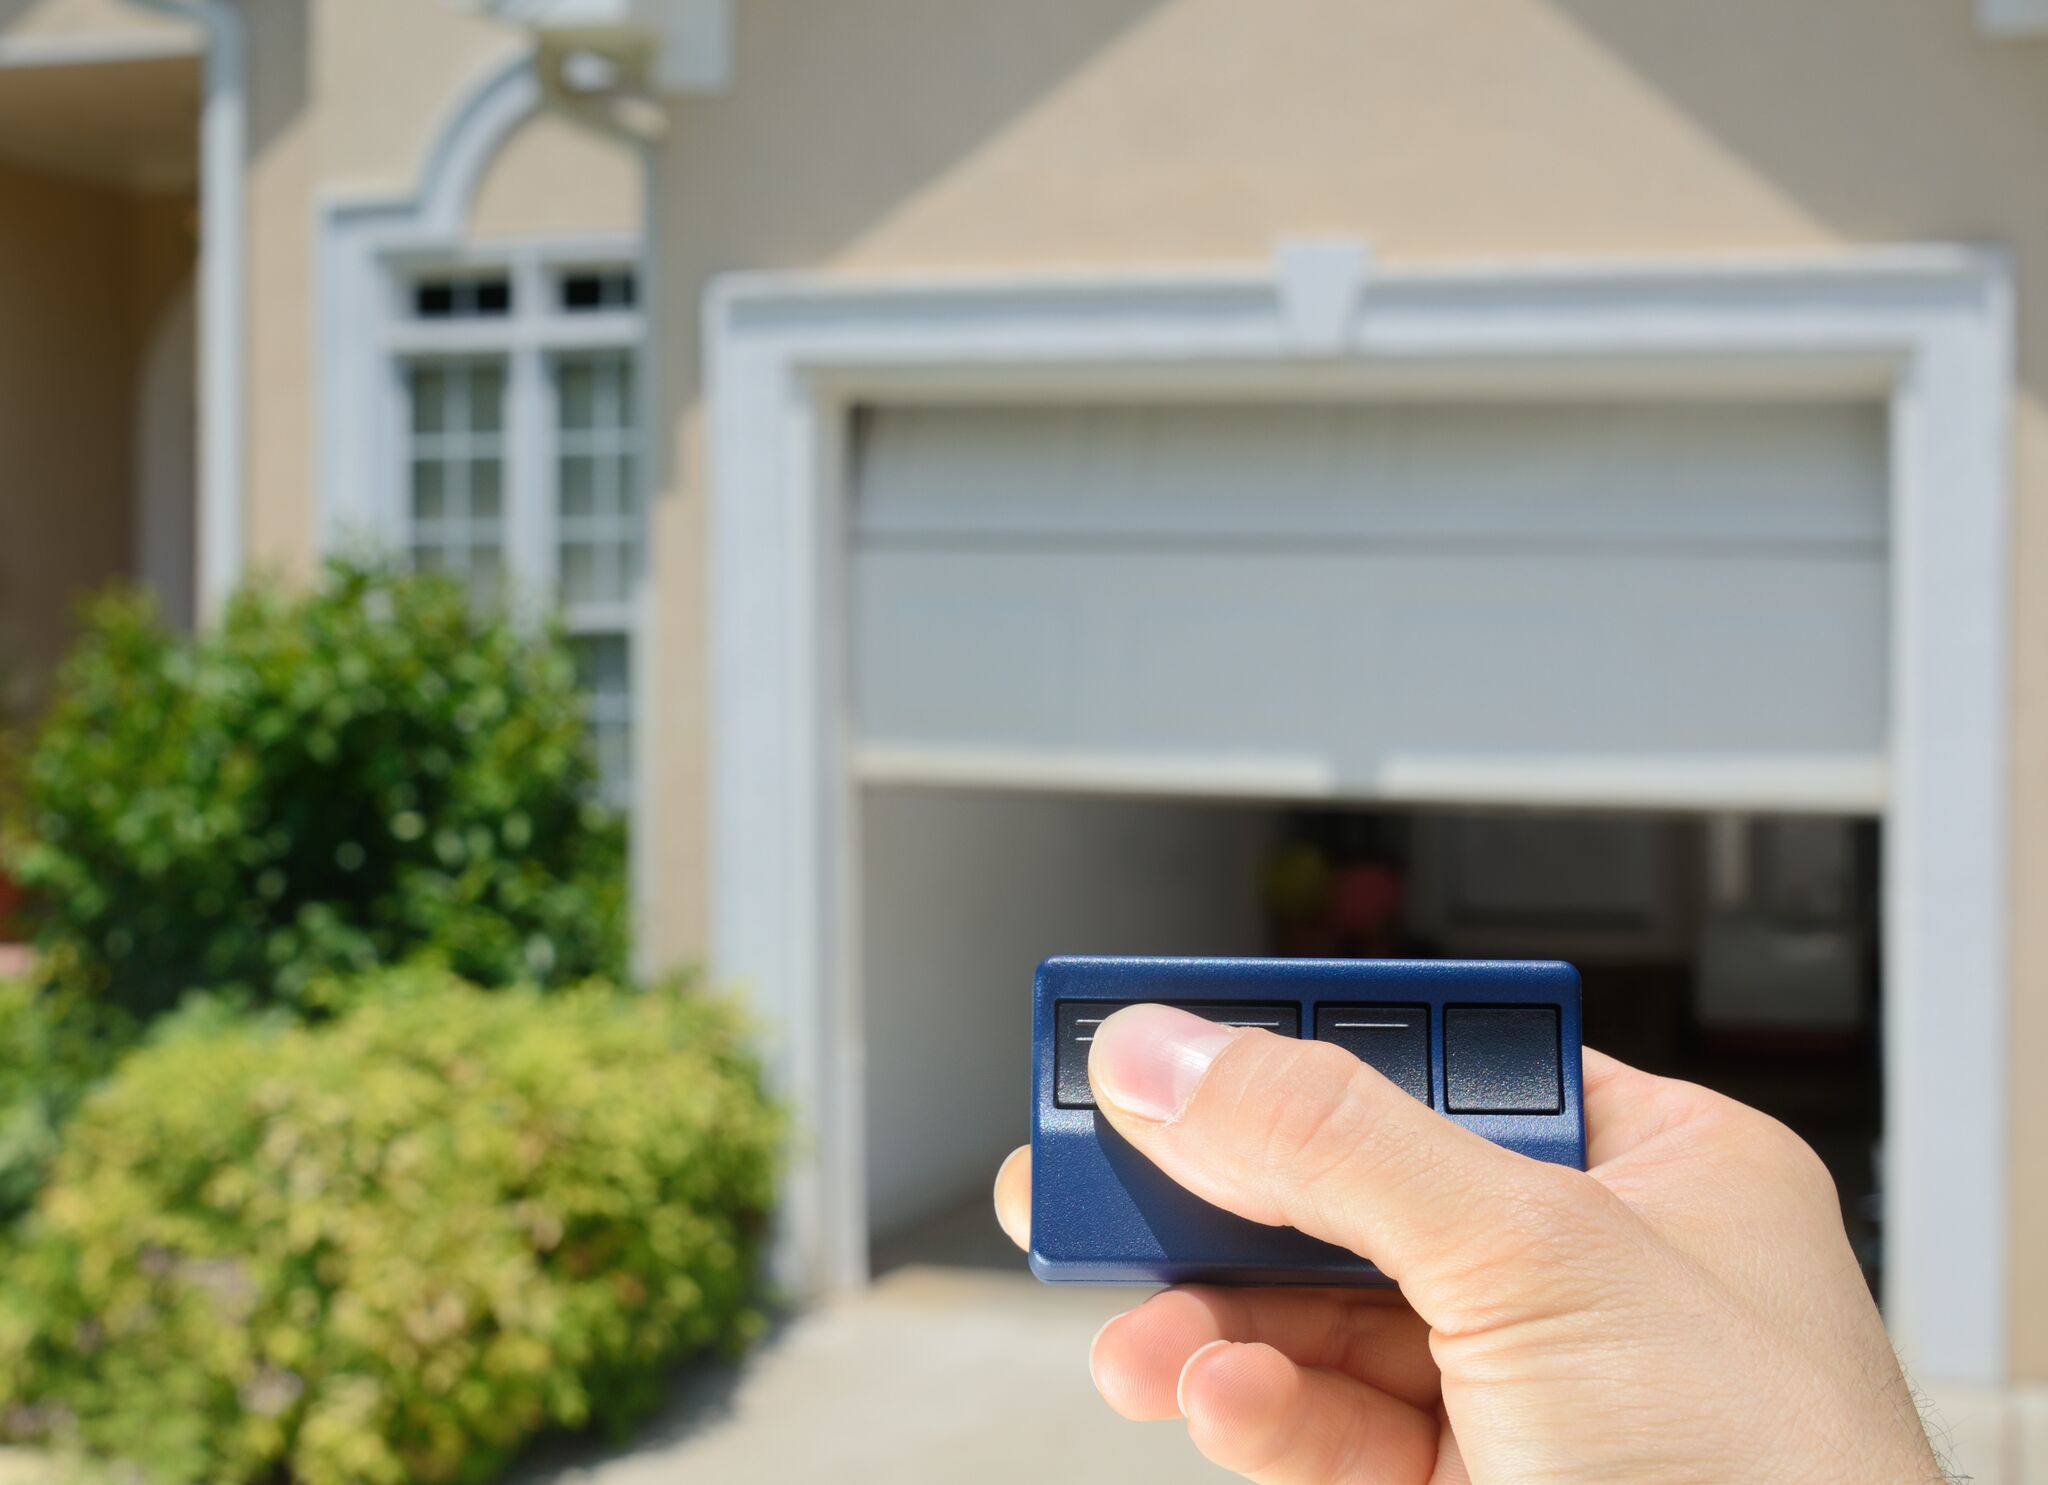
Welcome to our comprehensive guide on how to set up a remote garage door opener. Having a remote opener for your garage door adds convenience and security to your daily routine. With just a click of a button, you can easily open and close your garage door without having to manually operate it.
In this article, we will walk you through the step-by-step process of setting up a remote garage door opener. Whether you have recently purchased a new opener or need to program an additional remote, our guide will provide you with the instructions you need to successfully complete the setup.
Before we get started, it’s important to note that the specific steps may vary depending on the make and model of your garage door opener. To ensure the accuracy of the instructions, we recommend consulting your opener’s manual or contacting the manufacturer for any model-specific guidelines.
Now, let’s gather the necessary tools and materials before diving into the setup process.
Key Takeaways:
- Easily program your remote garage door opener by following simple steps, ensuring convenience and security in your daily routine.
- Gather necessary tools, locate the control panel, and sync your remote to enjoy the ease of opening and closing your garage door with just a click.
Read more: How To Reset A Garage Door Opener Remote
Step 1: Gather the necessary tools and materials
Before you begin setting up your remote garage door opener, make sure you have the following tools and materials:
- A ladder or step stool (if needed) to access the control panel of your garage door opener.
- The remote garage door opener that you want to program or sync with your opener. This could be an additional remote or a new remote that came with your garage door opener.
- Batteries for the remote garage door opener, if required. Check the instructions or the back of the remote to determine the type and quantity of batteries needed.
- A flashlight (optional) to help you see the control panel, especially if it’s located in a dimly lit area.
Once you have gathered all the necessary tools and materials, you’re ready to move on to step 2: locating the control panel of your garage door opener.
Step 2: Locate the remote garage door opener’s control panel
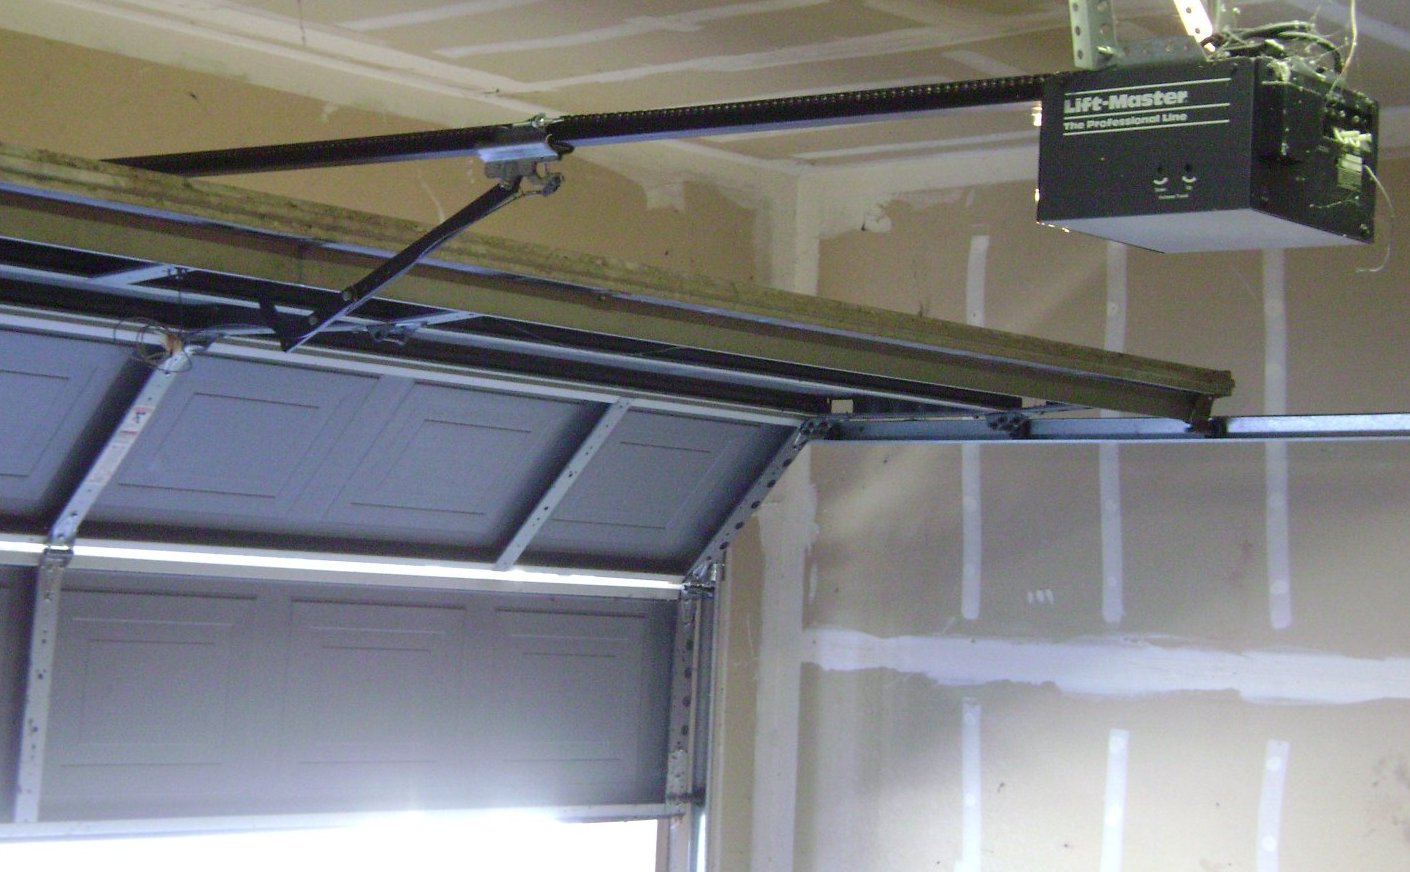
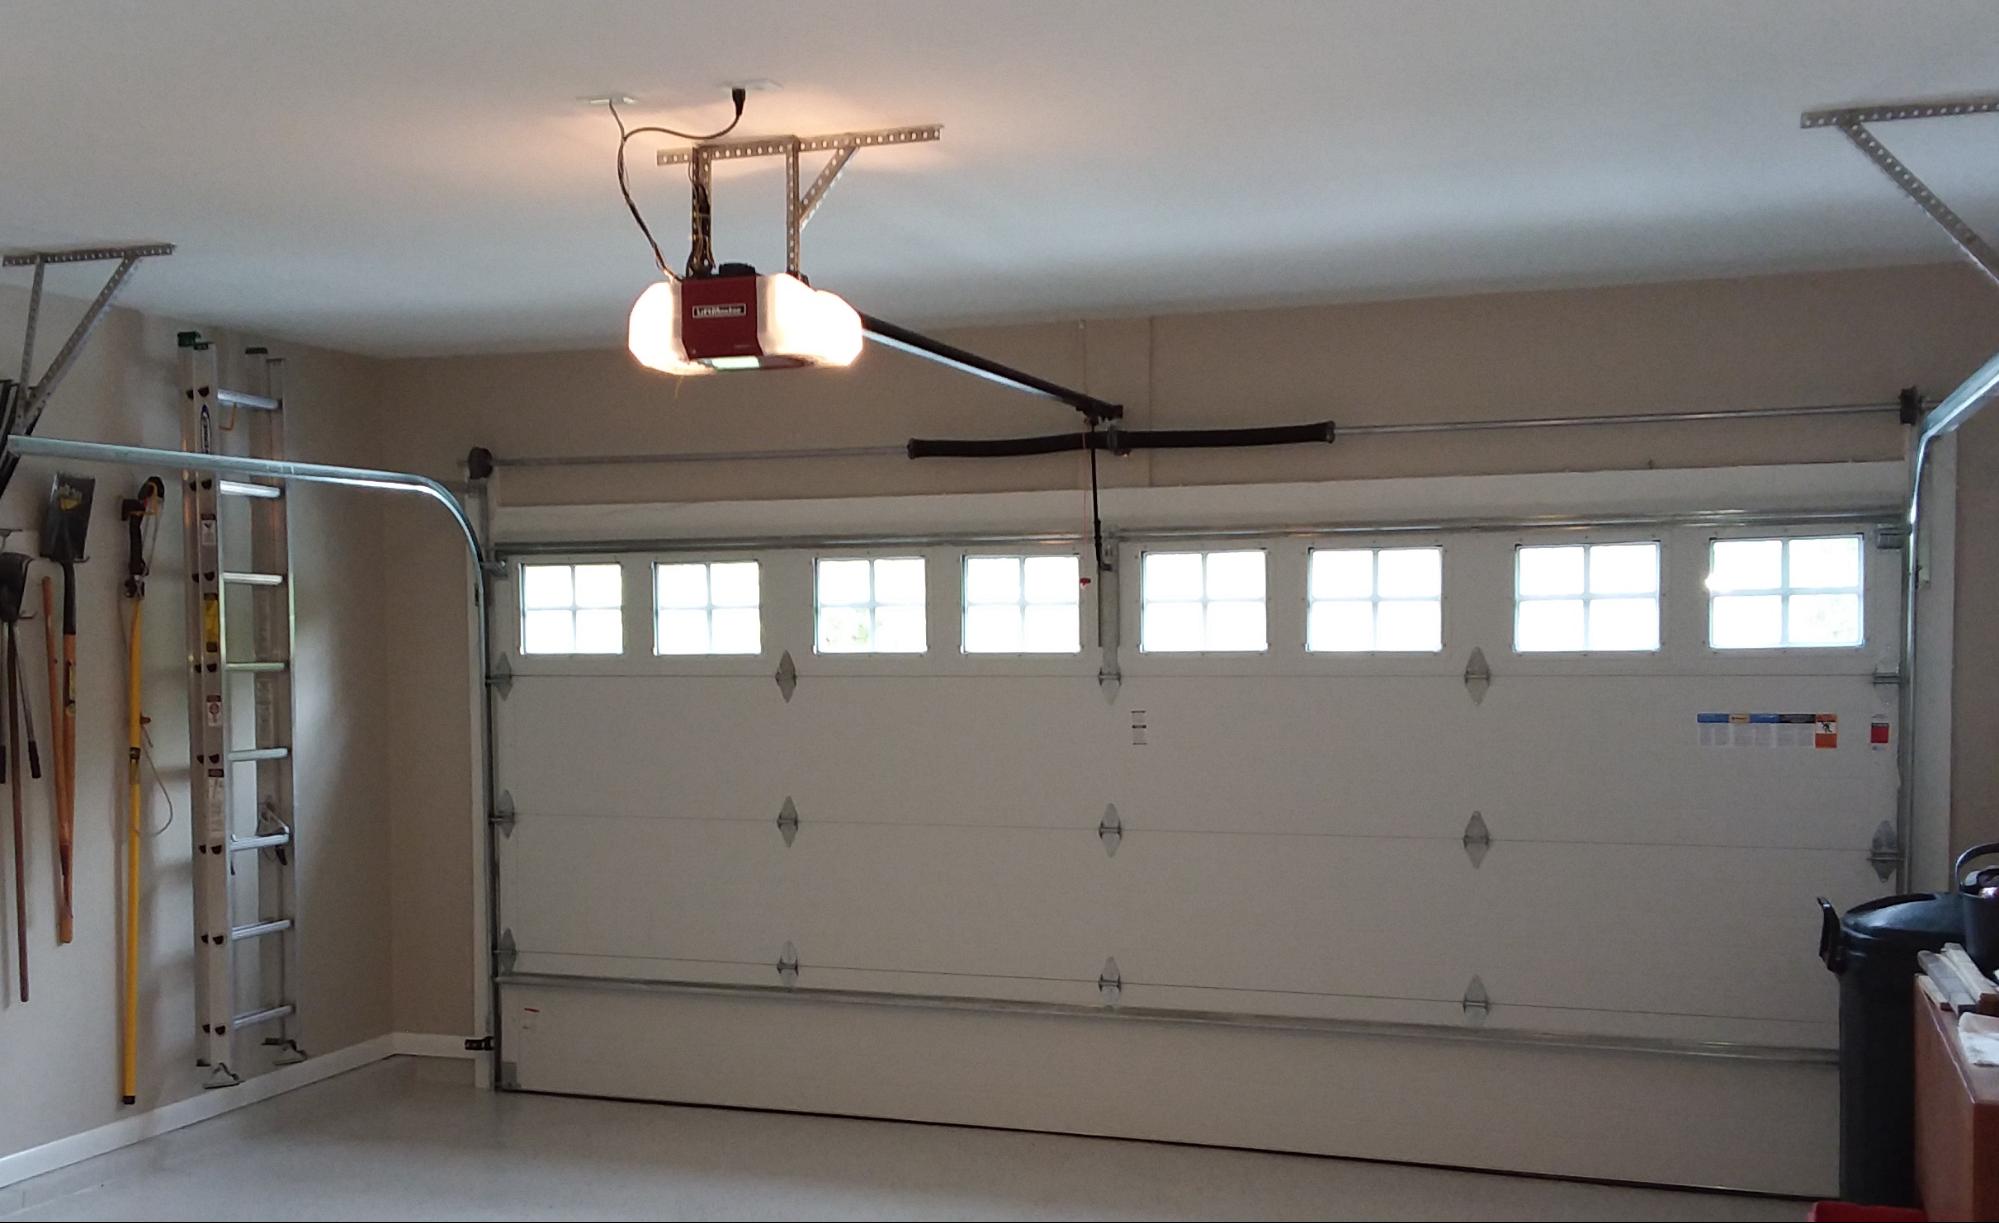
Locating the control panel of your remote garage door opener is the next step in the setup process. The control panel is typically located near the motor unit of your garage door opener. However, the exact location can vary depending on the make and model of your opener.
To locate the control panel, you should:
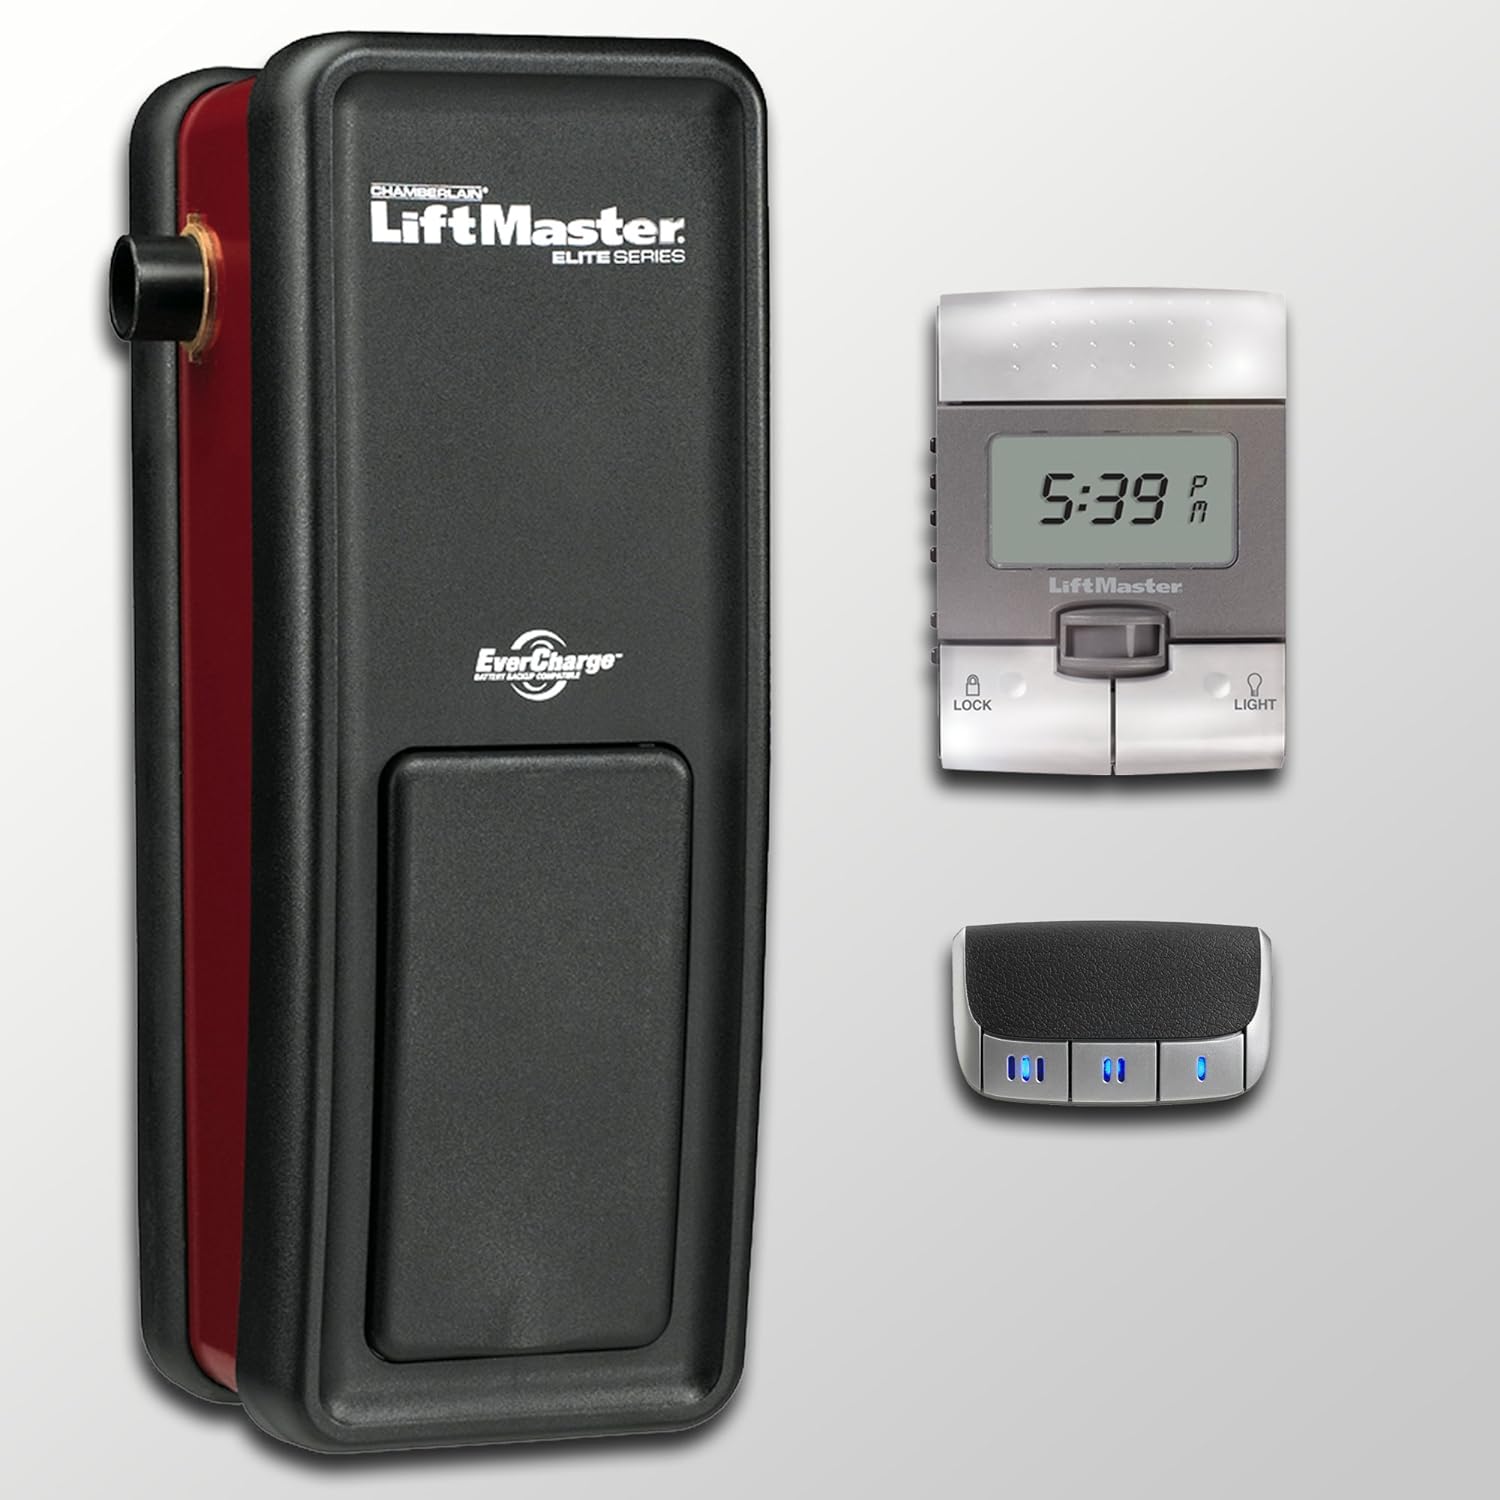
- If your garage door opener has a wall-mounted control panel inside your garage, start by looking for it near the entrance to your garage. It is usually installed at a convenient height, making it easily accessible.
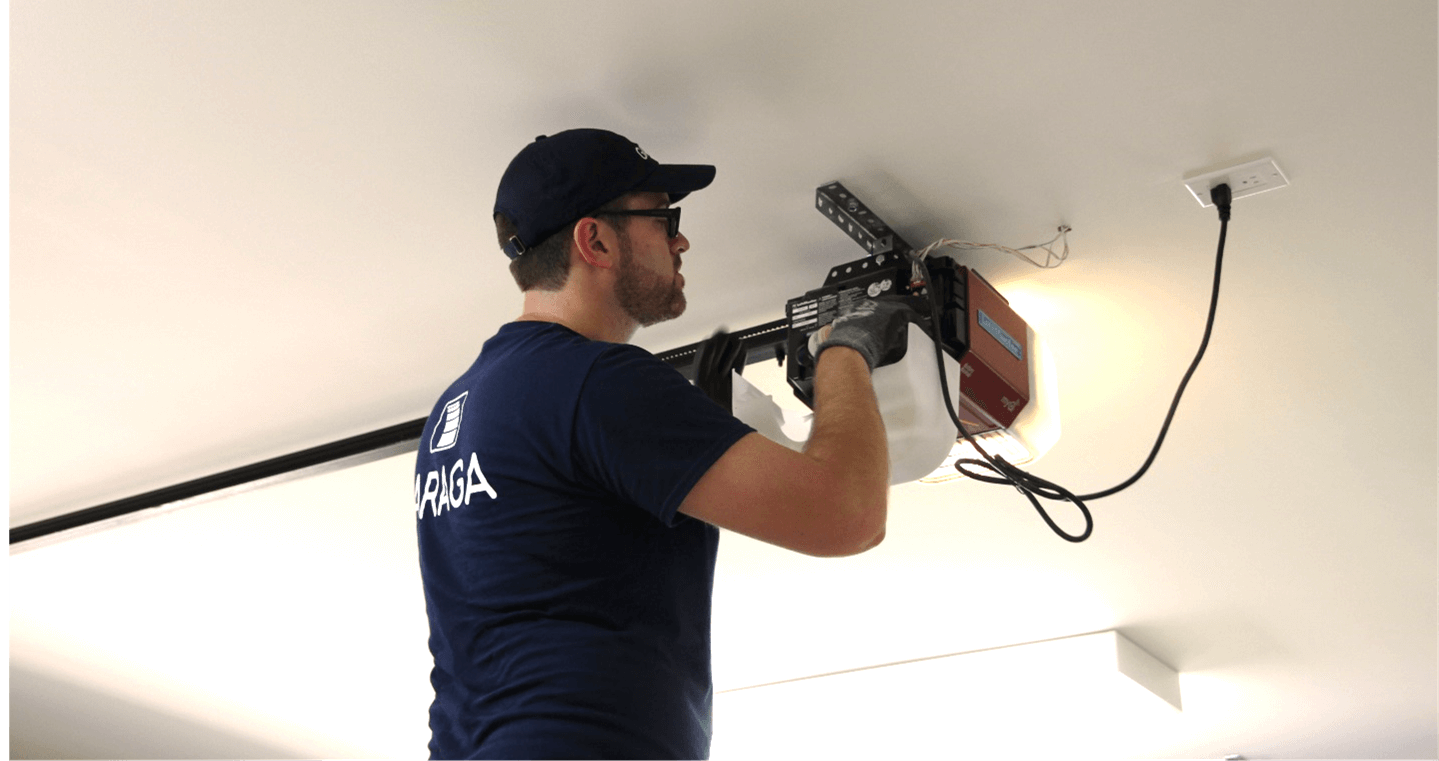
- If you cannot find the control panel inside your garage, it may be located on the motor unit itself, usually mounted on the ceiling or the wall near the garage door. In this case, use a ladder or a step stool to access the control panel.
- If you are still unable to locate the control panel, consult your garage door opener’s manual or contact the manufacturer for specific instructions.
Once you have successfully located the control panel, proceed to step 3: accessing the control panel.
Step 3: Access the control panel
Now that you have located the control panel of your remote garage door opener, it’s time to access it. Depending on the design of your opener, you may need to remove a panel or cover to reveal the control panel.
To access the control panel, follow these steps:
- If the control panel is located on the wall inside your garage, it may be as simple as lifting a protective cover or sliding a panel to expose the control buttons.
- If the control panel is on the motor unit, you may need to remove a cover or unscrew a panel to access it. Be sure to use caution and follow any safety instructions provided in your garage door opener’s manual.
- If you’re unsure how to access the control panel, consult the manual or contact the manufacturer for assistance. It’s essential to avoid any damage to the control panel or the opener itself.
Once you have successfully accessed the control panel, you’re ready to proceed to step 4: locating the “programming” or “learn” button.
Step 4: Locate the “programming” or “learn” button
Locating the “programming” or “learn” button on your remote garage door opener is crucial for setting up the remote. This button is used to initiate the programming mode and sync the remote with the opener.
To find the “programming” or “learn” button, follow these steps:
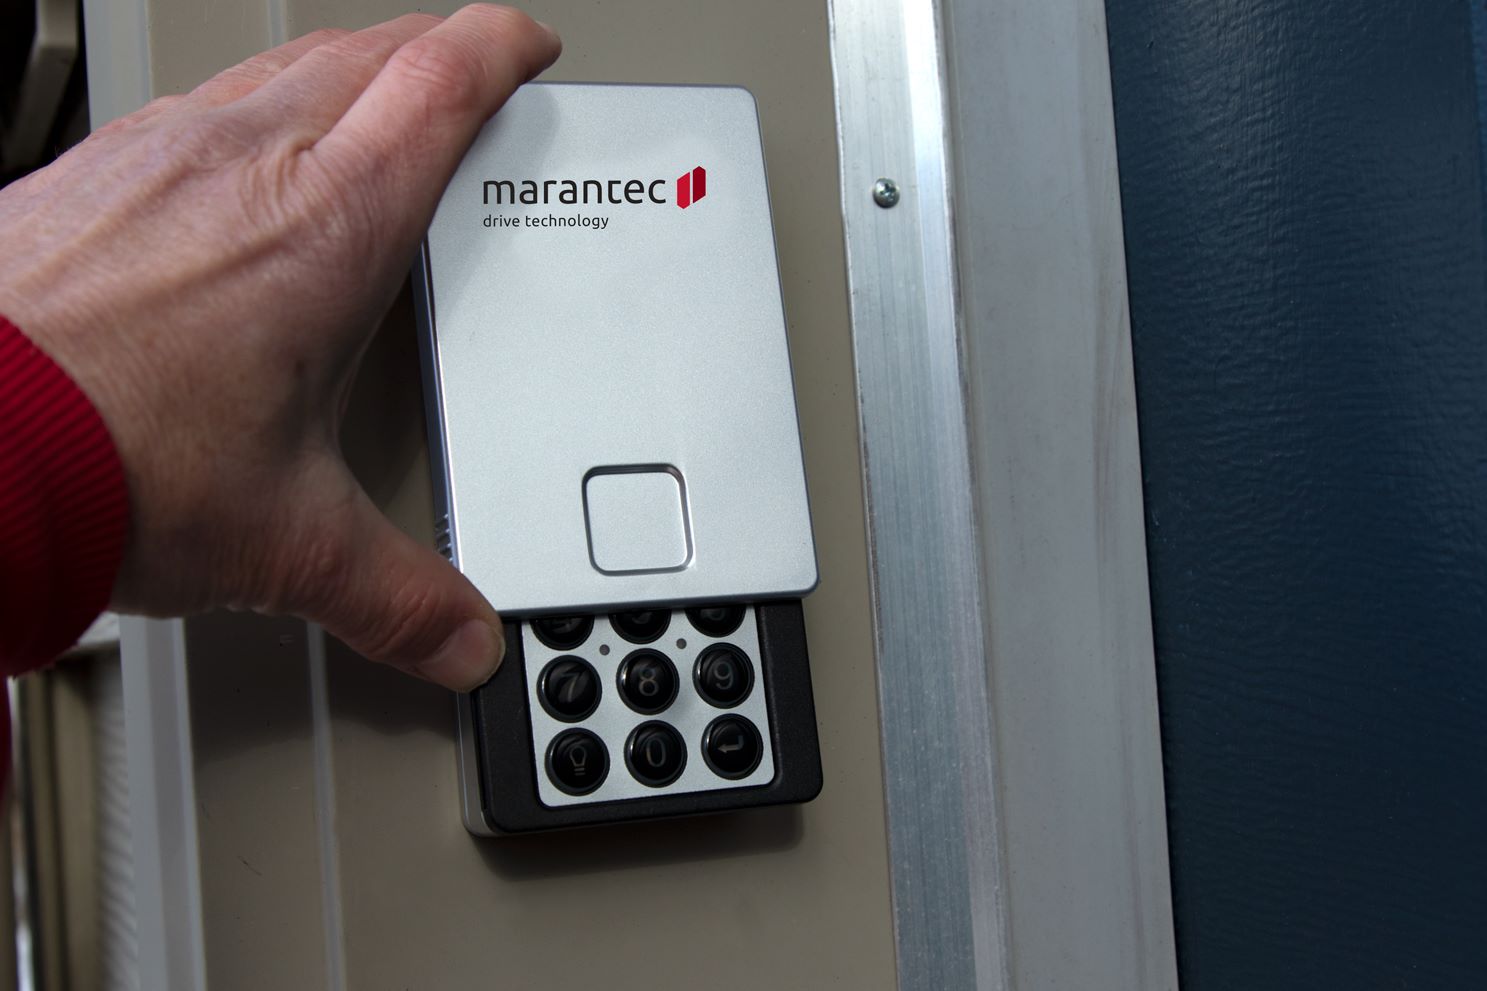
- Look for a small, rectangular button on the control panel. It is often labeled as “programming” or “learn”. This button may be located near the other control buttons or at a separate section of the panel.
- The color and shape of the button may vary depending on the manufacturer, but it is typically distinguishable from the other buttons on the panel.
- Refer to your garage door opener’s manual if you’re having trouble identifying the “programming” or “learn” button. The manual will provide detailed information and illustrations specific to your opener’s model.
Once you have located the “programming” or “learn” button, proceed to step 5: pressing and holding the button.
Make sure to follow the specific instructions provided by your garage door opener manufacturer for programming the remote. This may involve pressing a sequence of buttons or using a specific programming tool.
Step 5: Press and hold the programming or learn button
Pressing and holding the “programming” or “learn” button is the next crucial step in setting up your remote garage door opener. This action signals the opener to enter the programming mode, allowing it to learn the code of the remote.
To press and hold the programming or learn button, follow these steps:
- Make sure you are within range of the garage door opener and have a clear view of the control panel.
- Ensure that the remote garage door opener is close to the control panel, as proximity is necessary for successful programming.
- Press and hold the “programming” or “learn” button on the control panel. The button may need to be pressed for a specific duration, typically around 10 seconds, but refer to your garage door opener’s manual for precise instructions.
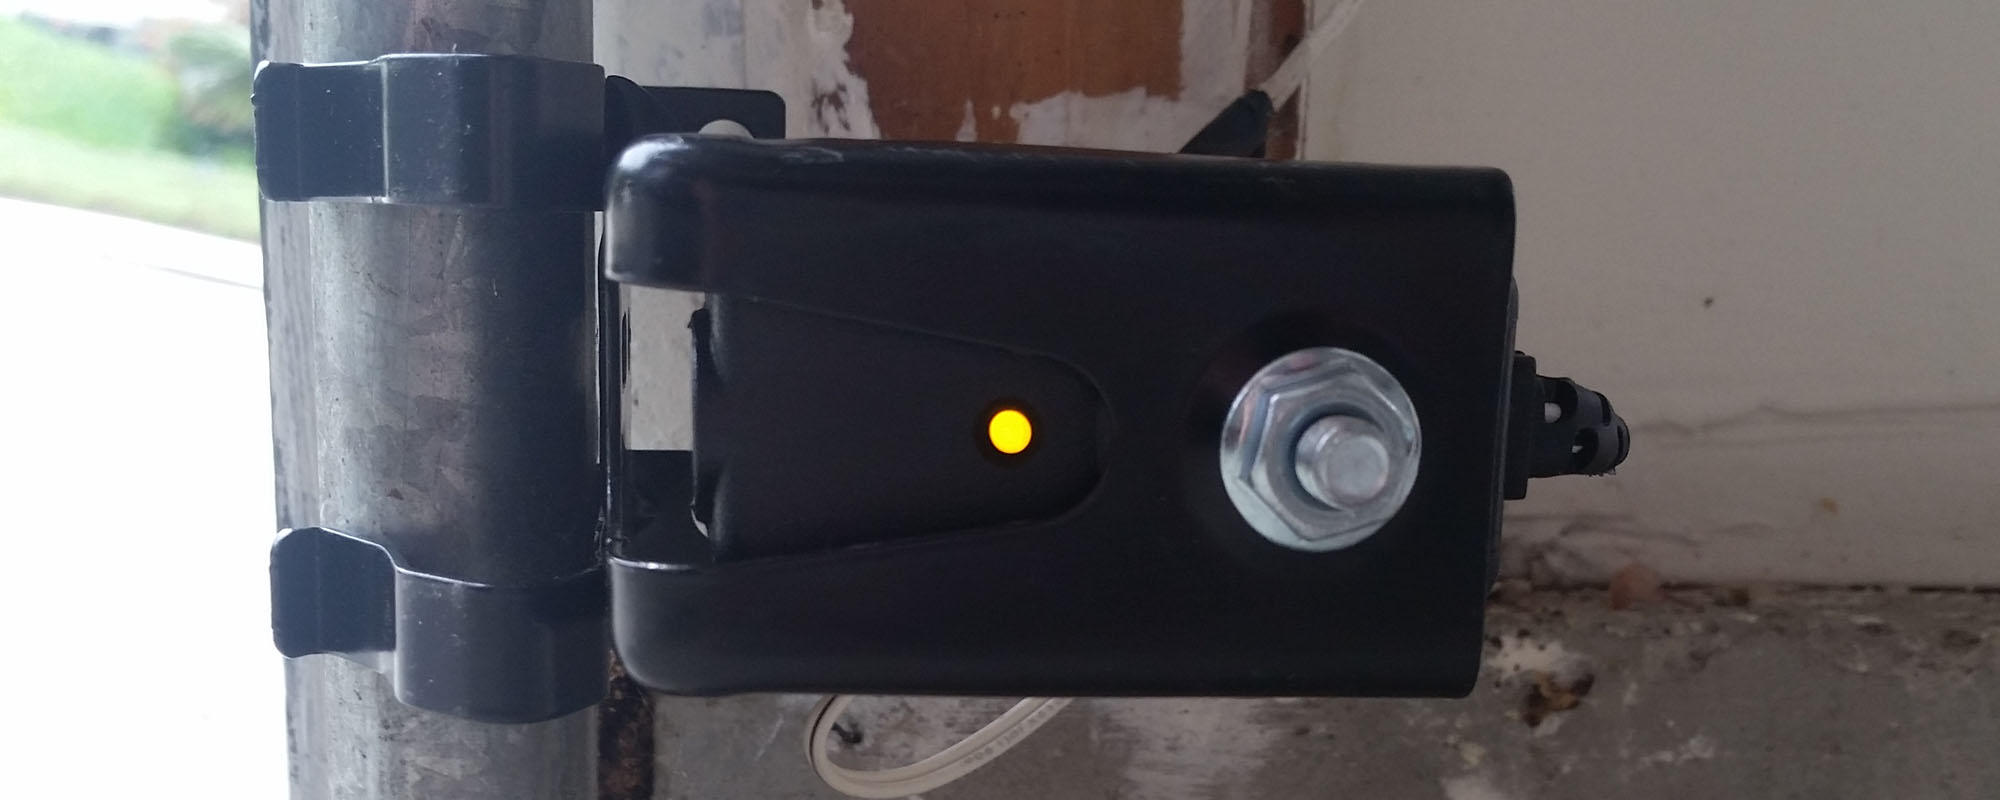
- During this time, you may notice a light or indicator on the control panel that confirms the opener is in the programming mode. However, this can vary depending on the manufacturer and model.
- Continue holding the button until you are ready to proceed to the next step in the process.
With the programming or learn button held down, you are now prepared to sync the remote garage door opener with the opener itself. This will be covered in step 6.
Step 6: Press and release the desired button on the remote garage door opener
Now that you have successfully entered the programming mode by pressing and holding the “programming” or “learn” button on the control panel, it’s time to sync the remote garage door opener with the opener itself. This step involves pressing and releasing a specific button on the remote to transmit the code to the opener.
To press and release the desired button on the remote garage door opener, follow these steps:
- Ensure that you are still within range of the opener and that the remote is within proximity to the control panel.
- Locate the button on the remote garage door opener that you want to assign to open and close the garage door. This button may be labeled as “S” or “Sync” or may have a unique symbol.
- Press and release the desired button on the remote, within a few seconds of pressing and holding the “programming” or “learn” button on the control panel.
- You may notice a light or indicator on the control panel that confirms the successful transmission of the code from the remote to the opener. This can vary depending on the manufacturer and model.
- If you have multiple buttons on your remote, repeat the process for each button you wish to program, assigning each one to different functions if desired.
With the desired button pressed and released, you have effectively programmed the remote garage door opener. The final step in the process is to test the functionality, which will be covered in step 7.
Step 7: Test the remote garage door opener
After successfully programming the remote garage door opener, it’s important to test its functionality to ensure that it opens and closes the garage door as intended. This step allows you to verify that the programming process was completed successfully.
To test the remote garage door opener, follow these steps:
- Stand within range of the opener, keeping a safe distance from the garage door.
- Press the button on the remote garage door opener that you programmed to open the door.
- Observe the garage door to determine if it responds to the signal from the remote and opens accordingly.
- Once the door is open, press the same button on the remote to close the door and ensure that it functions properly.
- Repeat the testing process with any additional buttons you programmed on the remote.
If the garage door opens and closes smoothly without any issues, congratulations! You have successfully set up and tested your remote garage door opener. However, if you encounter any problems during the testing process, refer to your garage door opener’s manual or contact the manufacturer for troubleshooting assistance.
Now that you have verified the functionality of the remote garage door opener, you can proceed to step 8, which covers setting up additional remote openers if needed.
Step 8: Repeat the process for additional remote garage door openers
If you have multiple remote garage door openers that you want to set up or sync with your opener, you can easily repeat the programming process for each additional remote. This allows you to have multiple remotes that can operate your garage door.
To repeat the process for additional remote garage door openers, follow these steps:
- Gather the additional remotes that you want to program or sync with your opener.
- Ensure that you have already completed the previous steps and have successfully programmed the first remote.
- Access the control panel of your opener and locate the “programming” or “learn” button, just as you did in step 4.
- Press and hold the “programming” or “learn” button on your opener’s control panel.
- Press and release the desired button on the additional remote garage door opener.
- Test the functionality of the additional remote by opening and closing the garage door using the programmed button, just as you did in step 7.
- Repeat this process for each additional remote garage door opener you want to set up.
By repeating the programming process for each additional remote, you can ensure that all remotes are synchronized with the opener and can operate the garage door effectively.
After completing step 8 for all the desired remotes, you have successfully set up all your remote garage door openers. Enjoy the convenience and ease of opening and closing your garage door with just a click of a button!
Read more: How To Disable A Garage Door Opener
Conclusion
Setting up a remote garage door opener doesn’t have to be a daunting task. With the step-by-step process outlined in this guide, you can easily program your remote and enjoy the convenience of opening and closing your garage door with ease.
Remember, it’s essential to gather the necessary tools and materials before starting the setup process. Locate the control panel of your garage door opener and access it by removing any necessary covers or panels. Find the “programming” or “learn” button on the control panel and press and hold it to enter the programming mode.
Next, press and release the desired button on the remote garage door opener to transmit the code to the opener. Test the functionality of the remote by opening and closing the garage door to ensure everything is working correctly.
If you have multiple remotes, repeat the process for each additional remote you want to program, following the same steps. This will allow you to have multiple remotes that can operate your garage door.
Remember, the specific steps and buttons may vary depending on the make and model of your garage door opener. Always refer to your opener’s manual for any model-specific instructions or contact the manufacturer for assistance if needed.
By following these steps, you can successfully set up your remote garage door opener and experience the convenience and security it brings to your daily life. Enjoy the ease of opening and closing your garage door at the touch of a button!
Frequently Asked Questions about How To Set Remote Garage Door Opener
Was this page helpful?
At Storables.com, we guarantee accurate and reliable information. Our content, validated by Expert Board Contributors, is crafted following stringent Editorial Policies. We're committed to providing you with well-researched, expert-backed insights for all your informational needs.

0 thoughts on “How To Set Remote Garage Door Opener”