Articles
How To Set Up Chain Link Fence
Modified: October 20, 2024
Learn how to set up a chain link fence with our informative articles. Get step-by-step guides and expert advice for a successful installation.
(Many of the links in this article redirect to a specific reviewed product. Your purchase of these products through affiliate links helps to generate commission for Storables.com, at no extra cost. Learn more)
Introduction
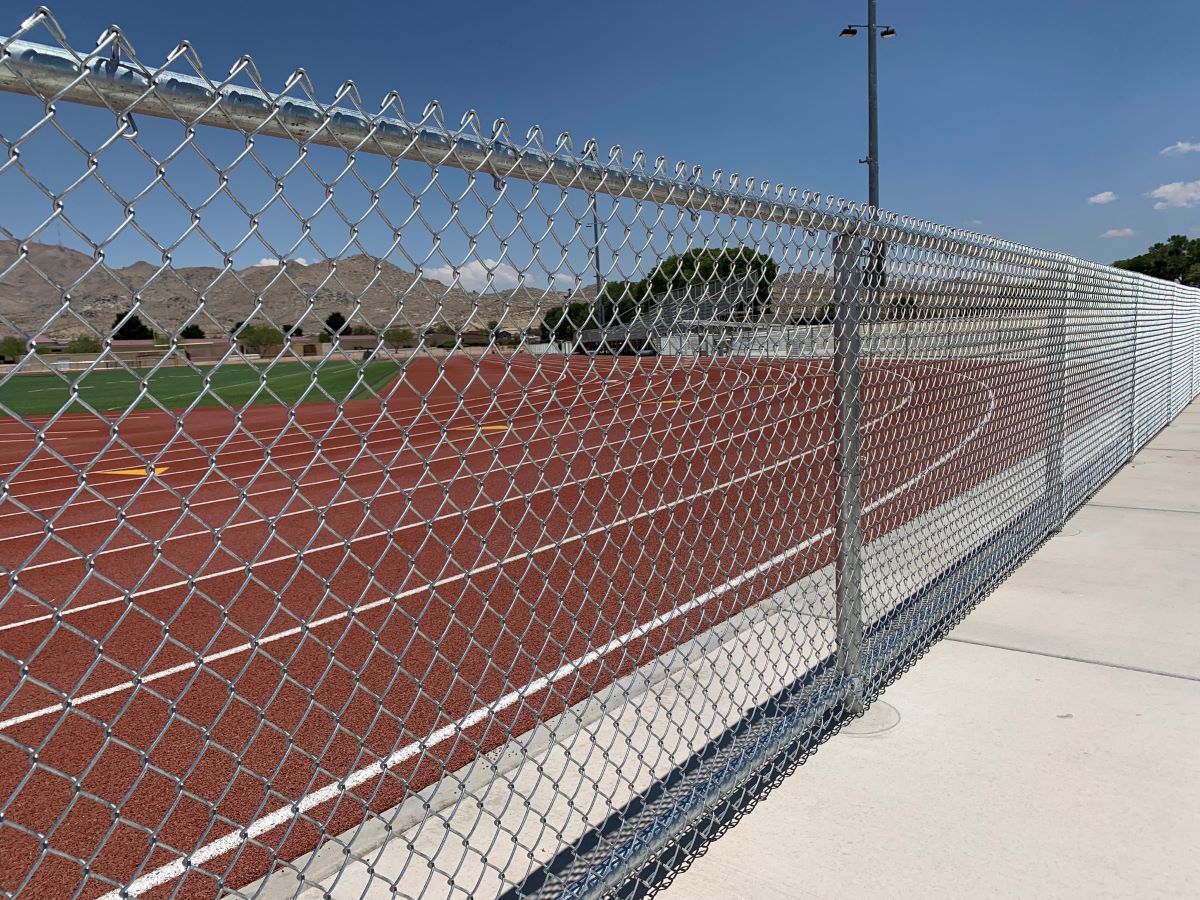
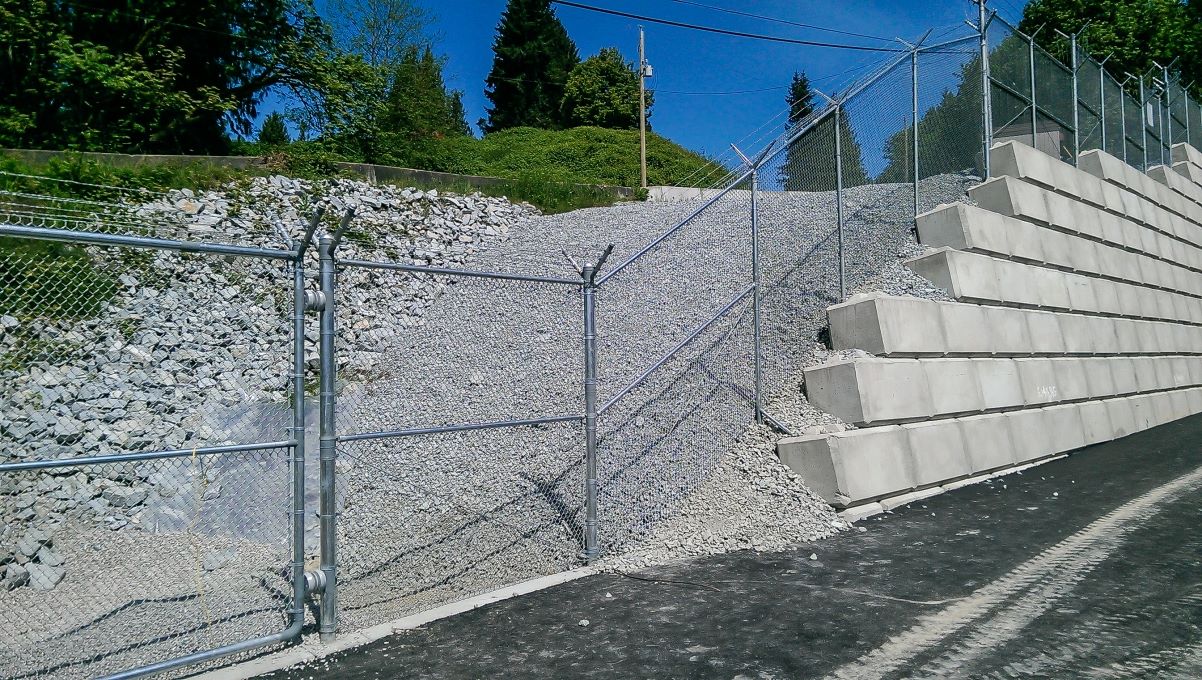
Setting up a chain link fence is an excellent way to enhance the security and privacy of your property. It can provide a barrier to keep unwanted intruders out while keeping your loved ones and pets safe inside. Whether you’re looking to enclose your backyard, protect your garden, or establish a designated boundary, a chain link fence offers durability and affordability.
In this article, we will guide you through the step-by-step process of setting up a chain link fence. From determining the fence location to adding the finishing touches, we’ll cover everything you need to know to ensure a successful installation. So let’s dive in and get started!
Key Takeaways:
- Setting up a chain link fence requires careful planning, accurate installation of posts and rails, and attention to detail. By following the step-by-step guide, you can create a sturdy, functional, and visually appealing fence that enhances security and privacy.
- Proper maintenance, adherence to local regulations, and attention to finishing touches are essential for preserving the longevity and appearance of your chain link fence. Regular inspections, repairs, and cleaning will ensure that it continues to serve its purpose effectively.
Read more: How To Stretch A Chain Link Fence
Step 1: Determine the Fence Location
The first step in setting up a chain link fence is to determine the exact location where you want it to be installed. Take some time to assess your property and consider the purpose of the fence.
Are you looking to enclose your entire backyard? Do you only need a small section to protect your garden? Are there any obstacles, such as trees or rocks, that might affect the placement of the fence?
Once you have a clear idea of where you want the fence to be, mark the desired boundaries using stakes and string. This will give you a visual representation of the fence line and help you ensure accuracy throughout the installation process.
It’s also important to check with your local building codes and homeowners’ association rules to ensure that you are allowed to install a fence in your desired location. Some areas have specific regulations regarding fencing height, setback requirements, and even the type of material allowed.
By accurately determining the fence location, you can proceed with confidence knowing that your fence installation will meet all necessary requirements and serve its intended purpose effectively.
Step 2: Gather Tools and Materials
Before you begin the installation process, it’s important to gather all the necessary tools and materials. Having everything on hand will save you time and ensure a smoother installation.
Here’s a list of the common tools and materials you’ll need for setting up a chain link fence:
- Measuring tape
- String and stakes
- Post hole digger or auger
- Mixing tools for concrete (if using concrete footings)
- Level
- Tape measure
- Fence posts
- Top rail
- Chain link fabric
- Tension bands and bolts
- Tension wire
- Gate(s) and hardware
- Braces (if needed)
- Fasteners (screws or nails)
- Concrete (if using concrete footings)
Make sure to measure your fence line accurately to ensure you have the correct number of posts, top rail, and chain link fabric. It’s always a good idea to purchase a few extra materials for any unforeseen circumstances or for future repairs.
Additionally, consider the ground conditions on your property. If you have rocky or hard soil, you might need a stronger post hole digger or an auger to dig the holes for the fence posts. On the other hand, if the ground is soft, you may need to use concrete footings for added stability.
By acquiring all the necessary tools and materials beforehand, you can proceed with the installation process smoothly and efficiently.
Step 3: Mark the Fence Line
After gathering all the tools and materials, the next step is to mark the fence line. This involves creating a clear and precise outline of where the fence will be installed.
Start by placing stakes at the corners of the fence line. Tie a string between the stakes to create a straight line. This will serve as a guide for the rest of the fence installation process.
Using a measuring tape, measure the distance between each corner to ensure equal spacing for the fence posts. Mark the exact spots where the fence posts will be installed along the string line.
If you’re including a gate in your fence, mark the location for it as well. Gates are typically installed at the front of the property or wherever you need access to the fenced area.
Double-check your measurements and make any necessary adjustments before proceeding. It’s important to ensure the fence line is straight and properly aligned with your property boundaries.
Remember to consider any slopes or uneven ground in your yard. If your property has varying elevation levels, you may need to adjust the height of the fence or install additional materials, like braces, to accommodate the slope.
By accurately marking the fence line, you’ll have a clear path to follow during the installation process. This will result in a straight and properly aligned chain link fence.
Step 4: Install Corner and End Posts
Now that you have marked the fence line, it’s time to start installing the corner and end posts. These are the main support structures of the chain link fence and provide stability and strength.
Begin by digging the post holes at each marked corner, using a post hole digger or auger. The depth of the holes should be approximately one-third of the total post height, plus an additional 6 inches for gravel or concrete footing.
Place the corner posts into the holes and ensure they are level and plumb. You can use a level to verify that they are perfectly vertical and adjust as needed. If the soil is loose, you may need to fill the hole with concrete to secure the posts.
Next, measure the distance between the corner posts along the fence line and dig holes for the end posts accordingly. These posts will be the endpoints of the fence and should be installed in a similar manner to the corner posts.
Once the holes are dug, place the end posts into the holes and ensure they are level and plumb. Adjust as necessary and backfill the holes with soil or concrete, firmly packing it down to secure the posts in place.
It’s crucial to ensure that the corner and end posts are properly aligned and firmly set in place. They will provide the backbone for the chain link fence, so taking the time to accurately install them is essential for a sturdy and long-lasting fence.
Read more: How To Cover A Chain Link Fence
Step 5: Set Up the Line Posts
With the corner and end posts securely installed, it’s time to set up the line posts. These posts run between the corner and end posts and provide support for the chain link fabric.
Start by measuring the distance between the corner and end posts along the fence line. Divide this measurement by the spacing you have chosen for the line posts. This will give you the number of line posts needed for that section.
Dig the post holes for the line posts at equal intervals along the fence line, keeping in mind the spacing you calculated. Make sure the holes are deep enough, following the same guidelines as the corner and end posts.
Place the line posts into the holes and check that they are level and plumb. Adjust as necessary and backfill the holes with soil or concrete. Ensure the posts are firmly set in place.
Once all the line posts are installed, stretch a string tightly between the corner posts at the desired height of the top rail. This will serve as a guide for aligning the line posts at the correct height.
Attach the line posts to the string using brackets or clamps, making sure they are aligned and level. This will ensure that the chain link fabric will be properly attached and not sag over time.
Setting up the line posts correctly is crucial for the structural integrity and appearance of the chain link fence. Pay attention to the leveling, alignment, and spacing to create a professional and durable fence installation.
Before setting up a chain link fence, make sure to check local zoning laws and property lines. It’s important to have the necessary permits and to avoid encroaching on neighboring properties.
Step 6: Install the Top Rail
After the line posts are in place, it’s time to install the top rail. The top rail provides additional support and stability to the chain link fence.
Start by measuring the length required for the top rail along each section of the fence. Cut the top rail to the appropriate size using a saw or pipe cutter, making sure to leave some extra length for the end caps.
Slide one end of the top rail into the first corner post, then align it with the line posts along the section. Use clamps or brackets to secure the top rail to each line post, ensuring it is level and properly aligned.
If you have multiple sections of the fence, connect the top rails by overlapping the ends and securing them with rail end sleeves or connectors. This will create a seamless and continuous top rail for the entire length of the fence.
For added stability, consider using a brace band and a tension band to secure the top rail to the corner and end posts. This will prevent the rail from shifting or coming loose over time.
After installing the top rail, double-check the alignment and ensure that it is level across the entire fence. Adjust as necessary and make any final adjustments before moving on to the next step.
Installing the top rail correctly is essential for the overall strength and stability of the chain link fence. It provides added support and ensures that the fence fabric is properly tensioned and secured.
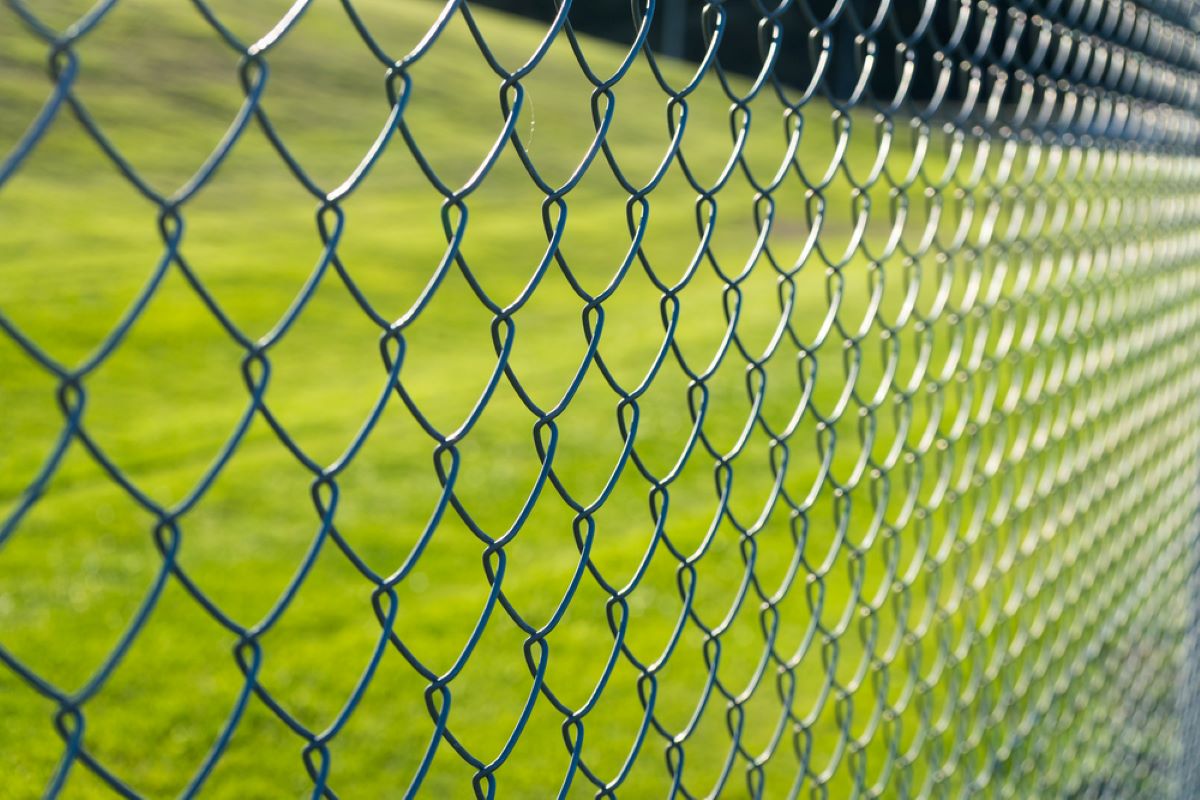
Step 7: Attach the Chain Link Fabric
With the corner posts, line posts, and top rail in place, it’s time to attach the chain link fabric to complete the installation of your fence.
Start by unrolling the chain link fabric along the inside of the fence line, ensuring that the bottom edge is touching the ground. If necessary, use tension wire or zip ties to hold the fabric in place temporarily.
Align the fabric so that it is centered along the fence line and extends beyond the end posts. Secure the fabric to the end posts using tension bands, making sure they are evenly spaced and tightly secured.
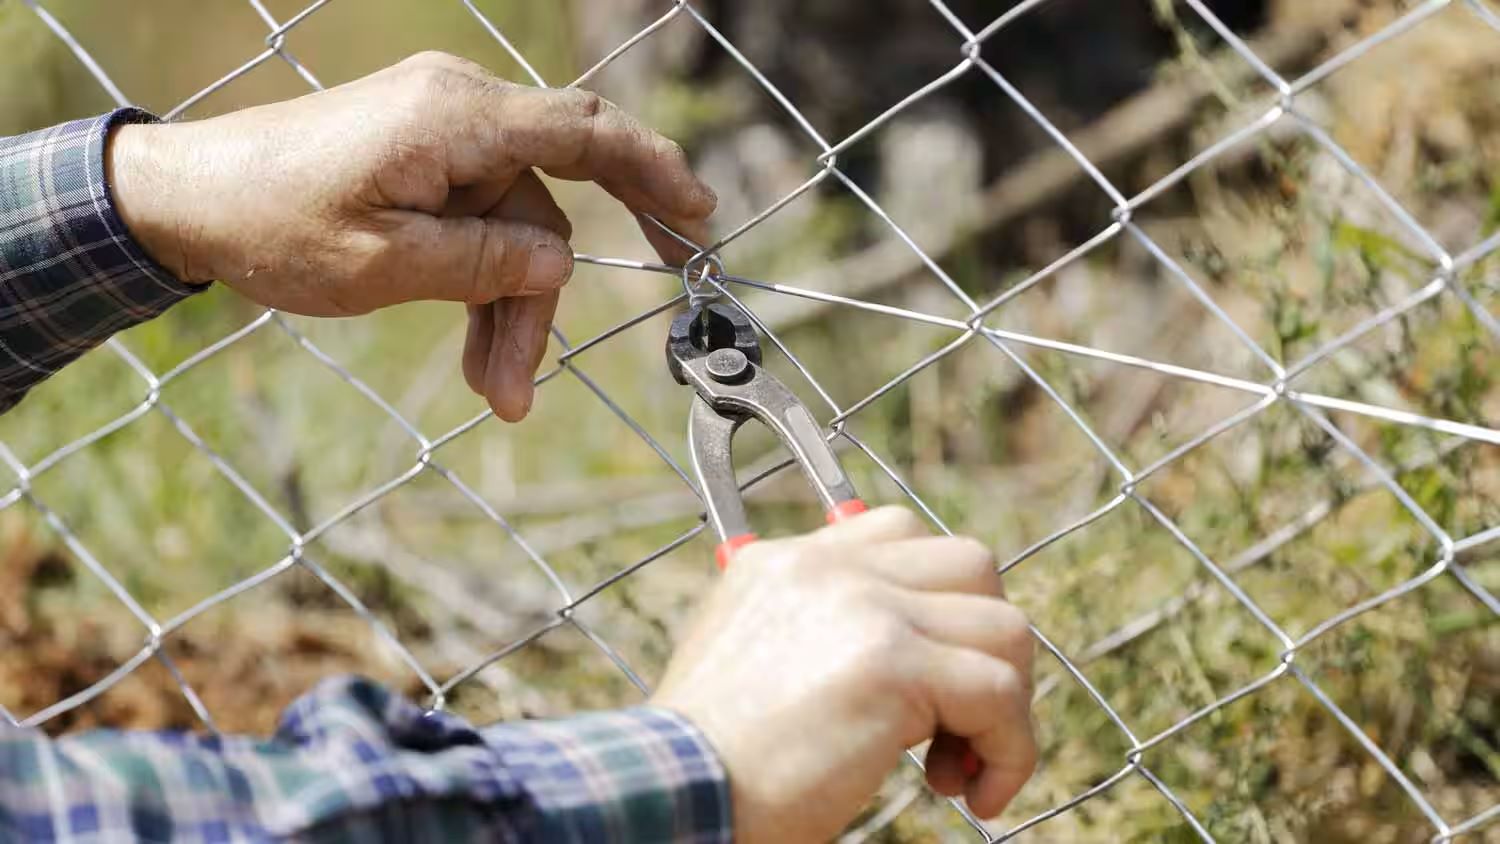
Unroll the chain link fabric along the fence line, attaching it to the line posts using tension bands and/or zip ties. Make sure the fabric is taut and straight, with no sagging or gaps.
If your chain link fence requires more than one roll of fabric, overlap the rolls by a few inches and secure them with fence ties or hog rings. This will ensure a seamless and continuous appearance.
As you attach the fabric, periodically check the alignment and tension to ensure a professional and visually appealing result. Adjust the tension as needed to ensure a tight and secure fence fabric.
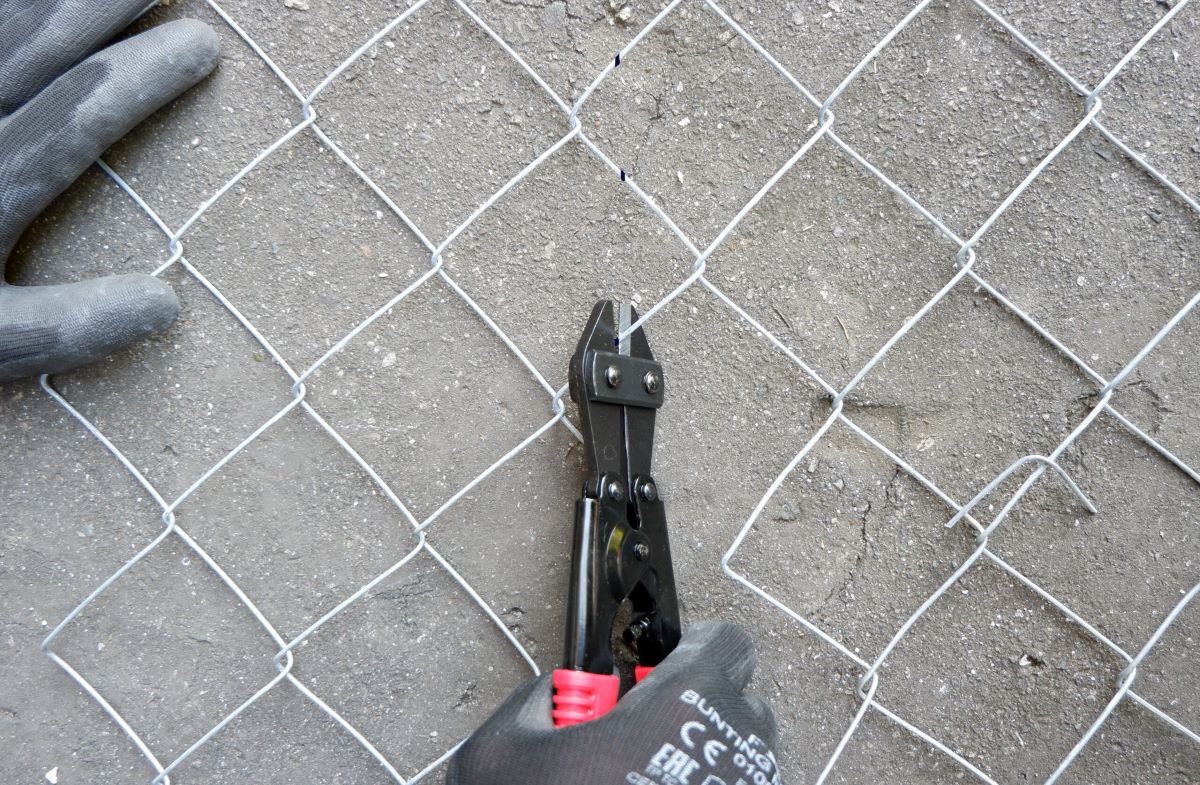
Once the chain link fabric is securely attached to the posts and line wires, trim any excess fabric using wire cutters. Make sure to leave a small amount of overlap to secure the fabric to the last post.
Attaching the chain link fabric is a critical step in the fence installation process. By ensuring proper tension and alignment, you’ll achieve a visually appealing and functional chain link fence.
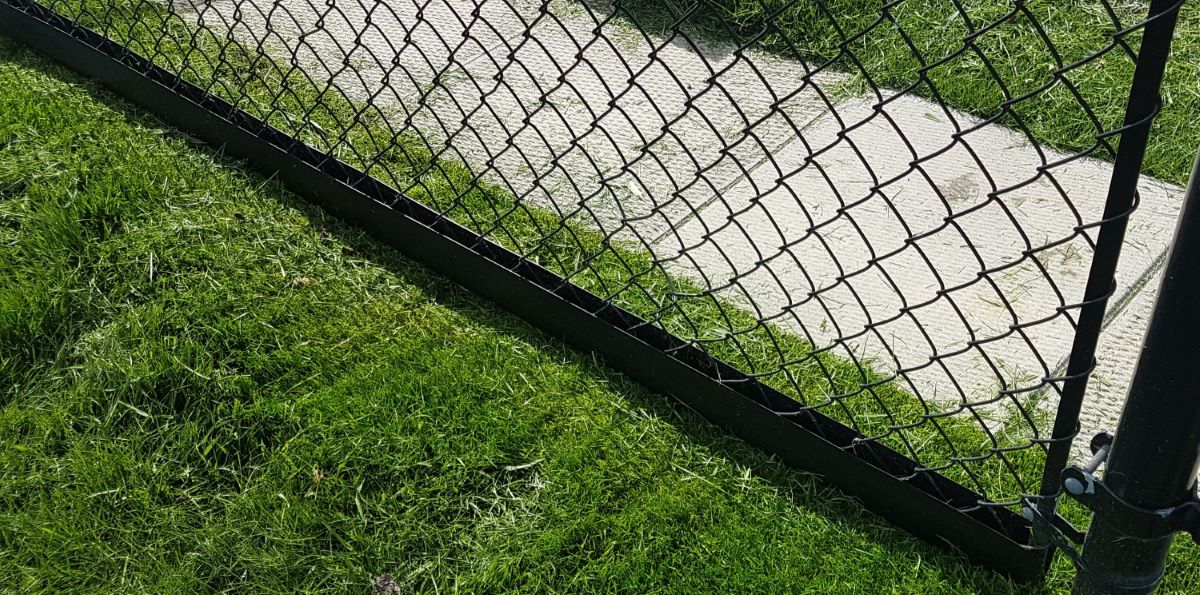
Step 8: Install the Tension Wire
Installing tension wire is an important step in reinforcing the stability and strength of your chain link fence. The tension wire is installed along the bottom of the chain link fabric to provide additional support and prevent sagging.
Begin by unrolling the tension wire along the bottom of the fence, starting at one end post. Secure the wire to the end post using tension wire clips or hog rings. Make sure the wire is taut and aligned with the bottom of the fabric.
Using a tensioning tool, pull the tension wire tightly along the length of the fence, making sure it is securely attached to all line posts. The tension wire should be installed approximately 2-3 inches above the ground to prevent it from being easily damaged.
As you tension the wire, periodically check that it is evenly spaced and properly aligned with the bottom of the fabric. Adjust the tension as needed to ensure a consistent and tight fit.
Continue to pull and secure the tension wire until you reach the other end post. Cut any excess wire using wire cutters and secure the end of the wire to the post with tension wire clips or hog rings.
Double-check the tension of the wire along the entire fence line, ensuring that it is uniformly tightened and securely attached to each post. This will help maintain the integrity and appearance of the chain link fence.
Installing tension wire is an effective way to prevent the bottom of the chain link fabric from sagging and maintain the overall stability of your fence. Take the time to properly tension the wire for a long-lasting and visually appealing result.
Read more: How Tall Is A Chain Link Fence
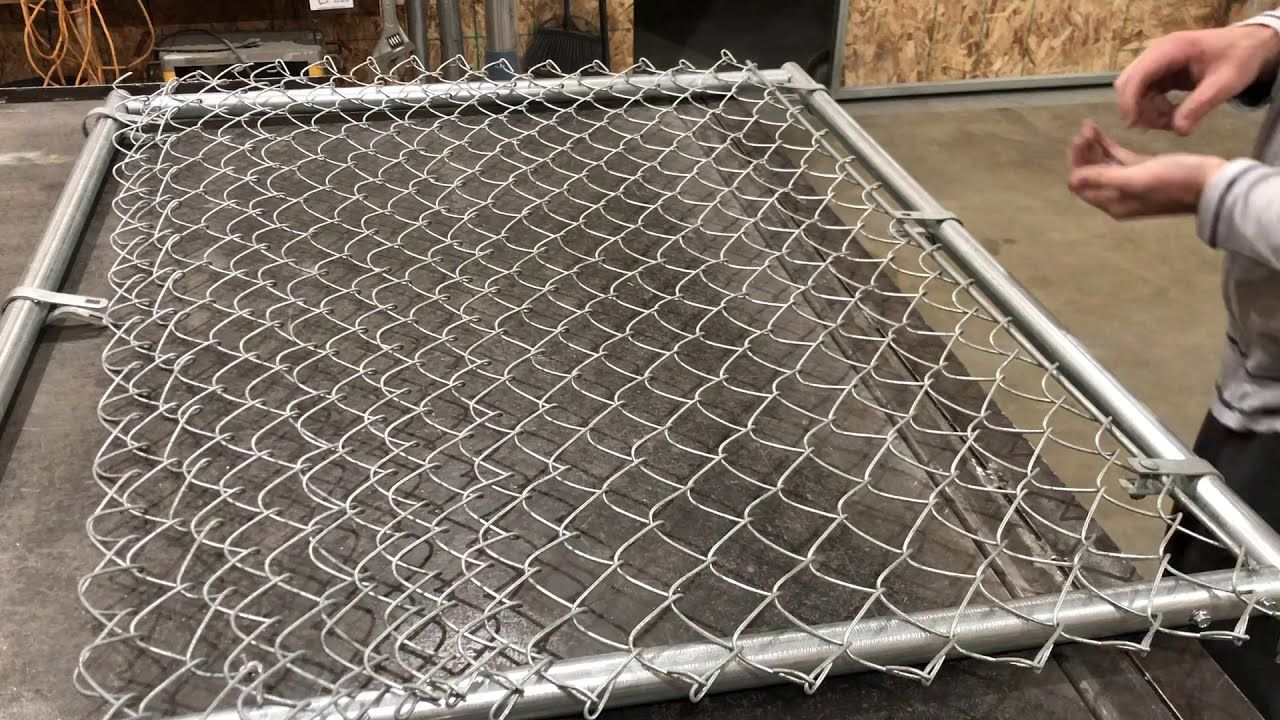
Step 9: Add Gate(s)
Adding a gate to your chain link fence allows for easy access to your property while still maintaining security. Whether you need a single gate or multiple gates, this step will guide you through the process of installing them.
Start by determining the location and size of the gate(s) you want to install. Measure the width of the opening and choose a gate that fits appropriately. It’s important to select a gate that matches the style and height of your chain link fence.
Begin by installing the gate posts, which are typically larger and sturdier than the line posts. Dig post holes for the gate posts and ensure they are level and plumb. Backfill the holes with soil or concrete to secure the posts firmly in place.
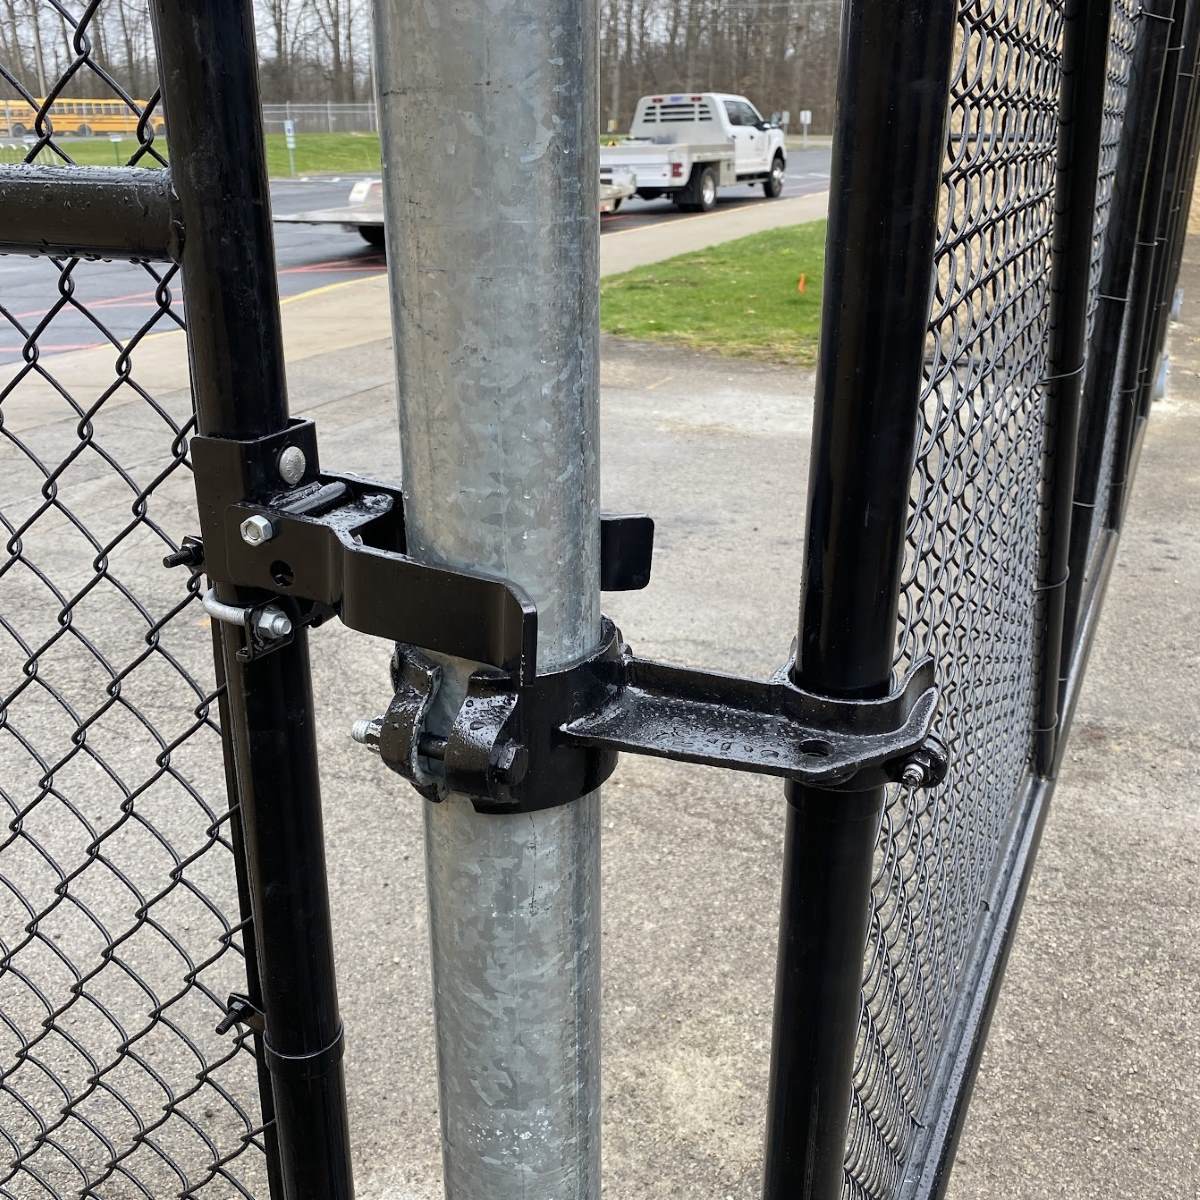
Next, attach the hinges to the gate posts. The hinges will allow the gate to swing open and closed smoothly. Position the hinges at the desired height, ensuring that they are properly aligned and securely attached.
Hang the gate on the hinges, adjusting as needed to ensure it swings freely and does not drag or sag. Use the provided hardware to secure the gate to the hinges.
For added security and stability, consider installing a latch or lock on the gate. This will allow you to securely close and lock the gate, preventing unauthorized access to your property.
Double-check the alignment and functionality of the gate, ensuring that it opens and closes smoothly and securely latches in place. Make any necessary adjustments before proceeding.
If you’re installing multiple gates, repeat the same process for each gate, ensuring that they are symmetrically and uniformly installed along the fence line.
Adding gate(s) to your chain link fence completes the functionality and convenience of your enclosure. Take the time to properly install and secure the gate(s) to enhance both the accessibility and security of your property.
Step 10: Finishing Touches
With the majority of the chain link fence installed, it’s time to add the finishing touches to ensure a polished and complete look.
Start by inspecting the entire fence, checking for any loose or protruding hardware. Tighten any bolts or screws that may have become loose during the installation process.
If you used concrete footings for the fence posts, ensure that they are fully cured before considering any additional steps. This will ensure that the posts are firmly set and stable.
If desired, you can attach post caps to the top of each post to provide a finished look and offer protection against moisture. Post caps come in various styles and materials, allowing you to choose the one that complements your fence design.
Consider enhancing the aesthetic appeal of your chain link fence by adding decorative elements, such as privacy slats or windscreen. These can provide additional privacy, reduce wind flow, and add a touch of individuality to your fence.
Lastly, take the time to clean up any debris or excess materials from the installation process. Ensuring a clean and tidy appearance will enhance the overall look of your fence.
Regular maintenance is key to preserving the longevity and appearance of your chain link fence. Periodically inspect the fence for any signs of damage or wear, and make any necessary repairs promptly.
By adding these finishing touches and properly maintaining your chain link fence, you’ll enjoy a cohesive, attractive, and functional enclosure for years to come.
With the completion of these steps, your chain link fence installation is now finished! You can step back and admire your hard work and the enhanced security and privacy it provides to your property.
Conclusion
Setting up a chain link fence is a worthwhile investment that offers both security and practicality to your property. By following the step-by-step guide outlined in this article, you can successfully install a chain link fence and enjoy its benefits for years to come.
From determining the fence location and gathering the necessary tools and materials to attaching the chain link fabric and adding gates, each step plays a crucial role in creating a sturdy, functional, and visually appealing fence.
It’s important to pay attention to the details, such as accurately marking the fence line, properly installing the posts and rails, tensioning the wire, and securing the chain link fabric. These factors will contribute to the overall strength and longevity of your fence.
Remember to always adhere to local building codes and regulations, ensuring that your fence installation is in compliance. Additionally, consider consulting professionals or seeking assistance if you encounter challenges during the process.
By taking care of the finishing touches and regularly maintaining your chain link fence, you can extend its lifespan and keep it looking its best. Regular inspections, repairs, and cleaning will ensure that it continues to serve its purpose effectively.
With your new chain link fence in place, you can enjoy improved security, privacy, and peace of mind. Whether you’re enclosing a backyard, protecting a garden, or creating a designated boundary, a well-installed chain link fence offers durability and affordability.
So, gather your tools and materials, follow the step-by-step instructions, and embark on the journey of setting up your very own chain link fence. The end result will be a reliable and visually appealing barrier that enhances your property for years to come.
Frequently Asked Questions about How To Set Up Chain Link Fence
Was this page helpful?
At Storables.com, we guarantee accurate and reliable information. Our content, validated by Expert Board Contributors, is crafted following stringent Editorial Policies. We're committed to providing you with well-researched, expert-backed insights for all your informational needs.

0 thoughts on “How To Set Up Chain Link Fence”