
Articles
How To Paint A Chain Link Fence
Modified: August 27, 2024
Learn how to paint a chain link fence with these helpful articles. Transform the look of your fence and give it a fresh new coat of paint.
(Many of the links in this article redirect to a specific reviewed product. Your purchase of these products through affiliate links helps to generate commission for Storables.com, at no extra cost. Learn more)
Introduction
Welcome to the comprehensive guide on how to paint a chain link fence. Whether you have a worn-out fence that needs a fresh coat of paint or you simply want to change the look of your outdoor space, painting a chain link fence can be a rewarding DIY project. Not only does it enhance the visual appeal of your property, but it also helps protect the fence from rust and other elements.
Painting a chain link fence may seem like a daunting task, but with the right tools, preparation, and technique, you can achieve professional-looking results. In this step-by-step guide, we will walk you through the entire process, from preparing the fence to applying the final touches.
Before we proceed, it’s important to note that painting a chain link fence requires some physical effort and time. However, the end result will be well worth it, transforming your fence into a standout feature of your outdoor space. So, grab your painting gear and let’s get started on revitalizing your chain link fence.
Key Takeaways:
- Proper preparation is key to a successful chain link fence painting project. From clearing the area to repairing damage and applying primer, attention to detail ensures a professional and long-lasting finish.
- Applying a second coat of paint is optional but highly beneficial for enhancing the appearance and durability of a painted chain link fence. It provides an extra layer of protection and ensures a vibrant, flawless finish.
Read more: How To Stretch A Chain Link Fence
Step 1: Preparing the Fence
Before you begin painting, it’s essential to prepare the chain link fence properly. This step is crucial in ensuring that the paint adheres well and provides long-lasting results. Here’s how to prepare your fence for painting:
- Remove any obstacles: Start by clearing the area around the fence. Remove any plants, furniture, or other items that may obstruct your access to the fence. This will give you ample space to work and prevent any accidental damage to surrounding objects.
- Clean the fence: Use a high-pressure hose or a power washer to clean the fence thoroughly. Remove any dirt, debris, or loose rust that may be present. This will create a clean surface for the paint to adhere to. Pay special attention to areas that are heavily soiled or rusted.
- Protect nearby surfaces: If there are any surfaces adjacent to the fence, such as sidewalks or flowerbeds, it’s important to protect them from overspray or paint splatter. Use plastic drop cloths or newspaper to cover these surfaces and secure them in place with tape or weights.
- Repair any damage: Inspect the fence for any signs of damage, such as broken or loose links. Replace any damaged sections and tighten any loose connections. This will ensure that your fence is structurally sound and ready for the painting process.
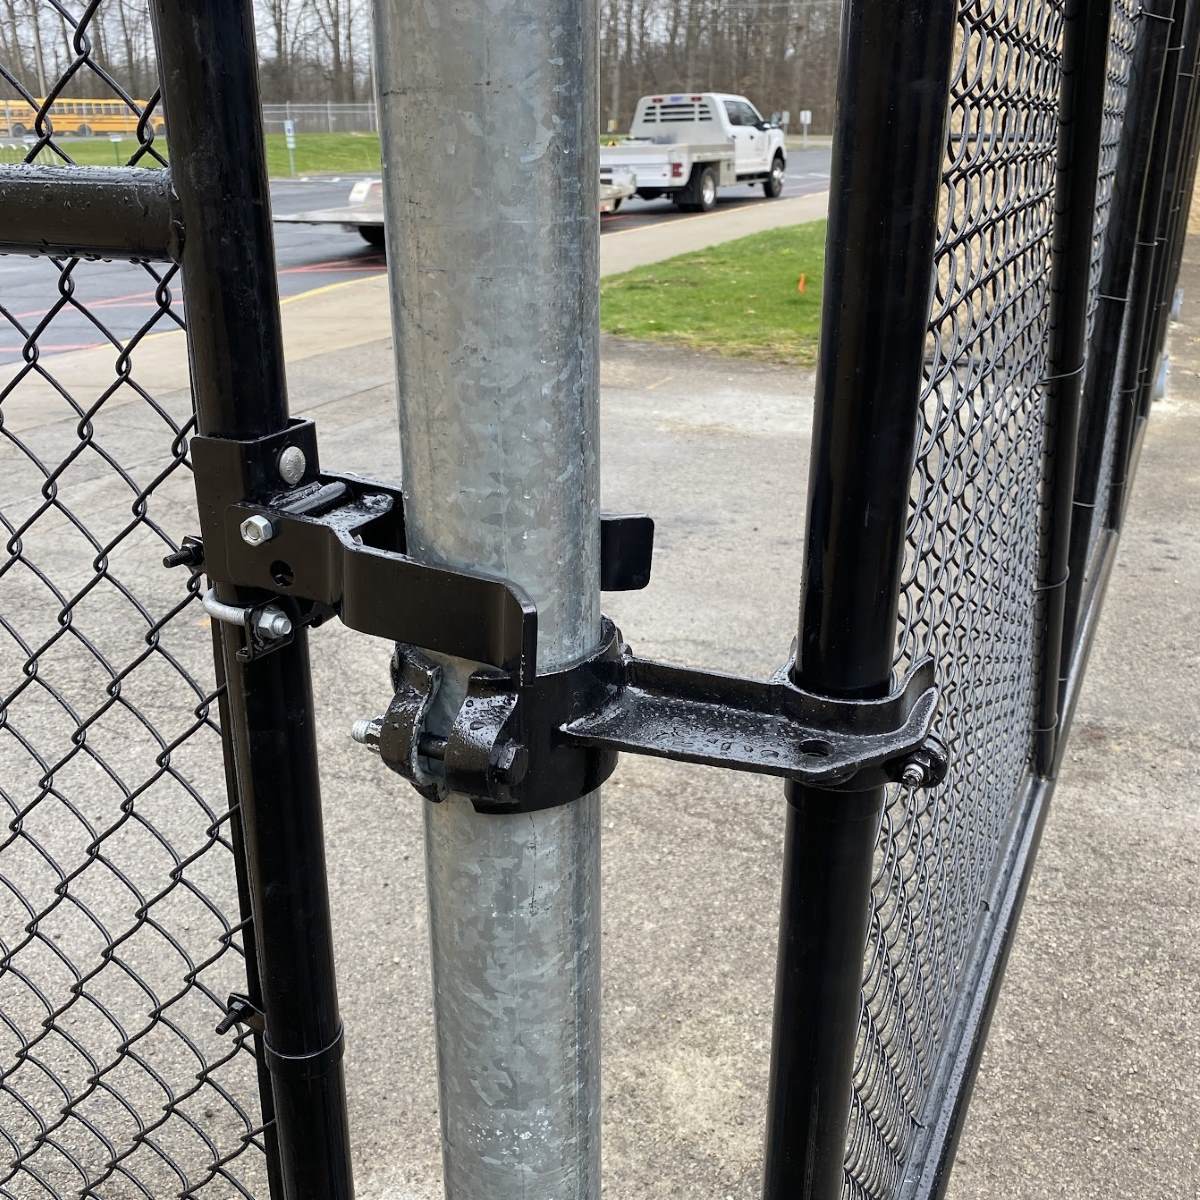
- Mask off areas: If there are any areas of the fence that you do not want to paint, such as gates or hardware, use painter’s tape to mask them off. This will help create clean, crisp lines and prevent any unwanted paint on these areas.
By adequately preparing your fence, you’ll set the foundation for a successful painting project. Taking the time to clean, repair, and protect the surrounding surfaces will ensure that the paint adheres well and provides a visually appealing finish. Once you’ve completed the necessary preparations, you’re ready to move on to the next step: cleaning the fence.
Step 2: Cleaning the Fence
Once you have prepared your chain link fence, it’s time to give it a thorough cleaning. Cleaning the fence will remove any remaining dirt, grime, or loose rust, ensuring that the paint adheres properly and lasts longer. Here’s how to clean your fence effectively:
- Use a mild detergent: Fill a bucket with warm water and add a mild detergent or dish soap. Mix it well to create a soapy solution.
- Scrub the fence: Dip a scrub brush or sponge into the soapy water and start scrubbing the surface of the fence. Pay close attention to areas that are heavily soiled or have stubborn stains. Scrub in circular motions to loosen any dirt or grime.
- Rinse with water: Once you have scrubbed the entire fence, rinse it thoroughly with clean water. You can use a hose or a bucket of water for this step. Make sure to remove all the soap residue from the fence.
- Remove rust: If there are any areas with rust on your fence, use a wire brush to remove it. Scrub the rusty spots until the surface is smooth and free of rust. This will ensure that the paint adheres well and prevents further rusting.
- Allow the fence to dry: After cleaning, give the fence enough time to dry completely before moving on to the next step. A few hours of drying time should suffice, but it may take longer depending on the weather conditions.
By cleaning your fence thoroughly, you’ll remove any dirt and grime that can hinder the adhesion of the paint. Additionally, removing rust spots will help prevent future damage and ensure a smooth painting surface. Once your fence is clean and dry, you’re ready to move on to the next step: repairing any damaged areas.
Step 3: Repairing Any Damaged Areas
Before you proceed with painting your chain link fence, it’s important to address any damaged areas. Repairing these areas will not only ensure the structural integrity of the fence but also provide a smooth and polished finish. Here’s how to repair any damaged areas on your fence:
- Inspect the fence: Carefully examine your chain link fence for any signs of damage, such as broken links, bent poles, or loose connections. Take note of the areas that require repair.
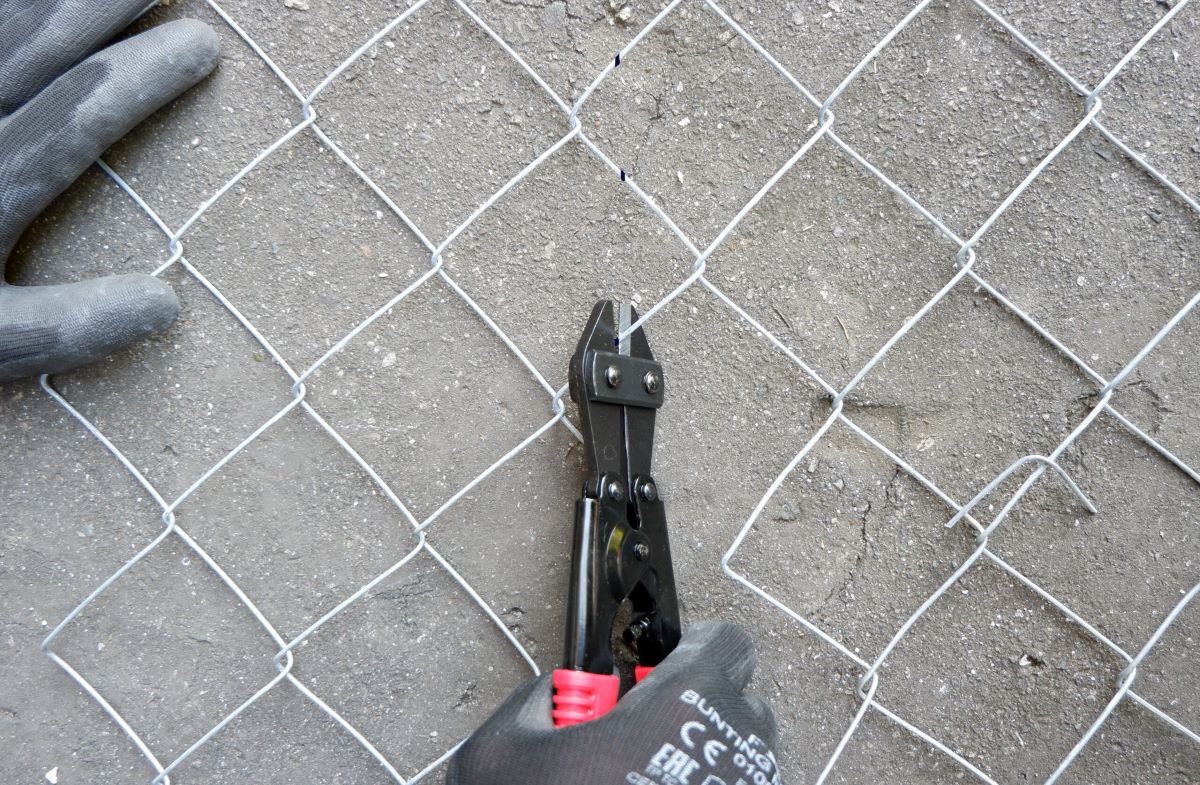
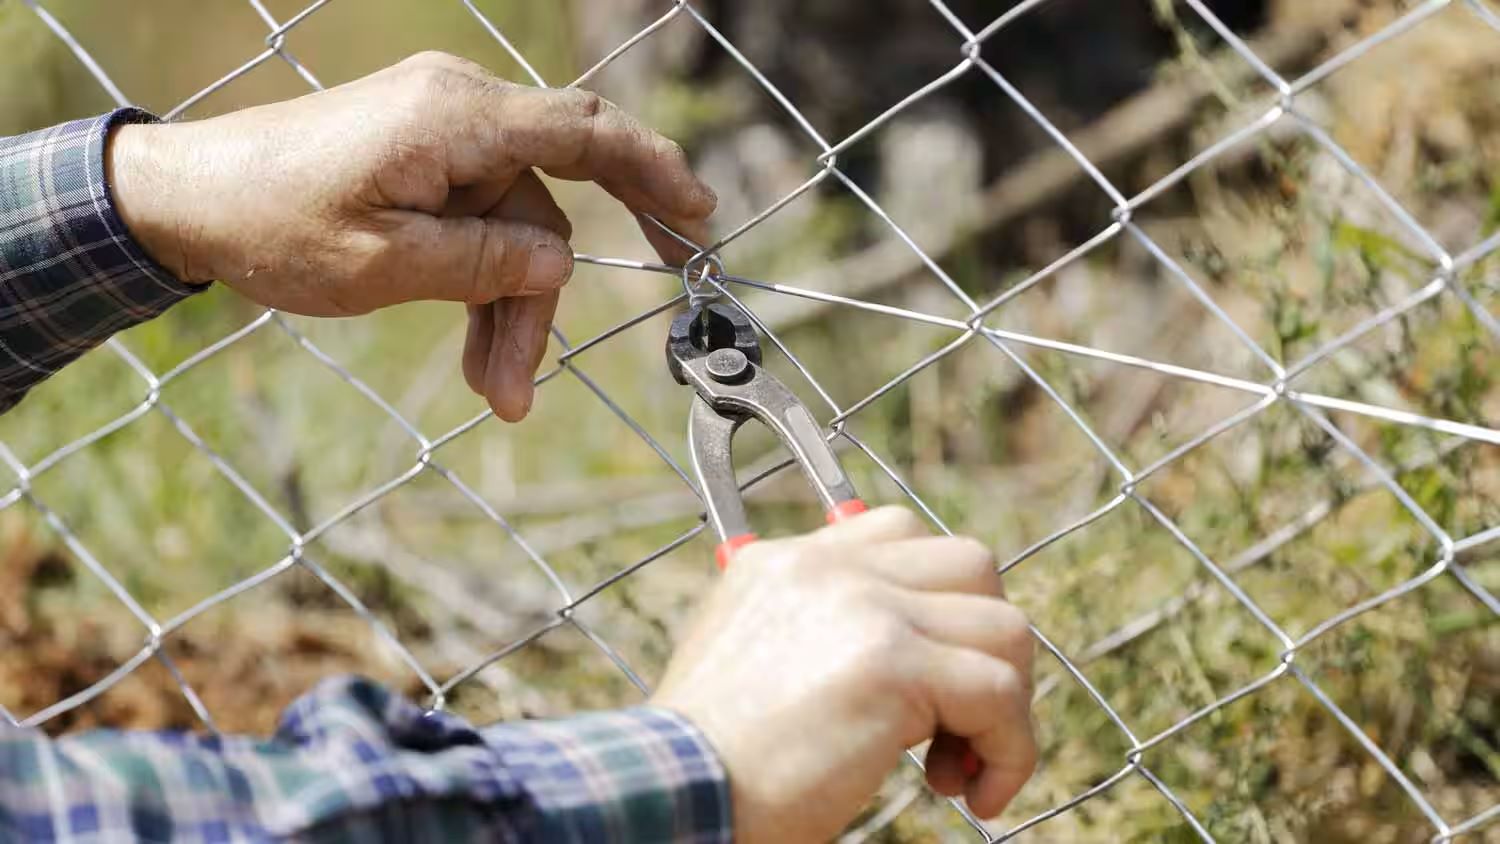
- Replace broken links: If you notice any broken links, use pliers to remove them from the fence. Then, attach new chain links in their place, ensuring a tight connection. This will restore the strength and stability of the fence.
- Straighten bent poles: If you come across any bent poles, use a pipe bender or a pair of pliers to straighten them. Apply gentle pressure to gradually straighten the bent sections. This will ensure that the fence has a uniform and visually pleasing appearance.
- Tighten loose connections: Check for any loose connections or fasteners on the fence. Use a wrench or pliers to tighten them securely. This will prevent any wobbling or instability in the fence and contribute to a professional-looking result.
- Smooth rough edges: If there are any rough edges on the fence, such as sharp ends or jagged cuts, use a file or sandpaper to smooth them out. This will prevent any injuries and give the fence a neat and finished look.
Repairing any damaged areas on your chain link fence is crucial for the overall appearance and longevity of the paint job. By ensuring that your fence is structurally sound and free of imperfections, you’ll be able to achieve a seamless and professional finish. Once you’ve completed the necessary repairs, you can move on to the next step: applying primer to the fence.
When painting a chain link fence, be sure to thoroughly clean and remove any rust or debris before applying a rust-inhibiting primer. This will help the paint adhere better and provide long-lasting protection.
Step 4: Applying Primer
Priming your chain link fence is an important step in the painting process. Primer acts as a bonding agent between the surface of the fence and the paint, ensuring better adhesion and a more durable finish. Here’s how to apply primer to your fence:
- Select the right primer: Choose a primer that is specifically formulated for metal surfaces and outdoor use. Look for a rust-inhibitive primer that provides good coverage and adhesion.
- Prepare the primer: Follow the manufacturer’s instructions to prepare the primer. This may involve stirring the primer thoroughly before use or diluting it with a recommended solvent.
- Apply the primer: Use a high-quality brush or a paint roller to apply the primer evenly to the chain link fence. Start at one end of the fence and work your way across, making sure to coat the surface thoroughly. Apply the primer in smooth, even strokes and avoid drips or excess buildup.
- Cover the entire fence: Make sure to coat both sides of the fence with the primer, as well as any hard-to-reach areas. This will provide maximum protection against rust and ensure an even base for the paint.
- Allow the primer to dry: Follow the drying time recommended by the primer manufacturer before proceeding to the next step. This will typically take a few hours, but it may vary depending on the weather conditions.
Applying primer to your chain link fence helps create a strong foundation for the paint and improves its durability. It also provides added protection against rust and extends the lifespan of your fence. Once the primer has dried, you’re ready to move on to the exciting part: painting the fence!
Read more: How To Cover A Chain Link Fence
Step 5: Painting the Fence
Now that your chain link fence is properly prepared and primed, it’s time to start painting. Painting the fence will not only enhance its appearance but also provide a protective barrier against the elements. Here’s how to paint your fence effectively:
- Choose the right paint: Select a paint specifically designed for exterior metal surfaces. Opt for a high-quality, weather-resistant paint that provides durability and long-lasting color.
- Prepare your painting tools: Use a high-quality brush or a paint sprayer for larger fence areas. Ensure that your brushes or sprayers are clean and in good condition to achieve smooth and even coverage.
- Start at the top: Begin painting at the top of the fence and work your way down. Apply the paint in long, even strokes, following the direction of the fence. Make sure to cover all surfaces, including the chain links and poles, for uniform color and protection.
- Pay attention to details: Take your time to paint the edges, corners, and hard-to-reach areas of the fence. Use a smaller brush or a sponge brush if needed to ensure thorough coverage. Pay attention to any missed spots or drips along the way and correct them as you go.
- Apply multiple coats: For optimal coverage and durability, it’s often recommended to apply multiple coats of paint. Allow each coat to dry completely before applying the next one. This will ensure a smoother and more even finish.
- Follow proper drying times: Follow the drying times specified by the paint manufacturer. This will usually involve waiting a few hours between coats and allowing the final coat to dry completely before handling or touching the fence.
By following these steps, you’ll be able to paint your chain link fence with precision and achieve a professional-quality result. Remember to work methodically and take your time to ensure thorough coverage and a smooth finish. Once you’ve completed the painting process, you’re almost finished! But don’t rush just yet, as applying a second coat can provide even more durability and a flawless appearance.
Step 6: Applying a Second Coat (Optional)
While it may be tempting to call it a day after completing the first coat of paint on your chain link fence, applying a second coat can greatly enhance the overall appearance and longevity of the paint job. The second coat provides an extra layer of protection and helps achieve a more vibrant and even color. Here’s how to apply a second coat to your fence:
- Assess the coverage: Before applying the second coat, take a moment to evaluate the coverage of the first coat. If you notice any areas that appear thin or uneven, the second coat can help rectify this.
- Allow proper drying time: Ensure that the first coat is completely dry before applying the second coat. Follow the drying time specified by the paint manufacturer to ensure optimal adhesion and a smooth finish.
- Repeat the painting process: Apply the second coat following the same painting process as the first coat. Start at the top of the fence and work your way down, using long, even strokes. Make sure to cover all surfaces, including the chain links and poles, for consistent color and protection.
- Check for missed spots: As you apply the second coat, pay close attention to any missed spots or thin areas. Regularly step back and inspect the fence from a distance to ensure uniform coverage. Touch up any areas as needed.
- Allow proper drying time: Once the second coat is applied, allow it to dry completely before considering the painting process complete. Again, follow the recommended drying time specified by the paint manufacturer.
While applying a second coat is optional, it can significantly improve the overall quality and durability of the paint job on your chain link fence. It provides an additional layer of protection against the elements and helps ensure a more vibrant and flawless appearance. Taking the time to apply a second coat is worth the effort to achieve long-lasting and professional-looking results.
Now that you’ve completed the painting process, your chain link fence is almost ready to shine. However, there’s one final step that will add those finishing touches and make your painted fence look truly polished.
Step 7: Finishing Touches
Congratulations on reaching the final step of painting your chain link fence! The finishing touches are essential in completing the project and ensuring that your fence looks its absolute best. Here’s what you need to do:
- Clean up: Before admiring your freshly painted fence, make sure to clean up the area around it. Remove any painting tools, drop cloths, or debris to leave your outdoor space looking clean and tidy.
- Inspect the fence: Take a careful look at your newly painted fence to ensure that the paint has dried evenly and that the coverage is uniform. Double-check for any missed spots or touch-up areas that need attention. If necessary, make any necessary corrections or touch-ups.
- Remove masking tape: If you used masking tape to protect certain areas during the painting process, gently remove it once the paint has dried. Take care not to damage the freshly painted surface as you peel off the tape.
- Clean up splatters: If there are any stray splatters of paint on surrounding surfaces, use a mild detergent and a cloth or sponge to gently remove them. Be cautious not to damage any adjacent areas while cleaning.
- Admire the result: Step back and take a moment to appreciate your hard work. Your chain link fence should now have a fresh and vibrant appearance, enhancing the overall aesthetic of your outdoor space.
By paying attention to these finishing touches, you will ensure that your painted chain link fence looks impeccable and ready to withstand the elements for years to come. Regular maintenance and cleaning will help preserve the quality and appearance of your newly painted fence for an extended period.
Now that you’ve completed all the steps, it’s time to sit back and enjoy the beauty and transformation of your chain link fence. Whether you opted for a bold color or a classic shade, your painted fence will undoubtedly enhance the visual appeal of your property. Well done on successfully painting your chain link fence!
Frequently Asked Questions about How To Paint A Chain Link Fence
Was this page helpful?
At Storables.com, we guarantee accurate and reliable information. Our content, validated by Expert Board Contributors, is crafted following stringent Editorial Policies. We're committed to providing you with well-researched, expert-backed insights for all your informational needs.

0 thoughts on “How To Paint A Chain Link Fence”