
Articles
How Tall Is A Chain Link Fence
Modified: December 7, 2023
Discover the ideal height for a chain link fence in our insightful articles. Learn about the various factors to consider for your fencing needs.
(Many of the links in this article redirect to a specific reviewed product. Your purchase of these products through affiliate links helps to generate commission for Storables.com, at no extra cost. Learn more)
Introduction
Chain link fences are a popular choice for both residential and commercial properties, offering a secure and durable boundary. One of the key considerations when installing a chain link fence is determining its height. The height of a chain link fence can impact its functionality, aesthetic appeal, and compliance with local regulations.
In this article, we will explore the various factors that determine the height of a chain link fence, how to measure its height accurately, common uses for different heights, and the benefits associated with varying fence heights. We will also touch on any regulations or restrictions that might exist regarding chain link fence heights.
So, whether you are considering installing a chain link fence or simply want to expand your knowledge on the topic, read on to discover everything you need to know about the height of a chain link fence.
Key Takeaways:
- Chain link fences come in standard heights ranging from 3 to 12 feet, catering to various needs such as security, privacy, and containment for residential, commercial, and industrial properties.
- Accurate measurement of chain link fence height is essential for compliance, planning, and modifications, ensuring property owners can maximize the benefits of security, privacy, and customization options.
Read more: How To Stretch A Chain Link Fence
What is a Chain Link Fence?
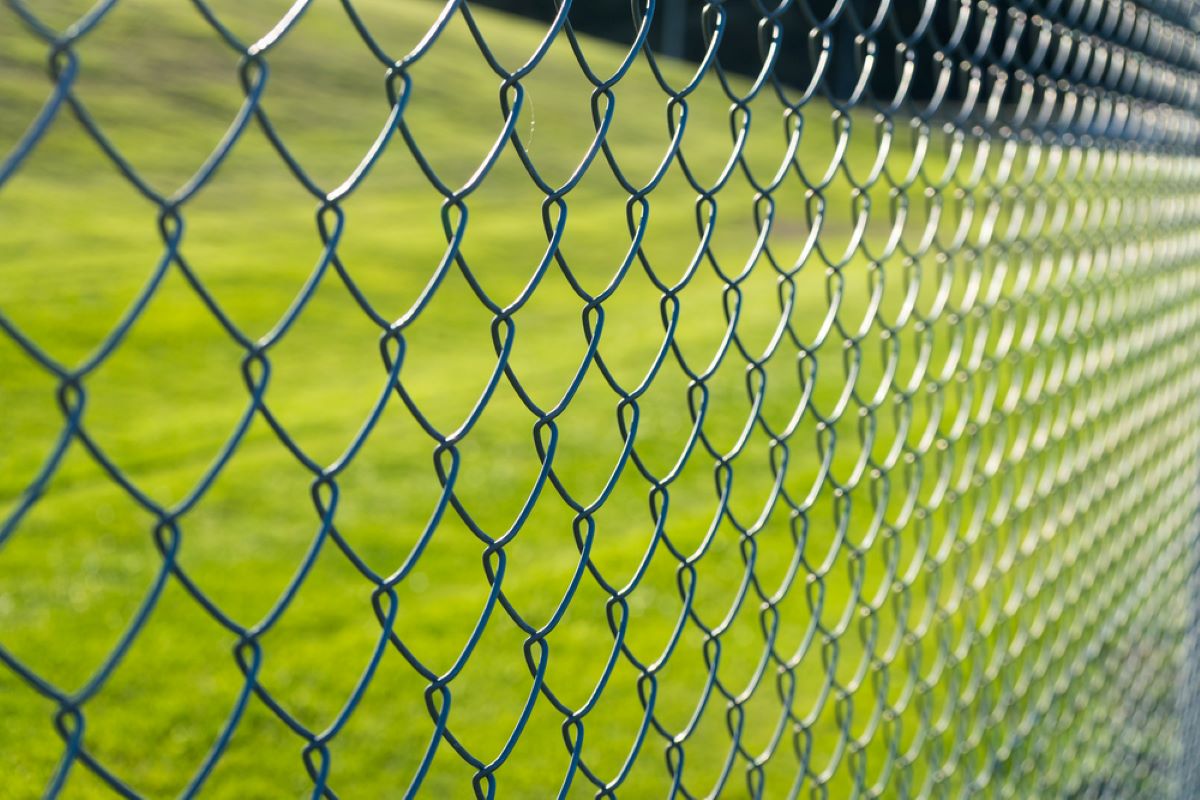
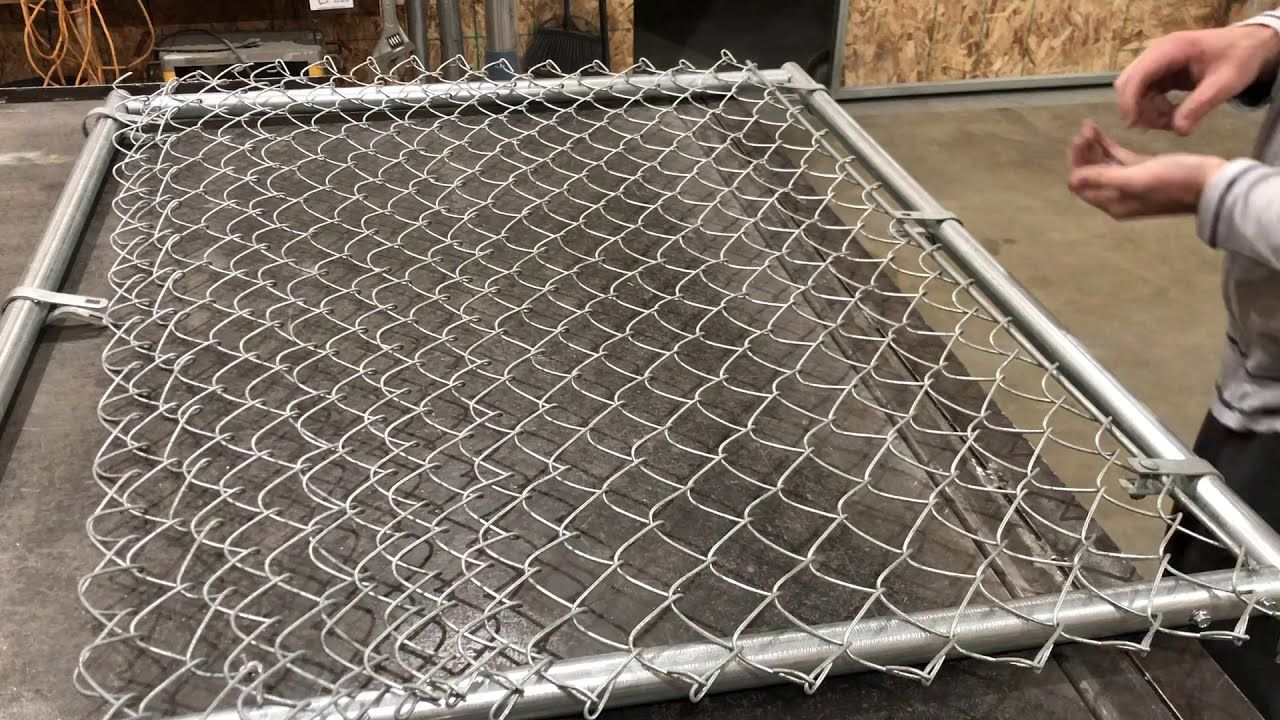
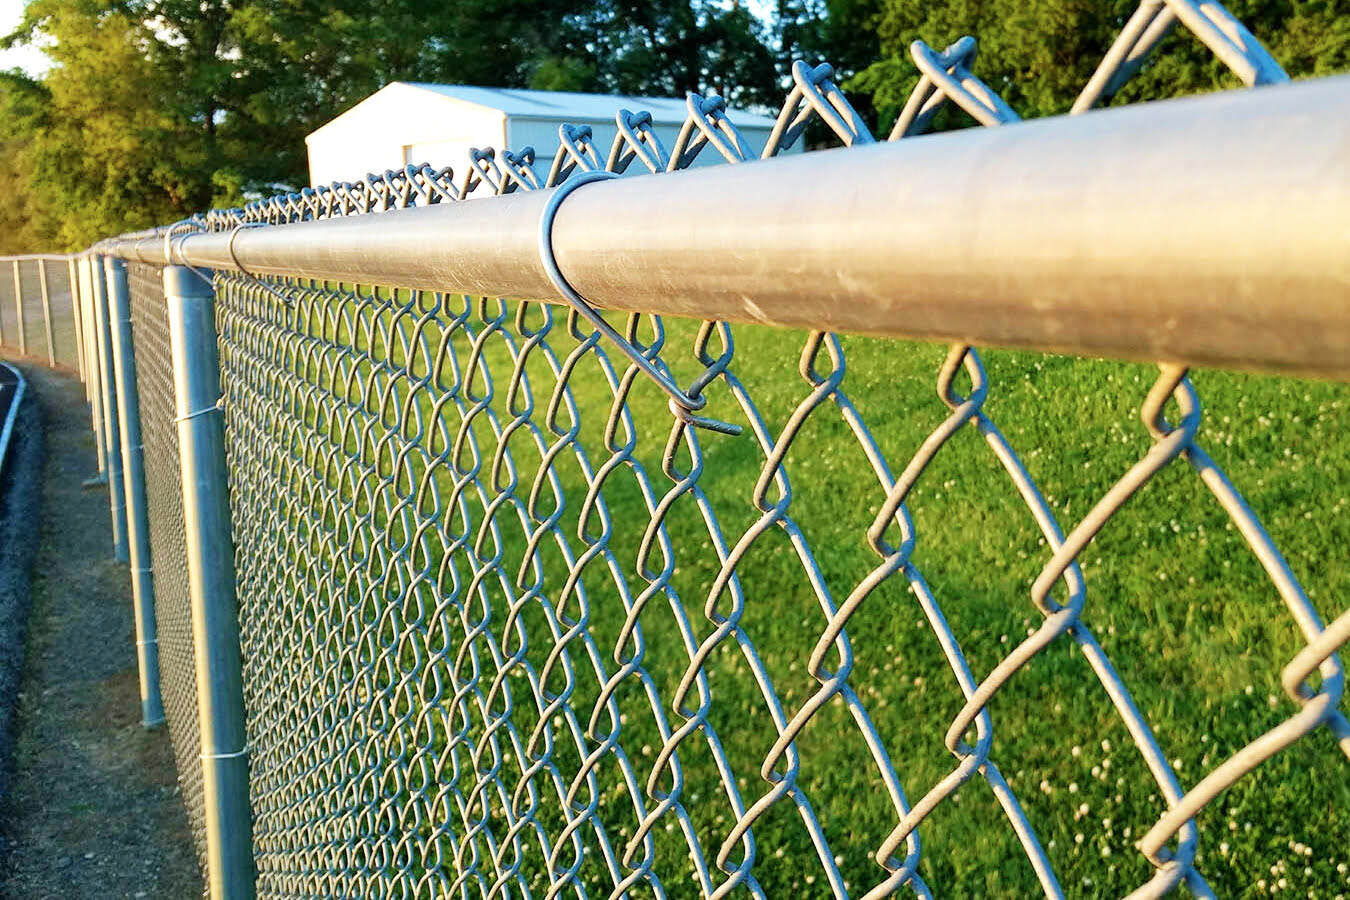
A chain link fence, also known as a wire mesh fence or diamond mesh fence, is a type of fencing made up of interwoven metal wires forming a diamond-shaped pattern. It is constructed using galvanized steel, which provides strength, corrosion resistance, and longevity. Chain link fences are versatile, affordable, and widely used for various applications.
These fences are commonly used to enclose residential properties, commercial buildings, industrial sites, schools, parks, and sports facilities. They can also be found in temporary construction sites or as barriers for events and crowd control.
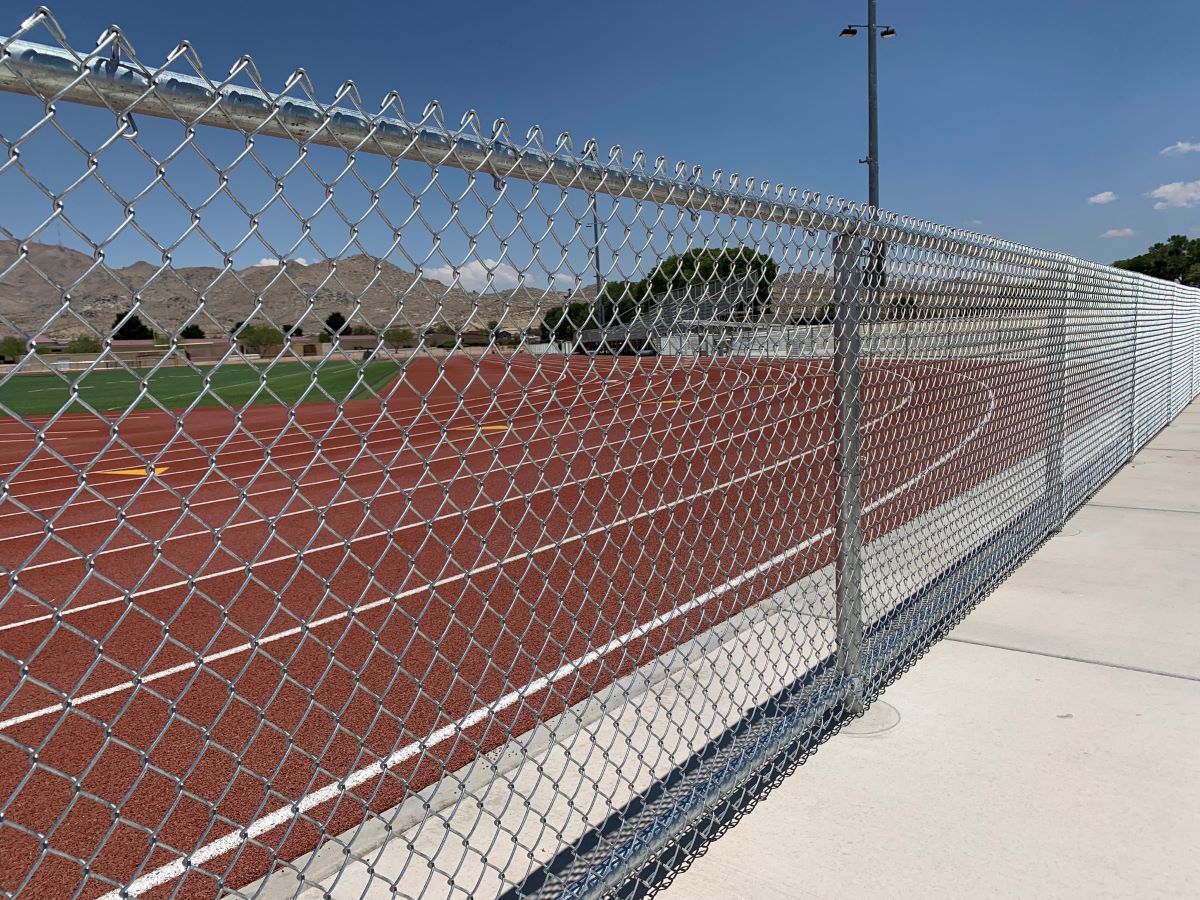
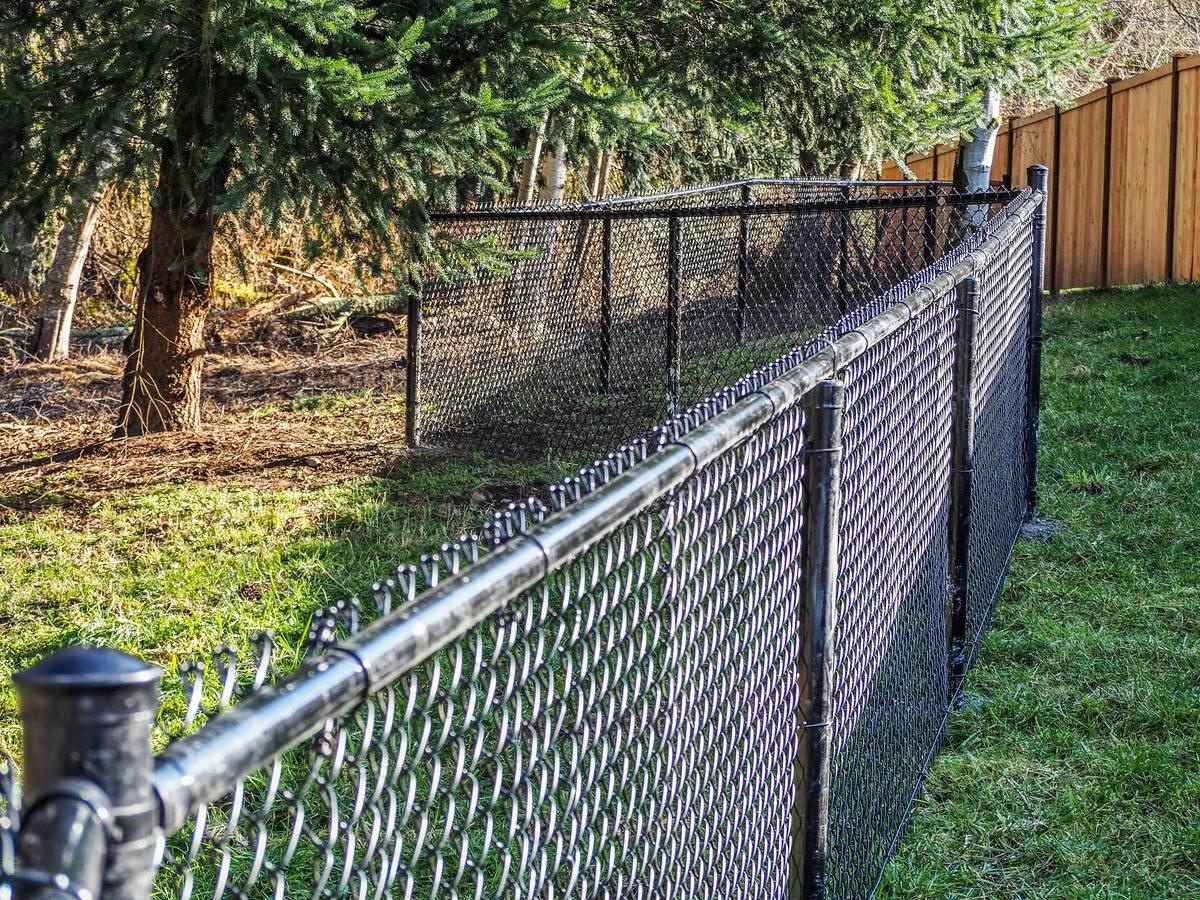
Chain link fences come in a variety of heights, ranging from 3 feet to 12 feet or even higher in some cases. The height of the fence is determined by its intended purpose, local regulations, security requirements, and the preferences of the property owner.
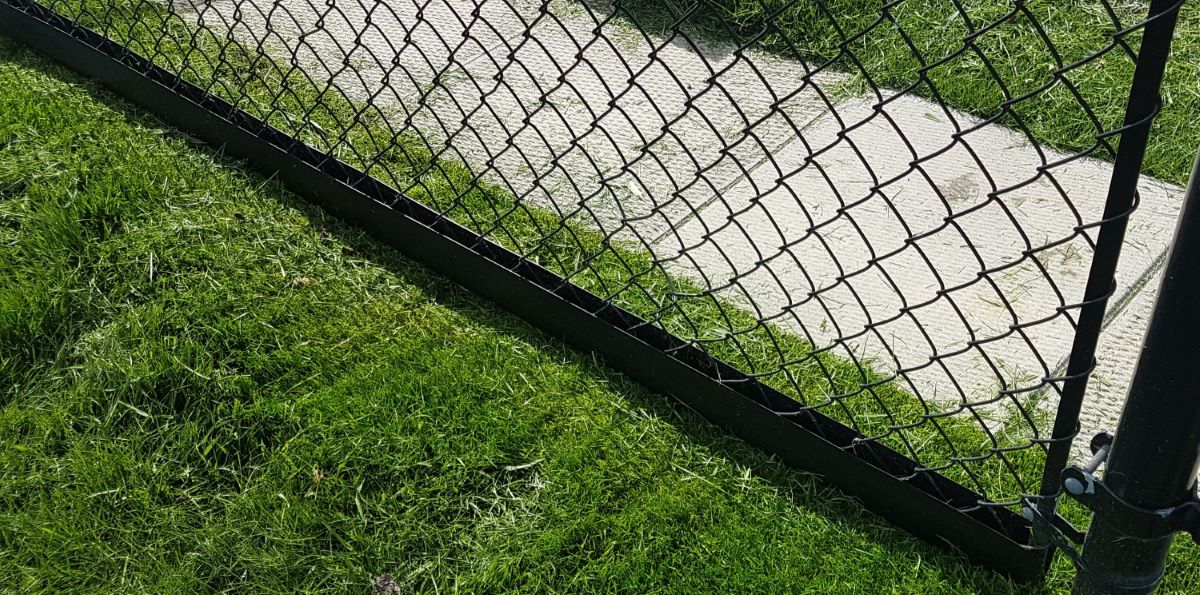
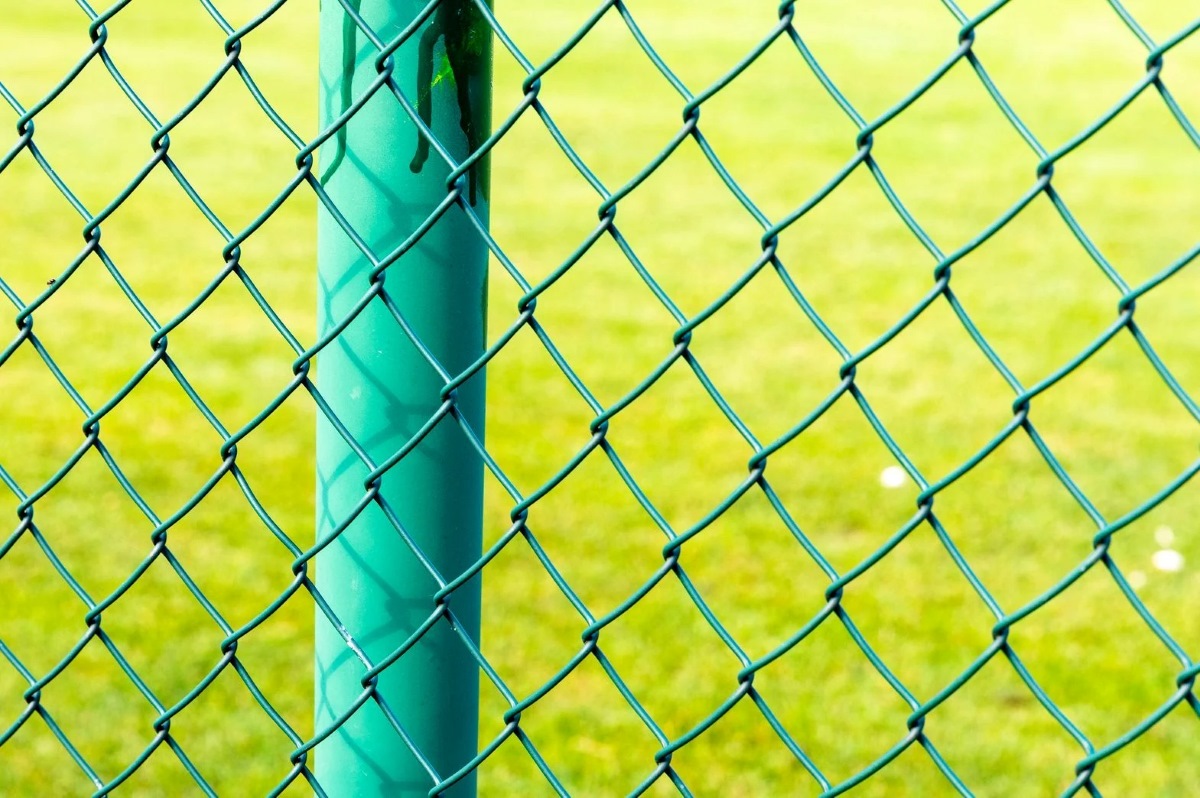
One of the main advantages of chain link fences is their transparency. Unlike solid fences, chain link fences allow for visibility both inside and outside the enclosed area, which can be beneficial for security and surveillance purposes. They can also be easily customized with additional features such as privacy slats or barbed wire for added security.
Chain link fences are known for their durability and low maintenance requirements. The galvanized steel material makes them resistant to rust, and they can withstand harsh weather conditions, making them suitable for both outdoor and indoor applications. Additionally, repairing a damaged section of a chain link fence is relatively simple and cost-effective.
Overall, chain link fences offer a practical and cost-effective solution for property owners seeking security and containment without obstructing visibility. The flexibility in height options and customization features makes them a popular choice for a wide range of applications.
Standard Heights of Chain Link Fences
Chain link fences are available in a range of standard heights to accommodate different needs and preferences. The most commonly used heights for chain link fences are:
- 3 feet
- 4 feet
- 5 feet
- 6 feet
- 7 feet
- 8 feet
- 10 feet
- 12 feet
These standard heights provide options for various applications, from residential properties to commercial and industrial sites. The choice of height depends on factors such as the level of security required, the desired level of privacy, and local regulations.
A 3-foot chain link fence is typically used for decorative purposes or to enclose small areas that do not require a high level of security, such as flower beds, gardens, or play areas. It provides a subtle boundary while still allowing visibility.
A 4-foot chain link fence is a popular choice for residential properties. It offers a moderate level of security and serves as a deterrent for intruders, while still maintaining an open and spacious feel.
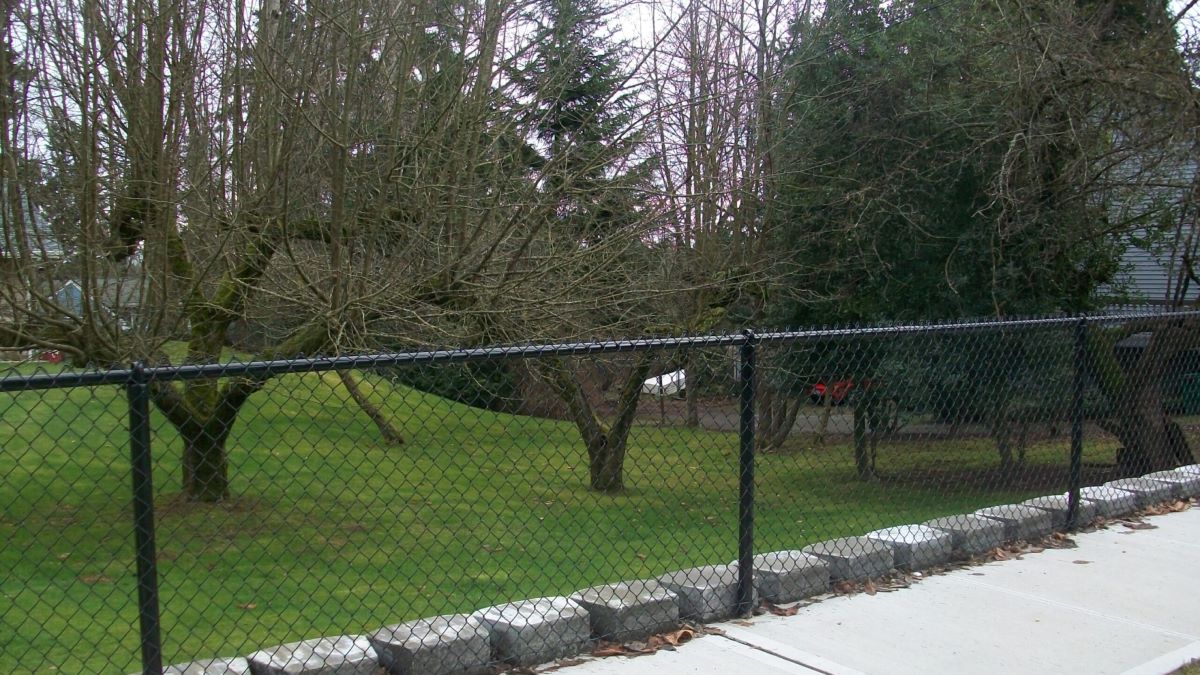
A 5 or 6-foot chain link fence is commonly used in residential settings where privacy is a concern. These heights provide a higher level of security and help create a more secluded and intimate space.
For commercial and industrial applications, taller chain link fences ranging from 7 to 12 feet are often preferred to enhance security and prevent unauthorized access.
It’s important to note that while these are the standard heights for chain link fences, custom heights can also be obtained by modifying the fencing materials to fit specific needs.
Keep in mind that the desired height of a chain link fence should be determined by evaluating the specific requirements of your property and consulting local regulations to ensure compliance.
Factors Affecting the Height of a Chain Link Fence
Several factors come into play when determining the appropriate height for a chain link fence. These factors include:
- Purpose of the Fence: The intended purpose of the chain link fence is one of the primary factors that affect its height. Is the fence being installed for security, privacy, containment, or decorative purposes? Understanding the purpose will help determine the appropriate height to achieve the desired outcome.
- Security Requirements: The level of security needed for the property will influence the height of the chain link fence. Higher fences with minimal or no visibility are often preferred in high-security areas to deter potential intruders.
- Privacy Considerations: If privacy is a priority, the fence height should be sufficient to block the view from neighboring properties or passersby. Taller fences or the addition of privacy slats can help achieve the desired level of privacy.
- Property Location: The location of the property can impact the height requirements for a chain link fence. For instance, properties located near busy streets may benefit from taller fences to minimize noise and provide privacy.
- Local Regulations: It is crucial to consult local building codes and regulations to determine any height restrictions or requirements that govern the installation of chain link fences in your area. Compliance with these regulations is essential to avoid potential fines or legal issues.
- Surrounding Environment: The surrounding environment, such as the topography of the land or nearby structures, can affect the height of the chain link fence. If the property is on uneven terrain, the fence might need to be adjusted to ensure it follows the natural slope of the land.
- Aesthetic Appeal: Certain properties may require a specific fence height to maintain consistency with the style and overall aesthetic of the surroundings. In such cases, the height of the chain link fence may be determined by the existing architecture and design elements of the property.
It is vital to consider these factors collectively to determine the optimal height for a chain link fence. Consulting with professionals or fence experts can provide valuable insights and guidance in making an informed decision.
How to Measure the Height of a Chain Link Fence
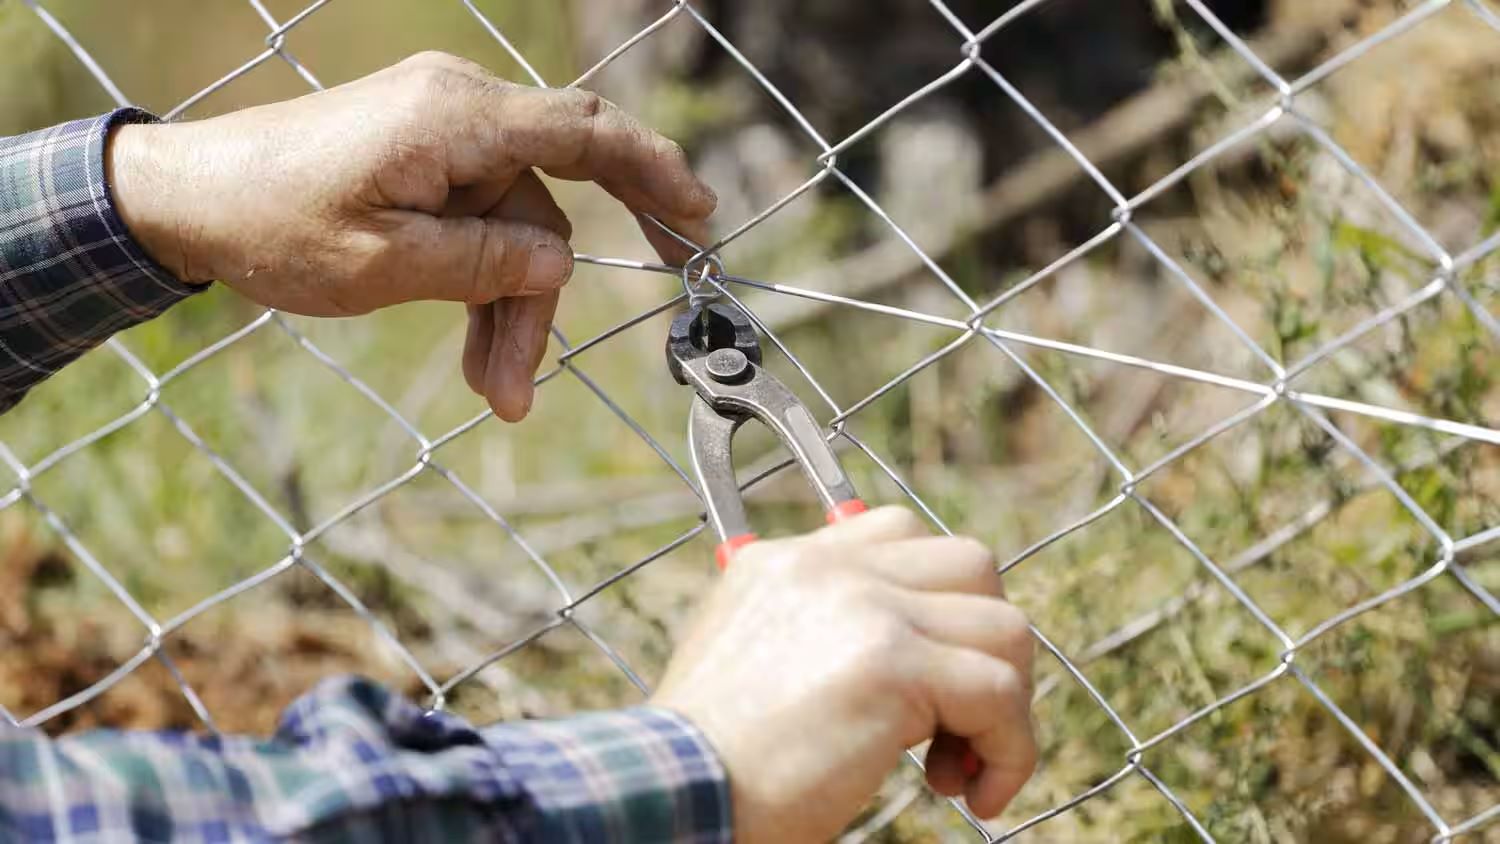
Accurately measuring the height of a chain link fence is essential for various reasons, including determining compliance with regulations, purchasing the correct amount of fencing material, or making modifications to an existing fence. Here are the steps to measure the height of a chain link fence:
- Start at the Bottom: Begin by measuring from the bottom of the fence fabric to the top. This measurement should be taken vertically, keeping the tape measure straight along the fabric. Ensure that the tape measure is not stretched or sagging, as this can affect the accuracy of the measurement.
- Measure Multiple Sections: To ensure accuracy, measure the height of the chain link fence at multiple points along its length. Start at one end and measure at regular intervals, such as every 10 feet, until you reach the other end. This will help account for any variations in height due to ground slope or unevenness.
- Take Note of the Highest Point: When measuring multiple sections, keep track of the highest point of the fence. This will indicate the maximum height of the chain link fence.
- Round Up: If the measured heights vary slightly between sections, round up to the nearest whole number to ensure you have enough fencing material for installation or modifications. It’s better to have slightly more than less.
- Consider Additional Height Factors: Remember to factor in any additional height elements such as post caps, railings, or other accessories that may add to the overall height of the fence.
When measuring the height of a chain link fence with gates, it is important to measure the height of the gate separately. Gates are typically shorter than the overall fence height and may require different measurements.
It is recommended to have another person assist you while measuring to ensure accuracy and safety. Additionally, using a sturdy measuring tool, such as a tape measure or an extendable measuring rod, will provide more reliable results.
By following these steps and taking accurate measurements, you can confidently determine the height of your chain link fence for planning purposes or any necessary modifications.
Chain link fences are typically available in standard heights of 4, 5, and 6 feet. When measuring for a chain link fence, consider the intended purpose and local regulations for fence height.
Read more: How To Cover A Chain Link Fence
Common Uses of Different Height Chain Link Fences
The height of a chain link fence plays a crucial role in determining its application and functionality. Here are some common uses for different height chain link fences:
- 3-4 Feet: Chain link fences at these heights are often used for residential purposes, such as enclosing small sections of the yard, gardens, or play areas. They provide a boundary while still maintaining an open and welcoming feel.
- 5-6 Feet: Chain link fences at these heights are popular in residential settings where privacy is a concern. They are commonly used to enclose entire properties, creating a more secluded and intimate environment.
- 7-8 Feet: Taller chain link fences ranging from 7 to 8 feet are commonly utilized in commercial and industrial properties. These heights provide enhanced security and prevent unauthorized access, making them suitable for warehouses, construction sites, and storage facilities.
- 10-12 Feet: Chain link fences of these heights are typically employed in high-security areas, such as correctional facilities, military bases, or government properties. They offer maximum security and act as deterrents to potential intruders.
In addition to these standard uses, chain link fences can be customized and combined with other features to serve specific needs:
- Privacy Slats: Privacy slats can be inserted into the chain link fence to increase privacy and reduce visibility. They are available in various colors and materials, allowing property owners to customize the fence to their desired level of privacy.
- Barbed Wire: To enhance security further, barbed wire can be added to the top of the chain link fence. This added deterrent can help protect valuable assets and prevent unauthorized entry.
- Custom Options: Chain link fences can be customized with different materials, colors, and designs to match the aesthetic requirements of a specific property. This flexibility allows property owners to maintain consistency with existing architecture and landscaping.
While these are common uses for chain link fences at different heights, the specific applications may vary based on individual needs and local regulations. It is essential to consult professionals or local authorities to ensure compliance and choose the most appropriate height for the intended purpose of the fence.
Benefits of Varying Heights for Chain Link Fences
Varying the height of a chain link fence offers several benefits that cater to different needs and circumstances. Here are some advantages of choosing different heights for chain link fences:
- Security: One of the key benefits of taller chain link fences is enhanced security. Higher fences make it more difficult for intruders to scale or climb over, helping to prevent unauthorized access and intrusions. They act as a deterrent, providing peace of mind for property owners.
- Privacy: Chain link fences at taller heights provide increased privacy by obstructing the view into the enclosed area. This is particularly beneficial for residential properties or commercial spaces where privacy is desired, creating a more secluded and intimate environment.
- Containment: If the purpose of the chain link fence is to contain pets or children within a specific area, a higher fence can be more effective. The added height reduces the likelihood of someone climbing or jumping over, ensuring the safety of those inside the fenced area.
- Visual Barrier: Chain link fences at different heights can act as a visual barrier, separating different areas or zoning sections within a property. This can be useful for organizing spaces or designating specific areas for different purposes.
- Flexibility and Customization: The availability of different heights allows property owners to choose the most suitable option for their specific needs. Whether it’s a small residential yard or a large industrial complex, the ability to customize the height of the chain link fence ensures it meets the requirements of the property.
- Cost-Effective: Compared to other fencing options, chain link fences are generally more cost-effective while still providing security and functionality. By selecting the appropriate height for the intended purpose, property owners can maximize the value and benefits of their investment.
- Visibility: Chain link fences offer visibility both inside and outside the enclosed area. This can be beneficial for surveillance purposes, allowing property owners to monitor activities and maintain a clear line of sight while still providing a physical barrier.
- Low Maintenance: Chain link fences require minimal maintenance compared to other types of fencing. Regardless of height, they are durable, resistant to weather, and do not require regular painting or staining.
By considering the specific needs of the property and the desired outcomes, choosing the right height for a chain link fence can maximize its benefits and functionality. It is essential to assess security requirements, privacy concerns, and local regulations when deciding on the height of a chain link fence.
Regulations and Restrictions on Chain Link Fence Heights
When installing a chain link fence, it is important to be aware of any regulations or restrictions that govern the allowable height. Local building codes and zoning regulations typically dictate the maximum height allowed for fences within a specific area. Here are some key considerations regarding regulations and restrictions on chain link fence heights:
- Local Building Codes: Local municipalities often have specific building codes that outline the requirements for fence height. These codes are in place to ensure the safety, aesthetics, and harmony of the community. It is essential to consult with local authorities or check the municipality’s website to understand the specific regulations in your area.
- Zoning Laws: Zoning laws define the permitted land uses and regulations within particular zones or districts. They may include restrictions on fence heights, setbacks, and materials to control the appearance and character of a neighborhood. Property owners should review the zoning regulations for their property to determine any limitations on fence heights.
- Homeowner’s Association (HOA) Guidelines: If the property is part of a homeowner’s association, there may be additional guidelines and restrictions on fence heights. These guidelines vary from one HOA to another and should be reviewed before installing a chain link fence.
- Visibility and Safety Considerations: In some cases, local regulations may require chain link fences to maintain a certain level of visibility for safety reasons. This could be to provide clear sight lines for drivers, pedestrians, or surveillance purposes. Restrictions on fence heights may be in place to ensure adequate visibility is maintained.
- Exceptions and Variances: Some jurisdictions allow exceptions or variances in certain circumstances. Existing properties that do not conform to the current regulations or have unique circumstances may be eligible for special considerations. Property owners can petition local authorities or boards to request a variance in fence heights if needed.
It is crucial to understand and adhere to these regulations to avoid potential fines, disputes with neighbors, or the need to modify or remove non-compliant fences. Working with a professional fence contractor or seeking guidance from local authorities will ensure compliance with all applicable regulations.
Remember, regulations and restrictions on chain link fence heights can vary from one area to another, so it is essential to research and consult with the appropriate authorities to ensure compliance with local requirements.
Frequently Asked Questions about Chain Link Fence Heights
Here are answers to some common questions regarding chain link fence heights:
- Are there standard heights for chain link fences?
- Can chain link fences be customized to different heights?
- How do I measure the height of an existing chain link fence?
- Are there any regulations on chain link fence heights?
- Can I add privacy slats to a chain link fence for increased height and privacy?
- Do taller chain link fences offer more security?
- Can I modify the height of an existing chain link fence?
- Do chain link fence heights vary depending on the purpose?
Yes, chain link fences come in a range of standard heights, including 3 feet, 4 feet, 5 feet, 6 feet, 7 feet, 8 feet, 10 feet, and 12 feet. These heights provide options for various applications, from residential properties to commercial and industrial sites.
Yes, chain link fences can be customized to different heights based on your specific needs. Custom heights can be achieved by modifying the fencing materials or by combining different sections of fence panels.
To measure the height of an existing chain link fence, start from the bottom of the fence fabric and measure vertically to the top. It’s recommended to measure at multiple points along the fence to account for any variations. Round up to the nearest whole number if there are slight variations in height between sections.
Yes, there may be regulations and restrictions on chain link fence heights that vary depending on local building codes, zoning laws, and homeowner’s association guidelines. It’s important to consult with your local authorities or HOA to ensure compliance with the specific regulations in your area.
Yes, privacy slats can be added to a chain link fence to increase both height and privacy. These slats are available in various colors and can be inserted into the fence to block the view from outside while still allowing airflow.
Generally, taller chain link fences offer increased security as they make it more difficult for intruders to climb over. However, security also depends on other factors such as gate mechanisms, additional security features, and the overall integrity of the fence structure.
Yes, the height of an existing chain link fence can be modified. Depending on the current structure, it may involve adding or removing sections of fencing material, including extensions, or installing taller fence posts.
Yes, the height of a chain link fence often depends on its purpose. Residential chain link fences typically have lower heights for boundary definition and aesthetics, while commercial or industrial fences may have taller heights for added security and privacy.
If you have any specific questions or concerns about chain link fence heights, it is recommended to consult with a professional fence contractor in your area. They will be able to provide expert guidance based on your specific needs and local regulations.
Read more: How To Cut A Chain Link Fence
Conclusion
Chain link fences are versatile, durable, and widely used for various residential, commercial, and industrial applications. The height of a chain link fence plays a crucial role in its functionality, including security, privacy, and compliance with local regulations.
Choosing the right height for a chain link fence requires considering factors such as the purpose of the fence, security requirements, privacy concerns, property location, and local regulations. Standard heights for chain link fences range from 3 feet to 12 feet, with each height serving specific needs and preferences.
Measuring the height of a chain link fence accurately is essential for planning purposes, purchasing the correct amount of fencing material, and making modifications if necessary. Following proper measurement techniques and considering additional height factors such as post caps or railings ensures accurate results.
Varying the height of chain link fences offers benefits such as enhanced security, increased privacy, containment, aesthetics, and customization options. From small residential yards to large industrial complexes, chain link fences can be tailored to meet the specific requirements of any property.
However, it is crucial to be aware of any regulations or restrictions governing chain link fence heights in your area. Local building codes, zoning laws, and homeowner’s association guidelines may impose limitations on fence heights to ensure safety, aesthetics, and neighborhood harmony.
By understanding the regulations, considering the specific needs of the property, and consulting with professionals or local authorities, you can ensure compliance and choose the most appropriate chain link fence height.
In conclusion, the height of a chain link fence is a critical factor to consider when planning for security, privacy, and property boundaries. By selecting the appropriate height and adhering to regulations, property owners can enjoy the benefits of a functional, secure, and aesthetically pleasing chain link fence.
Frequently Asked Questions about How Tall Is A Chain Link Fence
Was this page helpful?
At Storables.com, we guarantee accurate and reliable information. Our content, validated by Expert Board Contributors, is crafted following stringent Editorial Policies. We're committed to providing you with well-researched, expert-backed insights for all your informational needs.


0 thoughts on “How Tall Is A Chain Link Fence”