Articles
How To Remove A Chain Link Fence Post
Modified: December 7, 2023
Looking for step-by-step instructions on removing a chain link fence post? Check out our informative articles for helpful tips and tricks.
(Many of the links in this article redirect to a specific reviewed product. Your purchase of these products through affiliate links helps to generate commission for Storables.com, at no extra cost. Learn more)
Introduction
Removing a chain link fence post may seem like a daunting task, but with the right tools and techniques, it can be a fairly simple process. Whether you need to replace a damaged post or want to remove the entire fence, following a step-by-step approach will ensure a smooth and successful removal without causing any damage to your property.
Before you begin, make sure you have the necessary tools and materials on hand. These include a shovel, a pry bar, a post puller or chain puller, a pair of work gloves, safety glasses, and a sturdy pair of boots. Having these items readily available will help you tackle the job with ease and efficiency.
In this article, we will guide you through the process of removing a chain link fence post in a step-by-step manner. By following these instructions, you’ll be able to accomplish the task safely and effectively, saving both time and money.
Key Takeaways:
- Removing a chain link fence post is a manageable DIY project with the right tools and techniques. Prioritize safety, prepare the area, and follow the step-by-step process for a successful removal.
- Properly clean up the area after removing the fence post to maintain a safe and tidy environment. Fill the hole, smooth the ground, and dispose of debris according to local regulations.
Read more: How Far Apart Are Chain Link Fence Posts
Tools and Materials Needed
Before you begin the process of removing a chain link fence post, it’s important to gather all the necessary tools and materials. Here’s a list of what you’ll need:
- Shovel: A sturdy shovel will be essential for digging around the fence post.
- Pry bar: A pry bar will help loosen any attachments or nails holding the fence post in place.
- Post puller or chain puller: Depending on the size and condition of the fence post, you may need a specialized tool such as a post puller or chain puller to remove it.
- Work gloves: It’s important to protect your hands while handling heavy or sharp objects, so wear a pair of durable work gloves.
- Safety glasses: To protect your eyes from any debris or flying particles, wear a pair of safety glasses.
- Sturdy boots: It’s crucial to have proper footwear that provides stability and protection while working in the outdoor environment.
These tools and materials will help make the process of removing a chain link fence post much easier and safer. By having them prepared in advance, you’ll be ready to tackle the task efficiently without any unnecessary delays.
Step 1: Prepare the Area
Before you start removing the chain link fence post, it’s important to prepare the area to ensure a safe and efficient process. Here’s what you need to do:
- Clear the area: Remove any debris or objects surrounding the fence post. This will provide you with easier access and maneuverability during the removal process.
- Mark utilities: Before digging, it’s crucial to identify and mark any underground utilities to avoid damaging them. Contact your local utility companies or use a utility line locator to determine the precise locations.
- Wear safety gear: Put on your safety glasses and work gloves before starting any work. This will protect you from any potential hazards and ensure your safety throughout the process.
- Secure the fence: If there are any attached sections of the chain link fence, make sure to secure them to prevent them from falling or causing damage during the removal process.
By taking the time to prepare the area properly, you’ll minimize the risk of accidents or damage and ensure a smoother removal process. Remember to prioritize your safety and proceed with caution throughout the entire task.
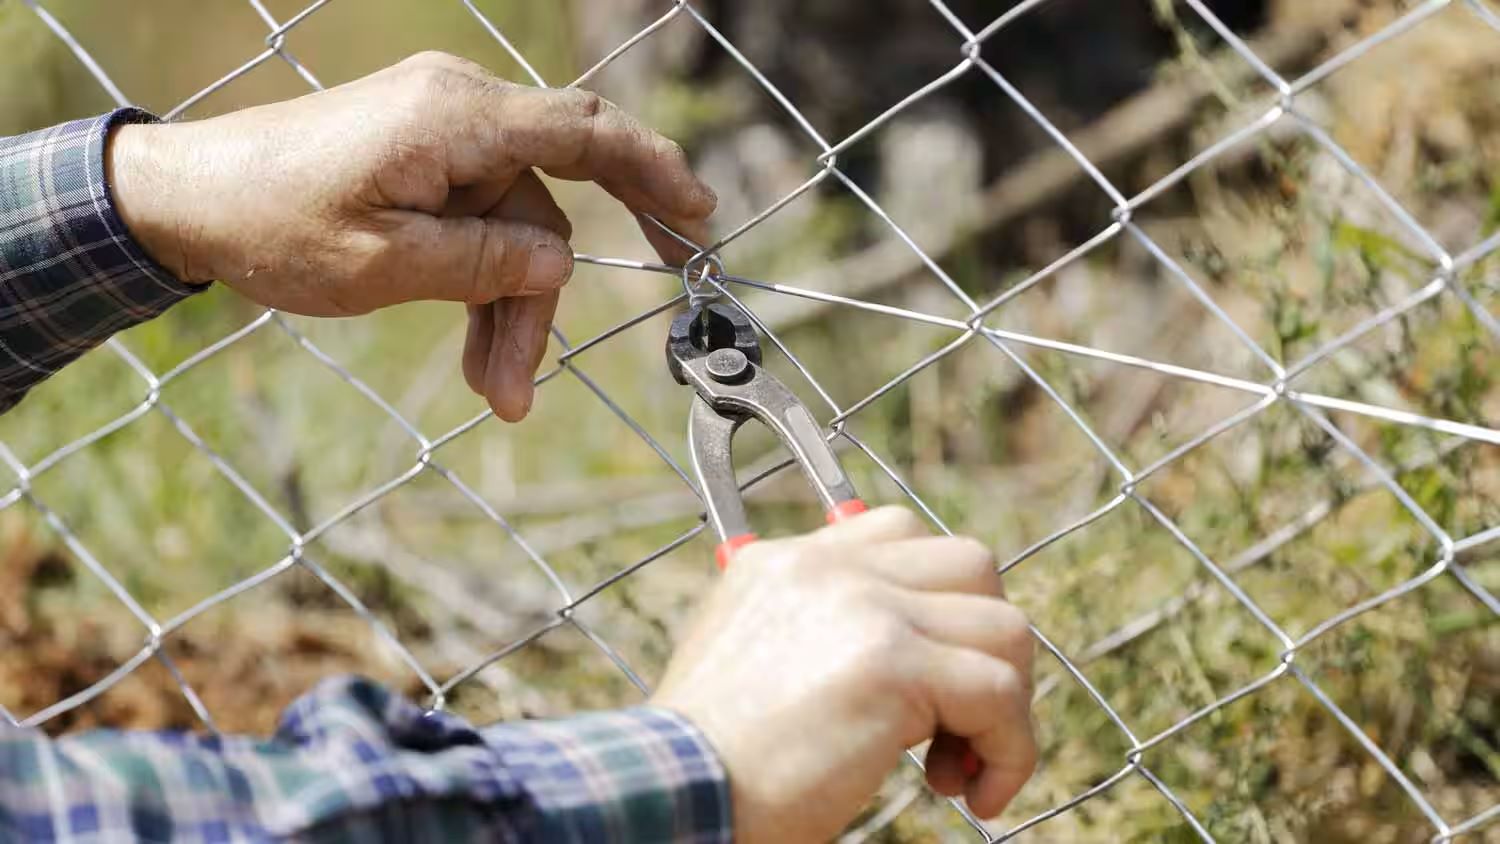
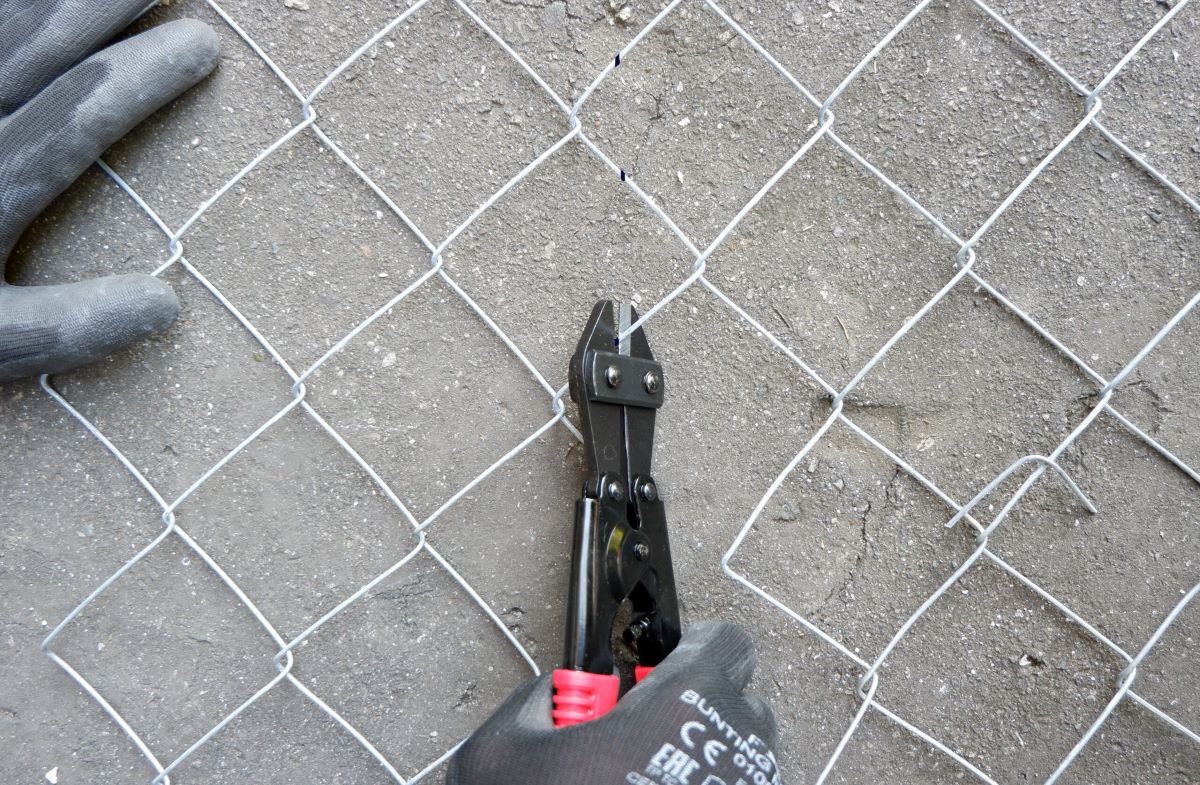
Step 2: Remove any Attachments
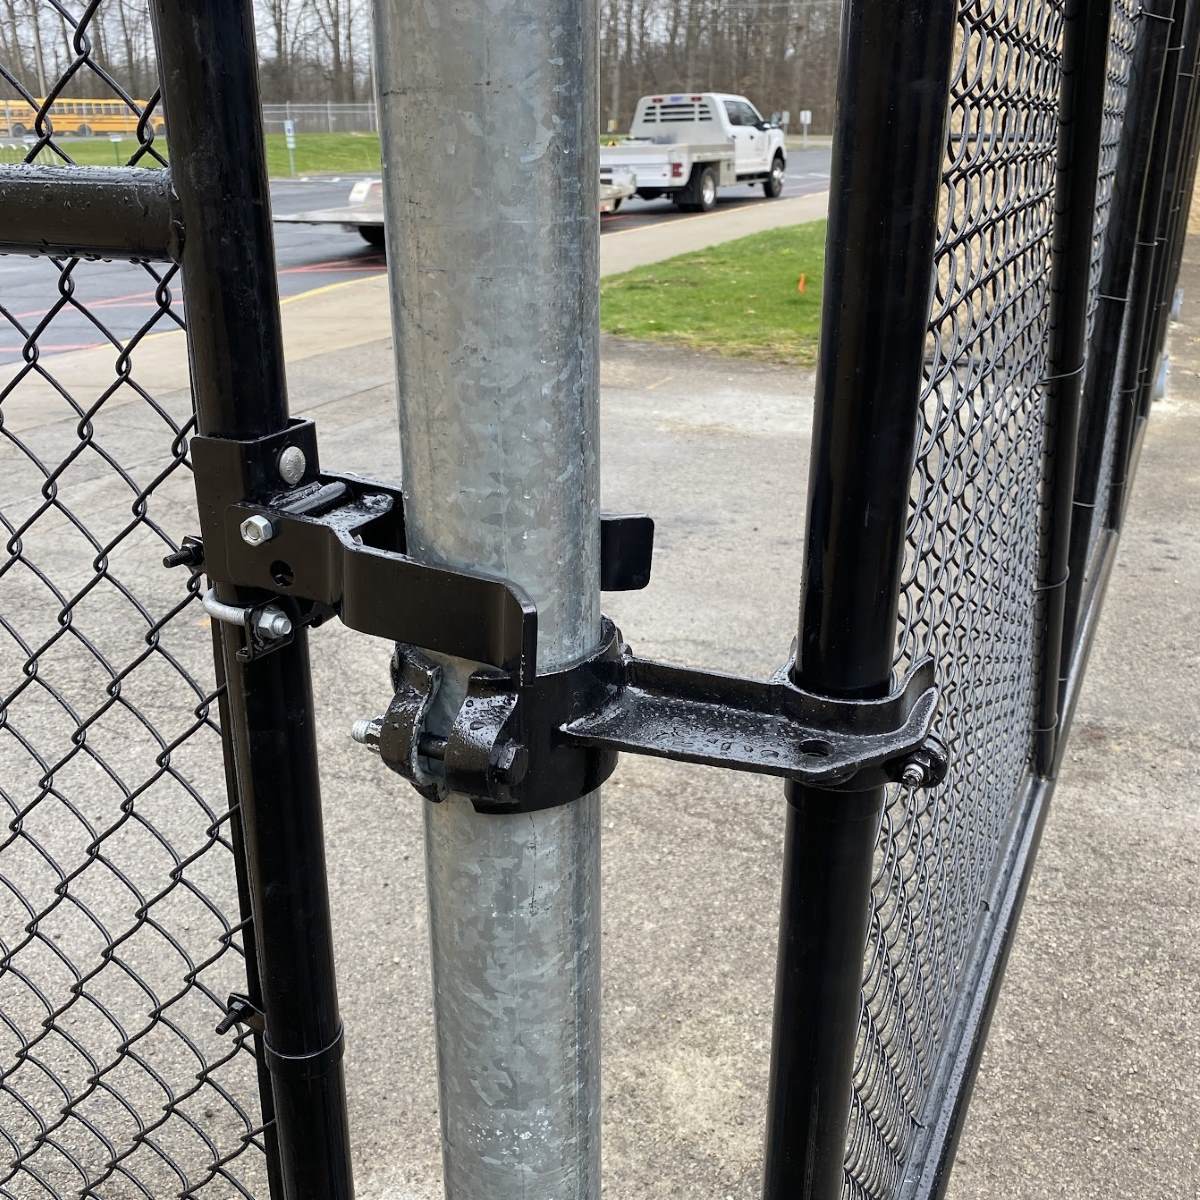
Once you have prepared the area and secured the fence, the next step in removing a chain link fence post is to remove any attachments. These could include brackets, nails, or screws that are holding the fence to the post. Follow these steps to remove the attachments:
- Inspect the post: Take a close look at the post and identify any brackets, nails, or screws that may be attached to it.
- Use a pry bar: If there are brackets attached to the post, use a pry bar to carefully detach them. Insert the pry bar between the bracket and the post, and apply gentle pressure to loosen the attachment.
- Remove nails or screws: If there are nails or screws holding the fence to the post, use a screwdriver or a drill to remove them. Take your time to ensure they are completely removed, as they may hinder the post removal process.
By removing any attachments, you are preparing the fence post for removal and ensuring a smoother process. Be cautious while using the pry bar or tools to avoid damaging the fence or injuring yourself. Once all attachments have been removed, you are ready to move on to the next step.
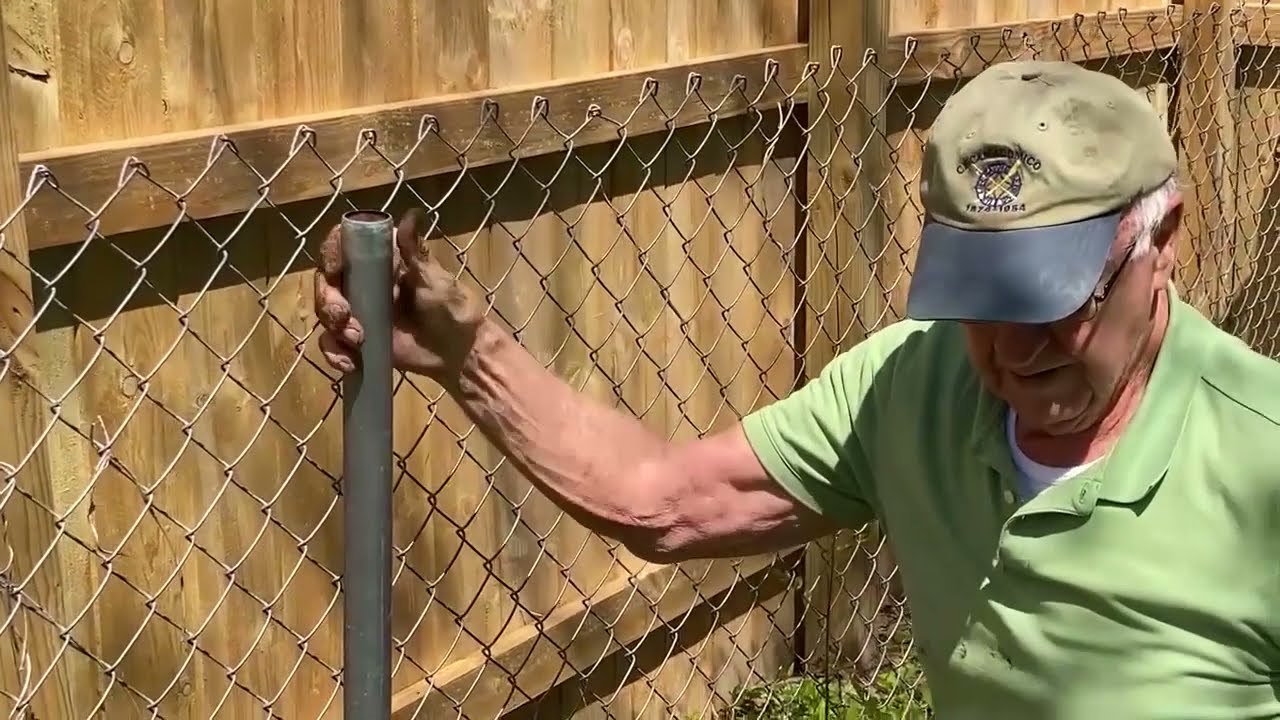
Step 3: Loosen the Fence Post
Now that you have removed any attachments, it’s time to loosen the chain link fence post from the ground. Follow these steps to do so effectively:
- Apply pressure: Stand next to the fence post and apply pressure in a back-and-forth motion. This will help to loosen the soil around the post and make it easier to remove.
- Rock the post: With your hands on either side of the post, gently rock it back and forth. This will further aid in loosening the post and breaking up any compacted soil.
- Use a pry bar: If the fence post is still firmly in place, you can use a pry bar to create leverage. Insert the pry bar underneath the post and apply steady pressure to lift it slightly. This action will help to loosen the post from the ground.
- Repeat the process: Continue applying pressure, rocking the post, and using the pry bar if needed. Repeat these steps until the post is loose enough to be lifted out of the ground.
It’s important to be patient during this step and avoid applying excessive force, as this could cause damage to the fence or the surrounding area. By gradually loosening the post, you’ll ensure a safer and easier removal process.
Use a reciprocating saw to cut through the post at ground level. Then, use a shovel to dig out the remaining post and concrete. Be sure to wear gloves and eye protection.
Read more: How To Stretch A Chain Link Fence
Step 4: Dig around the Post
With the fence post loosened, the next step is to dig around it to further expose the base and make it easier to remove. Here’s how to dig around the post effectively:
- Start digging: Use a shovel to dig a trench around the base of the fence post. Begin digging about a foot away from the post, making sure to dig vertically to avoid damaging the post.
- Continue digging: Work your way around the post, digging deeper into the soil as you go. Aim for a depth of at least 1-2 feet around the entire perimeter of the post.
- Break up the soil: Use the shovel to break up any compacted soil or roots that may be holding the post in place. This will help to further loosen the post and make it easier to remove.
- Clear the area: As you dig, periodically remove the loosened soil from the trench. This will prevent it from falling back in and making the removal process more difficult.
Take your time and be careful while digging around the post to avoid damaging the fence or any underground utilities. By properly digging around the post, you’ll expose the base and prepare it for removal in the next step.
Step 5: Remove the Post from the Ground
Now that you have loosened the fence post and dug around it, it’s time to remove it from the ground. Follow these steps to successfully extract the post:
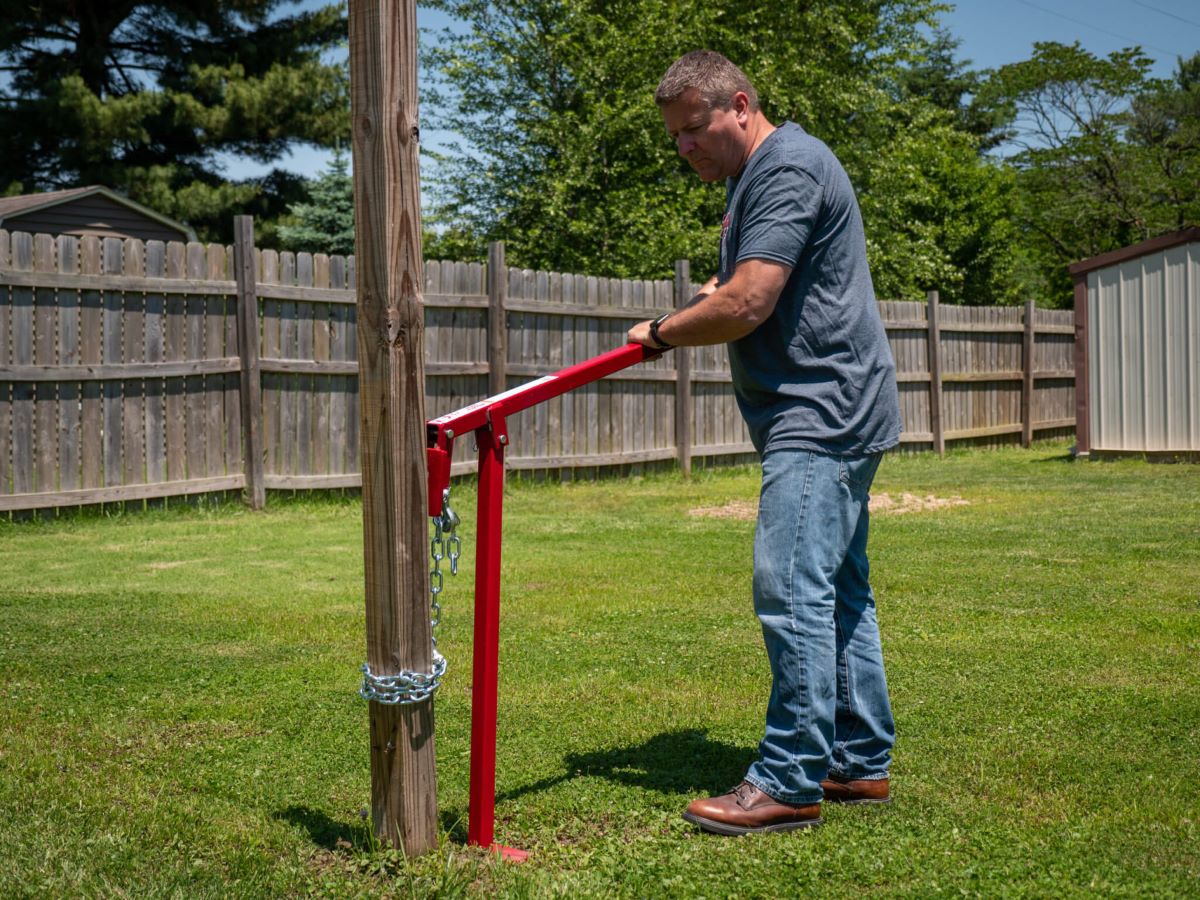
- Attach a post puller or chain puller: Depending on the size and condition of the fence post, you may need to use a specialized tool like a post puller or chain puller. Follow the manufacturer’s instructions to attach the tool securely to the post.
- Apply pressure and lift: Once the tool is properly attached, apply steady pressure and lift the post out of the ground. Use your body weight and leverage to gradually lift the post, ensuring a smooth and controlled removal.
- Rock and wiggle the post: If the post is still stubbornly stuck in the ground, gently rock and wiggle it while applying pressure. This motion will help to loosen the post further and facilitate its removal.
- Remove the post from the tool: Once the post is completely out of the ground, carefully detach it from the post puller or chain puller. Set the removed post aside in a safe location.
It’s important to exercise caution while lifting and removing the fence post to avoid strain or injury. If you encounter any significant resistance during the process, stop and assess the situation. You may need to repeat certain steps or seek assistance if necessary. With patience and gentle force, you’ll successfully remove the post from the ground.
Step 6: Clean up the Area
After successfully removing the chain link fence post, it’s important to clean up the area to leave it in a tidy and safe condition. Here’s how to properly clean up the site:
- Fill the hole: Fill the hole left by the removed fence post with the soil you dug out earlier. Use the shovel to carefully fill the hole, ensuring that the soil is firmly packed.
- Smooth the ground: Use the back of the shovel or a rake to even out the soil around the area where the post was removed. This will create a level surface and prevent any tripping hazards.
- Inspect the surroundings: Take a moment to inspect the surrounding area and ensure that there are no leftover debris, nails, or screws. Remove any remaining attachments or hazards to make the area safe.
- Dispose of the post: If the removed fence post is damaged or no longer needed, dispose of it properly according to your local regulations. If it is in good condition, consider recycling or repurposing it for other projects.
- Secure the fence: If you only removed a single post and the rest of the fence is intact, make sure to secure the adjacent sections properly. Reattach any brackets or hardware that were detached earlier to ensure the fence remains stable.
Cleaning up the area not only improves the appearance of your property but also eliminates potential hazards. By taking the time to properly fill the hole and remove any debris, you’ll maintain a safe and well-maintained environment.
Conclusion
Removing a chain link fence post may seem like a challenging task, but by following the right steps and using the proper tools, it can be a manageable DIY project. Taking the time to prepare the area, remove attachments, loosen the post, dig around it, and finally extract it from the ground will ensure a successful removal process.
Remember to prioritize safety by wearing the appropriate safety gear and exercising caution throughout the entire process. Take breaks as needed and seek assistance if the post proves to be particularly stubborn or heavy. Patience and perseverance will pay off and lead to a smooth removal experience.
Once the fence post has been removed, don’t forget to clean up the area by filling the hole, smoothing the ground, and disposing of any debris properly. This will leave your property looking clean and tidy, ready for any future projects or fencing replacements.
By following this step-by-step guide, you’ll be equipped with the knowledge and confidence to remove a chain link fence post successfully. Always refer to manufacturer instructions for specific tools and equipment, and check local regulations for proper disposal methods.
Whether you’re replacing a damaged post or wanting to remove the entire fence, with a little effort and the right approach, you can accomplish the task efficiently and effectively.
Frequently Asked Questions about How To Remove A Chain Link Fence Post
Was this page helpful?
At Storables.com, we guarantee accurate and reliable information. Our content, validated by Expert Board Contributors, is crafted following stringent Editorial Policies. We're committed to providing you with well-researched, expert-backed insights for all your informational needs.


0 thoughts on “How To Remove A Chain Link Fence Post”