Articles
How To Build A Chain Link Fence Gate
Modified: May 6, 2024
Learn how to build a chain link fence gate with our informative articles. Discover expert tips and step-by-step instructions to complete your project.
(Many of the links in this article redirect to a specific reviewed product. Your purchase of these products through affiliate links helps to generate commission for Storables.com, at no extra cost. Learn more)
Introduction
Building a chain link fence gate can be a practical and cost-effective solution for enclosing your property. Whether you need a gate for security purposes, to keep pets or children safely contained, or simply to add a decorative element to your fence, constructing a chain link fence gate is a relatively straightforward process that can be done with the right tools and materials.
In this article, we will guide you through the step-by-step process of building a chain link fence gate. We will cover everything from measuring and planning to installing the gate hardware. Whether you have previous DIY experience or you’re a beginner, this guide will provide you with the knowledge you need to successfully build a gate that meets your needs.
Before we dive into the details, let’s take a look at the materials you will need to build a chain link fence gate.
Key Takeaways:
- Building a chain link fence gate requires careful planning, accurate measurements, and proper installation of materials and hardware. Following the step-by-step guide ensures a sturdy, functional, and visually appealing gate.
- By gathering the necessary tools and materials, setting the posts, installing the gate frame, and adding gate hardware, DIY enthusiasts can successfully construct a chain link fence gate that enhances property security and aesthetics.
Read more: How To Lock A Chain Link Fence Gate
Materials Needed
Before you begin building a chain link fence gate, make sure you have all the necessary materials on hand. Here’s a list of what you will need:
- Chain link fence mesh
- Gate frame kit
- Tension bands
- Tie wires
- Gates hinges
- Gates latches
- Gate hardware (such as screws or bolts)
- Posthole digger
- Concrete mix
- Measuring tape
- Level
- Hammer
- Adjustable wrench
- Wire cutters
- Pliers
- Safety gloves and goggles
- Work gloves
It’s important to ensure that all the materials you use are of high quality and suitable for outdoor use. This will ensure the durability and longevity of your chain link fence gate. Additionally, make sure to follow any local building codes and regulations that may govern the construction of fences and gates in your area.
Once you have gathered all the necessary materials, you’re ready to begin the process of building your chain link fence gate. The next step is to measure and plan accordingly.
Step 1: Measure and Plan
Before you start building your chain link fence gate, it’s essential to accurately measure and plan out your gate’s dimensions and placement. Follow these steps:
- Measure the width of the opening where you want to install the gate. This will determine the size of the gate frame and mesh you will need.
- Determine the height of the gate. Standard chain link fence gates are typically 4 to 6 feet tall, but you can adjust the height based on your specific needs.
- Consider the swing direction of the gate. Determine whether you want the gate to swing inward or outward, and plan accordingly. Keep in mind any obstructions or landscaping that may affect the gate’s swing.
- Take into account the required clearances for the gate to open and close smoothly. Allow enough space between the gate and any adjacent structures or fences, ensuring there’s room for the gate to fully open without obstruction.
- Mark the fence line using stakes or spray paint to indicate the positions of the gate posts and where the gate will be installed.
It’s important to take accurate measurements and plan out these details in advance to ensure that your gate fits properly and functions as intended. Once you have completed this step, you can move on to gathering the necessary tools and materials for the construction process.
Step 2: Gather Tools and Materials
Now that you have measured and planned out your chain link fence gate, it’s time to gather the tools and materials needed for the construction process. Here’s a list of the tools you will need:
- Posthole digger: This tool will be used to dig holes for the gate posts.
- Concrete mix: You’ll need concrete to secure the gate posts in the ground.
- Measuring tape: Essential for taking accurate measurements.
- Level: Used to ensure that the gate is straight and properly aligned.
- Hammer: Used for driving in fence staples and nails.
- Adjustable wrench: Required for tightening nuts and bolts.
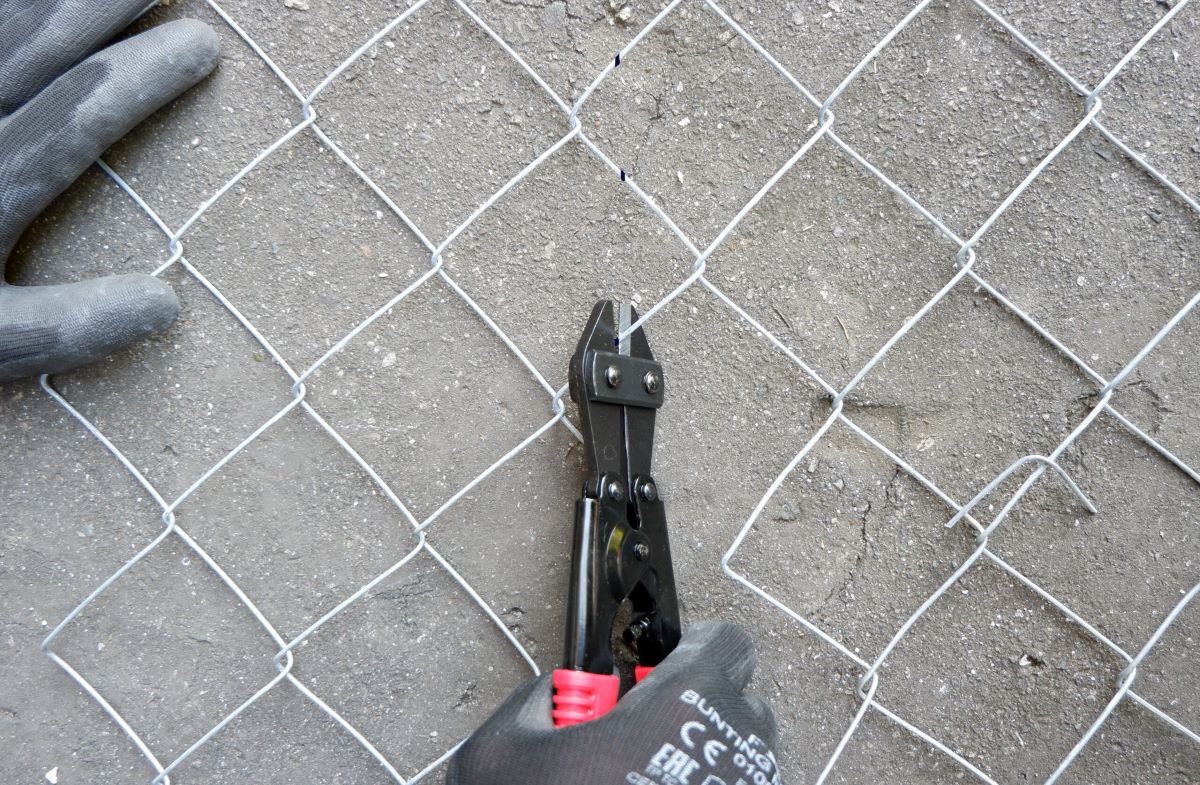
- Wire cutters: Used to cut the chain link fence mesh and tie wires.
- Pliers: Handy for twisting and tightening wire connections.
- Safety gloves and goggles: Important for protecting your hands and eyes during the construction process.
- Work gloves: Provides additional hand protection and grip.
In addition to these tools, make sure you have all the materials listed in the previous section, “Materials Needed.” Having everything ready before you start will ensure a smooth and efficient construction process.
Once you have gathered the necessary tools and materials, you can move on to the next step: setting the posts for your chain link fence gate.
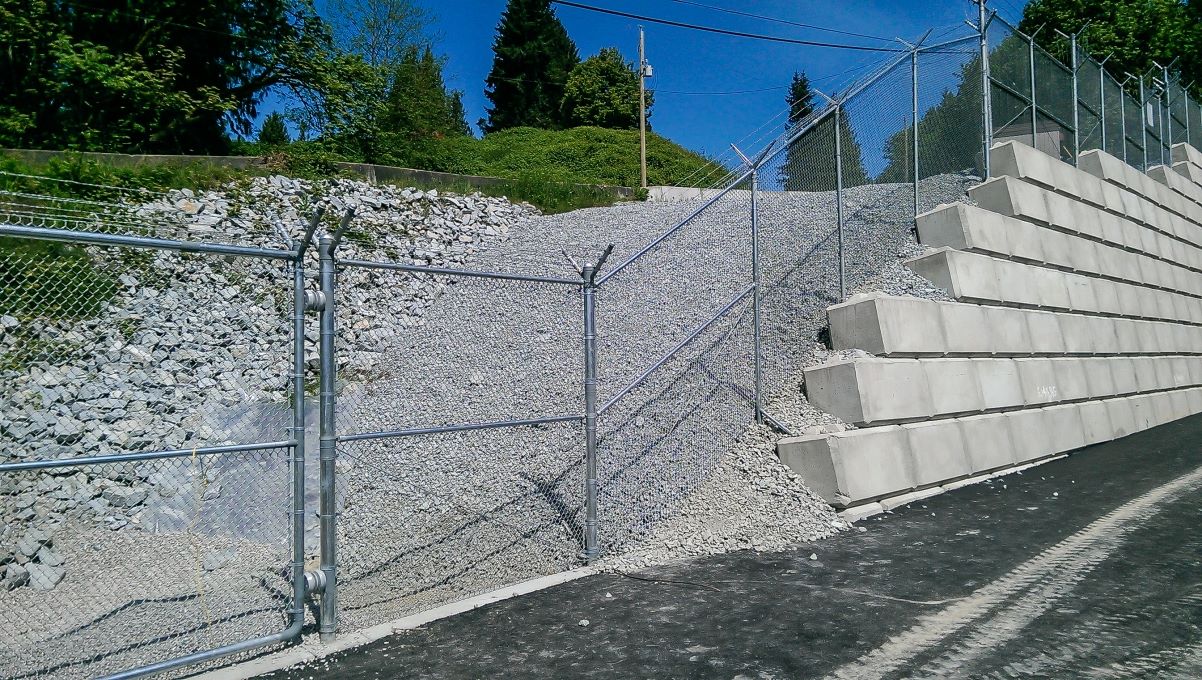
Step 3: Set Posts
Setting the posts is a crucial step in building a sturdy and stable chain link fence gate. Follow these steps to properly set the posts:
- Using the measurements you obtained in Step 1, mark the locations for the gate posts along the fence line.
- Start by digging the first posthole using a posthole digger. The depth of the hole will depend on the height of your gate, but it is typically recommended to dig a hole that is at least one-third of the total height of the post.
- Place the first gate post in the hole and use a level to ensure it is plumb (vertically straight) and properly aligned. Make any necessary adjustments and then fill the hole with concrete mix, following the manufacturer’s instructions.
- Repeat the process for the second gate post, ensuring that it is aligned with the first post and at the correct distance to accommodate the width of the gate.
- After setting both gate posts, use a level to double-check that they are aligned and plumb. Make any adjustments as needed before the concrete sets.
- Allow the concrete to cure according to the manufacturer’s instructions. This usually takes around 24 to 48 hours.
Properly set gate posts are essential for the stability and functionality of your chain link fence gate. Take the time to ensure that they are accurately positioned, aligned, and securely anchored in the ground.
Once the concrete has cured, you can proceed to Step 4: installing the gate frame.
Read more: How To Stretch A Chain Link Fence
Step 4: Install Gate Frame
Now that you have set the gate posts, it’s time to install the gate frame. Follow these steps to properly install the gate frame:
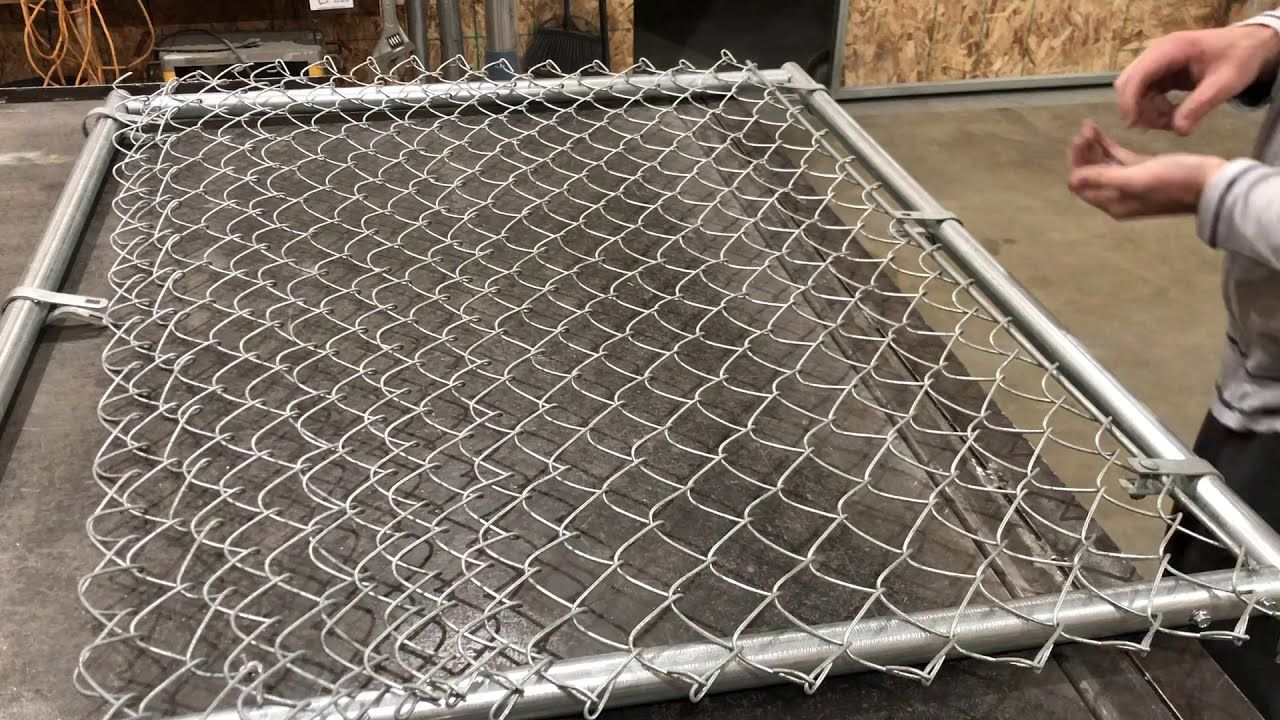
- Start by assembling the gate frame kit according to the manufacturer’s instructions. This usually involves connecting the frame components using screws or bolts.
- Place the assembled gate frame between the gate posts, ensuring that it is level and properly aligned. The frame should fit snugly within the opening.
- Secure the gate frame to the gate posts using screws or bolts, making sure to tighten them securely.
- Check the levelness of the gate frame and make any necessary adjustments to ensure it is straight and aligned.
- Once the gate frame is securely fastened and properly aligned, you can proceed to the next step: attaching the chain link fence mesh and tension bands.
The gate frame provides the structure and support for your chain link fence gate. It is important to ensure that it is securely installed and properly aligned to ensure the gate functions smoothly.
After installing the gate frame, you are ready to move on to Step 5: attaching the chain link fence mesh and tension bands.
When building a chain link fence gate, make sure to measure and cut the gate frame accurately to ensure a proper fit within the fence opening. Use sturdy hinges and a reliable latch for smooth operation and security.
Step 5: Attach Mesh and Tension Bands
Attaching the chain link fence mesh and tension bands is a critical step in building your chain link fence gate. Follow these steps to properly attach the mesh and tension bands:
- Unroll the chain link fence mesh and position it against the gate frame, ensuring that it covers the entire opening.
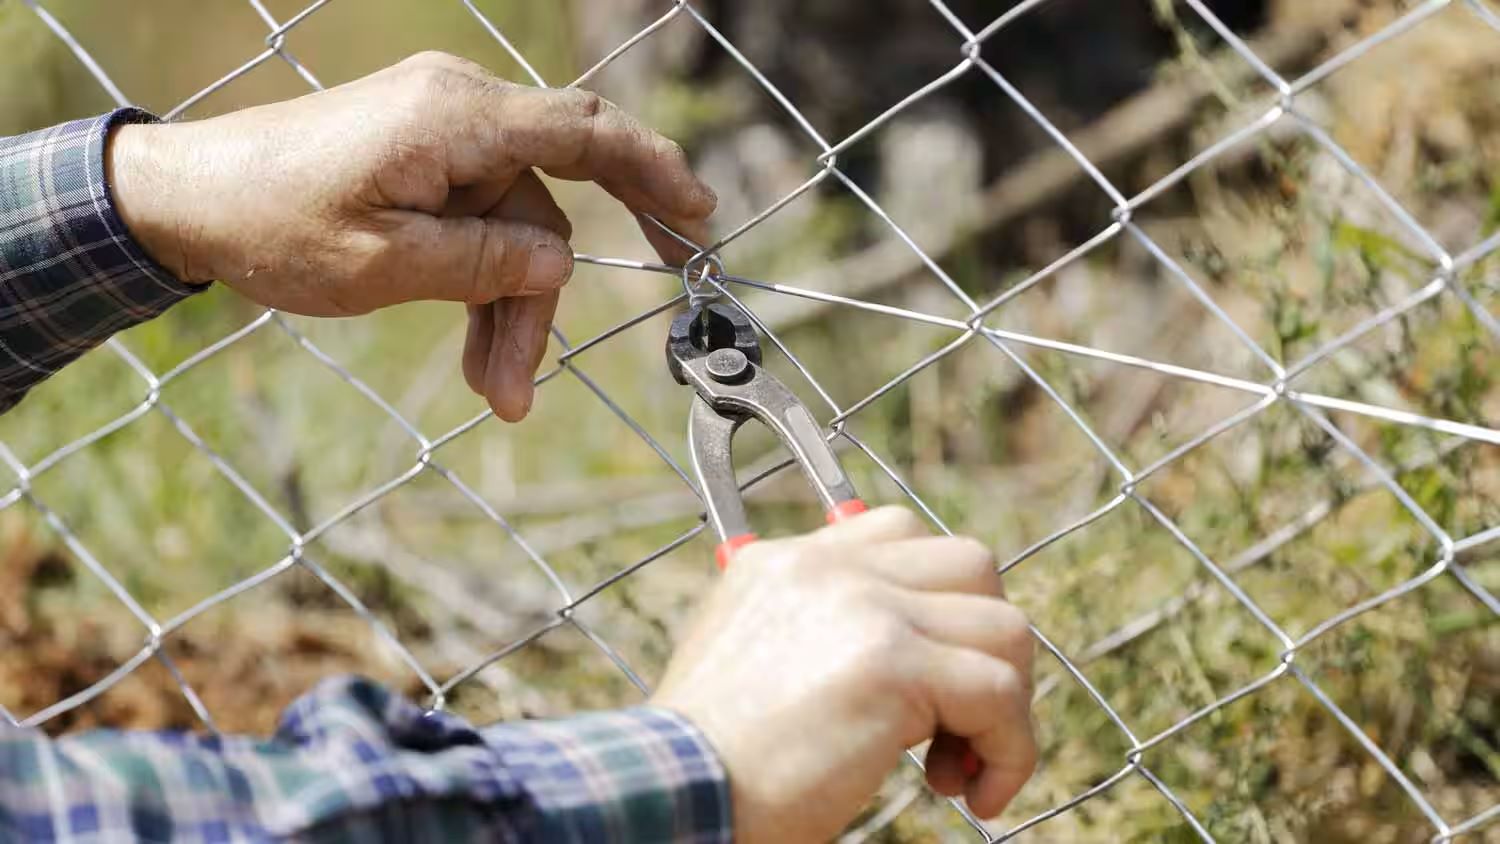
- Start at one corner of the gate frame and attach the mesh to the frame using tie wires. Space the tie wires approximately 12 inches apart, vertically and horizontally, to secure the mesh tightly to the frame.
- Once the mesh is attached to one corner of the gate frame, move to the opposite corner and pull the mesh tightly, removing any slack. Attach it securely to the frame with tie wires.
- Continue attaching the mesh to the remaining corners, working your way around the gate frame. Pull the mesh taut as you go to ensure a smooth and even appearance.
- Once the mesh is fully attached to the gate frame, it’s time to install the tension bands. Tension bands are metal bands that wrap around the gate frame and hold the mesh in place.
- Position a tension band at the top corner of the gate frame near the mesh, and attach it securely using screws or bolts.
- Repeat the process for the bottom corner of the gate frame, ensuring the tension band is aligned with the mesh.
- After installing the top and bottom tension bands, evenly space additional tension bands along the sides of the gate frame. Make sure they are securely fastened and properly aligned with the mesh.
Attaching the chain link fence mesh and tension bands is crucial to ensure the stability and security of your gate. Take the time to securely attach the mesh and tension bands, ensuring there is no sagging or loose sections.
With the mesh and tension bands properly attached, you are now ready to move on to Step 6: hanging the gate.
Step 6: Hang Gate
Now that you have attached the mesh and tension bands to the gate frame, it’s time to hang the gate. Follow these steps to properly hang the gate:
- Position the gate between the gate posts, ensuring that it is level and centered within the opening.
- Place blocks or shims underneath the gate to hold it at the desired height, allowing for proper ground clearance.
- Attach gate hinges to the gate frame. The number of hinges will depend on the size and weight of your gate. Typically, two or three hinges are used for added stability.
- Secure the hinges to the gate posts using screws or bolts, making sure they are properly aligned and tightly fastened.
- Test the gate by swinging it open and closed to ensure smooth operation. Make any necessary adjustments to the hinges or gate position if needed.
- Once you are satisfied with the gate’s alignment and operation, remove the blocks or shims from underneath the gate.
Properly hanging the gate is crucial for its functionality and appearance. Ensure that the gate is level, centered, and securely attached to the gate posts. Proper alignment and secure hinges will allow the gate to open and close smoothly.
After hanging the gate, you are ready to move on to Step 7: adding gate hardware.
Step 7: Add Gate Hardware
Now that your gate is hung, it’s time to add the necessary gate hardware for functionality and security. Follow these steps to properly add gate hardware:
- Install a gate latch on the inside of the gate to secure it when closed. There are various types of gate latches available, such as gravity latches or self-locking latches. Choose one that suits your needs and preferences.
- Position the gate latch at a convenient height on the gate, ensuring it aligns with the corresponding latch receiver on the gate post.
- Secure the latch in place using screws or bolts, making sure it is tightly fastened and securely attached to the gate.
- Test the gate latch by closing and opening the gate to ensure it engages and disengages smoothly.
- In addition to the gate latch, you may also want to consider adding other gate hardware such as gate handles for easy opening and closing, gate stops to prevent the gate from swinging too far, or gate wheels for added support and ease of movement.
- Carefully follow the manufacturer’s instructions to properly install any additional gate hardware you choose.
Gate hardware is essential for the proper functioning and security of your gate. The gate latch provides a secure closure, while additional hardware can enhance the convenience and durability of your gate.
After adding the gate hardware, you are almost done! Just a few more steps to go before your chain link fence gate is complete.
Read more: How To Cover A Chain Link Fence
Step 8: Finishing Touches
With the gate hardware installed, it’s time to add the finishing touches to your chain link fence gate. Follow these steps to complete the construction process:
- Inspect the gate for any sharp edges or protruding objects. Use pliers or wire cutters to trim any excess wire or remove any potential hazards.
- Check the gate for proper alignment and clearance. Ensure that it opens and closes smoothly without any obstructions or rubbing against the ground.
- Secure any loose tie wires or tighten any loose connections on the gate frame, mesh, or tension bands.
- Give the gate a thorough cleaning to remove any dirt, debris, or construction residue.
- Apply a protective coating or paint to the gate and gate frame if desired. This will help to enhance its durability and appearance.
- Take a step back and admire your newly constructed chain link fence gate!
By adding these finishing touches, you can ensure that your chain link fence gate is not only functional but also visually appealing and safe to use. Regular maintenance, such as inspecting and cleaning the gate, will help to prolong its lifespan.
Congratulations! You have successfully completed the construction of your chain link fence gate. Now you can enjoy the benefits of added security, convenience, and aesthetics that a well-built gate provides.
If you have any further questions or need additional assistance, consult the manufacturer’s instructions or seek guidance from a professional.
Thank you for following this step-by-step guide. We hope you found it helpful and informative. Happy gate building!
Conclusion
Building a chain link fence gate is a rewarding DIY project that can enhance the security and functionality of your property. By following the step-by-step guide outlined in this article, you can successfully construct a sturdy and functional gate that meets your specific needs.
From measuring and planning to hanging the gate and adding the finishing touches, each step is crucial for ensuring a well-built and durable gate. Take your time during each stage of the process, ensuring proper alignment, secure attachments, and smooth operation.
Remember to gather all the necessary tools and materials before you begin and follow any local building codes or regulations that apply to fence and gate construction in your area.
Regular maintenance and inspections will help to keep your gate in excellent condition, ensuring its longevity and continued functionality. Keep an eye out for any signs of wear or damage, and address them promptly to prevent further issues.
By building your own chain link fence gate, you not only save money but also have the satisfaction of completing a project that enhances your property’s appearance and security. Plus, you can customize the gate to your liking, adding personal touches and selecting the hardware that suits your preferences.
We hope this comprehensive guide has provided you with the knowledge and confidence to tackle your chain link fence gate project successfully. If you have any further questions or need assistance, consult additional resources or seek advice from professionals in the field.
Thank you for following this guide. We wish you the best of luck in building your chain link fence gate!
Now that you've mastered building a chain link fence gate, why stop there? Dive into our collection of Outdoor Projects for more DIY ideas that will transform your outdoor space. From simple garden enhancements to more ambitious undertakings, this guide offers a variety of projects suited for every skill level. Gear up for a creative adventure as you continue to improve and personalize your home environment. Ready to tackle your next project?
Frequently Asked Questions about How To Build A Chain Link Fence Gate
Was this page helpful?
At Storables.com, we guarantee accurate and reliable information. Our content, validated by Expert Board Contributors, is crafted following stringent Editorial Policies. We're committed to providing you with well-researched, expert-backed insights for all your informational needs.


0 thoughts on “How To Build A Chain Link Fence Gate”