Articles
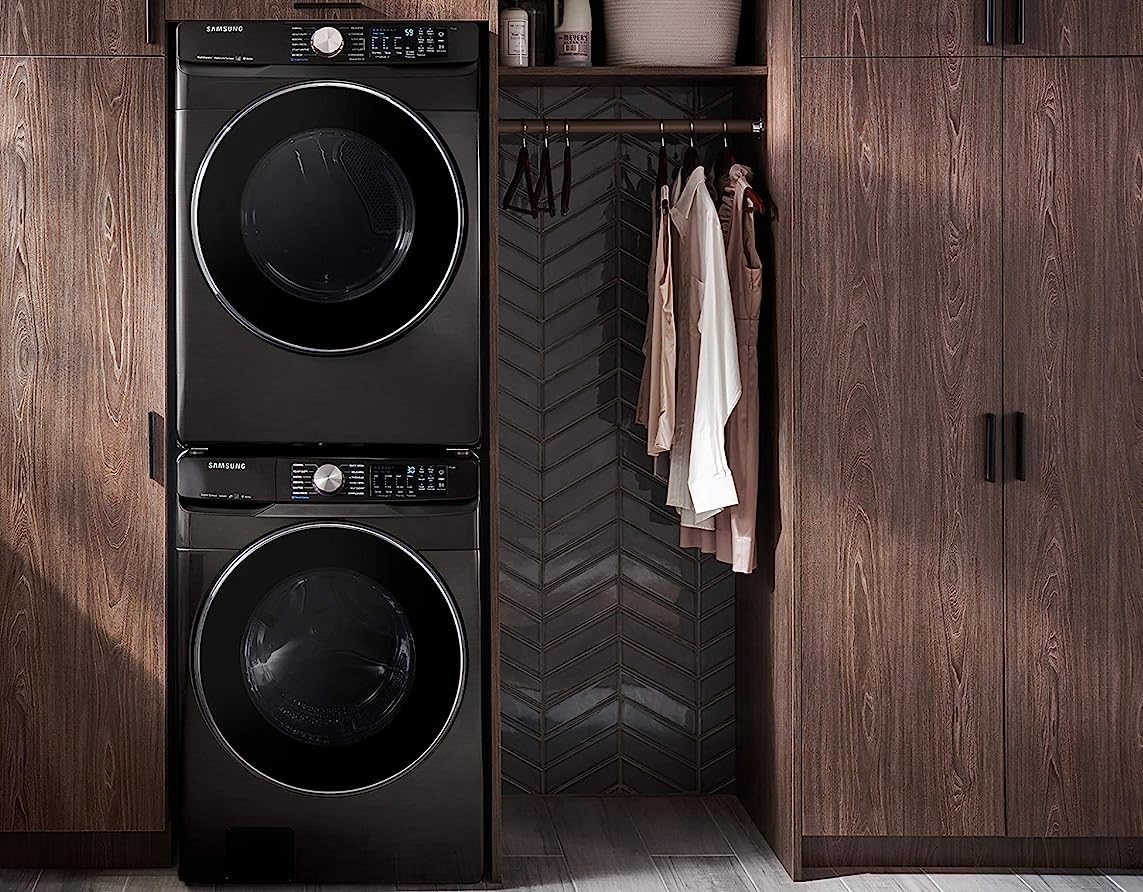
How To Setup Samsung Stacked Washer And Dryer
Modified: August 28, 2024
Learn how to set up your Samsung stacked washer and dryer with these helpful articles. Get step-by-step instructions and tips for a seamless installation.
(Many of the links in this article redirect to a specific reviewed product. Your purchase of these products through affiliate links helps to generate commission for Storables.com, at no extra cost. Learn more)
Introduction
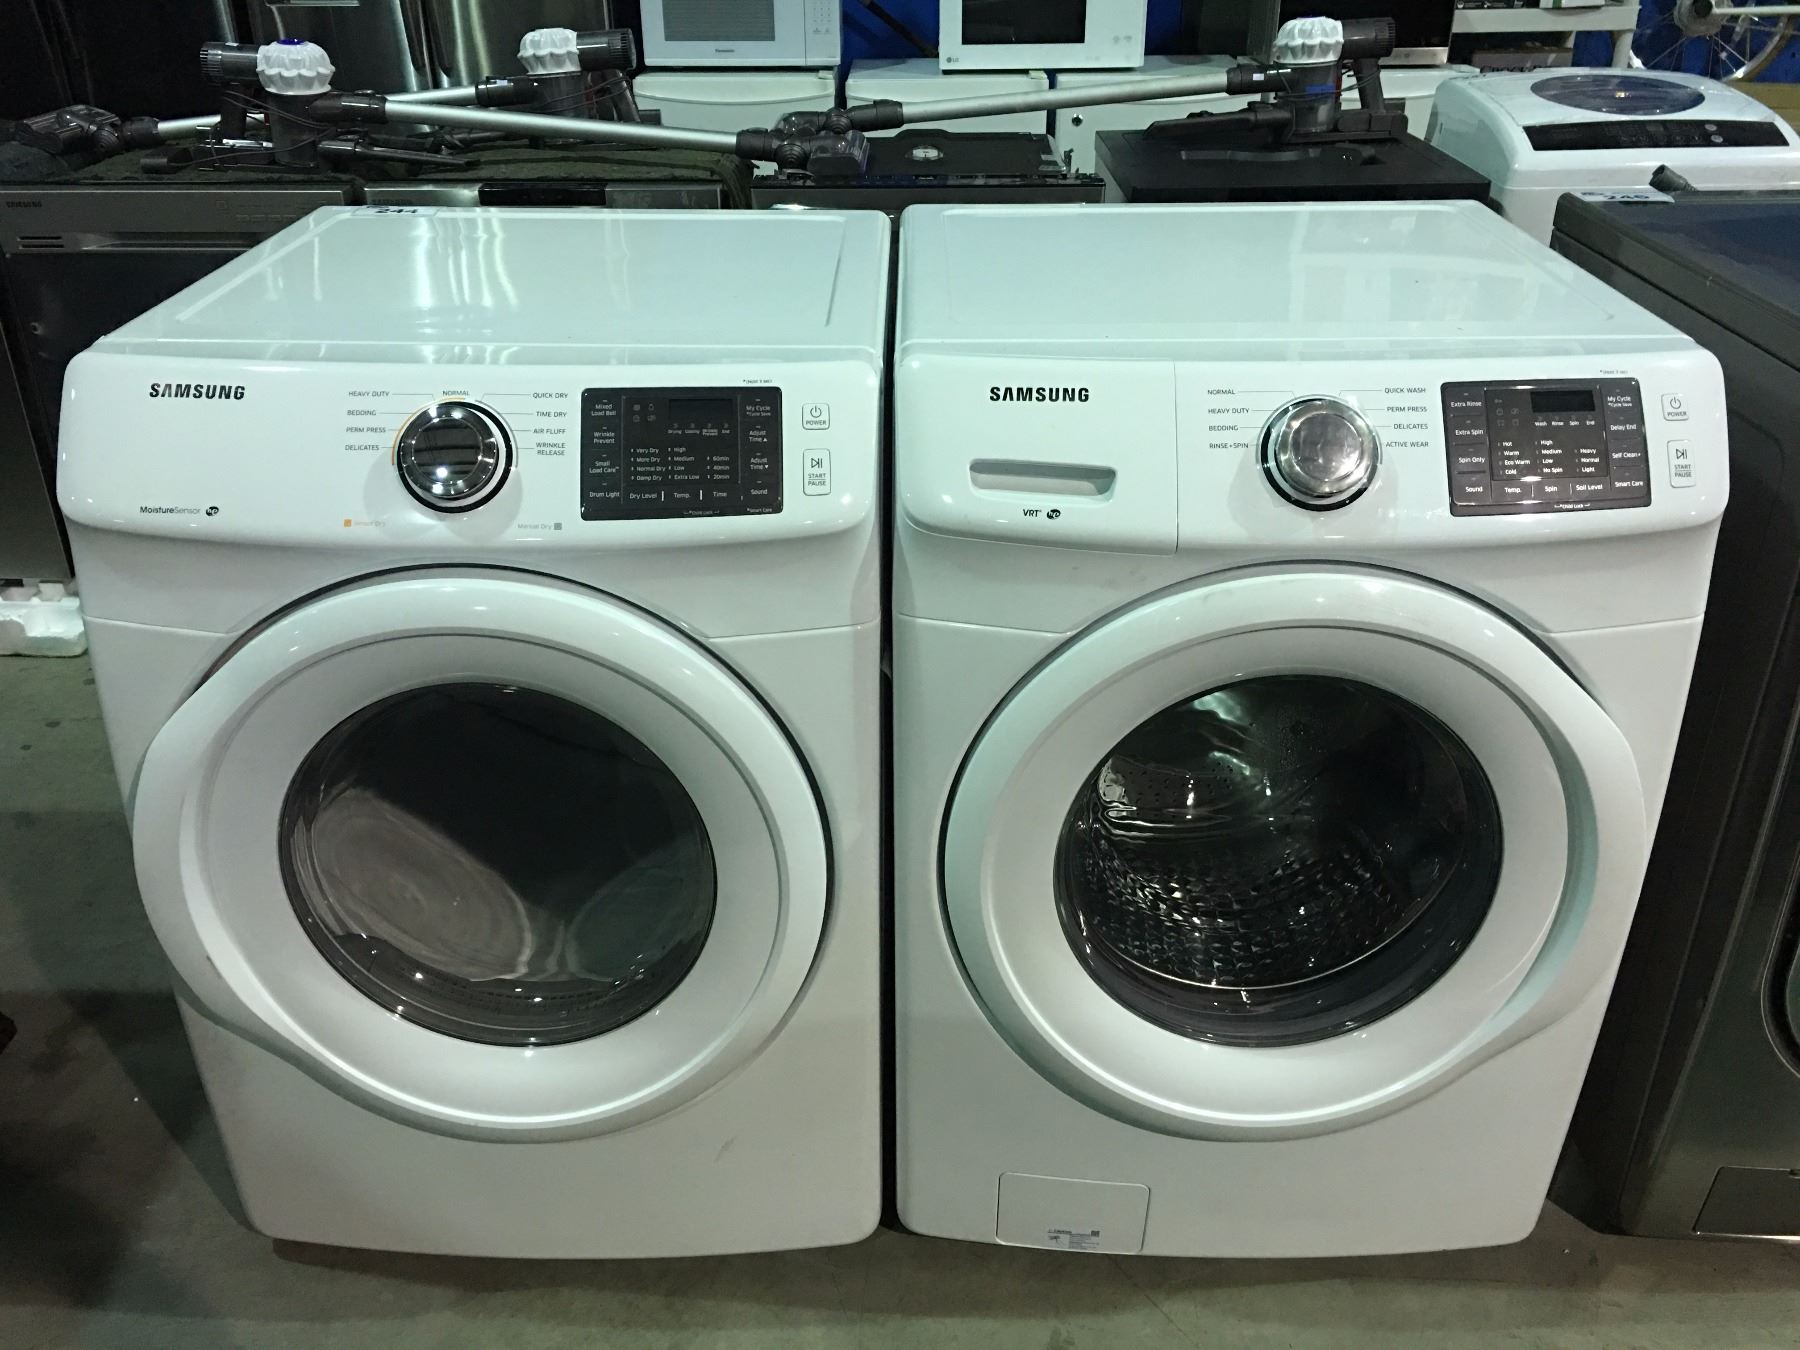
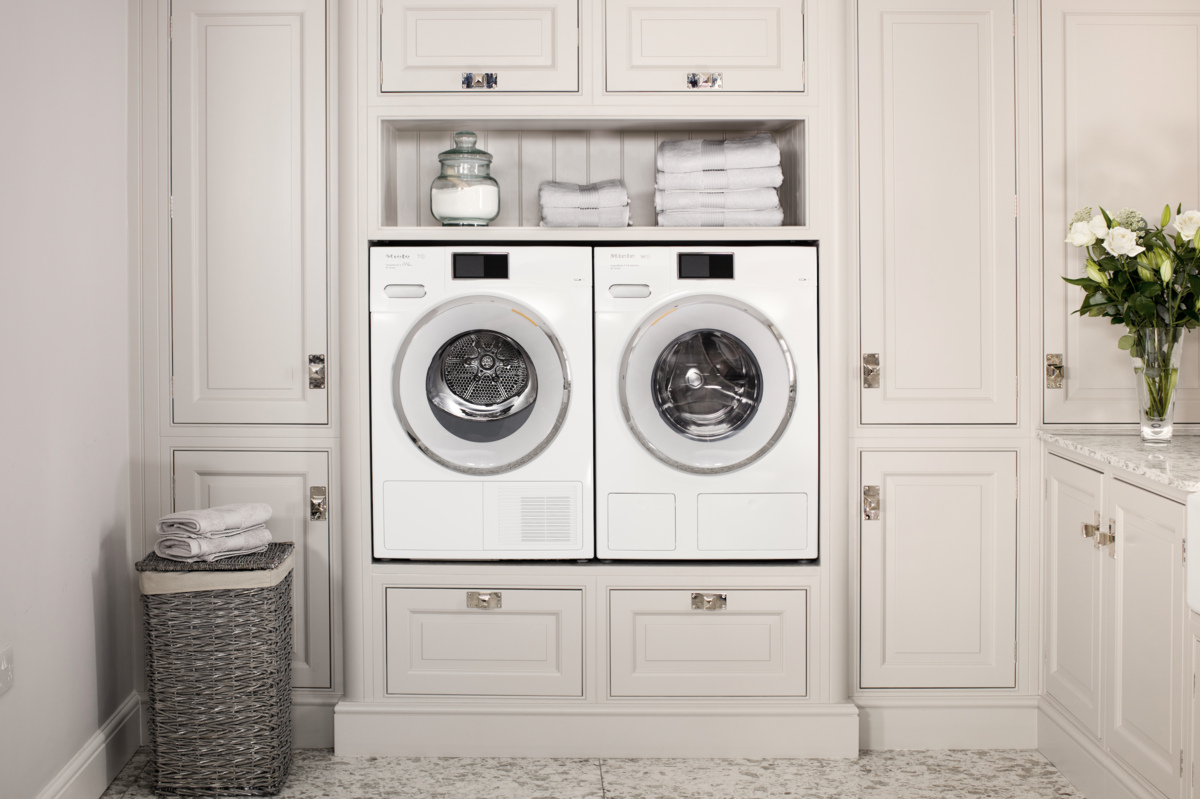
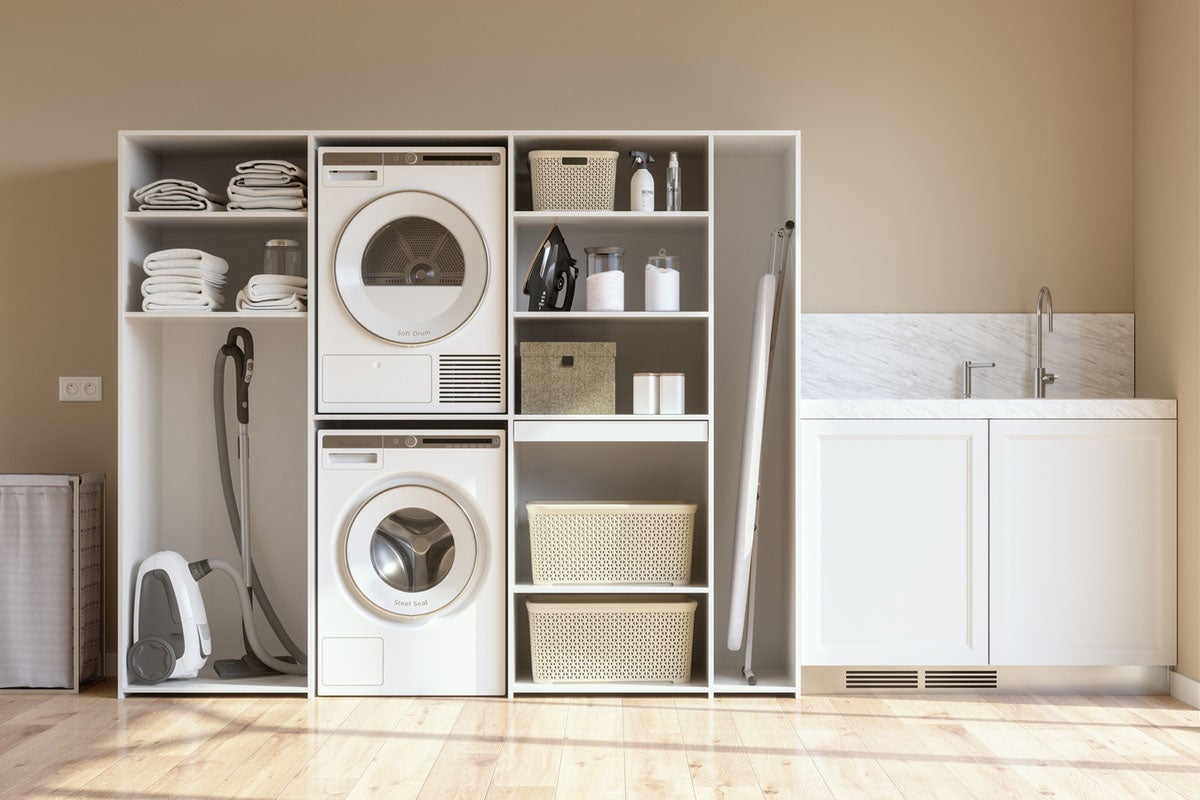
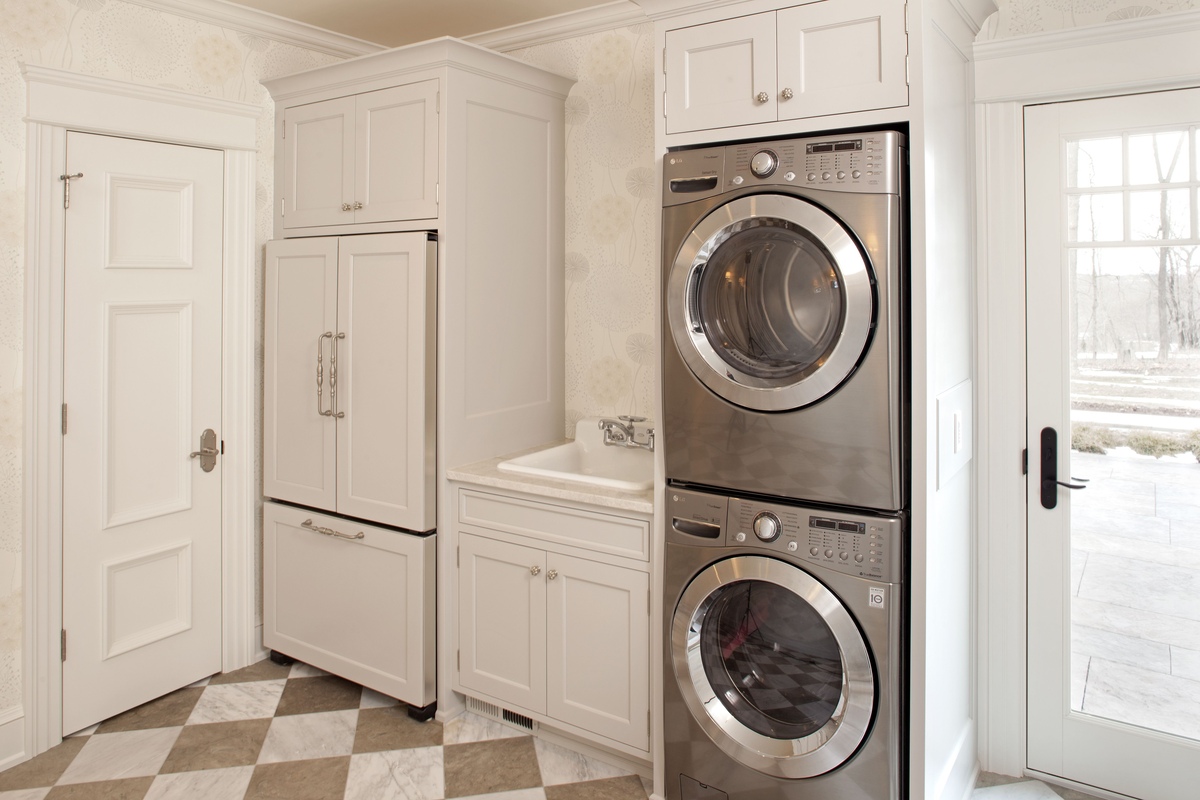
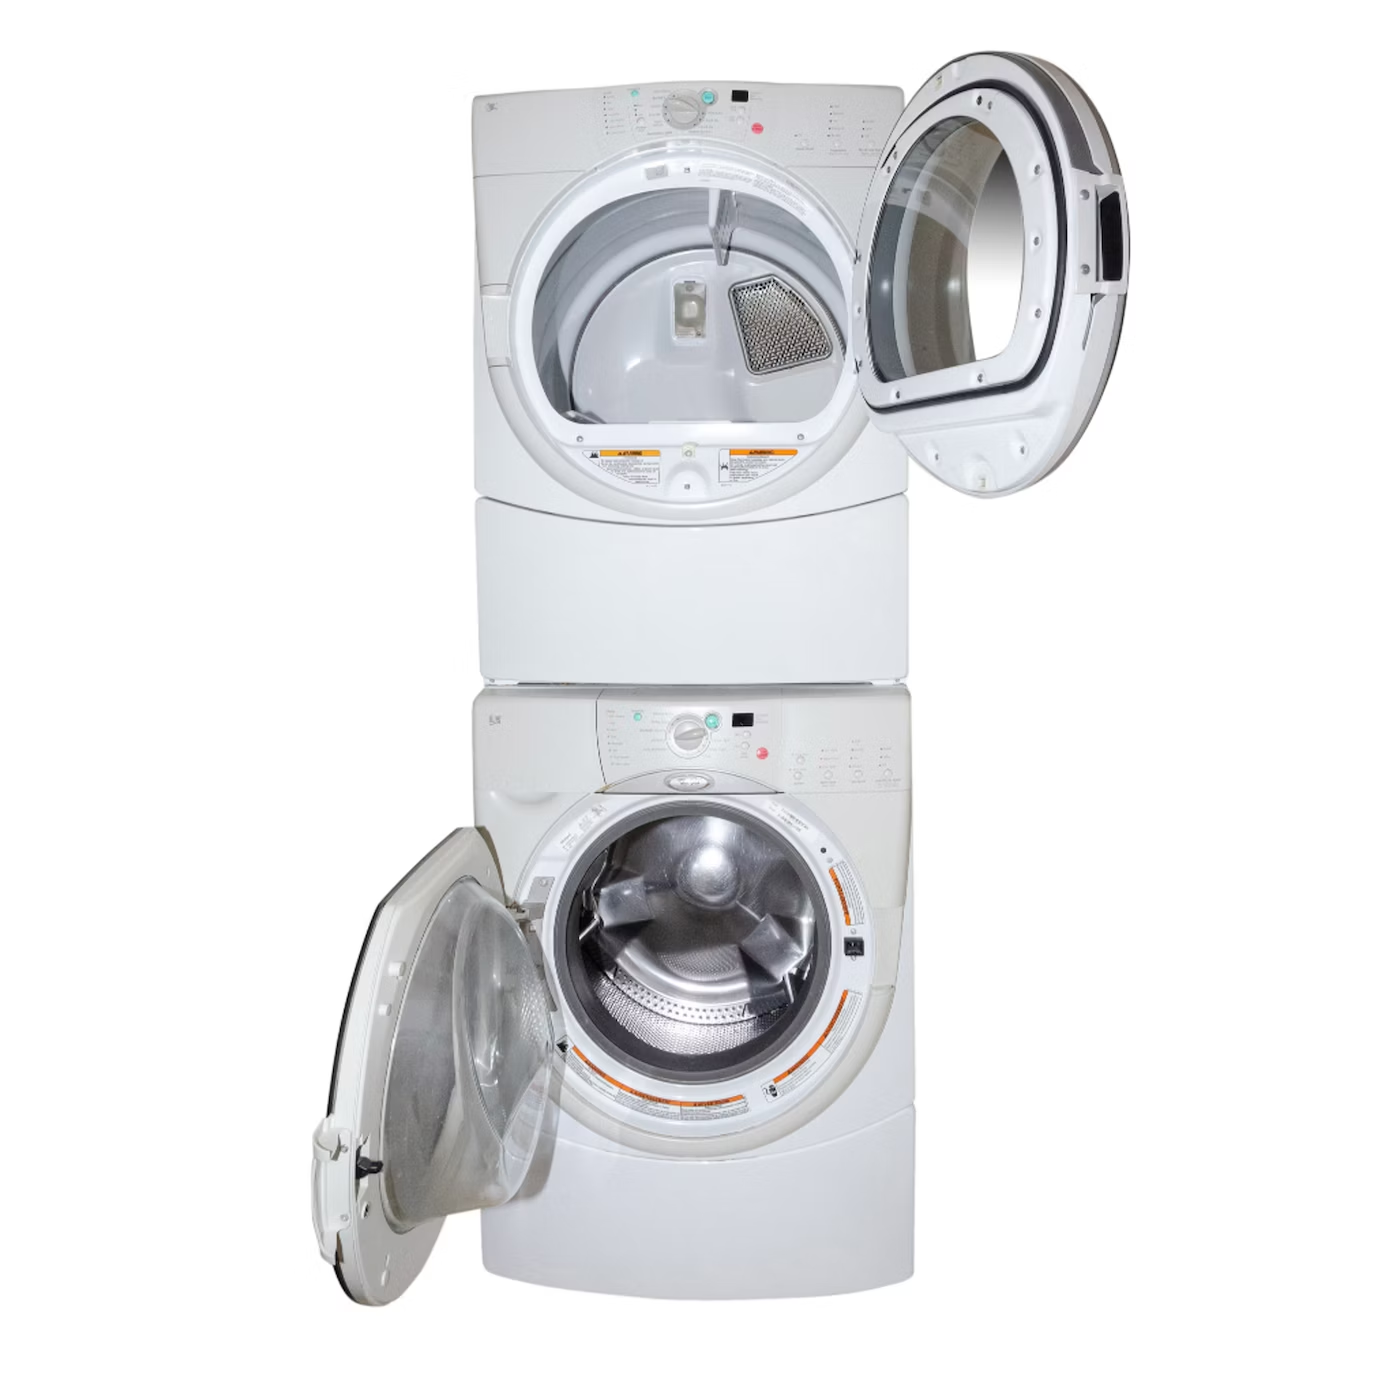
Setting up a Samsung stacked washer and dryer is a straightforward process that can greatly enhance the efficiency and convenience of your laundry routine. With a stacked unit, you can save valuable space in your laundry area while enjoying the benefits of two powerful laundry appliances in one compact design.
In this article, we will walk you through the step-by-step process of setting up your Samsung stacked washer and dryer. From unpacking and inspecting the appliances to connecting the water supply and vent hose, we will cover all the necessary steps to ensure a successful installation.
Before we begin, it’s essential to note that safety should always be a priority when installing any appliance. Make sure to read the manufacturer’s instructions thoroughly and follow all safety precautions.
Now, let’s get started with the installation process and get your Samsung stacked washer and dryer up and running!
Key Takeaways:
- Simplify your laundry routine and save space with a Samsung stacked washer and dryer. Follow the step-by-step installation guide for a successful setup and efficient laundry care at home.
- Ensure safety and optimal performance by thoroughly inspecting, leveling, and testing your Samsung stacked washer and dryer. Enjoy the convenience of efficient laundry care with proper installation.
Read more: How To Remove A Stacked Washer And Dryer
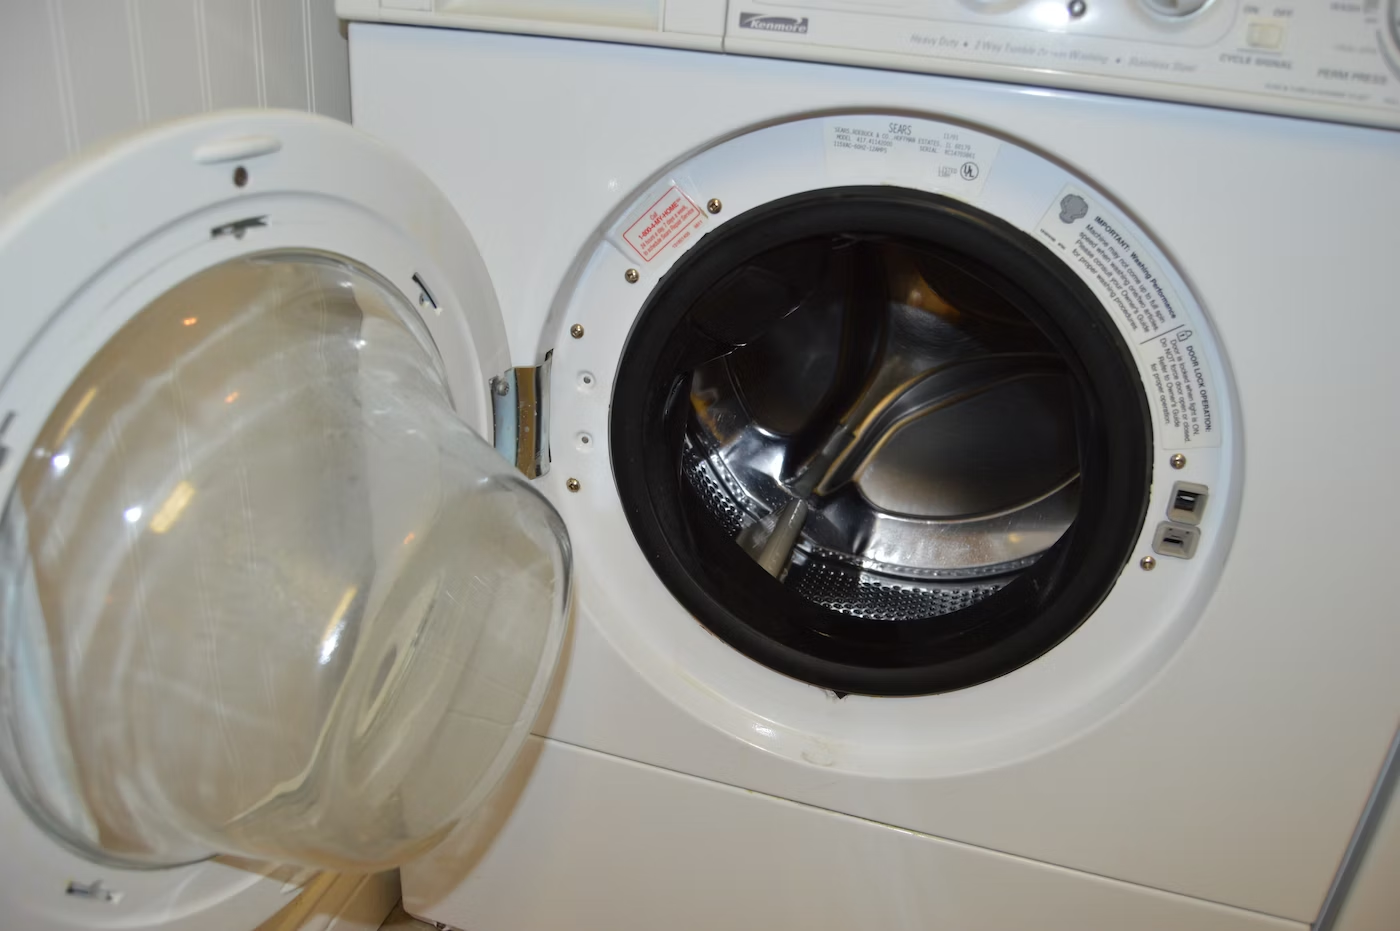
Step 1: Unpacking and Inspecting the Appliances
The first step in setting up your Samsung stacked washer and dryer is to unpack and inspect both appliances. Follow these steps:
- Remove any packaging materials: Carefully remove any tape, foam, or wrapping materials from the washer and dryer.
- Inspect for any damage: Thoroughly inspect both appliances for any signs of damage. Look for dents, scratches, or broken parts. If you notice any damage, contact Samsung customer service for assistance.
- Check for all accessories and manuals: Make sure all accessories and user manuals are included in the packaging. This may include power cords, water supply hoses, and vent hoses, as well as the user manuals for both the washer and dryer.
- Review the user manuals: Take the time to read through the user manuals provided. Familiarize yourself with the installation requirements, safety instructions, and operational guidelines for both appliances.
By thoroughly unpacking and inspecting your Samsung stacked washer and dryer, you can ensure that everything is in proper working order before moving forward with the installation process. This will help you avoid any issues or delays during the setup.
Step 2: Preparing the Laundry Area
Once you have inspected the appliances, the next step is to prepare the laundry area for the installation of your Samsung stacked washer and dryer. Follow these steps:
- Clear the space: Remove any items and debris from the area where you plan to install the appliances. This will provide a clean and clutter-free environment for the installation.
- Measure the space: Measure the dimensions of the available space to ensure that it can accommodate the stacked washer and dryer. Take into account the required clearances specified in the user manual for proper ventilation and access.
- Ensure proper ventilation: Make sure the laundry area has proper ventilation to prevent moisture buildup and allow the dryer to function efficiently. If needed, install a vent system or ensure that existing vents are clean and free from obstruction.
- Level the floor: Check the floor level in the laundry area and make necessary adjustments to ensure a stable installation. Use a leveling tool to ensure that the floor is even and the appliances will not wobble during operation.
Preparing the laundry area before installing your Samsung stacked washer and dryer is crucial for a seamless installation process. It ensures that you have the appropriate space, ventilation, and stability required for optimal performance and longevity of your appliances.
Step 3: Adjusting the Leveling Feet
Properly leveling your Samsung stacked washer and dryer is essential to ensure their stability and optimal performance. Follow these steps to adjust the leveling feet:
- Locate the leveling feet: Look for the leveling feet at the bottom corners of the appliances. These feet are designed to compensate for any unevenness in the floor and help stabilize the unit.
- Use a wrench or pliers: Depending on the model, you may need a wrench or pliers to adjust the leveling feet. Gently loosen or tighten the feet as needed to achieve a level position.
- Check the level: Use a bubble level to check the balance of the stacked washer and dryer. Place the level on top of the appliances in different directions to ensure they are perfectly leveled.
- Make adjustments: If the appliances are not level, continue adjusting the leveling feet until the bubble in the level is centered. This will ensure that the appliances sit evenly on the floor.
- Secure the leveling feet: Once you have achieved a level position, tighten the locking nuts or brackets on the leveling feet to secure them in place. This will prevent any movement or instability during operation.
Properly adjusting the leveling feet of your Samsung stacked washer and dryer will prevent any unwanted vibrations or movement during use. This will not only provide a smoother laundry experience but also help prolong the lifespan of the appliances.
Step 4: Securing the Appliances Together
Once you have leveled your Samsung stacked washer and dryer, it’s important to secure them together to ensure stability and prevent any accidental movement. Follow these steps for securing the appliances:
- Locate the brackets: Look for the brackets that came with your stacked washer and dryer. These brackets are designed to secure the two appliances together.
- Position the brackets: Attach the brackets to the back of the washer and dryer according to the manufacturer’s instructions. Make sure they are aligned properly and securely fastened.
- Use the screws: Once the brackets are in position, use the screws provided to secure them tightly. This will ensure that the washer and dryer remain connected and locked in place.
- Double-check the stability: After securing the appliances together, give them a gentle shake to confirm that they are stable and firmly connected. If there is any movement, tighten the screws further or consult the user manual for troubleshooting.
Securing the appliances together is an important step in ensuring their safe and efficient operation. It prevents them from tipping or shifting during use, especially when the washer is in spin cycle or the dryer is running at high speeds.
By following these steps, you can confidently proceed with the installation process knowing that your Samsung stacked washer and dryer are securely fastened together.
When setting up a Samsung stacked washer and dryer, make sure to carefully level the units to prevent excessive vibration during operation. Use a bubble level to ensure both the washer and dryer are evenly balanced.
Read more: How Tall Is A Stacked Washer Dryer
Step 5: Connecting the Water Supply Hoses
Connecting the water supply hoses to your Samsung stacked washer and dryer is essential for proper functioning of the washing machine. Follow these steps to connect the water supply hoses:
- Locate the water inlet valves: Look for the water inlet valves at the back of the washer. They are usually labeled with “Hot” and “Cold” indicators.
- Connect the hoses: Attach one end of the hot water hose to the hot water inlet valve and the other end to the hot water faucet or valve. Repeat the same process for the cold water hose.
- Tighten the connections: Use pliers or an adjustable wrench to securely tighten the connections. This will prevent any leaks or drips during operation. Be careful not to overtighten and risk damaging the hoses or valves.
- Check for leaks: Once the hoses are connected, turn on the water supply valves and check for any leaks around the connections. If you notice any leaks, tighten the connections further or replace the hoses if necessary.
- Ensure proper positioning: Make sure the hoses are not kinked or twisted. This will help maintain a steady water flow to the washer and prevent any interruptions during the wash cycle.
Properly connecting the water supply hoses ensures that your Samsung stacked washer receives the necessary hot and cold water for effective cleaning. It is important to regularly inspect the hoses for any signs of wear or damage and replace them if needed.
By following these steps, you can confidently connect the water supply hoses to your Samsung stacked washer and dryer, allowing them to function at their best.
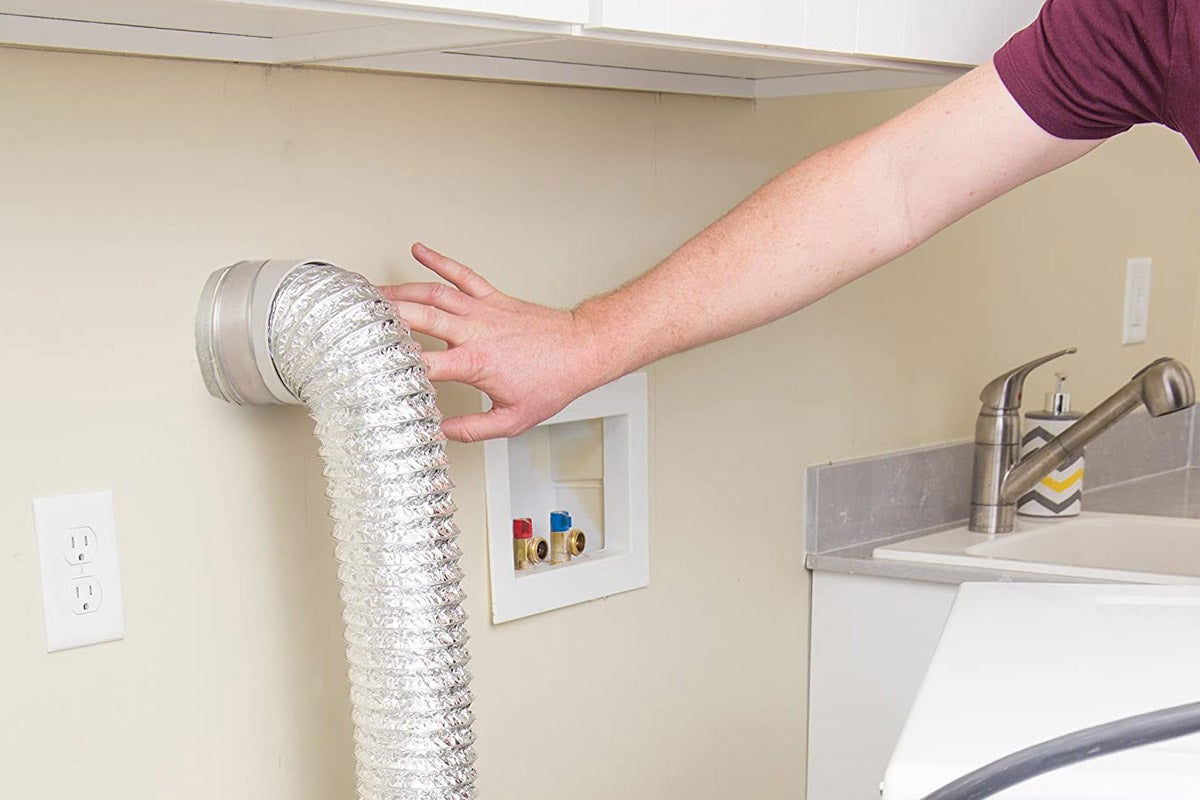
Step 6: Connecting the Vent Hose
Proper ventilation is essential for the efficient and safe operation of your Samsung stacked dryer. Follow these steps to connect the vent hose:
- Locate the dryer vent outlet: Find the dryer vent outlet at the back of your dryer. It is usually marked with a label or located near the bottom of the unit.
- Prepare the vent hose: If the vent hose is not already attached, slide one end of the vent hose over the dryer vent outlet. Make sure it fits securely and forms a tight seal.
- Route the vent hose: Decide on the route for the vent hose to reach the exterior of your home. It should be as direct and straight as possible, avoiding any sharp turns or kinks.
- Attach the vent hood: Install a vent hood on the exterior wall where the vent hose will exit. Ensure it is securely fastened and sealed to prevent any air leaks.
- Connect the vent hose to the vent hood: Slide the other end of the vent hose onto the vent hood and secure it in place. Again, ensure a tight and secure connection.
Properly connecting the vent hose allows for the efficient exhaust of hot air and moisture from your Samsung stacked dryer. It helps prevent overheating, reduces the risk of lint buildup, and improves drying performance.
Remember to regularly check the vent hose and exterior vent hood for any obstructions or blockages that may impede airflow. Clean the vent system periodically to maintain optimal drying efficiency and reduce the risk of fire hazards.
By following these steps, you can confidently connect the vent hose of your Samsung stacked dryer and ensure safe and efficient operation.
Step 7: Electrical Connection
Proper electrical connection is crucial for the safe and reliable operation of your Samsung stacked washer and dryer. Follow these steps to connect them to the power supply:
- Check the power requirements: Before connecting the appliances, ensure that your electrical system meets the power requirements specified in the user manual. This includes voltage, amperage, and the type of outlet needed.
- Locate the power cord: Find the power cord attached to the back of the appliances. Make sure the cord is in good condition with no signs of fraying or damage.
- Plug in the power cords: Insert the power cord into the appropriate electrical outlet. Ensure a secure connection by pushing the plug all the way in until it fits snugly.
- Secure the cords: Use cord clips or cable ties to secure the power cords to the back of the appliances or the nearby wall. This will prevent them from dangling or becoming entangled.
- Turn on the power: Once the power cords are plugged in, locate the power switches or buttons on the appliances and switch them on. The control panels should light up, indicating that power is successfully connected.
It is essential to follow electrical safety guidelines and consult a qualified electrician if you are unsure about the electrical setup or if modifications are needed.
Always keep in mind that water and electricity do not mix. Make sure the area around the appliances is dry and free from any moisture to avoid electrical hazards.
By following these steps, you can confidently connect your Samsung stacked washer and dryer to the power supply, ensuring a safe and reliable laundry experience.
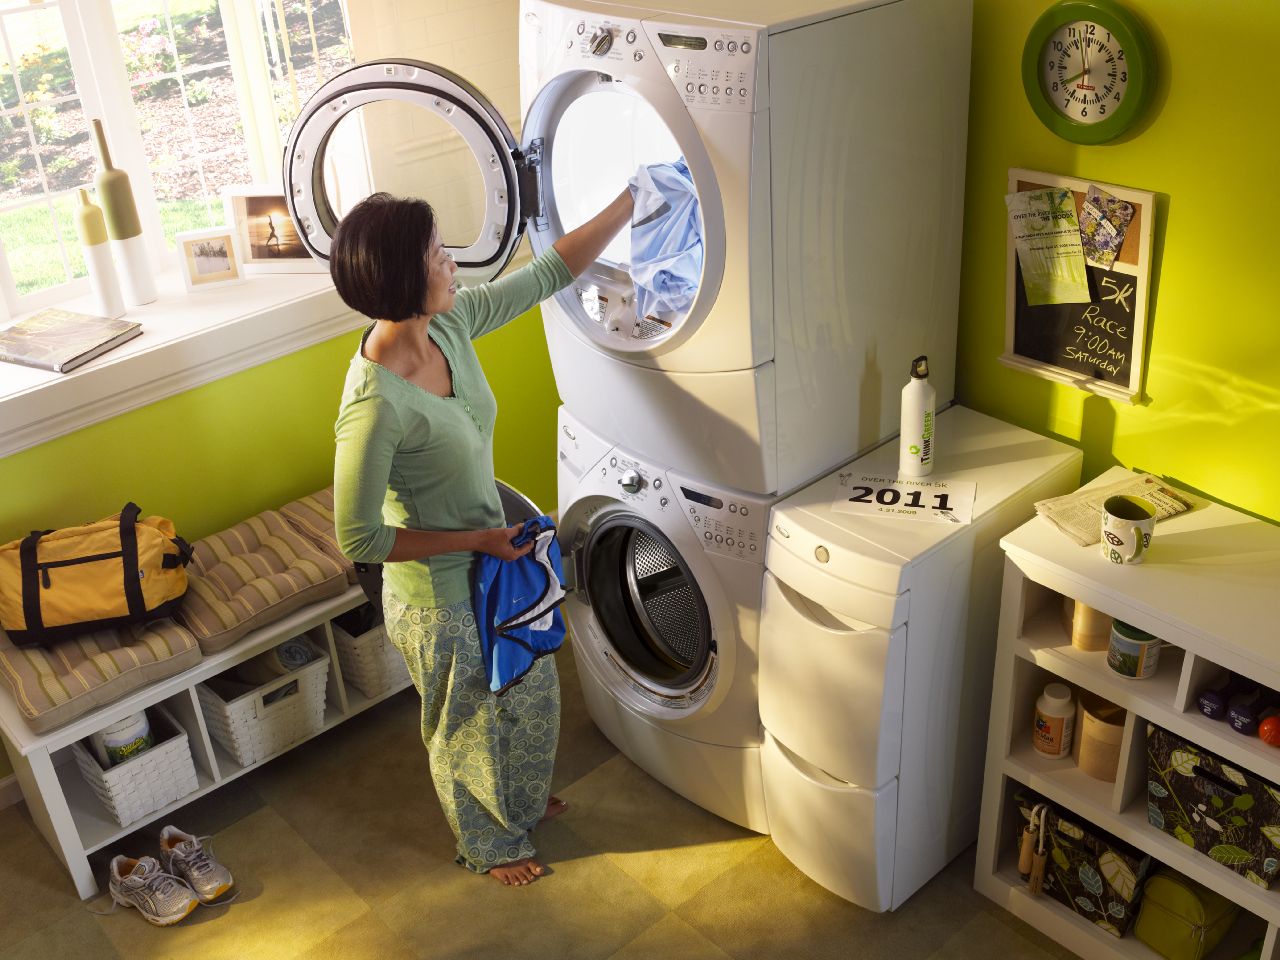
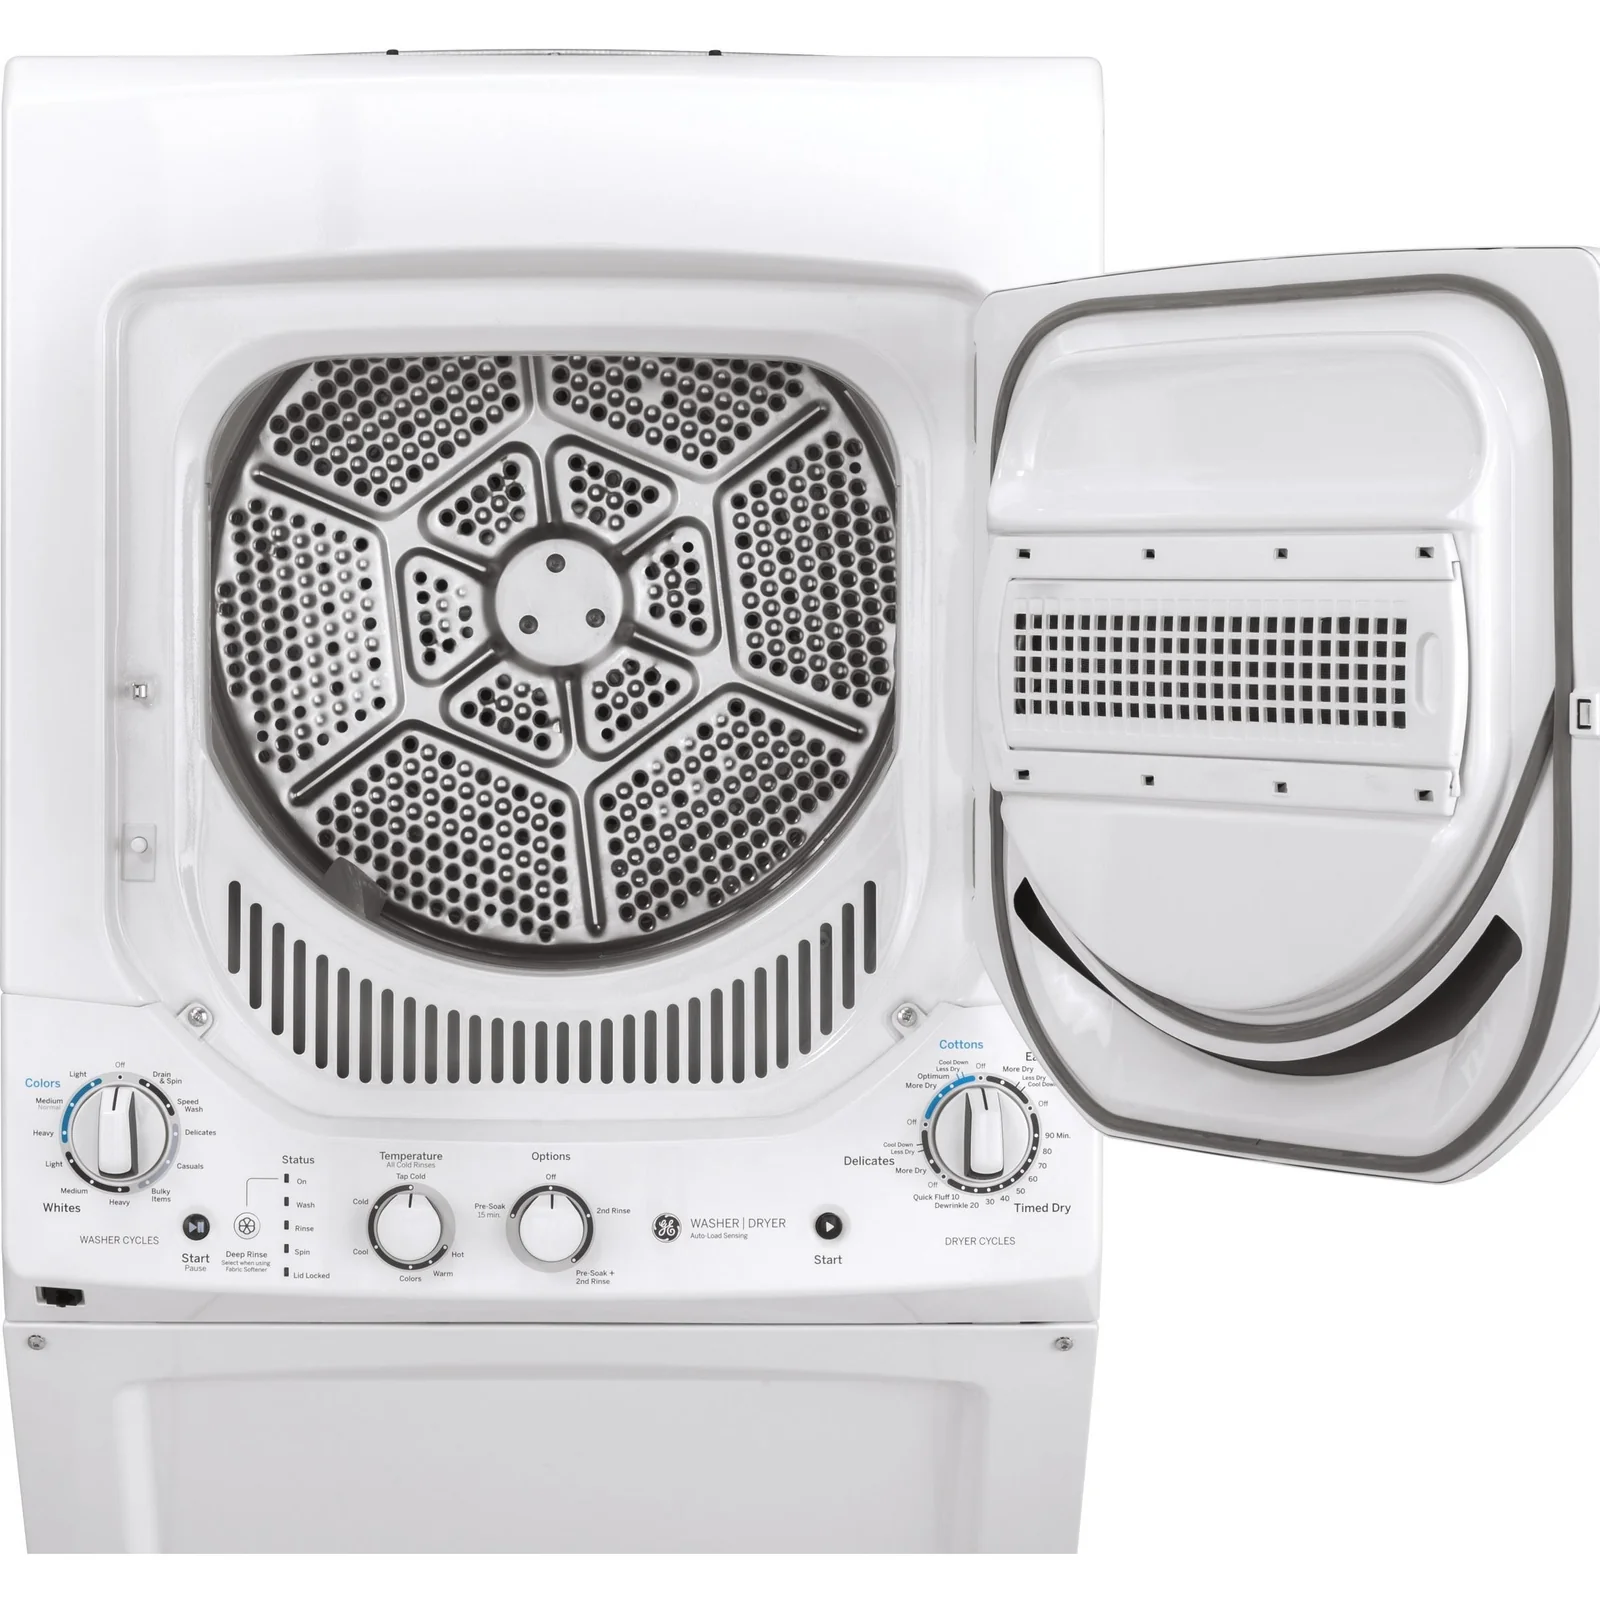
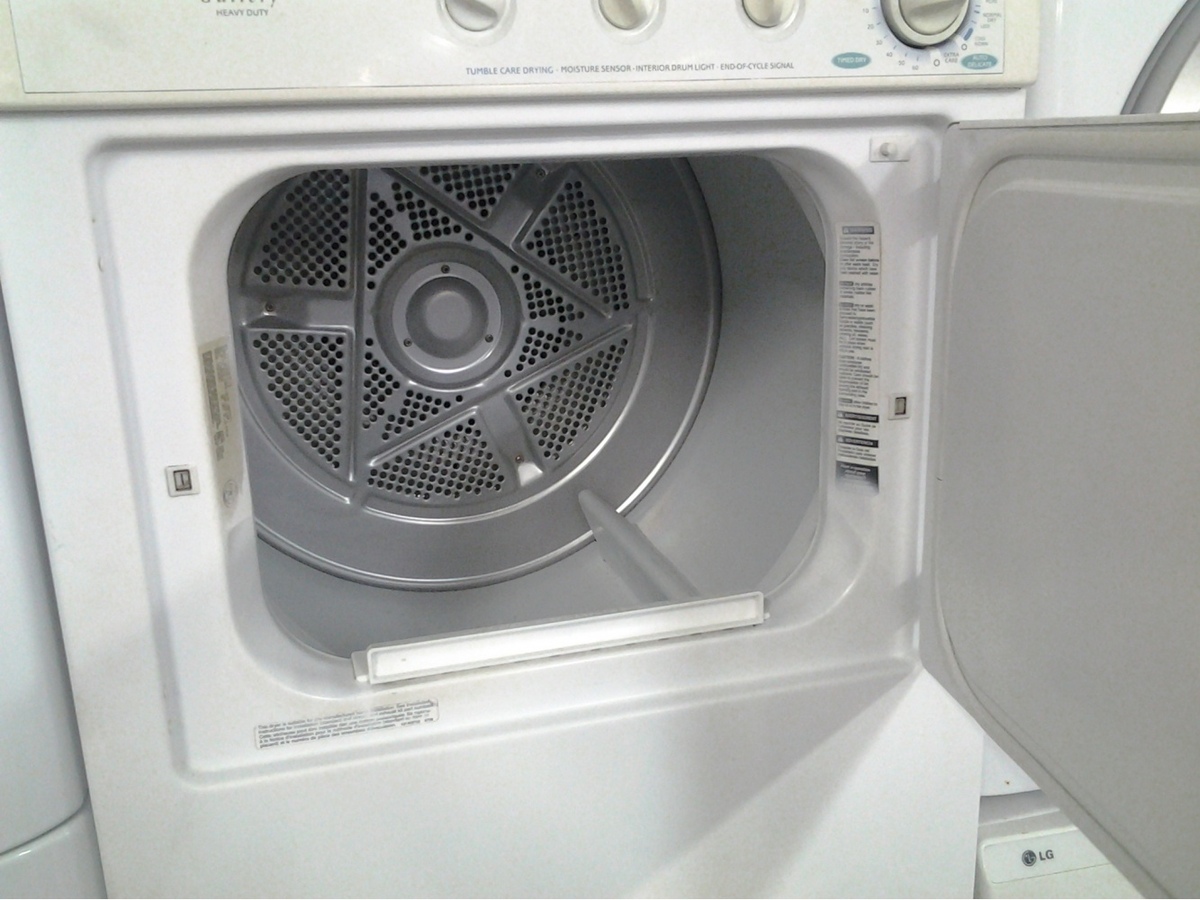
Step 8: Testing the Washer and Dryer
After completing the installation of your Samsung stacked washer and dryer, it’s important to test them to ensure proper functionality. Follow these steps to perform a test run:
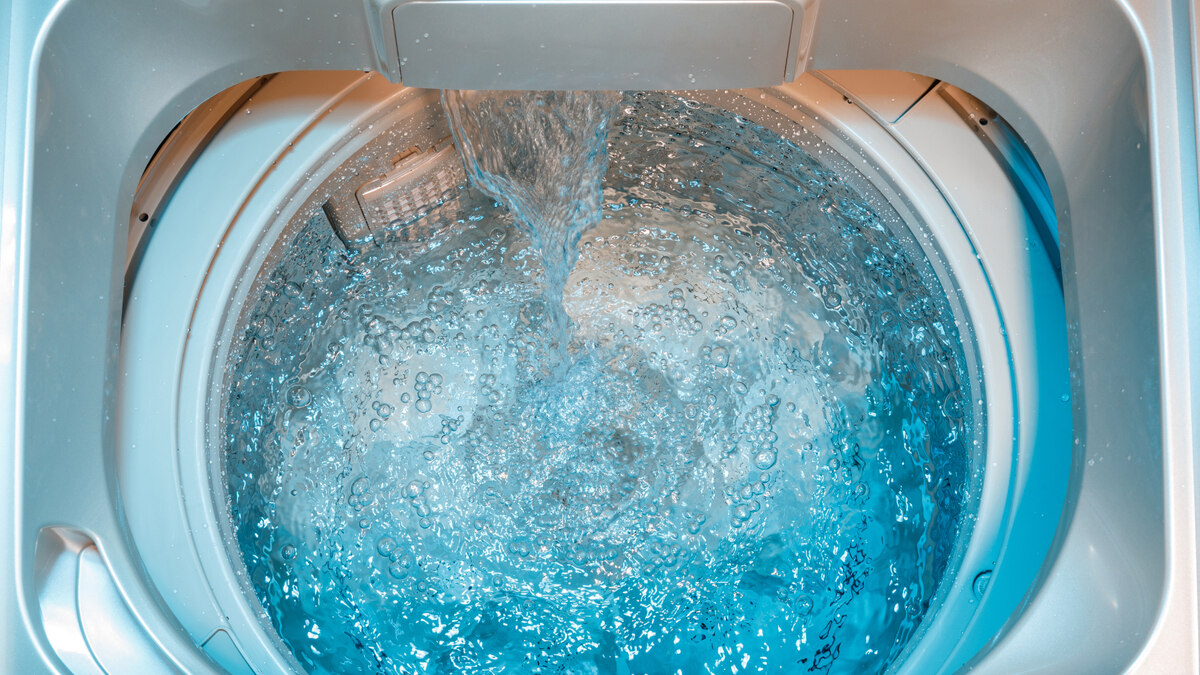
- Add a small load of laundry: Start by adding a small load of laundry to the washer. Use the appropriate detergent and follow the manufacturer’s instructions for your specific laundry needs.
- Select the desired settings: Choose the desired wash settings, such as water temperature, cycle selection, and any additional options or features available on your washer.
- Start the wash cycle: Close the washer door or lid and press the start button to initiate the wash cycle. Observe the washer as it fills with water and goes through the selected cycle.
- Check for proper operation: Monitor the washer during the cycle to ensure it is functioning properly. Look for any unusual noises, leaks, or error messages on the display panel. If you notice any issues, refer to the user manual for troubleshooting steps or contact customer support for assistance.
- Transfer the load to the dryer: Once the wash cycle is complete, transfer the load to the dryer. Remove any excess water from the garments and place them evenly in the dryer drum.
- Select the appropriate settings: Choose the desired drying settings, such as temperature, level of dryness, and any additional options available on your dryer.
- Start the drying cycle: Close the dryer door and press the start button to initiate the drying cycle. Observe the dryer as it heats and tumbles the garments.
- Ensure proper drying: Monitor the dryer to ensure that it is effectively drying the load. Check for any unusual smells, excessive heat, or error messages. If you encounter any issues, consult the user manual or contact customer support for guidance.
- Complete the test run: Once the drying cycle is finished and the load is dry, remove it from the dryer. Inspect the garments for any signs of damage or over-drying.
By performing a test run, you can verify that both the washer and dryer are functioning correctly and meet your laundry needs. This step ensures that your Samsung stacked washer and dryer are ready for regular use.
If you encounter any issues or have concerns about the performance of your appliances during the test run, reach out to Samsung customer support for further assistance and troubleshooting.
Read more: How To Hide A Stacked Washer Dryer
Conclusion
Setting up a Samsung stacked washer and dryer can greatly simplify your laundry routine while saving space in your home. By following the step-by-step installation process outlined in this article, you can ensure a successful setup and enjoy the benefits of these efficient laundry appliances.
From unpacking and inspecting the appliances to connecting the water supply hoses, vent hose, and electrical power, each step is crucial to ensure proper functionality and safety.
Remember to take the time to level the appliances, secure them together, and perform a thorough test run to verify their performance before regular use.
Always refer to the user manuals provided by Samsung for specific installation requirements and safety guidelines.
If you encounter any difficulties during the installation process or have questions about your Samsung stacked washer and dryer, do not hesitate to contact Samsung customer support for assistance.
With your Samsung stacked washer and dryer properly installed and tested, you can now enjoy the convenience of efficient laundry care in your home. Happy washing and drying!
Frequently Asked Questions about How To Setup Samsung Stacked Washer And Dryer
Was this page helpful?
At Storables.com, we guarantee accurate and reliable information. Our content, validated by Expert Board Contributors, is crafted following stringent Editorial Policies. We're committed to providing you with well-researched, expert-backed insights for all your informational needs.


0 thoughts on “How To Setup Samsung Stacked Washer And Dryer”