
Articles
How To Disconnect Wires From Stacked Washer
Modified: March 1, 2024
Learn how to safely disconnect wires from a stacked washer with our informative articles. Properly disconnecting wires is an essential step in any maintenance or repair process.
(Many of the links in this article redirect to a specific reviewed product. Your purchase of these products through affiliate links helps to generate commission for Storables.com, at no extra cost. Learn more)
Introduction
Disconnecting wires from a stacked washer may be necessary for various reasons, such as performing repairs, replacing parts, or moving the washer. However, it is essential to approach this task with caution and follow proper procedures to ensure your safety and prevent any damage to the appliance.
In this article, we will guide you through the process of disconnecting wires from a stacked washer. We will provide step-by-step instructions, safety precautions to keep in mind, as well as the tools and materials you will need to successfully complete the task.
Before we jump into the details, it’s important to note that working with electrical appliances can be dangerous, especially if you lack the necessary knowledge and experience. If you are unsure or uncomfortable performing this task, it is advisable to seek professional assistance. Safety should always be your top priority.
Now, let’s get started with the safety precautions you should follow before disconnecting any wires from your stacked washer.
Key Takeaways:
- Safety First!
Prioritize safety by following the outlined precautions, wearing protective gear, and consulting the manufacturer’s instructions. Always unplug the washer and turn off the water supply before disconnecting any wires. - Organized Disconnection
Label and organize wires as you disconnect them from the control board, motor, and other components. This will simplify the reconnection process and ensure the proper functionality of your stacked washer.
Read more: How To Wire An AC Disconnect
Safety Precautions
Before you begin disconnecting wires from a stacked washer, it is crucial to take the necessary safety precautions to protect yourself and prevent any accidents or injuries. Here are some guidelines to follow:
- Turn off the power: Before starting any work on the washer, make sure to unplug it from the power outlet. This will help avoid the risk of electrical shock.
- Wear protective gear: Put on safety goggles, gloves, and any other appropriate protective gear to shield yourself from potential hazards.
- Keep the area well-lit: Ensure that the work area is well-lit, allowing you to clearly see the wires and components you are working with.
- Disconnect the water supply: If your stacked washer is connected to a water source, such as a faucet, shut off the water supply valves to prevent any leaks or flooding during the disconnection process.
- Allow the washer to cool down: If the washer was recently in use, give it enough time to cool down before proceeding. This will reduce the risk of burns or coming into contact with hot surfaces.
- Refer to the manufacturer’s instructions: Always consult the user manual or documentation provided by the manufacturer for specific safety guidelines and precautions related to your particular washer model.
By adhering to these safety precautions, you can minimize the risk of accidents and create a safe working environment while disconnecting wires from your stacked washer. Now that we have covered the safety precautions, let’s move on to the tools and materials you will need for this task.
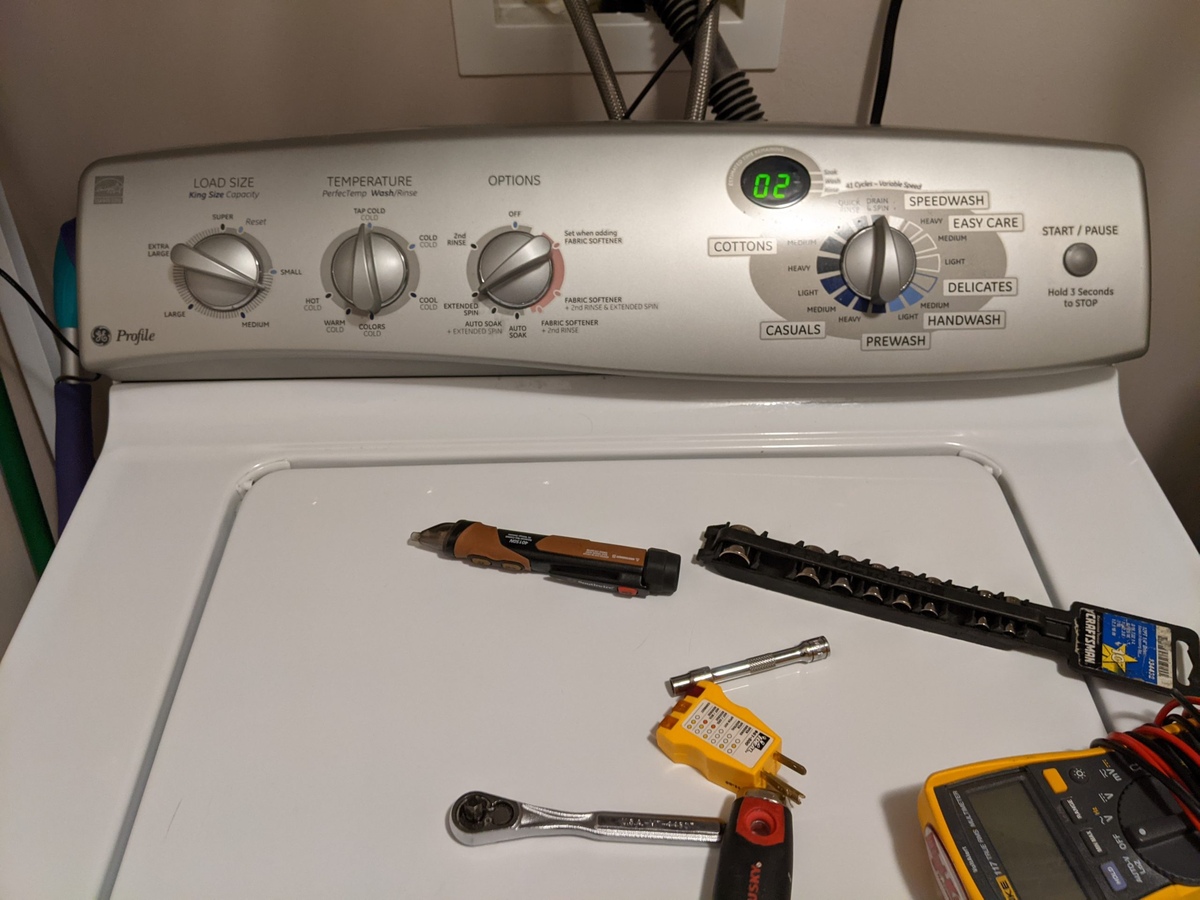
Tools and Materials Required
Before you begin the process of disconnecting wires from a stacked washer, it is essential to gather the necessary tools and materials. Having these items on hand will make the task easier and more efficient. Here is a list of what you will need:
- Flathead screwdriver: This tool will be used to remove screws and pry open panels.
- Phillips screwdriver: You may need a Phillips screwdriver to remove specific screws on the washer.
- Wire cutters/strippers: These tools will help you cut or strip wires, if necessary.
- Labeling materials: It is important to label the wires as you disconnect them. You can use labels, stickers, or even masking tape to mark each wire for easier reconnection later.
- Flashlight: A flashlight will come in handy, as it will provide additional lighting to help you see the wires and components more clearly, especially in tight spaces.
- Protective gloves and goggles: Use gloves and safety goggles to protect yourself from any potential injury or electrical shock.
- Replacement parts (if needed): Depending on the reason for disconnecting the wires, you may require replacement parts. Make sure to have these on hand before starting the process.
By having these tools and materials ready, you will be well-prepared to disconnect the wires from your stacked washer. Now that you have everything you need, let’s move on to the step-by-step process of disconnecting the wires.
Step 1: Unplug the Washer
Before you begin disconnecting any wires, the first and most crucial step is to ensure that the washer is completely disconnected from the power source. This is to prioritize your safety and avoid any risk of electric shock.
Locate the power cord of the stacked washer, which is usually plugged into a nearby outlet or power strip. Carefully unplug the cord from the power source, ensuring that it is fully removed.
It’s essential to double-check that the washer is indeed unplugged by verifying that there is no power flowing to the appliance. One way to confirm this is by attempting to turn on the washer’s controls or observing that the display panel is not illuminated.
By unplugging the washer, you eliminate the risk of electrical shock while working with the wires and components.
Once you have confirmed that the washer is unplugged and there is no power supply, you can proceed to the next step.
Let’s now move on to Step 2: Turn Off Water Supply.
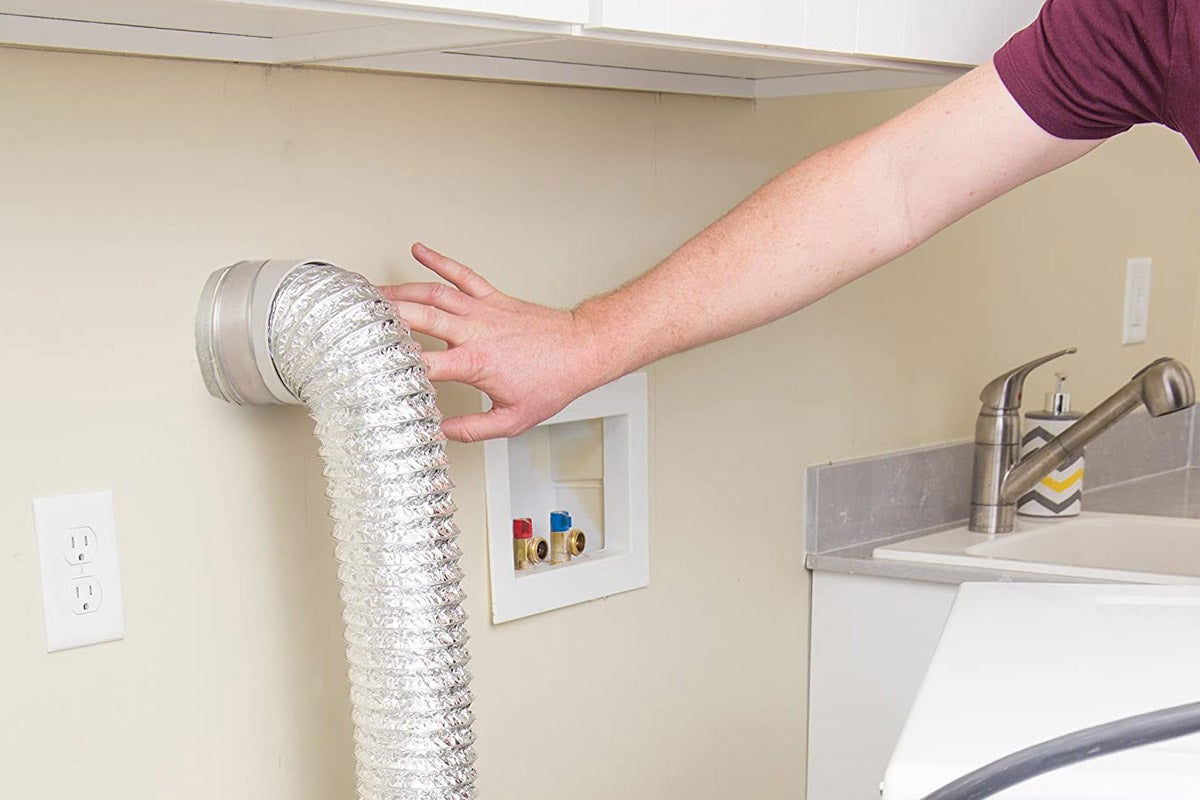
Step 2: Turn Off Water Supply
If your stacked washer is connected to a water source, it is important to turn off the water supply before proceeding with the wire disconnection process. This will prevent any water leaks or flooding while working on the appliance.
Locate the water supply valves near the washer. These valves are typically found on the wall behind the appliance or in a nearby utility closet. There will be separate valves for the hot and cold water lines.
Using your hand, turn the valves clockwise until they are fully closed. This will shut off the water flow to the washer and prevent any accidental leaks during the disconnection process.
After turning off the water supply, it is advisable to test the valves by turning on a faucet or running a nearby tap. If no water flows, then you have successfully closed the water supply valves.
Turning off the water supply ensures that you can safely disconnect the wires without the risk of water damage or flooding. Now that you have completed this step, let’s move on to Step 3: Remove the Access Panel.
Read more: How To Disconnect Washer And Dryer
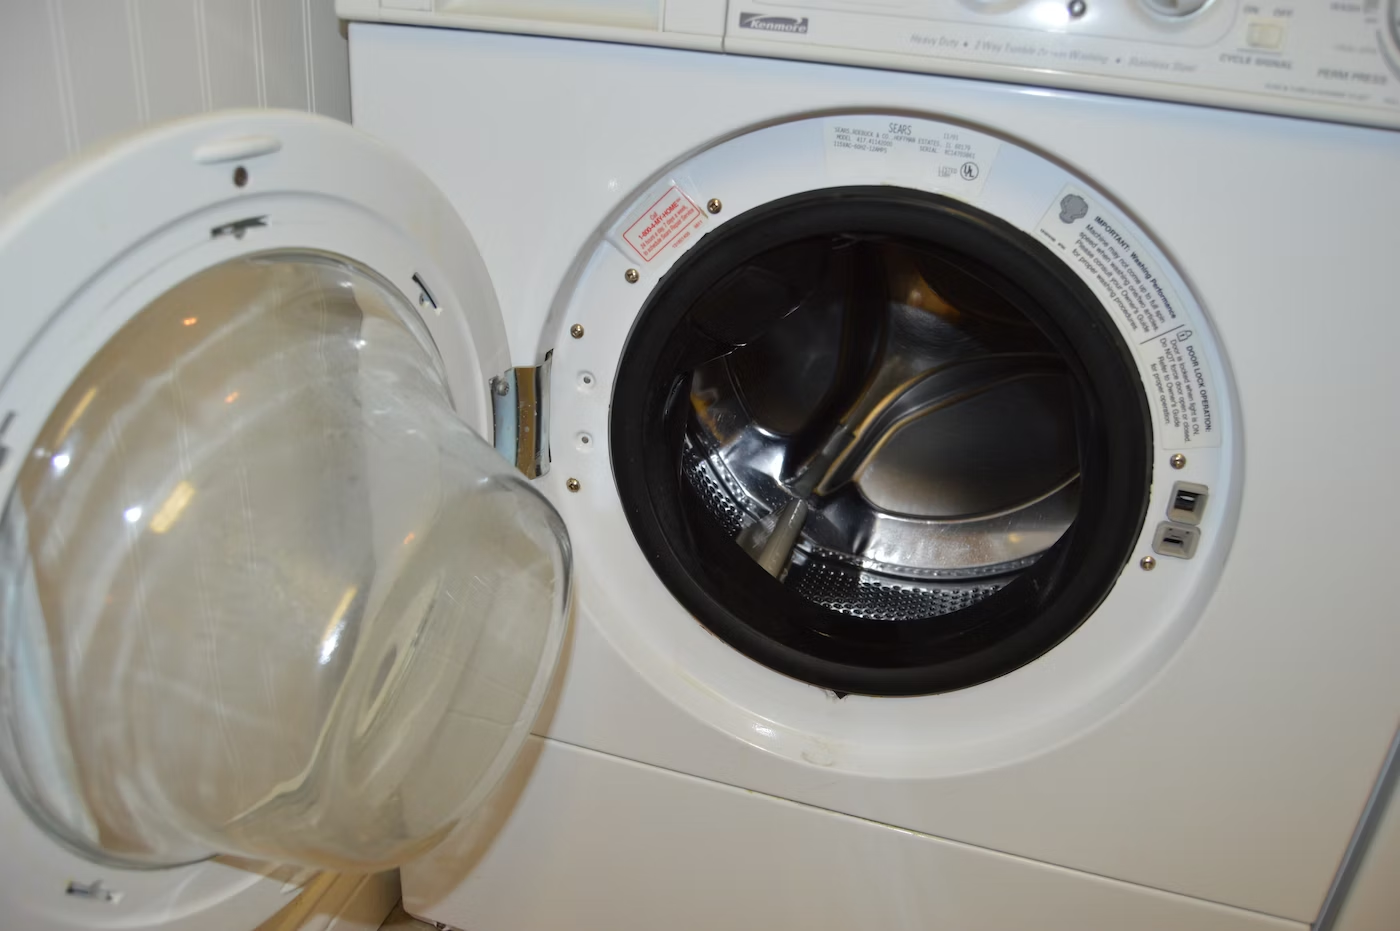
Step 3: Remove Access Panel
Before you can access and disconnect the wires from your stacked washer, you’ll need to remove the access panel. The access panel is usually located on the back or side of the appliance and provides you with access to the internal components.
Start by locating the screws or fasteners that secure the access panel in place. These may be Phillips or flathead screws, depending on the make and model of your washer. Use the appropriate screwdriver to remove the screws and set them aside in a safe place.
Once the screws are removed, gently pull or lift the access panel away from the washer. Be careful not to force it or apply excessive pressure, as you don’t want to damage the panel or any of the wires inside.
If the access panel seems to be stuck, double-check for any remaining screws or clips that may be holding it in place. Sometimes, there are additional screws near the bottom or hidden clips that need to be released before the panel can be fully removed.
Once the access panel is successfully removed, set it aside in a secure location where it won’t be damaged. Now you will have clear visibility of the internal components and wires of the washer, allowing you to proceed with the disconnection process.
In the next step, Step 4, we will guide you on how to identify and label the wires for easier disconnection.
Step 4: Identify and Label Wires
Before disconnecting any wires from your stacked washer, it is essential to identify and label each wire to ensure proper reconnection later. This step will prevent confusion and mistakes, especially if there are multiple wires that need to be disconnected.
Start by visually inspecting the wires inside the washer. Take note of their colors, sizes, and positions to help you identify them accurately.
If possible, refer to the user manual or documentation provided by the manufacturer to get a wiring diagram or guide specific to your washer model. This will give you a clear understanding of how the wires are connected and assist you in labeling them correctly.
Using labels, stickers, or masking tape, mark each wire with a corresponding label or code. For example, you can use initials such as “H” for hot wire, “C” for cold wire, or other abbreviations based on your washer’s wiring scheme.
Ensure that the labels are securely attached to each wire, so they don’t get lost or damaged during the disconnection process.
By taking the time to identify and label the wires, you will have a clear reference when it’s time to reconnect them later. This step will save you from the hassle of guessing or potentially connecting the wrong wires, which could lead to functionality issues or damage to the appliance.
Now that you have successfully identified and labeled the wires, it’s time to move on to Step 5: Disconnect the Wires from the Control Board.
Before disconnecting wires from a stacked washer, always turn off the power supply to avoid any electrical hazards. Use a small flathead screwdriver to carefully pry the wire connectors apart, and avoid pulling on the wires themselves to prevent damage.
Step 5: Disconnect Wires from Control Board
Once you have identified and labeled the wires, it’s time to disconnect them from the control board of your stacked washer. The control board is the main interface that regulates the washer’s functions.
Start by carefully examining the control board and locating the wires that are connected to it. Each wire is usually attached to a terminal or connector on the control board.
Using your fingers or a pair of pliers, gently loosen the screw or release the connector that holds each wire in place. Take note of how each wire is secured and the orientation of the connectors, as this will be helpful when reconnecting them later.
One by one, disconnect the wires from the control board, taking care not to damage or bend them excessively. Slowly pull on each wire to separate it from the terminal or connector.
As you disconnect each wire, immediately attach the corresponding label or code to it. This will help you keep track of which wire is which when it’s time to reconnect them.
Set the disconnected wires aside in a safe and organized manner, ensuring they don’t become tangled or misplaced.
Once all the wires are disconnected from the control board, you have completed this step. Now, it’s time to proceed to Step 6: Disconnect Wires from the Motor.
Step 6: Disconnect Wires from Motor
In this step, you will disconnect the wires that are connected to the motor of your stacked washer. The motor is responsible for powering the washer’s drum and various functions.
Start by locating the motor assembly inside the washer. Depending on the model, it may be located at the bottom, back, or side of the appliance.
Inspect the wires connected to the motor. Similar to the control board, each wire will be connected to a terminal or connector on the motor.
Using your fingers or a pair of pliers, loosen the screws or release the connectors that hold each wire in place. Carefully pull on each wire to disconnect it from the terminal or connector.
As you disconnect each wire, be sure to attach the corresponding label or code that you assigned earlier. This will help you identify the wires correctly during the reconnection process.
Once all the wires are disconnected from the motor, set them aside in a safe and organized manner.
Take note of the orientation and arrangement of the wires around the motor. This will aid in reconnecting them properly later on.
With the wires successfully disconnected from the motor, you have completed this step. Now, let’s move on to Step 7: Disconnect Wires from Other Components.
Read more: How To Remove A Stacked Washer And Dryer
Step 7: Disconnect Wires from Other Components
In this step, you will disconnect any remaining wires that are connected to other components within your stacked washer. These components may include sensors, switches, valves, or any other electrical parts.
Carefully inspect the interior of the washer and identify the wires that are connected to these components.
Using the appropriate tools, such as a screwdriver or pliers, remove any screws or connectors that secure the wires to their respective components.
Slowly and gently disconnect each wire from its connection point, making sure to keep track of which wire corresponds to which component. You can use the labels or codes you assigned earlier to help you identify them.
Set the disconnected wires aside in a safe and organized manner. Avoid tangling them or mixing them up with other wires.
Pay attention to the orientation and arrangement of the wires around these components. This will be crucial when you are reconnecting them later on.
Once you have successfully disconnected all the wires from the other components, you have completed this step. Now, it’s time to move on to the next step: Step 8: Reinstall the Access Panel.
Step 8: Reinstall Access Panel
Now that you have finished disconnecting the wires from your stacked washer’s components, it’s time to reassemble the access panel. This step will ensure that the internal components are properly protected and secure.
Retrieve the access panel that you removed earlier and align it with the opening on the washer.
Carefully position the panel back into place, ensuring that it is lined up correctly with any screws or clips that secure it.
Using the screws you set aside earlier, reattach the access panel to the washer. If there are multiple screws, start with one corner and gradually work your way around, tightening each screw securely but not excessively.
Make sure all the screws are properly tightened, but be cautious not to overtighten them, as this can damage the panel or the washer’s body.
Once the access panel is securely in place, give it a gentle push or tug to confirm that it is properly fastened and won’t easily come loose.
By reinstalling the access panel, you ensure that the internal components of your stacked washer are adequately protected and that the wires are secure.
Now that you have completed Step 8, you are almost done with the wire disconnection process. It’s time to move on to Step 9: Restore Power and Test the Washer.
Step 9: Restore Power and Test Washer
In Step 9, you will restore power to your stacked washer and test its functionality to ensure that the wire disconnection process was successful.
Start by carefully plugging the washer back into the power outlet. Ensure that the plug is inserted securely and that there are no loose connections.
Once the washer is plugged in, turn on the power supply by either flipping the switch or pressing the power button, depending on your washer’s design.
Observe the control panel of the washer to verify that the display is powered on and functioning correctly. Look for any error codes or abnormal behavior that may indicate a wiring issue.
Next, run a test cycle on the washer to check if it operates as intended. Select a short, basic cycle and start the washer. Monitor its performance, including the water supply, water drainage, and the rotation of the drum.
If the washer operates smoothly without any issues or strange noises, it indicates that the wire disconnection and reconnection process was successful. Congratulations!
However, if you encounter any problems or notice unusual behavior during the test cycle, it’s important to stop the washer and consult the user manual, manufacturer, or a professional technician for further assistance. It is possible that a wire may have been improperly connected or a component was affected during the disconnection process.
Remember, safety should always be your top priority when dealing with electrical appliances. If you are unsure or uncomfortable performing any electrical work, it is strongly recommended to seek professional help.
With Step 9 completed, you have gone through the entire process of disconnecting and reconnecting the wires on your stacked washer. You can now enjoy the benefits of your efforts, whether it’s for repairs, replacements, or any other necessary maintenance.
Now that you have successfully completed the process, you can proudly say that you’ve learned how to disconnect wires from a stacked washer and protect your valuable appliance.
Always refer to the manufacturer’s guidelines or consult a professional if you have any doubts or encounter unfamiliar situations during the process.
Remember to practice safety at all times, and happy washing!
Conclusion
Disconnecting wires from a stacked washer may seem like a daunting task, but with the right knowledge and precautions, it can be accomplished safely and successfully. By following the step-by-step guide outlined in this article, you can confidently disconnect and label the wires, allowing for easier reconnection in the future.
Throughout the process, we emphasized the importance of prioritizing safety. From unplugging the washer and turning off the water supply to wearing protective gear and following manufacturer instructions, these precautions ensure that you minimize the risk of accidents or damage to the appliance.
The tools and materials required, such as screwdrivers, wire cutters/strippers, and labeling materials, play a vital role in accomplishing the task efficiently. Having them readily available will make the process smoother and more organized.
Each step, from removing the access panel to disconnecting wires from the control board, motor, and other components, was described in detail to ensure a clear understanding of the process. Taking note of wire colors, labeling them, and paying attention to their arrangement will simplify the reconnection process.
Once you have successfully disconnected the wires, it is crucial to reinstall the access panel securely to protect the internal components of your washer. Finally, restoring power and testing the washer allows you to confirm that the wire disconnection process was completed accurately, ensuring the washer’s proper functionality.
Throughout the entire process, your safety should be the top priority. If you ever feel unsure or uncomfortable with any step, it is recommended to seek professional assistance.
By following the guidelines provided in this article, you have gained the knowledge and understanding required to disconnect wires from a stacked washer. Whether you are performing repairs, replacements, or simply moving the appliance, this skill will prove to be valuable in maintaining the functionality and longevity of your washer.
Remember, always consult the manufacturer’s instructions or seek professional help if you have any doubts or encounter unfamiliar situations during the process. With the right approach, you can confidently disconnect and reconnect wires in your stacked washer, ensuring a smooth and efficient process.
Thank you for reading, and happy disconnecting!
Frequently Asked Questions about How To Disconnect Wires From Stacked Washer
Was this page helpful?
At Storables.com, we guarantee accurate and reliable information. Our content, validated by Expert Board Contributors, is crafted following stringent Editorial Policies. We're committed to providing you with well-researched, expert-backed insights for all your informational needs.


0 thoughts on “How To Disconnect Wires From Stacked Washer”