Articles
How To Sew A Double-Sided Fleece Blanket
Modified: February 17, 2024
Learn how to sew a cozy and versatile double-sided fleece blanket with our informative articles. Perfect for staying warm and stylish all year round!
(Many of the links in this article redirect to a specific reviewed product. Your purchase of these products through affiliate links helps to generate commission for Storables.com, at no extra cost. Learn more)
Introduction
Welcome to the world of sewing! If you’re looking for a fun and practical sewing project, then making a double-sided fleece blanket is a great choice. Fleece blankets are cozy, warm, and make perfect gifts for friends or family members. Plus, they’re relatively easy to make, even for beginners.
In this article, we’ll guide you through the step-by-step process of sewing a double-sided fleece blanket. We’ll cover everything from preparing the fabric to adding decorative details, so you can create a beautiful and functional blanket that you’ll be proud to show off.
Before we get started, let’s talk about the materials you’ll need for this project. Having everything prepared beforehand will make the sewing process much smoother and more enjoyable.
Key Takeaways:
- Create a personalized and cozy double-sided fleece blanket by following simple steps, from preparing the fabric to adding decorative details. Perfect for gifting or enjoying at home.
- Sewing a double-sided fleece blanket is a rewarding and enjoyable project, suitable for beginners and experienced sewists alike. Customize the design and add decorative touches for a unique and stylish result.
Read more: How To Make A No Sew Fleece Quilt
Materials Needed
Before you begin sewing your double-sided fleece blanket, make sure you have the following materials:
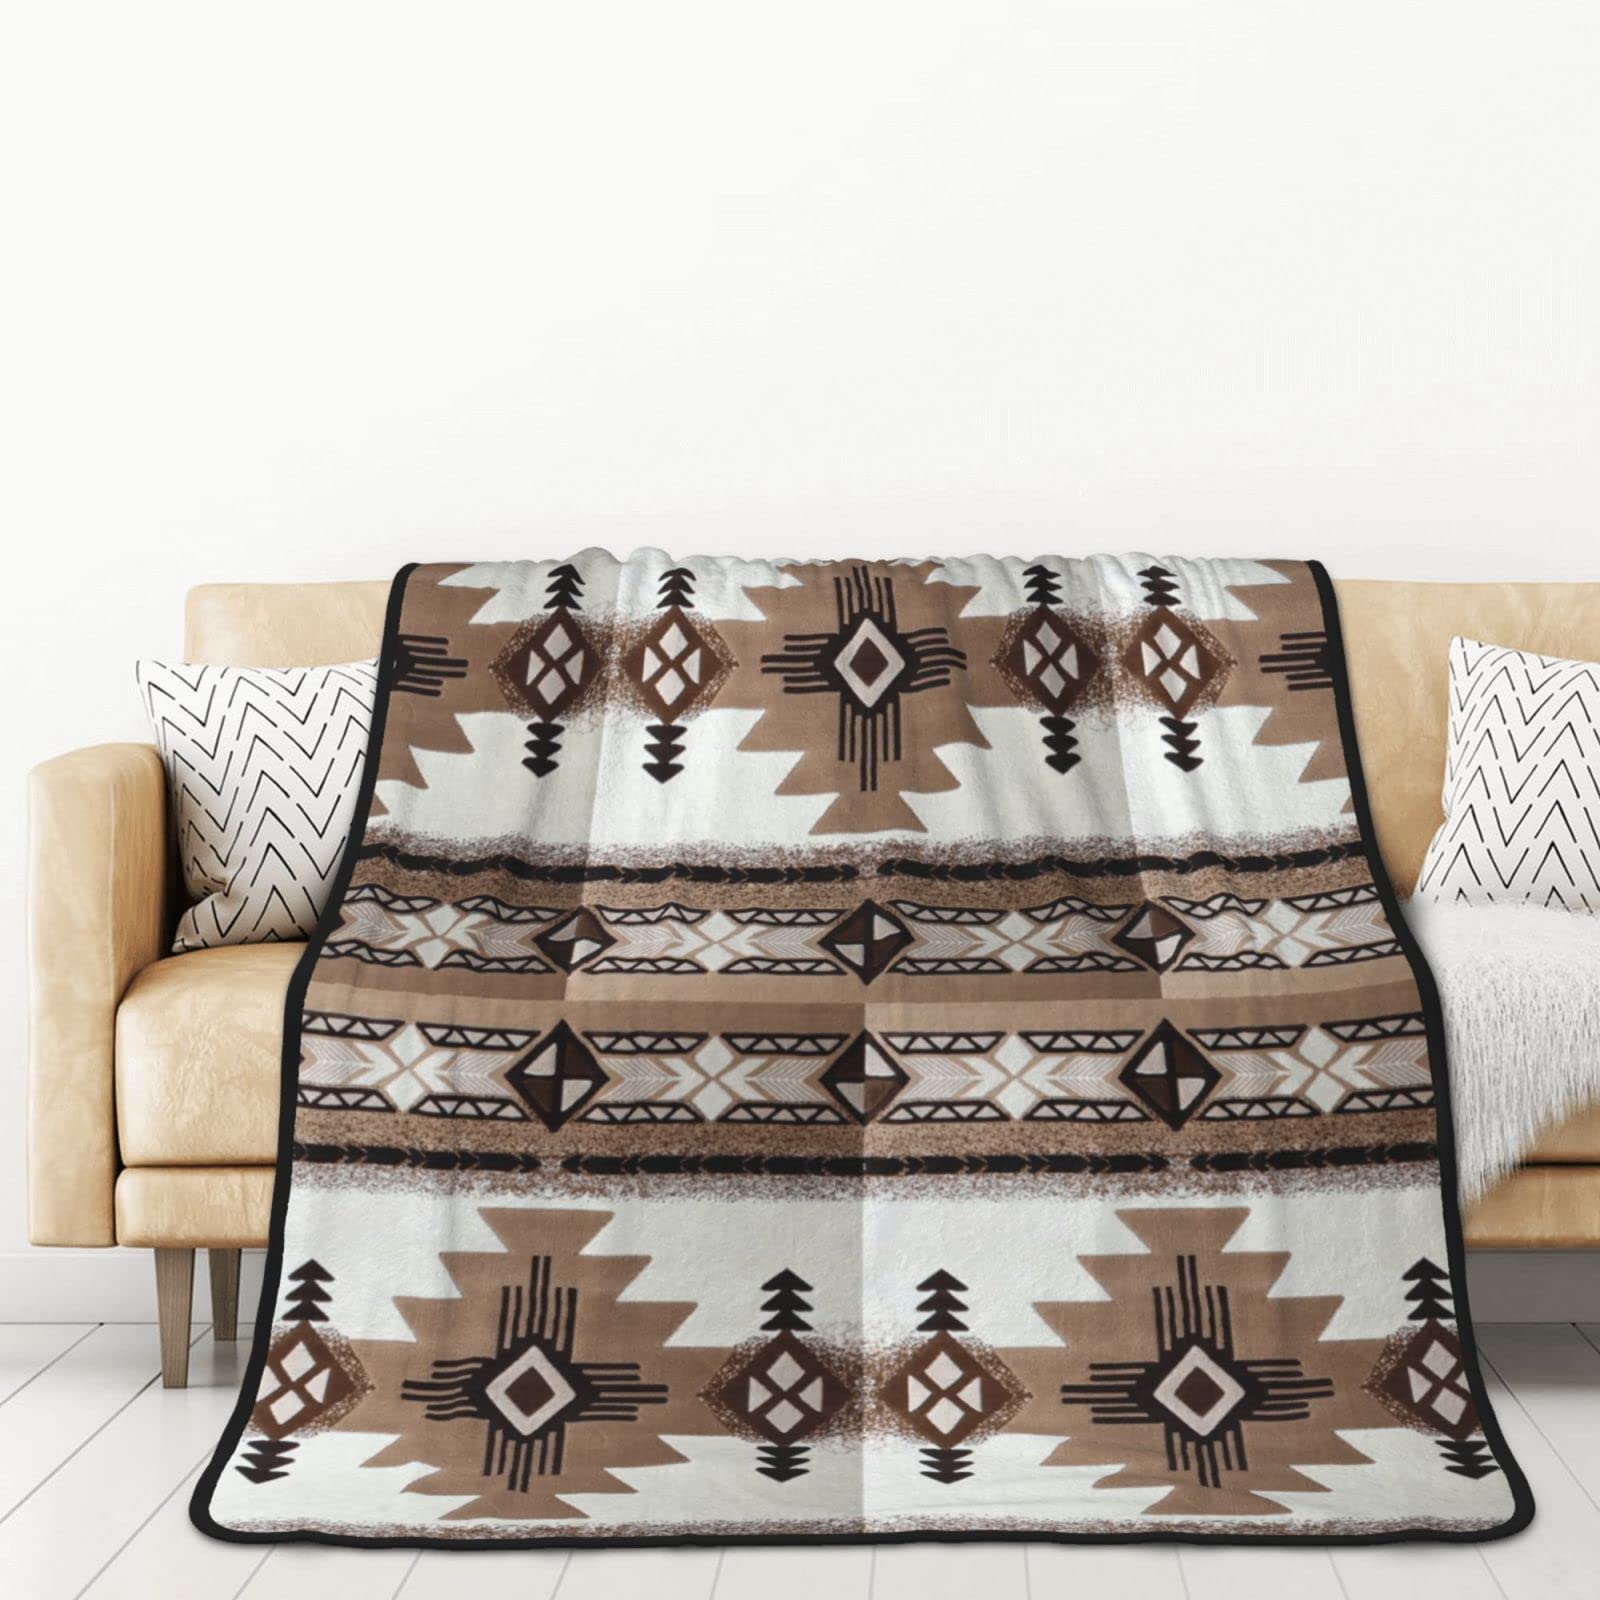
- Two pieces of fleece fabric: Choose two complementary colors or patterns to create an attractive reversible design. Each piece should be at least 1.5 yards long, but you can adjust the size based on your preference.
- Scissors: You’ll need a sharp pair of fabric scissors to cut the fleece.
- Measuring tape: Use a measuring tape to ensure accurate cuts and measurements.
- Pins: Get some straight pins to hold the fabric pieces together while sewing.
- Sewing machine: While you can sew the blanket by hand, using a sewing machine will save time and provide a more uniform stitch.
- Thread: Choose a strong thread that matches the colors of your fabric.
- Iron: An iron will help in pressing the fabric and creating crisp edges.
- Optional: If you want to add decorative details such as pom-pom trim, ribbon, or appliques, gather those materials as well.
Once you have all these materials ready, you’re one step closer to creating your own cozy fleece blanket. So, let’s dive into the step-by-step process!
Step 1: Preparing the Fleece Fabric
The first step in sewing a double-sided fleece blanket is to prepare the fabric. Start by laying out both pieces of fleece on a large, flat surface such as a table or the floor. Make sure they are smooth and free from any wrinkles or creases.
Next, take the time to give the fleece fabric a good press with an iron. Use a low heat setting to avoid damaging the fabric. By ironing the fleece, you are not only removing any wrinkles, but you are also prepping the fabric for a better sewing experience. Ironing helps ensure that the fabric lies flat and makes it easier to cut and sew.
After ironing, check both pieces of fleece for any defects or flaws. Look for holes, tears, or stains that may affect the final appearance of your blanket. If you find any issues, consider either cutting around them or using a small patch of matching fabric to cover them up. It’s important to have a clean and good-looking fabric as the foundation for your project.
Once you have inspected and prepped the fabric, it’s time to move on to the next step: cutting the fabric to the desired size.
Step 2: Cutting the Fabric
Now that you have prepared the fleece fabric, it’s time to cut it to the desired size for your double-sided blanket. First, decide on the dimensions you want for your blanket. Typically, a square or rectangular shape works well.
Using a measuring tape, measure and mark the dimensions on both pieces of fleece. Make sure to leave some extra fabric for seam allowances. A common recommendation is to add 1 inch to each side for the seam allowance. For example, if you want a finished blanket size of 50 inches by 60 inches, you will need to cut the fabric to 52 inches by 62 inches.
Once you have marked the dimensions, grab your fabric scissors and carefully cut along the marked lines. Take your time and try to make clean and straight cuts as much as possible. If you’re unsure about your cutting skills, consider using a ruler or straight edge as a guide to ensure even edges.
Remember that you need to cut both pieces of fleece to the same dimensions to ensure that they match up when sewn together. Double-check your measurements and cuts before moving on to the next step.
Now that you have two fleece pieces cut to the desired size, you’re ready to move on to pinning the fabric together.
Step 3: Pinning the Fabric
Now that your fleece fabric pieces are cut to the desired size, it’s time to pin them together in preparation for sewing. Pinning the fabric helps hold the pieces in place and prevents them from shifting while you sew.
Start by laying one piece of fleece on top of the other, with the right sides facing each other. This means that the pattern or design of the fleece should be on the inside. Align the edges of the fabric pieces as much as possible, making sure they match up evenly.
Take your straight pins and begin inserting them through both layers of fabric along the edges. Space the pins evenly, about every 4-5 inches, to secure the fabric together. Make sure that the pins go through both layers of fabric to keep them aligned.
If you have a pattern or design on your fabric, take care to match up the design at the corners or other prominent areas. This will ensure that the pattern continues seamlessly across the entire blanket.
As you pin the fabric, be mindful of any excess fabric or wrinkles. Smooth out any creases and adjust the fabric so that it lies flat and even. This will result in a neater and more professional-looking finished blanket.
Once you have pinned all around the edges of the fabric, it’s time to move on to the next step: sewing the blanket edges together.
When sewing a double-sided fleece blanket, use ballpoint needles to prevent snagging the fabric and a walking foot to ensure even feeding of both layers.
Read more: What Is A Fleece Blanket
Step 4: Sewing the Blanket Edges
With the fabric pinned together, it’s time to sew the edges of the double-sided fleece blanket. This step will secure the fabric layers together and create a clean finished look.
Start by selecting a thread color that matches one of the fleece colors or complements both. Load the thread onto your sewing machine and thread it through the needle. Set your machine to a straight stitch with a medium length, usually around 2.5mm.
Begin sewing along one edge of the fabric, about 1 inch in from the edge. Backstitch at the beginning to secure the stitch, then continue sewing all the way around the blanket, using the edge of the fabric as your guide. Take care to remove the straight pins as you sew to prevent the needle from hitting them.
As you sew, maintain a consistent seam allowance, usually about ½ inch, by keeping the edge of the fabric aligned with a marking on the sewing machine foot or following the edge of your presser foot.
Sew all around the blanket until you reach the starting point. Backstitch again to secure the stitch and cut the thread. Congratulations! You have successfully sewn the edges of your double-sided fleece blanket.
Once you’ve completed sewing the blanket edges, it’s time to move on to the next step: turning the blanket right-side out.
Step 5: Turning the Blanket Right-Side Out
Now that you have sewn the edges of your double-sided fleece blanket, it’s time to turn it right-side out. This step will reveal the beautiful, finished side of the fabric and prepare the blanket for the final touches.
Start by locating one corner of the blanket and carefully pull the fabric through the gap between the two layers. Continue pulling the fabric through until the entire blanket is turned right-side out. Gently use your fingers to push out the corners, ensuring that they are neatly shaped.
Take a moment to admire your work so far – the blanket is taking shape and looking fantastic!
Once the blanket is right-side out, go ahead and give it a good shake or a gentle stretch to smooth out any creases or wrinkles. If necessary, you can also use your fingers to press the fabric along the edges, making sure they are crisp and well-defined.
At this point, you can also choose to press the blanket with a warm iron to further smooth out any wrinkles. Set the iron to a low heat setting, and use a pressing cloth or a piece of scrap fabric as a protective layer between the iron and the fleece fabric. Be cautious not to apply too much heat or leave the iron in one spot for too long to avoid damaging the fleece.
Once you’ve turned the blanket right-side out and smoothed out any wrinkles, it’s time to move on to the next step: sewing the final edges.
Step 6: Sewing the Final Edges
With the blanket turned right-side out, it’s time to sew the final edges to secure the layers together and give your double-sided fleece blanket a polished finish.
Align the edges of the fabric, making sure the corners are neat and aligned. Use straight pins to hold the layers together along the edges.
Select a coordinating thread color and load it onto your sewing machine. Set the machine to a straight stitch and adjust the stitch length to your preference, usually around 2.5mm.
Starting at one corner, sew along the edge of the fabric, about ½ inch in from the edge. Remove the straight pins as you sew to prevent the needle from hitting them. Continue sewing all the way around the blanket, maintaining a consistent seam allowance.
As you sew, take your time and sew carefully, ensuring that the stitches are straight and even. Backstitch at the beginning and end of the seam to secure the stitch. The final edges should be sewn neatly and securely to ensure the longevity of your blanket.
Once you’ve sewn all around the blanket, backstitch again and cut the thread. Congratulations! You have completed sewing the final edges of your double-sided fleece blanket.
Now, you can sit back and admire your finished blanket. But if you want to add some decorative details to make it even more special, feel free to continue to the next step: adding decorative details, which is optional.
Step 7: Adding Decorative Details (Optional)
Adding decorative details to your double-sided fleece blanket can give it a personalized touch and make it even more unique. While this step is optional, it can elevate the overall look and make your blanket truly one-of-a-kind.
There are various ways to add decorative details to your blanket, depending on your creativity and preferences. Here are a few ideas to consider:
- Pom-pom trim: Sewing a colorful pom-pom trim along the edges of the blanket can add a playful and whimsical touch. Simply align the trim with the edge of the fabric and sew it in place.
- Ribbon accents: Attach ribbons at the corners or along the edges of the blanket to create a decorative border. You can tie bows or sew the ribbons in place for a more secure hold.
- Appliques: Add fabric appliques in various shapes and designs to the blanket for a more intricate and detailed look. You can cut out shapes from coordinating fabrics and sew them onto the fleece using a straight or zigzag stitch.
- Embroidery: Consider adding embroidery designs or personalization to the blanket using colorful threads. You can embroider names, quotes, or intricate patterns for a customized touch.
Before adding any decorative details, decide on the placement and design. It’s a good idea to lay out the blanket and experiment with different arrangements to see what works best for your preferences.
Once you have finalized the design, use pins to temporarily hold the decorative elements in place. Then, carefully sew them onto the blanket using a sewing machine or by hand. Take your time to ensure that the stitches are secure and the decorative details are firmly attached to the fabric.
Remember, the decorative details are meant to enhance the beauty of your blanket, so enjoy the process of adding your personal touch.
With the decorative details complete, your double-sided fleece blanket is now finished and ready to be enjoyed or gifted to someone special. Wrap yourself up in its cozy embrace or share the warmth with a loved one.
Congratulations on completing your double-sided fleece blanket project! Enjoy the satisfaction of creating a functional and beautiful item through your sewing skills.
Whether you’re a seasoned sewist or just starting out, this project is a great way to practice your sewing techniques while creating something practical and delightful. Have fun sewing and creating beautiful blankets!
Thank you for following along with our step-by-step guide. Happy sewing!
Read more: How To Sew A Blanket
Conclusion
Congratulations! You have successfully learned how to sew a double-sided fleece blanket. By following the step-by-step instructions in this guide, you’ve created a cozy and stylish blanket that you can cherish or give as a thoughtful gift.
Sewing a double-sided fleece blanket is a rewarding project that allows you to showcase your creativity and sewing skills. From preparing and cutting the fabric to sewing the edges and adding decorative details, each step contributes to the creation of a beautiful and functional blanket.
Not only does sewing your own blanket give you a sense of accomplishment, but it also allows you to customize the design and choose materials that match your style and preferences. By selecting two complementary fleece fabrics, you can create a reversible blanket that offers versatility and visual appeal.
Remember to take your time and pay attention to the details throughout the sewing process. Ensure that your stitches are straight and even, and don’t forget to press the fabric to create smooth edges and a polished look.
Adding decorative details, while optional, can elevate the appearance of your blanket. Whether it’s pom-pom trim, ribbon accents, appliques, or embroidery, these extra touches can make your blanket truly unique and special.
Now that you’ve completed your double-sided fleece blanket, it’s time to enjoy its warmth and coziness. Wrap yourself up in its soft embrace or share it with a loved one. The beauty of handmade items is that they carry a piece of your heart and effort with them.
Remember, sewing is a skill that improves with practice, so don’t be discouraged if your first attempt doesn’t turn out exactly as you envisioned. Embrace the learning process, experiment with different techniques, and continue to hone your sewing skills.
Thank you for joining us on this sewing adventure to create a double-sided fleece blanket. We hope you had fun and found this guide helpful. Happy sewing!
Frequently Asked Questions about How To Sew A Double-Sided Fleece Blanket
Was this page helpful?
At Storables.com, we guarantee accurate and reliable information. Our content, validated by Expert Board Contributors, is crafted following stringent Editorial Policies. We're committed to providing you with well-researched, expert-backed insights for all your informational needs.