Articles
How To Make A Robe Out Of A Blanket
Modified: August 28, 2024
Learn how to repurpose your blanket into a cozy and stylish robe with these easy-to-follow articles. Transform your blanket into a fashionable garment today!
(Many of the links in this article redirect to a specific reviewed product. Your purchase of these products through affiliate links helps to generate commission for Storables.com, at no extra cost. Learn more)
Introduction
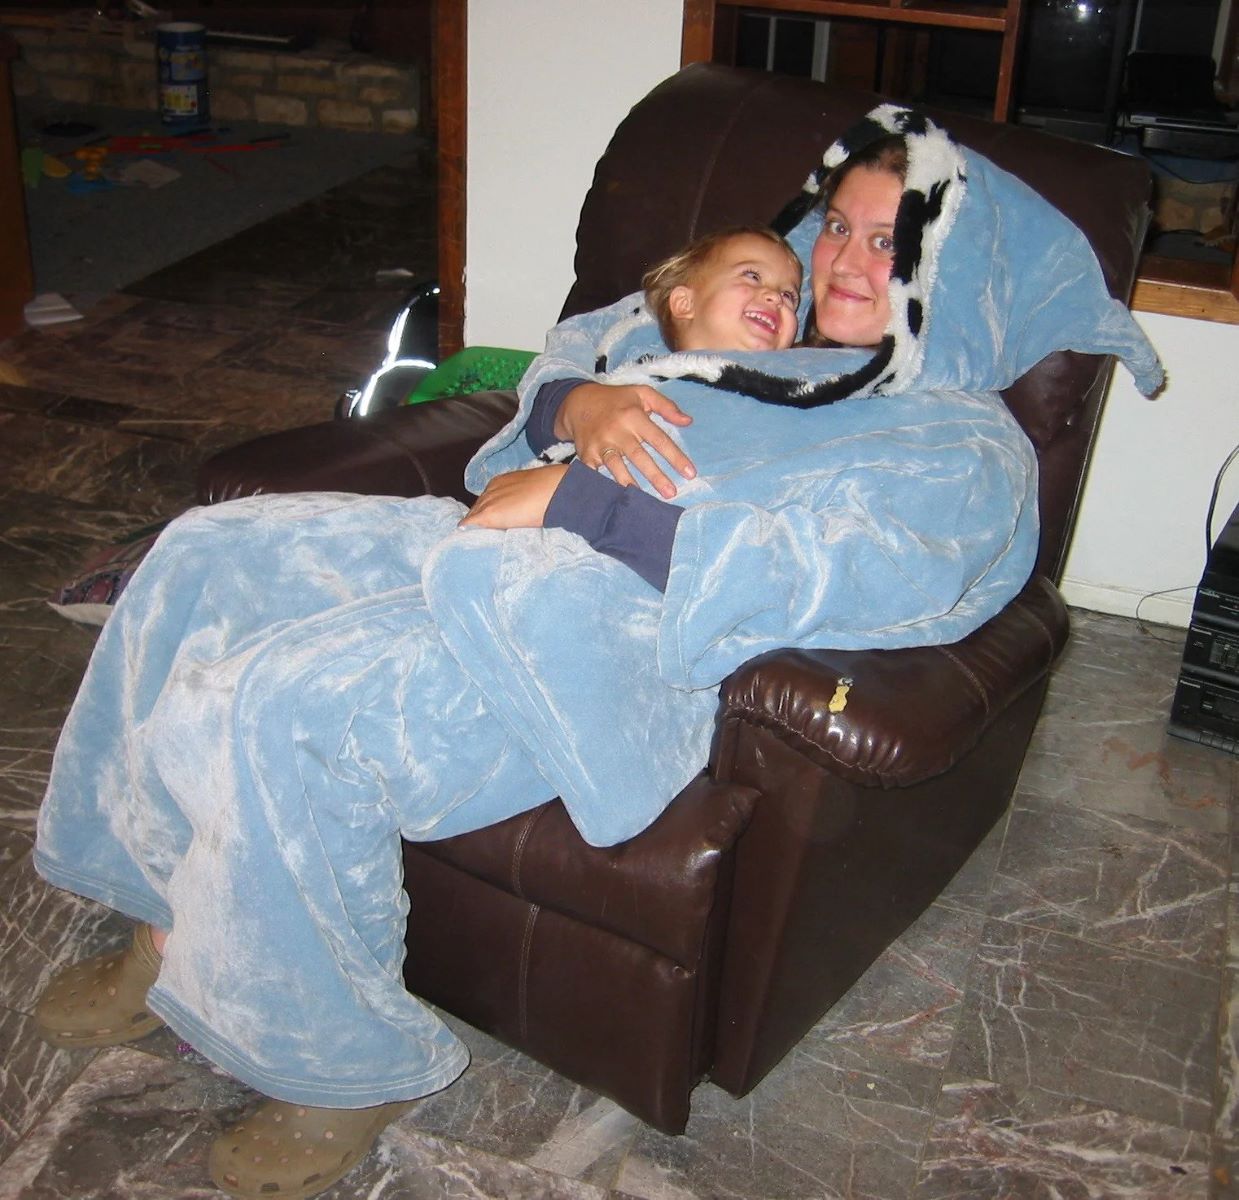
Have you ever found yourself curled up on the couch, wrapped in a cozy blanket, wishing you could wear it as a robe? Well, you’re in luck! With just a few simple steps, you can transform that blanket into a stylish and comfortable robe that you can wear around the house or even use as a costume for a themed party. Not only is this a fun DIY project, but it’s also a great way to repurpose an old or unused blanket.
In this article, we will guide you through the process of making a robe out of a blanket. We’ll cover everything from gathering the necessary materials to sewing the seams and adding finishing touches. So grab your favorite blanket and let’s get started!
Key Takeaways:
- Transform a cozy blanket into a stylish and comfortable robe with just a few simple steps, giving you the opportunity to repurpose old or unused blankets and showcase your creativity and sewing skills.
- Personalize your homemade robe with embellishments, belts, pockets, or embroidery to reflect your unique personality, creating a cozy and stylish garment perfect for lounging at home or special events.
Read more: How To Make A Hammock Out Of A Blanket
Step 1: Gather Materials
Before you begin making your robe out of a blanket, you’ll need to gather a few materials. Here’s what you’ll need:
- A Blanket: Choose a blanket that is large enough to wrap around your body comfortably. Look for one that is made of a soft and cozy material like fleece or flannel.
- Measuring Tape: You’ll need a measuring tape to take your measurements and ensure a proper fit for your robe.
- Fabric Scissors: Invest in a good pair of fabric scissors to cut through the blanket and other materials.
- Pins: Pins will help you secure the fabric in place while you are sewing.
- Sewing Machine or Needle and Thread: Depending on your sewing skills and preferences, you can choose to use a sewing machine or sew by hand using a needle and thread.
- Optional: Embellishments like buttons, ribbons, or patches if you want to add a personal touch to your robe.
Once you have gathered all the necessary materials, you’re ready to move on to the next step of the process – measuring and cutting the blanket.
Step 2: Measure and Cut
Now that you have all your materials ready, it’s time to measure and cut the blanket to create the base for your robe. Follow these steps:
- Take your measuring tape and measure the length from your shoulder to your desired length for the robe. This will determine how long you want your robe to be.
- Lay the blanket flat on a clean surface and fold it in half lengthwise.
- Using your measuring tape, measure and mark the length you determined in the previous step along the folded edge of the blanket. This will be the length of your robe.
- Next, measure and mark the desired width of your robe from the folded edge towards the open edge. This will determine how wide your robe will be.
- Using your fabric scissors, carefully cut along the marked lines to create the front and back pieces of your robe.
- Unfold the blanket, and you should now have two identical pieces for the front and back of your robe.
It’s important to note that the measurements provided are just a guide. Feel free to adjust them according to your preferences and body size. Remember, it’s always better to leave a little extra fabric for seam allowances, as you can always trim it later if needed.
Once you have cut the blanket into the front and back pieces, you’re now ready to move on to the next step – sewing the shoulders.
Step 3: Sew the Shoulders
With the front and back pieces of your robe cut and ready, it’s time to sew the shoulders together. Follow these steps:
- Lay the front and back pieces of the robe on a flat surface with their right sides facing each other.
- Align the shoulders of the front and back pieces together.
- Using pins, secure the shoulder seams in place to prevent any shifting during sewing.
- If using a sewing machine, set it to a straight stitch and carefully stitch along the pinned shoulder seams. Sew about half an inch from the edge to create a strong seam.
- If sewing by hand, use a needle and thread to sew a strong and secure running stitch along the shoulder seams.
- Once the shoulder seams are sewn, remove the pins and give the robe a quick press with an iron to flatten the seams.
By sewing the shoulder seams, you are creating the structure of the robe and ensuring that it will fit properly on your body. With the shoulders sewn, you can now move on to the next step – sewing the sleeves.
Step 4: Sew the Sleeves
Now that the shoulders are sewn together, it’s time to attach the sleeves to the robe. Follow these steps:
- Take one of the remaining fabric pieces and fold it in half lengthwise with the right sides together.
- Measure and mark the desired length for the sleeves on the folded edge of the fabric.
- Using your fabric scissors, carefully cut along the marked lines to create the sleeves.
- Unfold the sleeves, and you should now have two identical sleeve pieces.
- Align the top of each sleeve with the shoulder seam of the robe. The sleeve and robe should be placed with their right sides together.
- Pin the sleeves in place, making sure to match the shoulder seam with the seam of the sleeve.
- Using either a sewing machine or needle and thread, sew the sleeves to the robe using a straight stitch. Begin at the armpit area and sew all the way down to the cuff of the sleeve.
- Repeat this process for the other sleeve.
- Once the sleeves are sewn, try on the robe to ensure that the length and fit of the sleeves are to your liking. Make any necessary adjustments if needed.
Sewing the sleeves not only adds functionality to your robe but also gives it a more complete and professional look. With the sleeves attached, you’re ready to move on to the next step – sewing the side seams.
When making a robe out of a blanket, make sure to choose a soft and cozy blanket that is large enough to wrap around your body. You can use a sewing machine or hand-sew the edges to create sleeves and a belt for a comfortable and stylish robe.
Read more: How To Make A Coat Out Of A Blanket
Step 5: Sew the Side Seams
With the shoulders and sleeves attached, it’s time to sew the side seams of your robe. Follow these steps:
- Turn your robe inside out so that the wrong side is facing outwards.
- Align the side edges of the front and back pieces together.
- Using pins, secure the side seams in place to keep the fabric from shifting during sewing.
- If using a sewing machine, set it to a straight stitch and carefully stitch along the pinned side seams. Sew from the sleeve cuffs all the way down to the bottom hem of the robe.
- If sewing by hand, use a needle and thread to sew a strong and secure running stitch along the side seams.
- Once the side seams are sewn, remove any pins and turn the robe right side out.
Sewing the side seams will give your robe its shape and help it drape smoothly over your body. Make sure to sew all the way from the sleeve cuffs to the bottom hem for a finished look. With the side seams sewn, you can now move on to the next step – hemming the edges.
Step 6: Hem the Edges
Now that the main construction of your robe is complete, it’s time to hem the edges to give it a finished look. Follow these steps:
- Start with the bottom hem of your robe. Fold the raw edge of the fabric inward by about half an inch and press it down with an iron to create a crease.
- Fold the fabric inward again, this time by about 1 inch, to enclose the raw edge. Press it down with an iron and secure it in place with pins.
- If using a sewing machine, sew a straight stitch close to the folded edge to hem the bottom. Remove the pins as you sew.
- If sewing by hand, use a needle and thread to sew a running stitch close to the folded edge, securing the hem in place.
- Repeat this hemming process for the cuffs of the sleeves, as well as the front edges of the robe.
- For an added touch, you can also hem the neckline of your robe by folding the raw edge inward and sewing it down using the same method as before.
- Once all the edges are hemmed, give your robe a final press with an iron to ensure that the hems are smooth and neat.
Hemming the edges not only gives your robe a polished appearance but also helps to prevent any fraying of the fabric. Take your time with this step to ensure that the hems are secure and even. With the edges hemmed, you’re now ready for the final step – adding finishing touches to your robe.
Step 7: Add Finishing Touches
Now that your robe is nearly complete, it’s time to add some finishing touches to make it truly personalized and unique. Here are a few ideas to consider:
- Buttons and Embellishments: You can sew on buttons or add other decorative embellishments to the front of your robe. This gives you the opportunity to demonstrate your creativity and add a touch of flair to your garment.
- Ribbons and Belts: If you want to cinch in your robe at the waist, consider adding a ribbon or fabric belt. Sew loops on the sides of the robe to hold the belt in place, or create belt loops with fabric scraps.
- Pockets: Adding pockets can be both functional and stylish. Cut out two squares or rectangular pieces of fabric and sew them onto the front of your robe. It’s a great place to keep small essentials like a phone, remote control, or tissues.
- Embroidery or Applique: If you have embroidery skills or want to try your hand at applique, consider adding some intricate details to your robe. This can be a great way to showcase your personality and add a unique touch to your creation.
Feel free to get creative and experiment with different embellishments and personalizations to make your robe truly your own. Once you’ve added the finishing touches, give your robe a final once-over to ensure that everything is secure and well-constructed.
Congratulations! You’ve just completed making a robe out of a blanket. Now it’s time to try on your cozy and stylish creation and enjoy the comfort it provides. Whether you’re lounging at home, getting ready for bed, or hosting a costume party, your homemade robe will be the perfect addition to your wardrobe.
Remember, this DIY project can be adapted to suit your preferences and style. Don’t be afraid to experiment with different fabrics, colors, and designs to create a robe that reflects your unique personality. Happy sewing!
Conclusion
Congratulations on successfully making a robe out of a blanket! Through this DIY project, you were able to transform a simple blanket into a cozy and stylish garment that you can enjoy wearing around the house or even for special events. Not only does this project allow you to repurpose old or unused blankets, but it also gives you the opportunity to showcase your creativity and sewing skills.
Throughout the steps, you learned how to gather the necessary materials, measure and cut the blanket, sew the shoulders and sleeves, sew the side seams, hem the edges, and add finishing touches. These instructions provide a solid foundation for creating your robe, but don’t be afraid to add your own personal touches and modifications along the way.
Remember, the beauty of this DIY project is the ability to customize and make it your own. Whether you choose to embellish your robe with buttons, ribbons, or embroidery, or opt for a simple and minimalist design, the end result will be a robe that reflects your style and personality.
Now that you have your finished robe, take a moment to admire your handiwork and enjoy the comfort it provides. Whether you’re lounging on lazy weekends, staying cozy during chilly nights, or even using it as a costume for a themed party, your robe will become a cherished and versatile addition to your wardrobe.
We hope this step-by-step guide has been helpful in your journey to create a robe out of a blanket. Remember to have fun throughout the process and embrace your creativity. Happy sewing!
Frequently Asked Questions about How To Make A Robe Out Of A Blanket
Was this page helpful?
At Storables.com, we guarantee accurate and reliable information. Our content, validated by Expert Board Contributors, is crafted following stringent Editorial Policies. We're committed to providing you with well-researched, expert-backed insights for all your informational needs.