Articles
How To Sew Blanket Corners
Modified: December 7, 2023
Learn how to sew perfect corners on your blankets with our informative articles. Master the art of sewing and create beautiful blankets with ease.
(Many of the links in this article redirect to a specific reviewed product. Your purchase of these products through affiliate links helps to generate commission for Storables.com, at no extra cost. Learn more)
Introduction
Welcome to our comprehensive guide on how to sew blanket corners! Whether you’re an experienced sewing enthusiast or a complete beginner, this article will provide you with step-by-step instructions to help you create beautiful and neatly sewn corners on your blankets.
Sewing blanket corners is a crucial technique that adds both functionality and aesthetic appeal to your handmade blankets. Properly sewn corners ensure that the blanket stays in place, providing comfort and warmth without any loose ends. Additionally, neatly sewn corners give your blankets a professional and polished look.
Before we dive into the details of sewing blanket corners, let’s go over the materials you’ll need for this project.
Key Takeaways:
- Master the art of sewing blanket corners to elevate your handmade blankets with both functionality and professional-looking aesthetics. Follow the step-by-step guide to achieve neatly sewn corners that provide comfort and visual appeal.
- With the right materials and techniques, sewing blanket corners becomes a rewarding skill that improves with practice. Create personalized and cozy blankets with beautifully finished corners, adding a touch of warmth and charm to your creations.
Read more: How To Start A Corner To Corner Blanket
Materials Needed
Before you start sewing blanket corners, gather the following materials:
- Fabric: Choose a fabric of your choice, preferably a soft and cozy material like flannel or fleece.
- Thread: Use a thread that matches the color of your fabric for a seamless finish.
- Scissors: Ensure you have a pair of sharp fabric scissors for precise cutting.
- Pins: You’ll need pins to secure the fabric together while sewing.
- Ruler or Measuring Tape: Use a ruler or measuring tape to accurately measure and mark the corners.
- Sewing Machine: While it’s possible to sew blanket corners by hand, using a sewing machine will make the process faster and more efficient.
- Iron and Ironing Board: To achieve crisp and professional-looking corners, iron the fabric before and after sewing.
Once you have gathered all the necessary materials, you’re ready to move on to the next step, which involves preparing the blanket for sewing.
Step 1: Preparing the Blanket
The first step in sewing blanket corners is to prepare the blanket for sewing. Here’s what you need to do:
- Start by washing and drying your fabric. This will remove any dirt or chemicals, ensuring that your blanket is clean and ready for use.
- Next, iron the fabric to remove any wrinkles or creases. A smooth fabric surface makes it easier to sew precise corners.
- If you have a large piece of fabric that needs to be trimmed to the desired size, use scissors or a rotary cutter and ruler to cut it accordingly.
- If your fabric has a pattern, make sure to align it as desired before proceeding to the next step.
With your blanket now prepared, you’re ready to move on to measuring and marking the corners.
Step 2: Measuring and Marking
Measuring and marking the corners is an important step to ensure accurate and symmetrical sewing. Follow these steps to measure and mark the corners of your blanket:
- Start by folding the blanket in half diagonally, bringing the opposite corners together. This will create a triangle shape.
- Use a ruler or measuring tape to measure a certain distance from the folded point towards the raw edge of the fabric. This distance will determine the size of your corners.
- Mark this measured distance using a fabric pen or chalk. Repeat this step for all corners of the folded triangle.
- Unfold the blanket and carefully extend the marked lines across the fabric. Ensure the lines are straight and aligned with each other.
- Double-check your measurements and marks to ensure accuracy before moving on to the next step.
Once the corners are measured and marked, you’re ready to proceed to cutting the corners.
Step 3: Cutting the Corners
Now that you have measured and marked the corners of your blanket, it’s time to cut them. Follow these steps to cut the corners:
- Take a pair of sharp fabric scissors and carefully cut along the marked lines. Be precise and make clean cuts to ensure neat corners.
- Avoid cutting beyond the marked lines, as this can result in uneven corners.
- Make sure to cut through all layers of fabric if your blanket has multiple layers.
- Once all the corners are cut, double-check to ensure they are uniform in size and shape.
- Trim any excess fabric or loose threads if necessary.
Now that the corners are cut, it’s time to move on to the next step: pinning the corners.
When sewing blanket corners, use a ruler to measure and mark the corner before sewing to ensure accuracy and evenness. This will help create a professional and polished finish to your blanket.
Read more: How To Sew A Blanket
Step 4: Pinning the Corners
After cutting the corners of your blanket, the next step is to pin them in place. Pinning will help keep the fabric secure during sewing. Follow these steps to pin the corners:
- Take one of the cut corners and fold one side inward, aligning the cut edges. The right sides of the fabric should be facing each other.
- Pin the folded corner in place, ensuring that the edges align accurately. Use multiple pins if necessary to keep the fabric secure.
- Repeat this process for the remaining corners, folding and pinning them in the same manner.
- Double-check that all corners are folded and pinned neatly before moving on to the next step.
Pinning the corners will help maintain their shape as you move on to the sewing process. Now, let’s proceed to sewing the corners.
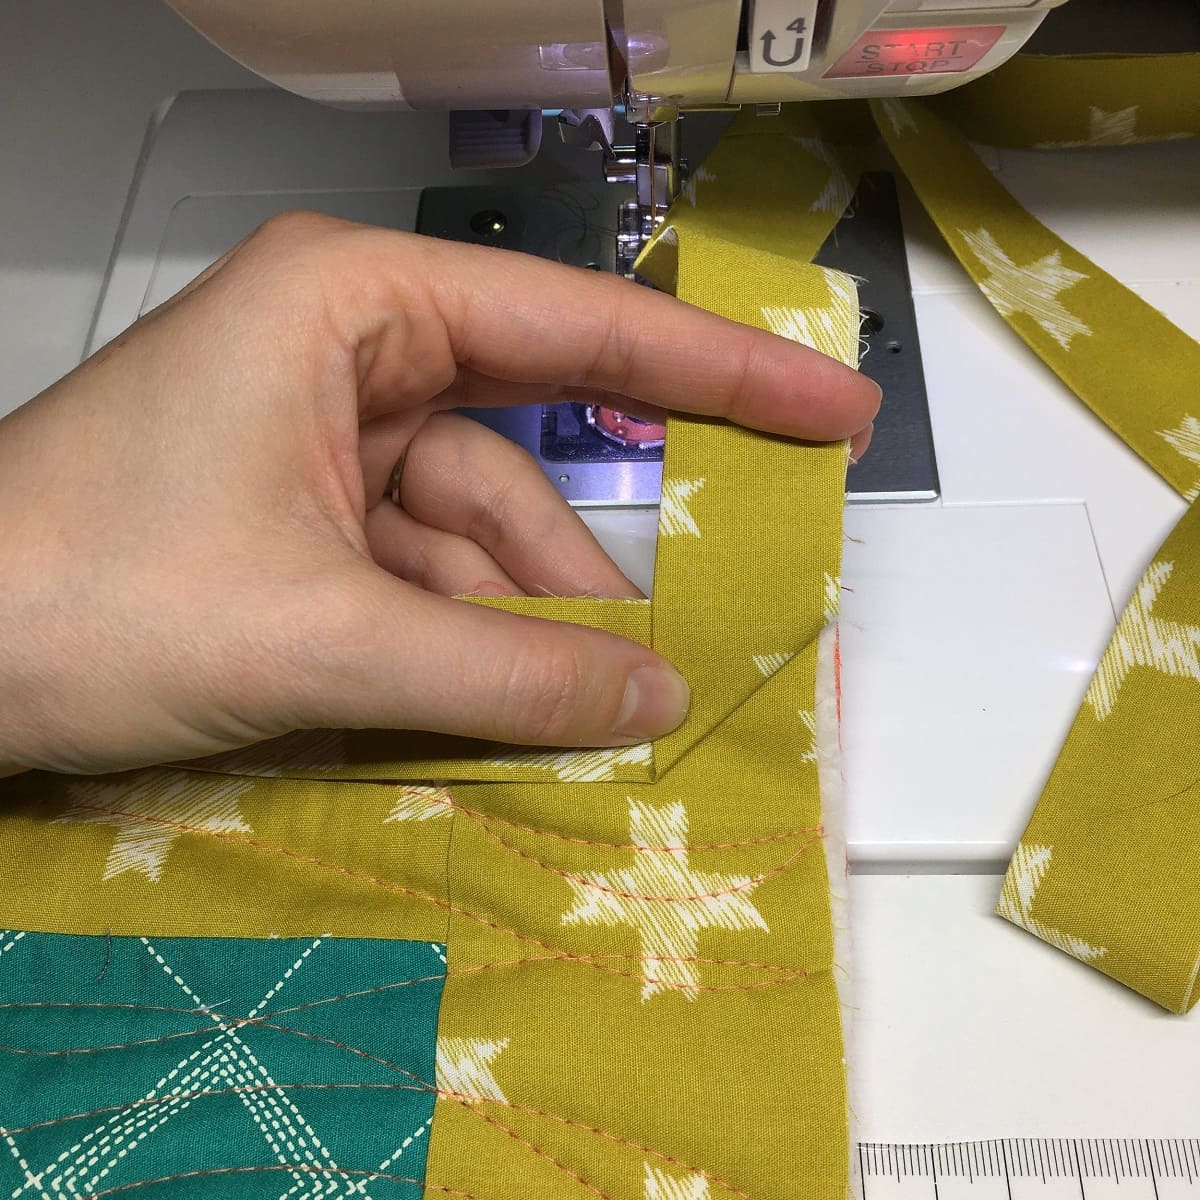
Step 5: Sewing the Corners
With the corners of your blanket securely pinned, it’s time to sew them in place. Follow these steps to sew the corners:
- Set up your sewing machine with the appropriate thread and needle. Make sure the thread color matches your fabric for a seamless finish.
- Start sewing from the folded edge of one corner. Backstitch at the beginning to secure the stitches.
- Sew along the folded edge, maintaining a consistent seam allowance (usually ¼ inch). Sew all the way to the end, stopping just before the raw edge of the fabric.
- Backstitch again at the end to secure the stitches and prevent them from unraveling.
- Repeat this process for all the other corners, sewing along the folded edges to create a neat and secure finish.
Take your time and sew slowly, ensuring that your stitches are straight and even. Sewing the corners will provide strength and durability to your blanket. After sewing all the corners, it’s time for the finishing touches.
Step 6: Finishing Touches
Now that you have sewn the corners of your blanket, it’s time for the final touches to complete your project. Follow these steps to add the finishing touches:
- Carefully remove the pins from the corners of your blanket.
- Trim any excess threads or fabric from the corners for a clean and polished look.
- Give your blanket a final press with an iron, ensuring that the corners are crisp and well-defined.
- Inspect the corners to make sure they are securely sewn and free from any loose threads or fabric.
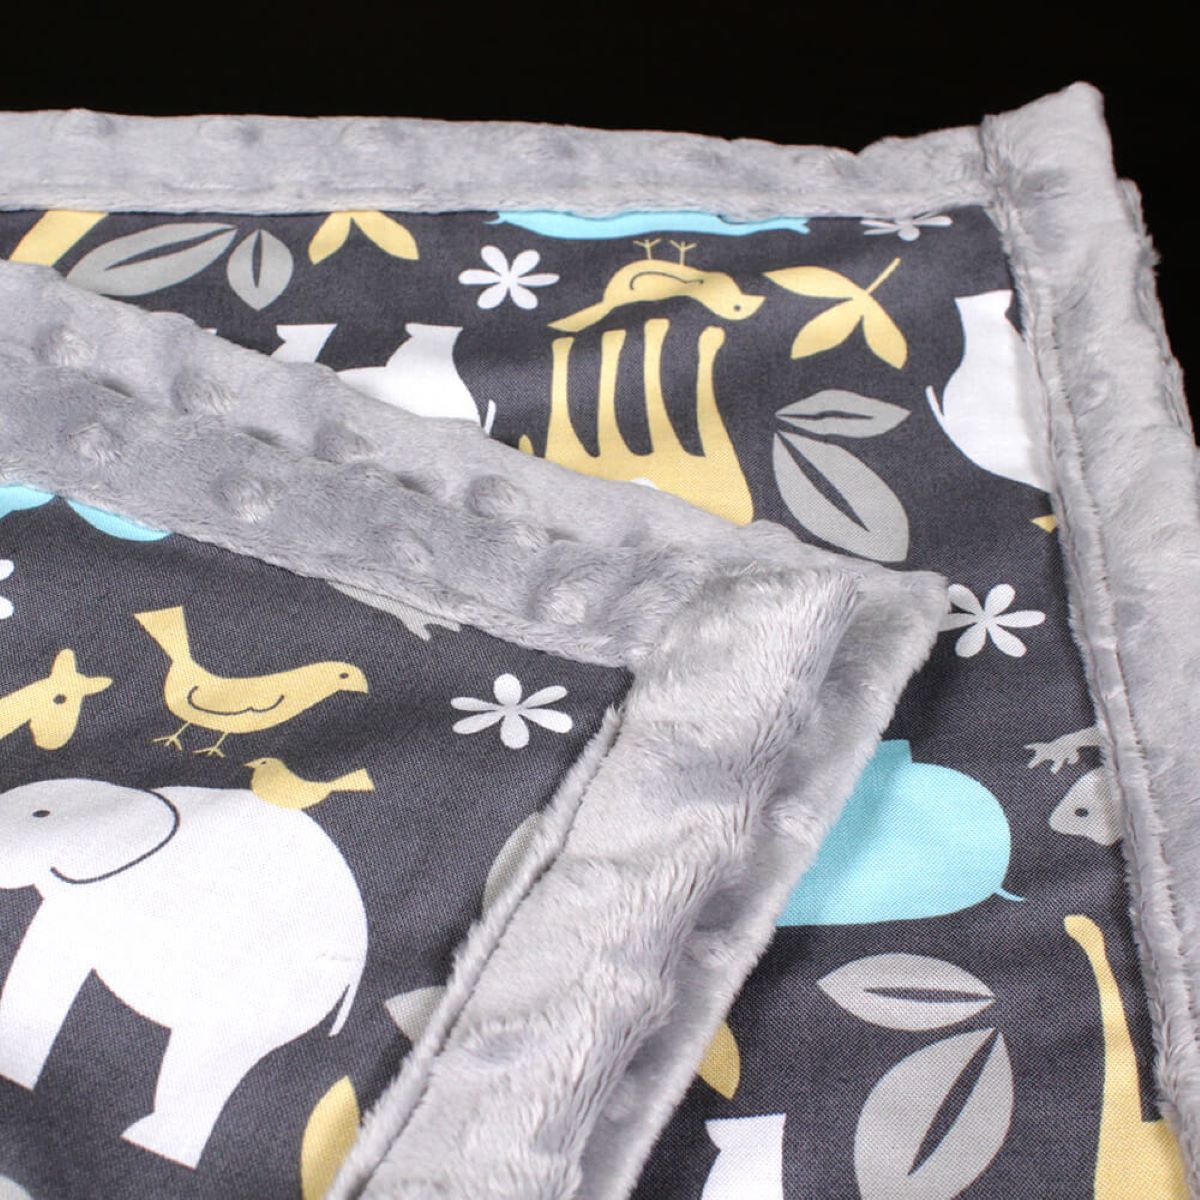
- Take a moment to admire your beautifully sewn blanket corners!
With the finishing touches complete, your blanket is now ready to be enjoyed. Whether you’re gifting it to a loved one or keeping it for yourself, the neatly sewn corners will provide both functionality and visual appeal.
Remember, practice makes perfect when it comes to sewing blanket corners. With time and experience, you’ll refine your technique and achieve flawless results. So, don’t be afraid to experiment with different fabrics, patterns, and thread colors to create unique and personalized blankets.
We hope this comprehensive guide on how to sew blanket corners has been helpful to you. Happy sewing and enjoy snuggling up with your cozy blankets!
Conclusion
Learning how to sew blanket corners is a valuable skill that can take your handmade blankets to the next level. By following the steps outlined in this guide, you’ll be able to create blankets with neatly sewn corners that are not only functional but also aesthetically pleasing.
Remember to start by preparing your blanket, washing and ironing the fabric to ensure a clean and smooth surface. Take the time to measure and mark the corners accurately, allowing for symmetrical sewing. Carefully cut the corners, being mindful of maintaining uniformity.
Once the corners are cut, pin them in place to hold the fabric securely while sewing. With your sewing machine set up, sew along the folded edges of the corners, taking care to maintain straight and even stitches. Backstitch at the beginning and end to secure the stitches.
With the sewing complete, remove the pins and trim any excess threads or fabric. Give your blanket a final press with an iron to enhance the appearance of the corners. Admire your finished blanket with its beautifully sewn corners!
Remember, sewing blanket corners is a skill that improves with practice. As you gain experience, you’ll refine your technique and achieve even better results. Don’t be afraid to experiment with different fabrics, patterns, and thread colors to create unique and personalized blankets.
We hope that this comprehensive guide has provided you with the necessary information and confidence to sew blanket corners like a pro. So gather your materials, set up your sewing machine, and start sewing gorgeous blankets with beautifully finished corners!
Frequently Asked Questions about How To Sew Blanket Corners
Was this page helpful?
At Storables.com, we guarantee accurate and reliable information. Our content, validated by Expert Board Contributors, is crafted following stringent Editorial Policies. We're committed to providing you with well-researched, expert-backed insights for all your informational needs.