
Articles
How To Pleat Curtains With Clips
Modified: February 24, 2024
Learn the step-by-step process of pleating curtains with clips in this informative article. Create beautiful and professional-looking curtains with our easy-to-follow guide.
(Many of the links in this article redirect to a specific reviewed product. Your purchase of these products through affiliate links helps to generate commission for Storables.com, at no extra cost. Learn more)
Introduction
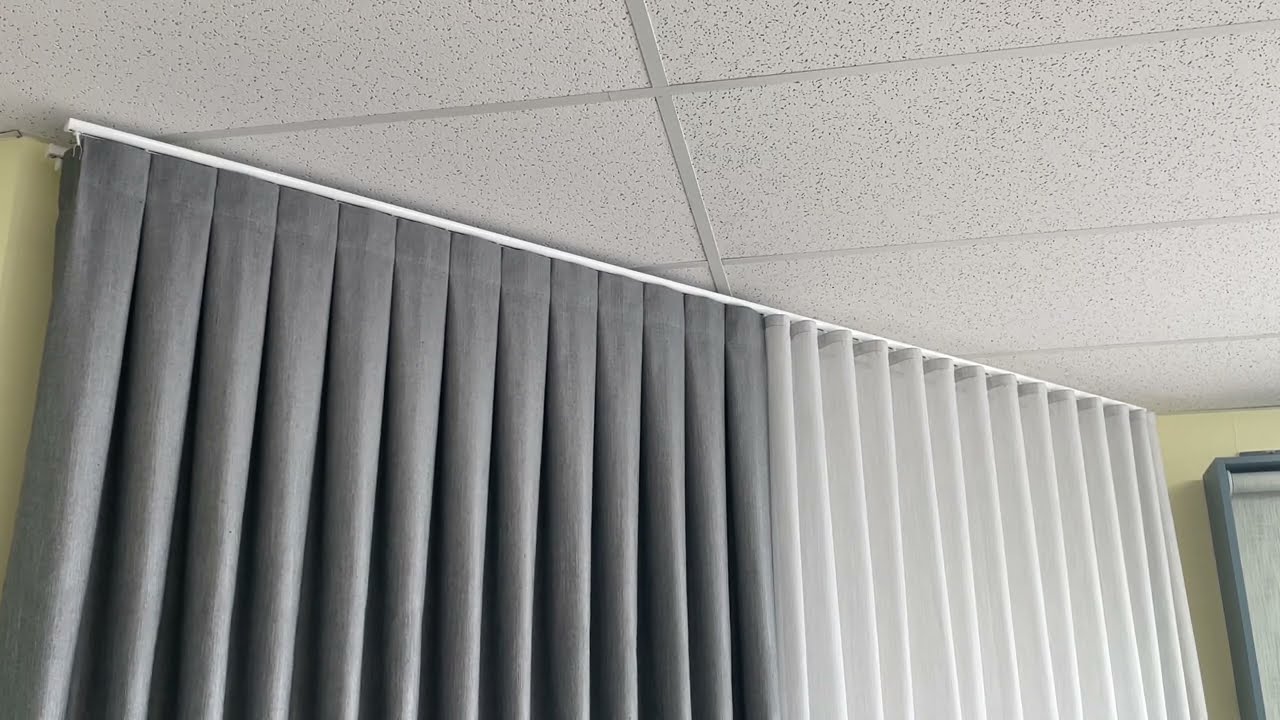
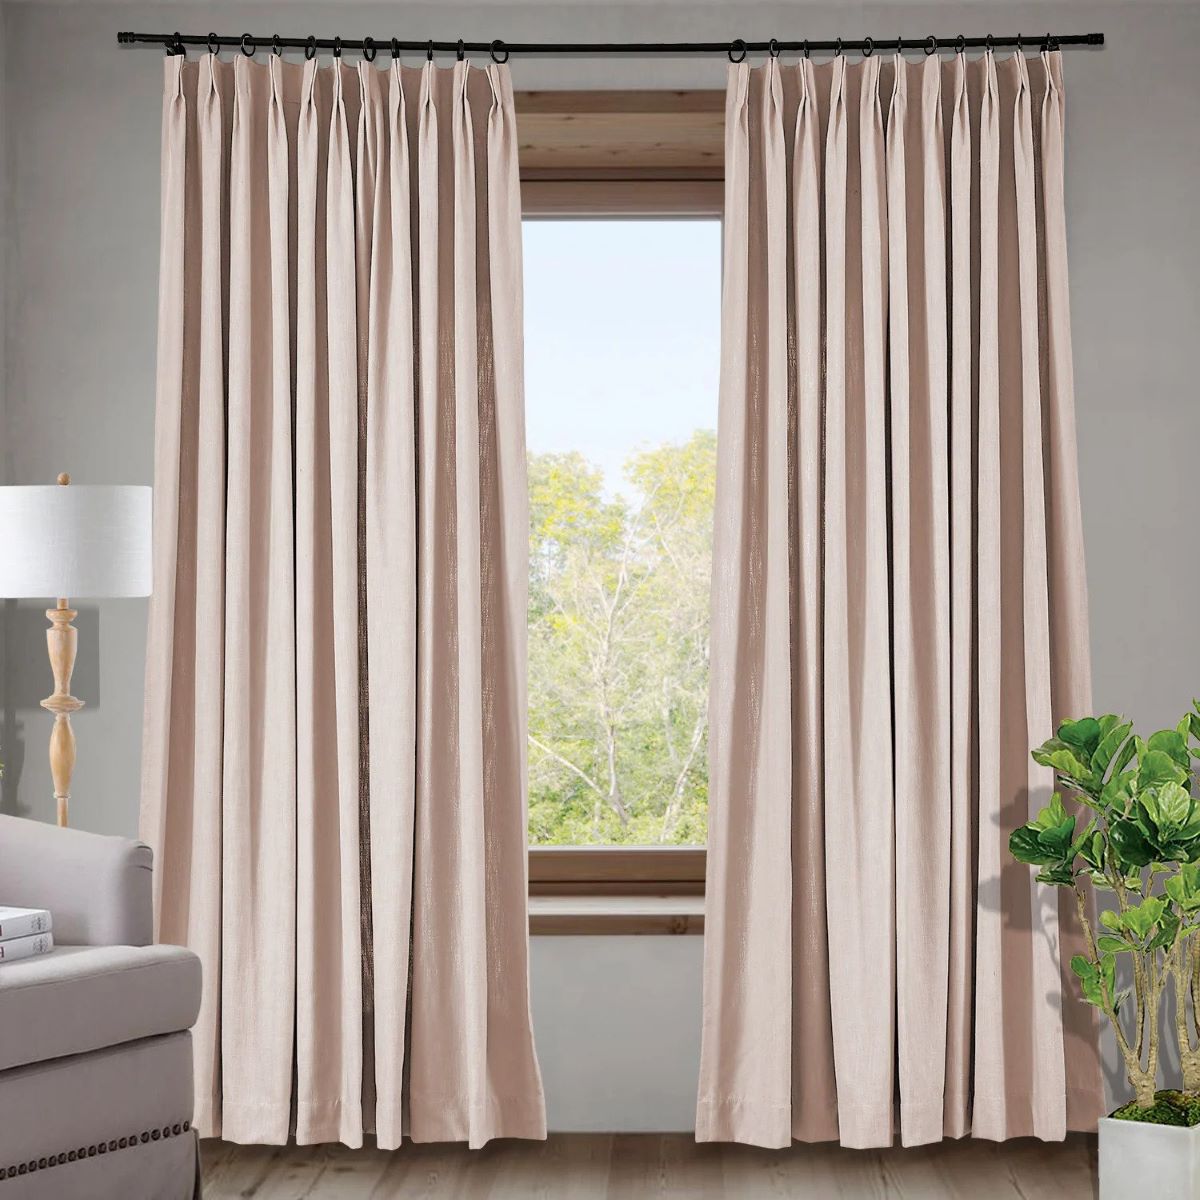
When it comes to adding a touch of elegance and sophistication to your home, pleated curtains are a timeless choice. The sleek folds of pleated curtains not only enhance the aesthetics of a room but also provide functional benefits such as light control and privacy.
While pleating curtains may seem like a daunting task, it can actually be quite simple with the right technique. One popular method is pleating curtains with clips, which allows for easy adjustment and customization. In this article, we will guide you through the step-by-step process of pleating curtains with clips, helping you achieve professional and polished results.
Before we get started, let’s gather the materials you will need for this project.
Key Takeaways:
- Elevate your home decor with pleated curtains using clips. Achieve a professional look by following the step-by-step guide and choosing the perfect pleat style for your space.
- Enjoy the process of transforming ordinary curtains into elegant, pleated masterpieces. With the right technique and attention to detail, you can create stunning window treatments that reflect your personal style.
Read more: How To Pleat IKEA Curtains
Materials Needed
Before you begin pleating your curtains with clips, make sure you have the following materials ready:
- Curtains: Choose curtains that are suitable for pleating. Ideally, these should be made of a lightweight fabric that can hold the pleats well.
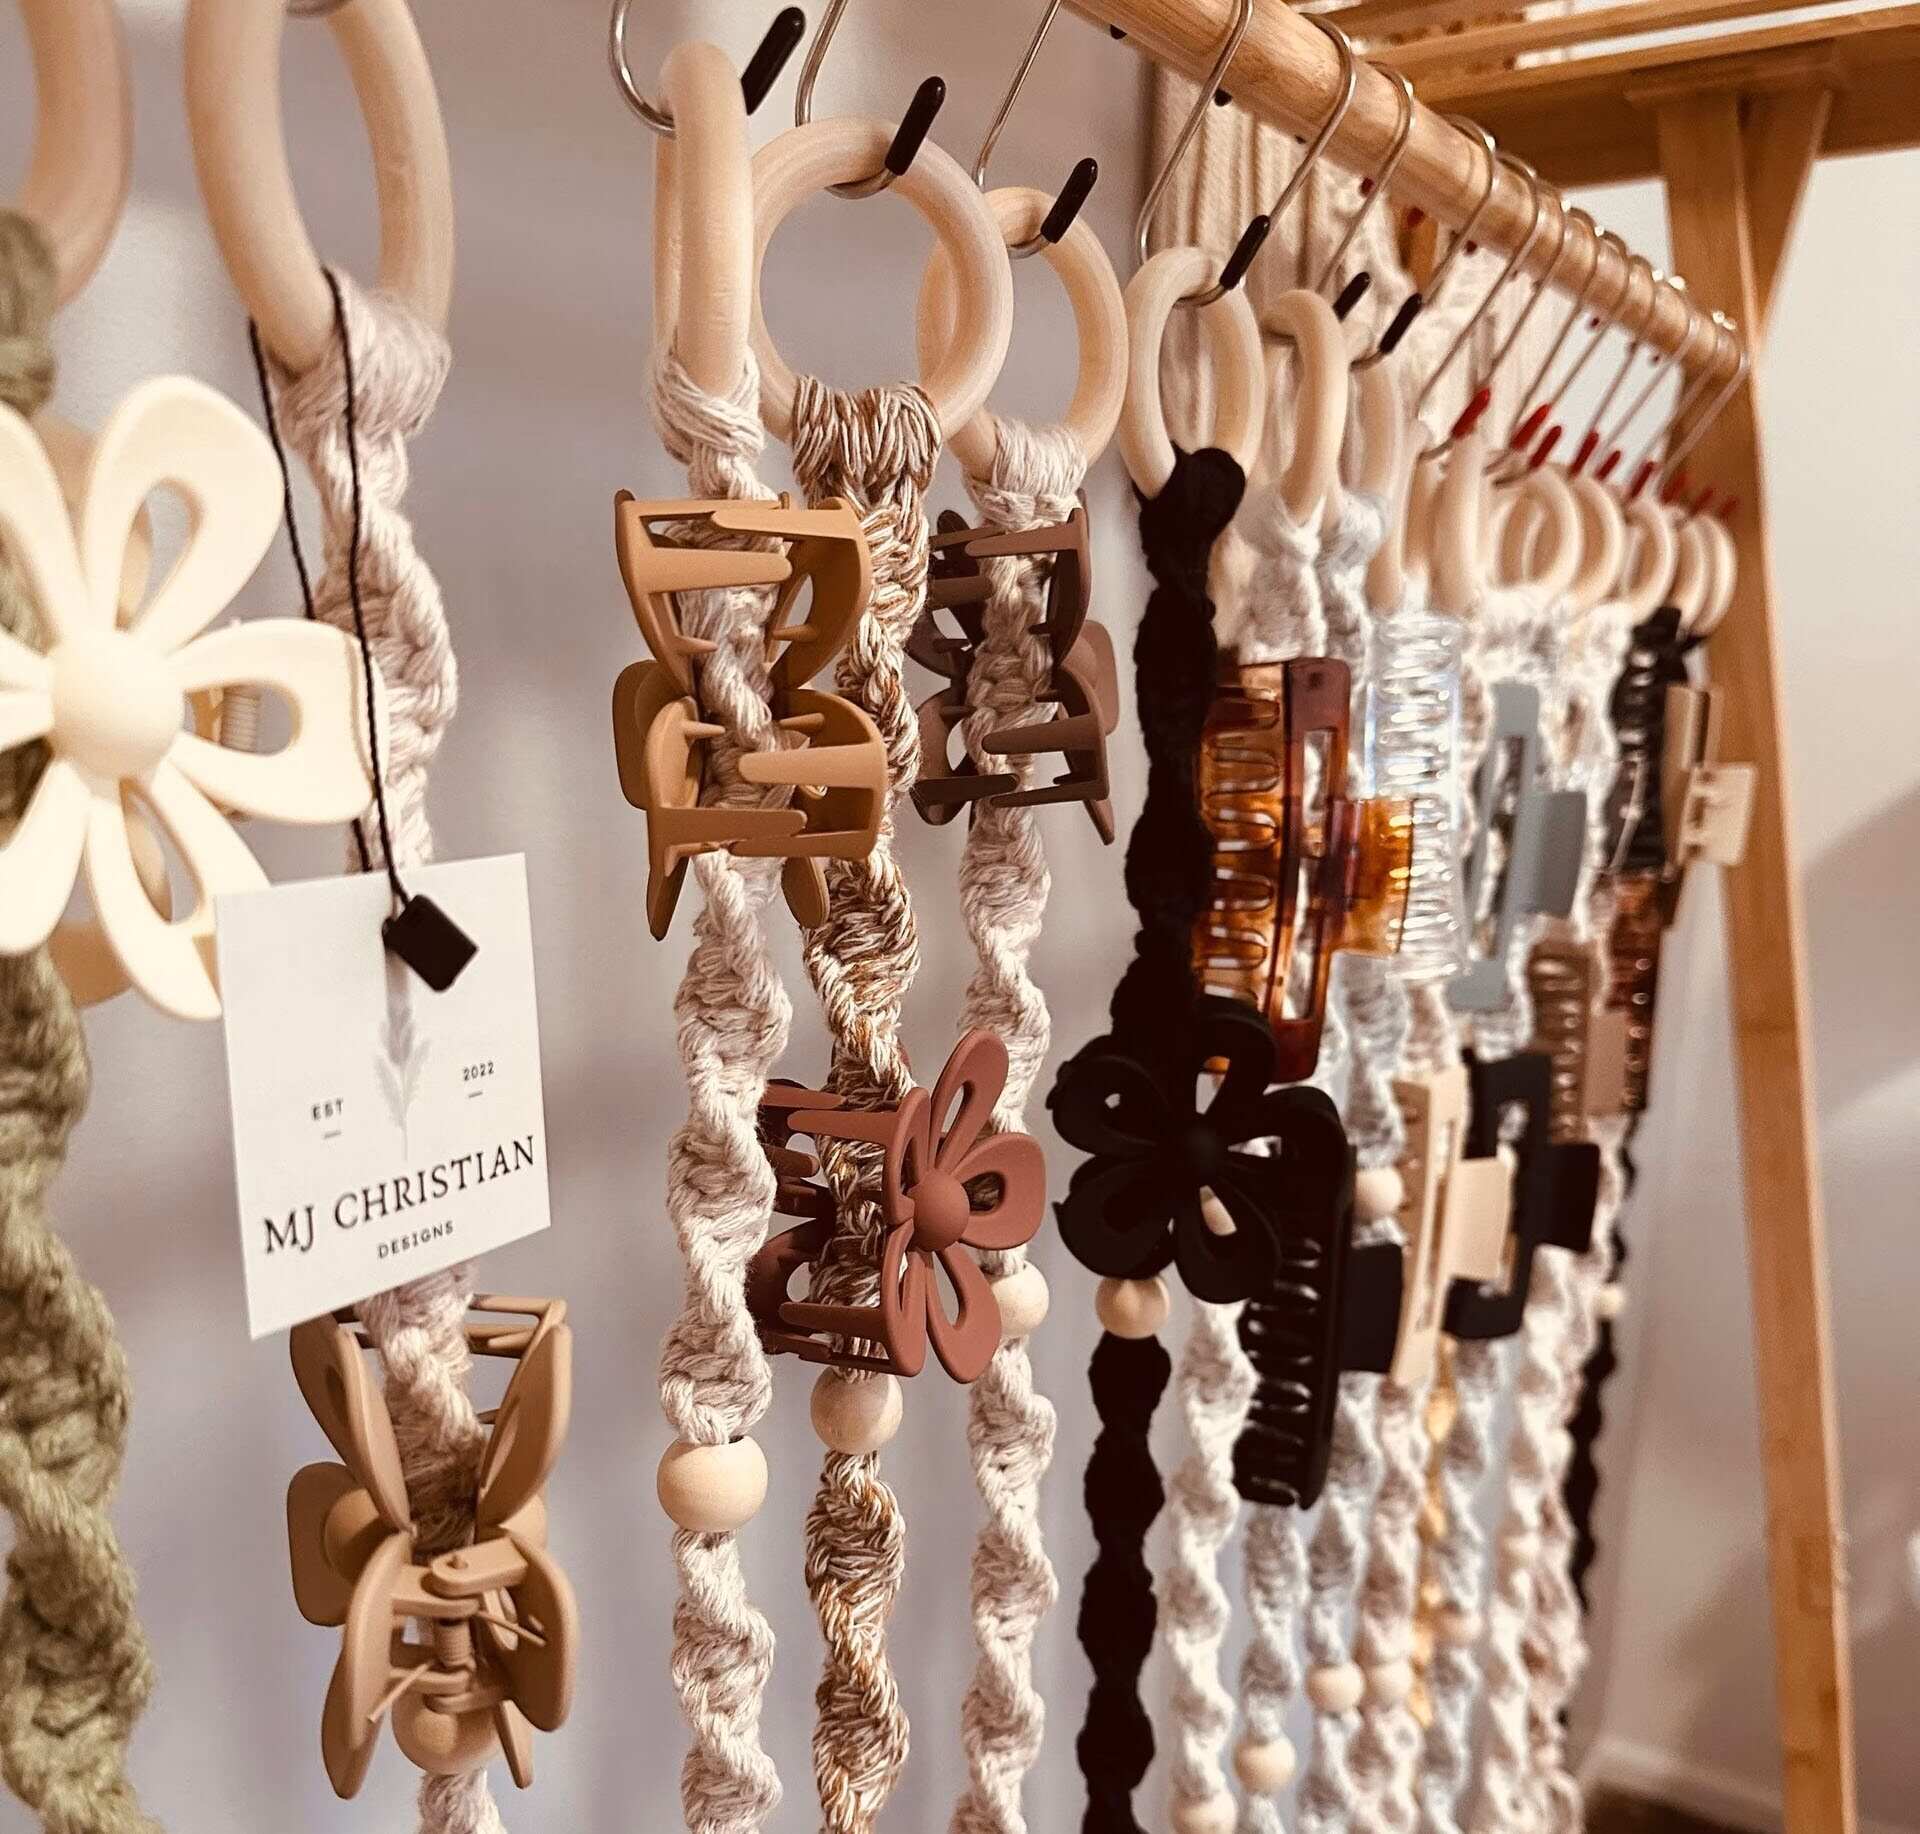
- Curtain Clips: Look for curtain clips that are designed specifically for pleating. These clips typically have rings or hooks that can easily slide onto the curtain rod.
- Measuring Tape: A measuring tape will help you determine the length and spacing of your pleats accurately.
- Iron and Ironing Board: Having an iron and ironing board handy is essential to ensure your curtains are wrinkle-free and ready for pleating.
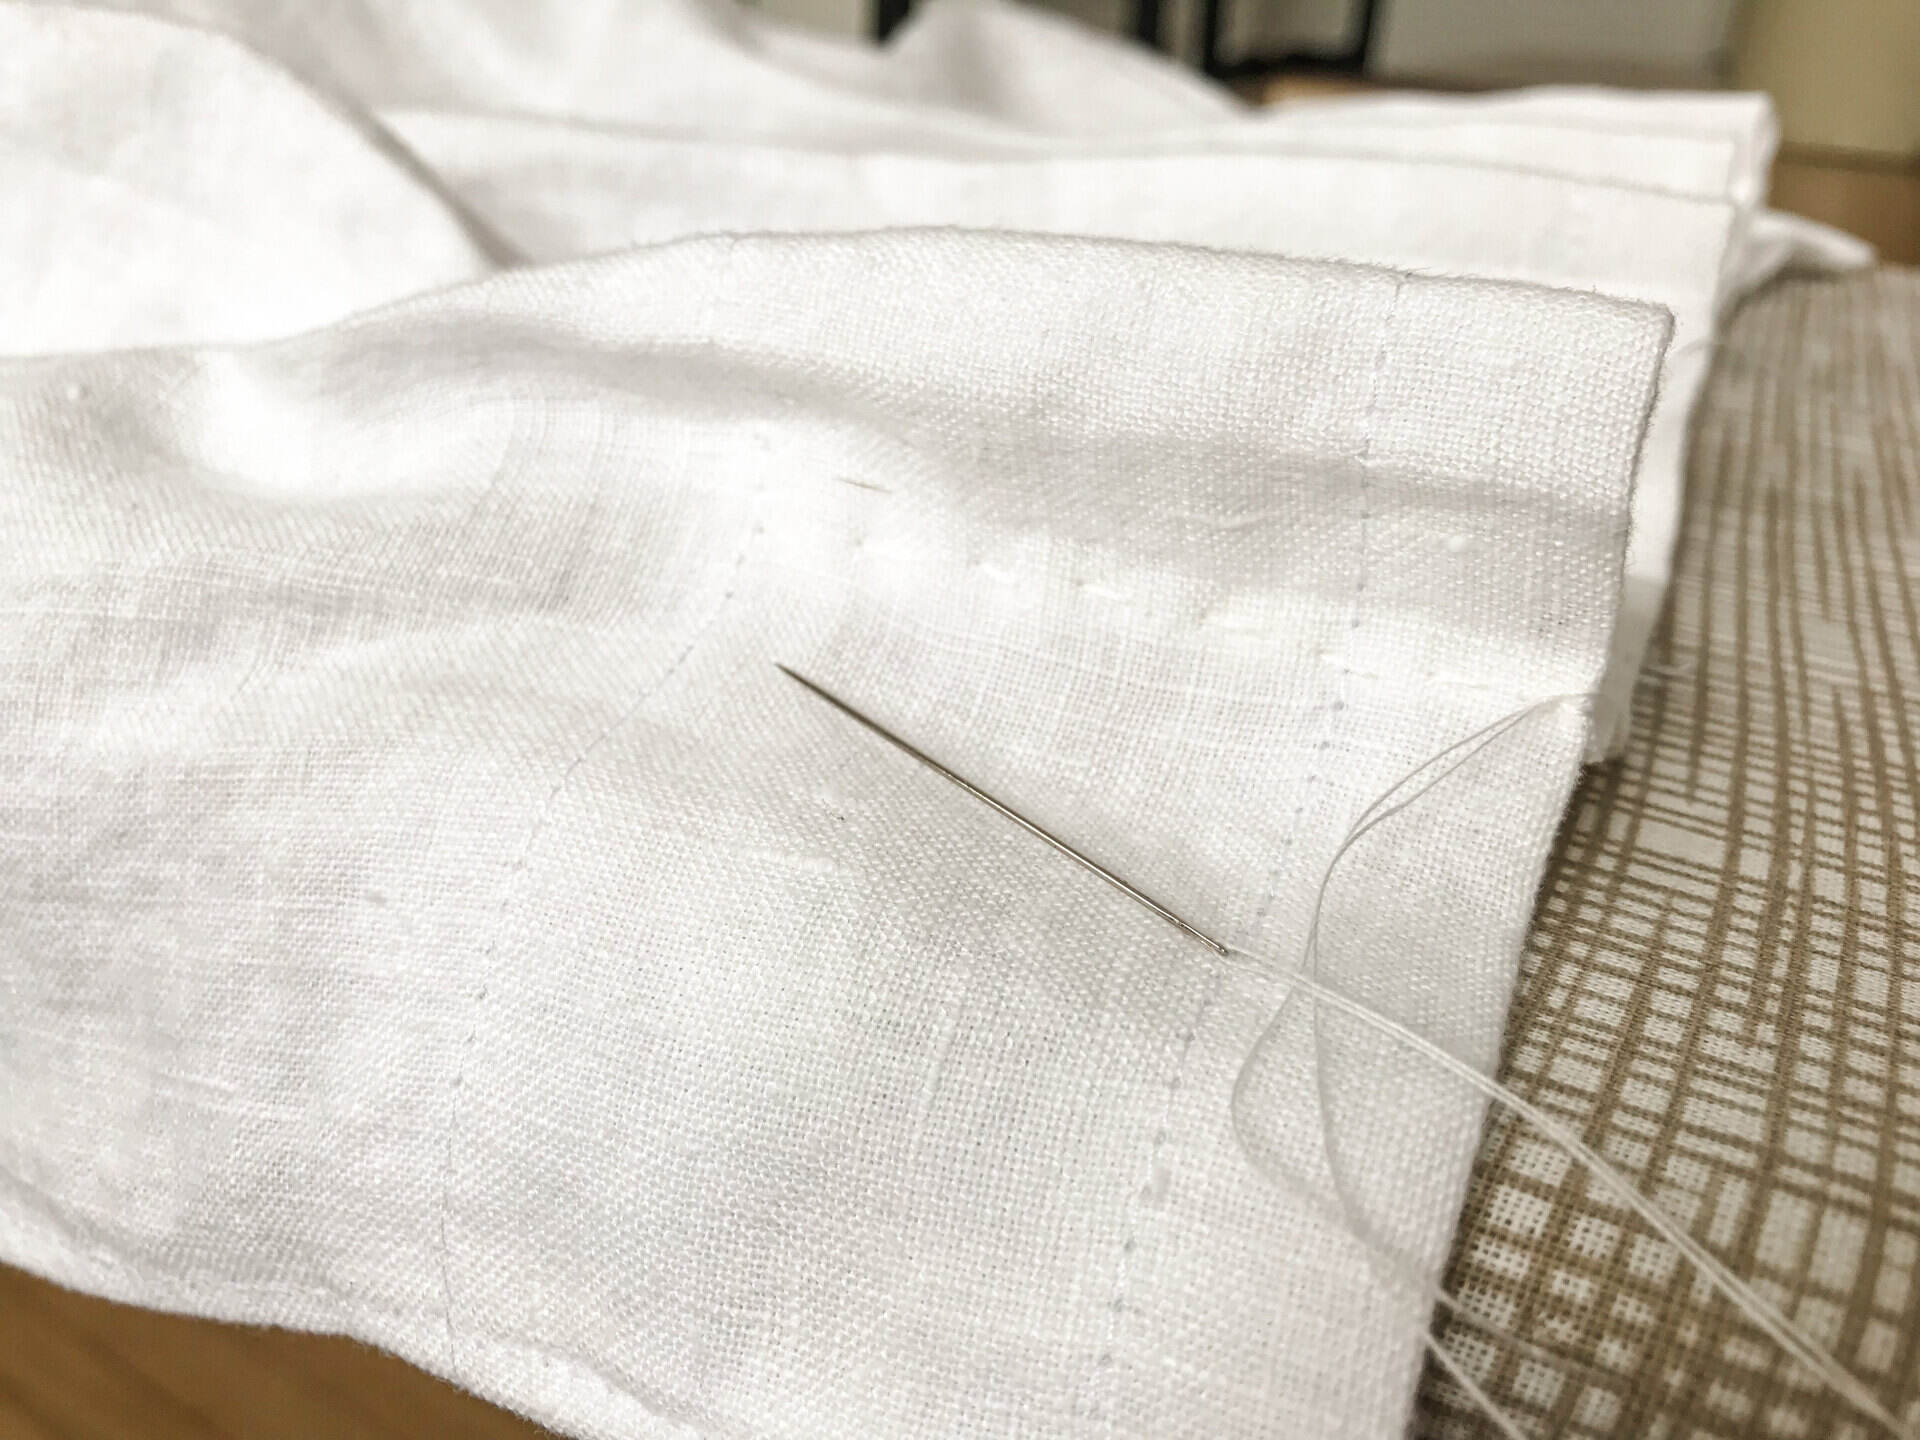
- Optional: Thread and Needle. If you wish to secure the pleats in place, you may need a thread and needle to stitch them together. This step is recommended if you want a more permanent and tailored look for your curtains.
Once you have gathered all the necessary materials, you are ready to start pleating your curtains with clips. Let’s move on to the next step.
Step 1: Gather the Curtains and Clips
The first step in pleating curtains with clips is to gather your curtains and the curtain clips. Lay out your curtains on a clean surface and ensure they are free from any wrinkles or creases.
If your curtains are already hemmed, examine them to determine the top edge. This is where you will attach the curtain clips. If your curtains are not hemmed, it’s recommended to hem them before proceeding with pleating.
Next, take the curtain clips and open them up. Make sure they are fully extended and ready to attach to the curtain fabric. If your curtain clips have rings or hooks, position them so they will be facing outwards when attached to the curtain rod.
Now that you have your curtains and clips ready, let’s move on to the next step: attaching the clips to the curtains.
Step 2: Attach the Clips to the Curtain
With your curtains and clips prepared, it’s time to attach the clips to the top edge of the curtain fabric. Start by locating the hemmed or top edge of the curtain.
Align the open end of the curtain clip with the top edge of the fabric. Gently pinch the clip closed, ensuring that the fabric is securely held between the clip. Repeat this process along the entire width of the curtain, spacing the clips evenly. The number of clips you use will depend on the width of your curtains and personal preference, but a general rule of thumb is to use one clip per pleat.
As you attach the clips, make sure they are evenly distributed across the curtain. This will ensure that the pleats are uniform and visually appealing. If necessary, use a measuring tape to measure the distance between each clip and adjust accordingly.
Once you have attached all the clips, give the curtain a gentle shake to see if any clips come loose. If needed, reposition and secure the clips to ensure they are firmly attached.
Now that your clips are securely in place, we can move on to the next step: determining the pleat style.
Step 3: Determine the Pleat Style
Before you start creating the pleats, it’s important to determine the pleat style you want for your curtains. The pleat style will not only impact the appearance of the curtains but also the amount of fabric that will be used for each pleat.
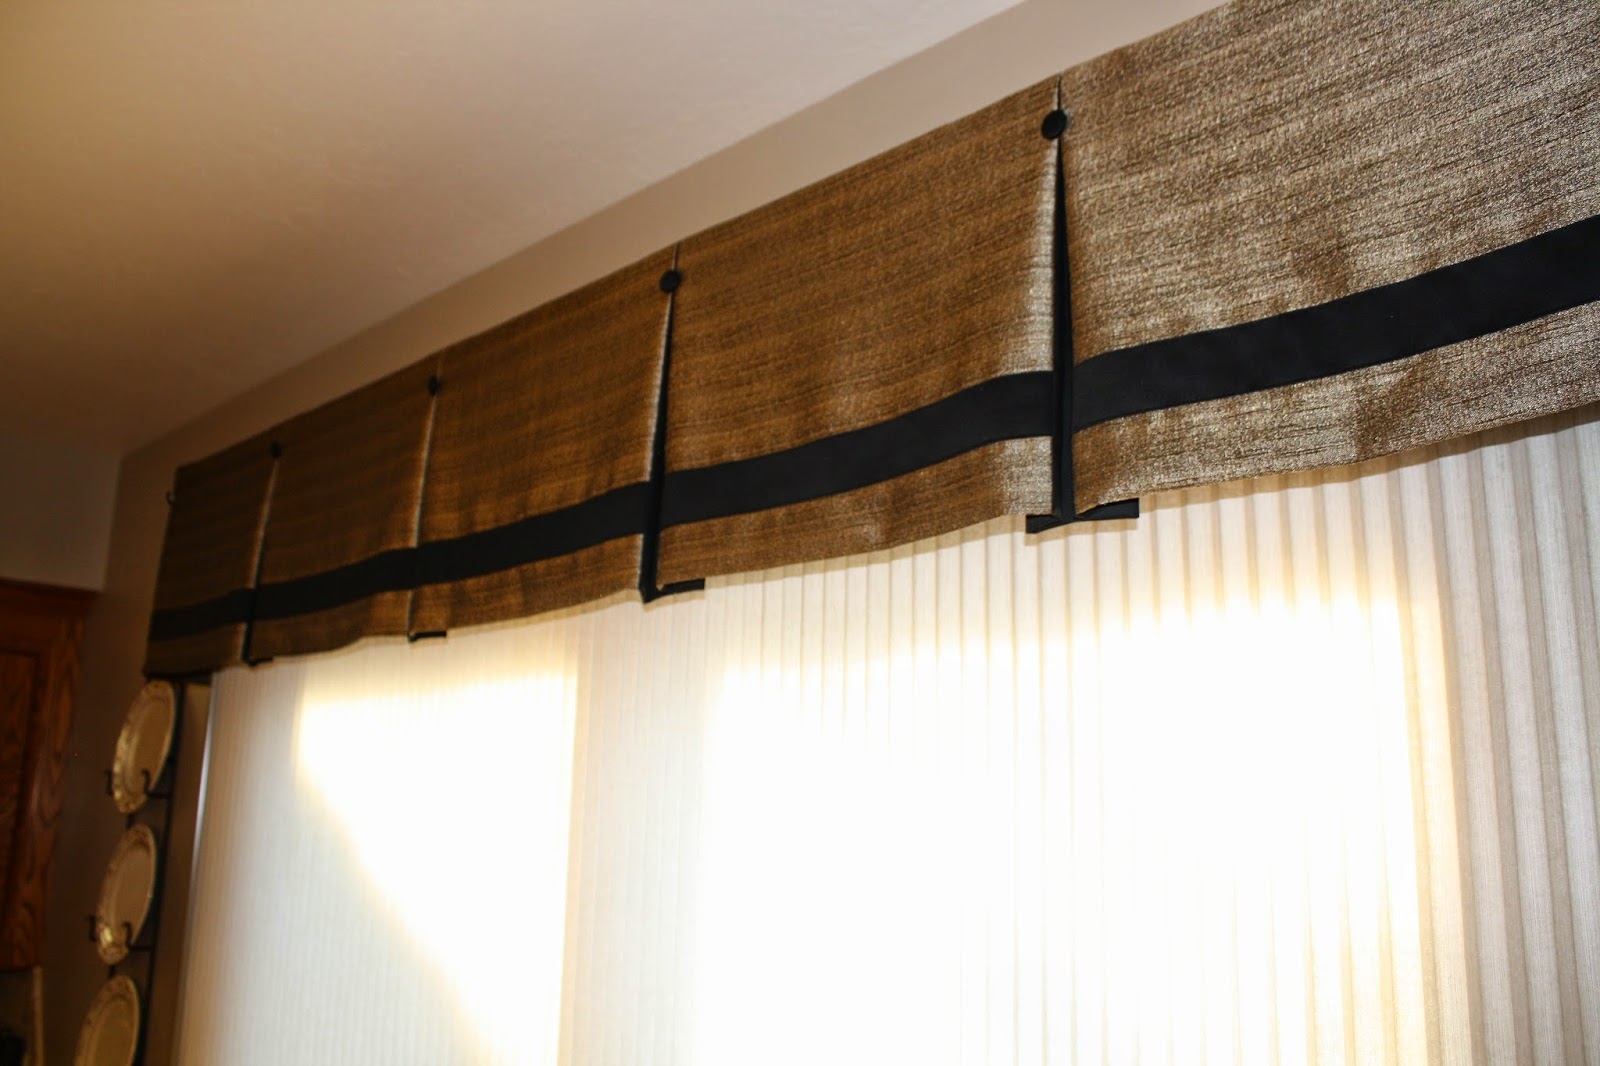
There are several popular pleat styles to choose from, including pinch pleats, goblet pleats, pencil pleats, and box pleats. Each style has its own unique look and characteristics. Take the time to research and consider which pleat style will best complement your room and match your personal style.
Once you have decided on the pleat style, mark the desired position of each pleat on the top edge of the curtain using a fabric marker or pins. Keep in mind that the number of pleats you create will depend on the width of your curtains and the spacing you prefer.
Remember to distribute the pleats evenly across the width of the curtain to achieve a balanced and symmetrical look.
With the pleat style and positions marked, you are now ready to move on to the next step: creating the first pleat.
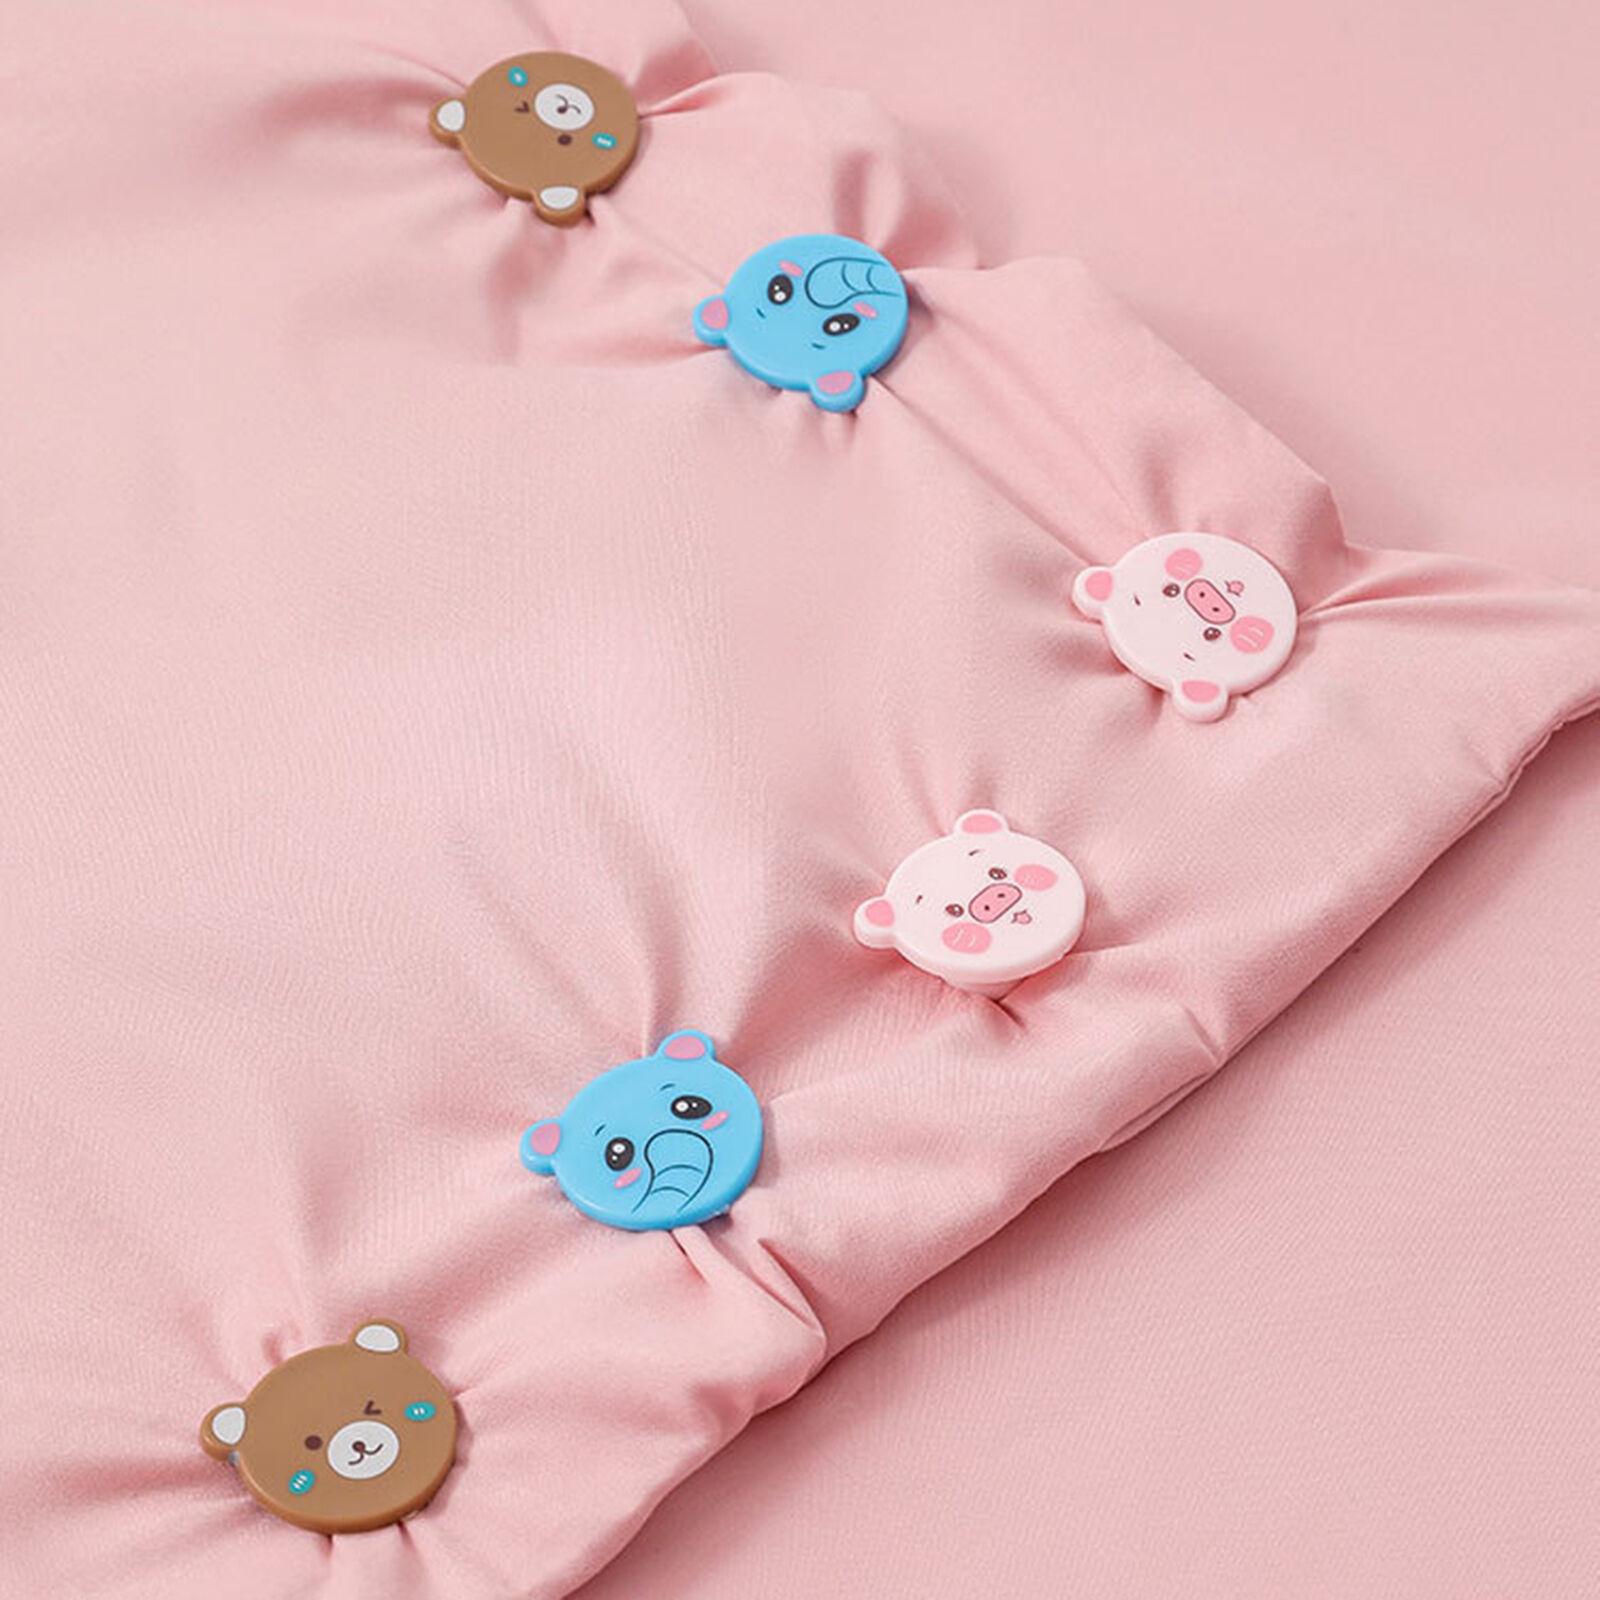
When pleating curtains with clips, make sure to evenly space the clips along the top of the curtain panel to create a uniform and professional look.
Read more: What Is Pencil Pleat Curtains
Step 4: Create the First Pleat
Now that you have determined the pleat style and marked the positions, it’s time to start creating the pleats. Begin with the first marked position on the top edge of the curtain.
To create the first pleat, take hold of the fabric at the marked position and fold it towards the center of the curtain. The width of the fold will depend on the pleat style you have chosen and your personal preference. For example, if you are creating pinch pleats, fold the fabric approximately 3-4 inches towards the center.
Once you have made the fold, secure it in place by attaching a curtain clip over the folded fabric. Be sure to position the clip in a way that it captures both layers of fabric, holding the pleat in place.
After attaching the clip, smooth out any wrinkles or creases in the fabric to ensure a clean and neat appearance. This can be done by gently pulling and adjusting the fabric as needed.
Congratulations! You have successfully created the first pleat in your curtains. Now, let’s move on to the next step: continuing to create pleats.
Step 5: Continue Creating Pleats
With the first pleat created, it’s time to continue pleating the rest of the curtains. Move on to the next marked position and repeat the process of folding the fabric towards the center.
As you create each pleat, make sure to maintain the same width and consistency throughout the curtain. This will result in a visually pleasing and uniform look.
Depending on the pleat style you have chosen, you may need to adjust the fabric differently for each pleat. For example, if you are creating pinch pleats, you will fold the fabric in the same manner as the first pleat. If you are creating goblet pleats, you will roll the fabric towards the center instead of folding it.
For pencil pleats and box pleats, you may need to gather and fold the fabric in a slightly different manner. It’s important to refer to the specific instructions for your chosen pleat style to ensure you achieve the desired look.
As you continue creating pleats, use the curtain clips to secure each fold in place. Adjust the fabric and smooth out any wrinkles or creases as needed to maintain a neat appearance.
Repeat this process for each marked position until you have created all the pleats on the curtain.
Great job! You’re on your way to beautifully pleated curtains. Let’s move on to the next step, where we will adjust the pleats for the perfect finish.
Step 6: Adjust the Pleats
Once you have created all the pleats on your curtains, it’s time to adjust and refine them to achieve the perfect finish. This step is crucial in ensuring that the pleats are evenly spaced and aligned.
Start by standing back and taking a moment to assess the overall appearance of your pleated curtains. Look for any pleats that may be uneven or out of alignment. You can gently tug on the fabric or use your fingers to adjust and fine-tune the position of each pleat.
Ensure that the spaces between each pleat are consistent and visually appealing. If necessary, you can use a measuring tape to measure the distance between pleats and make adjustments accordingly.
Pay close attention to the top edge of the curtains as well. Make sure that all the clips are securely attached to the fabric and that the pleats are evenly distributed. Use this opportunity to smooth out any wrinkles or creases in the fabric, ensuring a clean and polished appearance.
Take your time during the adjustment process, as it can make a significant difference in the final result. Step back frequently to evaluate the overall look and make any necessary modifications.
Now that you have perfected the pleats, let’s move on to the final step: hanging and adjusting the curtains.
Step 7: Hang and Adjust the Curtains
The final step in pleating curtains with clips is to hang the curtains and make any last-minute adjustments to achieve the desired look. Follow these steps to ensure a seamless installation:
- Remove the curtain rod from its brackets to make it easier to hang the curtains.
- Slide the open end of the curtain clip onto the curtain rod, starting from one end.
- Continue sliding the rest of the clips onto the rod, spacing them evenly to maintain a balanced appearance.
- Once all the clips are attached to the rod, carefully reattach the rod onto the brackets, ensuring it is secure.
- Step back and assess the overall appearance of the curtains. If any adjustments or tweaks are needed, now is the time to make them.
- Smooth out any wrinkles or creases in the fabric by gently pulling and adjusting it.
- Stand back and admire your beautifully pleated curtains.
Now that your curtains are hung and adjusted, take a moment to appreciate the transformation they bring to your space. Pleated curtains not only enhance the aesthetics of a room but also provide practical benefits by controlling light and adding privacy.
Remember to periodically check and maintain your pleated curtains by adjusting the pleats and cleaning them as necessary.
With your newfound knowledge of pleating curtains with clips, you can now confidently create beautiful and tailored curtains that will elevate the style of your home.
Happy pleating!
Read more: What Are Pinch Pleat Curtains
Conclusion
Creating pleated curtains with clips is a rewarding and relatively simple process that can instantly transform the look and feel of any room. By following the step-by-step guide outlined in this article, you have learned how to pleat curtains with clips and achieve professional and polished results.
From gathering the materials to determining the pleat style, attaching the clips, and creating the pleats, each step plays a crucial role in achieving a seamless and aesthetically pleasing end result. Taking the time to adjust and refine the pleats ensures a balanced and symmetrical look that will elevate the overall appearance of your curtains.
Remember to choose a pleat style that reflects your personal taste and complements the decor of your space. Whether you opt for classic pinch pleats, elegant goblet pleats, or versatile pencil pleats, the choice is yours to make.
Once your curtains are pleated and hung, take a moment to appreciate the beauty and functionality they bring to your home. Properly maintained pleated curtains can provide years of enjoyment and enhance the ambiance of any space. Don’t forget to regularly check and adjust the pleats as needed to keep them looking their best.
Now that you have mastered the art of pleating curtains with clips, you can confidently tackle this DIY project and create stunning window treatments that reflect your personal style and elevate the overall design of your rooms.
So go ahead, unleash your creativity, and enjoy the process of transforming ordinary curtains into elegant, pleated masterpieces!
Frequently Asked Questions about How To Pleat Curtains With Clips
Was this page helpful?
At Storables.com, we guarantee accurate and reliable information. Our content, validated by Expert Board Contributors, is crafted following stringent Editorial Policies. We're committed to providing you with well-researched, expert-backed insights for all your informational needs.

0 thoughts on “How To Pleat Curtains With Clips”