Articles
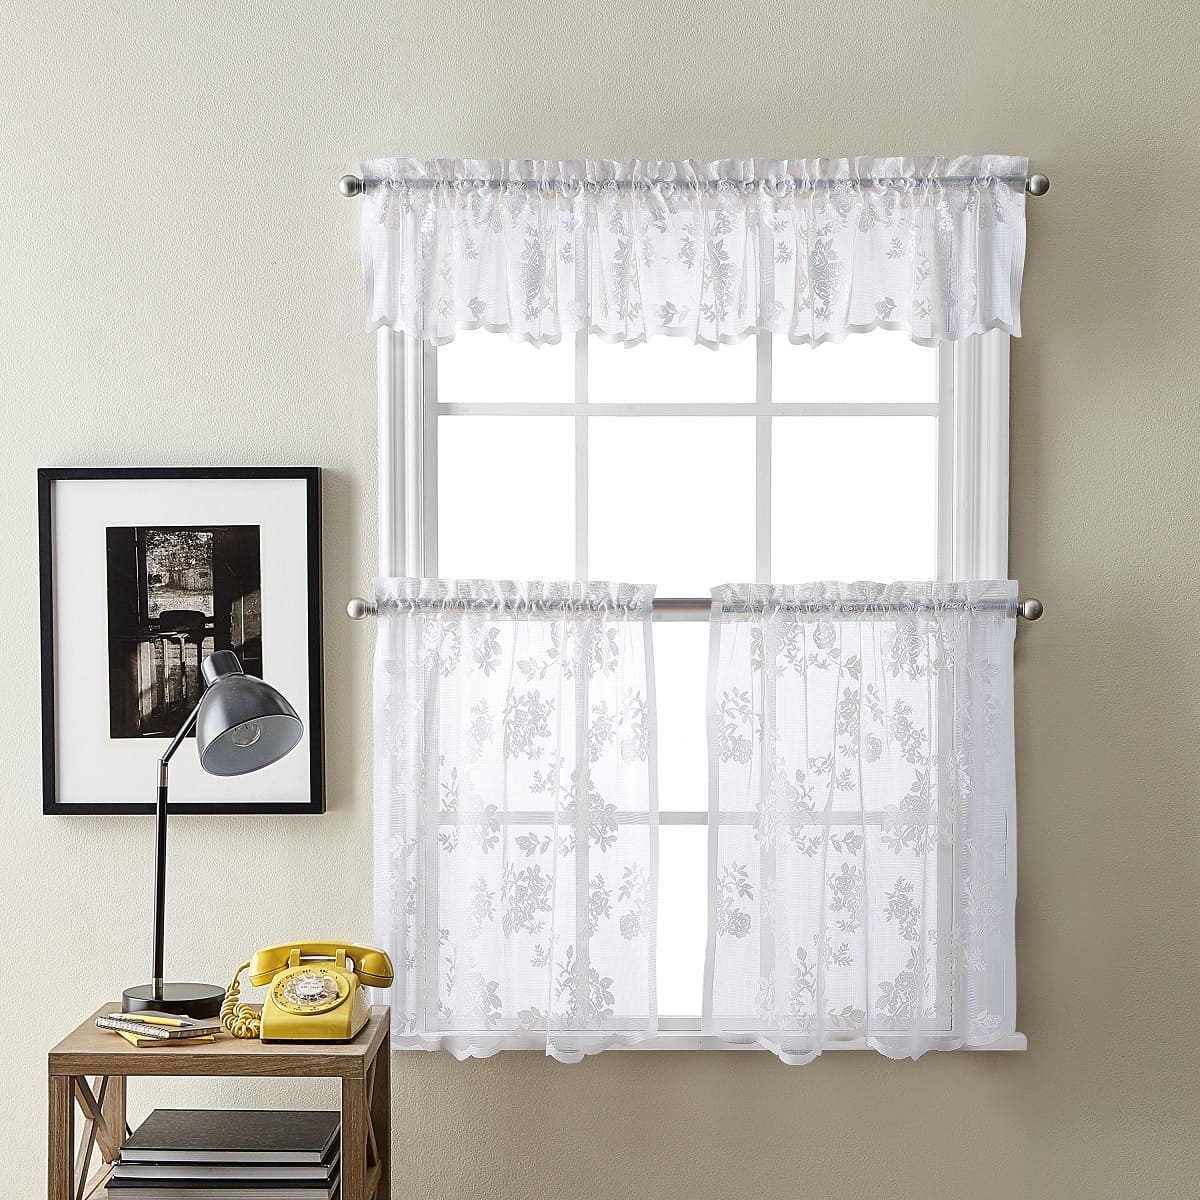
How To Sew Lace Curtains
Modified: October 20, 2024
Learn how to sew lace curtains with our helpful articles. Discover tips and techniques for creating beautiful lace curtains for any room.
(Many of the links in this article redirect to a specific reviewed product. Your purchase of these products through affiliate links helps to generate commission for Storables.com, at no extra cost. Learn more)
Introduction
Welcome to our comprehensive guide on how to sew lace curtains. Lace curtains add a touch of elegance and sophistication to any room, creating a soft and romantic ambiance. Whether you’re looking to enhance the beauty of your home’s interiors or are searching for a creative DIY project, sewing lace curtains is a rewarding and enjoyable endeavor.
In this article, we will take you through the step-by-step process of sewing your very own lace curtains. We will cover everything from choosing the right lace fabric to preparing the edges, creating the rod pocket, and finishing touches. By the end of this guide, you will have the knowledge and skills to create beautiful lace curtains that perfectly complement your personal style and home decor.
Before we dive into the sewing process, it’s important to note that sewing lace curtains requires some basic sewing skills. If you’re new to sewing, we recommend starting with simpler projects and gradually gaining confidence before attempting lace curtains. However, with a little patience and practice, sewing lace curtains can be a fun and rewarding experience.
Now, let’s begin by discussing how to choose the right lace fabric for your curtains.
Key Takeaways:
- Sewing lace curtains requires attention to detail, patience, and basic sewing skills. Choosing the right lace fabric, measuring accurately, and adding finishing touches will result in beautiful, elegant curtains that reflect your personal style.
- Adding optional finishing touches such as lining, decorative trim, and pattern alignment can elevate the look of your lace curtains. Embrace your creativity and enjoy the pride of crafting something unique for your home.
Read more: How To Clean Lace Curtains
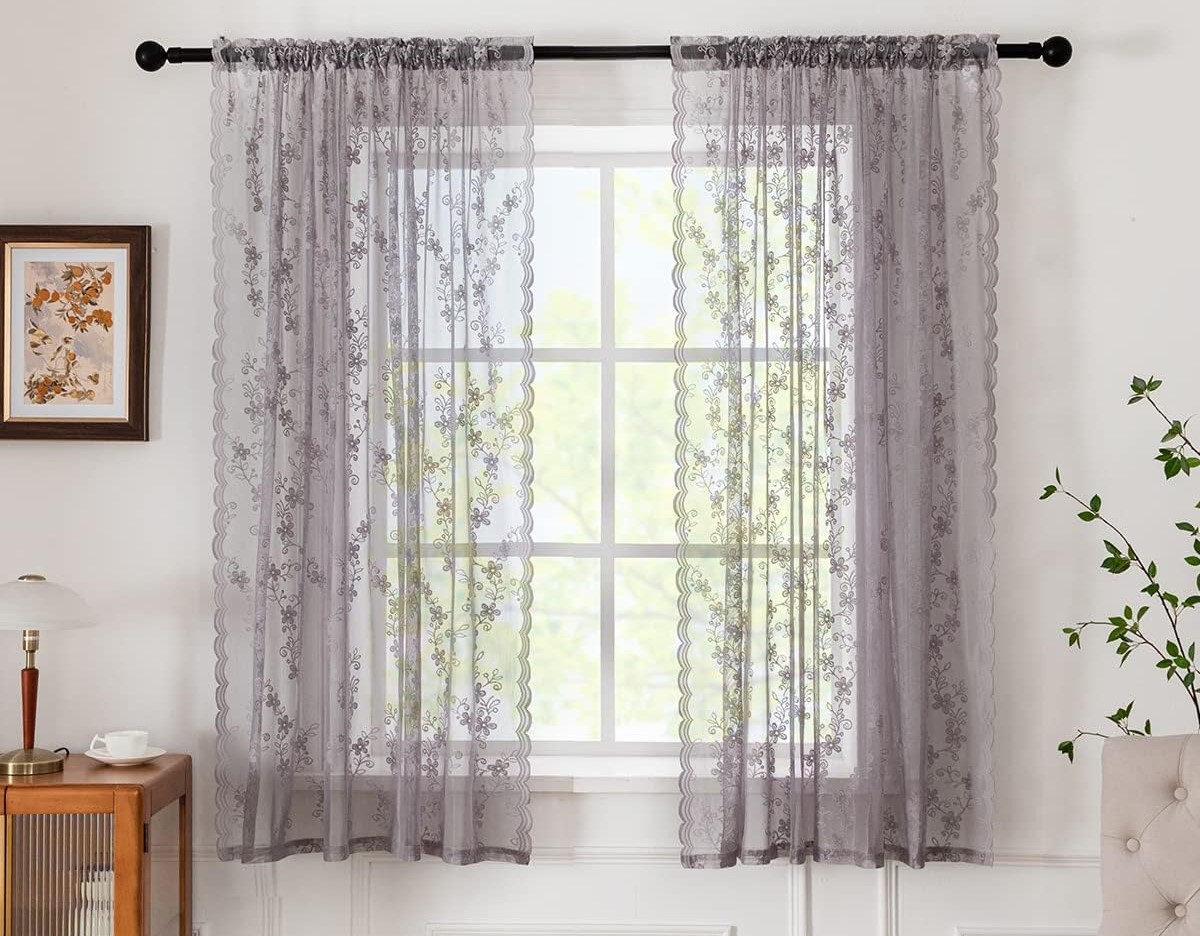
Choosing the Right Lace Fabric
The first step in sewing lace curtains is selecting the right lace fabric. Lace comes in a variety of styles, patterns, and weights, allowing you to create different looks and effects. Here are a few factors to consider when choosing lace fabric for your curtains:
- Design and Pattern: Lace fabric comes in various designs and patterns, from delicate floral motifs to intricate geometric shapes. Consider the overall aesthetic of your room and choose a lace fabric that complements the existing decor or adds a statement piece.
- Transparency: Lace curtains can range from sheer to semi-sheer, allowing varying levels of light to pass through. Decide how much privacy and light control you desire in your space, and choose the lace fabric accordingly. Keep in mind that if you prefer more privacy, you may need to layer your lace curtains with an additional lining.
- Color: Lace fabric is available in a wide range of colors, from classic whites and creams to bold and vibrant options. Consider the color palette of your room and choose a lace fabric color that harmonizes with the existing decor. Alternatively, you can also opt for a contrasting color to create a focal point.
- Weight: Lace fabric can vary in weight and stiffness. Heavier lace fabrics provide more structure and drape, while lighter lace fabrics offer a softer and ethereal look. Consider the intended purpose of your curtains and the effect you want to achieve when selecting the weight of your lace fabric.
- Quality: Pay attention to the quality of the lace fabric before making a purchase. Look for well-woven, durable lace that will withstand regular use and washing. Higher quality lace will not only enhance the appearance of your curtains but also ensure their longevity.
When shopping for lace fabric, consider visiting fabric stores in person to feel the textures and see the nuances of different lace fabrics. This will help you make a more informed decision and ensure that the lace fabric you choose meets your specific preferences and requirements.
Once you have selected the lace fabric, it’s time to move on to the next step: measuring and calculating the fabric requirements.
Measuring and Calculating Fabric Requirements
Accurate measurements are crucial when sewing lace curtains to ensure a perfect fit for your windows. Here’s a step-by-step guide on how to measure and calculate the fabric requirements for your lace curtains:
- Measure the Window: Start by measuring the width and height of your window using a metal measuring tape. Measure the inside frame for an inside mount or the outside frame for an outside mount. Note down these measurements in inches or centimeters.
- Add the Fullness: Decide on the desired fullness of your lace curtains. Fullness refers to the amount of fabric used to create folds or gather the fabric for a fuller look. A common fullness ratio is 2 to 2.5 times the width of the window. Multiply the measured width of the window by the chosen fullness ratio to calculate the total curtain width.
- Add the Hem Allowance: Consider adding an allowance for hems on the sides, bottom, and top of the curtain. A typical hem allowance is 1 to 2 inches (2.5 to 5 cm) for each hem. Add this allowance to the total curtain width and height measurements.
- Calculate the Fabric Yardage: Lace fabric is typically sold by the yard or meter. To calculate the fabric yardage needed for your curtains, divide the total curtain width by the fabric width. Round up to the nearest whole number. Multiply the result by the total curtain height to get the required fabric yardage.
- Consider Pattern Repeat: If your lace fabric has a noticeable pattern, check if it has a pattern repeat. The pattern repeat is the vertical distance between one point in the pattern to the same point in the next repeat. If there is a pattern repeat, you may need to add extra fabric to align the pattern on each curtain panel.
- Allow for Seam Allowances: Lastly, remember to account for seam allowances in your fabric calculations. Depending on your sewing preferences and the type of lace fabric, a 1/4 inch (0.6 cm) or 1/2 inch (1.3 cm) seam allowance is common. Add these allowances to the fabric measurements.
By following these steps, you will have an accurate estimate of the fabric yardage needed for your lace curtains. It’s always a good idea to purchase slightly more fabric than necessary to account for any mistakes or future alterations.
With the fabric requirements calculated, it’s time to move on to the next step: cutting the fabric panels.
Cutting the Fabric Panels
Once you have determined the fabric yardage needed for your lace curtains, it’s time to cut the fabric panels. Follow these steps for precise and clean fabric cutting:
- Prewash and Iron: Before cutting the fabric, it’s important to prewash and iron it to remove any potential shrinkage or wrinkles. Follow the manufacturer’s instructions for washing and drying the fabric. Once the fabric is dry, iron it to ensure a smooth surface for cutting.
- Prepare the Work Area: Clear a spacious and flat work area to lay out the lace fabric. Ensure that the fabric is securely placed and wrinkle-free. Use masking tape or fabric weights to keep the fabric in place, if necessary.
- Measure and Mark: Use a measuring tape and fabric chalk to measure and mark the dimensions of the fabric panels based on the calculated measurements. Mark the width and height of each panel, including the necessary hem allowances.
- Cut the Fabric: Using sharp fabric scissors or a rotary cutter, carefully cut along the marked lines. Take your time to ensure straight, clean cuts. For long panels, consider using a long ruler or a straight edge to guide your cutting and maintain accuracy.
- Label the Panels: To avoid confusion later on, it’s helpful to label each fabric panel. Use sticky notes or small pieces of fabric scraps with numbers or letters to mark the order and position of each panel. This will assist you when sewing and assembling the curtains.
Remember to double-check your measurements and markings before cutting the fabric to ensure accuracy. Take your time and work carefully, as precision in this step will contribute to the overall appearance and fit of your lace curtains.
With the fabric panels cut and ready, it’s time to move on to the next step: preparing the lace edges.
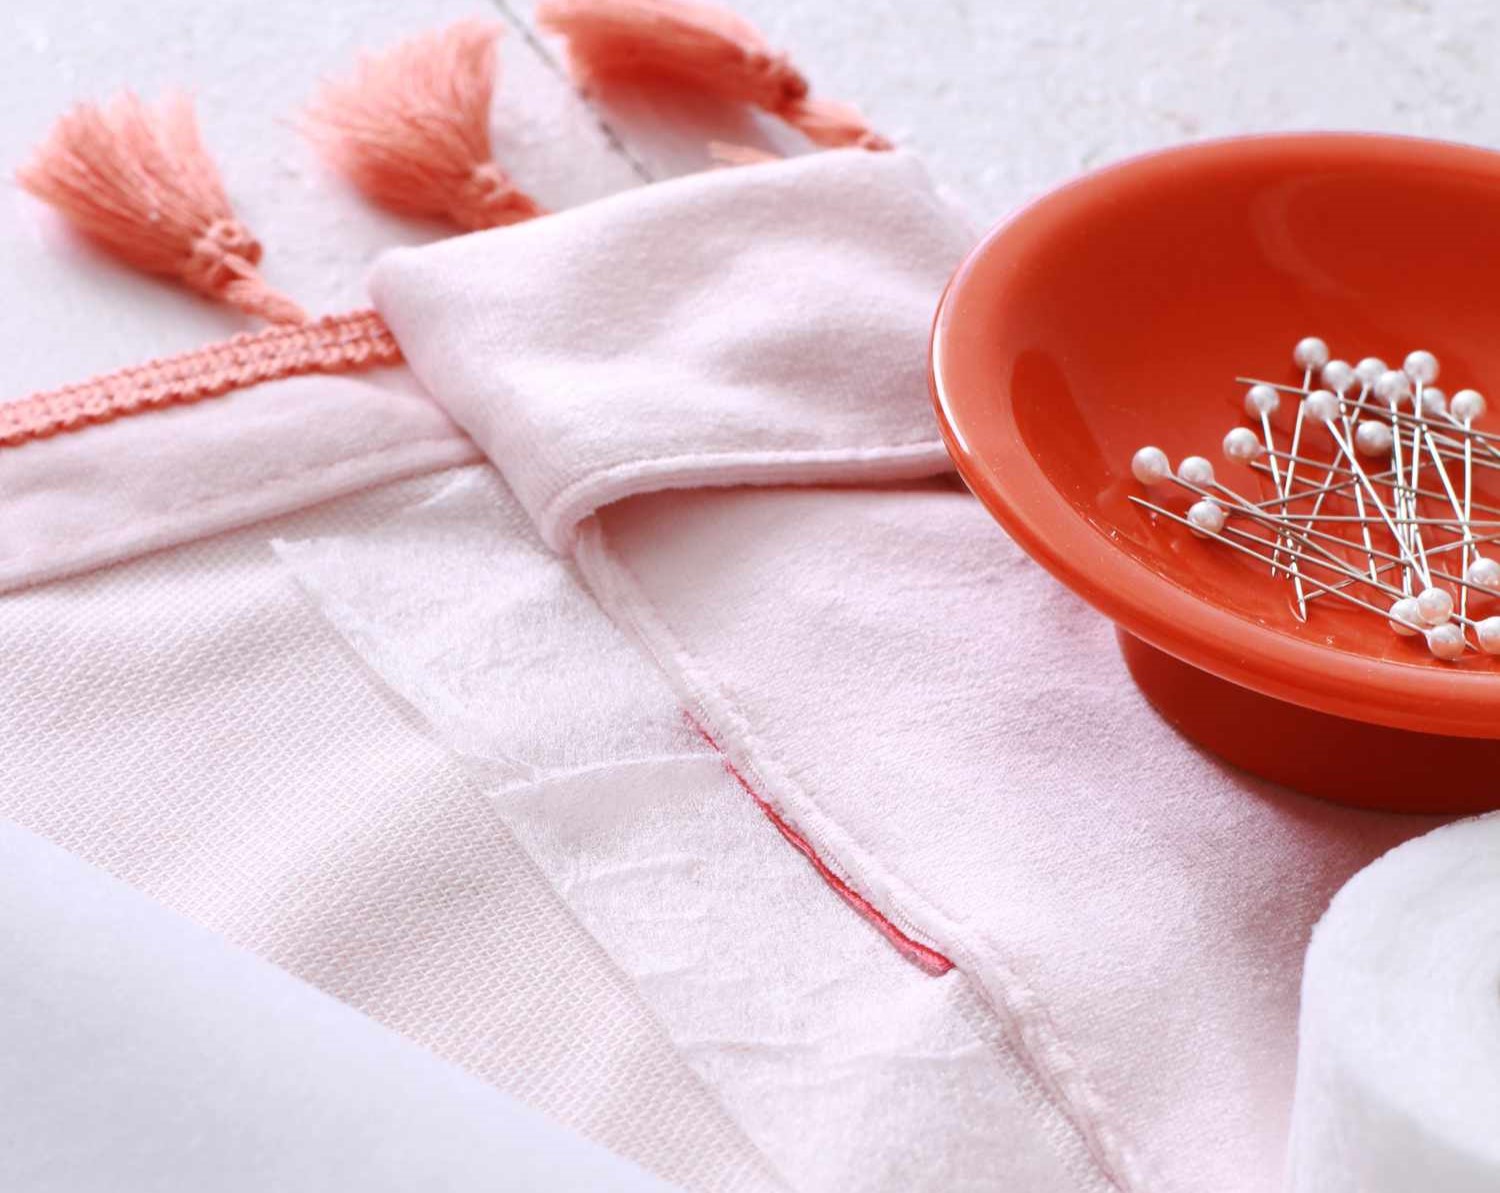
Preparing the Lace Edges
Preparing the lace edges is an important step in sewing lace curtains. It not only adds a finished look to the curtains but also prevents fraying and ensures durability. Follow these steps to prepare the lace edges:
- Trim Excess Threads: Inspect the edges of the lace fabric and trim any loose or excess threads using sharp scissors or a seam ripper. This will give you clean edges to work with.
- Optional: Apply Fray Check: If your lace fabric is prone to fraying, consider applying a fabric fray check or fray sealant along the edges. Follow the manufacturer’s instructions for application and drying time. This step will reinforce the edges and prevent fraying during the sewing process.
- Press the Seams: Use a hot iron on low heat setting to press the lace seams. Place a pressing cloth or a thin piece of cotton fabric over the lace to protect it from direct heat. Gently press the seams, moving the iron in an up-and-down motion. This will help flatten the seams and create crisp edges.
- Optional: Add Lace Trim or Binding: If desired, you can further enhance the lace edges by adding lace trim or binding. Measure the length of each panel’s edge and cut the lace trim or binding accordingly. Pin or baste the trim along the edge of the lace fabric and stitch it in place using a sewing machine or hand stitching.
- Repeat for All Panels: Repeat the above steps for all fabric panels, ensuring that the lace edges on each panel are properly prepared and finished.
Preparing the lace edges will give your curtains a polished and professional appearance. Take your time in this step to achieve neat and straight edges, as it will contribute to the overall beauty of your finished lace curtains.
With the lace edges prepared, it’s time to move on to the next step: sewing the side hems.
Read more: How To Sew Curtains With Lining
Sewing the Side Hems
Now that the lace edges are prepared, it’s time to sew the side hems of your lace curtains. Follow these steps to create clean and secure side hems:
- Fold the Side Edges: Begin by folding the side edges of the lace panel towards the wrong side of the fabric. The width of the fold will depend on the hem allowance you decided earlier, typically 1 to 2 inches (2.5 to 5 cm). Use a ruler or measuring tape to ensure even and straight folds.
- Press the Folds: Use a hot iron on low heat setting to press along the folded edges. This will help set the creases and make it easier to sew the hems. Be careful not to apply too much heat to avoid damaging the delicate lace fabric. Use a pressing cloth if necessary.
- Secure the Hems: To secure the side hems in place, you have a few options:
- Machine Stitch: If your lace fabric allows, you can use a machine straight stitch or a narrow zigzag stitch to sew the side hems. Sew close to the folded edge, leaving a neat and secure stitch.
- Hand Stitch: If your lace fabric is more delicate or if you prefer a more discreet stitch, you can hand sew the side hems using a slip stitch or a blind hem stitch. This will create an almost invisible seam on the right side of the fabric.
- French Seam: Another option is to create a French seam, especially if your lace fabric tends to fray. To do this, fold the side edges in half again, encasing the raw edges within the fold. Press the fold and stitch close to the edge. Then, fold the fabric one more time, enclosing the raw edges completely. Press again and stitch along the edge to secure the French seam.
- Repeat for All Panels: Repeat the above steps for the side hems of all fabric panels, ensuring that each panel has secure and finished side edges.
By sewing the side hems, you will give your lace curtains a polished and professional finish. Take your time and sew with care to ensure even stitches and strong hems that can withstand regular use.
With the side hems sewn, it’s time to move on to the next step: creating the rod pocket.
When sewing lace curtains, use a fine needle and lightweight thread to prevent snagging and ensure a delicate finish. Additionally, consider using a walking foot attachment to help feed the delicate fabric evenly through the sewing machine.
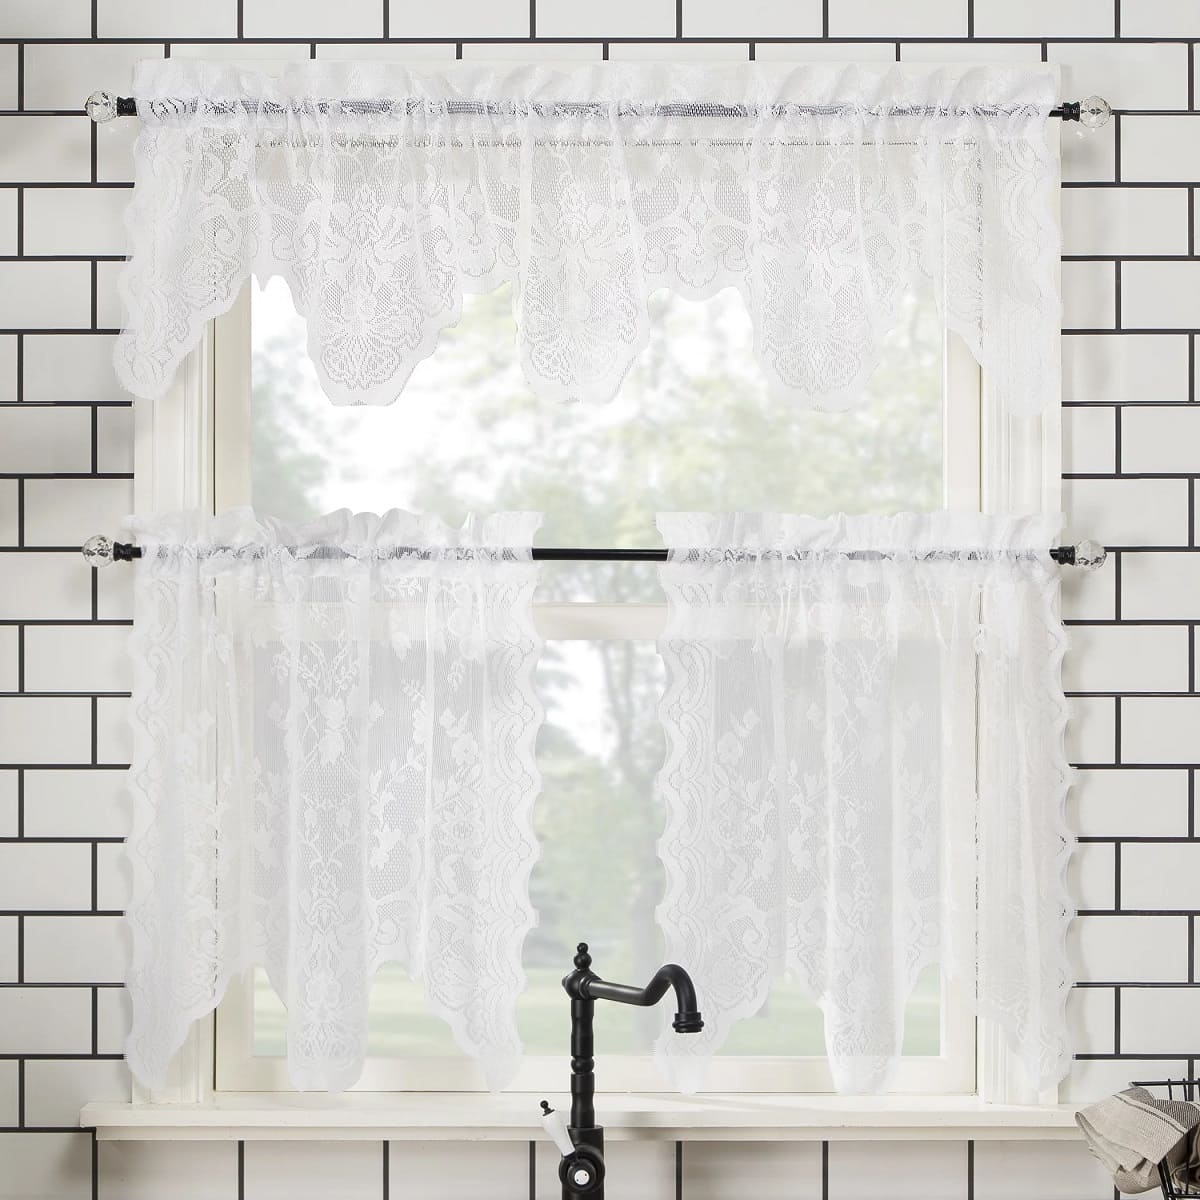
Creating the Rod Pocket
The rod pocket is an essential feature of lace curtains that allows you to easily hang them on a curtain rod. Follow these steps to create a sturdy and functional rod pocket:
- Determine the Rod Pocket Size: Measure the diameter or width of your curtain rod to determine the size of your rod pocket. Typically, a rod pocket is 1.5 to 2 times the diameter or width of the rod. For example, if your rod is 1 inch (2.5 cm) in diameter, you would create a rod pocket that is 1.5 to 2 inches (3.8 to 5 cm) wide.
- Mark the Rod Pocket Placement: On the top edge of your lace curtain panel, measure and mark the placement of the rod pocket. Use a fabric chalk or pins to make the markings. Take into account any additional header tape or pleating allowance, if applicable.
- Fold the Rod Pocket: Fold the top edge of the lace panel to the wrong side of the fabric, following the markings you made in the previous step. The fold should be wide enough to accommodate the rod pocket size you determined earlier. Press the fold to ensure a crisp and even crease.
- Secure the Rod Pocket: To secure the rod pocket, you have a few options:
- Machine Stitch: If your lace fabric allows, you can use a machine straight stitch or a narrow zigzag stitch to sew along the bottom edge of the rod pocket fold. This will create a secure seam while keeping it inconspicuous.
- Hand Stitch: If you prefer a more discreet stitch, you can hand sew the rod pocket using a slip stitch or a blind hem stitch. This will create a nearly invisible seam on the right side of the fabric.
- Strengthen the Rod Pocket: To reinforce the rod pocket and ensure it can support the weight of your curtains, you can add an additional strip of fabric or interfacing to the top edge before folding and stitching. This will provide extra support and durability.
By creating a well-constructed rod pocket, you will be able to effortlessly hang your lace curtains and achieve an elegant and finished look. Take your time in this step to ensure that the rod pocket is sturdy and securely attached to the top edge of your curtains.
With the rod pocket created, it’s time to move on to the next step: attaching header tape.
Attaching Header Tape
Header tape is a useful addition to lace curtains as it provides structure and makes hanging them easier. Follow these steps to attach header tape to your lace curtains:
- Select the Header Tape: There are various types of header tape available, including single or double-fold tape, twill tape, or curtain tape with pre-sewn pleats. Choose the type of header tape that best suits your desired curtain style and functionality.
- Measure and Cut the Header Tape: Measure the width of your lace curtain panel at the top, excluding the rod pocket. Cut a strip of header tape slightly shorter than the measured width.
- Pin or Baste the Tape: Position the header tape evenly along the top edge of the lace curtain, aligning the raw edges. Pin or baste the tape in place to temporarily secure it.
- Machine Stitch the Header Tape: Sew the header tape to the lace curtain using a machine straight stitch, starting at one end and following the existing stitching lines on the tape. Make sure to sew close to the edge of the tape, ensuring a secure attachment.
- Optional: Gather or Pleat the Tape: If you are using header tape with pre-sewn pleats or gathering capabilities, follow the manufacturer’s instructions to create the desired pleating or gathering effect. Adjust and distribute the fabric evenly along the tape, securing it with pins or basting stitches if necessary.
- Secure the Bottom Edge: To prevent the lace fabric from slipping or folding up, stitch the bottom edge of the header tape to the top of the lace panel using a machine straight stitch or hand stitching. This will anchor the lace fabric to the tape.
By attaching header tape to your lace curtains, you will add structure and convenience when it comes to hanging and manipulating the curtains. Header tape also allows for easy adjustments in the future if you decide to change the curtain length or style.
With the header tape attached, it’s time to move on to the next step: hemming the bottom edge of the curtains.
Hemming the Bottom Edge
Hemming the bottom edge of your lace curtains is an important step to give them a finished and polished appearance. Follow these steps to hem the bottom edge of your curtains:
- Fold and Press the Hem: Measure and mark the desired length for your lace curtains. Fold the bottom edge of each panel towards the wrong side of the fabric to meet the marked length. Use a ruler or measuring tape to ensure even and straight folds. Press the fold with an iron on a low heat setting to create a crisp crease.
- Secure the Hem: To keep the hem in place while sewing, you can use pins or fabric clips to temporarily hold it. Make sure to align the folded edge neatly and evenly along the length of the curtain.
- Choose a Hemming Technique: Depending on your preference and the type of lace fabric, you can choose from a few hemming techniques:
- Machine Zigzag Stitch: If your lace fabric allows, you can use a machine zigzag stitch along the folded edge to secure the hem. Adjust the stitch width and length to achieve a clean and secure finish.
- Hand Rolled Hem: For delicate lace fabrics, a hand rolled hem can provide a more refined and seamless look. Thread a hand sewing needle with matching thread, fold a small section of the fabric edge towards the wrong side, and roll the raw edge inside the fold. Using small, neat stitches, secure the rolled hem in place.
- Complete the Hem: Continue hemming along the entire bottom edge of each curtain panel, removing the pins or fabric clips as you sew. Take your time and work carefully to ensure an even and neat hem.
- Press the Hem: Once the hem is sewn, use a pressing cloth and a hot iron on a low heat setting to press the hem. Be careful not to apply too much heat directly on the lace fabric to avoid damaging it. Pressing the hem will give it a professional and polished look.
By hemming the bottom edge of your lace curtains, you will create a clean and refined finish. Take your time and pay attention to detail to ensure a well-executed and visually pleasing hem.
With the bottom edge hemmed, it’s time to move on to the final step: adding the finishing touches to your lace curtains.
Read more: How To Sew Sheer Curtains
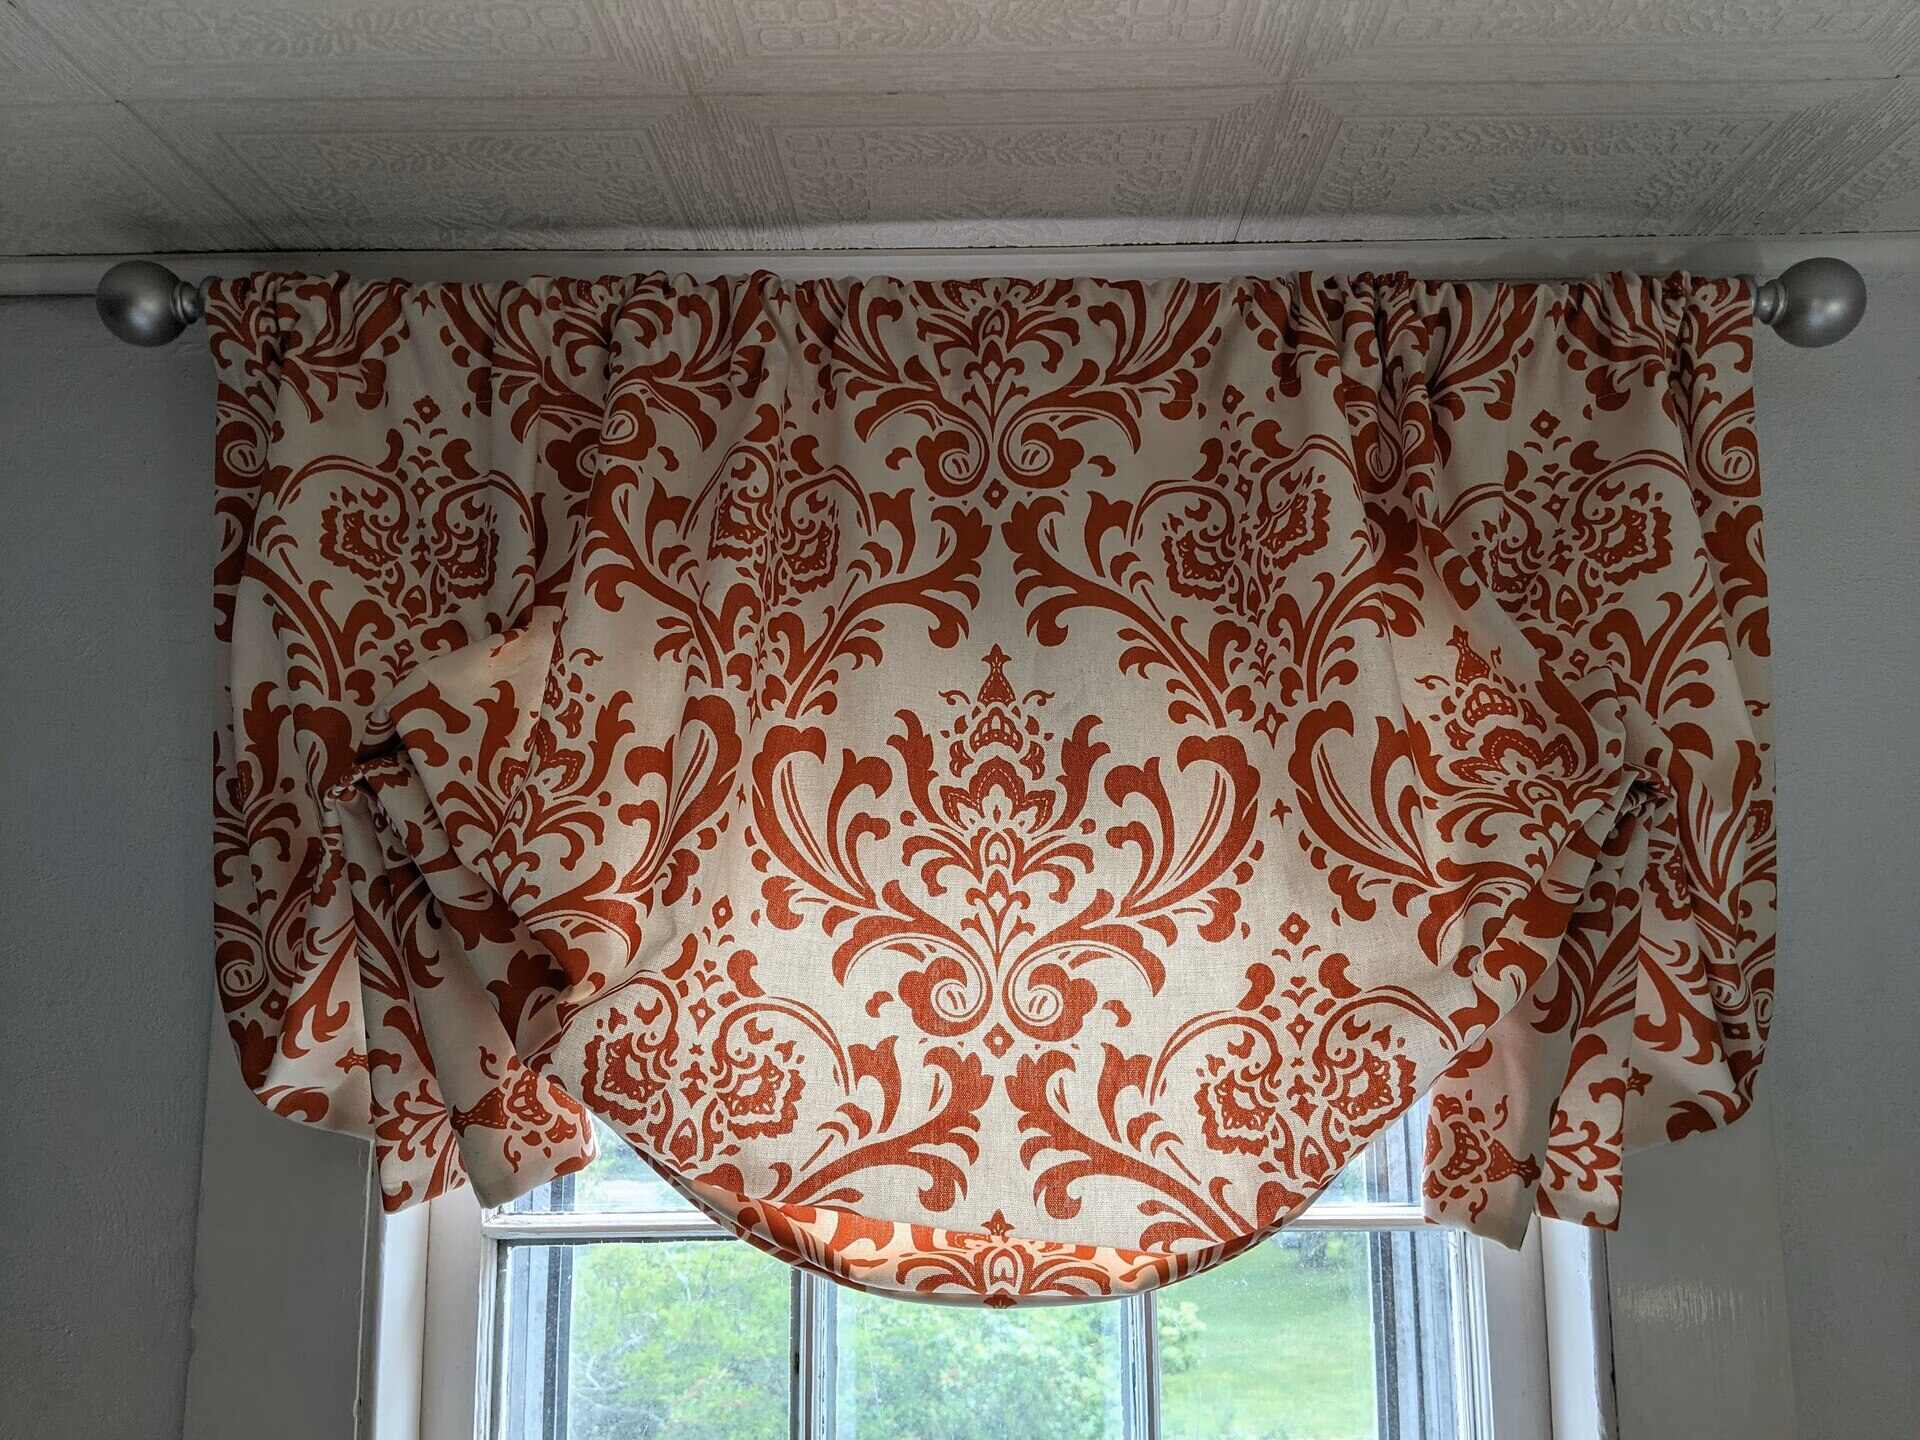
Finishing Touches
Now that you’ve completed the main steps of sewing your lace curtains, it’s time to add the finishing touches that will give them the perfect final look. Here are a few optional but delightful finishing touches you can add to your lace curtains:
- Lining: If you desire more privacy or light control, you can add a lining to your lace curtains. Choose a lightweight fabric that complements the lace and attach it to the backside of the curtains. This will also provide additional durability and protection for the lace fabric.
- Trim or Embellishments: Consider adding decorative trim, such as ribbon, lace edging, or tassels, to the bottom edge or sides of your lace curtains. This can add an extra touch of elegance and highlight the intricate details of the lace fabric.
- Pattern Alignment: If your lace fabric has a noticeable pattern, take the time to align the pattern across all the curtain panels for a seamless and cohesive look. This may involve adjusting the fabric or making slight alterations to ensure the pattern lines up accurately.
- Ironing and Steaming: After completing the sewing process, give your lace curtains a final touch-up by ironing or steaming them. This will remove any creases or wrinkles and ensure they hang beautifully when you display them.
- Hanging and Display: Finally, select or install the appropriate curtain rod or hardware to hang your lace curtains. Take care to hang them evenly and at the desired length. Step back and admire your beautifully sewn lace curtains as they add a touch of elegance to your space.
Remember, these finishing touches are optional and can be customized according to your personal style and preferences. Adding these details can elevate the overall look of your lace curtains and make them truly unique.
Congratulations on completing your journey of sewing lace curtains! With your newfound knowledge and skills, you can create beautiful curtains that enhance the aesthetic appeal of your space. Enjoy the pride and satisfaction that comes with crafting something by hand.
Remember to embrace your creativity and make these lace curtains a reflection of your own unique style and taste. Happy sewing and enjoy your stunning lace curtains!
If you have any further questions or need additional guidance, feel free to consult sewing tutorials or seek help from experienced seamstresses. Happy decorating!
Conclusion
Congratulations! You’ve reached the end of our comprehensive guide on how to sew lace curtains. By following the step-by-step instructions and incorporating your own creativity, you have learned how to create beautiful and elegant lace curtains that will enhance the look and feel of your home.
Throughout this guide, we covered everything from choosing the right lace fabric to measuring and calculating fabric requirements, cutting the fabric panels, preparing the lace edges, sewing the side hems, creating the rod pocket, attaching header tape, hemming the bottom edge, and adding the finishing touches.
Remember that sewing lace curtains requires some basic sewing skills and patience. Take your time, pay attention to detail, and don’t be afraid to make mistakes. By practicing and gaining experience, your sewing skills will improve, and you’ll be able to take on more advanced projects in the future.
As you work on sewing lace curtains, remember to infuse your personal style and creativity. Choose lace fabric that resonates with your aesthetic preferences and consider adding trim or embellishments for an added touch of elegance. These little details will make your lace curtains truly one-of-a-kind and reflective of your own unique style.
Lastly, don’t forget to step back and admire your handiwork once your lace curtains are complete. Hang them with care, allowing them to transform the ambiance of your space. Take pride in your accomplishments as you witness the beauty of your handmade lace curtains enhancing your room’s decor.
Thank you for joining us on this sewing journey. We hope this guide has inspired you to unleash your creativity and explore the world of sewing lace curtains. Happy sewing, and may your home be filled with beautiful and enchanting lace curtains for years to come!
Frequently Asked Questions about How To Sew Lace Curtains
Was this page helpful?
At Storables.com, we guarantee accurate and reliable information. Our content, validated by Expert Board Contributors, is crafted following stringent Editorial Policies. We're committed to providing you with well-researched, expert-backed insights for all your informational needs.


0 thoughts on “How To Sew Lace Curtains”