Articles
How To Sew Balloon Curtains
Modified: August 17, 2024
Discover the best articles on how to sew balloon curtains. Gain valuable tips and step-by-step instructions to create beautiful window treatments for your home.
(Many of the links in this article redirect to a specific reviewed product. Your purchase of these products through affiliate links helps to generate commission for Storables.com, at no extra cost. Learn more)
Introduction
Are you tired of the same old window treatments? Looking to add a touch of whimsy and elegance to your home decor? Then it’s time to consider sewing your own balloon curtains! Balloon curtains are a classic and stylish way to dress up your windows while allowing natural light to filter through.
In this article, we will provide you with a step-by-step guide on how to sew balloon curtains. Whether you are an experienced seamstress or a beginner looking to tackle a new project, this tutorial will ensure that you achieve beautiful and professional-looking curtains.
To get started, let’s gather all the necessary tools and materials.
Key Takeaways:
- Create whimsical and elegant balloon curtains by following our step-by-step guide. Customize with fabric, decorative trim, and bows for a personalized touch that adds charm to your home decor.
- Unleash your creativity and sewing skills to craft stunning balloon curtains. From measuring and cutting fabric to adding the balloon effect, enjoy the process of making beautiful window treatments.
Read more: How To Sew Curtains With Lining
Tools and Materials Needed
Before we begin sewing our balloon curtains, we need to gather all the necessary tools and materials. Here’s a list of what you’ll need:
- Fabric of your choice
- Measuring tape
- Sewing machine
- Thread
- Pins
- Iron
- Ironing board
- Curtain rod
- Scissors
- Marker or fabric pencil
Make sure you have all these items on hand before you get started. Now that we have everything we need, let’s move on to the next step: measuring and calculating.
Step 1: Measure and Calculate
The first step in sewing balloon curtains is to measure your window and calculate the dimensions of the fabric. Start by measuring the width of your window from one side to the other. Write down this measurement as the curtain width.
Next, measure the desired length of your curtains. Do you want them to hang all the way to the floor or stop at a certain point? Measure from the top of the window frame to your desired length and write down this measurement as the curtain length.
Add a few inches to both the curtain width and length to account for hems and allowances. This will ensure that the curtains fit nicely on your window and have a clean, finished look.
Once you have the final measurements, it’s time to move on to the next step: cutting the fabric.
Step 2: Cut the Fabric
Now that you have the measurements for your balloon curtains, it’s time to cut the fabric. Lay your fabric out on a flat surface, making sure it is free from wrinkles and creases.
Using your measuring tape and fabric pencil or marker, measure and mark the dimensions of the curtain on the fabric. Be sure to leave allowance for hems and any additional decorative elements you may want to add.
Once the dimensions are marked, carefully cut along the lines using your scissors. Take your time and make precise cuts to ensure that the fabric is a perfect match for your window.
Now that the fabric is cut, it’s time to move on to the next step: hemming the edges.
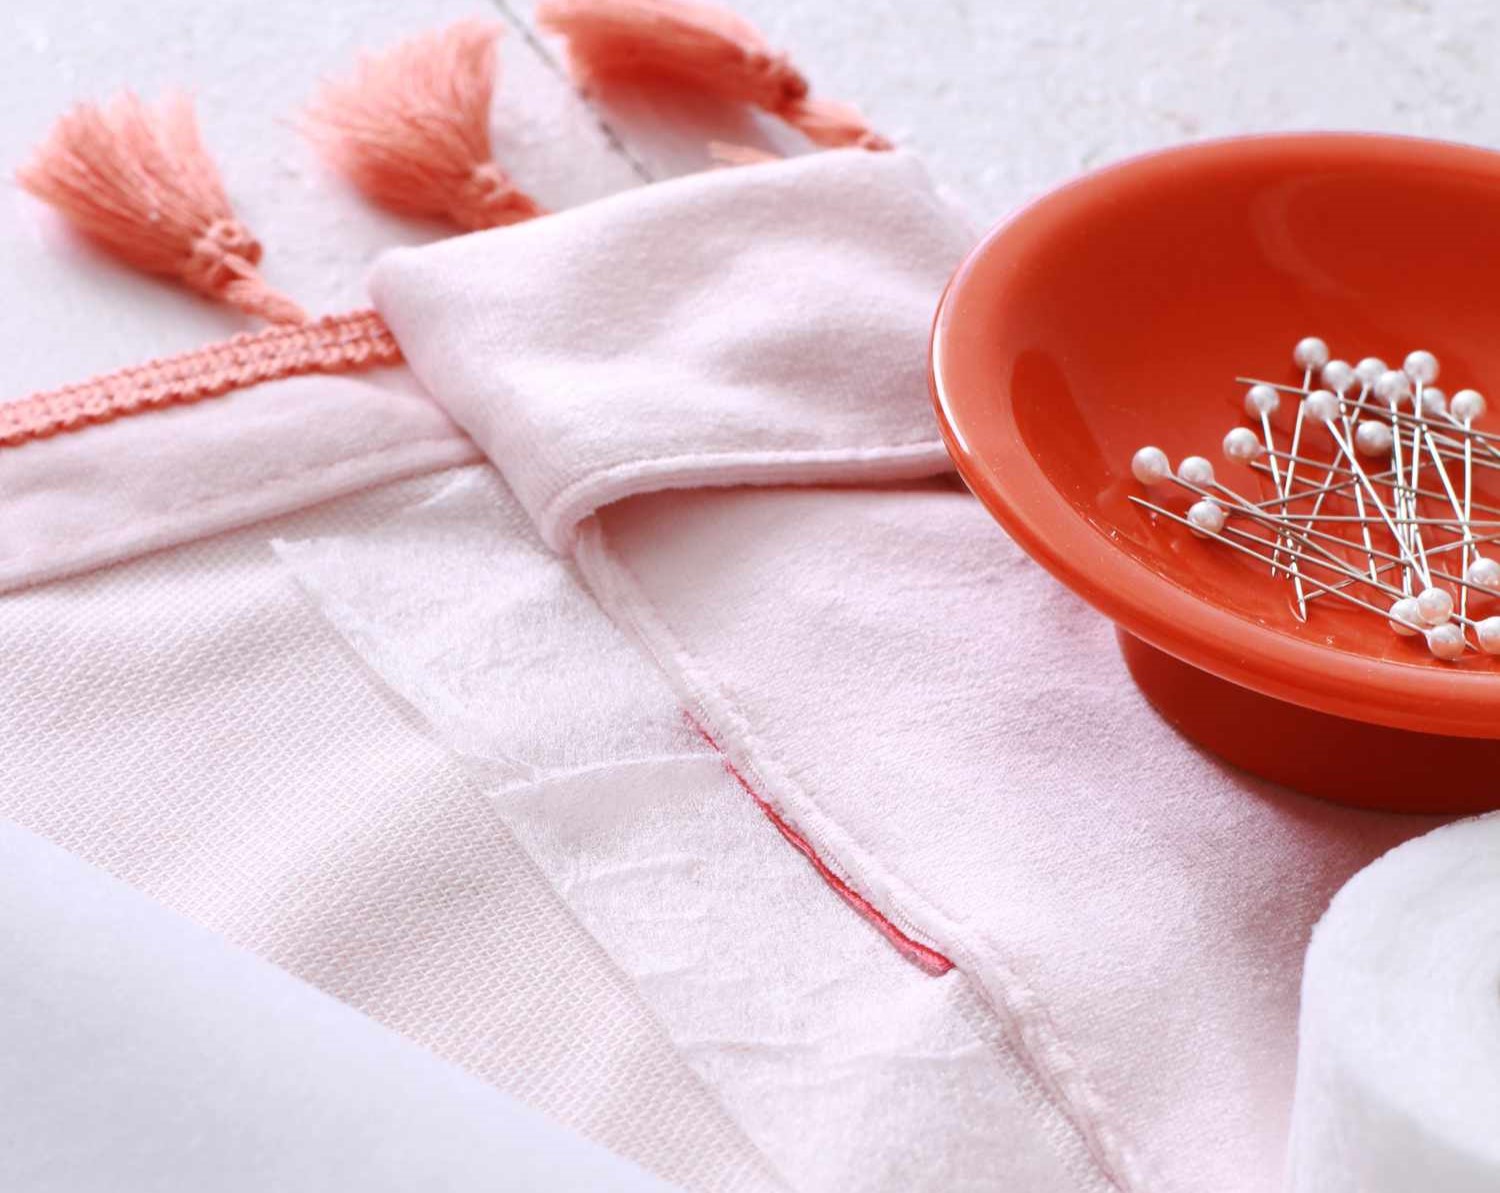
Step 3: Hemming the Edges
With the fabric cut to the desired size, it’s time to hem the edges of your balloon curtains. Hemming will give your curtains a neat and professional finish.
Start by folding and pressing down a small section of the fabric on one edge. Use an iron to create a crisp fold. This will serve as the hemline.
Next, fold the raw edge of the fabric over the hemline and pin it in place. This will enclose the raw edge and create a clean finish. Repeat this process for all edges of the fabric.
Once all the edges are pinned, it’s time to sew the hems. Using a sewing machine, stitch along the pinned edges, removing the pins as you sew. Be sure to sew close to the folded edge to secure the hem in place.
After sewing the hems, press them with an iron to give them a polished look. It’s important to ensure that the hems lie flat and are free from any wrinkles or puckering.
With the edges hemmed, we are now ready to move on to the next step: creating the casings for the curtain rods.
Read more: How To Sew Sheer Curtains
Step 4: Creating the Casings
To ensure that your balloon curtains hang nicely and smoothly, we need to create casings to insert the curtain rods. These casings will give structure and shape to the curtains.
Start by folding and pressing down a small section of the top edge of the fabric. The width of this fold should be slightly wider than the diameter of your curtain rod.
Next, fold the fabric over the pressed edge, creating a tube-like casing. Pin the fabric in place to secure the casing.
Once the casing is pinned, sew along the bottom edge of the fold, creating a seam that forms the casing. Remove the pins as you sew.
Repeat this process for any additional casings you want to create, such as for multiple curtain rods or for different sections of the curtain.
After sewing the casings, give them a final press with an iron to ensure they lay flat and are free from any wrinkles.
With the casings created, it’s time to move on to the next step: inserting the curtain rods.
When sewing balloon curtains, be sure to use a lightweight fabric to achieve the desired gathered effect. Additionally, make sure to carefully measure and mark the placement of the rod pockets to ensure a proper fit.
Step 5: Inserting the Rods
Now that the casings are created, it’s time to insert the curtain rods. This step will give the balloon curtains their distinctive shape and volume.
Start by removing any finials or decorative ends from your curtain rods. This will make it easier to slide the rods through the casings.
Thread one curtain rod through each casing, starting from one end and sliding it all the way to the other end. Ensure that the rod is centered within the casing and fits securely.
If you have multiple curtain rods and casings, repeat this process for each one, making sure to align them properly.
Once all the rods are inserted, reattach the finials or decorative ends if desired.
Give the curtains a gentle tug to distribute the fabric evenly on each rod and create the desired balloon effect.
With the rods inserted, it’s time to move on to the next step: attaching the bottom hem.
Step 6: Attaching the Bottom Hem
Attaching the bottom hem will give your balloon curtains a polished and finished look.
Start by folding up a small section of the bottom edge of the fabric. The width of this fold should be slightly wider than the desired hem length.
Pin the folded edge in place to secure the hem.
Using a sewing machine, stitch along the pinned edge, removing the pins as you sew. This will create a clean and secure hem.
After sewing the bottom hem, give it a final press with an iron to ensure that it lies flat and is free from any wrinkles.
With the bottom hem attached, it’s time to move on to the next step: adding the balloon effect.
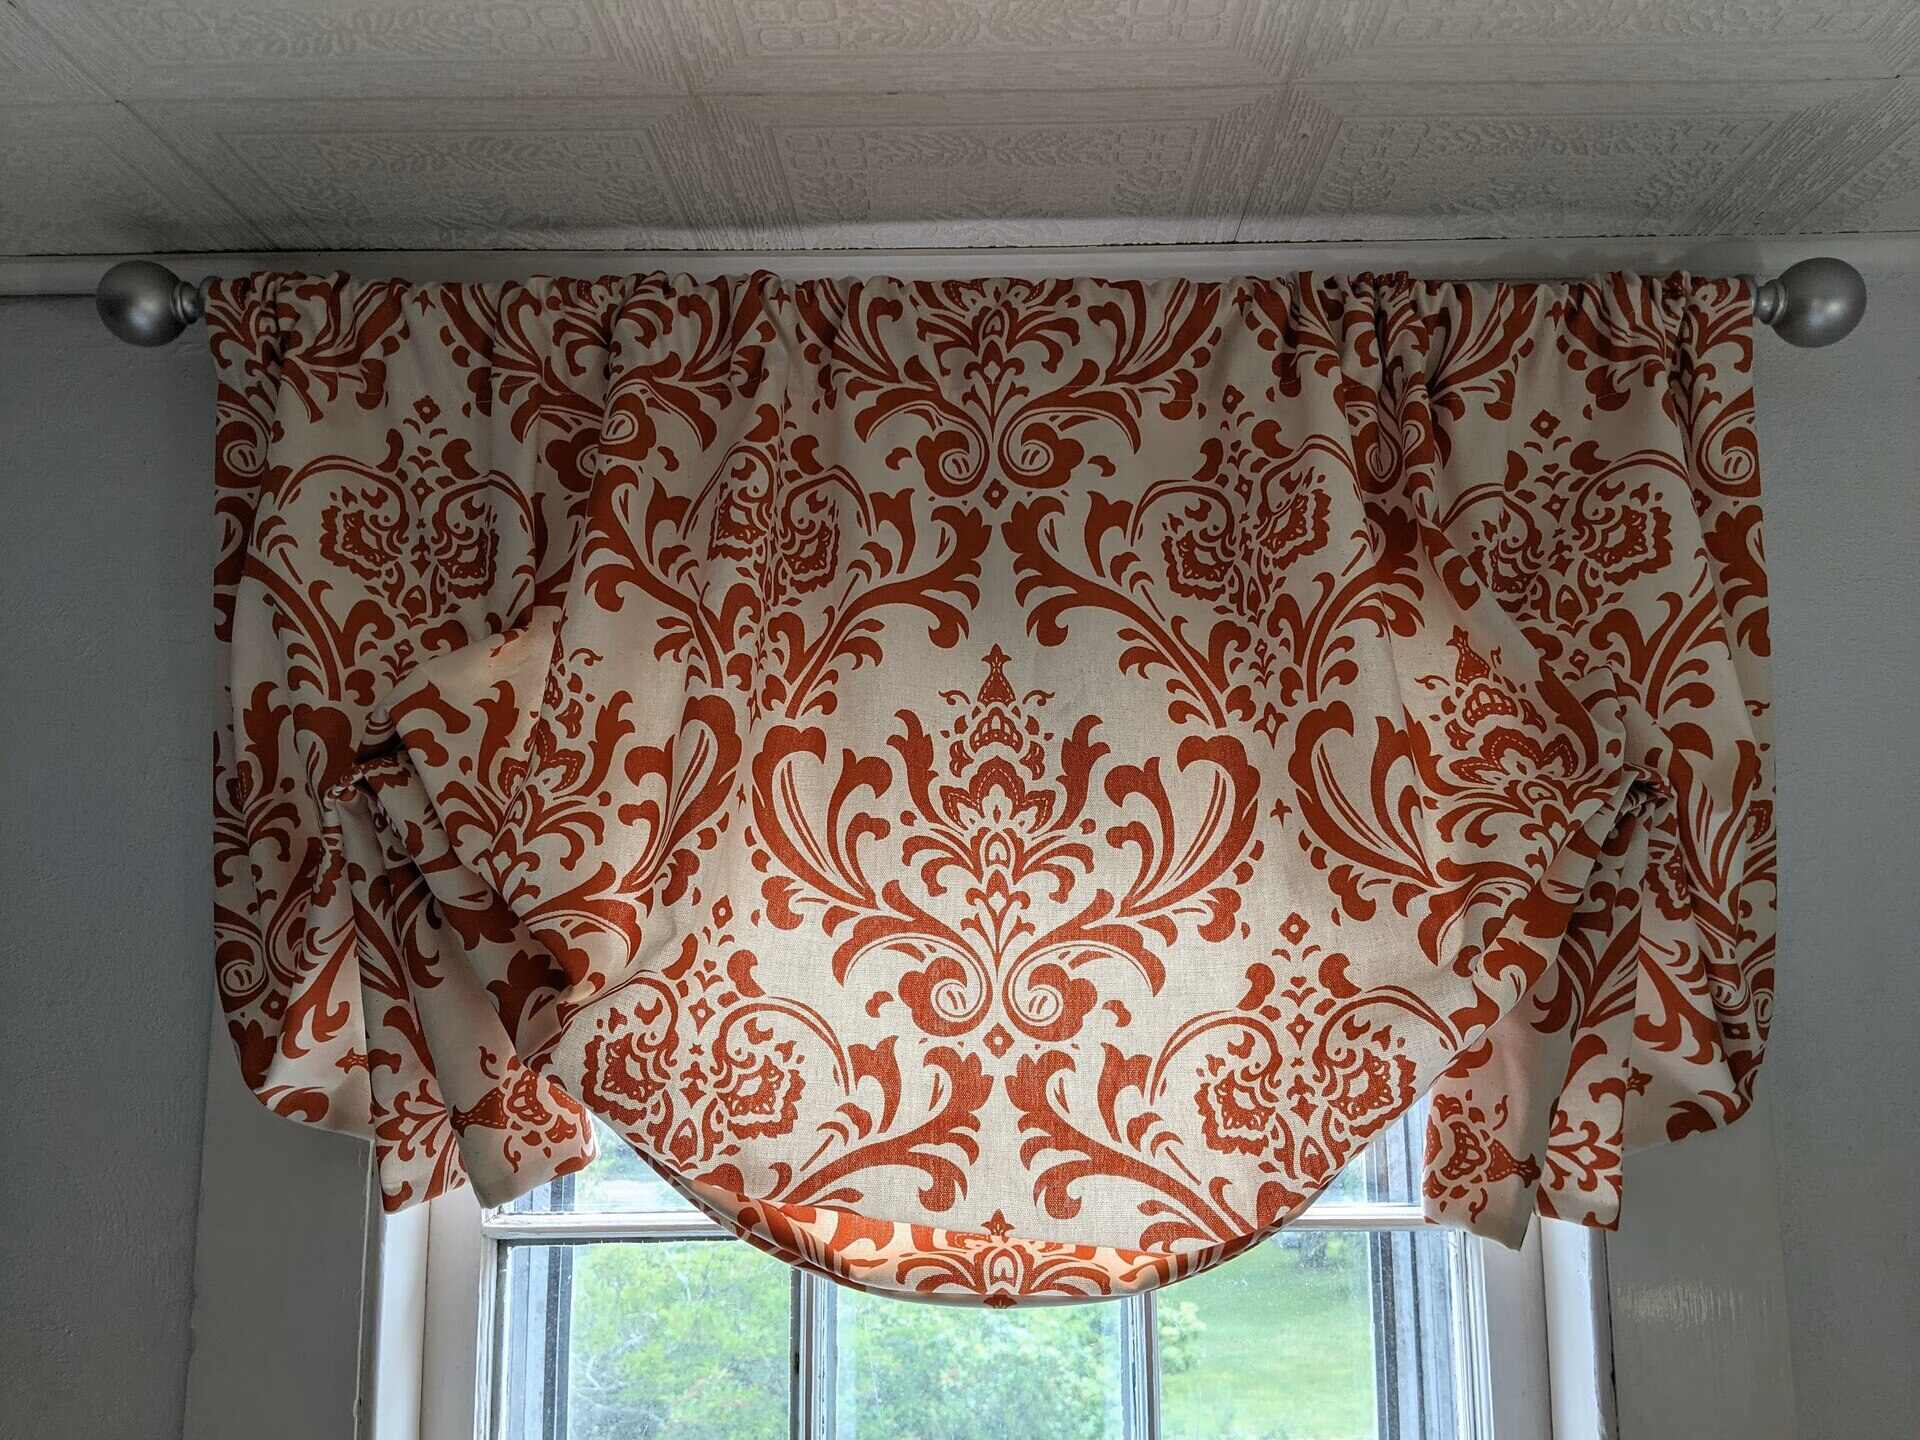
Step 7: Adding the Balloon Effect
Adding the balloon effect to your curtains will create the beautiful and airy look that makes them so unique.
Start by gathering the fabric at regular intervals along the width of the curtain. This can be done by hand or using a gathering stitch on your sewing machine.
Pin the gathered sections in place to hold them temporarily.
Once all the sections are gathered, adjust them to create an even and balanced balloon effect. Play around with the fullness and distribution of the gathers until you are satisfied with the appearance.
Secure the gathered sections by stitching vertically through them using a sewing machine or hand sewing needle and thread. This will lock the gathers in place and maintain the balloon effect.
Trim any excess threads and give the curtain a final press with an iron to smooth out any wrinkles and finalize the balloon effect.
With the balloon effect added, your curtains are nearly complete. However, you can take the final step to add some additional decorations if desired.
Read more: How To Sew Lace Curtains
Step 8: Final Touches and Additional Decorations
Now that your balloon curtains are taking shape, it’s time to add some final touches and additional decorations to make them truly unique and personalized.
Consider adding decorative trim or ribbon along the edges of the curtains. This can be sewn on or attached using fabric glue, giving your curtains a fancy and custom look.
You can also enhance the visual appeal by sewing on fabric bows or fabric flowers at strategic points along the curtain. These little details can add charm and elegance to your finished curtains.
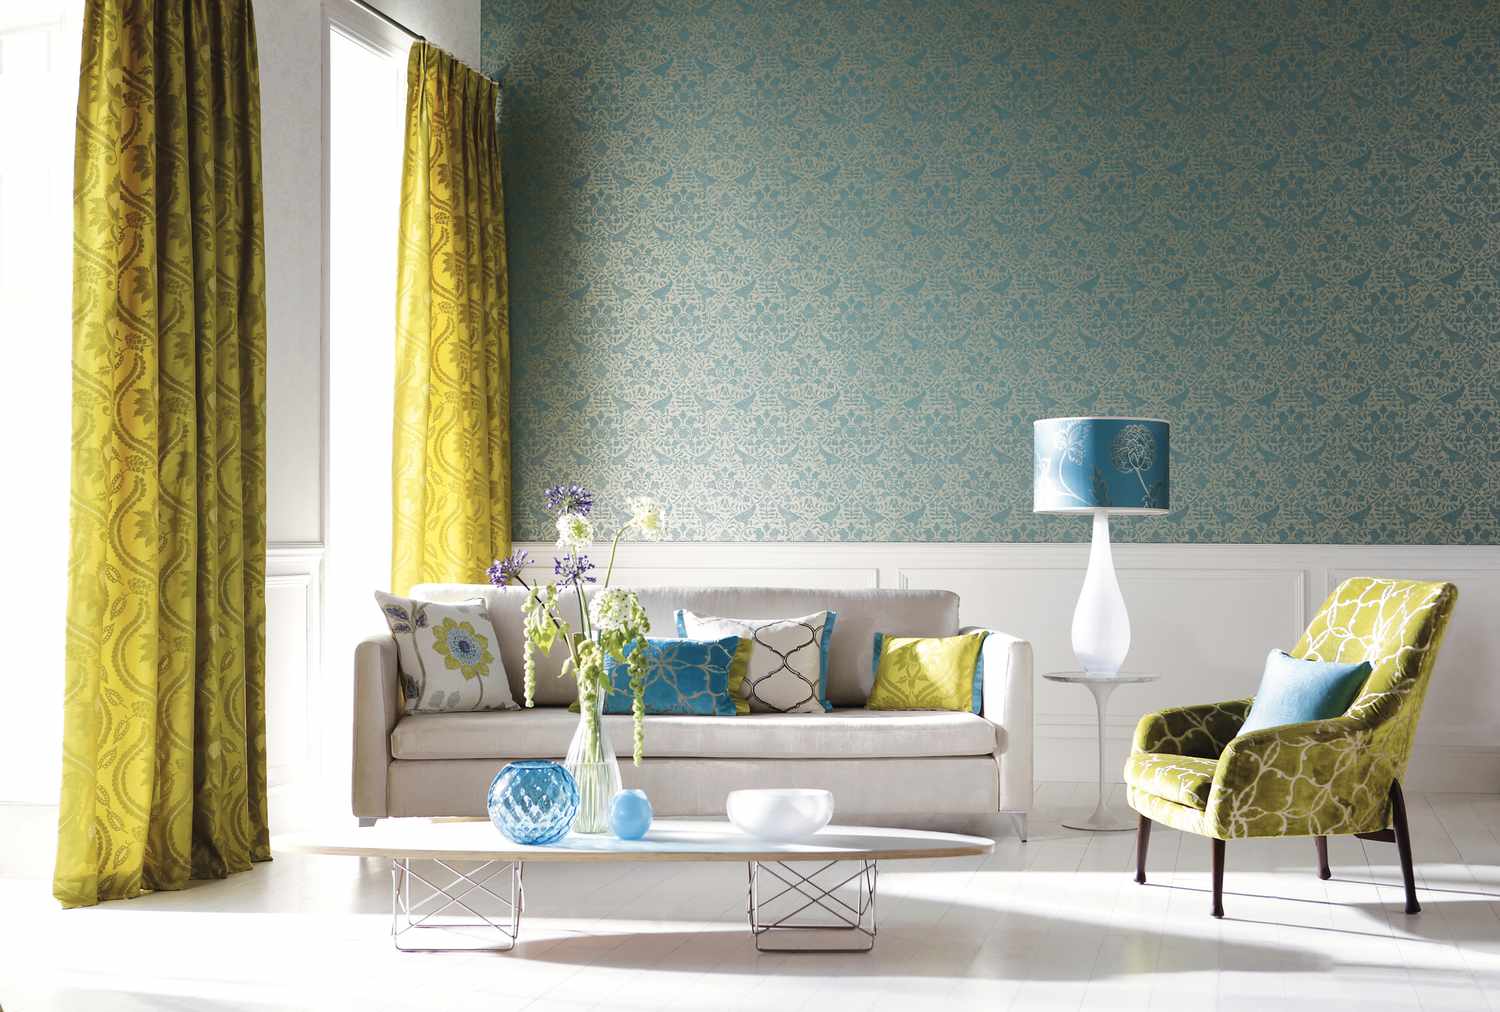
If you prefer a more minimalistic look, you can skip the additional decorations and focus on the fabric itself. Choose a fabric with an interesting pattern or texture that speaks to your style and complements the overall decor of the room.
Finally, step back and admire your completed balloon curtains! Hang them up on your curtain rods and adjust the gathers and fullness to achieve the desired look. Take a moment to appreciate the effort and creativity you put into making these beautiful window treatments.
Remember, the beauty of DIY projects lies in the ability to customize and make them your own. Don’t be afraid to experiment and add your personal touch to the design.
Congratulations on successfully sewing your own balloon curtains! They are sure to be a stunning addition to your home decor.
With this, we conclude our step-by-step guide on how to sew balloon curtains. We hope you found this tutorial helpful and inspiring. Enjoy your newly crafted curtains and the cozy ambiance they bring to your space!
Conclusion
Congratulations! You have reached the end of our comprehensive guide on how to sew balloon curtains. By following these step-by-step instructions, you have learned how to create beautiful window treatments that add a touch of elegance and whimsy to your home.
Throughout this tutorial, we covered everything from measuring and cutting the fabric to creating casings, inserting curtain rods, and adding the balloon effect. We also discussed the importance of hemming the edges and provided suggestions for additional decorations to personalize your curtains.
Sewing your own balloon curtains allows you to unleash your creativity and customize them to fit your style and decor. Whether you prefer a minimalist look or love bold prints and vibrant colors, this project offers endless possibilities for expressing your personal taste.
Remember to take your time with each step and pay attention to detail. Well-sewn seams and properly gathered sections will contribute to a polished and professional finish.
Now that you have the knowledge and skills to create your own balloon curtains, it’s time to get started! Gather the necessary tools and materials, select the perfect fabric, and embark on this enjoyable sewing project. You’ll be rewarded with beautiful curtains that will impress your guests and provide a warm and welcoming atmosphere in your home.
Thank you for joining us on this sewing journey. We hope you found this tutorial helpful and inspiring. Happy sewing!
Frequently Asked Questions about How To Sew Balloon Curtains
Was this page helpful?
At Storables.com, we guarantee accurate and reliable information. Our content, validated by Expert Board Contributors, is crafted following stringent Editorial Policies. We're committed to providing you with well-researched, expert-backed insights for all your informational needs.


0 thoughts on “How To Sew Balloon Curtains”