Articles
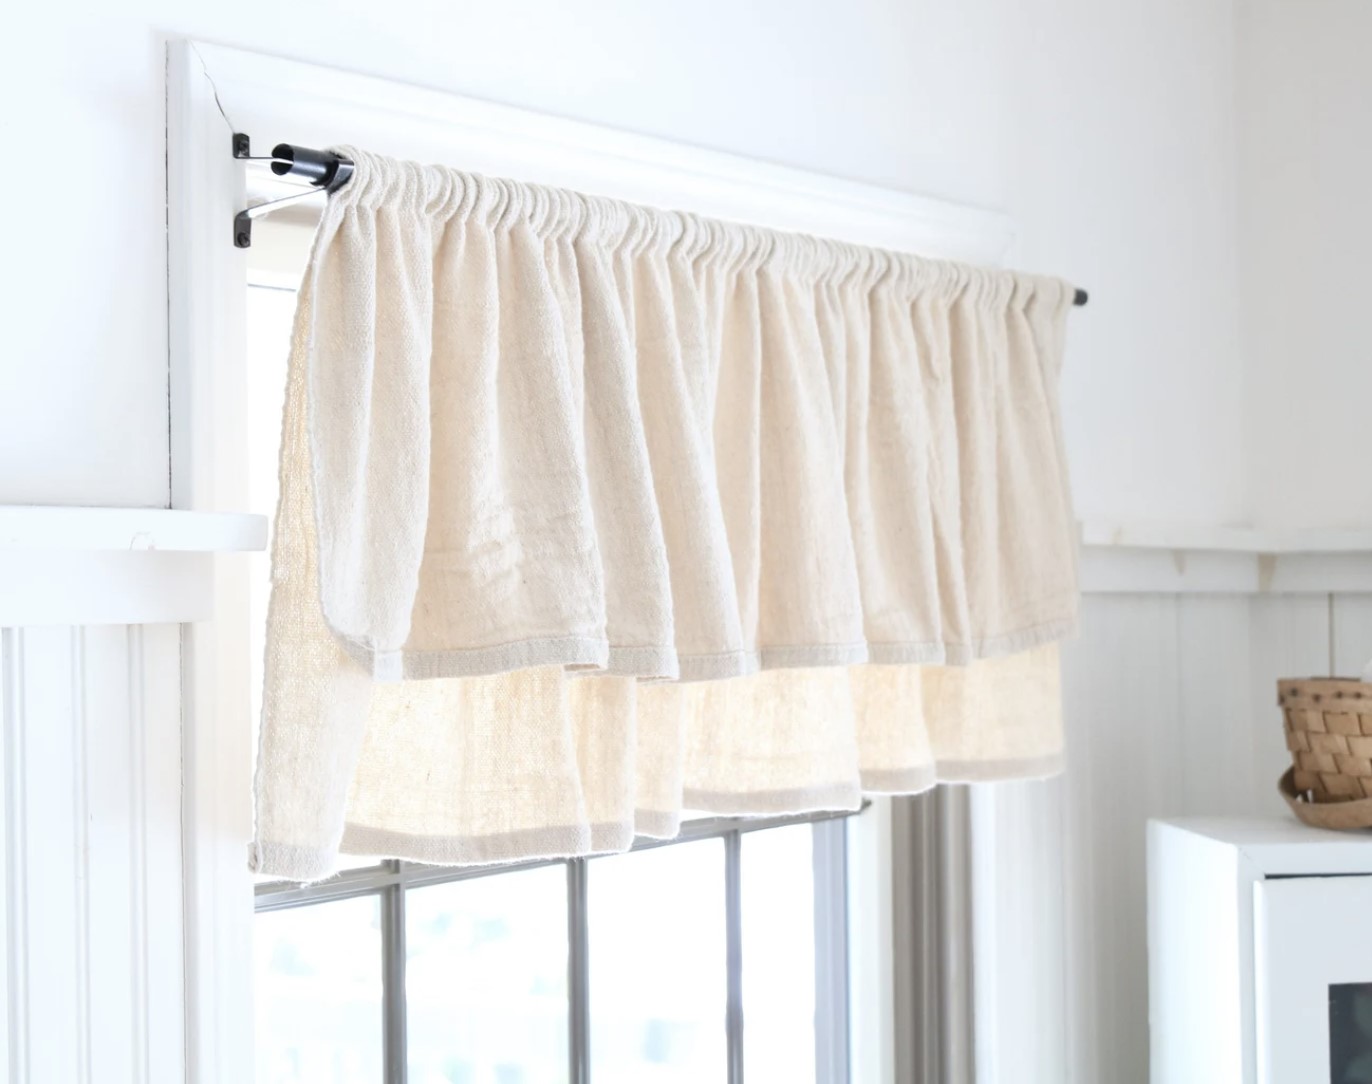
How To Sew Kitchen Curtains
Modified: December 7, 2023
Learn how to sew kitchen curtains with our informative articles. Find step-by-step guides and helpful tips for creating beautiful curtains for your kitchen.
(Many of the links in this article redirect to a specific reviewed product. Your purchase of these products through affiliate links helps to generate commission for Storables.com, at no extra cost. Learn more)
Introduction
Welcome to the world of DIY home decor! If you’re looking to add a touch of style and functionality to your kitchen, sewing your own curtains is a great project to undertake. Not only does it allow you to customize the curtains to match your kitchen’s color scheme and design, but it also gives you the satisfaction of creating something unique and handmade.
In this article, we will guide you through the step-by-step process of sewing your own kitchen curtains. From choosing the right fabric to adding the finishing touches, we’ve got you covered. So grab your sewing machine, roll up your sleeves, and let’s get started!
Note: Before you begin, make sure you have the necessary tools and materials, including a sewing machine, fabric, thread, measuring tape, scissors, and pins.
Key Takeaways:
- Create personalized kitchen curtains by choosing the right fabric, measuring accurately, and adding unique finishing touches to enhance your kitchen decor with style and functionality.
- Sewing your own kitchen curtains is a rewarding DIY project that allows you to infuse creativity, save money, and enjoy the satisfaction of a personalized home decor masterpiece.
Read more: How To Sew Curtains With Lining
Choosing the Right Fabric
The first step in sewing your own kitchen curtains is choosing the right fabric. The fabric you select will not only determine the overall look and feel of the curtains but also affect their durability and functionality. Here are a few factors to consider when choosing the fabric:
- Lightweight and Washable: Look for fabrics that are lightweight and easy to wash. Since kitchen curtains are prone to stains and spills, it’s important to choose a fabric that can withstand frequent washing without losing its quality.
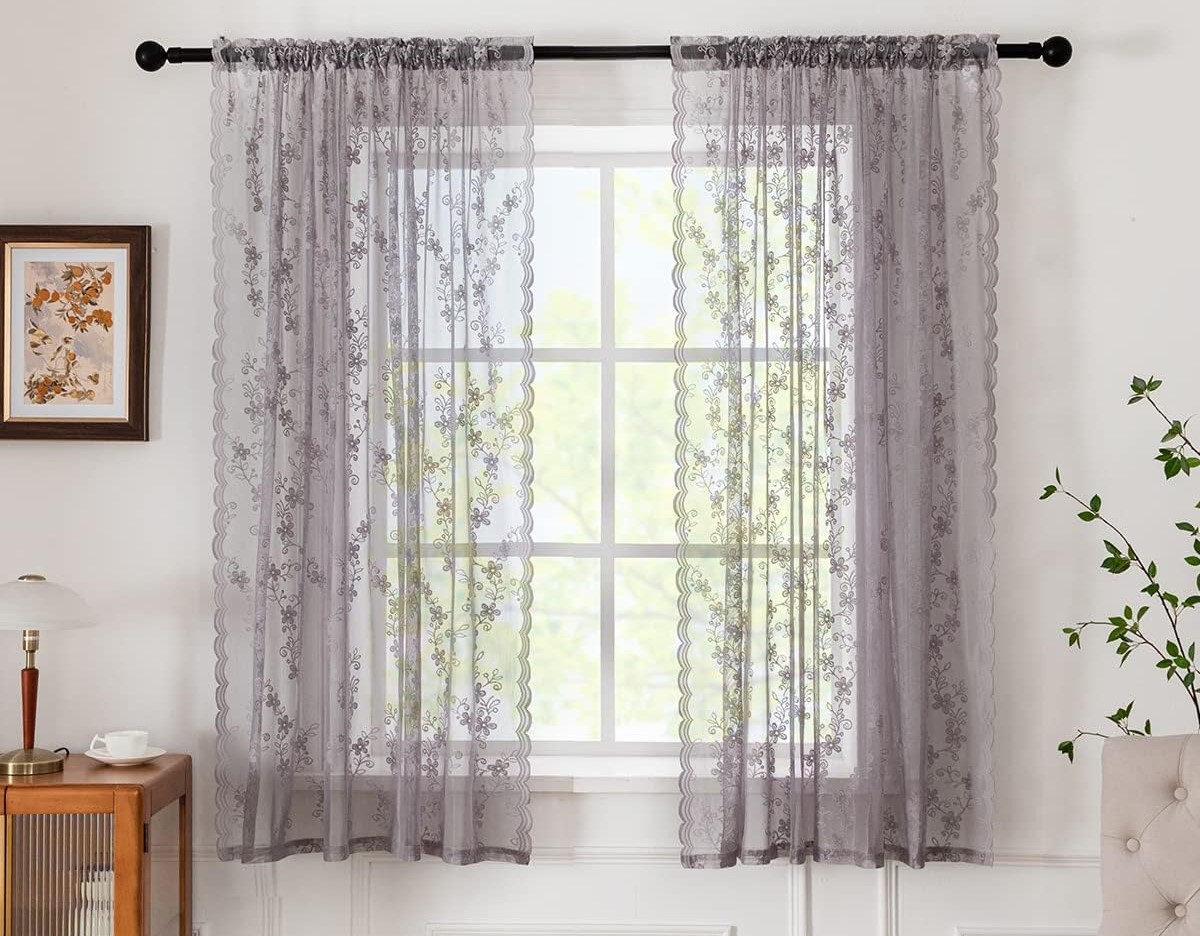
- Privacy and Sunlight: Decide whether you want your curtains to provide privacy or allow natural sunlight to filter through. For privacy, opt for a thicker fabric like cotton or polyester blends. If you prefer more natural light, lightweight fabrics such as voile or sheer will work well.
- Pattern and Color: Consider the existing colors and patterns in your kitchen. Choose a fabric that complements or contrasts with the kitchen décor. You can go for solid colors, playful patterns, or even themed designs to add a unique touch to your kitchen curtains.
- Curtain Length: Determine the desired length of your curtains. Measure the distance from the curtain rod to the area where you want the curtains to fall. Remember to factor in the hem allowance when calculating the fabric length.
Once you have considered these factors, visit a fabric store or explore online options to find the perfect fabric for your kitchen curtains. Don’t hesitate to ask for assistance from store personnel if you need help or guidance.
Remember, choosing the right fabric is crucial as it will set the foundation for the rest of your sewing project. So take your time, explore different options, and select a fabric that aligns with your style and functional preferences.
Measuring and Cutting the Fabric
Once you have selected the fabric for your kitchen curtains, the next step is to measure and cut the fabric to the appropriate size. Accurate measurements are crucial to ensure that the curtains fit your windows perfectly. Here’s how to go about it:
- Measure the Window: Start by measuring the width and length of your window. Measure the width from one end of the window frame to the other, and the length from the top of the window frame to the desired curtain length. Add a few extra inches to the measurements to allow for seam allowances and hems.
- Prewash the Fabric: Before you start cutting, it is recommended to prewash the fabric to prevent any shrinkage that might occur later. Follow the washing instructions provided on the fabric’s label.
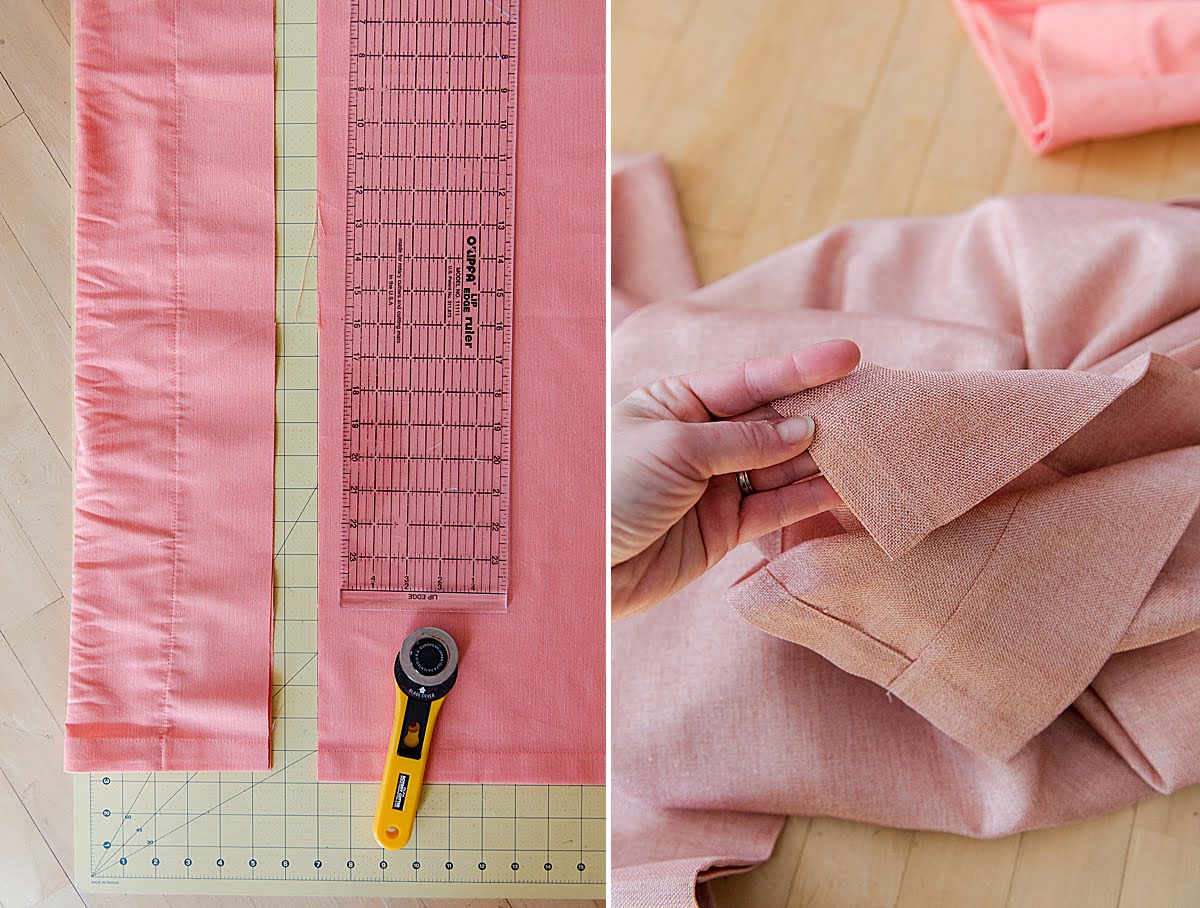
- Prepare the Cutting Surface: Clear a large, flat surface to serve as your cutting area. If possible, use a cutting mat or a clean, smooth table to make the cutting process easier.
- Mark and Cut the Fabric: Lay the fabric flat on the cutting surface, ensuring that there are no wrinkles or folds. Use a measuring tape and fabric chalk or pen to mark the measurements you obtained earlier. Measure and mark the width and length of the curtains, adding the extra inches for seam allowances and hems. Use sharp fabric scissors to cut along the marked lines.
- Repeat for Multiple Panels: If you are making multiple curtain panels, repeat the measuring and cutting process for each panel, ensuring that they are all the same size.
Remember to double-check your measurements before cutting the fabric to avoid any mistakes. If you are unsure, it is always better to cut the fabric slightly larger than needed as you can always trim it down later. Once you have cut the fabric, you are ready to move on to the next step: hemming the edges.
Hemming the Edges
After you have cut the fabric to the desired size for your kitchen curtains, the next step is to hem the edges. Hemming not only gives a polished and finished look to the curtains but also prevents the fabric from unraveling over time. Here’s how you can hem the edges:
- Prepare Your Sewing Machine: Set up your sewing machine with the appropriate thread that matches the fabric and preheat the iron for pressing.
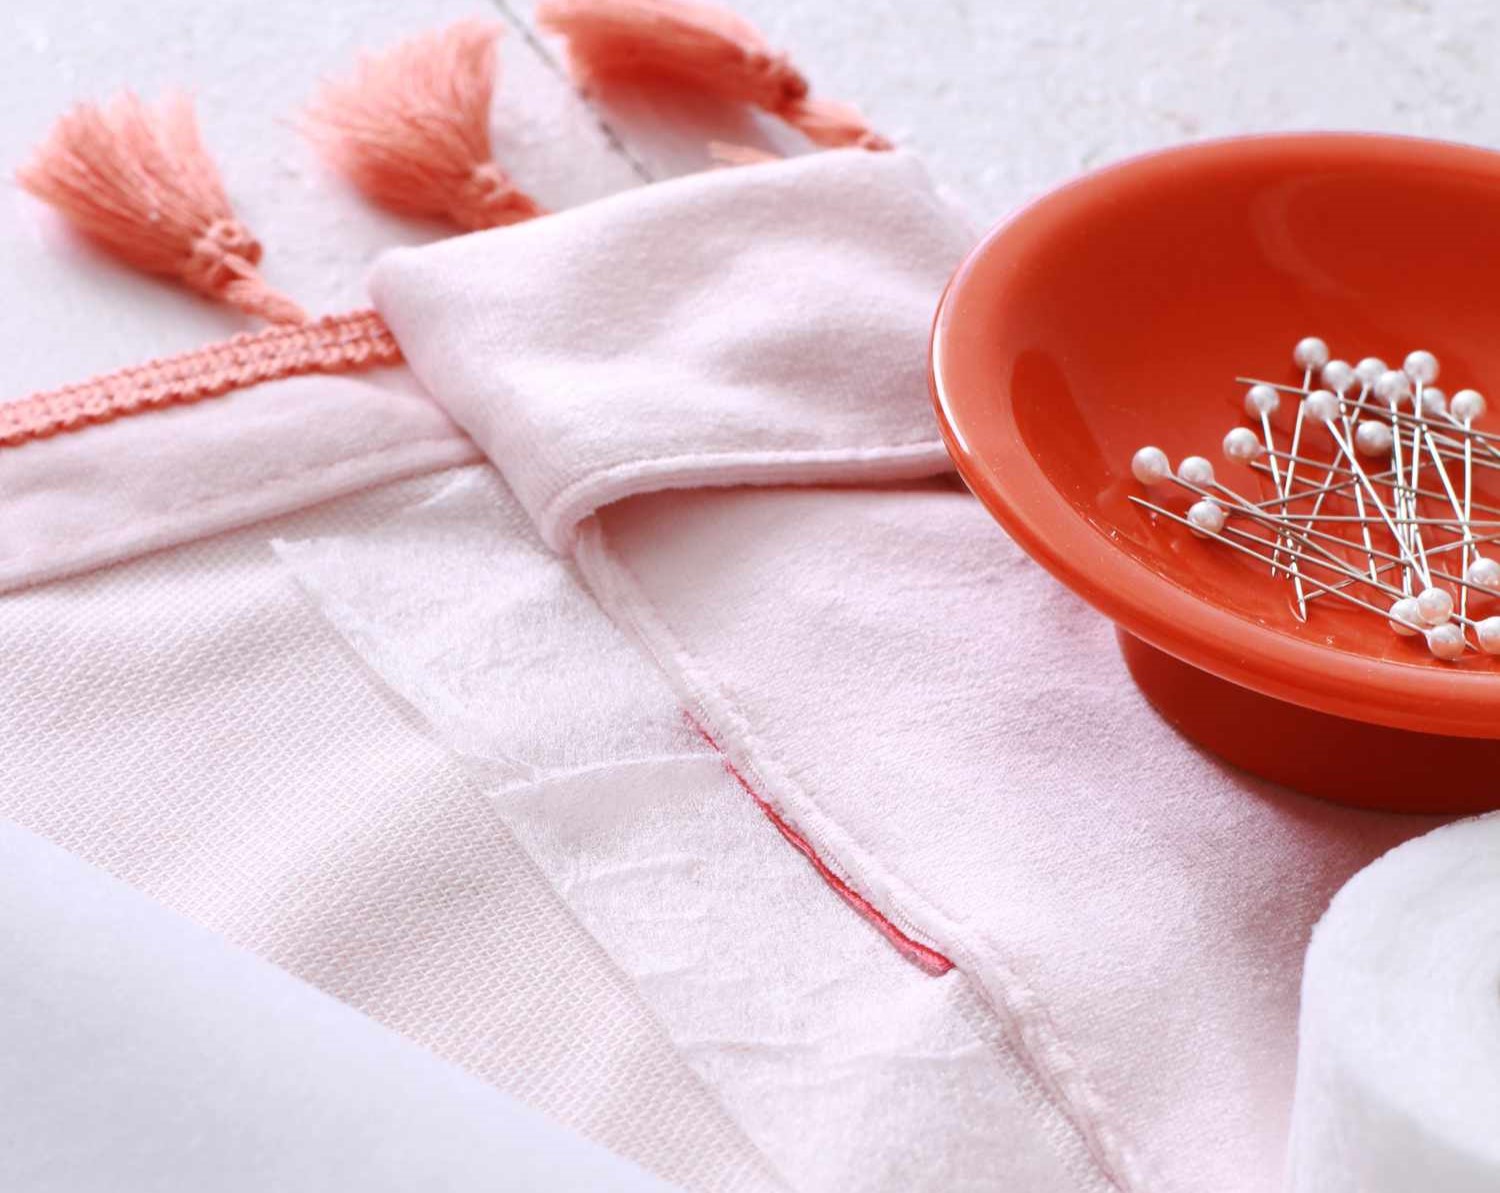
- Fold and Press: Fold and press the edges of the fabric about ½ inch towards the wrong side. Use an iron on a low heat setting to create crisp and neat folds.
- Secure with Pins: Once you have folded and pressed the edges, secure them in place with straight pins. This will help keep the fabric in position while sewing.
- Sew the Hem: Using a straight stitch, sew along the folded edge of the fabric, removing the pins as you go. Maintain a consistent seam allowance, usually ¼ inch from the edge. Sew all the way around the curtain panel.
- Trim Excess Threads: After sewing, trim any excess threads to give your curtains a clean and professional look.
Repeat the hemming process for all edges of the curtain panels. Once you have completed hemming, you can move on to the next step of sewing the main body of the curtains.
Hemming the edges not only adds a decorative touch but also increases the longevity of the curtains. Taking the time to properly hem the edges will ensure that your curtains withstand the test of time and continuous use.
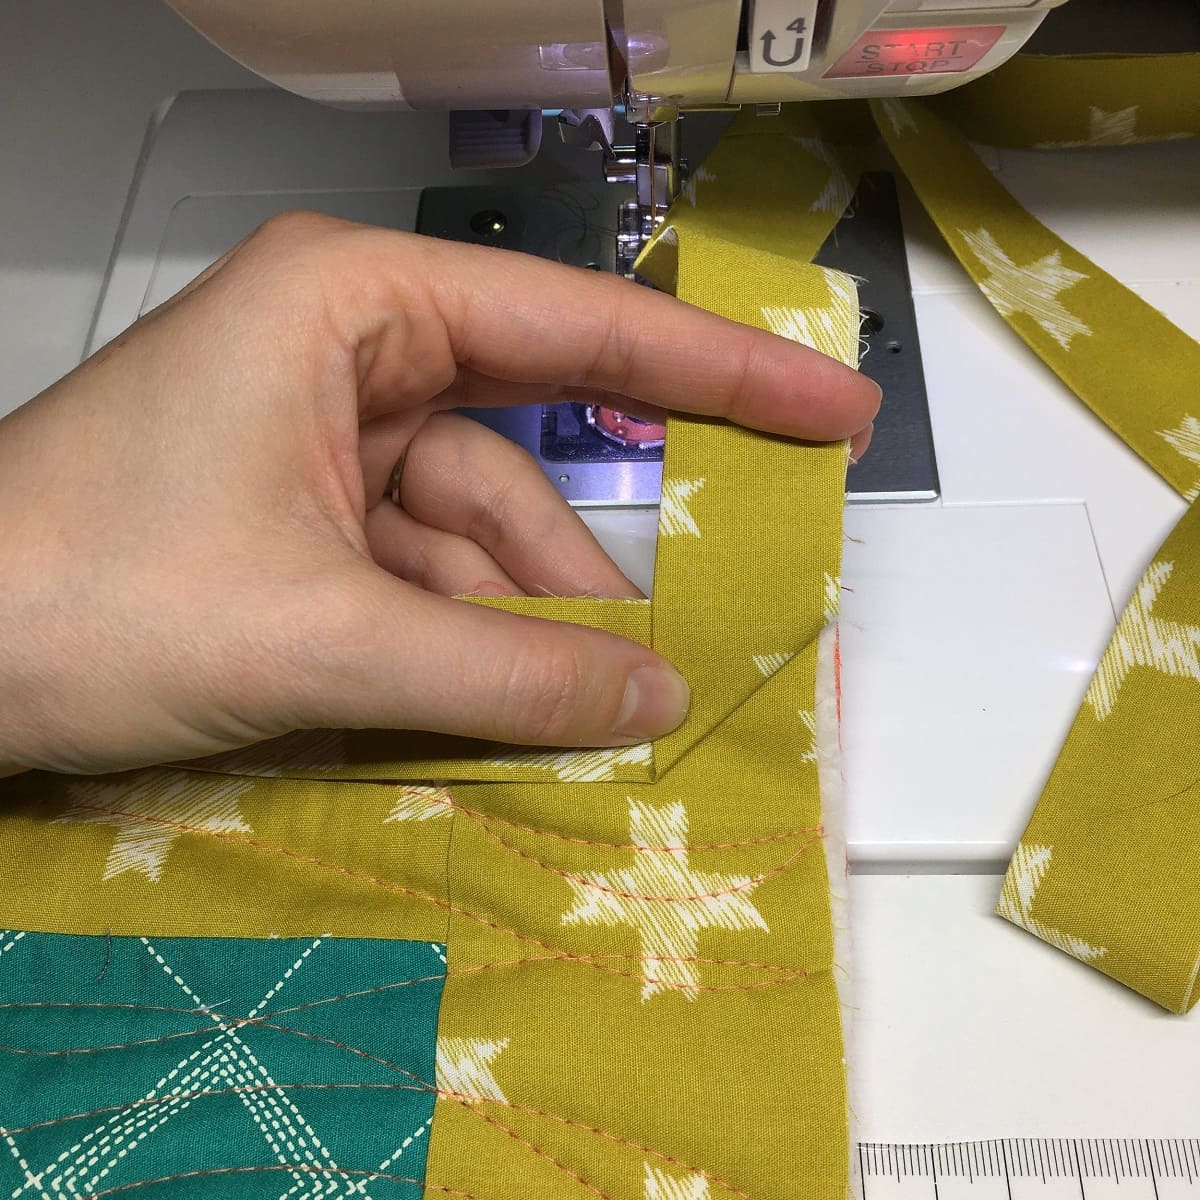
Sewing the Main Body of the Curtains
With the edges hemmed, it’s time to sew the main body of the curtains. This step involves joining the fabric panels together to create the curtain body. Follow these steps to sew the main body of your kitchen curtains:
- Place the Panels: Lay the fabric panels flat on your work surface, with the right sides facing each other. Align the edges of the panels carefully to ensure a straight and even seam.
- Pin and Sew: Pin the panels together along the edges, securing them temporarily in place. Use straight pins or sewing clips to hold the fabric together. Start sewing along one edge, leaving a seam allowance of around ½ inch.
- Backstitch and Continue: Begin sewing at one edge and backstitch at the beginning to secure the stitch. Sew all the way down the edge, removing the pins as you go. When you reach the corner, lift the presser foot, pivot the fabric, and continue sewing along the adjacent edge.
- Repeat for Multiple Panels: If your kitchen curtains consist of multiple fabric panels, repeat the process to join all the panels together. Ensure that the seams are aligned and straight.
- Trim Excess Threads: Once you have sewn the main body of the curtains, trim any excess threads for a clean finish.
Remember to sew with a straight stitch and use a thread color that matches your fabric. Take your time and sew slowly, ensuring that the seam is straight and strong. Once you have sewn the main body of the curtains, the next step is to create rod pockets for hanging.
Sewing the main body of the curtains brings your project one step closer to completion. With the panels joined together, your kitchen curtains will begin to take shape and start resembling the final product.
When sewing kitchen curtains, be sure to pre-wash your fabric to prevent shrinkage after the curtains are made. This will ensure that your curtains maintain their size and shape after they are hung.
Read more: How To Sew Sheer Curtains
Creating Rod Pockets
The next step in sewing your kitchen curtains is creating rod pockets. Rod pockets allow you to easily hang the curtains on a curtain rod and provide a clean and streamlined look. Follow these steps to create rod pockets for your curtains:
- Measure and Mark: Measure the diameter or width of your curtain rod. Add an extra 1-2 inches to this measurement to ensure a comfortable fit and easy movement of the curtains along the rod.
- Fold and Press: Fold the top edge of the curtain panel towards the wrong side, using the measurement you obtained in the previous step. Press the fold with an iron to create a crisp edge.
- Pin in Place: Secure the fold with straight pins, placing them approximately 1-2 inches apart. This will help hold the fold in place while you sew the rod pocket.
- Sew the Rod Pocket: Sew along the bottom edge of the fold, creating a seam that runs parallel to the top edge of the curtain panel. Start sewing a few inches from the side edge and continue all the way to the other side, backstitching at the beginning and end for reinforcement.
- Optional Reinforcement: To reinforce the rod pocket, you can sew another line of stitching approximately ½ inch above the first seam. This will add extra strength to the rod pocket, especially if you plan to use heavier curtains.
- Trim Excess Threads and Press: After sewing the rod pocket, trim any excess threads for a clean finish. Use the iron to press the rod pocket area, giving it a polished appearance.
Repeat these steps for each curtain panel that requires a rod pocket. Once you have created the rod pockets, your kitchen curtains are almost ready for hanging. However, before you do so, there are a few more finishing touches to consider.
Creating rod pockets not only adds a functional element to your curtains but also ensures that they hang smoothly and securely on the curtain rod. With the rod pockets in place, you’re one step closer to completing your DIY kitchen curtains!
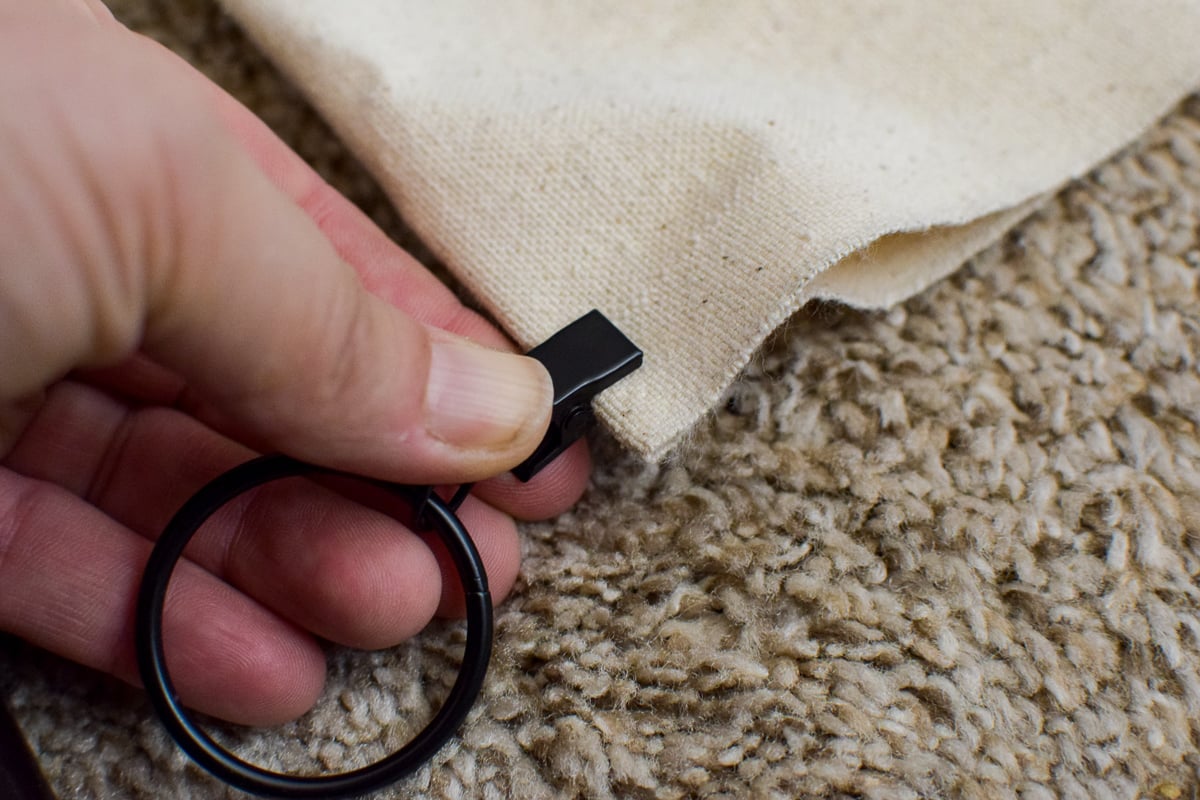
Attaching Curtain Rings or Hooks
Attaching curtain rings or hooks to your kitchen curtains is the next step in the sewing process. These attachments allow you to easily hang your curtains on a curtain rod while adding a decorative touch. Here’s how you can attach curtain rings or hooks:
- Choose the Attachment Method: Decide whether you prefer curtain rings or hooks for hanging your curtains. Curtain rings typically slide onto the curtain rod, while hooks latch onto the curtain rod or track. Consider the style and functionality you desire before selecting the attachment method.
- Measure and Mark: Determine the spacing and number of rings or hooks you will need for each curtain panel. Measure the width of the curtain panel and divide it by the desired spacing, ensuring that the rings or hooks will be evenly distributed.
- Attach the Rings or Hooks: If using curtain rings, slide them onto the rod and position them according to your measurements. For curtain hooks, insert them into the fabric at the marked spots, ensuring they are securely attached. Consider using a curtain tape or header tape for a more uniform look and easier attachment.
- Add Pleats (Optional): To create pleats in your curtains, gather the fabric evenly between the rings or hooks and secure them with small stitches or curtain clips. This will give your curtains an elegant and stylish appearance.
Remember to choose curtain rings or hooks that are suitable for the thickness and weight of your curtains. Additionally, ensure that the rings or hooks are evenly spaced to achieve a balanced and professional look.
Attaching curtain rings or hooks not only serves a functional purpose but also allows you to showcase your personal style and design preferences. Once you have completed this step, your kitchen curtains are nearly complete, and it’s time to add the finishing touches.
Adding Finishing Touches
As you near the final stages of sewing your kitchen curtains, it’s time to add those finishing touches that will elevate the overall look and functionality. Here are some suggestions to consider:
- Line the Curtains (Optional): If you desire added privacy, insulation, or a more luxurious look, consider lining your kitchen curtains. Choose a lining fabric that complements the main fabric and sew it to the back of the curtains, following the same steps as sewing the main body of the curtains.
- Add Tiebacks: Tiebacks are a wonderful way to hold your curtains open and let natural light in. You can sew fabric tiebacks that match your curtain fabric or use decorative tiebacks for a stylish touch. Position them at the desired height on the side edges of the curtain panels.
- Embellish with Trims or Accents: If you want to add some flair to your kitchen curtains, consider incorporating trims, ribbons, or lace. Sew them along the edges or as decorative accents to enhance the overall design and make your curtains stand out.
- Personalize with Embroidery or Appliqué: Get creative and personalize your kitchen curtains with embroidery or appliqué. Add monograms, floral designs, or any other patterns that reflect your personal style and add a unique touch to your curtains.
- Press and Steam: Before hanging your curtains, give them a final pressing with an iron to smooth out any wrinkles and creases. You can also use a steamer to freshen up the fabric and give it a crisp look.
Remember to follow the appropriate sewing techniques and take your time when adding these finishing touches. They will not only enhance the appearance of your kitchen curtains but also showcase your creativity and attention to detail.
Once you have added the finishing touches, your kitchen curtains are ready to be hung and admired. Let’s move on to the final step: hanging the curtains.
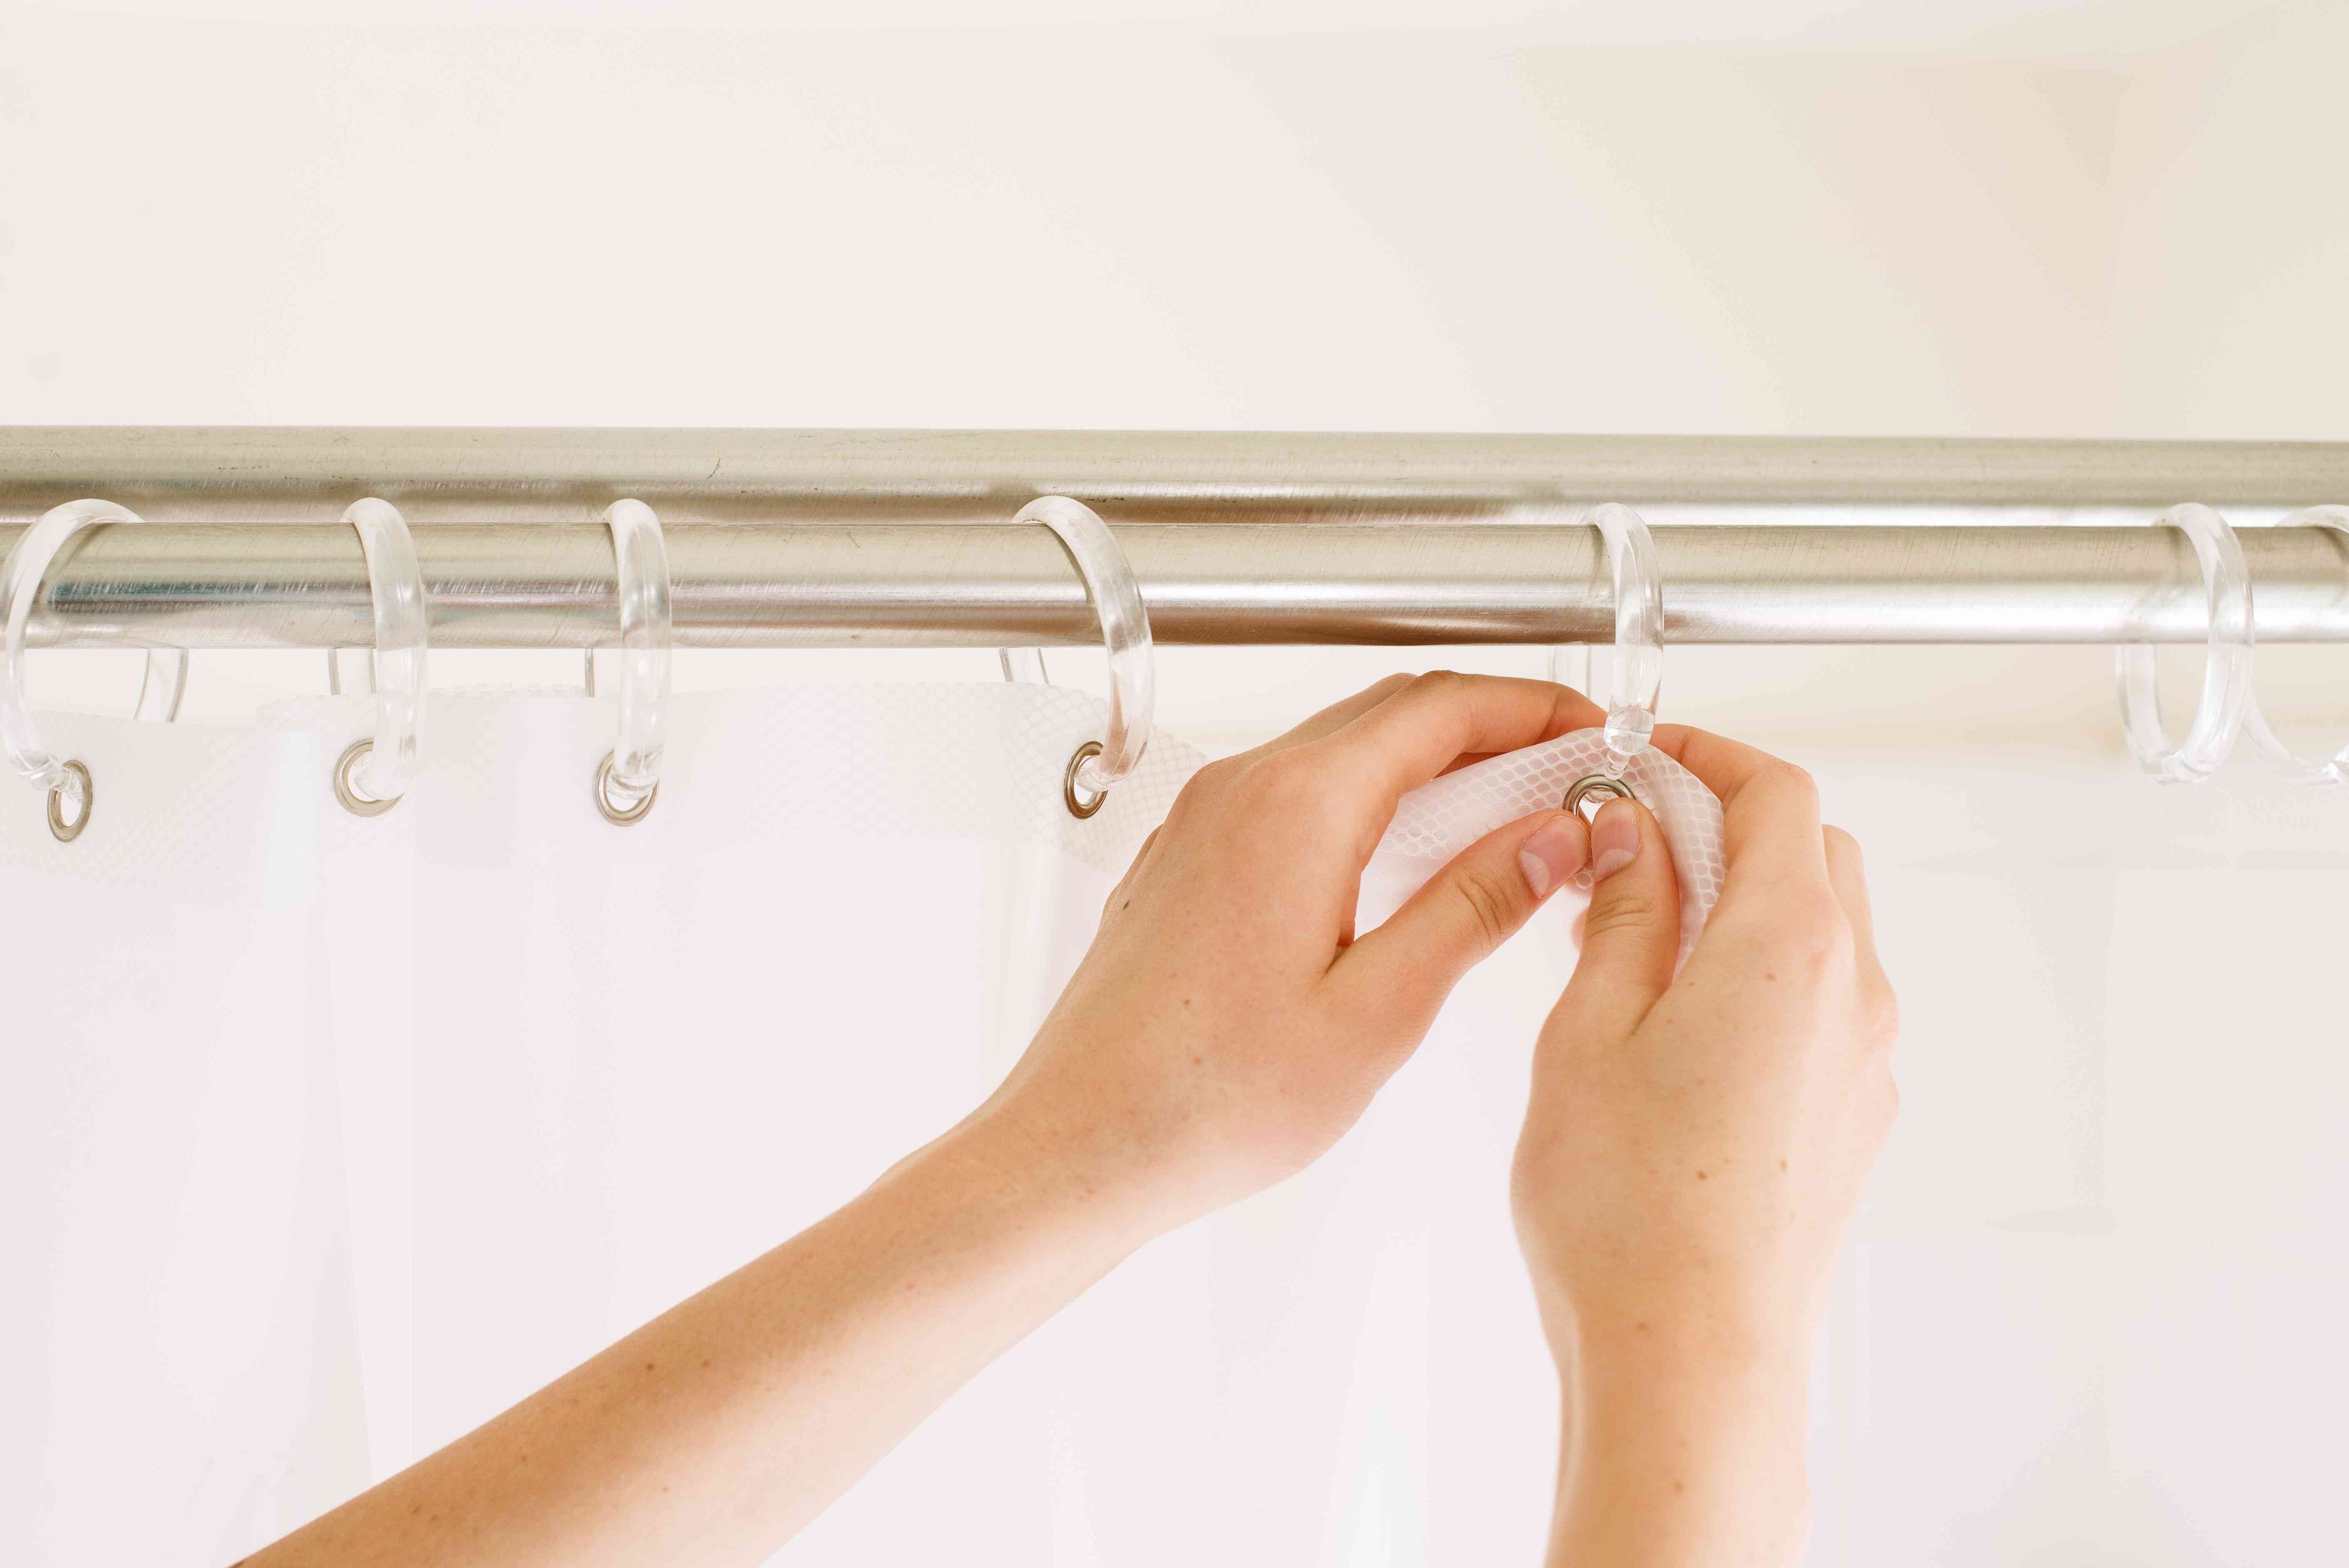
Hanging the Curtains
After all the hard work and creativity put into sewing your kitchen curtains, it’s time to hang them and enjoy the final result. Here are the steps to follow when hanging your curtains:
- Choose the Curtain Rod: Select a curtain rod that matches the style and size of your kitchen window. Ensure that the rod is sturdy and can support the weight of your curtains.
- Install the Curtain Rod: Follow the manufacturer’s instructions to install the curtain rod securely above the window frame. Use a level to ensure that the rod is straight.
- Slide or Hook: If you’re using curtain rings, slide them onto the rod. For curtain hooks, place the hooks onto the rod or track, ensuring they are evenly spaced.
- Hang the Curtains: Starting from one end, gently slide each curtain panel onto the curtain rings or hooks. Make sure the curtains are evenly distributed along the rod and hang straight.
- Adjust and Arrange: Adjust the curtains as necessary, making sure they hang evenly and align properly. Take the time to arrange and smooth out any wrinkles or folds for a polished appearance.
- Attach Tiebacks (Optional): If you have tiebacks, use them to hold the curtains open and secure them at the desired height on the wall or around the curtains.
Once the curtains are hung, step back and admire your handiwork. Take a moment to appreciate how your DIY kitchen curtains have transformed the space and added a personalized touch to your kitchen décor.
Remember to periodically check and adjust the curtains as needed, especially if they are frequently opened and closed. This will ensure that they continue to look their best and maintain their functionality over time.
Congratulations on successfully sewing and hanging your kitchen curtains! Your hard work, attention to detail, and creativity have paid off, resulting in beautiful curtains that bring style and functionality to your kitchen.
Now you can sit back, relax, and enjoy your newly adorned kitchen space with pride!
Read more: How To Sew Balloon Curtains
Conclusion
In conclusion, sewing your own kitchen curtains is a rewarding and fulfilling project that allows you to showcase your creativity while adding a personal touch to your home decor. By following the step-by-step process outlined in this article, you can successfully create customized curtains that enhance the style and functionality of your kitchen.
From choosing the right fabric and measuring the dimensions to hemming the edges, sewing the main body, creating rod pockets, attaching curtain rings or hooks, and adding finishing touches, each step plays a crucial role in the overall outcome of your curtains. Take your time, pay attention to detail, and remember to infuse your personal style into the design.
Throughout the journey, make use of the wide variety of fabrics, patterns, and decorative elements available to you. Experiment with different colors, textures, trims, and embellishments to create curtains that perfectly complement your kitchen’s aesthetic.
Once your curtains are complete, be sure to hang them with care, ensuring a straight and balanced appearance. Admire your handiwork, and don’t be afraid to make any necessary adjustments to ensure a perfect fit and look.
By sewing your own kitchen curtains, you not only save money but also have the satisfaction of creating something unique and tailored to your taste. Your curtains will not only serve their functional purpose of providing privacy and light control but also become a statement piece in your kitchen.
Remember that practice makes perfect, so don’t be discouraged if your first attempt isn’t flawless. With each project, you will learn new skills and techniques to improve your sewing abilities.
So, gather your materials, set up your sewing machine, and embark on this DIY adventure to sew your very own kitchen curtains. The end result will be a beautiful, personalized addition to your kitchen that will surely impress friends and family.
Enjoy the process, embrace your creativity, and have fun sewing your kitchen curtains!
Frequently Asked Questions about How To Sew Kitchen Curtains
Was this page helpful?
At Storables.com, we guarantee accurate and reliable information. Our content, validated by Expert Board Contributors, is crafted following stringent Editorial Policies. We're committed to providing you with well-researched, expert-backed insights for all your informational needs.


0 thoughts on “How To Sew Kitchen Curtains”