Articles
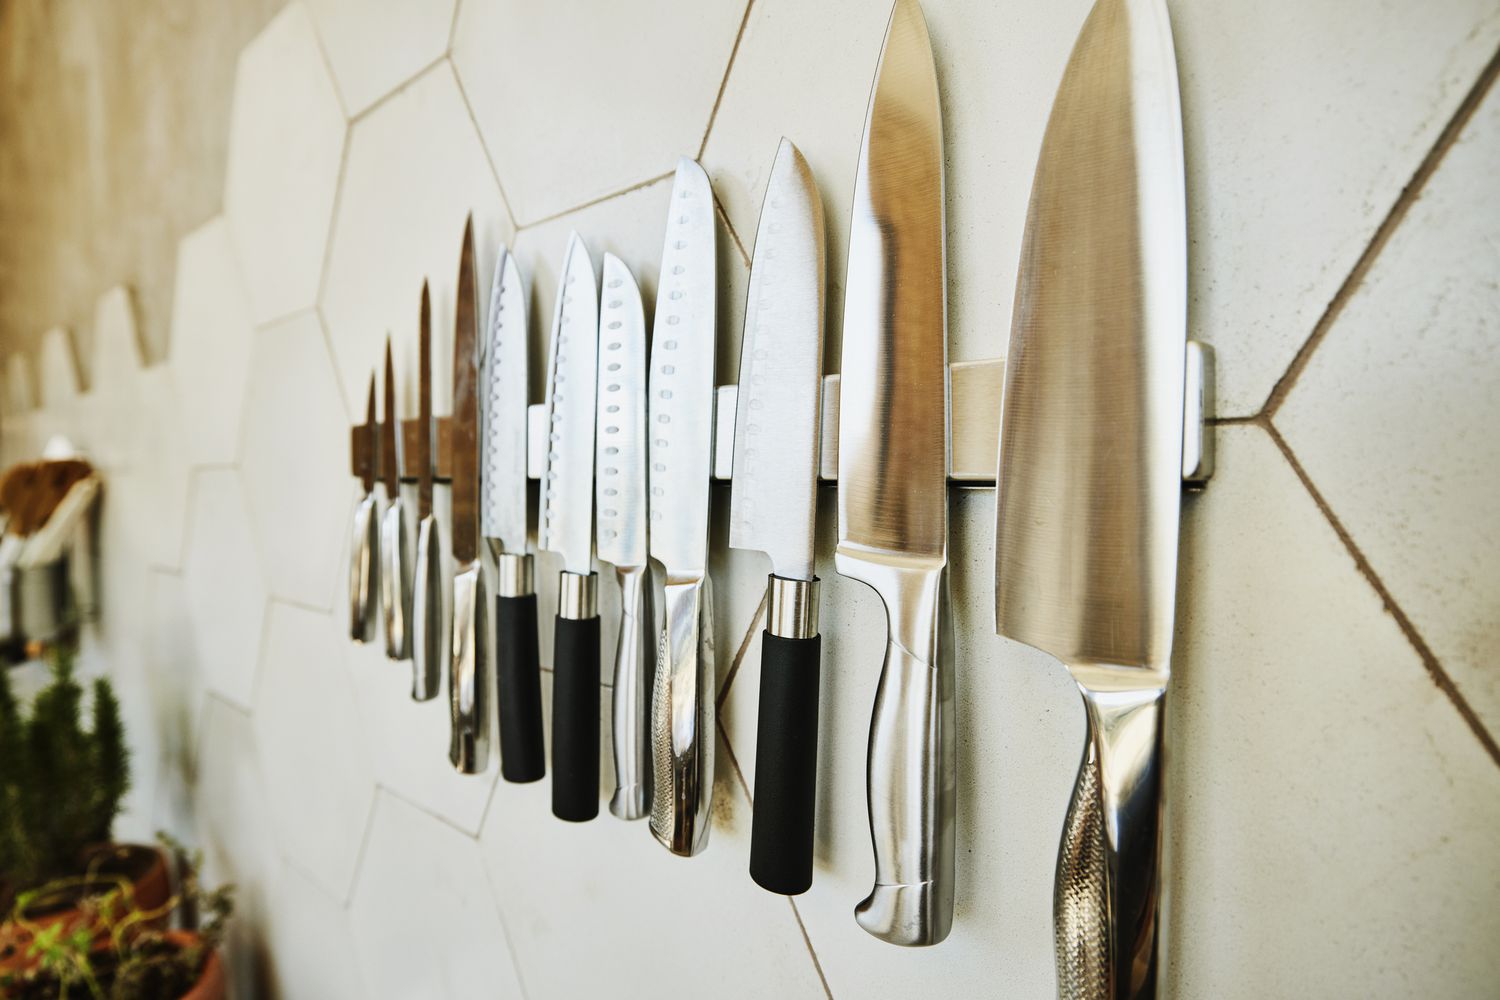
How To Shape A Knife Blade With Hand Tools
Modified: December 7, 2023
Learn how to shape a knife blade using only hand tools in this informative article. Discover the step-by-step process and essential tips for achieving a professional result.
(Many of the links in this article redirect to a specific reviewed product. Your purchase of these products through affiliate links helps to generate commission for Storables.com, at no extra cost. Learn more)
Introduction
When it comes to crafting a knife, shaping the blade is one of the most important steps in the process. While there are various ways to shape a knife blade, using hand tools allows for a more hands-on and personal approach. Not only does it offer a greater level of control and precision, but it also allows the craftsman to create a truly unique and customized blade.
In this article, we will guide you through the process of shaping a knife blade using hand tools. From selecting the right knife blank to refining the edge and creating the bevel, we will cover all the necessary steps to help you create a blade that is not only functional but also reflects your craftsmanship and artistic vision.
So, grab your tools and let’s get started!
Key Takeaways:
- Craft a unique and personalized knife blade by shaping it with hand tools, allowing for greater control, precision, and artistic expression. Select the right knife blank, establish the desired shape, and refine, polish, and sharpen the blade for a functional and visually appealing result.
- Prioritize safety, patience, and attention to detail when shaping a knife blade with hand tools. From selecting the right knife blank to refining the edge and creating the bevel, each step contributes to a rewarding and fulfilling crafting process.
Read more: How To Shape Brass With Hand Tools
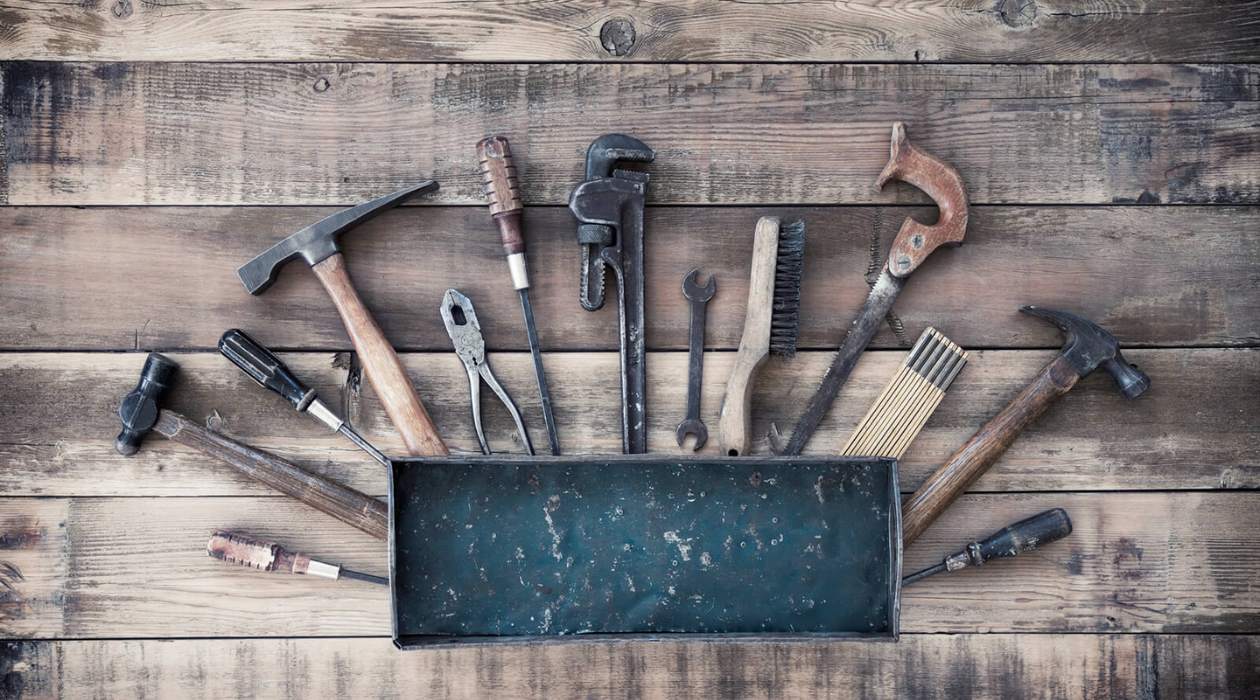
Tools and Materials Needed
Before diving into the process, it is crucial to have the right tools and materials on hand. Here is a list of essential items you will need to shape a knife blade with hand tools:
- A knife blank: This is the raw material from which you will shape your blade. Choose a blank made of high-quality steel that suits your intended use.
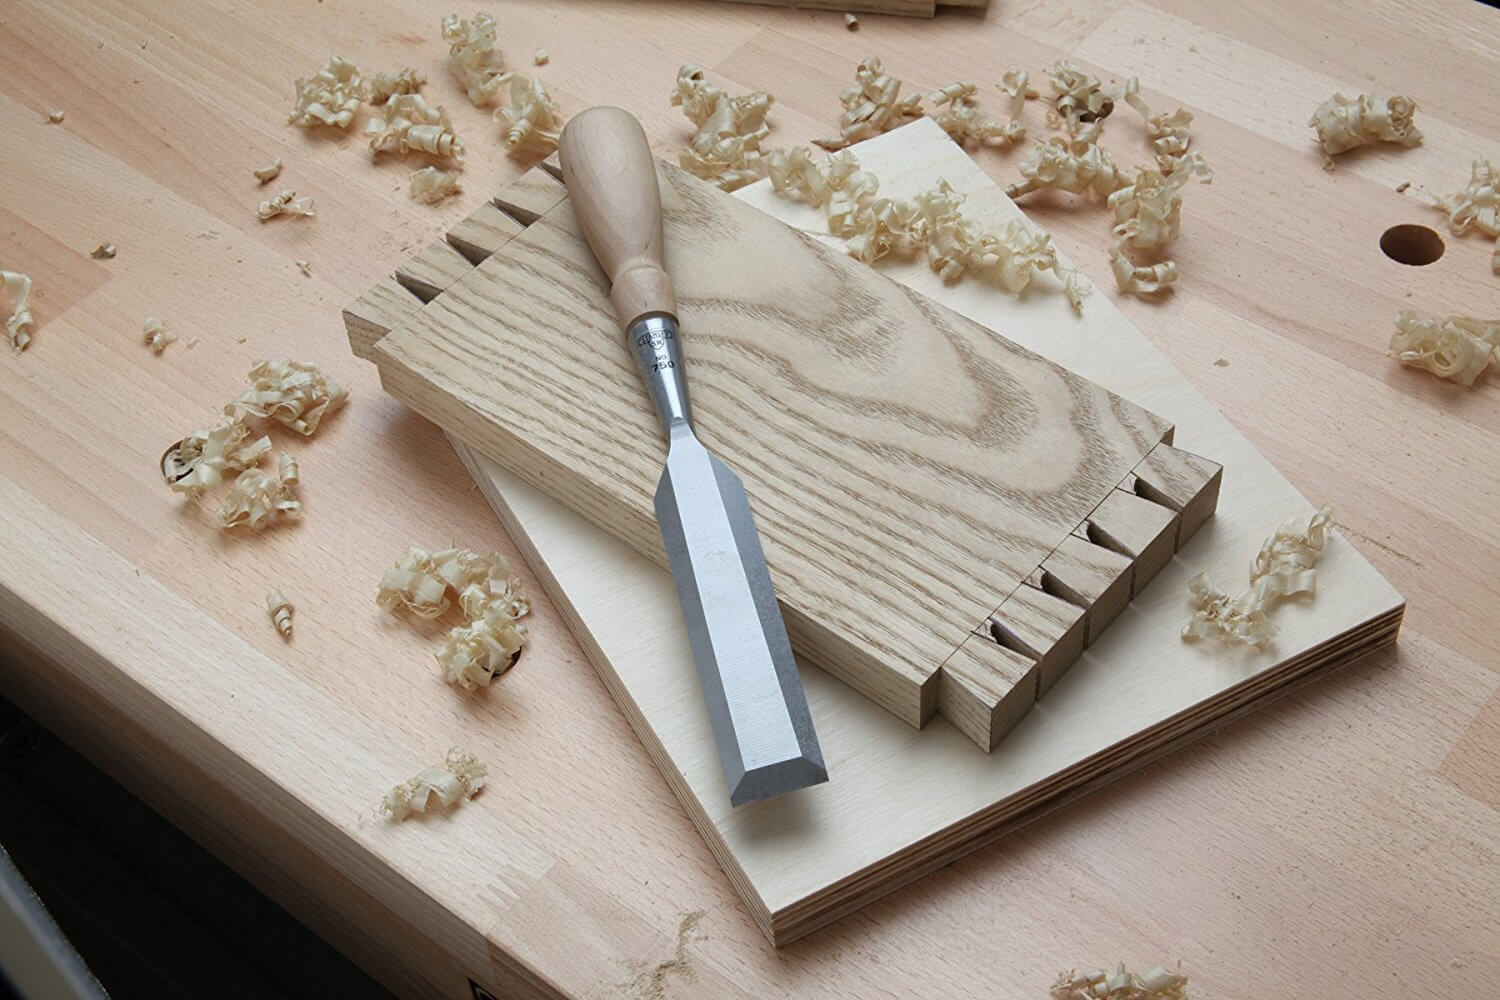
- Files: Different types of files, such as a flat file, half round file, and round file, will be necessary for shaping and refining the blade.
- A bench vise: A sturdy bench vise will secure the knife blank in place, allowing you to work on it with stability and precision.
- Sandpaper or abrasive belts: You will need a variety of grits, ranging from coarse to fine, to smooth and polish the blade’s surface.
- Clamps: Clamps are useful for securing the knife blank to your workbench, ensuring it remains stationary during the shaping process.
- A hacksaw or coping saw: These tools will be instrumental in cutting the knife blank to the desired length.
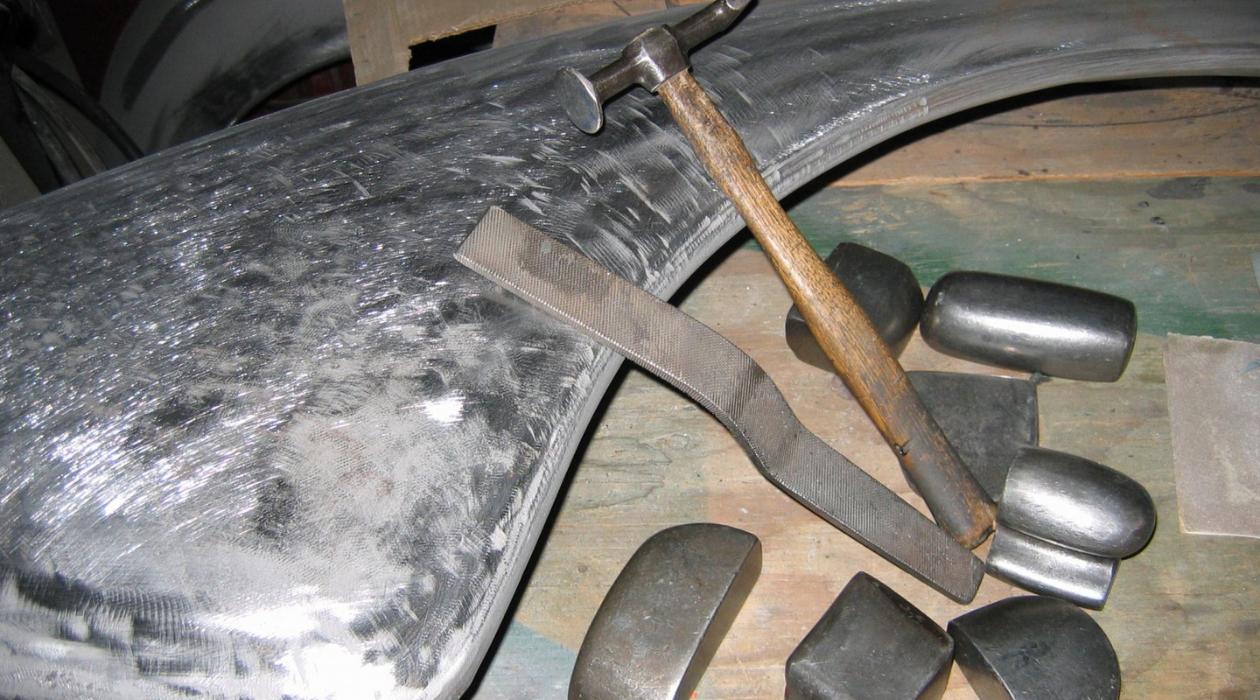
- A hammer: A hammer will come in handy for any necessary adjustments or shaping of the blade.
- Safety equipment: It is essential to prioritize safety. Wear protective goggles, gloves, and a dust mask to protect yourself from potential hazards.
These are just the basic tools and materials needed for shaping a knife blade with hand tools. Depending on your specific design and preferences, additional tools such as a belt sander, drill press, or a bench grinder may also be useful.
Once you have gathered all the necessary tools and materials, you are ready to proceed with shaping your knife blade.
Step 1: Choosing the Right Knife Blank
Choosing the right knife blank is a critical first step in shaping a knife blade. The knife blank is the foundation upon which the blade will be crafted, so it is important to select one that meets your specific requirements.
Consider the following factors when choosing the right knife blank:
- Steel Type: The type of steel used in the knife blank will greatly impact the blade’s performance. Popular choices include stainless steel, carbon steel, and Damascus steel. Each steel type has its own unique characteristics, such as durability, corrosion resistance, and ease of sharpening. Research different steel types to find one that aligns with your needs.
- Blade Shape and Length: Determine the desired shape and length of your knife blade. Consider the intended use of the knife to inform your decision. Whether it’s a chef’s knife, hunting knife, or everyday carry knife, the blade shape and length should be suited to the task at hand.
- Handle Material: While this may not directly affect the blade shaping process, consider the handle material that will complement your knife blank. Options include wood, synthetic materials, or even bone and horn. The handle should provide a comfortable grip and enhance the overall aesthetic of the knife.
Take your time to research and explore different knife blanks available on the market. Consider purchasing from reputable suppliers who provide high-quality materials. It is worth investing in a good quality knife blank, as it will greatly impact the final result.
Once you have chosen the knife blank that meets your specifications, you are ready to move on to shaping the blade.
Step 2: Establishing the Desired Shape
Before you begin shaping the blade, it is important to have a clear vision of the desired shape and design of the knife. Take some time to sketch or visualize the shape of the blade, considering factors such as the overall length, width, and curvature.
Next, mark the outline of the blade onto the knife blank using a permanent marker. This will serve as a guide as you shape the blade.
To establish the desired shape, you will need to use hand tools like files and a hacksaw or coping saw.
Start by cutting the knife blank to the desired length using a hacksaw or coping saw. Take your time and cut along the marked outline, ensuring accuracy and precision.
Once you have the rough shape, it’s time to refine the design using files. Choose the appropriate file for the task. A flat file is ideal for flat surfaces, while a half round file can help shape curved areas.
File carefully and gradually, removing material and shaping the blade to match the marked outline. Pay close attention to maintain symmetry and proportion. Continuously check your progress against the desired shape to ensure you are on the right track.
Remember, shaping the blade is a gradual process. Take breaks and step back to evaluate your progress. It’s better to go slow and make small adjustments rather than rushing through and making irreversible mistakes.
Once you are satisfied with the overall shape of the blade, you can move on to the next step – rough shaping the blade.
Step 3: Rough Shaping the Blade
After establishing the desired shape of the blade, the next step is to rough shape it using the hand tools at your disposal.
First, secure the knife blank in a bench vise or use clamps to hold it securely to your workbench. This will ensure stability and prevent any accidents while working on the blade.
Now, it’s time to use files to remove excess material and refine the rough shape of the blade. Start with a coarse file and gradually work your way to finer ones. This will help you achieve a smoother and more precise shape.
When using the files, maintain a steady grip and apply even pressure. Use long, smooth strokes to remove material evenly and avoid leaving any rough spots or uneven areas. Remember to file both sides of the blade to maintain symmetry.
As you progress, take frequent breaks to check your progress and compare it to the desired shape. This will allow you to make any necessary adjustments and ensure that you are staying on track.
Throughout the rough shaping process, it is important to maintain an eye for detail and precision. Take your time and be patient, as this step lays the foundation for the final shape of the blade.
Once you are satisfied with the overall shape and have removed the excess material, it’s time to move on to the next step – refining the edge.
When shaping a knife blade with hand tools, always wear protective gloves and eye goggles to prevent injury from sharp metal shavings. Keep the blade well-oiled to prevent rust during the shaping process.
Read more: How To Make A Knife Handle With Hand Tools
Step 4: Refining the Edge
After rough shaping the blade, it’s time to focus on refining the edge. This step is crucial to ensure that the blade will be sharp and effective.
To begin refining the edge, use a series of progressively finer files. Start with a coarse file to remove any rough edges or imperfections left from the rough shaping process. Gradually move on to finer files, such as a medium and then a fine file, to smooth out the edge.
When filing, it’s important to maintain a consistent angle along the edge. This will result in a more precise and even sharpness. The angle will depend on the type of knife and its intended use, but a general guideline is to aim for a bevel angle of around 15 to 20 degrees.
As you file the edge, periodically test the sharpness by gently running your finger along it. Be careful not to cut yourself, and use a light touch to evaluate the progress. The edge should gradually become sharper and more defined.
In addition to filing, you can also use sandpaper or abrasive belts to further refine the edge. Starting with a medium-grit sandpaper and progressing to a finer grit, carefully run the sandpaper along the edge to smooth out any remaining imperfections and refine the sharpness.
Throughout this process, take breaks to check the sharpness and adjust as needed. Aim for a clean and consistent edge that is suitable for your intended use.
Once you have achieved the desired edge sharpness and smoothness, it’s time to move on to the next step – creating the bevel.
Step 5: Creating the Bevel
Creating the bevel on the knife blade is an important step that adds strength, sharpness, and functionality to the blade. The bevel refers to the angled surface that runs along the sides of the blade, starting from the edge and tapering towards the spine.
To create the bevel, you will need to use a combination of files and sandpaper or abrasive belts.
Start by selecting a file that matches the desired angle of the bevel. Typically, a bevel angle between 15 to 20 degrees is common, but it can vary based on the type of knife and its intended use.
Hold the file at the desired angle and start filing along one side of the blade, creating a smooth and even bevel. Use long, consistent strokes to maintain an even surface.
Note: Remember to maintain symmetry by filing both sides equally to achieve a balanced and visually appealing bevel.
As you progress, periodically check the bevel’s angle and symmetry by visually inspecting and running your finger along the edge. It should gradually form a clean, defined bevel.
After creating a rough bevel with the file, switch to sandpaper or abrasive belts to refine it further. Begin with a coarser grit sandpaper and gradually work your way to a finer grit. This will help smooth out any file marks and create a polished appearance.
Throughout the beveling process, ensure that the blade remains securely clamped or held in a vise to maintain stability and prevent accidents.
Take your time during this step, as creating the bevel requires precision and attention to detail. Continuously evaluate and adjust the bevel as needed to achieve the desired shape and sharpness.
Once you are satisfied with the bevel, it’s time to move on to the final step – polishing and sharpening the blade.
Step 6: Polishing and Sharpening
After shaping, refining, and creating the bevel on the knife blade, it’s time to focus on polishing and sharpening the blade to achieve the desired cutting performance.
Start by thoroughly cleaning the blade to remove any dust or debris that may have accumulated during the previous steps. Use a clean cloth or brush to wipe away any residue.
Next, begin the polishing process by using successively finer grits of sandpaper or abrasive belts. Start with a medium-grit and gradually work your way to a fine-grit sandpaper or belt. This will help smoothen any imperfections and create a polished surface.
When polishing, use even and consistent strokes along the length of the blade. Be sure to cover both sides of the blade in order to maintain symmetry.
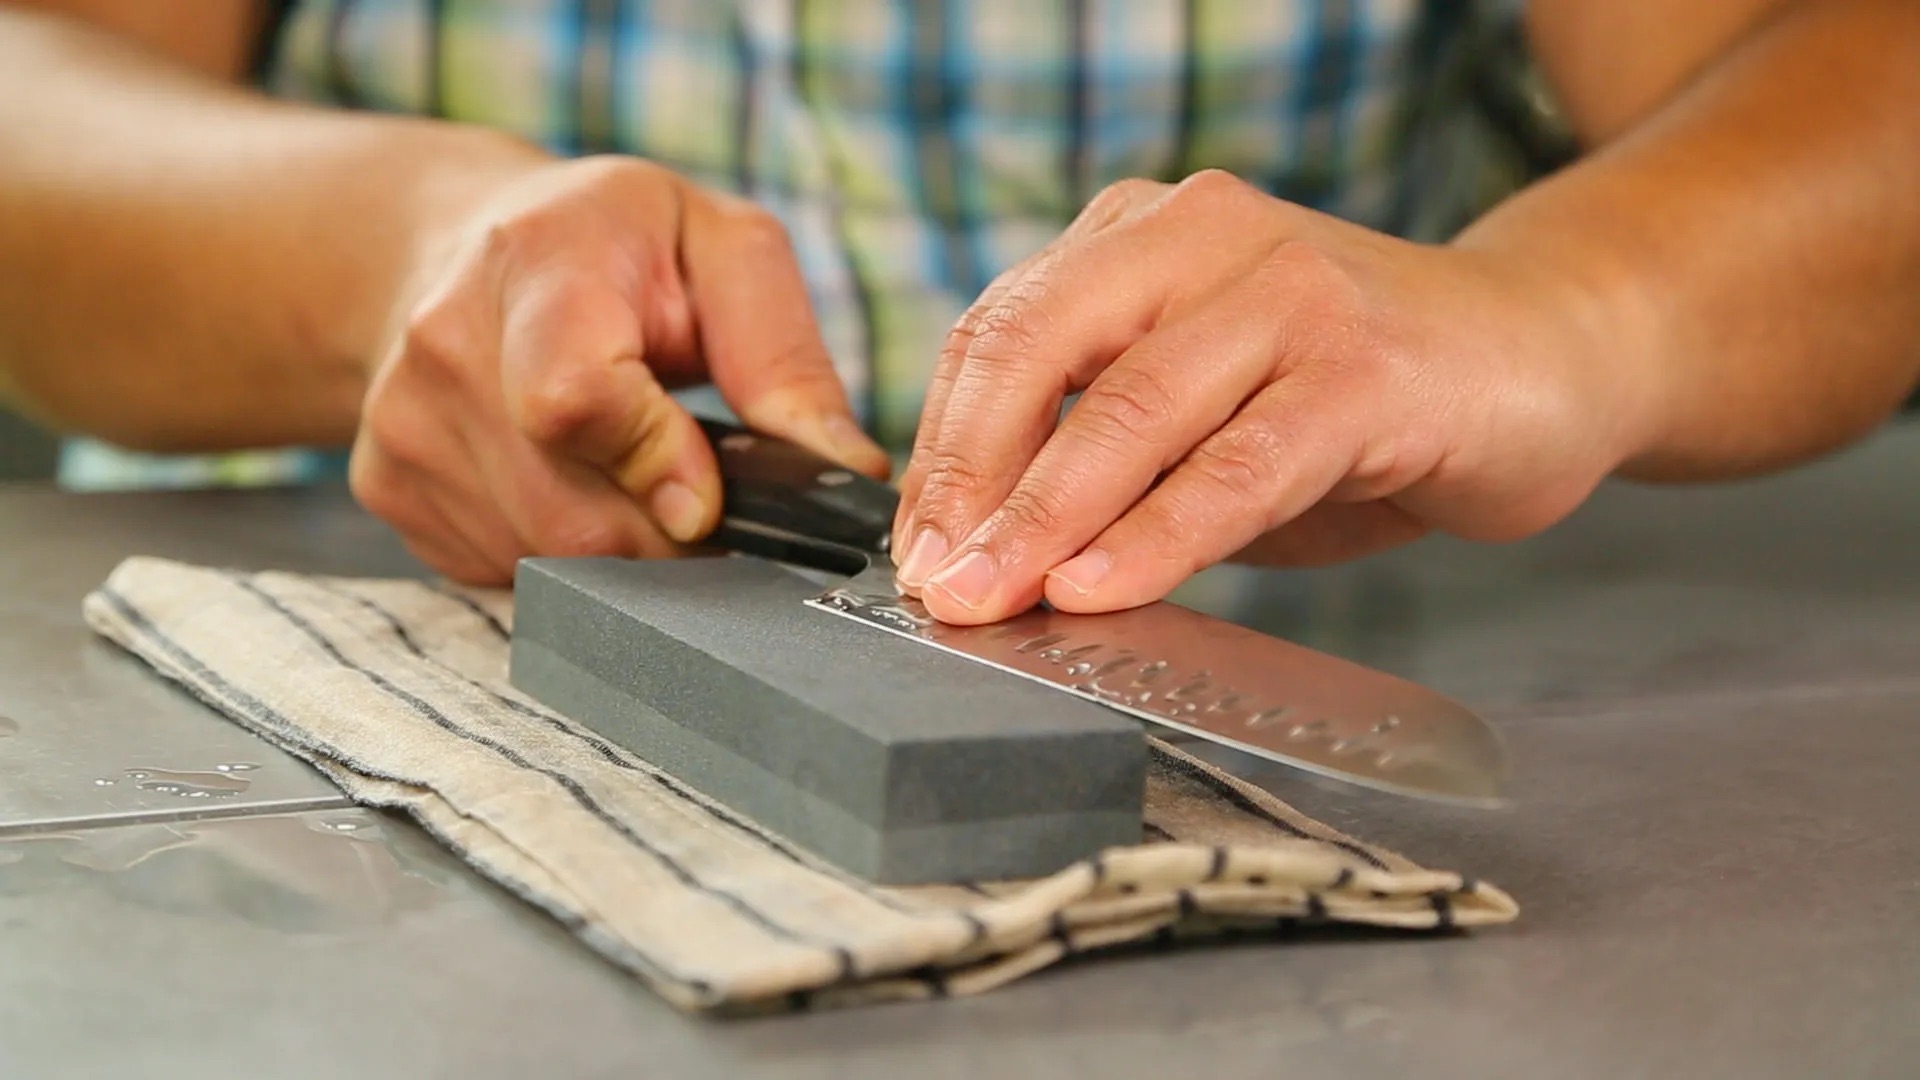
Once you have achieved a smooth and polished surface, it’s time to move on to sharpening the blade. There are various methods and tools available for sharpening, such as sharpening stones, honing rods, or guided sharpening systems.
Choose the sharpening method that you are most comfortable and experienced with, or experiment with different techniques to find the one that works best for you.
When sharpening, it’s important to maintain a consistent angle along the cutting edge. This can be achieved by using a sharpening guide or by developing your own technique through practice and experience.
Apply a lubricant, such as honing oil or water, to the sharpening surface to reduce friction and enhance the sharpening process.
With the blade positioned at the correct angle, gently swipe the blade across the sharpening surface, moving from the base to the tip. Repeat this process several times, alternating sides, until you have achieved a sharp edge that is suitable for your needs.
Once you are satisfied with the sharpness, carefully wipe away any debris and residue from the blade.
Congratulations! You have successfully shaped, refined, polished, and sharpened your knife blade using hand tools. Take a moment to admire your craftsmanship and enjoy the satisfaction of creating a functional and beautiful blade.
Remember to handle and store your newly shaped and sharpened knife blade with care, and always prioritize safety when using and maintaining your knife.
Conclusion
Shaping a knife blade with hand tools is a rewarding and fulfilling process that allows you to create a truly unique and functional tool. By following the steps outlined in this article, you can transform a knife blank into a well-crafted blade that reflects your craftsmanship and personal style.
Throughout the journey, we emphasized the importance of selecting the right knife blank, establishing the desired shape, rough shaping the blade, refining the edge, creating the bevel, and polishing and sharpening the blade. Each step plays a crucial role in shaping a knife blade that is not only visually appealing but also performs well in its intended use.
Remember that shaping a knife blade with hand tools requires patience, precision, and attention to detail. It’s a gradual process that allows for adjustments and refinements along the way. Take breaks, evaluate your progress, and make any necessary adjustments to ensure the final result meets your expectations.
Lastly, always prioritize safety when working with hand tools. Wear appropriate protective equipment and follow proper handling techniques to minimize the risk of accidents and injuries.
Now, armed with the knowledge and skills gained from this article, you have the ability to shape knife blades with hand tools. So go ahead and embark on your knife-making journey, explore different designs, and let your creativity flourish as you shape blades that are not only functional but also works of art.
Happy crafting!
Frequently Asked Questions about How To Shape A Knife Blade With Hand Tools
Was this page helpful?
At Storables.com, we guarantee accurate and reliable information. Our content, validated by Expert Board Contributors, is crafted following stringent Editorial Policies. We're committed to providing you with well-researched, expert-backed insights for all your informational needs.


0 thoughts on “How To Shape A Knife Blade With Hand Tools”