Home>Articles>How To Switch Between A Wolverine Brass Shower And Separate Hand Held Showerhead

Articles
How To Switch Between A Wolverine Brass Shower And Separate Hand Held Showerhead
Modified: October 28, 2024
Learn how to easily switch between a Wolverine Brass shower and a separate hand-held showerhead with our informative articles.
(Many of the links in this article redirect to a specific reviewed product. Your purchase of these products through affiliate links helps to generate commission for Storables.com, at no extra cost. Learn more)
Introduction:
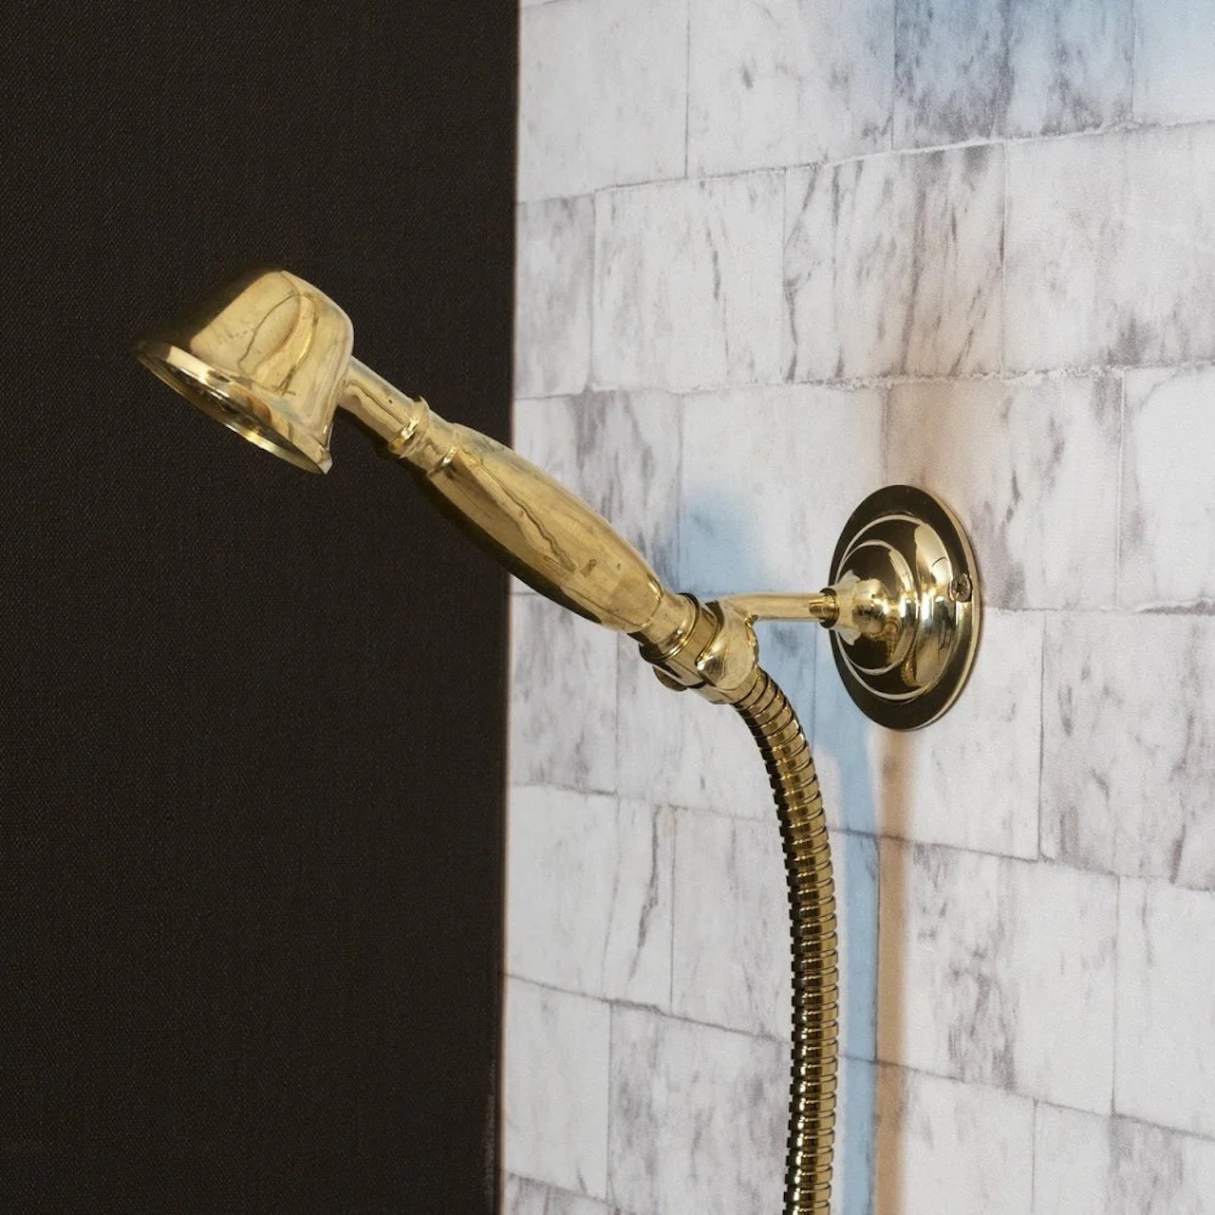
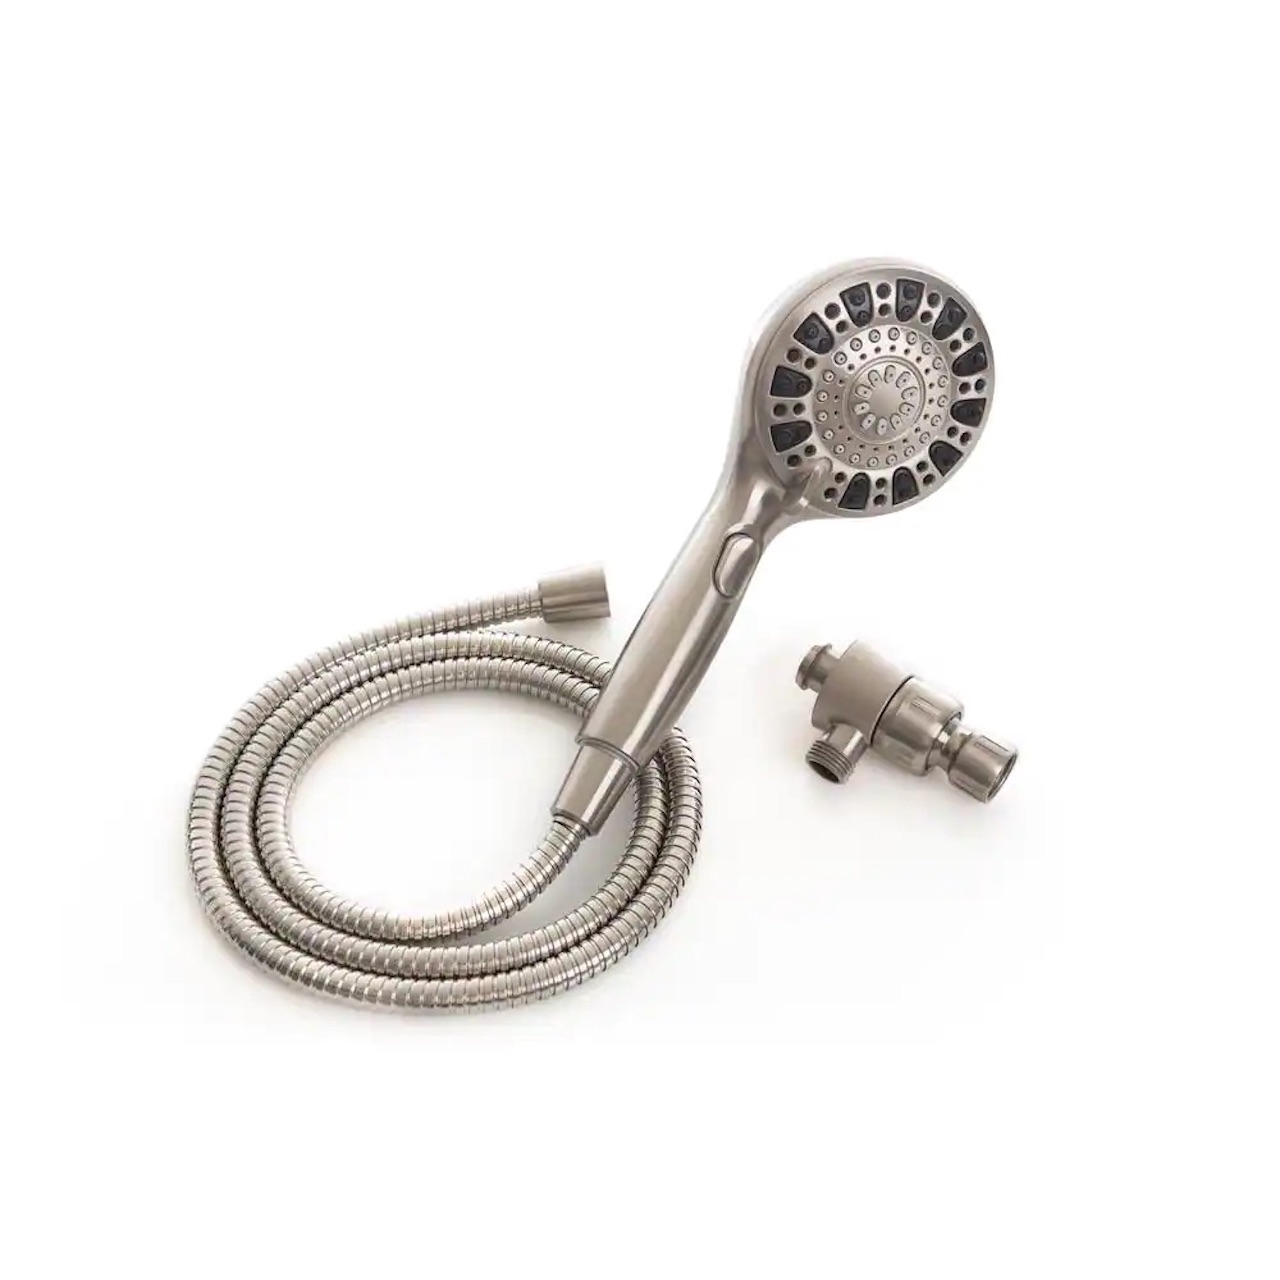
Welcome to our comprehensive guide on how to switch between a Wolverine Brass shower and a separate handheld showerhead. A showerhead can greatly enhance your showering experience, allowing you to enjoy different water flow options and customize your bathing routine. The Wolverine Brass showerhead offers excellent water pressure and a range of spray patterns, while a separate handheld showerhead provides convenience and flexibility. By installing both, you can enjoy the best of both worlds.
In this article, we will walk you through the step-by-step process of switching between a Wolverine Brass showerhead and a separate handheld showerhead. Whether you are looking to upgrade your bathroom or simply want to enjoy a variety of showering options, this guide will provide all the information you need to make the switch smoothly and efficiently.
Before we dive into the installation process, it is important to ensure you have the necessary tools and equipment on hand. You will need an adjustable wrench, plumber’s tape, a shower arm diverter valve, and the new showerheads. Additionally, make sure you have a clean cloth or towel to protect the finish of your shower fixtures.
Now that we have covered the basics let’s move on to the first step: preparing for the switch.
Key Takeaways:
- Upgrade your shower experience by seamlessly switching between a powerful Wolverine Brass shower and a convenient handheld showerhead for a personalized bathing routine.
- Ensure a smooth installation process by preparing your bathroom, gathering the necessary tools, and following the step-by-step guide to enjoy the best of both showering worlds.
Read more: How To Shape Brass With Hand Tools
Step 1: Preparing for the switch
Before you begin the installation process, it is crucial to prepare your bathroom and gather all the necessary materials. Here are the steps to follow:
- Turn off the water supply: Locate the main water valve in your bathroom and turn it off. This will ensure that no water flows while you are working on the switch.
- Remove any existing shower attachments: If you have any additional shower attachments, such as a shower curtain or soap dish, remove them to have a clear workspace for the installation process.
- Clear the shower area: Remove any unnecessary items from the shower area to create enough space for maneuvering during the installation.
- Gather the necessary tools and materials: As mentioned earlier, you will need an adjustable wrench, plumber’s tape, a shower arm diverter valve, and the new showerheads. Make sure all these items are readily available before starting the installation.
Once you have completed these steps, you are now ready to start removing the existing showerhead in the next step. Preparing the bathroom and gathering the required tools and materials beforehand will ensure a smooth and hassle-free installation process.
Step 2: Removing the existing showerhead
Now that you have prepared your bathroom and gathered the necessary tools and materials, it’s time to remove the existing showerhead. Follow these steps:
- Locate the shower arm: The shower arm is the pipe that extends from the wall and connects to the showerhead. Find the point where the shower arm connects to the showerhead.
- Turn off the showerhead: Using an adjustable wrench, grip the showerhead firmly and turn it counterclockwise to loosen it. Be careful not to damage the shower arm while applying pressure.
- Remove the showerhead: Once the showerhead is loosened, unscrew it completely from the shower arm. If it’s stubborn, you can use a pair of pliers to provide extra grip and leverage.
- Clean the shower arm: After removing the showerhead, inspect the shower arm for any debris or mineral deposits. Use a clean cloth or towel to wipe away any dirt or grime before moving on to the installation of the new showerheads.
Removing the existing showerhead is an important step in the process of switching to a Wolverine Brass showerhead and a separate handheld showerhead. Take your time and ensure that the showerhead is detached securely from the shower arm. Once you have successfully removed the old showerhead, you can proceed to the next step: installing the Wolverine Brass showerhead.
Step 3: Installing the Wolverine Brass showerhead
Now that you have removed the existing showerhead, it’s time to install the Wolverine Brass showerhead. Follow these steps:
- Apply plumber’s tape: Take the plumber’s tape and wrap it clockwise around the shower arm threads. This will help create a watertight seal when attaching the Wolverine Brass showerhead.
- Attach the shower arm diverter valve: If you plan to use both the Wolverine Brass showerhead and the separate handheld showerhead, you will need a shower arm diverter valve. Install the valve onto the shower arm by threading it on clockwise.
- Fit the Wolverine Brass showerhead: Take the Wolverine Brass showerhead and thread it onto the shower arm or the shower arm diverter valve. Make sure it is snugly fitted, but be careful not to overtighten it.
- Hand-tighten and adjust: Use your hand to tighten the showerhead further, ensuring a secure connection. If necessary, use an adjustable wrench to give it an extra quarter-turn. However, avoid overtightening, as it can lead to damage or leaks.
Once you have completed these steps, you have successfully installed the Wolverine Brass showerhead. This showerhead offers excellent water pressure and a variety of spray patterns, allowing for a luxurious and personalized shower experience. Next, let’s move on to installing the separate handheld showerhead.
To switch between a Wolverine Brass shower and a separate hand-held shower head, make sure both are compatible with your existing shower system. Then, simply follow the manufacturer’s instructions for installation and use.
Step 4: Installing the separate handheld showerhead
Now that the Wolverine Brass showerhead is installed, it’s time to install the separate handheld showerhead. Follow these steps:
- Attach the shower hose: Take the shower hose and connect one end to the handheld showerhead. Make sure it is securely attached by screwing it on clockwise.
- Connect the other end of the hose: Locate the shower arm diverter valve, if you have one installed, and connect the other end of the shower hose to the designated outlet on the valve.
- Hand-tighten and adjust: Use your hand to tighten the shower hose connections, ensuring a secure fit. Again, be careful not to overtighten, as it can damage the fittings or cause leaks.
By completing these steps, you have successfully installed the separate handheld showerhead. This will provide added flexibility, allowing you to easily detach and use the handheld showerhead for targeted rinsing or cleaning. Now that both the Wolverine Brass showerhead and the separate handheld showerhead are installed, we can move on to the final step: testing and adjusting the water flow.
Step 5: Testing and adjusting the water flow
Now that you have completed the installation of both the Wolverine Brass showerhead and the separate handheld showerhead, it’s time to test and adjust the water flow. Follow these steps:
- Turn on the water supply: Locate the main water valve in your bathroom and turn it on. This will allow water to flow through the showerhead.
- Check for leaks: As the water flows, carefully inspect all connections, including the showerhead, shower arm diverter valve (if present), and shower hose. Look for any signs of leaks or drips. If you notice any, use an adjustable wrench to tighten the connections further or apply plumber’s tape to create a tighter seal.
- Test the water flow: Turn on the Wolverine Brass showerhead and check the water flow and spray patterns. Make sure it is working correctly and providing the desired water pressure. Adjust the spray pattern if necessary, depending on your preference.
- Switch to the handheld showerhead: Use the shower arm diverter valve (if present) to divert the water flow from the Wolverine Brass showerhead to the separate handheld showerhead. Test the handheld showerhead by adjusting the water pressure and directing the spray where needed.
- Adjust the water flow balance: If you find that the water flow is uneven between the Wolverine Brass showerhead and the separate handheld showerhead, you can adjust the flow balance using the diverter valve or the flow control knobs, if applicable. Experiment with different settings until you achieve the desired balance.
By following these steps, you can ensure that both the Wolverine Brass showerhead and the separate handheld showerhead are working properly and providing the desired water flow. Take the time to adjust and fine-tune the settings to create a customized shower experience tailored to your preferences.
Conclusion
Congratulations! You have successfully learned how to switch between a Wolverine Brass showerhead and a separate handheld showerhead. By following the step-by-step process outlined in this guide, you can now enjoy the best of both worlds – a powerful and versatile showering experience.
Throughout this guide, we discussed the importance of preparation, including gathering the necessary tools and materials, as well as preparing your bathroom for the installation process. We then walked through each step, from removing the existing showerhead to installing the Wolverine Brass showerhead and the separate handheld showerhead. Finally, we covered testing and adjusting the water flow to ensure optimal performance.
Remember, as you make the switch, it is crucial to handle the components with care and avoid overtightening to prevent any damage or leaks. Take your time with the installation process, and if you encounter any difficulties, don’t hesitate to consult a professional plumber for assistance.
Now, go ahead and enjoy your rejuvenating showers with the luxury and versatility provided by the combination of the Wolverine Brass showerhead and the separate handheld showerhead. Customize your bathing experience, and feel the refreshing flow of water as you unwind and relax in your bathroom oasis.
Thank you for choosing our comprehensive guide, and we hope it has helped you successfully switch between a Wolverine Brass showerhead and a separate handheld showerhead.
Frequently Asked Questions about How To Switch Between A Wolverine Brass Shower And Separate Hand Held Showerhead
Was this page helpful?
At Storables.com, we guarantee accurate and reliable information. Our content, validated by Expert Board Contributors, is crafted following stringent Editorial Policies. We're committed to providing you with well-researched, expert-backed insights for all your informational needs.


0 thoughts on “How To Switch Between A Wolverine Brass Shower And Separate Hand Held Showerhead”