Articles
How To Build Interior Walls
Modified: October 20, 2024
Learn how to build interior walls with our comprehensive articles. Gain the knowledge and skills needed for successful wall construction.
(Many of the links in this article redirect to a specific reviewed product. Your purchase of these products through affiliate links helps to generate commission for Storables.com, at no extra cost. Learn more)
Introduction
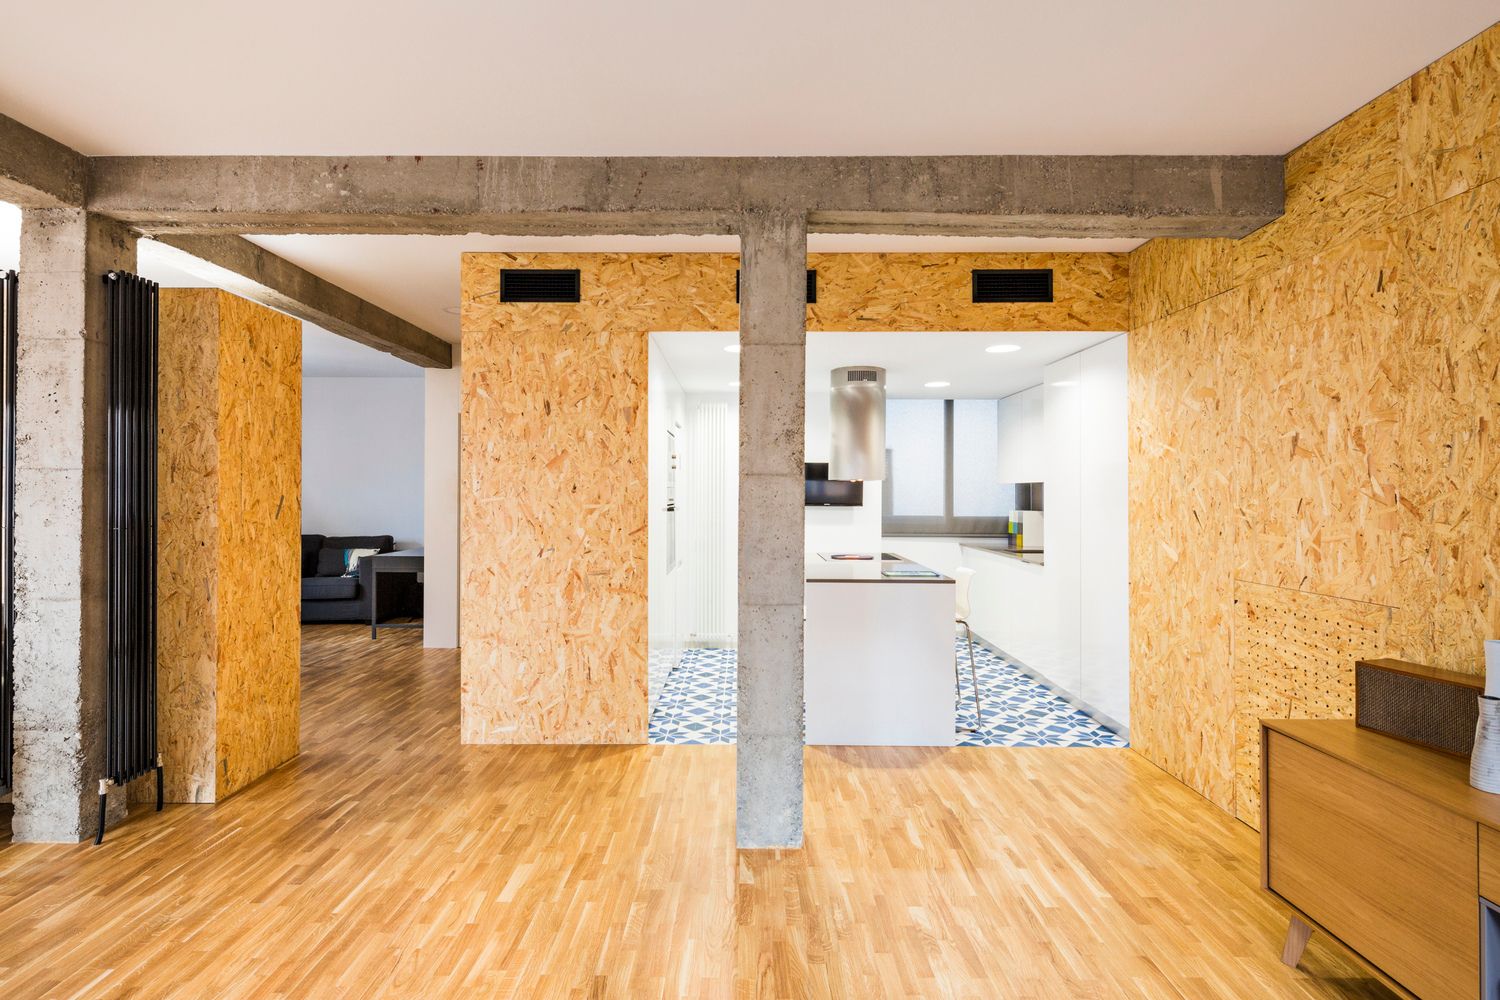
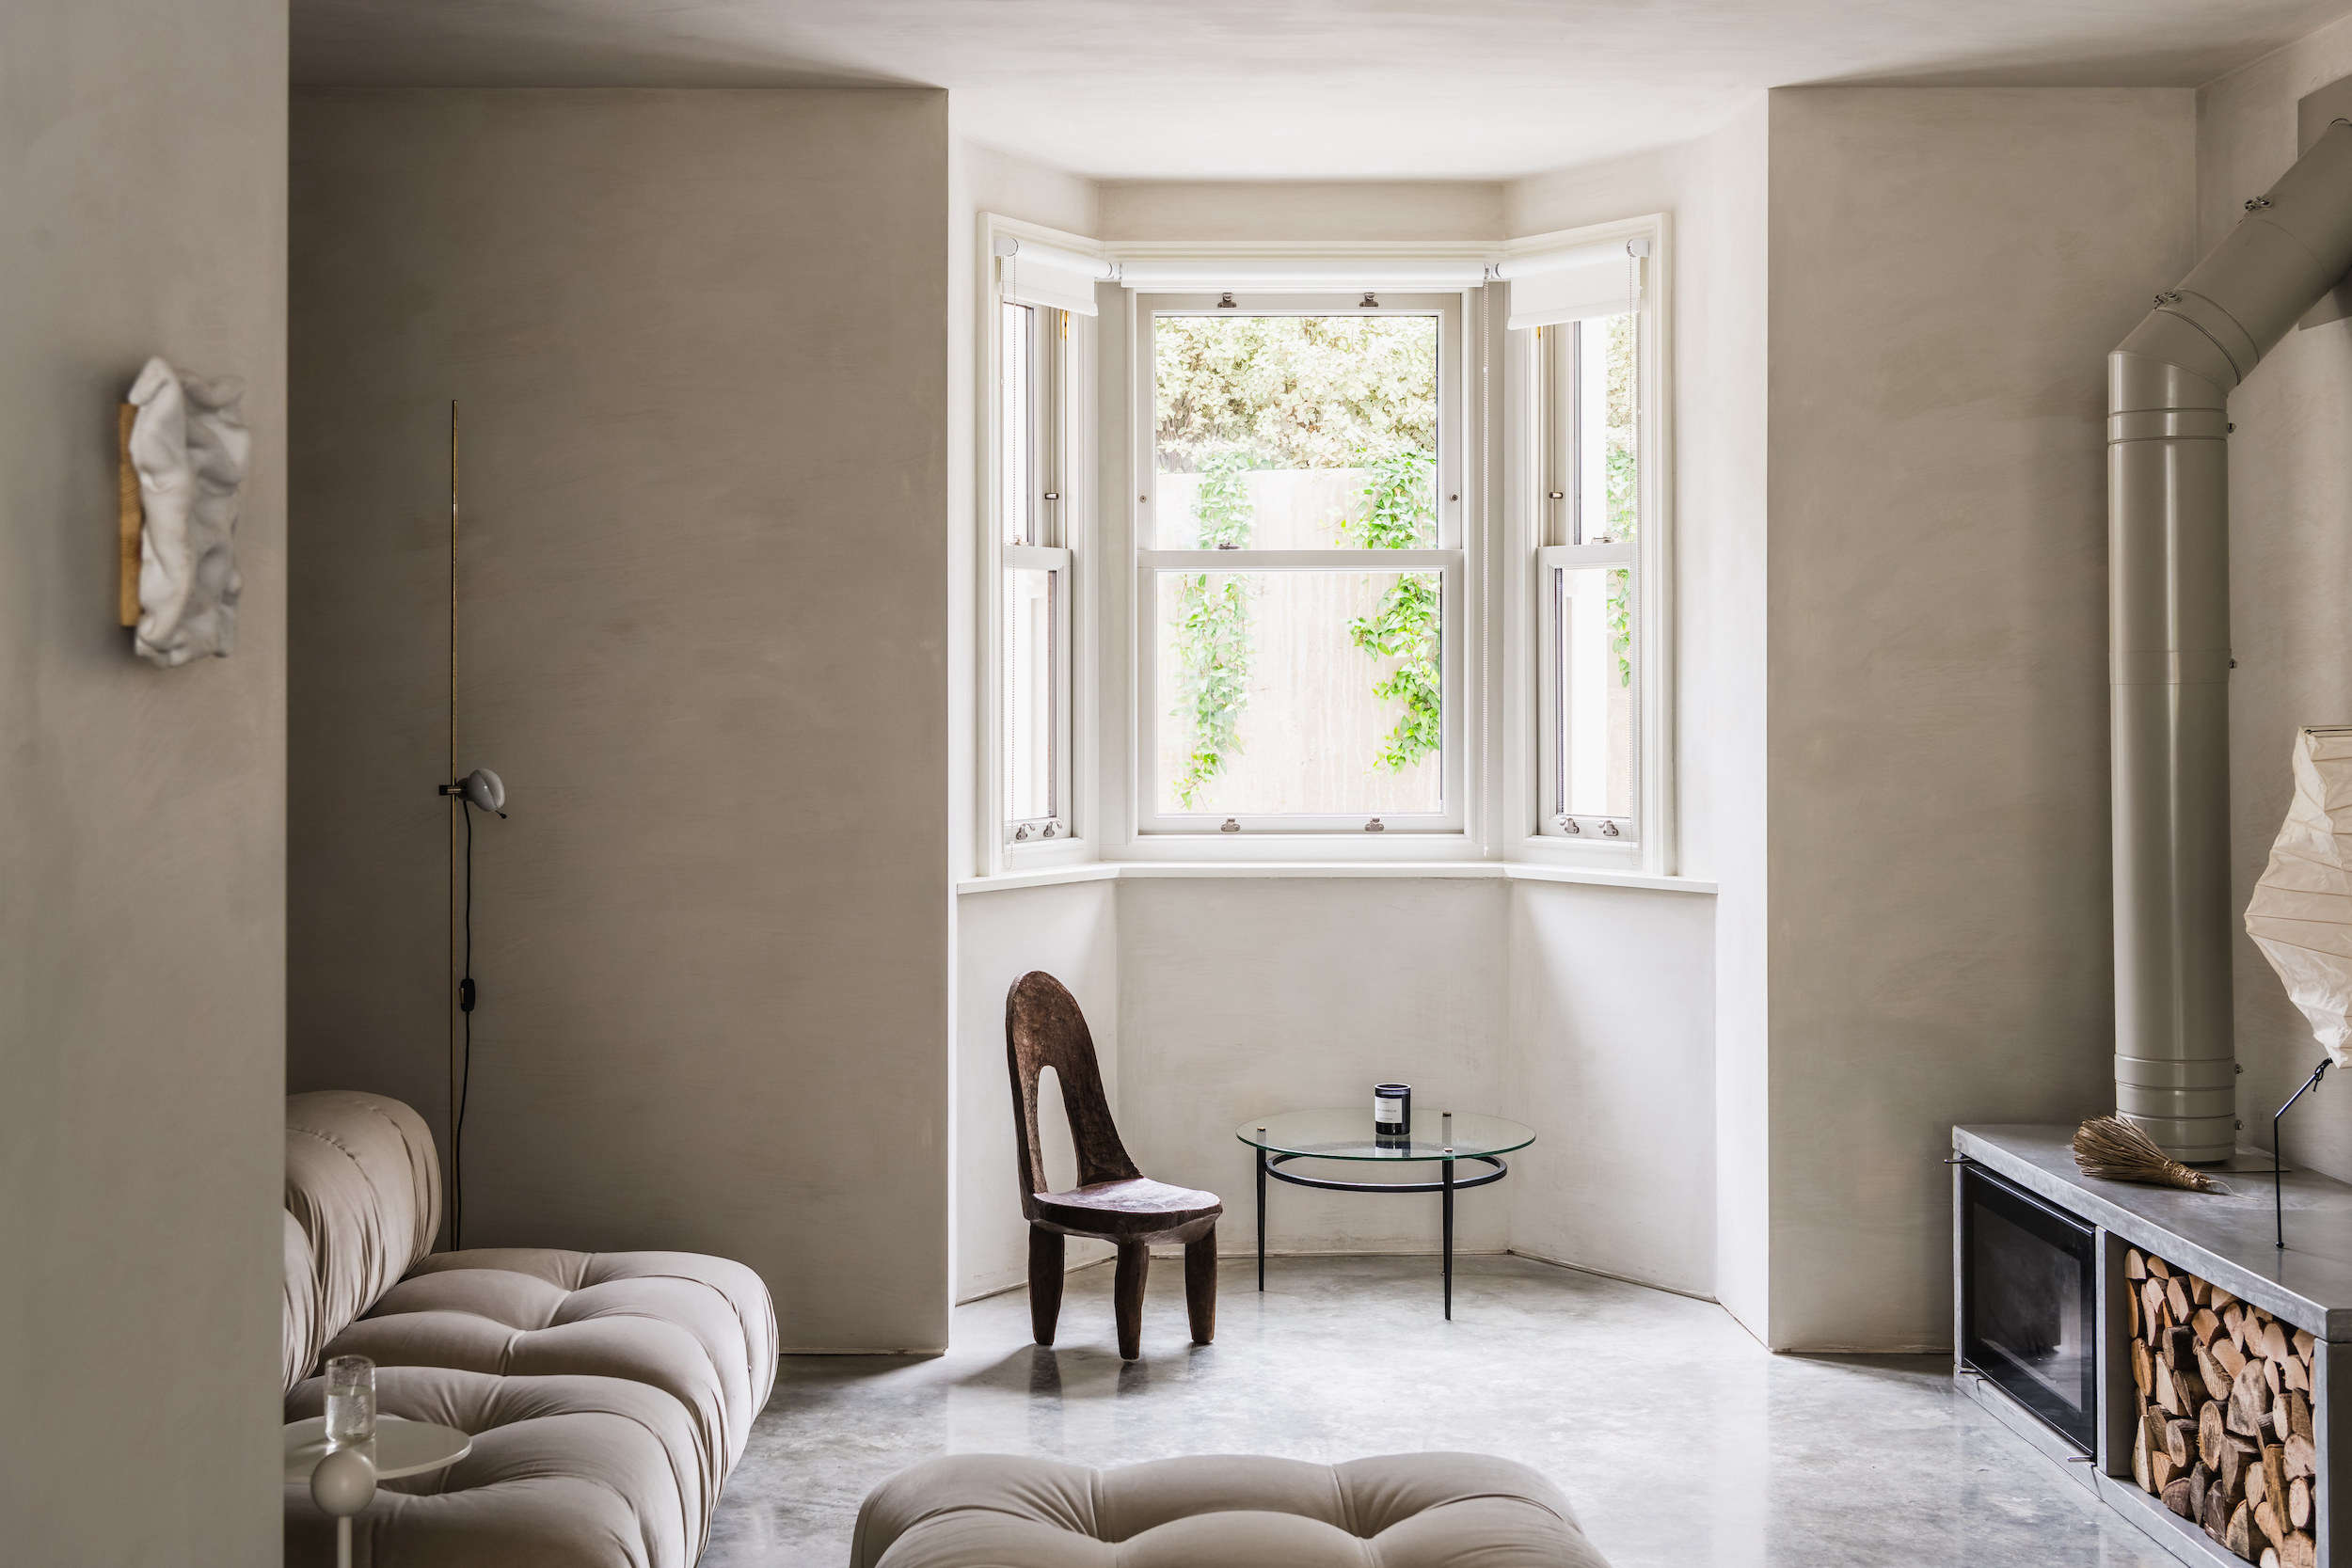
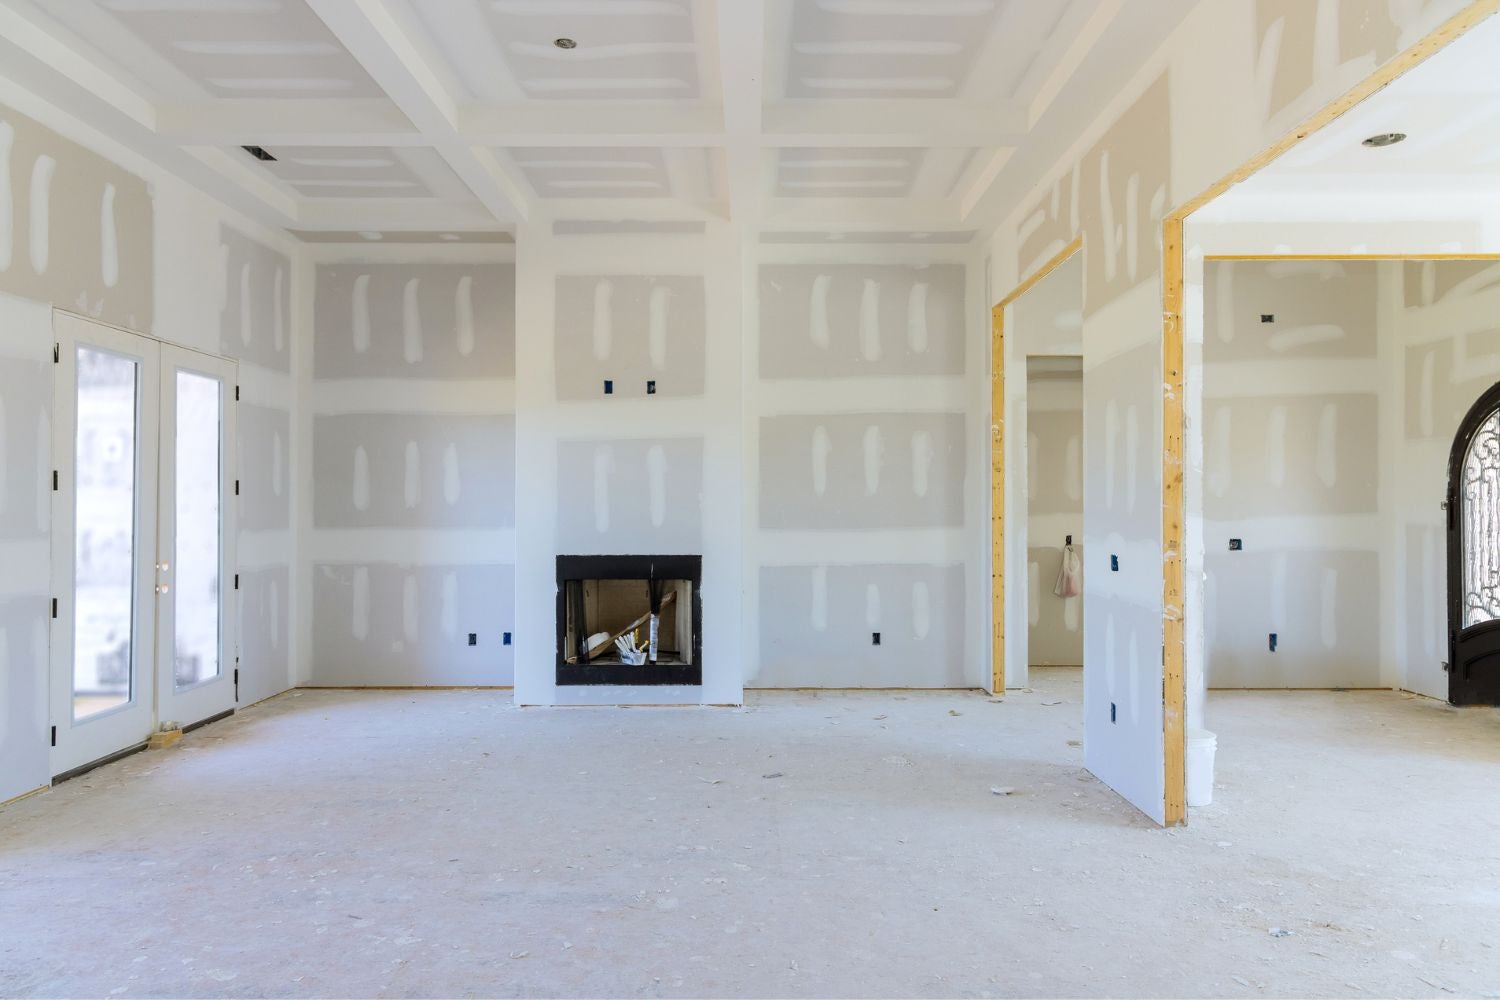
Building interior walls is an essential step in transforming a space into functional rooms and creating a sense of privacy within a building. Whether you’re renovating or constructing a new home, knowing how to build interior walls is a valuable skill that can save you money and give you more control over the design and layout of your living or working space.
In this article, we will guide you through the step-by-step process of building interior walls. From choosing the right materials to adding the finishing touches, we will provide you with the knowledge and tips you need to successfully complete your wall construction project.
Before you embark on your wall-building journey, it’s important to have a clear understanding of the purpose and requirements of the space. Are you building a bedroom, a living room, or an office? Consider factors such as the desired size of the room, the location of windows and doors, and any specific design elements you wish to incorporate.
Once you have a vision for the room, it’s time to gather the necessary tools and materials. You’ll need a measuring tape, a level, a circular saw, a drill, a hammer, construction adhesive, studs, drywall, insulation, electrical wiring, and various other materials depending on the specific requirements of your project.
Building interior walls involves multiple steps, including measuring and planning the wall layout, framing the wall, installing insulation, adding electrical wiring and outlets, hanging drywall, taping and mudding the wall seams, sanding the wall surface, and finally, painting or wallpapering the wall. Each step requires careful attention to detail and proper execution for a successful project.
By the end of this article, you will have a comprehensive understanding of how to build interior walls, allowing you to confidently tackle your next home improvement project. So, let’s get started!
Key Takeaways:
- Building interior walls involves a detailed process, from choosing the right materials to adding finishing touches like baseboards and trim. Each step contributes to creating functional, visually appealing living or working spaces.
- Attention to detail, precision, and patience are essential when building interior walls. Following safety guidelines, local building codes, and seeking professional assistance when needed ensures a successful outcome.
Read more: How To Cover Stucco Interior Walls
Choosing the Right Materials
Choosing the right materials for your interior wall construction is vital for ensuring the durability, stability, and aesthetic appeal of the finished walls. Here are some key considerations when selecting materials:
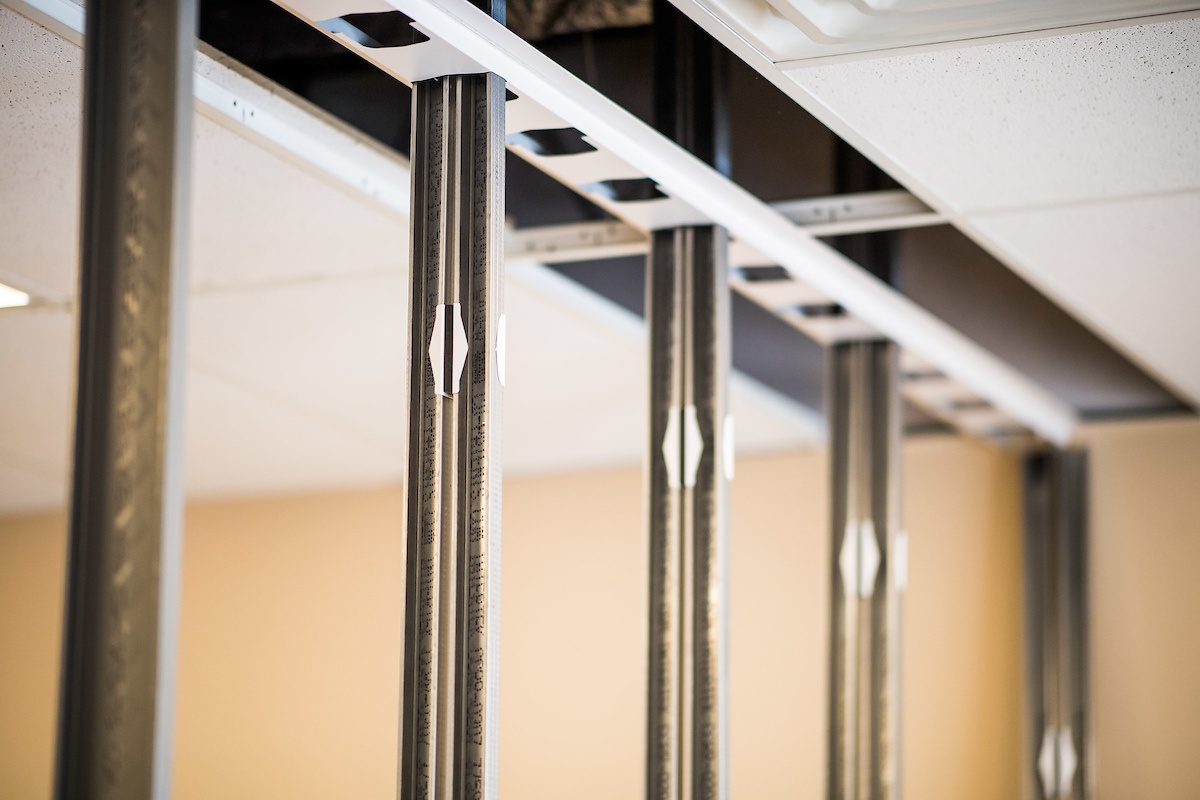
- Studs: The first step in building an interior wall is framing it with studs. Studs provide structural support to the wall and serve as a framework for attaching drywall. Common options for studs include wood (such as pine or fir) and metal (usually steel). The choice between wood and metal studs depends on factors like budget, building codes, and the desired level of fire resistance.
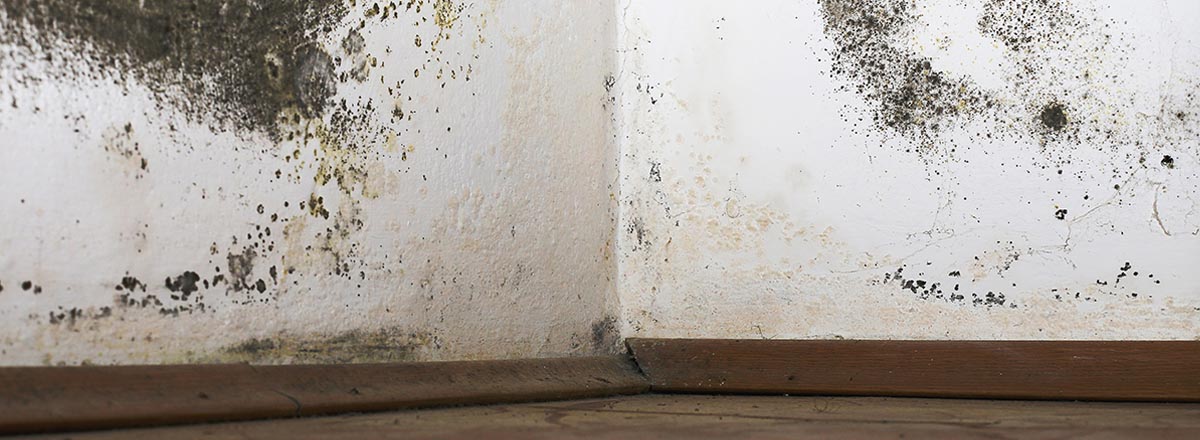
- Drywall: Drywall, also known as plasterboard or gypsum board, is the material used to cover the framed walls. It provides a smooth and even surface for painting or applying wallpaper. There are two main types of drywall: regular gypsum board and moisture-resistant green board. Regular drywall is suitable for most interior walls, while green board is recommended for areas prone to moisture, such as bathrooms or kitchens.
- Insulation: Insulating your interior walls can help regulate temperature, reduce noise transmission, and improve energy efficiency. Common insulation materials include fiberglass batts, rigid foam boards, and blown-in cellulose. The choice of insulation material will depend on factors like the desired level of insulation, budget, and local building codes.
- Electrical Wiring: If you plan to install electrical outlets, switches, or lighting fixtures on your interior walls, you’ll need to consider the wiring materials. Use approved electrical cables and conduits to ensure safety and compliance with electrical codes. Consult a licensed electrician to ensure proper installation and to meet specific electrical requirements.
- Fasteners and Adhesives: To secure the various components of your interior walls, you’ll need appropriate fasteners and adhesives. Nails, screws, or construction staples are commonly used to attach studs, drywall, insulation, and trim. Construction adhesive is useful for bonding materials together, providing additional strength and stability.
- Finishing Materials: Lastly, consider the finishing materials to achieve the desired look for your interior walls. This includes baseboards, door trims, and crown molding. Consider the style and design of the space when choosing these materials, ensuring that they complement the overall aesthetic and tie the room together.
It’s essential to choose high-quality materials that are appropriate for your specific project requirements. Always refer to building codes and regulations in your area to ensure compliance and safety. Purchasing materials from reputable suppliers will also guarantee their quality and reliability.
By carefully selecting the right materials, you can build interior walls that are strong, durable, and visually appealing. This sets a solid foundation for the subsequent steps in the wall construction process. With the materials in hand, let’s move on to the next crucial step: measuring and planning the wall layout.
Measuring and Planning the Wall Layout
Accurate measurements and proper planning are essential for the successful construction of interior walls. Before you start cutting and assembling materials, follow these steps to measure and plan the layout of your walls:
- Measure the Room: Begin by measuring the length and width of the room where the wall will be constructed. Use a measuring tape to ensure precise measurements. Take note of any existing walls, windows, doors, or obstacles that may affect the placement of your new wall.
- Determine Wall Length and Height: Based on your measurements and the desired wall location, determine the length and height of the wall. Mark the starting and ending points of the wall on the floor and ceiling.
- Locate Studs: Use a stud finder to locate the studs in the existing walls, as they can serve as anchor points for your new wall. Mark the stud locations on the floor and ceiling along the length of the wall.
- Mark Wall Plate Placement: The wall plate is the bottom horizontal piece of the wall frame that rests on the floor. Measure and mark the placement of the wall plates on the floor, ensuring they align with the stud positions.
- Plan Door and Window Openings: If your wall will include a door or window, carefully plan and mark the openings. Measure the dimensions of the opening and mark the positions on the wall plates, making sure they align with the stud locations.
- Double-Check Measurements: Before proceeding to the construction phase, double-check all measurements to ensure accuracy. This step is crucial to avoid costly mistakes and ensure a precise fit.
Once you have completed the above steps, you will have a clear plan for the layout of your interior wall. Take the time to review your measurements and markings, making any necessary adjustments. This careful planning will save you time and potential headaches during the construction process.
Remember, each wall construction project is unique, so it’s essential to adapt these steps to your specific needs and design requirements. If you’re uncertain about any aspect of the planning process, consulting with a professional contractor or experienced builder can provide valuable guidance and expertise.
With the wall layout planned and marked, you’re ready to move on to the next step: framing the wall. This step involves building the frame that will provide the structure for the wall and support the various components of the wall system.
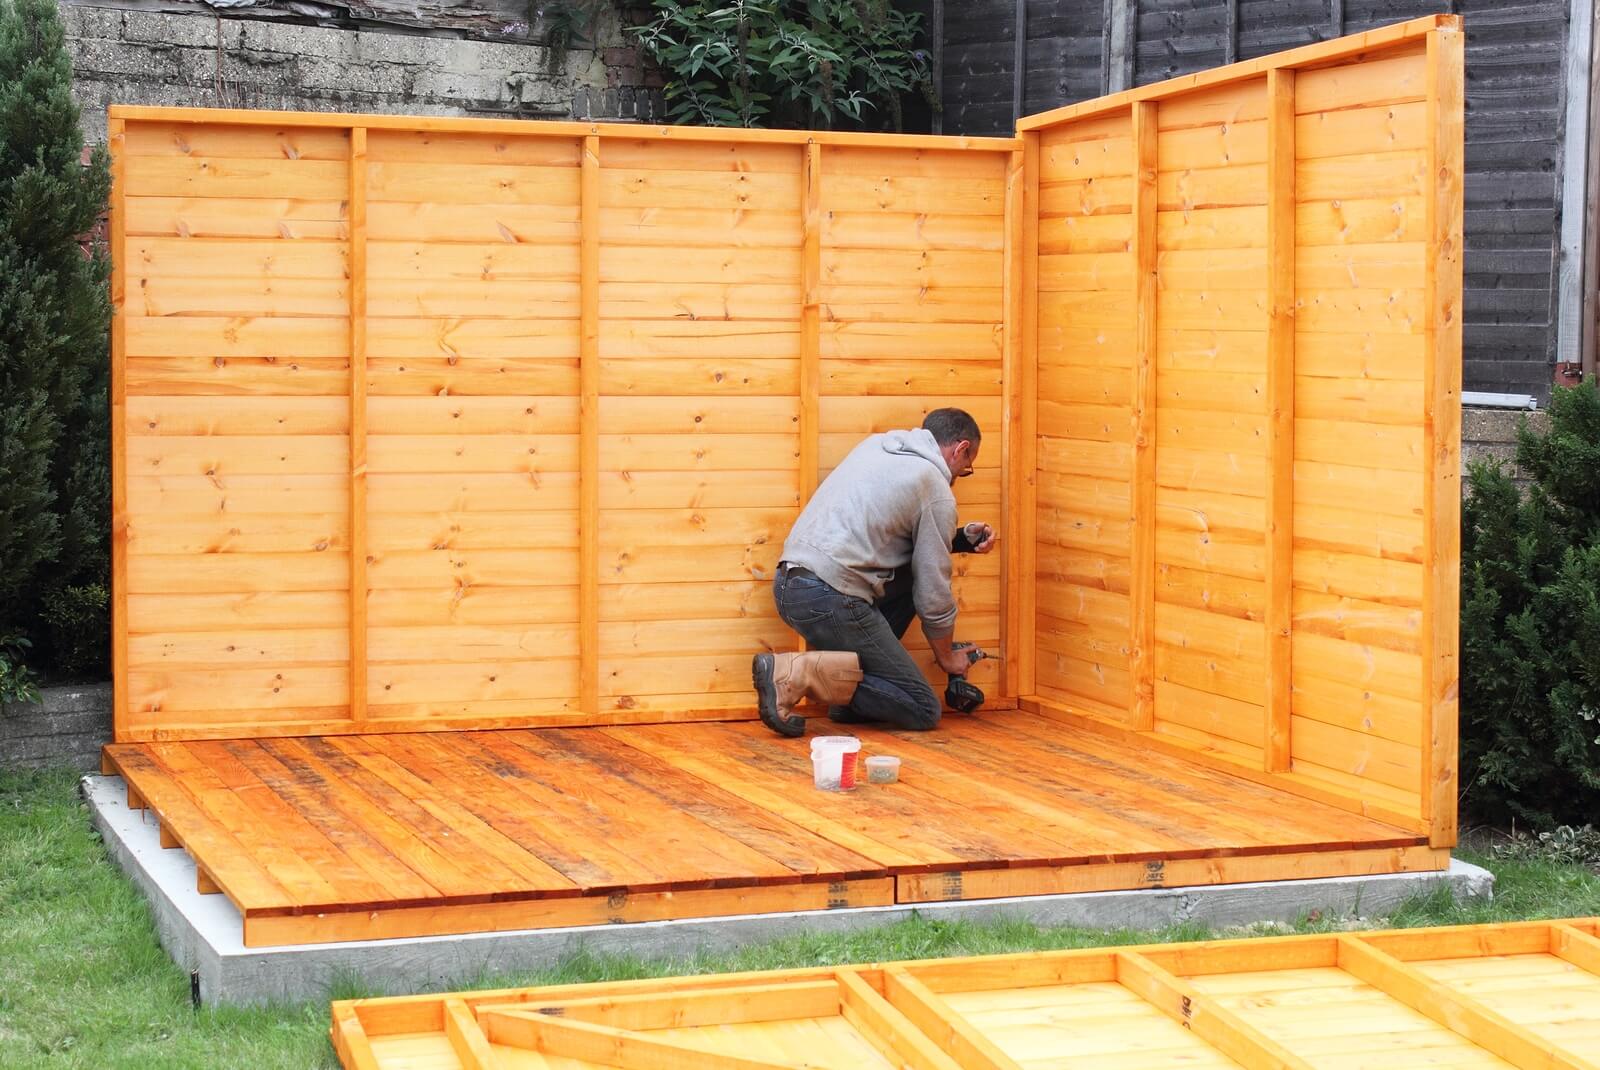
Framing the Wall
Framing the wall is a crucial step in the construction process as it creates the structure and support for the interior wall. Proper framing ensures that the wall is stable and can withstand the weight of the materials attached to it. Follow these steps to frame your interior wall:
- Prepare the Wall Plates: Start by cutting the wall plates to match the length of your wall. The wall plates are the horizontal pieces that form the top and bottom of the wall frame. Use a circular saw to make precise cuts.
- Mark Stud Locations: Using the measurements and markings from the previous step, mark the locations of the studs on the wall plates. Place the first stud at each end of the wall and then evenly space the other studs according to building code requirements (typically 16 inches apart, center to center).
- Cut and Install the Studs: Cut the studs to the desired height, accounting for the distance between the top and bottom wall plates. Position each stud vertically, aligning them with the markings on the wall plates. Use a level to ensure they are plumb (vertically straight), and toenail or screw the studs into place, attaching them securely to the wall plates.
- Add Blocking and Headers: Depending on the design of your wall, you may need to add horizontal blocking between the studs to provide additional support or create openings for doors and windows. For door or window openings, install headers above the openings according to the manufacturer’s instructions.
- Check for Level and Square: Once all the studs, blocking, and headers are in place, double-check that the wall is level and square. Use a level to ensure the wall is plumb (vertically straight) and level (horizontally even). Measure the diagonals of the wall to ensure it is square.
- Secure the Wall Plates: Secure the wall plates to the floor and ceiling using appropriate fasteners, such as nails or screws. Make sure the wall plates are firmly attached to provide stability to the wall.
It is important to follow local building codes and guidelines when framing your interior wall to ensure structural integrity and compliance with safety standards. If you are unsure about any aspect of the framing process, consult with a professional contractor or a knowledgeable builder to assist you.
With the wall properly framed, it is now ready for the next step: installing insulation. Adding insulation to your interior walls helps regulate temperature, reduce noise transmission, and improve energy efficiency. We will discuss this step in the following section.
Installing Insulation
Installing insulation in your interior walls is an important step to improve energy efficiency, soundproofing, and overall comfort in your living or working space. Follow these steps to properly install insulation:
- Determine the Type of Insulation: There are various types of insulation available, including fiberglass batts, rigid foam boards, and blown-in cellulose. Consider factors such as the desired level of insulation, budget, and local building codes when choosing the right type for your project.
- Measure and Cut the Insulation: Measure the space between the studs in your wall and cut the insulation material to fit snugly in each cavity. Make sure to cut the insulation slightly larger than the cavity to ensure a tight fit.
- Wear Protective Gear: Before handling insulation, it is essential to wear protective gear, such as gloves, safety glasses, and a dust mask, to protect yourself from fibers and potential irritants.
- Insert and Secure the Insulation: Place the insulation into each wall cavity, ensuring a full and consistent coverage. The insulation should be pressed firmly against the studs and fully fill the space, without any gaps or compressions. Use insulation hangers or staplers to secure the insulation in place, if necessary.
- Insulate Around Electrical Outlets: Pay special attention to areas around electrical outlets or switches. Cut the insulation to create an opening for the outlet box, ensuring it fits tightly around it without compromising the insulation’s effectiveness.
- Consider Vapor Barriers: In some cases, it may be necessary to install a vapor barrier to prevent moisture buildup within the walls. Check local building codes or consult with a professional to determine if a vapor barrier is required for your specific project.
- Seal Gaps and Air Leaks: Inspect the installed insulation for any gaps or air leaks. Use caulk or weatherstripping to seal any openings, ensuring maximum insulation efficiency.
- Follow Safety Precautions: During the installation process, be mindful of safety precautions and guidelines provided by the insulation manufacturer. This includes proper disposal of any excess or waste material.
Proper insulation installation is important for maximizing energy efficiency and maintaining a comfortable indoor environment. Additionally, it can help reduce noise transmission between rooms, providing a quieter living or working space.
Remember to follow local building codes and regulations when installing insulation. If you are unsure about any aspect of the insulation process or are uncomfortable working with insulation, it is recommended to consult with a professional insulation contractor for assistance.
With the insulation in place, the next step is to add electrical wiring and outlets to your interior wall. We will explore this step further in the following section.
Read more: How To Repaint Interior Walls
Adding Electrical Wiring and Outlets
Adding electrical wiring and outlets to your interior walls is an essential step to provide power and functionality to your living or working space. Follow these steps to safely and effectively add electrical wiring and outlets:
- Create a Wiring Plan: Before running any wires, create a wiring plan that outlines the locations of outlets, switches, and light fixtures on your interior walls. Determine the circuit requirements and consult local electrical codes to ensure compliance.
- Turn Off Power: Before working with electrical wiring, always turn off the power to the area you will be working in. Locate the appropriate circuit breaker and switch it off to ensure your safety.
- Run Electrical Wiring: Carefully run electrical wiring through the wall cavities, following the wiring plan you created earlier. Use proper cable or conduit for the specific application, such as non-metallic sheathed cable (NM cable) for general wiring or armored cable (AC cable) for higher protection.
- Install Electrical Boxes: Install electrical boxes at the locations where outlets, switches, or light fixtures will be positioned. Ensure the boxes are securely attached to the studs and aligned with the wall surface.
- Connect Wires: Strip the outer insulation of the electrical wires to expose the individual wires inside. Use wire nuts or appropriate connectors to join the wires together, following the wiring diagram and color codes for the specific circuit.
- Mount Outlets and Switches: Install electrical outlets and switches into the designated electrical boxes. Connect the wires to the corresponding terminals on the outlets or switches, following the manufacturer’s instructions.
- Test and Verify: Once the electrical wiring is complete, carefully turn on the power and test each outlet, switch, and light fixture to ensure they are functioning correctly. Use a voltage tester to verify the presence of power before working on any wiring connections.
- Secure and Label: Organize and secure the electrical wires within the wall cavities using staples or cable clips. Properly label each circuit at the electrical panel to ensure easy identification and maintenance in the future.
- Consult a Professional: If you are uncomfortable working with electrical components or are unsure about any aspect of the process, it is recommended to consult a licensed electrician to handle the electrical wiring and installation.
Electrical work should always be performed by a qualified individual following local electrical codes and regulations. If in doubt, seek professional assistance to ensure safe and accurate installation.
With the electrical wiring and outlets installed, it’s time to move on to the next step: hanging drywall. This step will give your walls a finished look and prepare them for further refinements.
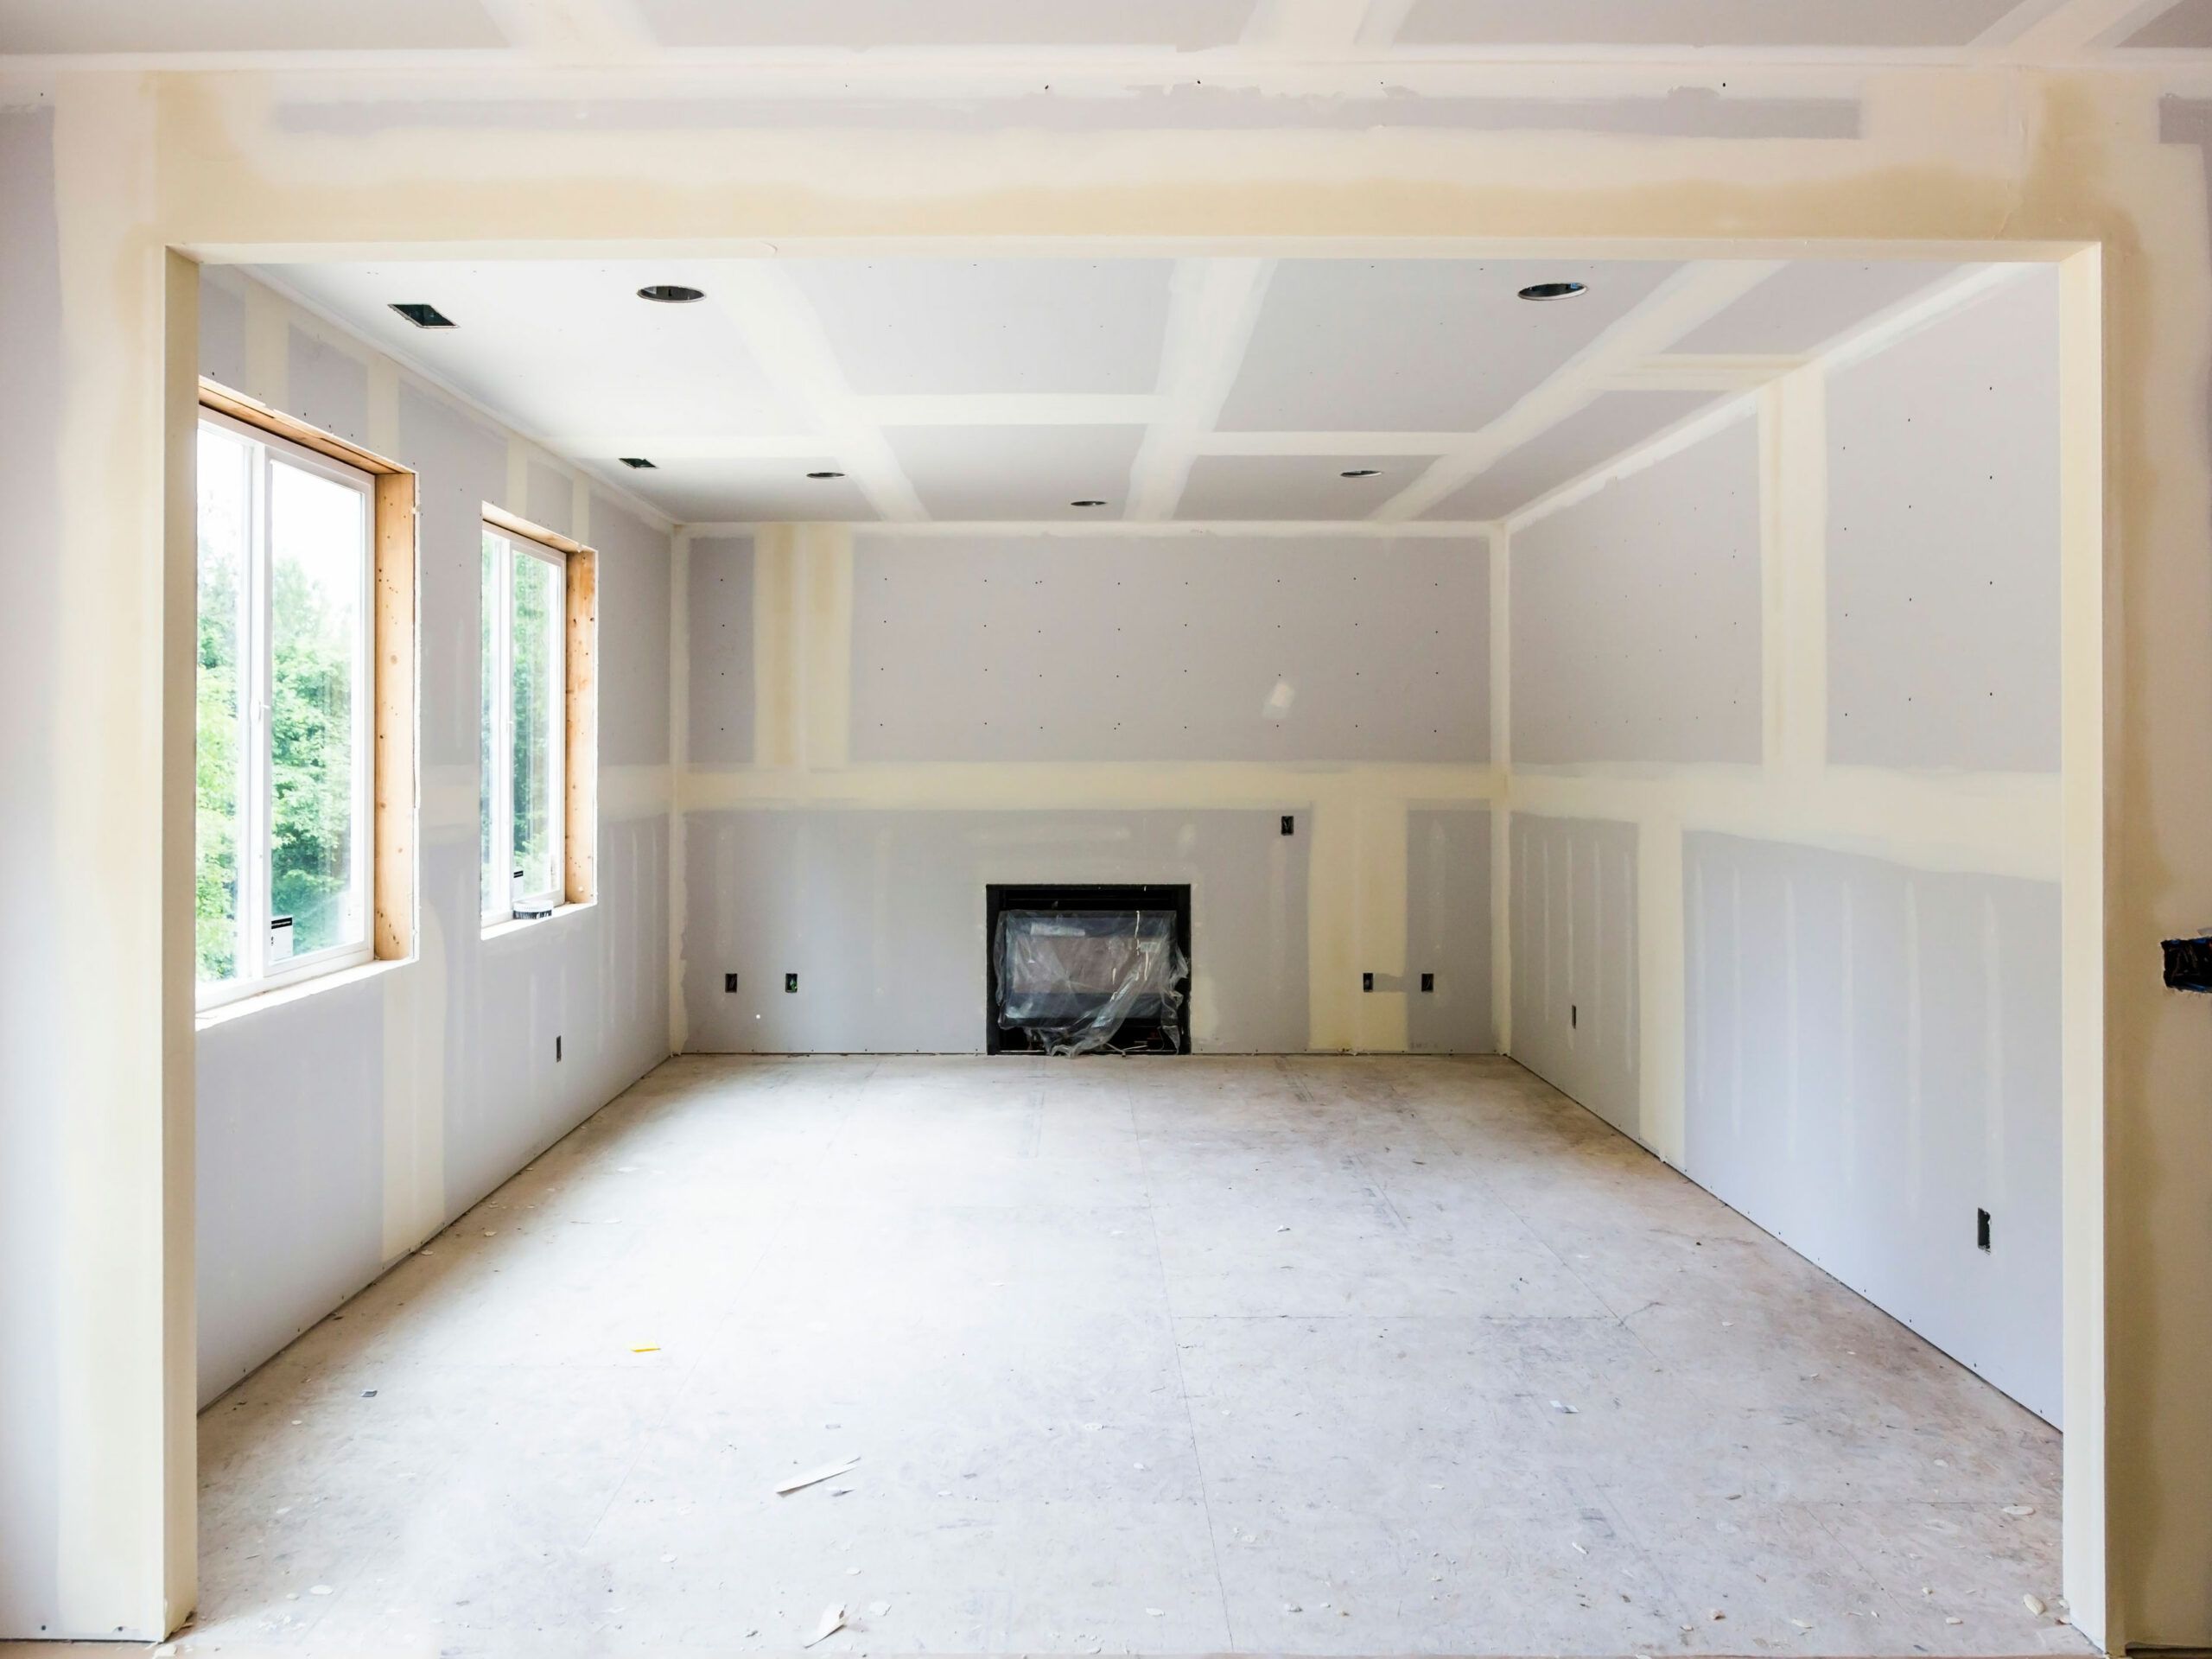
Hanging Drywall
Hanging drywall is a crucial step in the interior wall construction process, as it provides a smooth and even surface for painting or applying wallpaper. Follow these steps to properly hang drywall:
- Measure and Cut Drywall Sheets: Measure the height and width of the wall to determine the size of the drywall sheets needed. Using a utility knife and a T-square, score the front paper of the drywall sheet along the measurement line. Bend the sheet towards the scored line to snap it, then cut through the back paper to separate the sheet.
- Install the First Sheet: Begin by installing the first drywall sheet on one end of the wall, starting from the top. Place the sheet against the wall, ensuring it fits snugly into the corner, and align it with the markings for electrical boxes or outlets.
- Secure the Drywall: Use drywall screws to secure the sheet to the wall studs or blocking. Drive the screws into the drywall along the edges, leaving a gap of approximately 12 inches between each screw. Be careful not to over-tighten the screws, as this may damage the drywall.
- Continue with Subsequent Sheets: Repeat the process of measuring, cutting, and installing drywall sheets, aligning each sheet tightly against the previous one. Stagger the seams of the drywall sheets to create a stronger and more stable wall. Use a drywall T-square to ensure straight and square cuts.
- Trim for Outlets and Openings: When encountering electrical boxes, outlets, or other wall openings, mark the location on the drywall sheet and use a keyhole saw or rotary tool to carefully cut out the opening. Ensure the openings are precisely sized to fit the electrical boxes or outlets.
- Tape the Seams: After all the drywall sheets are installed, apply joint tape over the seams. Use a drywall knife to spread joint compound over the tape, feathering the edges to create a smooth transition. Allow the compound to dry completely before proceeding.
- Apply Additional Coats of Joint Compound: Depending on the desired finish, you may need to apply additional coats of joint compound and sand in between each coat for a seamless surface. Follow the manufacturer’s instructions on drying times and sanding techniques.
- Inspect for Imperfections: After the joint compound has dried and been sanded, carefully inspect the drywall for any imperfections or unevenness. Make any necessary repairs or touch-ups with additional joint compound and sanding.
- Prime the Drywall: Before painting or applying wallpaper, it’s essential to prime the drywall surface to ensure better adhesion and a uniform finish. Use a primer suitable for drywall and follow the manufacturer’s instructions.
Remember to take appropriate safety precautions when hanging drywall, such as wearing safety goggles and a dust mask. Working with drywall can produce dust and particles that may irritate the eyes and respiratory system.
With the drywall hung and prepared, the next step is tape and mud the wall seams to create a smooth and seamless finish. We will explore this step in the following section.
When building interior walls, make sure to use pressure-treated lumber for the bottom plate to prevent moisture damage. This will help ensure the longevity and stability of your walls.
Taping and Mudding the Wall Seams
Taping and mudding the wall seams is a crucial step in finishing the drywall installation process. This process helps to create a seamless and smooth surface, ensuring a professional-looking result. Follow these steps to properly tape and mud the wall seams:
- Prepare the Joint Compound: Start by preparing the joint compound according to the manufacturer’s instructions. In most cases, you will need to add water to achieve the desired consistency. Mix the compound thoroughly to remove any lumps.
- Apply Drywall Tape: Begin by applying drywall tape over the seams of the drywall. Use a drywall knife to press the tape tightly against the wall, ensuring it is fully embedded in the joint compound. Smooth out any air bubbles or wrinkles in the tape.
- Apply the First Coat of Joint Compound: Using a drywall knife or trowel, apply a thin and even layer of joint compound over the taped seams. Start by spreading the compound over the tape, extending it slightly beyond the edges. Feather the edges of the compound to create a gradual transition between the compound and the surrounding drywall.
- Embed Corner Beads: For outside corners, install metal corner beads to protect and reinforce the corners. Apply a layer of joint compound along the corner and press the corner bead into place. Smooth out any excess compound and ensure the bead is firmly embedded.
- Apply Subsequent Coats of Joint Compound: After the first coat has dried completely, typically overnight, apply additional coats of joint compound. Each coat should be wider than the previous one, extending further out onto the surrounding drywall. Feather the edges of each layer to create a seamless blend with the existing drywall.
- Sand between Coats: Once each layer of joint compound has dried, use sandpaper or a sanding block to smooth out any unevenness or imperfections. Sand lightly, ensuring not to remove too much compound or damage the surrounding drywall. Wipe away the dust with a damp cloth.
- Continue with Additional Coats and Sanding: Repeat the process of applying joint compound, allowing it to dry, and sanding between coats. Typically, three coats are sufficient to achieve a smooth finish, but additional coats may be necessary depending on the desired outcome and the initial condition of the walls.
- Inspect for Imperfections: Once all the coats have dried and been sanded, carefully inspect the walls for any remaining imperfections. Make any necessary touch-ups by applying additional joint compound to fill in any gaps, divots, or uneven areas.
- Prime the Seams: Before painting or applying wallpaper, it’s important to prime the taped and mudded seams. Priming helps to seal the joint compound and create a consistent surface for a better finish. Use a primer suitable for drywall and follow the manufacturer’s instructions.
Take your time during the taping and mudding process to ensure a high-quality finish. Properly executed taping and mudding will result in walls that appear seamless and professional, providing the perfect canvas for your chosen wall treatments.
With the wall seams taped and mudded, the next step is to sand the wall surface to achieve a smooth and even finish. We will discuss this step further in the following section.
Sanding the Wall Surface
Sanding the wall surface is a crucial step in achieving a smooth and even finish for your interior walls. It helps to remove imperfections, such as uneven joint compound, rough patches, or ridges, resulting in a seamless and professional appearance. Follow these steps to properly sand the wall surface:
- Prepare the Work Area: Before you begin sanding, clear the work area of any furniture, cover the floors and nearby surfaces with drop cloths or plastic sheets, and ensure proper ventilation in the room.
- Select the Right Sandpaper Grit: Choose the appropriate grit of sandpaper for your specific needs. For initial sanding, use a coarser grit, such as 120 or 150, to remove any high spots and smooth out larger imperfections. Then, switch to a finer grit, such as 220, for a smoother finish.
- Wear Protective Gear: To protect yourself from dust particles, it is essential to wear safety goggles, a dust mask, and protective clothing. Sanding can generate fine dust, so take appropriate precautions to ensure your safety.
- Sand the Wall Surface: Start sanding in a circular or back-and-forth motion, applying light to medium pressure. Begin with the coarser grit sandpaper and gradually work your way to the finer grit. Use long, smooth strokes to maintain an even finish. It may be helpful to use a sanding block or a pole sander for larger surfaces.
- Check Your Progress: Regularly stop and inspect your progress as you sand. Look for evenness in texture and smoothness across the surface. Pay particular attention to seams, corners, and any areas that may require additional sanding or touch-ups.
- Remove Dust: After sanding, use a dry brush, vacuum cleaner, or a damp cloth to remove the dust from the walls. Ensure that the surface is clean and free of any debris or loose particles before proceeding to the next step.
- Fill in Imperfections: If you notice any remaining divots or uneven spots after sanding, apply a thin layer of joint compound to fill in these imperfections. Allow it to dry and sand lightly to achieve a smooth and even finish.
- Wipe Down the Walls: Once you have completed sanding and filling in imperfections, use a damp cloth to wipe down the walls to remove any remaining dust or residue. This prepares the surface for the final step: painting or wallpapering.
Sanding is a dusty process, so be sure to take proper precautions to protect yourself and the surrounding areas. Work in a well-ventilated area or consider using a dust collection system to minimize the amount of dust that spreads throughout your home.
By following these steps and taking the time to sand your walls properly, you will achieve a smooth and even surface that is ready for the final touches. With the wall surface adequately sanded, you are now ready to move on to the next step: painting or wallpapering the wall.
Read more: What Nap For Interior Walls
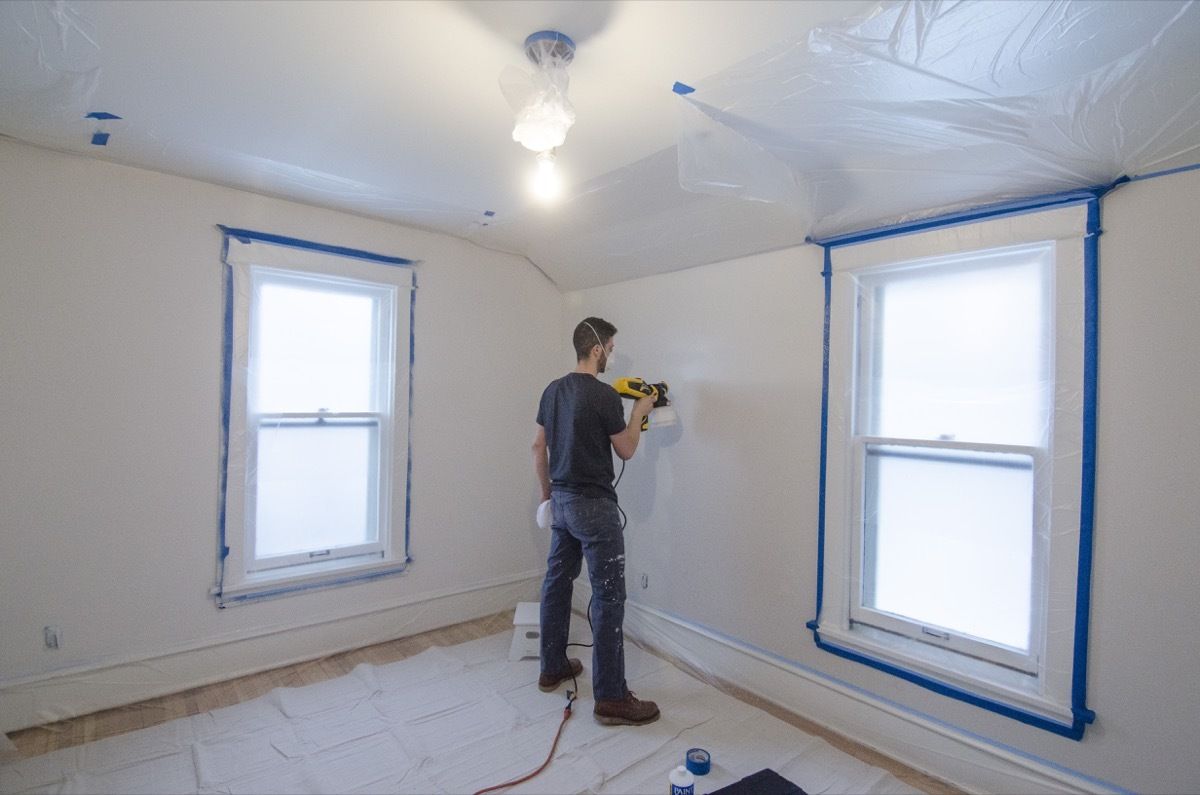
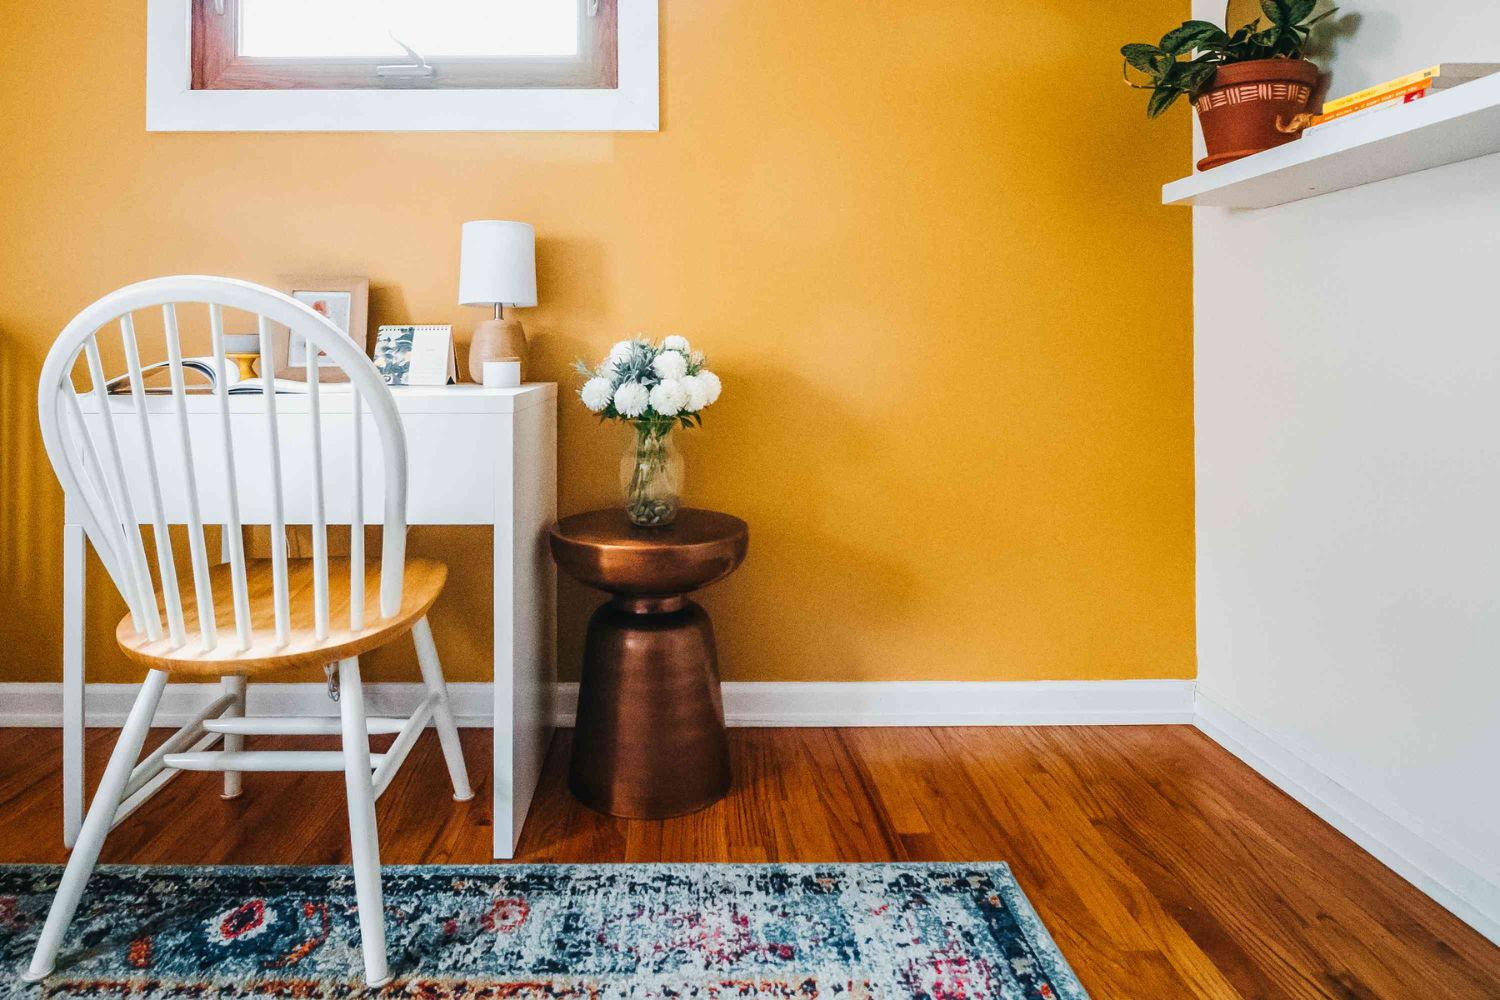
Painting or Wallpapering the Wall
Painting or wallpapering the wall is the final step in the process of building interior walls. This step adds color, texture, and personality to your living or working space, bringing your vision to life. Follow these steps to paint or wallpaper your wall:
Painting the Wall:
- Prepare the Wall: Ensure that the wall surface is clean, dry, and free of dust or debris. Fill in any remaining holes or imperfections with spackle or putty, and sand the surface lightly to create a smooth base.
- Apply Primer: If necessary, apply a primer coat to the wall before painting. A primer helps to create a smooth surface, enhances the adhesion of the paint, and improves coverage. Use a roller or brush to apply the primer evenly, following the manufacturer’s instructions.
- Choose Your Paint: Select a high-quality paint that is suitable for interior walls. Consider the desired color, finish (such as matte, eggshell, or satin), and any specific features you may require, such as washability or durability.
- Prepare the Paint: Stir the paint thoroughly to ensure proper consistency and to mix any settled pigments. Pour the paint into a roller tray or paint bucket, and use a roller or brush that is appropriate for your chosen application method.
- Start Painting: Begin painting by cutting in the edges of the wall with a brush, painting along corners, ceilings, and trim. Then, use a roller to paint the larger areas of the wall, working in small sections at a time. Apply even strokes, overlapping each stroke slightly to ensure consistent coverage.
- Allow the Paint to Dry: Follow the paint manufacturer’s instructions regarding drying time between coats. Typically, it is recommended to wait at least 2-4 hours before applying a second coat. Ensure the paint is fully dry and cured before proceeding to any further steps or handling the wall.
- Apply Additional Coats (if necessary): Depending on the desired color intensity and coverage, apply additional coats of paint. Allow each coat to dry fully and lightly sand between coats, if needed, for a smooth finish.
- Protect the Painted Surface: After your final coat is dry, consider applying a clear topcoat or sealer to protect the painted surface. This will help protect the paint from wear and tear, stains, and fading over time.
Wallpapering the Wall:
- Prepare the Wall: Ensure that the wall surface is clean, dry, and free of any imperfections. Repair any damage, such as cracks or holes, and sand the surface lightly to create a smooth, even base for the wallpaper.
- Choose Your Wallpaper: Select the wallpaper design, pattern, and material that align with your desired aesthetic. Consider factors such as the room’s style, lighting, and the level of durability or washability required.
- Measure and Cut the Wallpaper: Measure the height of the wall and add a few inches to allow for trimming. Cut the wallpaper into manageable lengths, ensuring the pattern aligns correctly.
- Apply Wallpaper Adhesive: Follow the manufacturer’s instructions to mix and apply wallpaper adhesive to the back of the wallpaper. Use a paint roller or brush to apply the adhesive evenly, ensuring full coverage and avoiding excessive soaking.
- Hang the Wallpaper: Starting from the top of the wall, carefully position the wallpaper against the wall, aligning it with the edges and any reference marks. Smooth out any air bubbles or wrinkles using a wallpaper brush or a smoothing tool, working from the center towards the edges.
- Trim and Match the Pattern: Use a sharp utility knife or wallpaper trimming tool to trim the excess wallpaper at the top and bottom of the wall. Take care to match the pattern seamlessly, creating a cohesive and uninterrupted design.
- Continue Hanging the Wallpaper: Repeat the process for each subsequent piece of wallpaper, ensuring proper alignment and pattern matching. Take your time to maintain consistency and a seamless appearance throughout the wall.
- Allow the Wallpaper to Set: Let the wallpaper set and dry as per the manufacturer’s instructions. Avoid touching or disturbing the wallpaper until it is fully dry and adhered to the wall.
- Protect and Maintain the Wallpaper: Consider adding a clear coat or wallpaper protectant to enhance durability and ease of maintenance. Follow the manufacturer’s recommendations for cleaning and caring for the specific wallpaper material.
Whether you choose to paint or wallpaper your wall, take your time and pay attention to detail to achieve the desired look. Enjoy the process of adding color and personality to your space, and step back to admire the transformation once the paint is dry or the wallpaper is set.
With painting or wallpapering complete, you are now ready to add the finishing touches to your interior walls. The next step is to install baseboards and trim, which will enhance the overall appearance and provide a polished look to your newly constructed walls.
Installing Baseboards and Trim
Installing baseboards and trim is the final step in completing the construction of your interior walls. Baseboards and trim not only provide a finished look to the walls but also serve to cover any gaps or transitions between the wall and the floor or other surfaces. Follow these steps to properly install baseboards and trim:
- Gather the Materials: Depending on your design preference, you will need baseboards, trim pieces, and the necessary tools such as a miter saw, measuring tape, a coping saw, a nail gun or hammer, and finishing nails.
- Measure and Cut: Measure each wall section and cut the baseboards and trim pieces accordingly. Use a miter saw to create precise angled cuts for mitered corners or to achieve clean, straight cuts. Make sure to double-check your measurements before cutting.
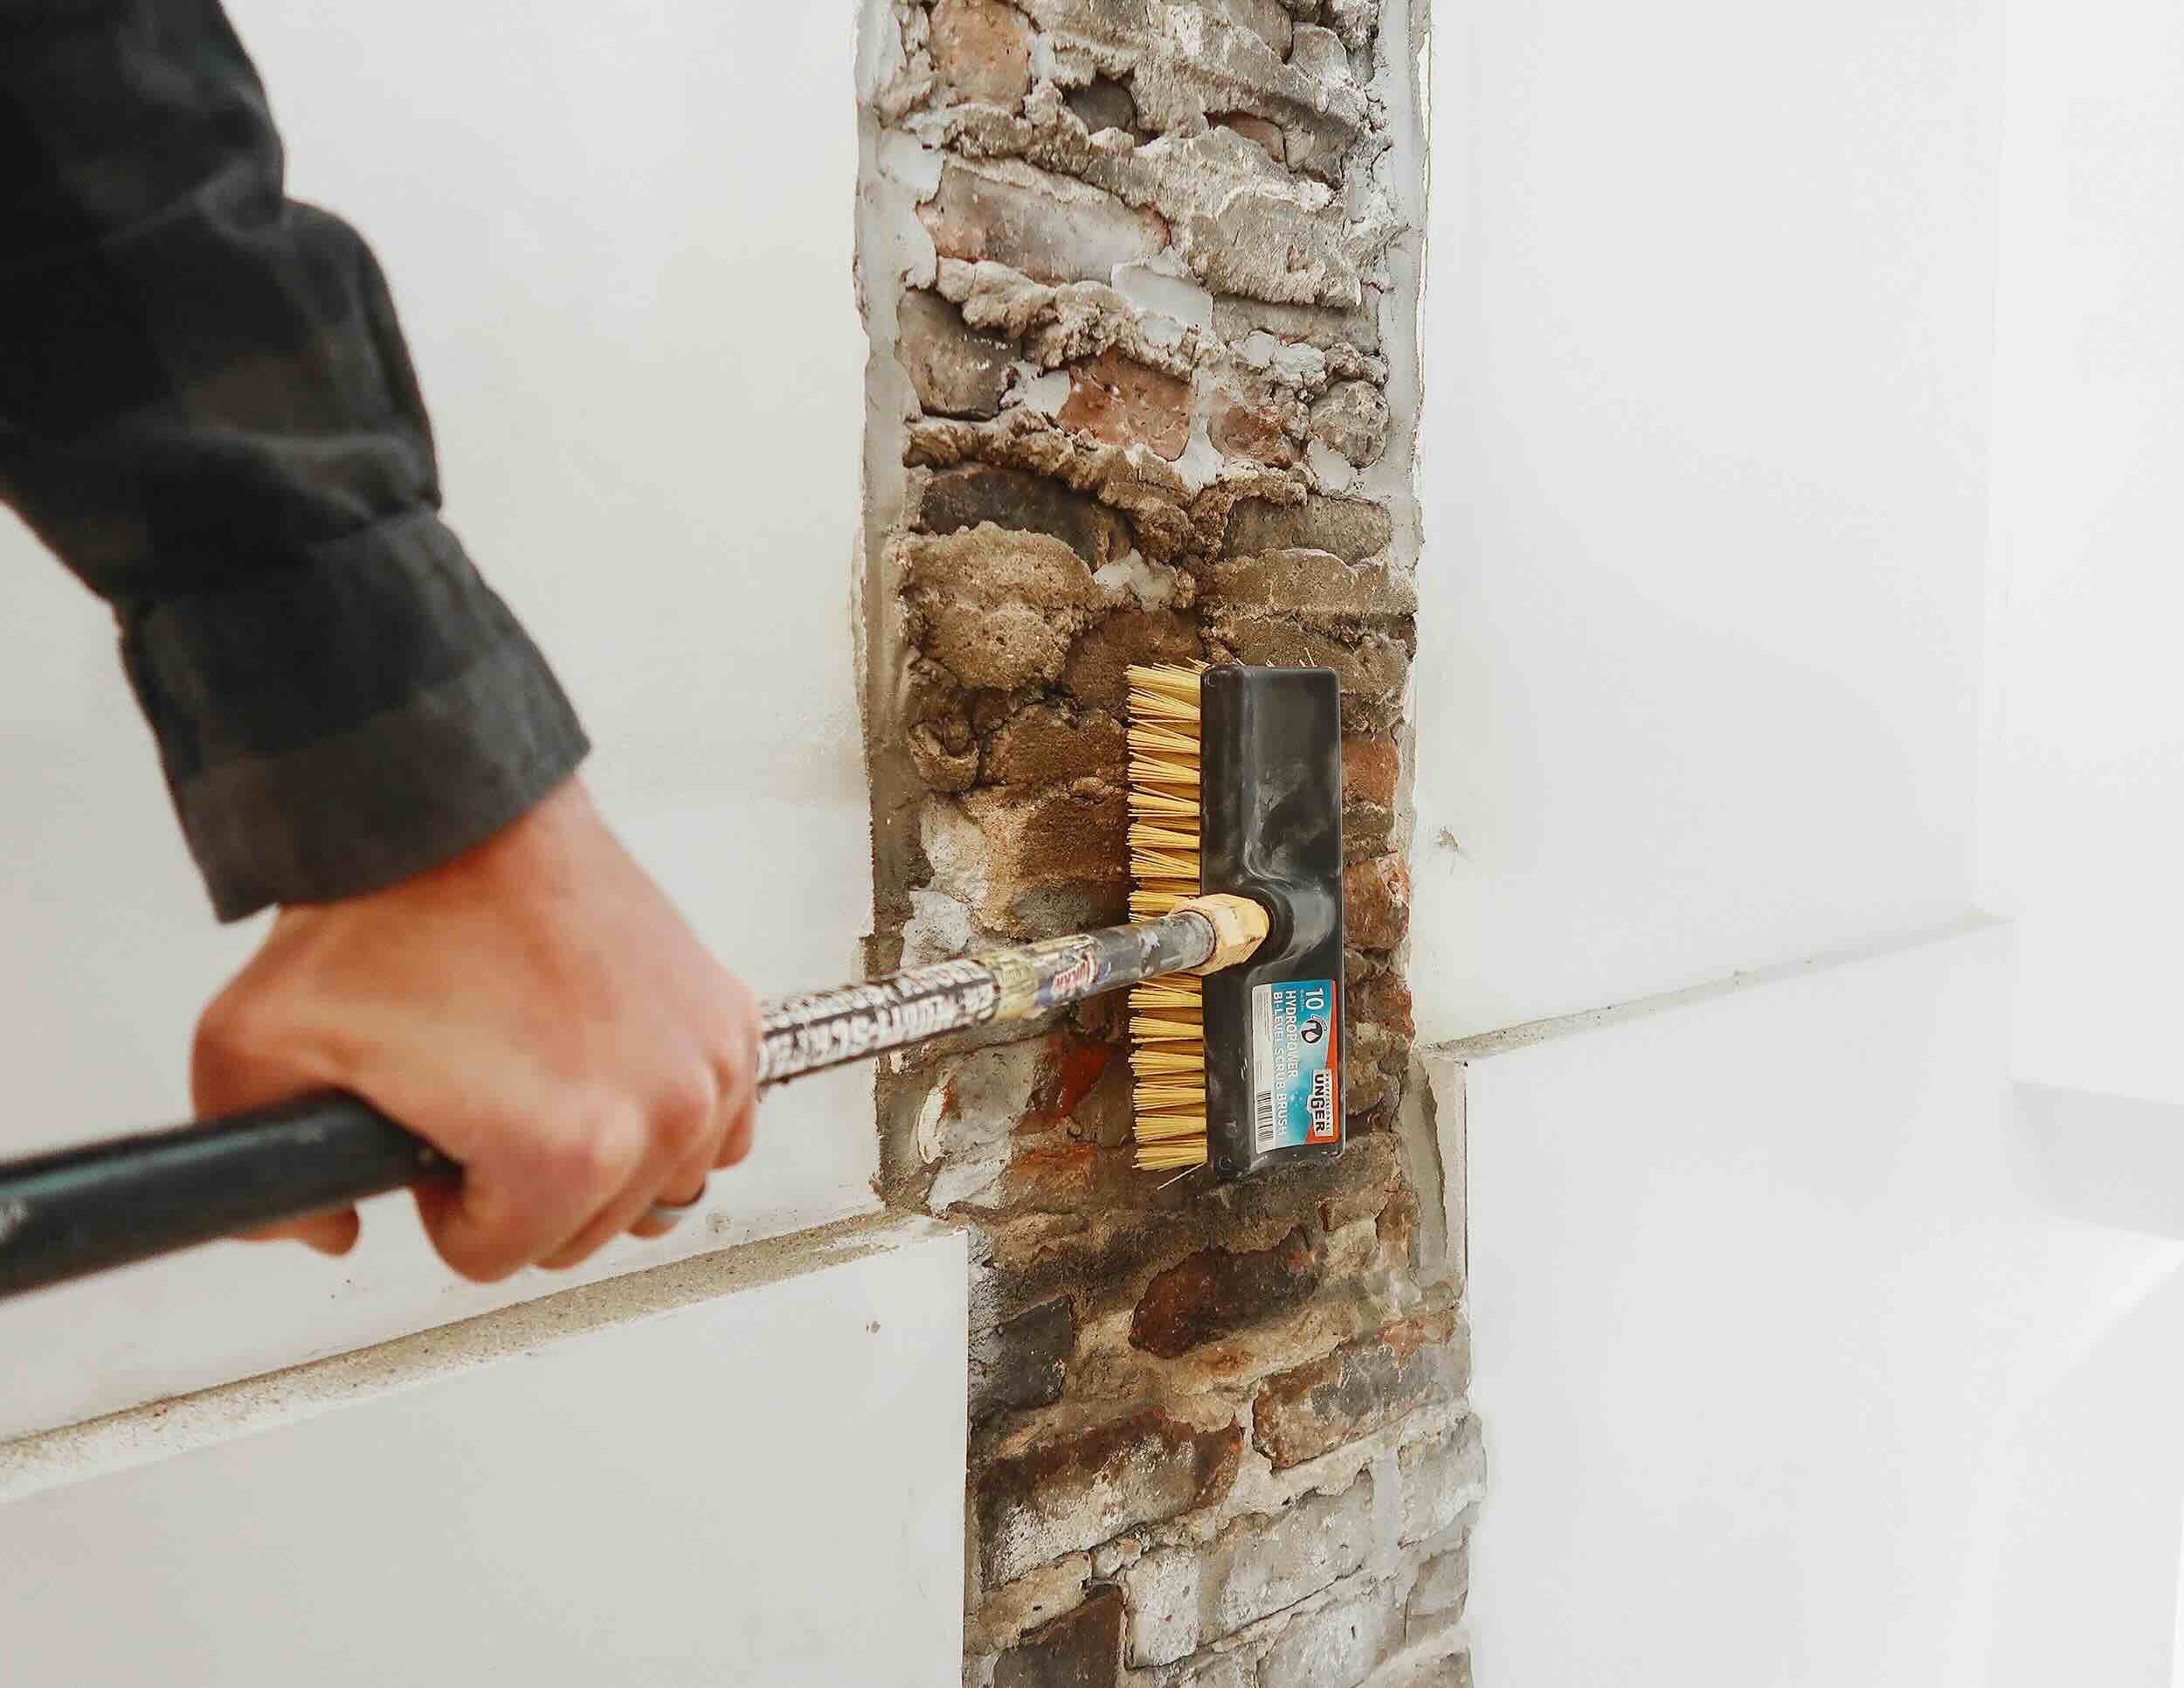
- Prepare the Wall: Remove any existing baseboard or trim, and ensure the wall surface is clean and free from dust or debris. Sand any rough edges or imperfections to create a smooth and even surface for the new baseboards and trim.
- Start with the Baseboards: Begin by installing the baseboards along the bottom edge of the wall. Apply a thin bead of construction adhesive to the back of each baseboard piece to provide extra stability.
- Attach the Baseboards: Use a nail gun or hammer and finishing nails to secure the baseboards to the studs or blocking. Drive the nails in at an angle to ensure a solid connection. Space the nails approximately every 16 inches or according to the manufacturer’s recommendations.
- Cut and Install Trim Pieces: Measure, cut, and install the trim pieces such as crown molding, chair rails, or other decorative trim elements according to your design choices. Coping or miter the ends of the trim pieces as necessary to create tight and seamless joints at corners and intersections.
- Secure the Trim Pieces: Attach the trim pieces to the wall using a nail gun or hammer and finishing nails. Place the nails in inconspicuous locations, such as at the top edge of baseboards or along the top portion of the trim, where they will be hidden once painted or stained.
- Fill and Sand Nail Holes: Fill any nail holes or gaps with wood filler or putty that matches the color of the baseboards and trim. Allow the filler to dry and sand it lightly to create a smooth, seamless surface.
- Finish the Baseboards and Trim: Sand the baseboards and trim lightly to remove any imperfections or rough spots. Finish the baseboards and trim with paint, stain, or a clear sealant to enhance their appearance and protect the wood.
- Clean and Inspect: Once the finish is dry, clean the baseboards and trim to remove any dust or debris. Inspect the installation for any gaps, unevenness, or imperfections, and make any necessary touch-ups or adjustments.
Take your time during the installation process to ensure precise cuts, proper alignment, and a secure attachment. Properly installed baseboards and trim provide the perfect finishing touch to your interior walls, elevating the overall aesthetic and providing a polished look to your space.
With the baseboards and trim in place, you have now completed the construction and finishing of your interior walls. Step back and admire your work, knowing that you have successfully transformed your space and created functional and visually appealing rooms within your home or building.
Remember to follow safety guidelines and use appropriate protective gear when working with tools and materials. If you are unsure about any aspect of the installation process, consider consulting with a professional carpenter or contractor for guidance and assistance.
Congratulations on completing your interior wall construction project! Enjoy your newly constructed and beautifully finished space.
Read more: How To Paint Interior Brick Wall
Conclusion
Building interior walls is a rewarding and essential part of creating functional and aesthetically pleasing living or working spaces. With the knowledge and techniques outlined in this article, you now have a comprehensive understanding of the step-by-step process involved in constructing interior walls.
From choosing the right materials to measuring and planning the wall layout, framing the walls, and installing insulation, electrical wiring, and outlets, each step plays a vital role in creating sturdy and well-insulated walls. The process continues with hanging drywall, taping and mudding the seams, sanding the surface, and finally, painting or wallpapering the walls. And let’s not forget the installation of baseboards and trim, which adds the finishing touch and completes the overall look and feel.
Throughout the construction process, it is crucial to prioritize safety precautions, follow local building codes, and seek professional assistance when needed. Building interior walls requires attention to detail, precision, and patience to ensure a successful outcome. With each step, take the time to assess your work, make adjustments if necessary, and appreciate the progress you have made.
By building interior walls, you have transformed a blank space into functional rooms that offer privacy, sound insulation, and a personalized atmosphere. Whether you’re renovating an existing space or constructing a new one, this knowledge empowers you to take control of your living or working environment and manifest your creative vision.
Remember, the process of building interior walls is not just about creating physical structures; it’s about creating the foundation for memories, experiences, and a place to call home. Embrace each step with enthusiasm and enjoy the journey as you bring your space to life.
Now, armed with this comprehensive guide, you have the tools and knowledge to embark on your own interior wall construction project. So, put on your DIY hat, gather your materials, and get ready to transform your space into something truly remarkable.
Frequently Asked Questions about How To Build Interior Walls
Was this page helpful?
At Storables.com, we guarantee accurate and reliable information. Our content, validated by Expert Board Contributors, is crafted following stringent Editorial Policies. We're committed to providing you with well-researched, expert-backed insights for all your informational needs.


0 thoughts on “How To Build Interior Walls”