Articles
How To Spray Paint Wood Furniture
Modified: November 1, 2024
Learn how to transform your furniture with spray paint! This step-by-step guide will show you the easiest way to spray paint wood furniture and achieve professional-looking results.
(Many of the links in this article redirect to a specific reviewed product. Your purchase of these products through affiliate links helps to generate commission for Storables.com, at no extra cost. Learn more)
Introduction
Welcome to our comprehensive guide on how to spray paint wood furniture. If you have old or worn-out wooden furniture that needs a fresh and vibrant makeover, spray painting is a fantastic way to transform its appearance. Not only does it offer a cost-effective solution, but it also allows you to have complete control over the color and style of your furniture.
Spray painting wood furniture not only breathes new life into worn-out pieces but also gives you the opportunity to customize them according to your personal taste and interior decor. Whether you want to achieve a sleek and modern look or add a pop of color and character to your furniture, spray painting can help you achieve your desired results.
In this guide, we will take you through a step-by-step process of spray painting wood furniture, providing you with helpful tips and techniques to ensure a successful and professional-looking finish. By following our instructions and utilizing the right tools and materials, you’ll be able to transform your furniture into stunning pieces that will be the highlight of your home.
Before we dive into the steps, it’s important to gather the necessary supplies to ensure a smooth and efficient spraying process. Let’s move on to our first step: gathering supplies.
Key Takeaways:
- Transform worn-out wooden furniture into stunning, personalized pieces with spray painting. Enjoy the process and unleash your creativity to revitalize your home decor.
- Proper preparation, technique, and patience are key to achieving a professional and durable finish when spray painting wood furniture. Embrace the satisfaction of creating personalized, stylish pieces.
Read more: How To Paint Wood Furniture White
Step 1: Gather Supplies
Before you start spray painting your wood furniture, it’s essential to gather all the necessary supplies. Having everything prepared will make the process smoother and more enjoyable. Here’s a list of items you’ll need:
- Spray paint: Choose a paint specifically designed for wood surfaces. Look for paint that offers good coverage and adhesion.
- Primer: A primer is essential for ensuring proper adhesion of the paint and enhancing the durability of the finish. Select a primer that is suitable for wood surfaces.
- Sandpaper: Opt for medium-grit sandpaper (around 120-150 grit) for removing any existing finish or roughening the surface for better paint adhesion.
- Clean cloth or sponge: You’ll need this for wiping down the furniture and removing any dust or debris.
- Drop cloths or newspapers: These will protect your working area from any overspray or paint drips.
- Masking tape: Use this to cover any areas you don’t want to be painted, such as hardware or glass surfaces.
- Safety equipment: This includes goggles, a mask, and gloves to protect yourself from fumes and chemicals.
- Painting equipment: Use a spray paint gun or cans that have a comfort grip and adjustable nozzle for easy and controlled spraying.
Once you have gathered all the supplies, you will be prepared to move on to the next step: preparing the furniture for spray painting.
Step 2: Prepare the Furniture
Preparing the furniture is a crucial step to ensure a smooth and flawless finish. Proper preparation helps remove any existing finish, smooth out imperfections, and create an ideal surface for the paint to adhere to. Follow these steps to prepare your wood furniture for spray painting:
- Remove any hardware or accessories: Take off any knobs, handles, or other hardware from the furniture. This will make the painting process easier and prevent them from getting painted accidentally.
- Clean the surface: Use a mild detergent or cleaner to wipe down the furniture and remove dirt, grease, and grime. Ensure that the surface is completely clean and dry before proceeding.
- Repair any damages: Inspect the furniture for any scratches, dents, or other damages. Fill in any holes or cracks with wood filler and sand the repaired areas until they are smooth and level with the rest of the surface.
- Protect the surrounding area: Cover the floor or working area with drop cloths or newspapers to protect it from any paint drips or overspray.
- Mask off any areas: Use masking tape to cover any areas you do not want to be painted, such as glass surfaces or decorative trims.
Once you have completed these preparation steps, you’re ready to move on to the next crucial step: sanding the wood.
Step 3: Sanding the Wood
Sanding the wood is an important step in the spray painting process, as it helps create a smooth and even surface for the paint to adhere to. Follow these steps for sanding your wood furniture:
- Choose the right sandpaper: Select a medium-grit sandpaper, such as 120 or 150 grit. This will help remove any existing finish or roughen the surface for better paint adhesion.
- Sand in the direction of the grain: Hold the sandpaper firmly and sand the wood in the direction of the grain. This will help prevent any scratches or damage to the wood fibers.
- Apply even pressure: Apply even pressure while sanding to ensure a consistent finish. Avoid pressing too hard, as this may damage the wood or create uneven surfaces.
- Smooth out any imperfections: Pay extra attention to areas with scratches, dents, or rough spots. Sand these areas until they become smooth and blend in with the rest of the surface.
- Wipe off the dust: Once you have finished sanding, use a clean cloth or sponge to wipe off any dust or debris from the furniture. Ensuring a clean surface is crucial for achieving a professional paint finish.
After sanding, you’ll notice that the wood feels smoother and the surface is ready for the next step: cleaning the surface.
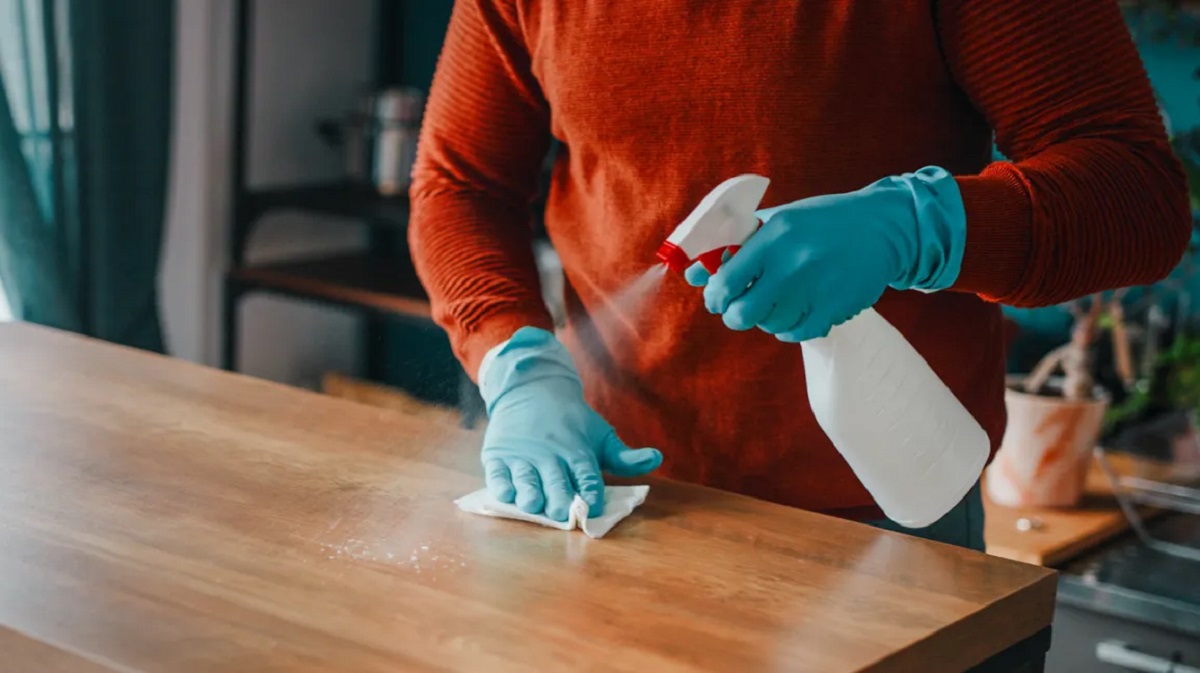
Step 4: Cleaning the Surface
Before applying any paint, it’s essential to clean the surface of the wood furniture thoroughly. This step removes any remaining dust, debris, or residue from the sanding process and ensures that the surface is ready for priming and painting. Follow these steps to clean the surface effectively:
- Use a clean cloth or sponge: Dampen a clean cloth or sponge with water. Make sure it’s not dripping wet, as excessive moisture can damage the wood.
- Gently wipe the surface: Begin by gently wiping the entire surface of the furniture. Pay attention to any corners, crevices, or hard-to-reach areas.
- Remove stubborn stains or grease: If there are any stubborn stains or grease marks, you may need to use a mild detergent or cleaner. Apply it to a cloth or sponge and gently scrub the affected areas.
- Rinse and dry: After cleaning, rinse the furniture surface with a clean cloth or sponge dampened with fresh water to remove any cleaner residue. Once done, use a dry cloth to thoroughly dry the surface.
- Inspect for cleanliness: Take a moment to inspect the surface and ensure that it’s clean and free from any dirt or residue. If needed, repeat the cleaning process until you achieve a pristine surface.
Properly cleaning the surface is vital for achieving an excellent paint finish. Once the furniture is clean and dry, you’re ready to move on to the next step: priming the furniture.
Read more: How To Paint Outdoor Wood Furniture
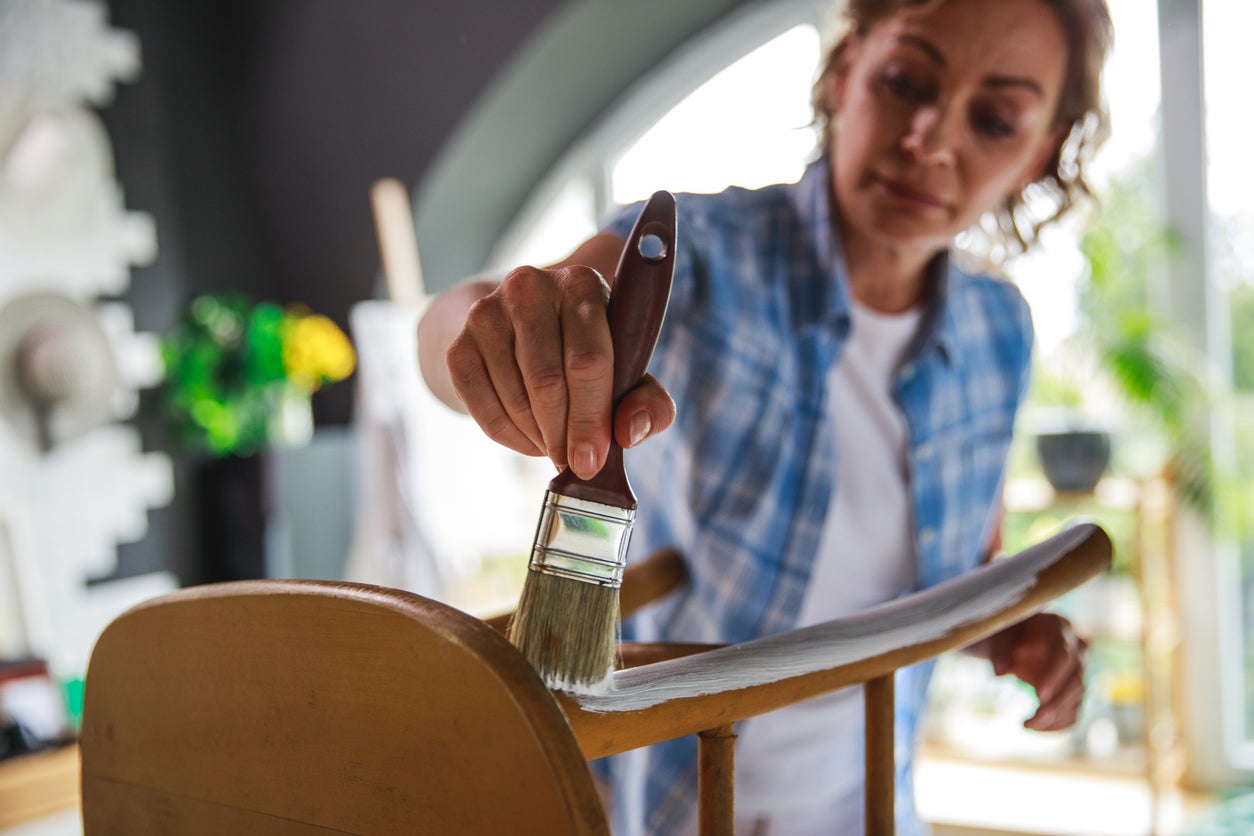
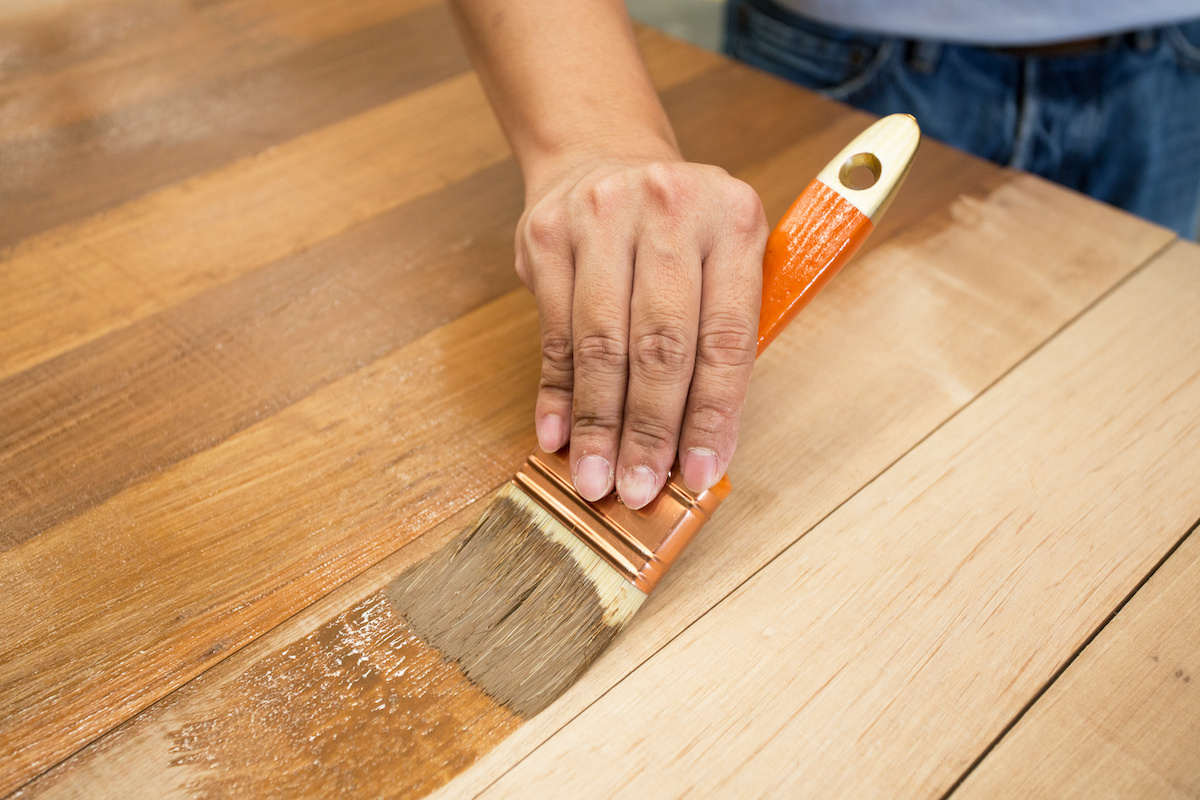
Step 5: Priming the Furniture
Priming the furniture is a critical step in the spray painting process, as it helps the paint adhere better to the wood surface and ensures a smoother and longer-lasting finish. Follow these steps to prime your wood furniture:
- Choose the right primer: Select a primer specifically designed for wood surfaces. Look for a high-quality primer that offers good adhesion and coverage.
- Prepare the primer: Refer to the manufacturer’s instructions on how to properly prepare the primer. This may involve stirring it thoroughly or thinning it with a suitable solvent, if necessary.
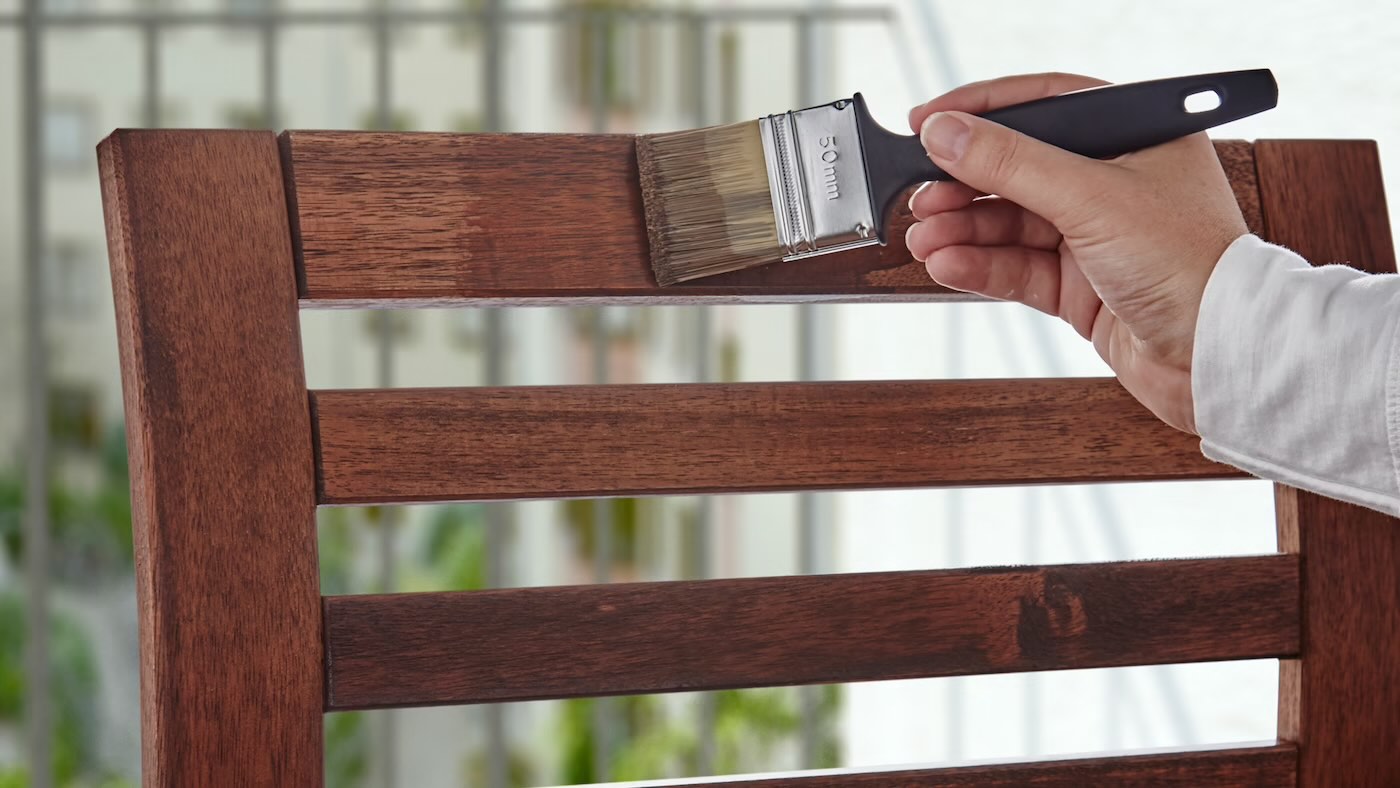
- Apply the primer: Start by applying a thin and even layer of primer to the furniture using a brush or spray gun. Work in long, smooth strokes and ensure complete coverage on all surfaces.
- Pay attention to details: Take extra care when priming any intricate or hard-to-reach areas of the furniture. Use a small brush or foam applicator to ensure thorough coverage.
- Allow the primer to dry: Follow the recommended drying time indicated on the primer container. Typically, it takes around 1-2 hours for the primer to dry completely.
- Inspect the primed surface: Once the primer has dried, inspect the furniture for any missed spots or uneven coverage. If necessary, apply an additional coat of primer to ensure a solid and smooth base for the paint.
Priming the furniture provides a solid foundation for the paint and enhances the durability of the finish. With the furniture properly primed, you’re now ready for the exciting part: applying the spray paint!
Before spray painting wood furniture, make sure to sand the surface to create a smooth and clean base for the paint to adhere to. This will help the paint to go on more evenly and last longer.
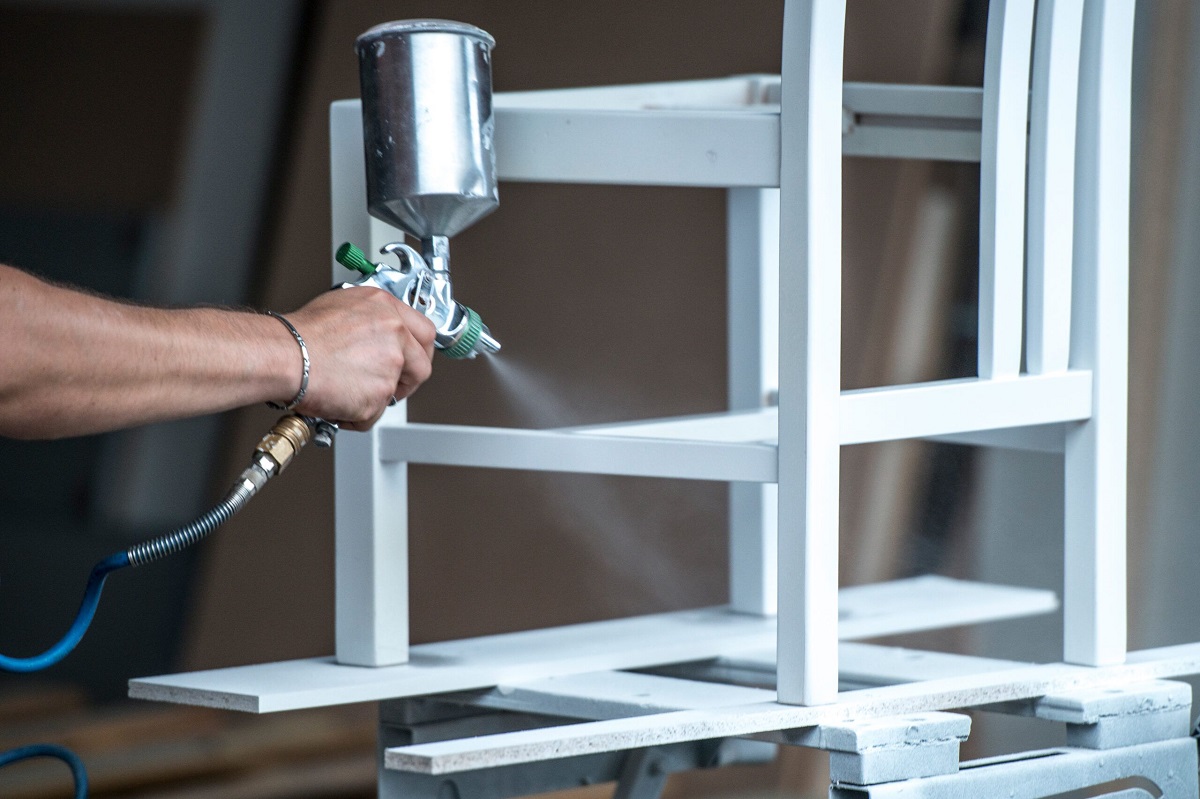
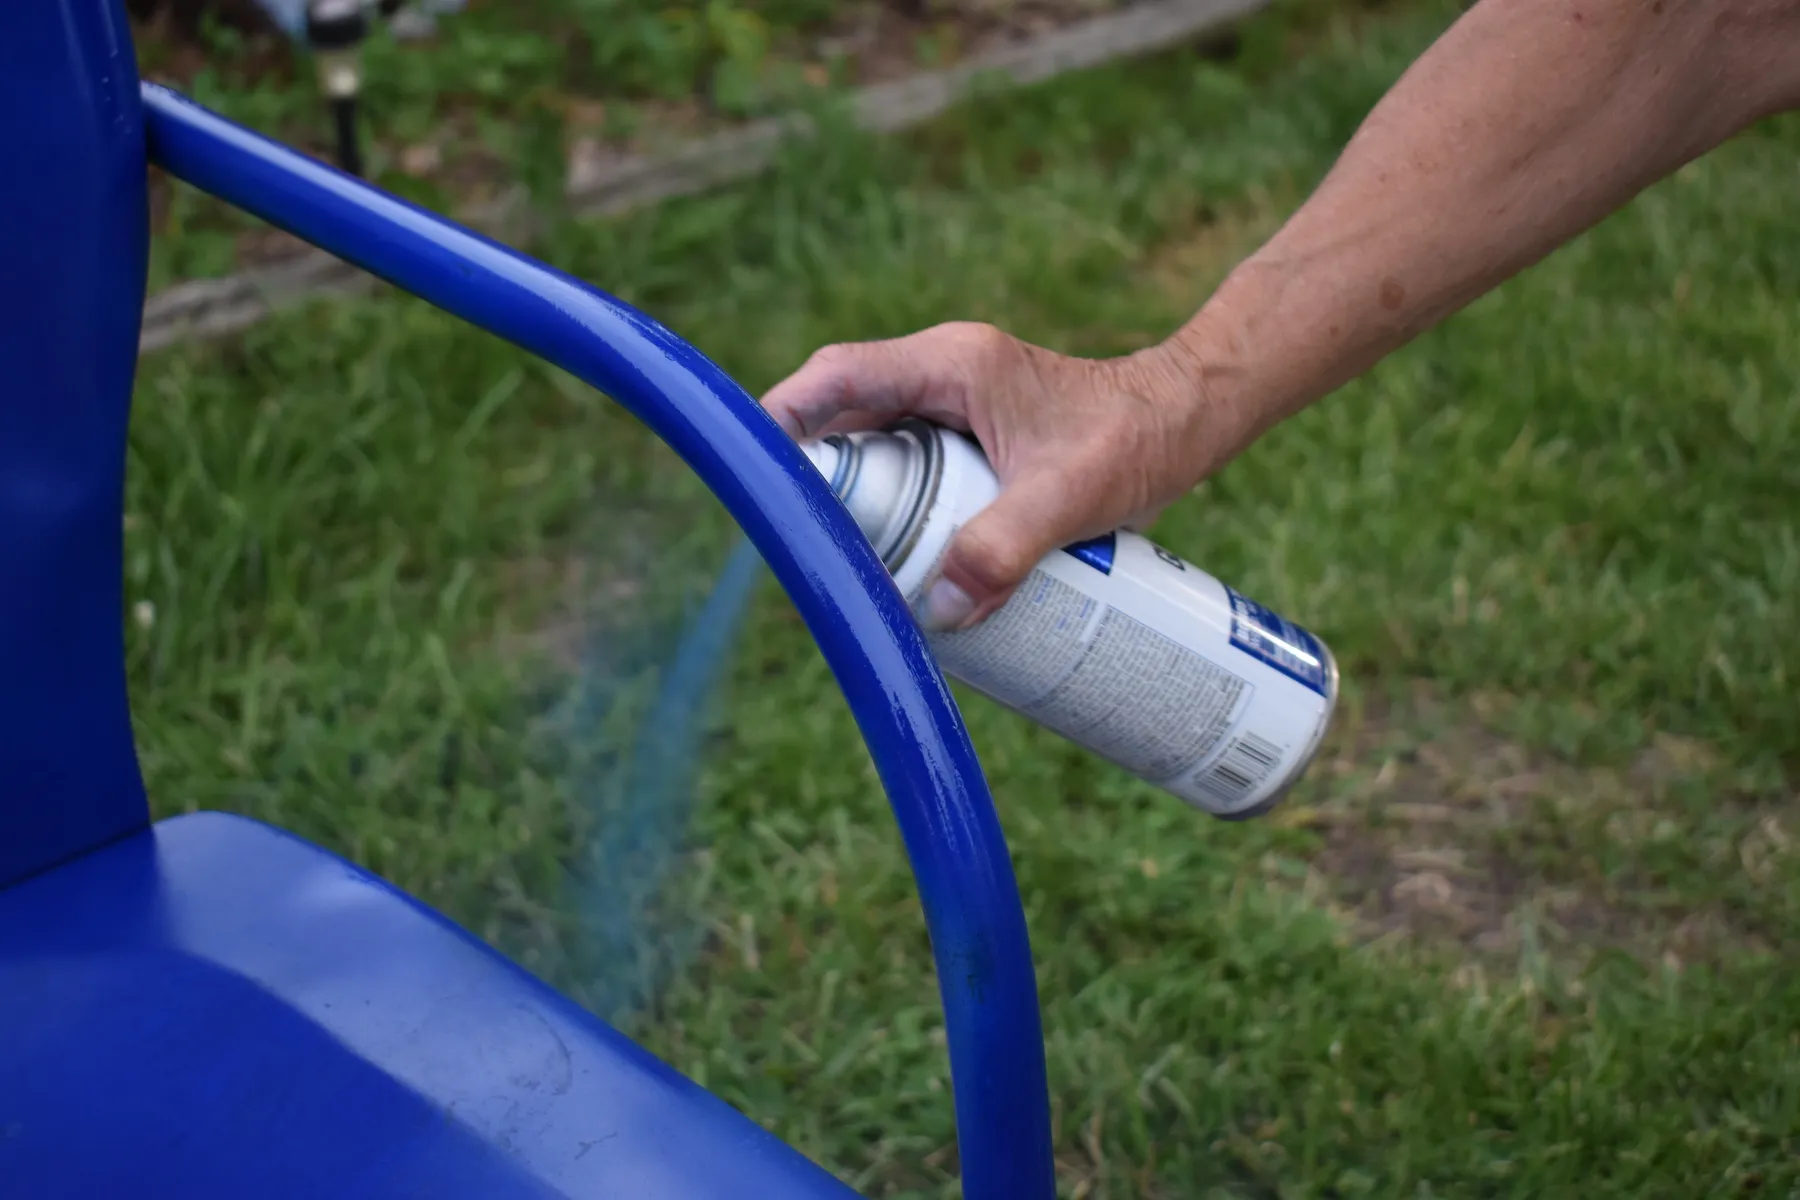
Step 6: Applying the Spray Paint
Now comes the fun part – applying the spray paint to your wood furniture! Follow these steps for a smooth and professional-looking finish:
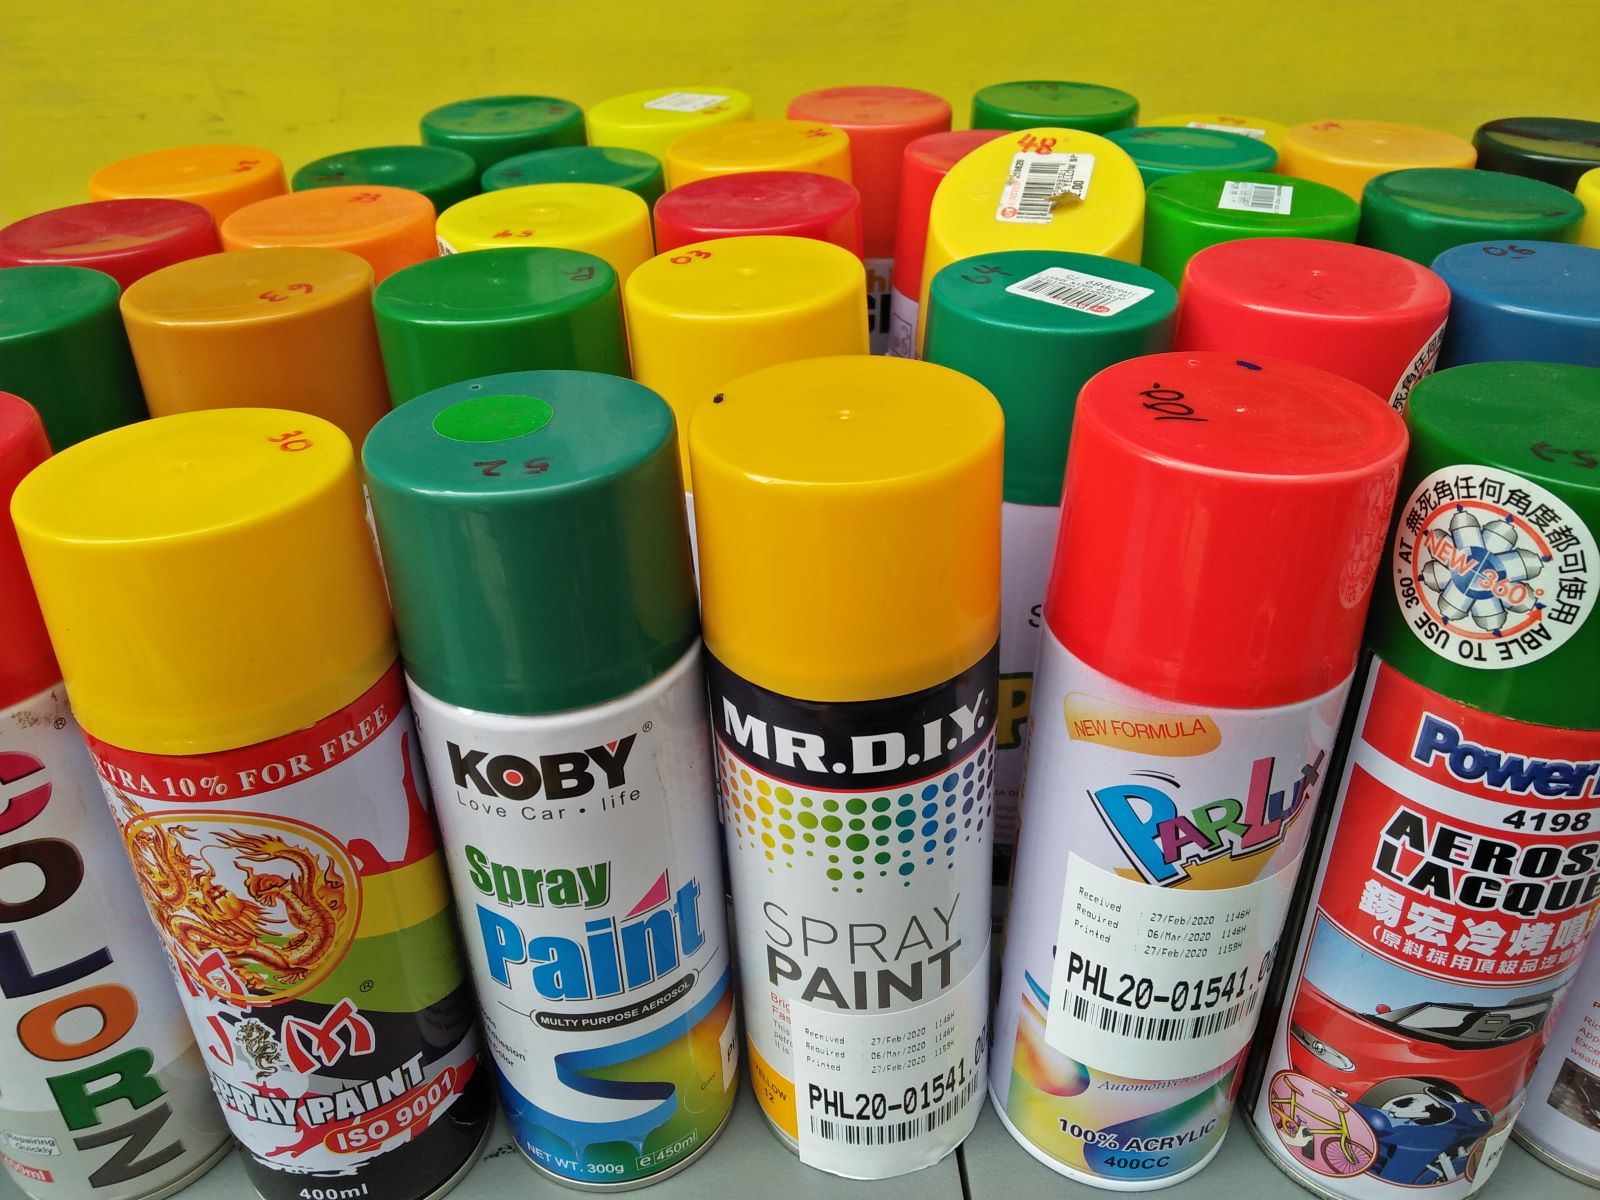
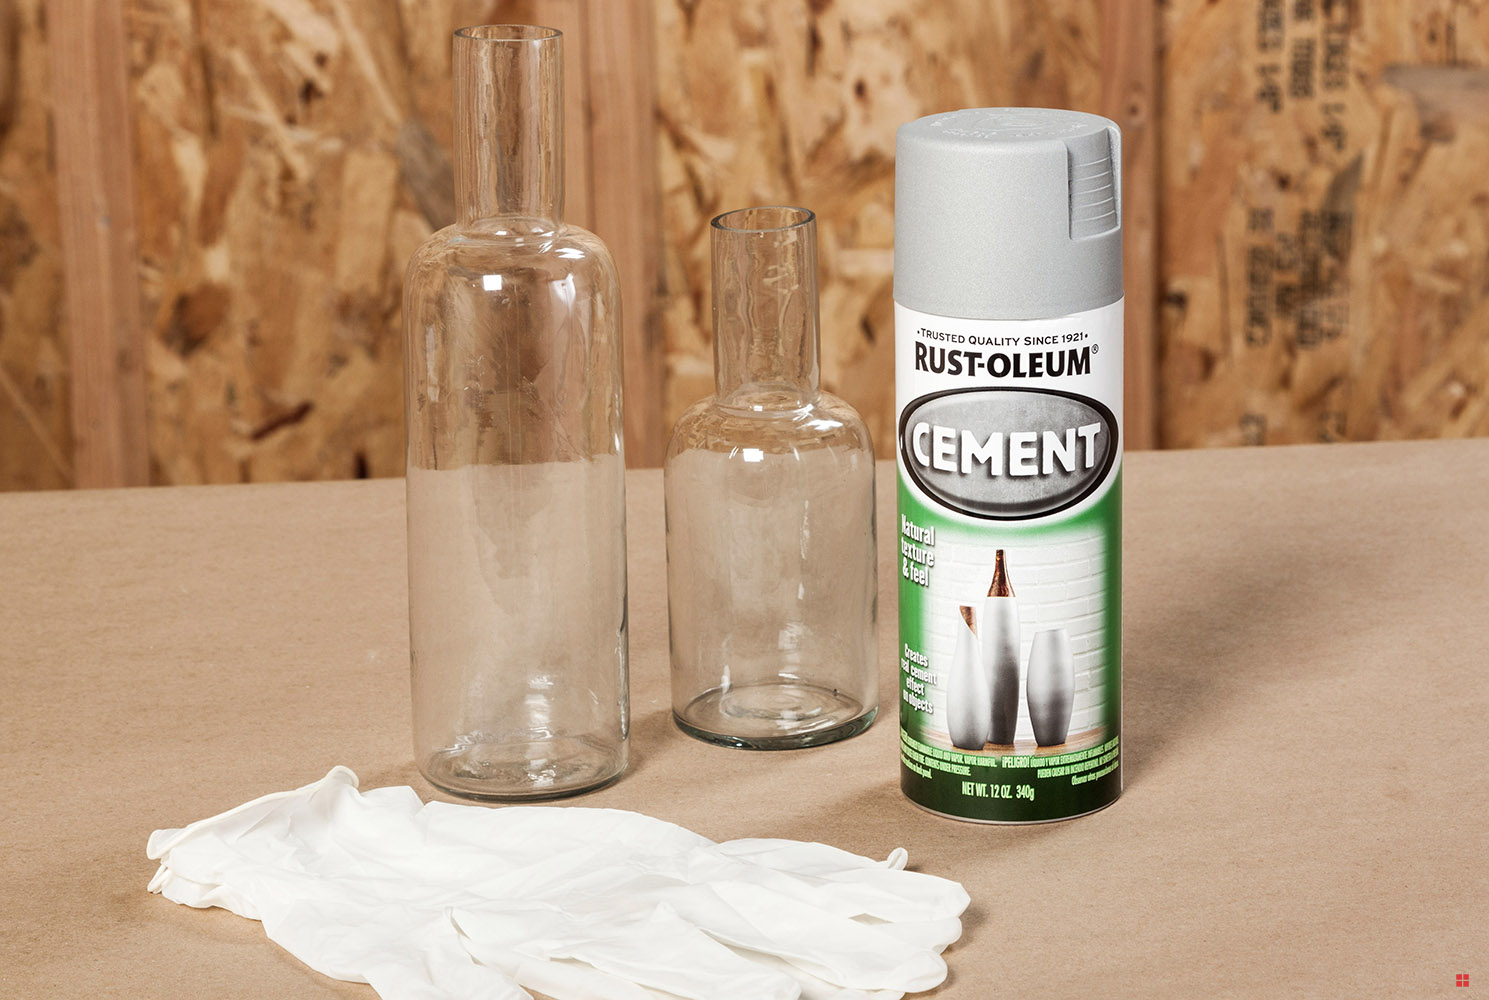
- Select the right spray paint: Choose a high-quality spray paint specifically designed for wood surfaces. Look for a paint that offers good coverage and comes in the color of your choice.
- Prepare the spray paint: Shake the spray can vigorously for about a minute to ensure that the paint is well-mixed. Read the manufacturer’s instructions for any specific preparation steps, such as temperature recommendations or additional mixing instructions.
- Test the spray pattern: Before applying the paint to your furniture, it’s a good idea to test the spray pattern on a piece of cardboard or scrap wood. This allows you to familiarize yourself with the pressure, coverage, and distance needed for the best results.
- Start painting: Hold the spray can about 6-8 inches away from the furniture surface. Begin spraying in long, even strokes, overlapping each stroke slightly to ensure complete coverage.
- Maintain consistent pressure: Maintain a consistent pressure on the spray can throughout the painting process to avoid any variations in the paint application. This helps create a smooth and uniform finish.
- Work in small sections: It’s best to work in small sections, starting from one side of the furniture and gradually moving across. This ensures that you cover the entire surface without any missed spots.
- Apply multiple thin coats: Instead of applying one thick coat of paint, it’s better to apply multiple thin coats. This helps prevent drips and allows for better control over the coverage and drying time.
Remember to allow each coat of spray paint to dry according to the manufacturer’s instructions before applying the next coat. Once you have achieved the desired color and coverage, move on to the next step: applying multiple coats.
Step 7: Applying Multiple Coats
Applying multiple coats of spray paint is essential for achieving a smooth and flawless finish on your wood furniture. Follow these steps to ensure proper coverage and durability:
- Allow the first coat to dry: After applying the first coat of spray paint, it’s crucial to allow it to dry completely before applying additional coats. Refer to the manufacturer’s instructions for the recommended drying time.
- Assess the coverage: Once the first coat is dry, assess the coverage and color. If you notice any thin areas or areas where the wood grain is still visible, you’ll need to apply another coat to achieve a solid and even finish.
- Apply subsequent coats: Apply the next coat of spray paint using the same technique as before, making sure to maintain consistent pressure and coverage. Remember to work in small sections and overlap each stroke slightly.
- Build up the layers: Depending on the desired color and finish, you may need to apply several coats of spray paint. It’s better to build up the layers gradually with thin coats rather than applying a thick coat that can lead to drips or an uneven finish.
- Allow for proper drying time: Between each coat of spray paint, allow the paint to dry according to the manufacturer’s instructions. This ensures that each layer bonds properly and contributes to the durability of the final finish.
- Inspect for even coverage: After applying the final coat, inspect your furniture for any missed spots or uneven coverage. If needed, touch up those areas with a light spray of paint to ensure a consistent look.
By applying multiple thin coats, you’ll achieve a professional-looking finish that enhances the overall appearance and longevity of your spray-painted wood furniture.
Now that you’ve applied multiple coats, it’s time to move on to the next step: drying and curing the paint.
Step 8: Drying and Curing
After applying the final coat of spray paint, it’s important to allow the paint to dry and cure properly. Proper drying and curing ensure that the paint adheres well to the wood surface and provides a durable and long-lasting finish. Follow these steps to ensure optimal drying and curing:
- Follow manufacturer’s instructions: Refer to the manufacturer’s instructions on the spray paint can for the recommended drying time. This can vary depending on the paint brand and environmental conditions.
- Provide proper ventilation: Ensure that the area where the furniture is drying is well-ventilated. Good airflow will help speed up the drying process and prevent any buildup of fumes.
- Avoid touching the surface: Avoid touching or handling the furniture while the paint is drying. This can lead to smudges or surface imperfections. Patience is key during this stage.
- Allow for curing time: While the paint may feel dry to the touch, it’s important to allow for sufficient curing time before using or placing any objects on the painted surface. Curing time can range from a few days to a few weeks, depending on the paint type and manufacturer’s recommendations.
- Protect from damage: During the drying and curing process, it’s crucial to protect the newly painted furniture from any potential damage. Avoid placing heavy objects on the surface, and handle with care to prevent scratching or chipping.
Proper drying and curing time will ensure a durable finish that can withstand regular use and cleaning. Once the paint has fully dried and cured, you can move on to the final step: adding the finishing touches.
Read more: How To Remove Paint On Wood Furniture
Step 9: Finishing Touches
Now that your spray-painted wood furniture is dry and cured, it’s time to add the finishing touches to enhance its overall appearance and protect the painted surface. Follow these steps to complete the transformation:
- Inspect the paint finish: Take a close look at the painted surface and inspect for any imperfections, such as drips, rough patches, or uneven areas. Use a fine-grit sandpaper to gently smooth out any inconsistencies.
- Apply a protective finish: Consider applying a clear protective finish, such as a polyurethane sealer or clear varnish, to protect the painted surface from daily wear and tear. Follow the manufacturer’s instructions for proper application.
- Reattach hardware: Once the protective finish has dried, you can reattach any hardware or accessories that you previously removed. Ensure that they are securely fastened to the furniture.
- Style and decorate: Now that your furniture is freshly painted, you can decorate it to complement your desired style and aesthetic. Add new cushions, throws, or decorative accessories to enhance its overall appearance.
- Maintain and care for your furniture: To ensure the longevity of your spray-painted wood furniture, follow proper maintenance and care. Clean the surface with a soft cloth or gentle cleaner, avoid harsh chemicals, and be cautious of sharp objects that can scratch the paint.
With the finishing touches complete, you can now enjoy your beautifully transformed spray-painted wood furniture in your home. Remember that with proper care and maintenance, it will continue to bring style and personality to your living space for years to come.
Congratulations on successfully spray painting your wood furniture!
Thank you for following our comprehensive guide. We hope it has been helpful in your journey to revitalize and personalize your wooden furniture. Enjoy the satisfaction of seeing your own handiwork come to life and transform your living space!
Conclusion
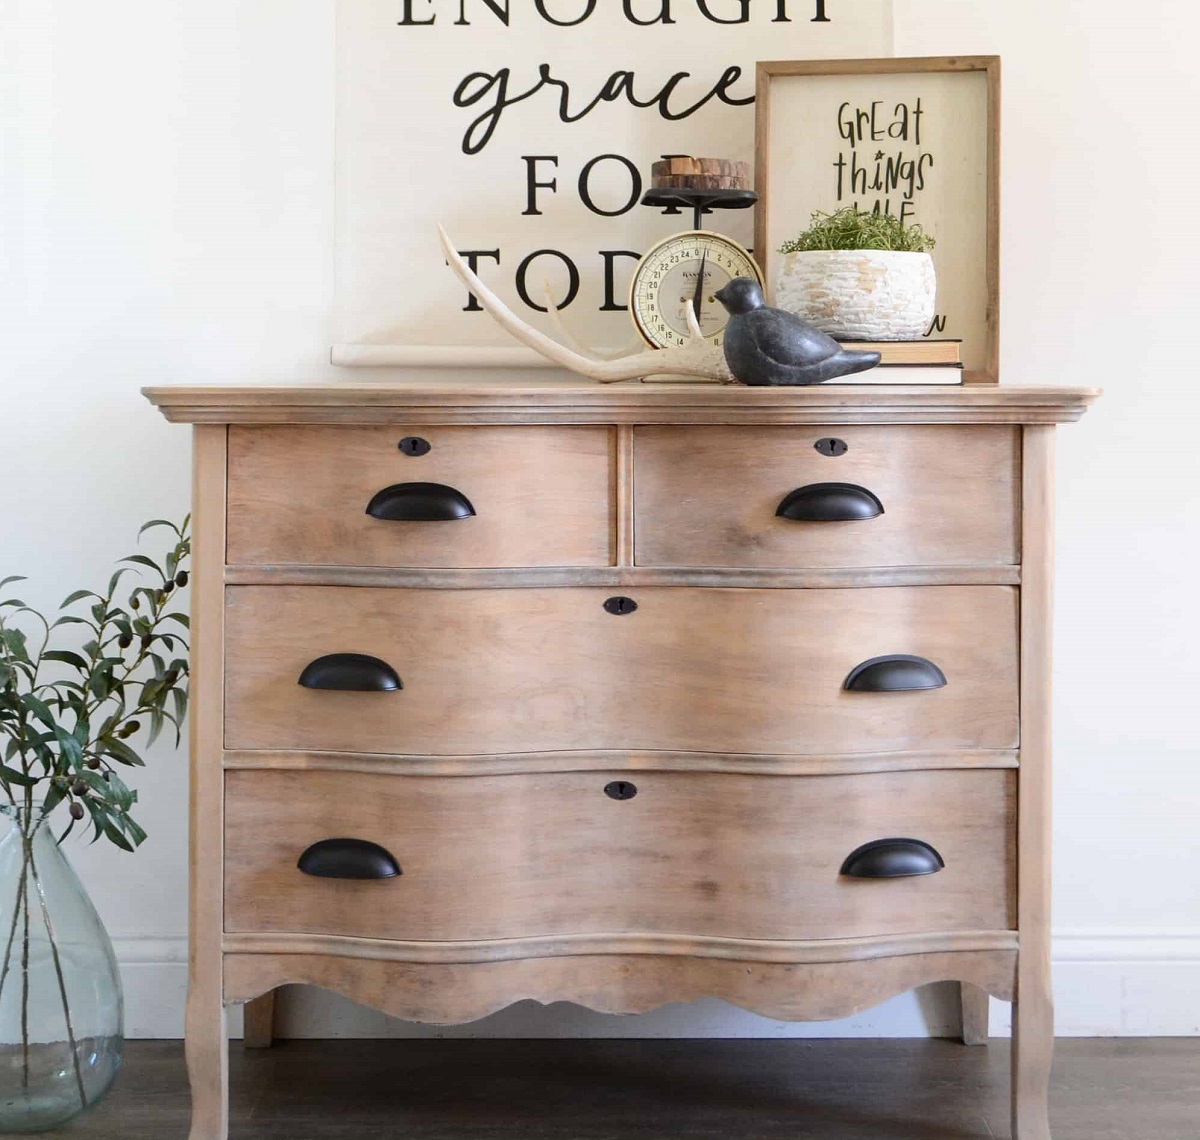
Spray painting wood furniture is a fantastic way to breathe new life into old, worn-out pieces and unleash your creativity. With the right preparation, tools, and techniques, you can achieve a professional and stunning finish that enhances the beauty of your furniture and complements your home’s decor.
We started this comprehensive guide by emphasizing the importance of gathering the necessary supplies to ensure a smooth and efficient spraying process. From there, we walked you through each step, covering everything from preparing the furniture and sanding the wood to cleaning the surface, priming, and applying multiple coats of spray paint. We stressed the significance of allowing proper drying and curing time to ensure a durable and long-lasting finish.
We also discussed the importance of adding the finishing touches, such as inspecting the painted surface, applying a protective finish, and reattaching hardware. We highlighted the need for ongoing maintenance and care to keep your spray-painted wood furniture looking beautiful for years to come.
By following our step-by-step guide and infusing your own creativity, you have the power to transform your wooden furniture into customized pieces that reflect your unique style and personality. The satisfaction of revitalizing your furniture with your own hands is immeasurable.
Remember, the key is to take your time, be patient, and enjoy the process. Have fun experimenting with different colors, finishes, and techniques to achieve the desired look. With practice and experience, you’ll become a master at spray painting wood furniture.
Thank you for joining us on this journey of transforming your wood furniture through spray painting. We hope that this guide has provided you with valuable insights and inspiration to embark on your own furniture makeover projects. Enjoy the rewarding process of creating beautiful, customized pieces that will bring joy and style to your home.
Frequently Asked Questions about How To Spray Paint Wood Furniture
Was this page helpful?
At Storables.com, we guarantee accurate and reliable information. Our content, validated by Expert Board Contributors, is crafted following stringent Editorial Policies. We're committed to providing you with well-researched, expert-backed insights for all your informational needs.

0 thoughts on “How To Spray Paint Wood Furniture”