Articles
How To Start A Samsung Dishwasher
Modified: October 20, 2024
Learn effective tips and step-by-step guidance on starting a Samsung dishwasher in this comprehensive article. Increase your knowledge and make dishwashing a breeze.
(Many of the links in this article redirect to a specific reviewed product. Your purchase of these products through affiliate links helps to generate commission for Storables.com, at no extra cost. Learn more)
Introduction
Starting a Samsung dishwasher is a straightforward process that can be accomplished with just a few simple steps. Whether you are a first-time dishwasher owner or are upgrading to a newer model, this article will guide you through the process of starting your Samsung dishwasher. By following these steps, you can ensure a smooth installation and enjoy the convenience of a reliable dishwasher in your home.
Before we begin, it’s important to note that each dishwasher model may have slightly different installation instructions. Therefore, it’s crucial to consult the specific instruction manual provided by Samsung for your dishwasher model. Familiarizing yourself with the manual will ensure you have the necessary tools, materials, and knowledge to properly start your Samsung dishwasher.
In the following steps, we will cover the general process of starting a Samsung dishwasher. However, always refer to the instruction manual for any appliance-specific guidelines or recommendations.
So, let’s dive into the step-by-step process of starting your Samsung dishwasher!
Key Takeaways:
- Proper preparation, installation, and testing are crucial for starting a Samsung dishwasher. Familiarizing yourself with the manual and features ensures a smooth and efficient dishwashing experience.
- From gathering tools to connecting power and water supply, each step is essential. Running a test cycle and understanding features maximizes the dishwasher’s efficiency.
Read more: How To Start A Bosch Dishwasher
Step 1: Gather the Necessary Tools and Materials
Before you begin the installation process, it’s essential to gather all the necessary tools and materials. Having everything on hand will make the installation smoother and more efficient.
Here is a list of tools and materials you will likely need:
- Phillips screwdriver
- Adjustable wrench
- Teflon tape
- Measuring tape
- Channel lock pliers
- Bucket or container
- Safety gloves
- Level
- Power drill (if required)
Additionally, take note of the specific materials required for your dishwasher installation:
- Water supply line (usually included with the dishwasher)
- Drain hose (usually included with the dishwasher)
- Electrical cord (if not hardwired)
Ensure you have all the tools and materials readily available before proceeding. It’s always better to be prepared beforehand, as it will save you time and frustration during the installation process.
Once you have everything you need, you are ready to move on to the next step: reading the instruction manual.
Step 2: Read the Instruction Manual
Before you start the installation process, it is crucial to read and understand the instruction manual provided by Samsung for your specific dishwasher model. The manual contains valuable information and guidelines that are specific to your dishwasher’s installation and use.
Here are a few key points to focus on while reading the instruction manual:
- Installation Requirements: Pay close attention to the installation requirements mentioned in the manual. It will outline the necessary clearances, dimensions, and electrical and plumbing specifications needed for proper installation.
- Safety Guidelines: The manual will likely include safety guidelines that you should be aware of before starting the installation. This may include proper handling of sharp edges, electrical safety precautions, and more.
- Special Features: Familiarize yourself with any special features or functions of your dishwasher. Understanding how to use them will ensure you get the most out of your appliance.
- Maintenance Instructions: The manual will provide instructions on how to clean and maintain your dishwasher for optimal performance and longevity. Following these guidelines will help keep your dishwasher running smoothly.
Taking the time to read and absorb the information in the instruction manual will give you a solid foundation and confidence in proceeding with the installation. If you have any questions or concerns during the reading process, consult the manual or reach out to Samsung’s customer support for clarification.
Once you are well-versed in the instruction manual, you are ready to move on to the next step: preparing the dishwasher installation area.
Step 3: Prepare the Dishwasher Installation Area
Preparing the installation area for your Samsung dishwasher is crucial to ensure a smooth and efficient installation process. Follow these steps to properly prepare the area:
- Clear the Space: Remove any items or obstacles from around the dishwasher area. This includes dishes, utensils, small appliances, and any other items that may hinder the installation process.
- Measure the Space: Use a measuring tape to determine the dimensions of the space where the dishwasher will be installed. Ensure that the dimensions are suitable for your dishwasher model as specified in the instruction manual.
- Check for Level Surface: It is important to install the dishwasher on a level surface to ensure proper functioning. Use a level tool to check the flatness of the floor or the area where the dishwasher will be placed. If the surface is not level, make adjustments as necessary.
- Confirm Proper Plumbing and Electrical Connections: Ensure that the necessary plumbing and electrical connections are in place for your dishwasher. Check if you have the appropriate water supply line and drain line connections. If any modifications or additions are needed, consult a professional plumber or electrician.
- Consider Accessibility: Keep in mind the accessibility of the dishwasher for future maintenance and repairs. Leave sufficient space around the dishwasher to easily access and service it when needed.
By properly preparing the dishwasher installation area, you can avoid any setbacks or complications during the installation process. Take the time to thoroughly check and prepare the space before proceeding to the next steps.
Once you have prepared the installation area, you are ready to move on to the next step: connecting the water supply line.
Step 4: Connect the Water Supply Line
Connecting the water supply line is an essential step in properly installing your Samsung dishwasher. Follow these steps to ensure a secure and leak-free connection:
- Locate the Water Supply Valve: Find the water supply valve under your sink or in the nearby area. Turn off the valve by rotating it clockwise.
- Prepare the Water Supply Line: Examine the water supply line that came with your dishwasher. It should have a rubber or plastic gasket at one end. Slide the gasket onto the threaded part of the water supply valve.
- Connect the Water Supply Line: Take the free end of the water supply line and connect it to the dishwasher’s water inlet valve. Screw it on tightly by turning it clockwise. Use an adjustable wrench to ensure a secure connection, but be careful not to overtighten and damage the fittings.
- Turn on the Water Supply: Turn on the water supply valve by rotating it counterclockwise. This will allow water to flow into the dishwasher.
- Check for Leaks: Carefully inspect the water supply line connection for any signs of leaks. Look for dripping water or moisture around the fittings. If a leak is detected, turn off the water supply and correct the connection.
It is essential to ensure a proper and secure connection between the water supply line and the dishwasher to prevent any water leakage during operation. Regularly check the connection for leaks after installation and during routine maintenance.
Once the water supply line is securely connected, you are ready to move on to the next step: connecting the drain line.
Read more: How To Use Samsung Dishwasher
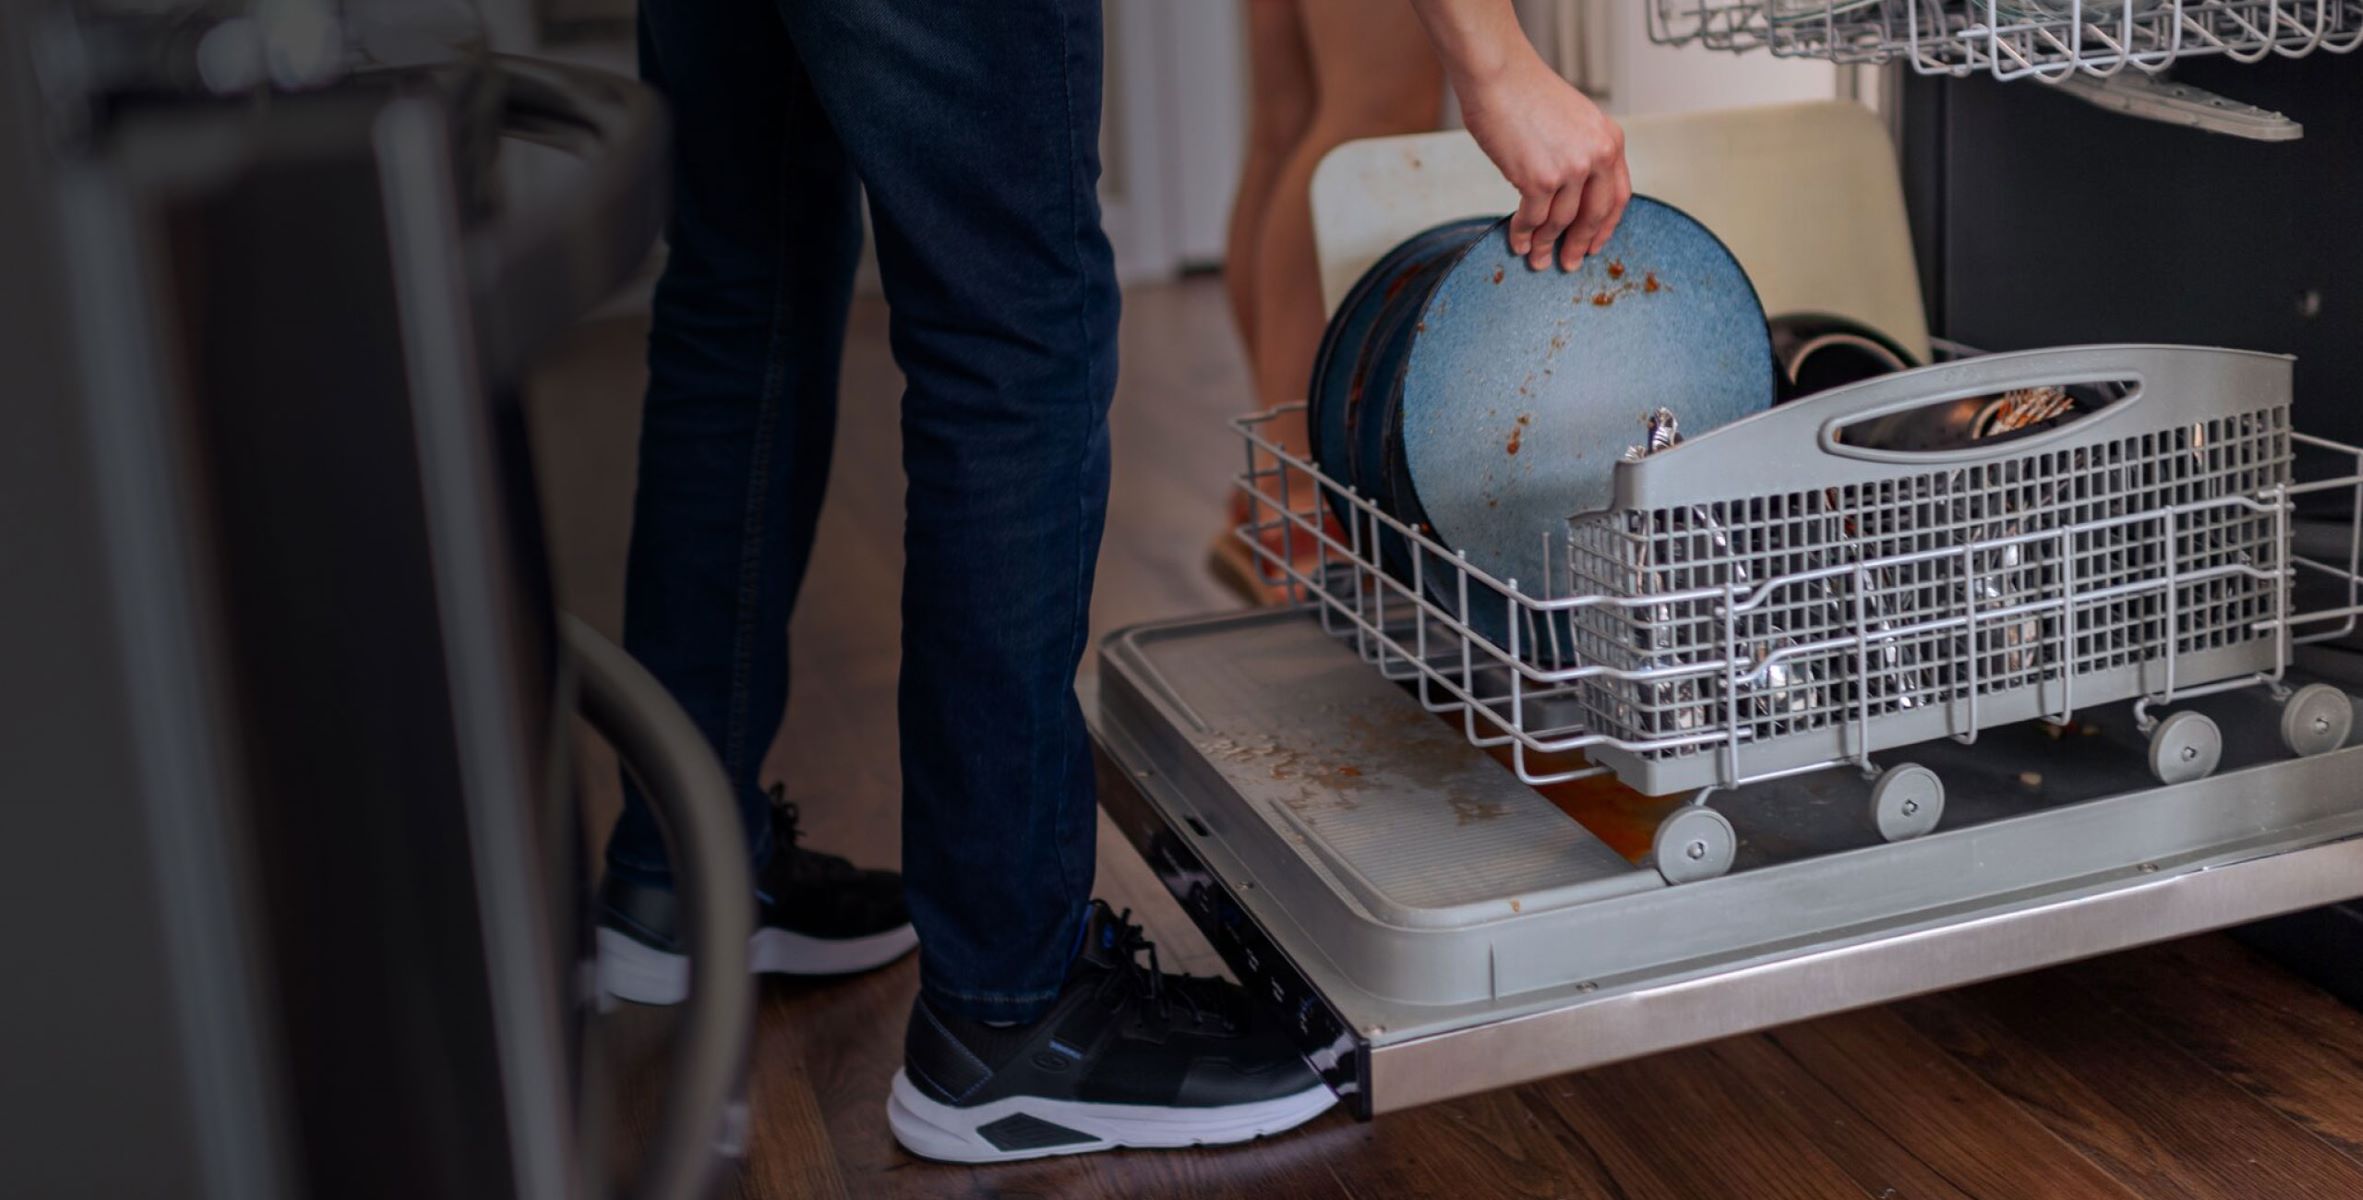
Step 5: Connect the Drain Line
Connecting the drain line for your Samsung dishwasher is a crucial step in the installation process. Follow these steps to ensure a proper and efficient connection:
- Locate the Drain Hose: Locate the drain hose that came with your dishwasher. It is usually found at the back of the dishwasher.
- Position the Drain Hose: Ensure that the drain hose is positioned near the sink or the designated drain point. Make sure there is enough length to comfortably reach the connection point without any kinks or bends.
- Secure the Drain Hose: Use a hose clamp or a zip tie to secure the drain hose to the designated drain point. This will prevent any loose connections and potential leaks.
Properly connecting the drain line is essential for the effective removal of wastewater from your dishwasher. It helps prevent any overflow or backups during the dishwasher’s operation.
After completing the drain line connection, you are ready to move on to the next step: installing the dishwasher.
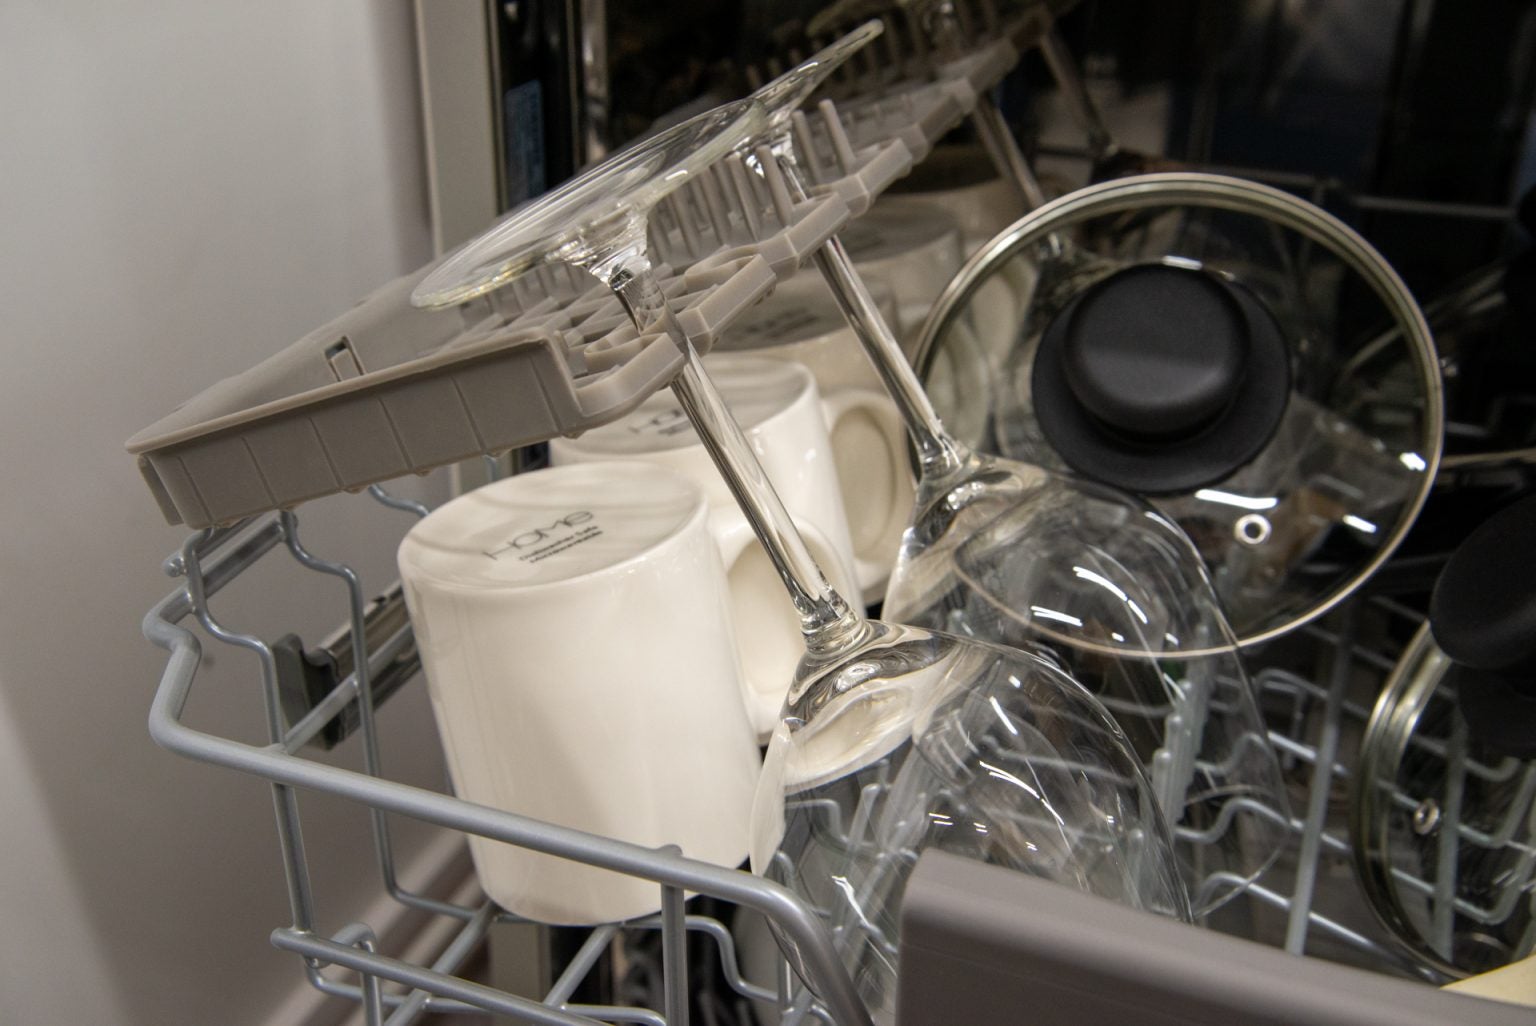
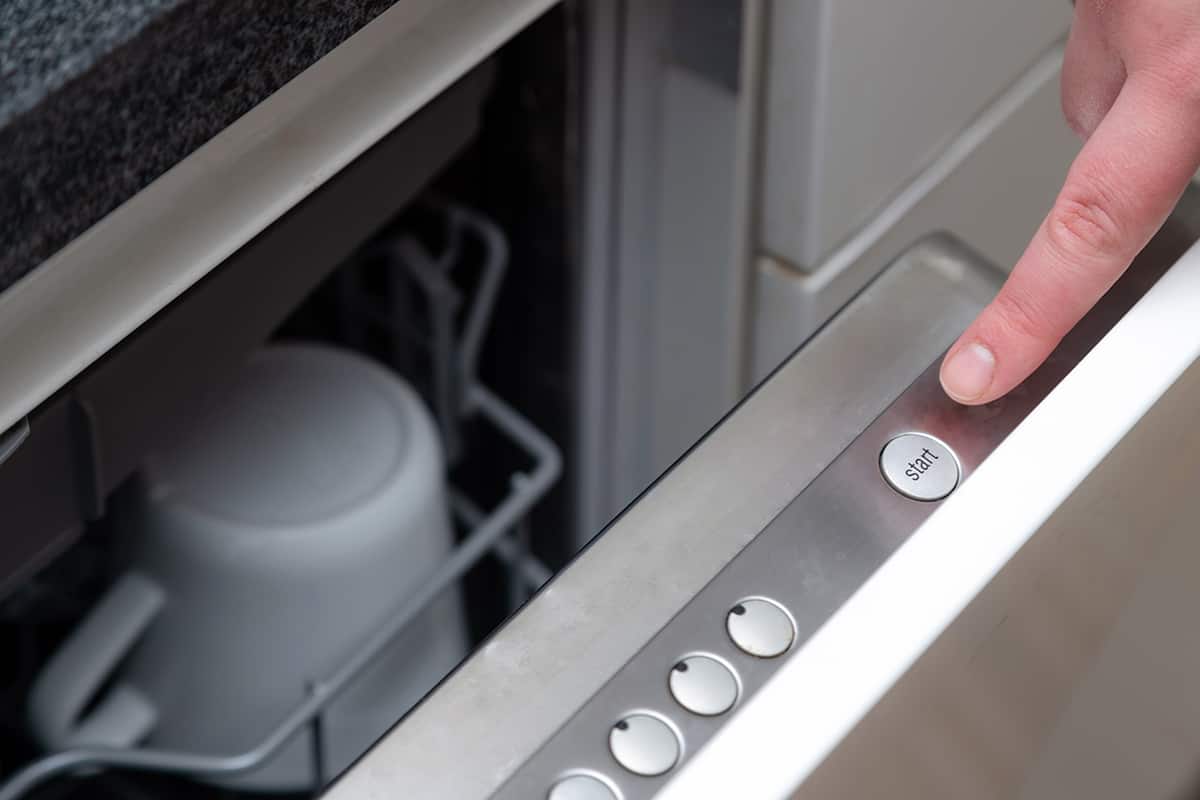
Make sure the dishwasher door is securely closed and latched before starting a cycle. This will ensure proper operation and prevent any leaks.
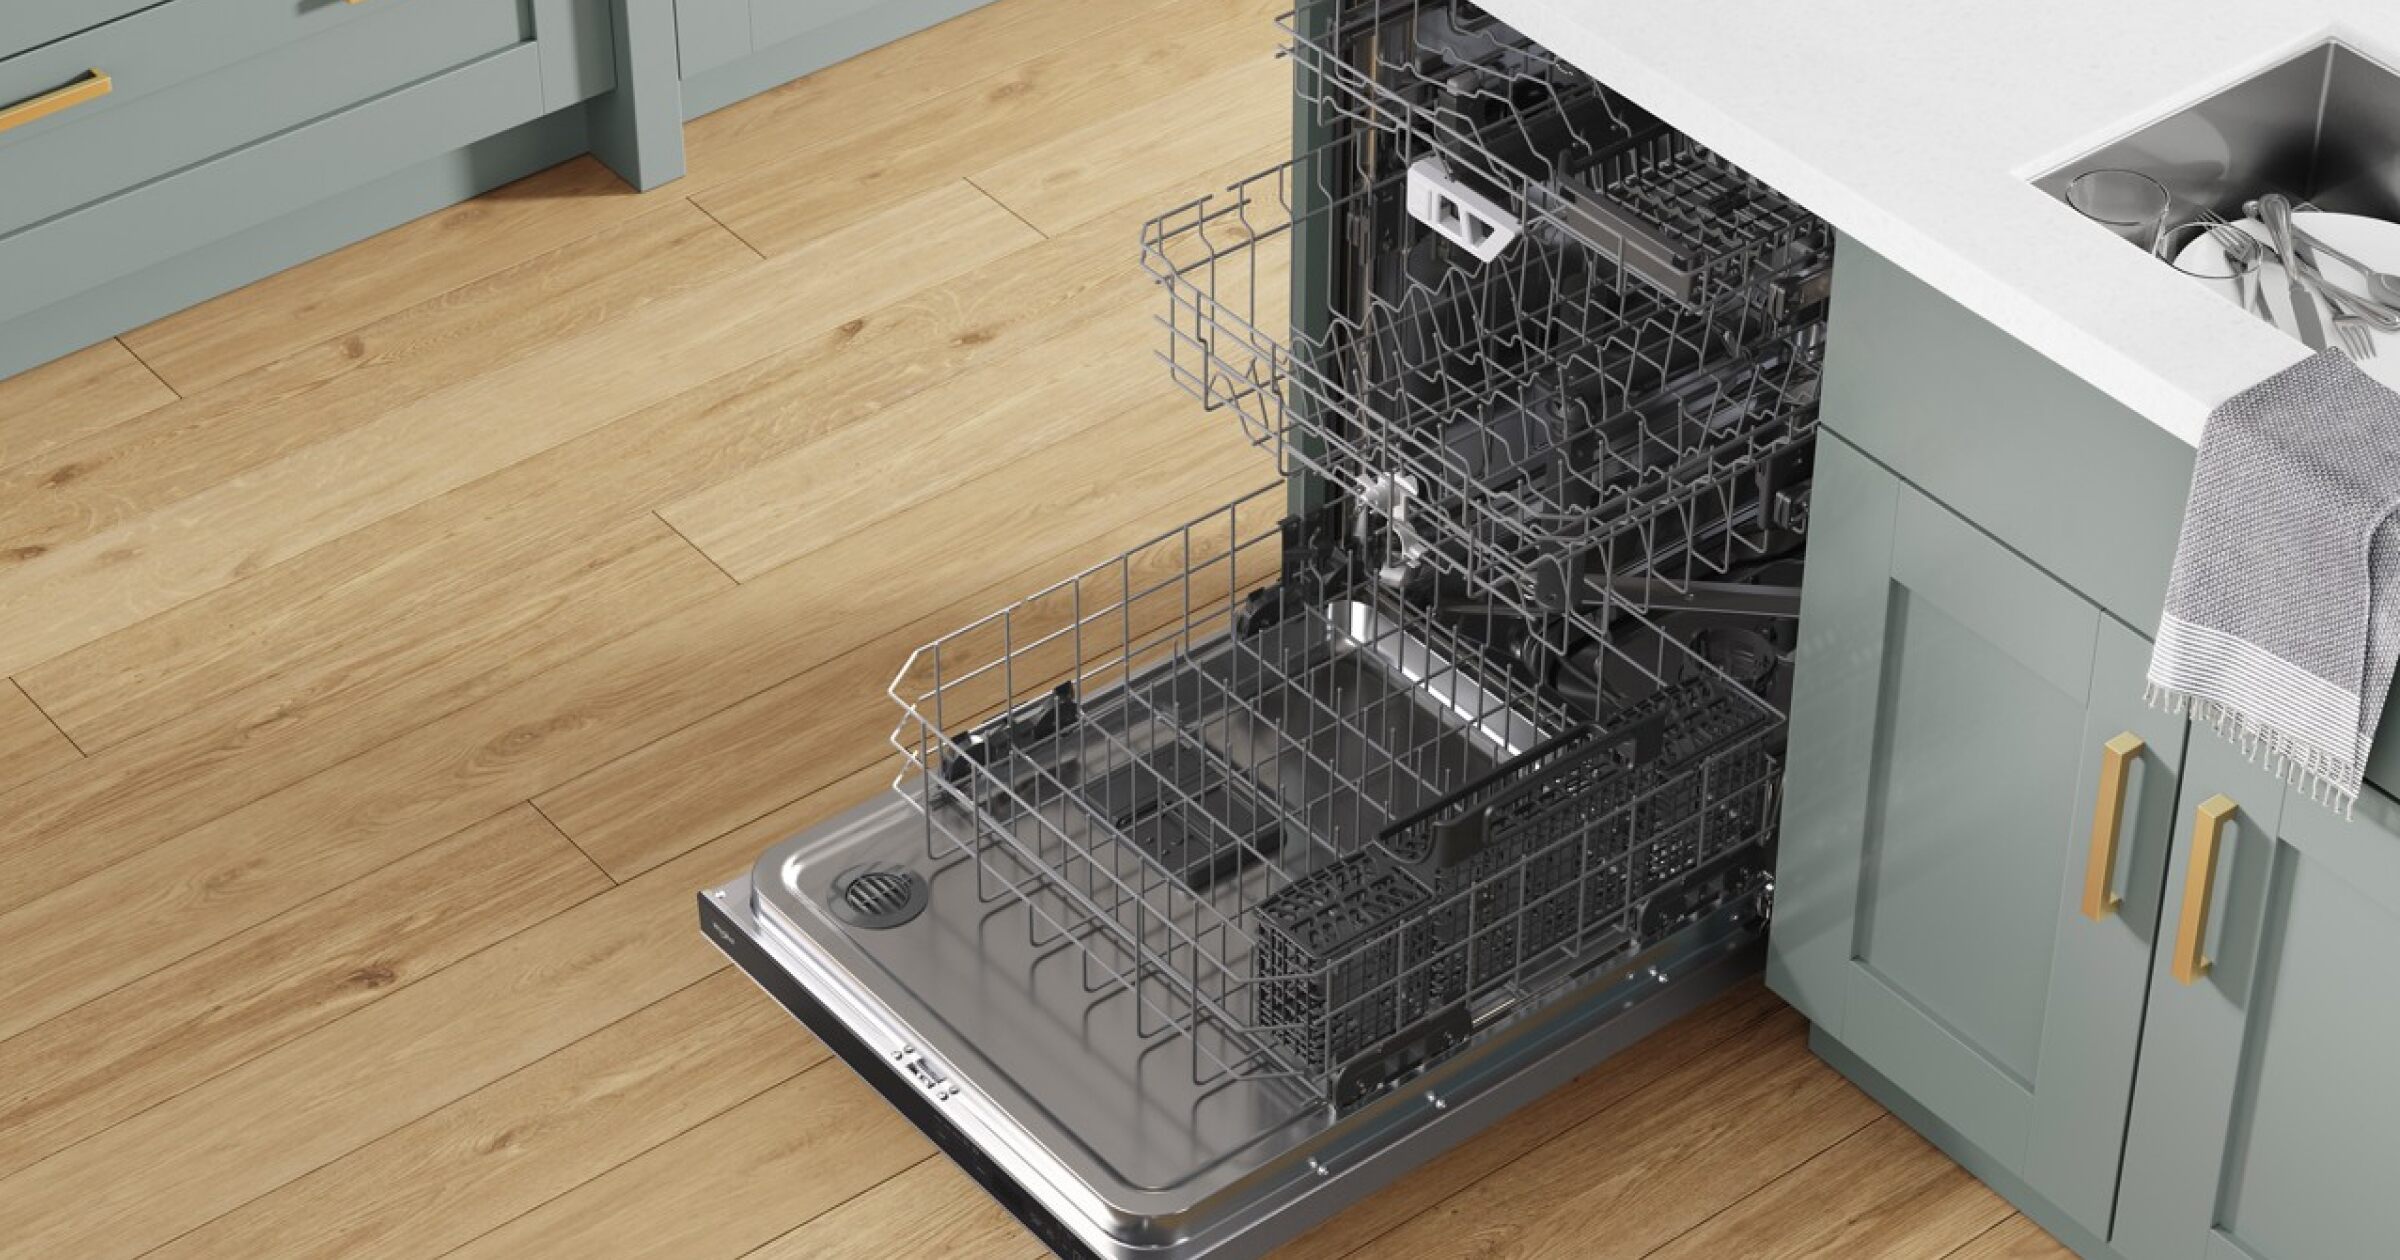
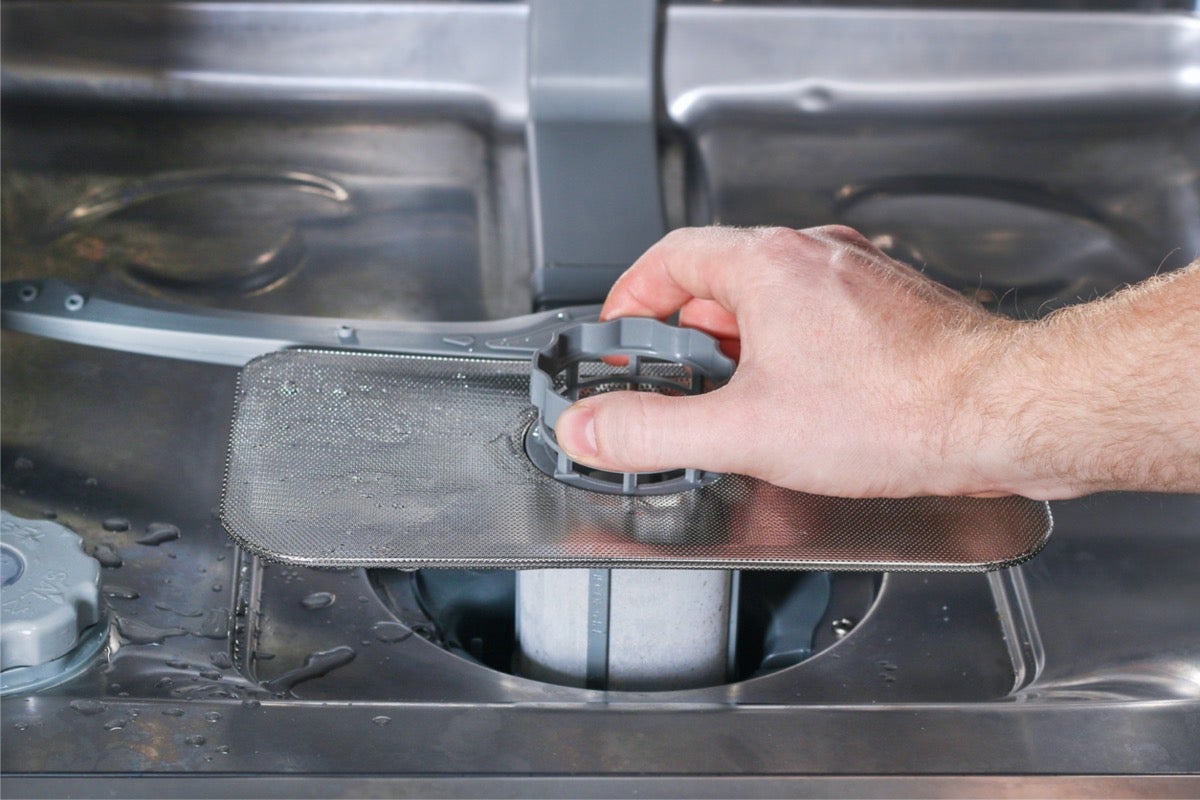
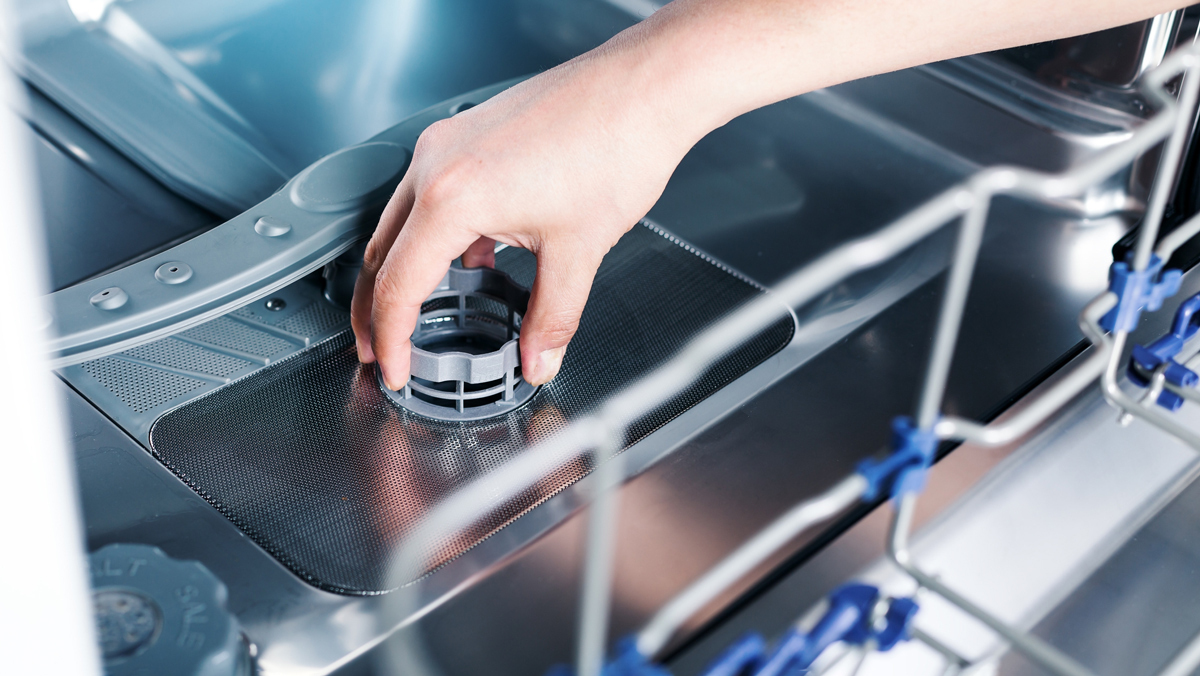
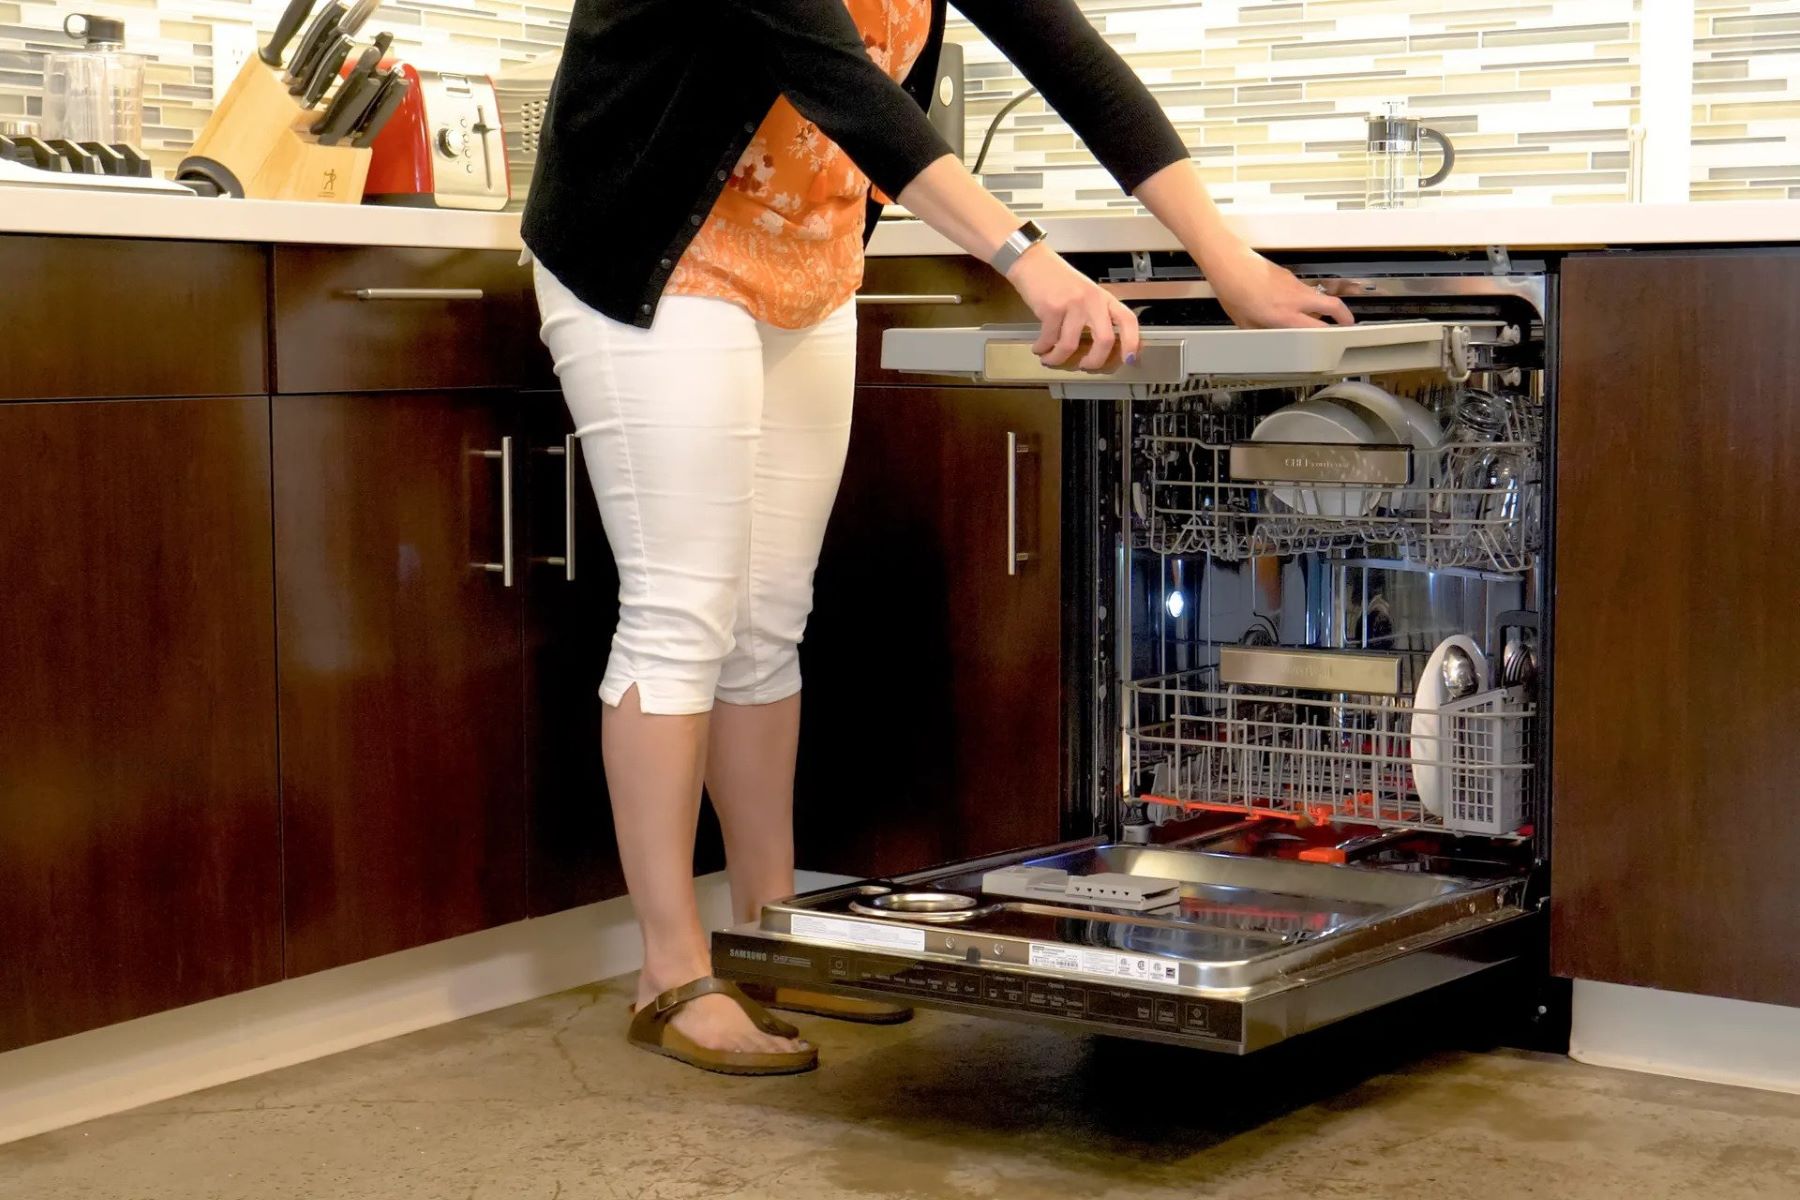
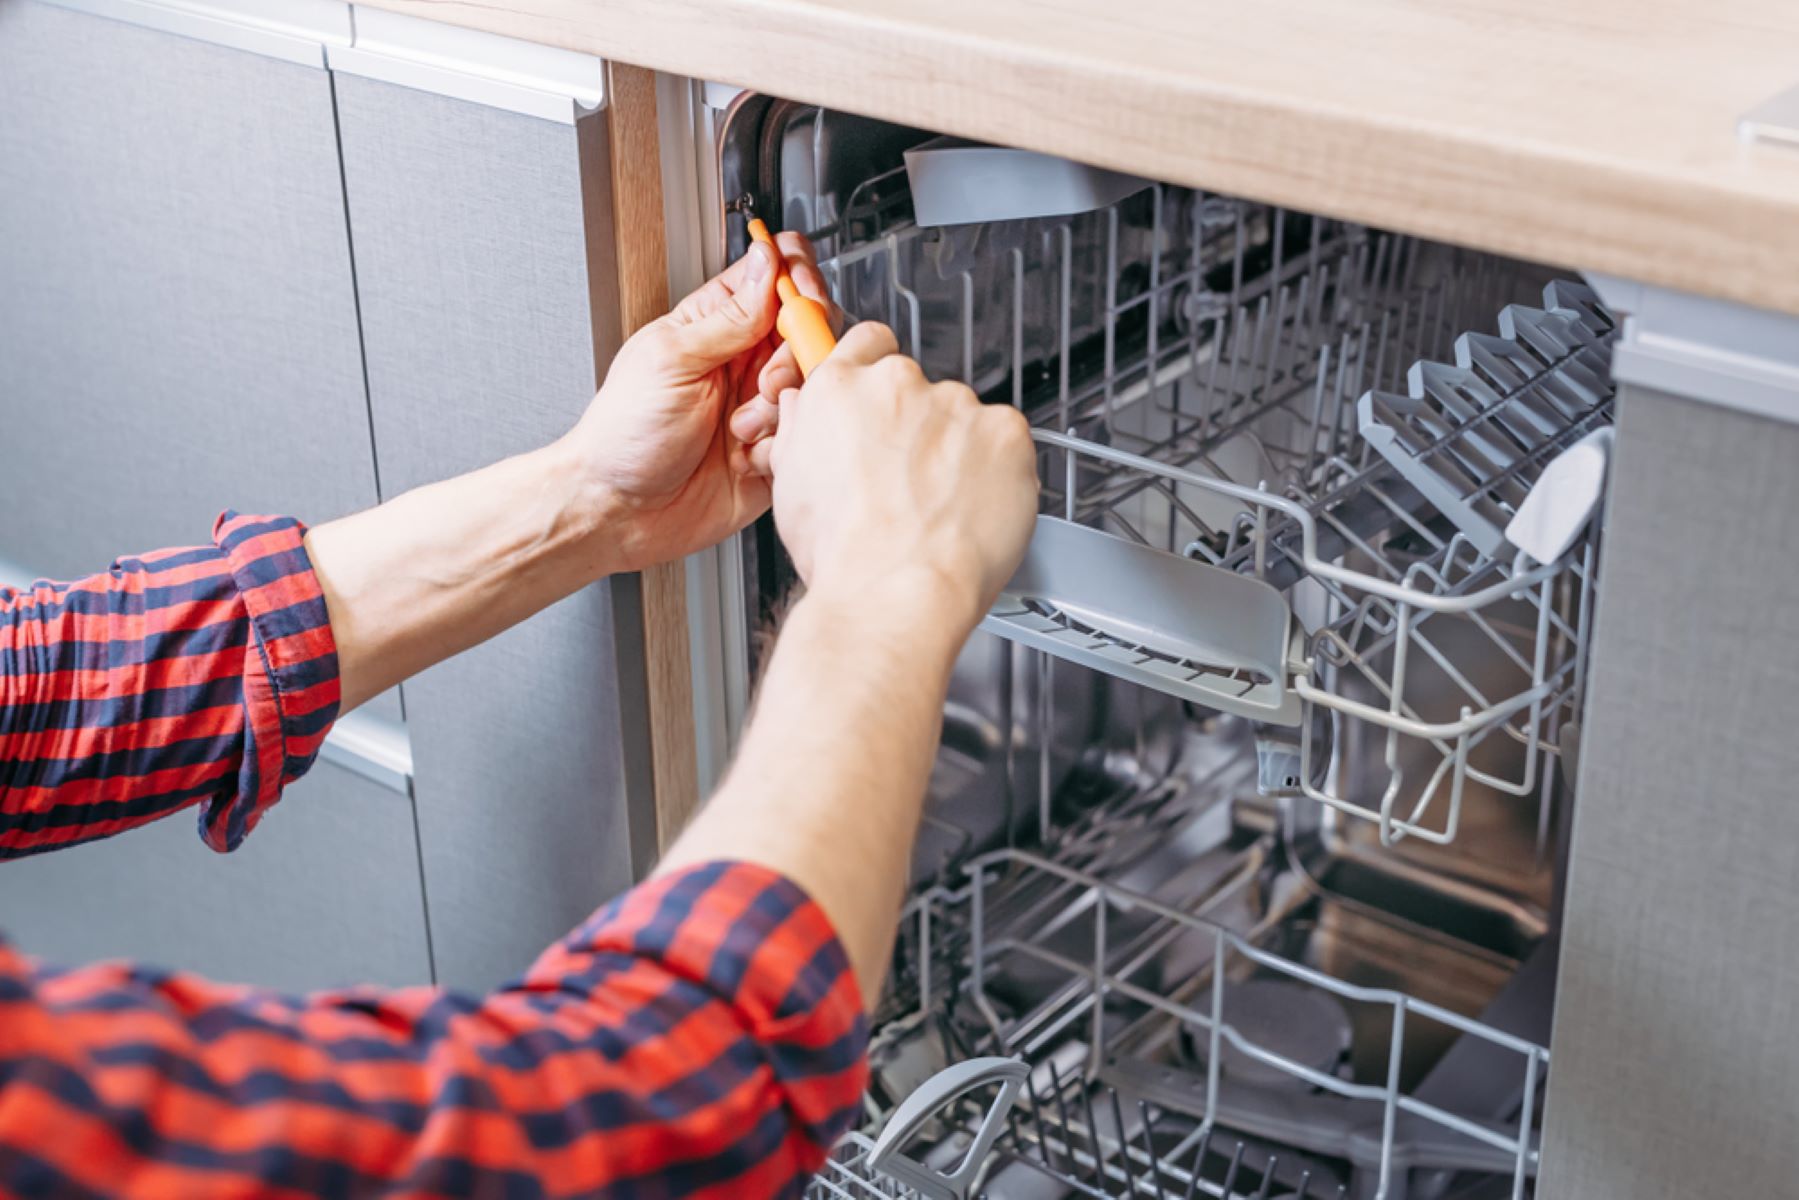
Step 6: Install the Dishwasher
Installing your Samsung dishwasher properly is crucial for optimal performance and longevity. Follow these steps to ensure a successful installation:
- Position the Dishwasher: Carefully slide the dishwasher into its designated spot, aligning it with the prepared installation area. Make sure it is centered and level.
- Align the Mounting Brackets: Most dishwashers come with adjustable mounting brackets on the top or sides. Align these brackets with the holes in the countertop or adjacent cabinets.
- Secure the Mounting Brackets: Use a screwdriver or drill to secure the mounting brackets to the countertop or adjacent cabinets. Make sure the dishwasher is securely anchored in place.
Properly installing the dishwasher ensures stable support and prevents any movement or vibrations during operation. It also helps maintain the integrity of the connections and reduces the risk of leaks.
Once the dishwasher is securely installed, you are ready to move on to the next step: connecting the power supply.
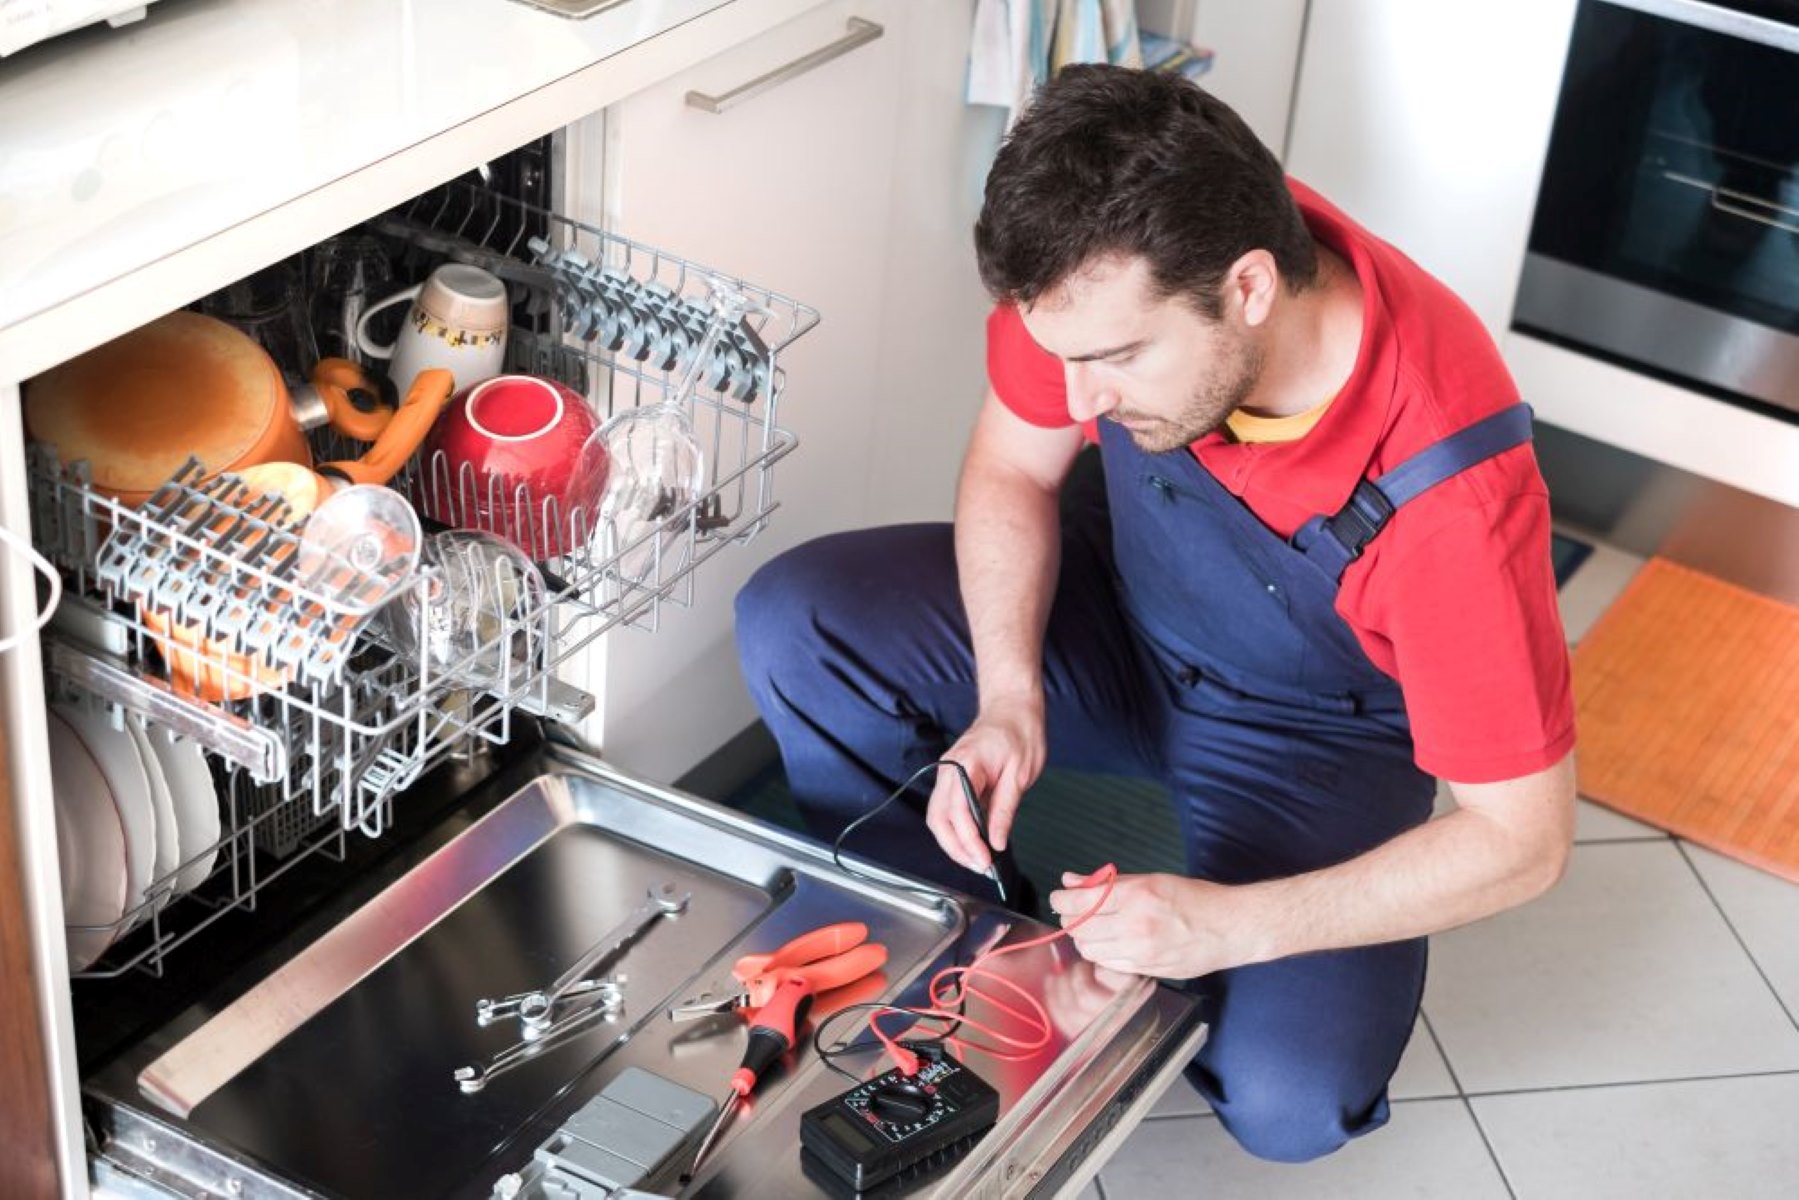
Step 7: Connect the Power Supply
Connecting the power supply for your Samsung dishwasher is an essential step to ensure its proper functioning. Follow these steps to safely and effectively connect the power supply:
- Ensure Power is Turned Off: Before connecting the power supply, ensure that the dishwasher is disconnected from the power source. This can be achieved by turning off the electrical circuit breaker or unplugging the dishwasher from the wall outlet.
- Examine the Power Cord: If your dishwasher comes with a power cord, inspect it for any damages or frayed wires. If any defects are found, contact Samsung or a qualified technician to replace the power cord.
Connecting the power supply correctly is vital for the operation of your Samsung dishwasher. Ensure that all electrical connections are secure and that you follow appropriate safety measures to prevent electrical hazards.
Once the power supply is successfully connected, you are ready to move on to the next step: leveling the dishwasher.
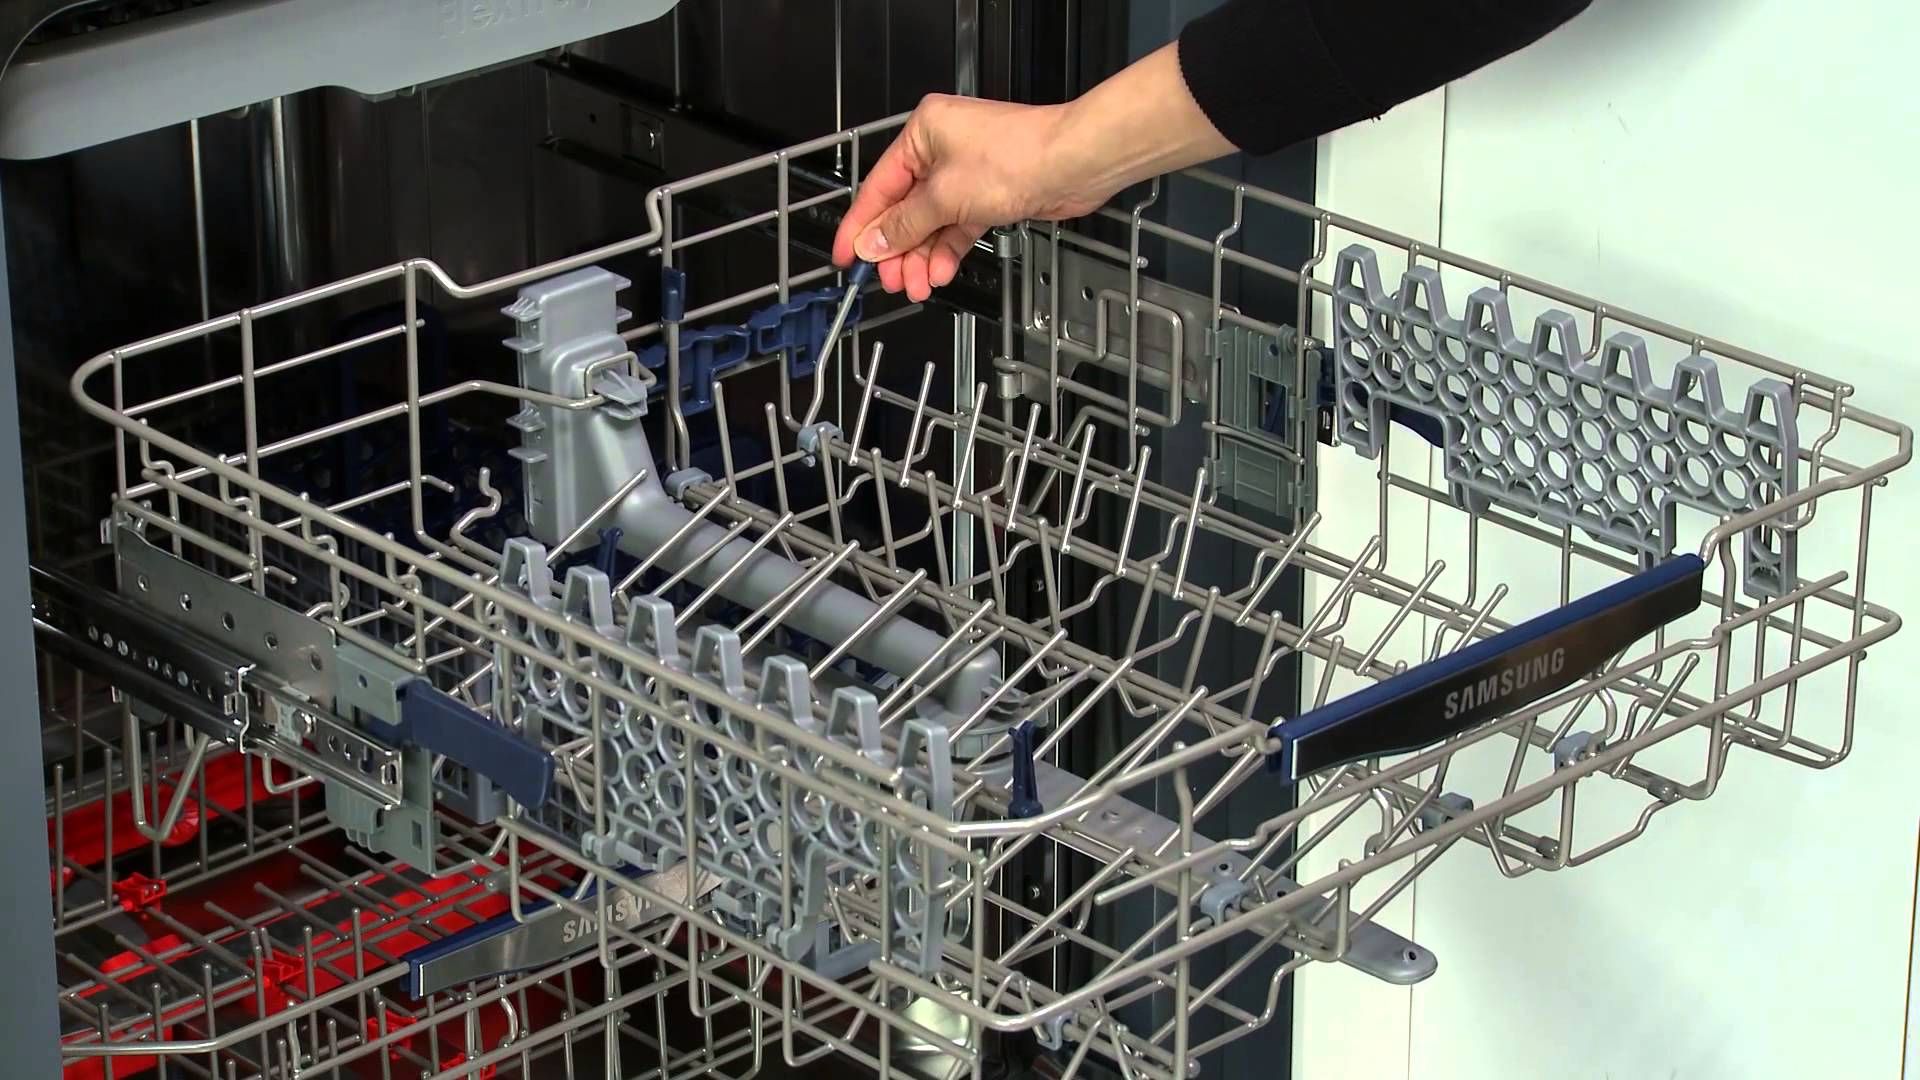
Step 8: Level the Dishwasher
Leveling your Samsung dishwasher is an important step to ensure its proper operation and prevent any potential issues. Follow these steps to accurately level your dishwasher:
- Access the Adjustable Feet: Locate the adjustable feet at the front of the dishwasher. These feet can be adjusted to raise or lower the dishwasher.
Properly leveling the dishwasher ensures that it operates smoothly and doesn’t cause any water leaks or drainage problems. It helps distribute the weight evenly and prevents any imbalances during operation.
Once the dishwasher is properly leveled, you are ready to move on to the next step: running a test cycle.
Read more: How To Start A Kitchenaid Dishwasher
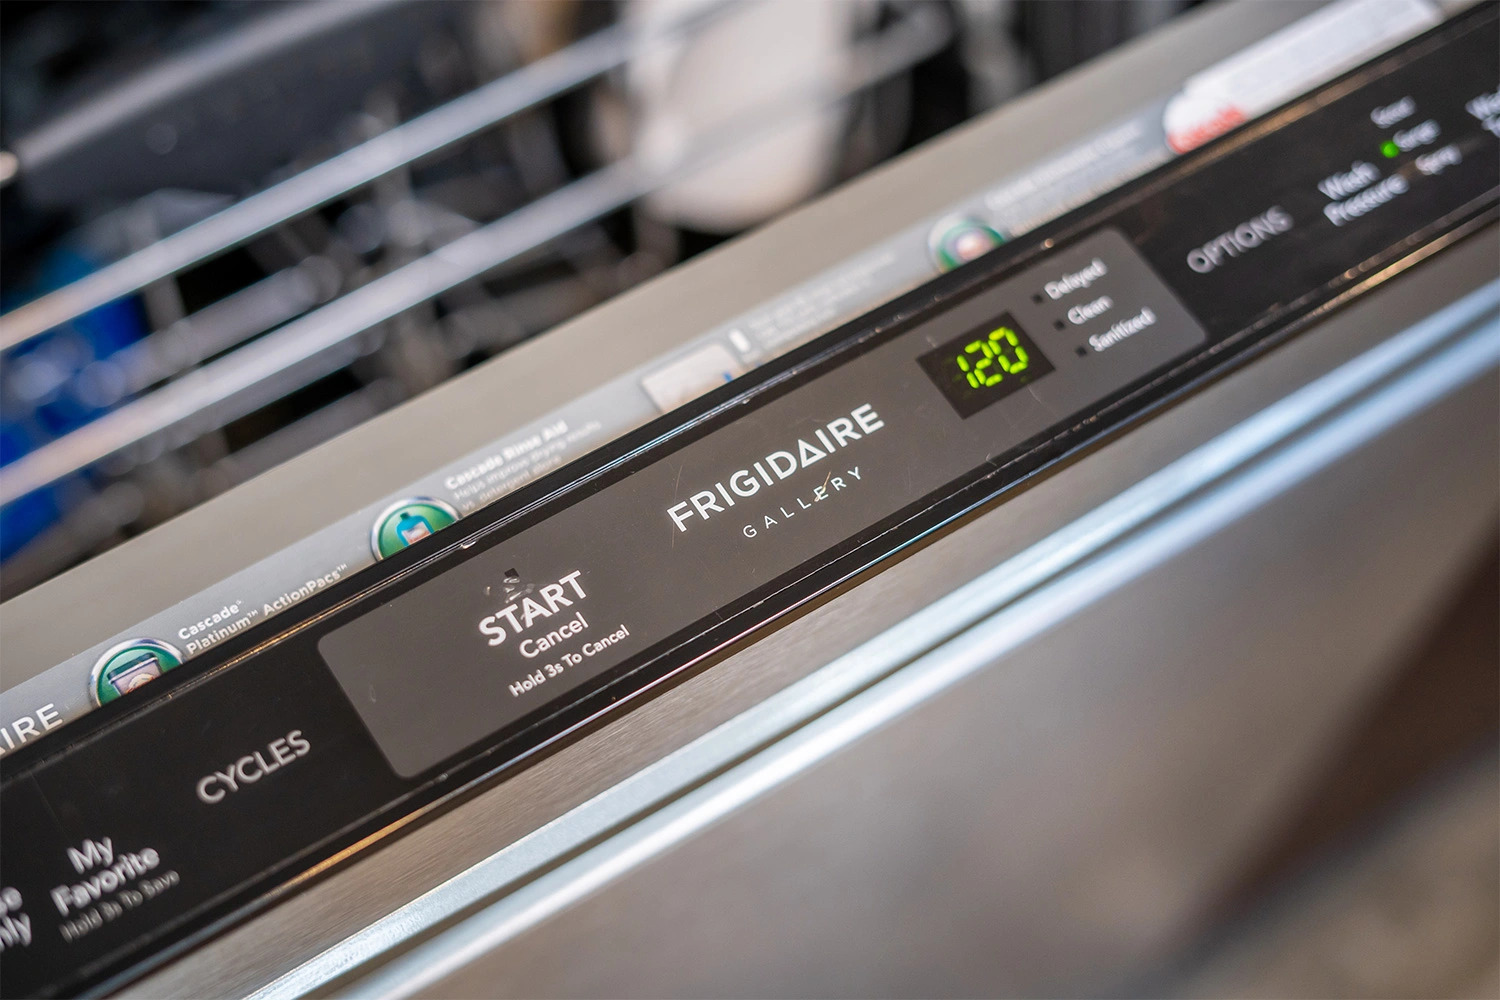
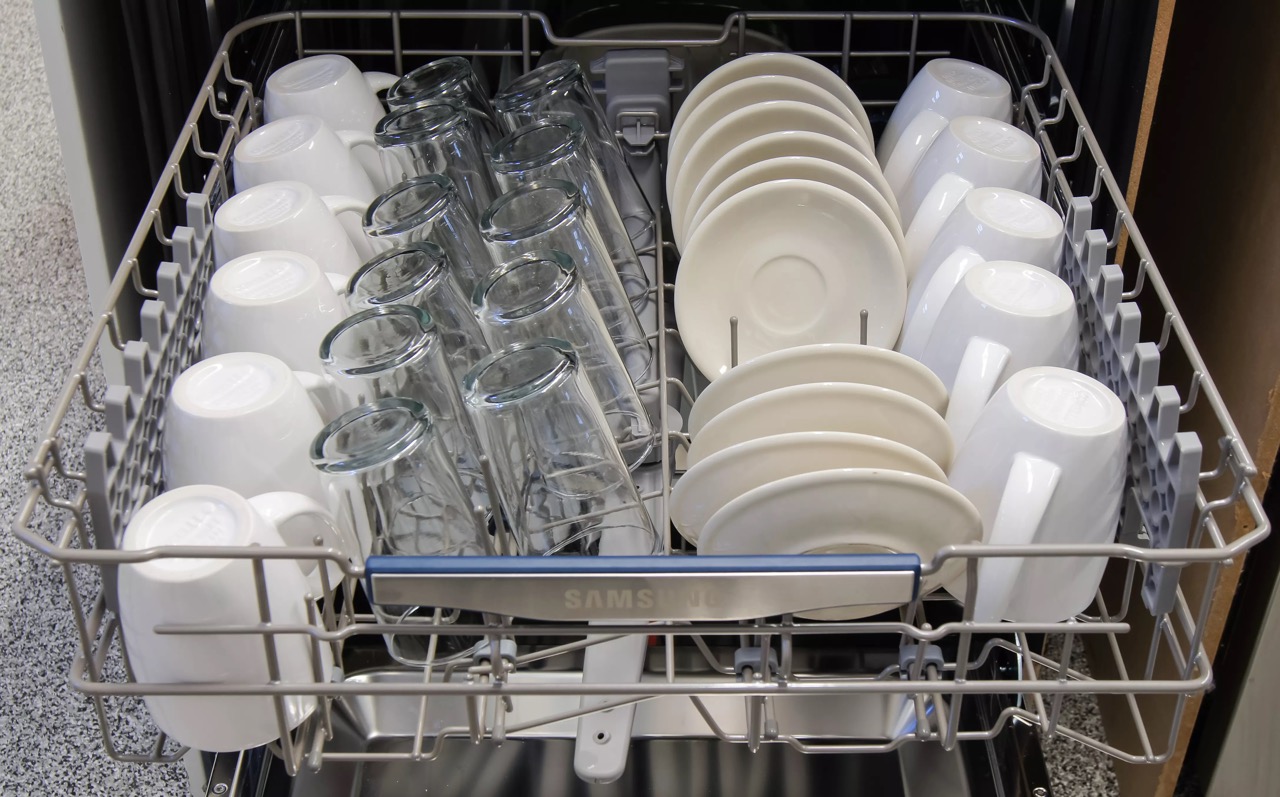
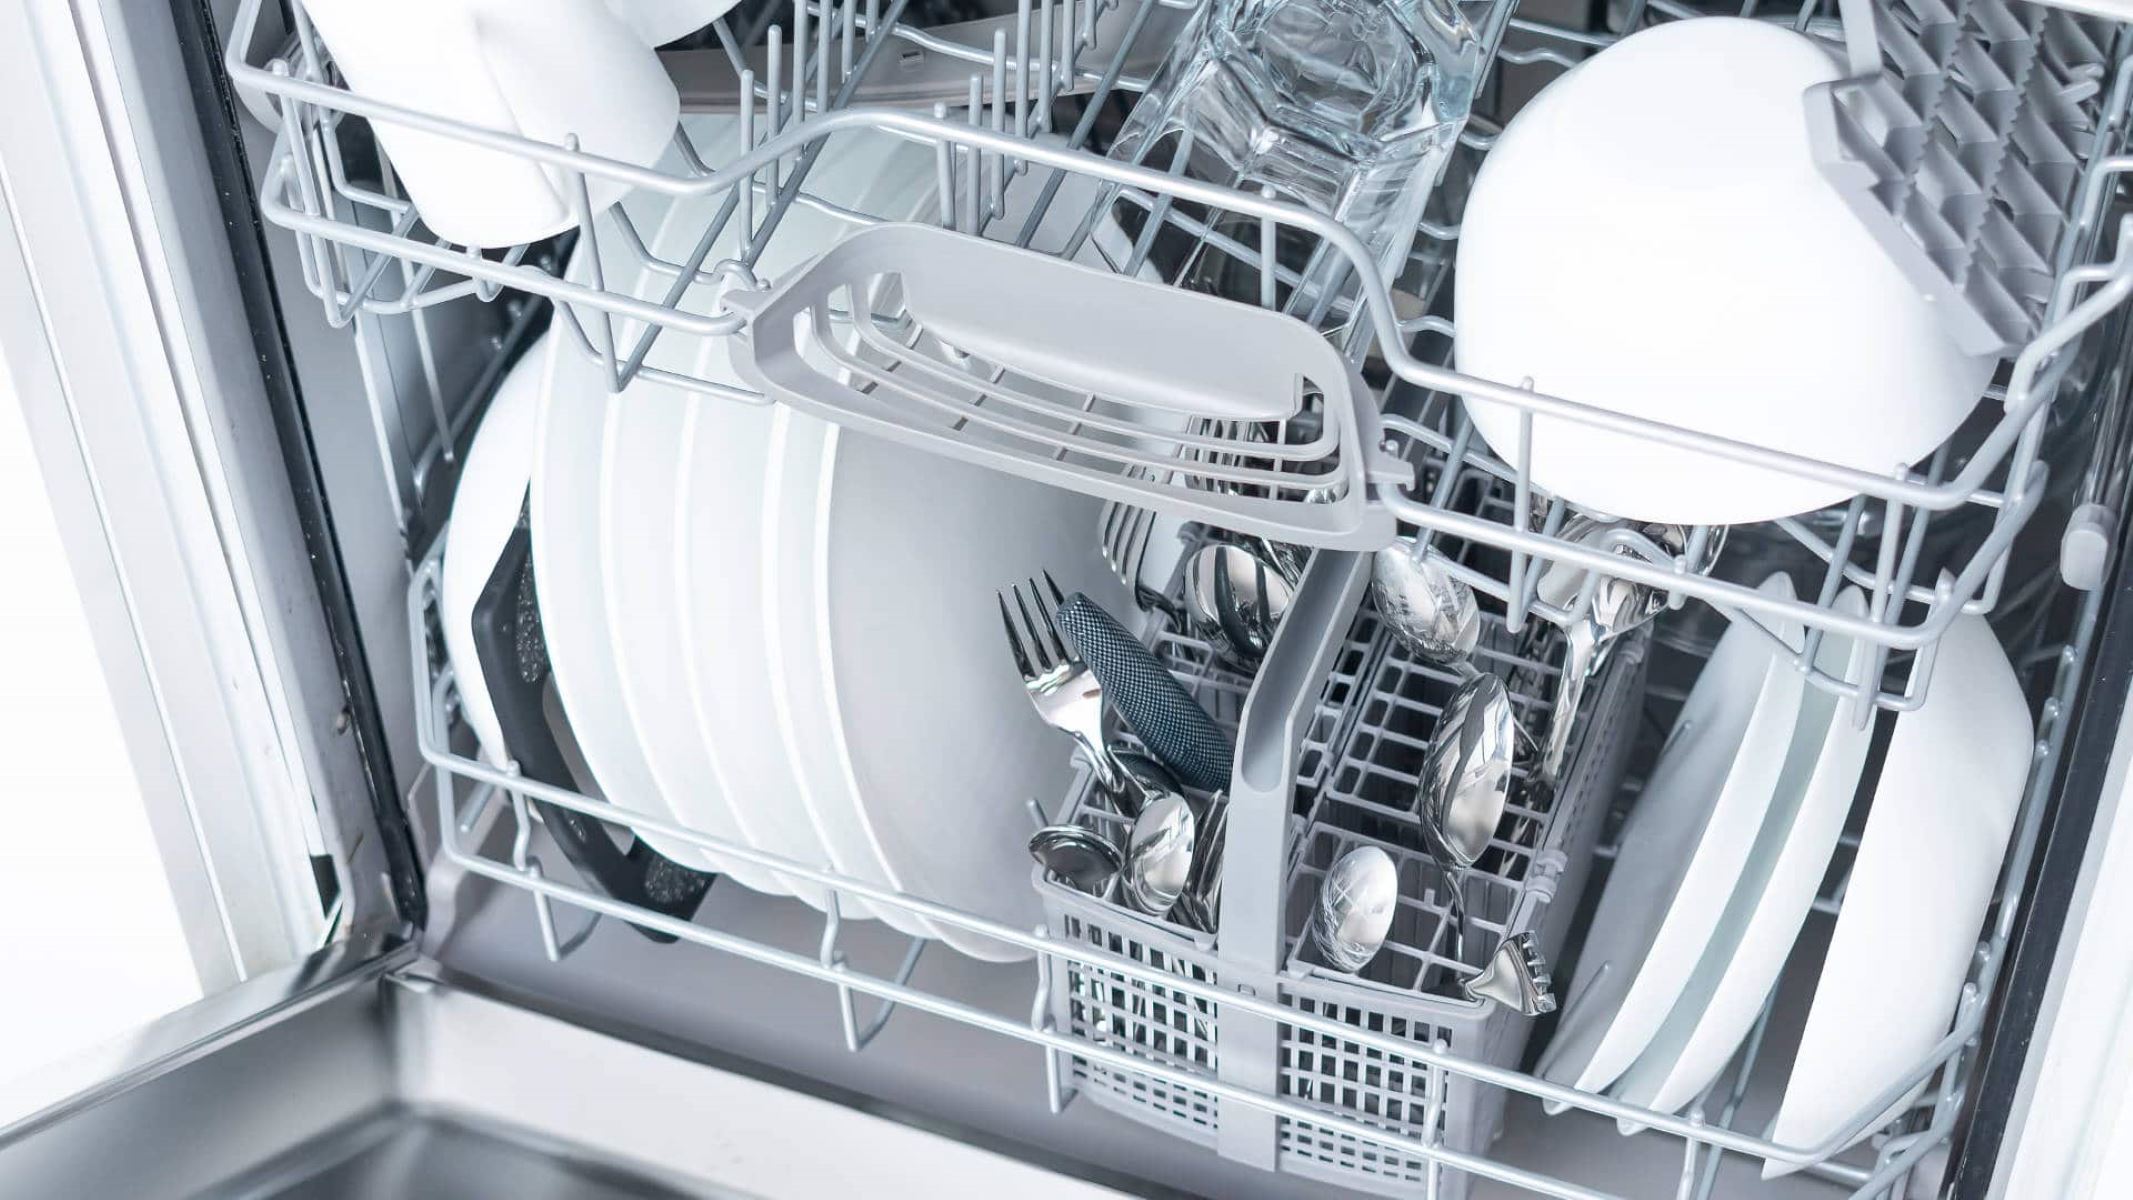
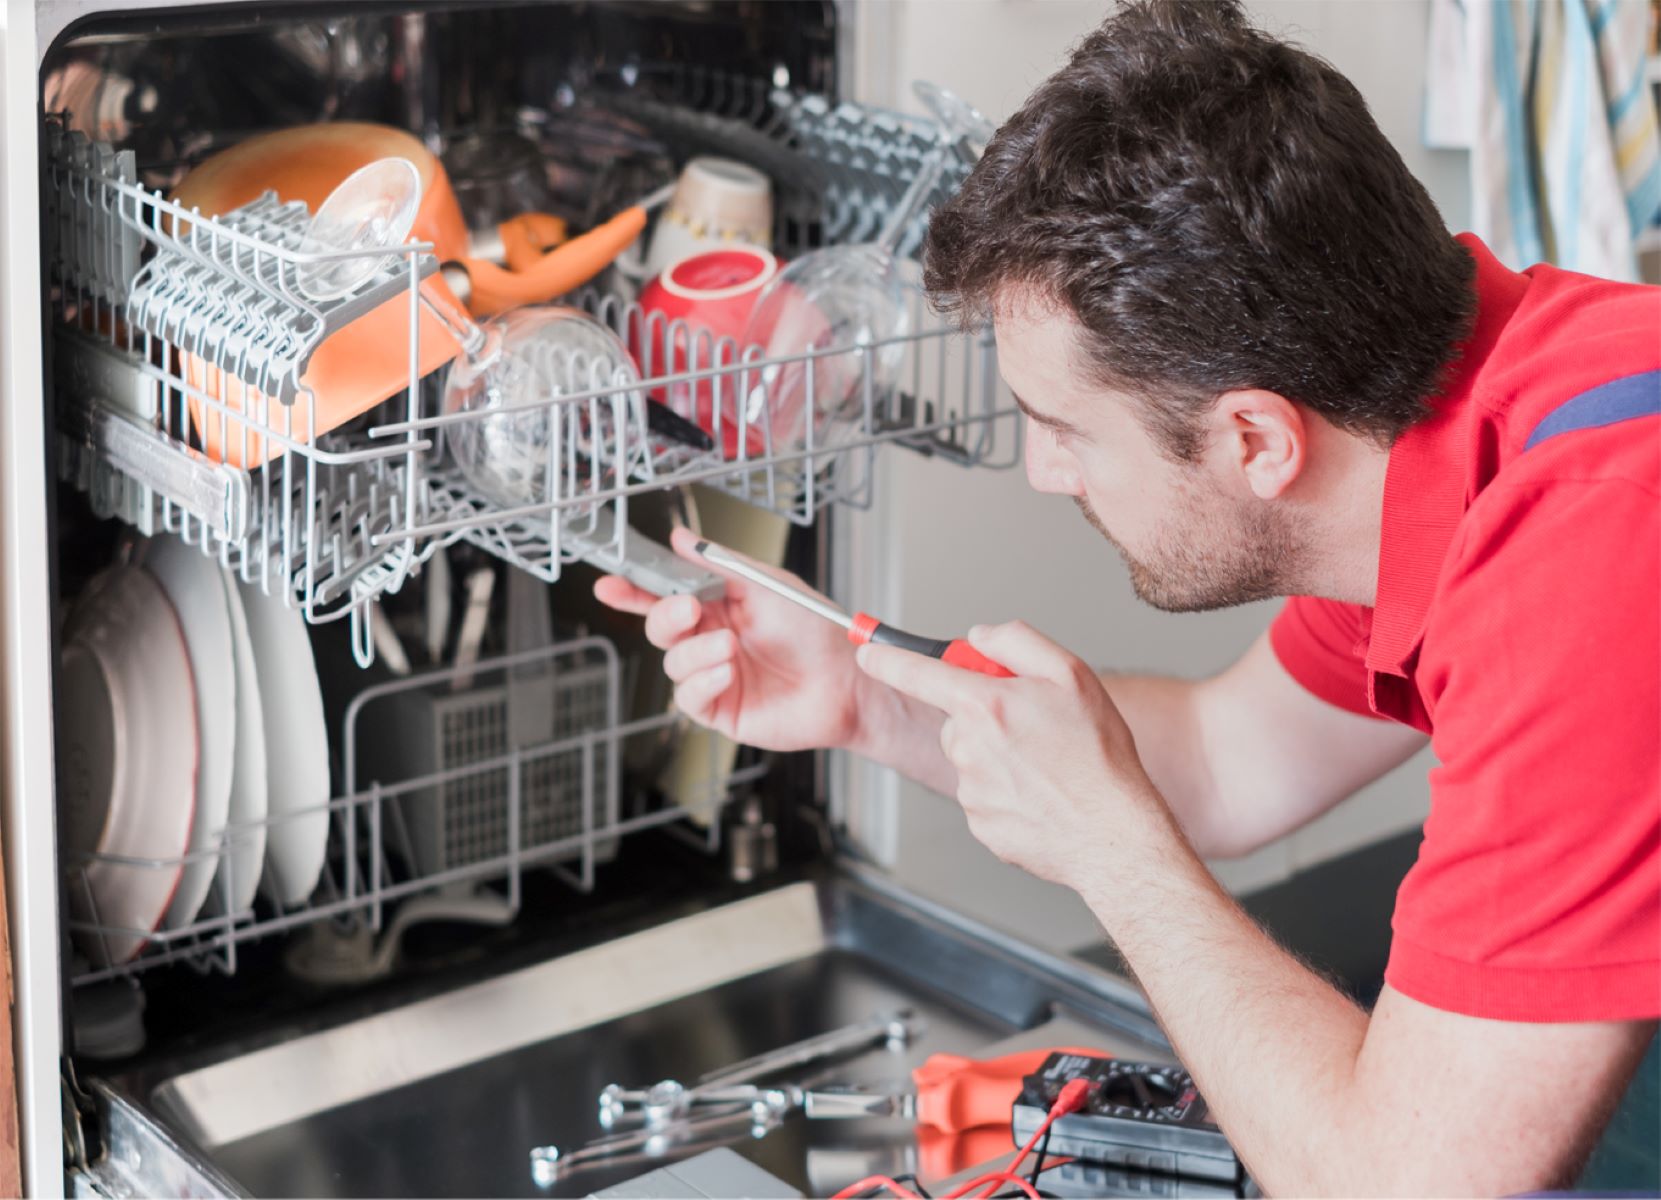
Step 9: Run a Test Cycle
Running a test cycle on your Samsung dishwasher is a crucial step to ensure that it is functioning properly before regular use. Follow these steps to run a test cycle:
Running a test cycle allows you to identify any potential issues or adjustments needed with your Samsung dishwasher. It also provides the opportunity to become familiar with the dishwasher’s operation and settings.
If you encounter any problems during the test cycle, consult the instruction manual or contact Samsung’s customer support for further assistance.
Once the test cycle is successfully completed, you are ready to move on to the final step: familiarizing yourself with the dishwasher’s features.
Step 10: Familiarize Yourself with the Dishwasher’s Features
Now that your Samsung dishwasher is installed and tested, it’s important to take some time to familiarize yourself with its various features and functions. Understanding the capabilities of your dishwasher will enable you to make the most of its performance and take advantage of any advanced options it may offer.
Here are a few key features you should be aware of:
- Wash Cycles: Take note of the different wash cycle options available on your dishwasher. These may include normal, heavy-duty, quick wash, or eco-friendly modes. Understand the ideal usage scenarios for each cycle and choose the appropriate one based on your load’s dirtiness and type.
Taking the time to familiarize yourself with the dishwasher’s features ensures that you maximize its efficiency and tailor its settings to your specific needs. Refer to the instruction manual for detailed information on each feature and how to use them effectively.
With this final step completed, you have successfully started and familiarized yourself with your Samsung dishwasher. Enjoy the convenience of a clean and efficient dishwashing experience!
Remember to consult the instruction manual or contact Samsung’s customer support if you have any questions or encounter any issues with your dishwasher.
Conclusion
Congratulations! You have successfully learned how to start your Samsung dishwasher. By following the steps outlined in this article, you have ensured a smooth and efficient installation process, allowing you to experience the convenience and benefits of a reliable dishwasher in your home.
Remember to always consult the specific instruction manual for your dishwasher model, as it will provide appliance-specific guidelines and recommendations. Familiarizing yourself with the manual is crucial to understanding the necessary tools, materials, and steps required for your specific dishwasher.
From gathering the necessary tools and materials to connecting the water supply and drain line, each step plays a vital role in the installation process. Taking the time to properly prepare the installation area, level the dishwasher, and connect the power supply ensures optimal performance and prevents any potential issues.
Once your dishwasher is up and running, don’t forget to run a test cycle to verify its functionality. This will help you identify any adjustments or troubleshooting needed before regular use. Additionally, familiarize yourself with the dishwasher’s features, such as different wash cycles and temperature settings, to customize your cleaning experience.
If you encounter any difficulties or have questions along the way, always refer to the instruction manual or reach out to Samsung’s customer support for assistance. They are equipped to guide you through any challenges you may encounter during the installation process.
Enjoy the convenience of your Samsung dishwasher, as it simplifies your daily chores and provides sparkling clean dishes with ease. Make sure to maintain your dishwasher regularly as advised in the instruction manual to ensure its longevity and efficient performance for years to come.
Thank you for choosing Samsung for your dishwasher needs. Happy dishwashing!
Frequently Asked Questions about How To Start A Samsung Dishwasher
Was this page helpful?
At Storables.com, we guarantee accurate and reliable information. Our content, validated by Expert Board Contributors, is crafted following stringent Editorial Policies. We're committed to providing you with well-researched, expert-backed insights for all your informational needs.
0 thoughts on “How To Start A Samsung Dishwasher”