Articles
How To Store Apple Fritters
Modified: December 7, 2023
Learn how to store apple fritters effectively with our expert articles, ensuring they stay fresh and delicious for longer.
(Many of the links in this article redirect to a specific reviewed product. Your purchase of these products through affiliate links helps to generate commission for Storables.com, at no extra cost. Learn more)
Introduction
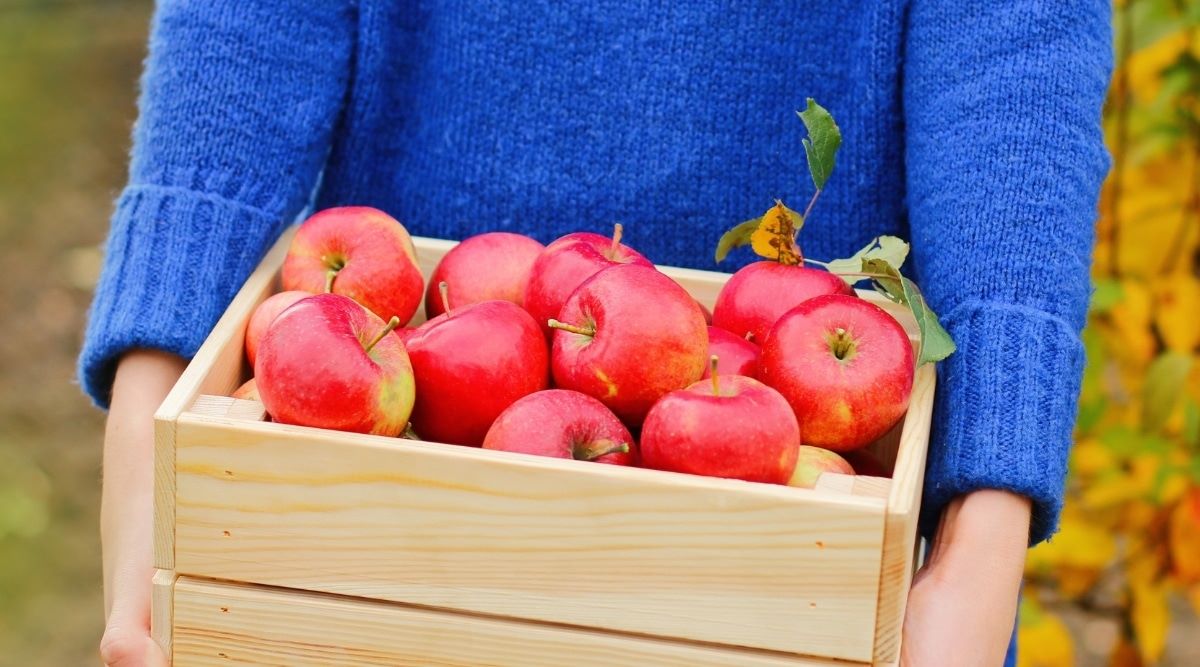
Welcome to this guide on how to store apple fritters! Apple fritters are a delicious and indulgent treat that are perfect for enjoying fresh out of the fryer. But what do you do if you have leftovers or want to make a large batch in advance? Storing apple fritters correctly is essential to maintain their flavor and texture.
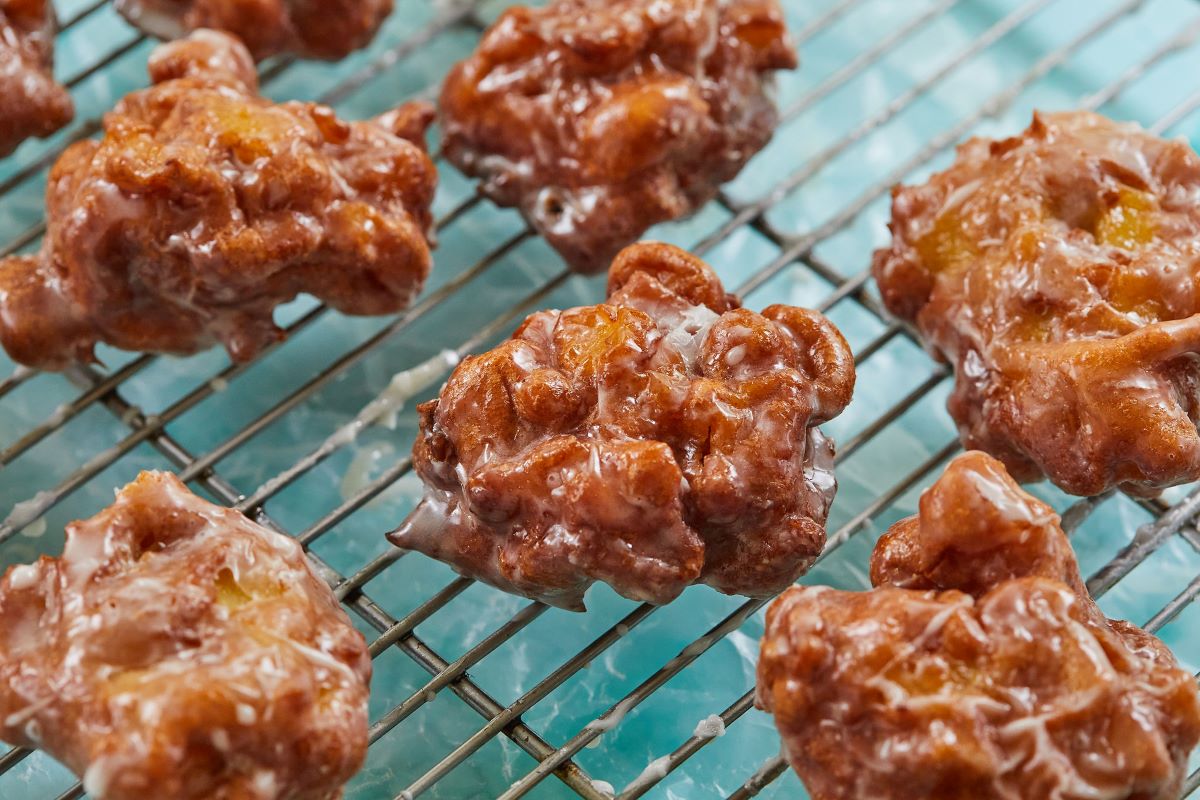
Apple fritters are made by mixing chunks of fresh apples into a sweet, cinnamon-infused batter and deep-frying them until golden brown. The result is a crispy outer layer surrounding tender apples, bursting with warm flavors. Whether you’ve made these delectable treats for breakfast, dessert, or a special occasion, knowing how to store them properly will ensure they stay fresh and retain their deliciousness.
In this article, we will guide you through the process of storing apple fritters, step by step. From making the batter to frying the fritters and finally storing them, we’ll cover everything you need to know to keep these mouthwatering treats at their best.
So, if you’re ready to learn how to store apple fritters and keep them tasting as good as when they were freshly made, let’s get started with the ingredients you’ll need.
Key Takeaways:
- Properly storing apple fritters involves preparing the batter, frying to golden perfection, draining, cooling, and storing in an airtight container. Enjoy them fresh for up to 2-3 days at room temperature or 5-7 days in the refrigerator.
- Reheat stored apple fritters in the oven at 350°F (175°C) for 5 minutes to restore their crispiness and enjoy them as if they were freshly made. Prepare a large batch in advance and indulge in these delightful treats whenever the craving strikes!
Read more: How To Store Apple
Ingredients
Before we begin storing apple fritters, let’s gather all the ingredients you’ll need. Here’s what you’ll need:
- 2 cups all-purpose flour
- 1/4 cup granulated sugar
- 1 tablespoon baking powder
- 1/2 teaspoon salt
- 1 teaspoon ground cinnamon
- 2/3 cup milk
- 2 large eggs
- 2 tablespoons melted butter
- 2 cups diced apples (peeled and cored)
- Vegetable oil for frying
- Powdered sugar for dusting (optional)
These ingredients are readily available in most kitchens and can be easily customized to suit your preferences. Feel free to adjust the amount of sugar, cinnamon, or other spices according to your taste.
Now that you have all the ingredients prepared, let’s move on to the step-by-step process of storing apple fritters.
Step 1: Making the batter
The first step in storing apple fritters is to prepare the batter. Follow these simple instructions to make the perfect batter:
- In a large bowl, whisk together the all-purpose flour, granulated sugar, baking powder, salt, and ground cinnamon. Make sure all the ingredients are well combined.
- In a separate bowl, whisk together the milk, eggs, and melted butter until the mixture is smooth.
- Pour the wet mixture into the dry ingredients and stir until just combined. Be careful not to overmix, as this can result in tough fritters.
- Gently fold in the diced apples, making sure they are evenly distributed throughout the batter.
That’s it! Your apple fritter batter is now ready to be cooked. But before we proceed to frying the fritters, let’s move on to the next step, which is preparing the apples for frying.
Step 2: Preparing the apples
Once you have the apple fritter batter ready, it’s time to prepare the apples. Follow these steps to ensure the apples are perfectly diced and ready for frying:
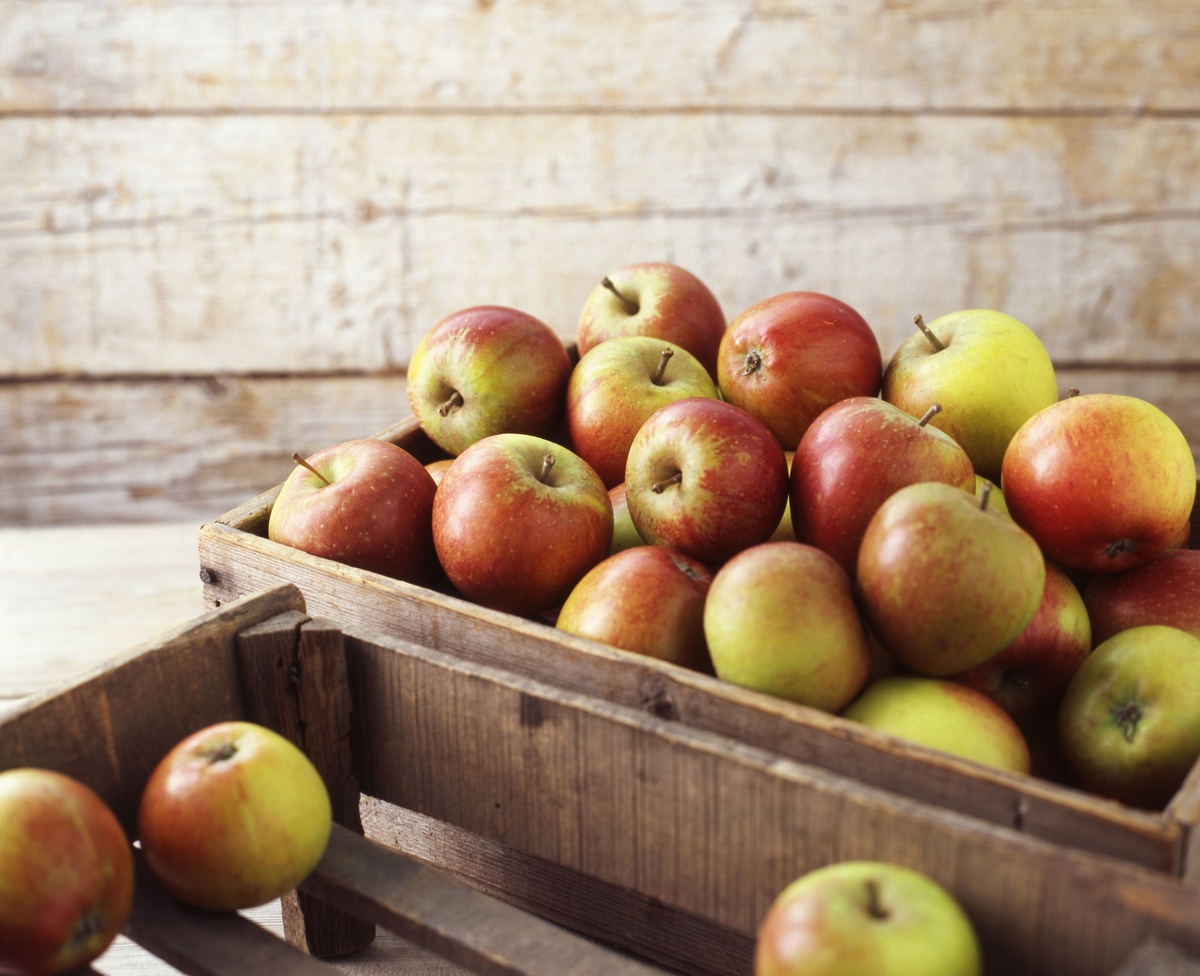
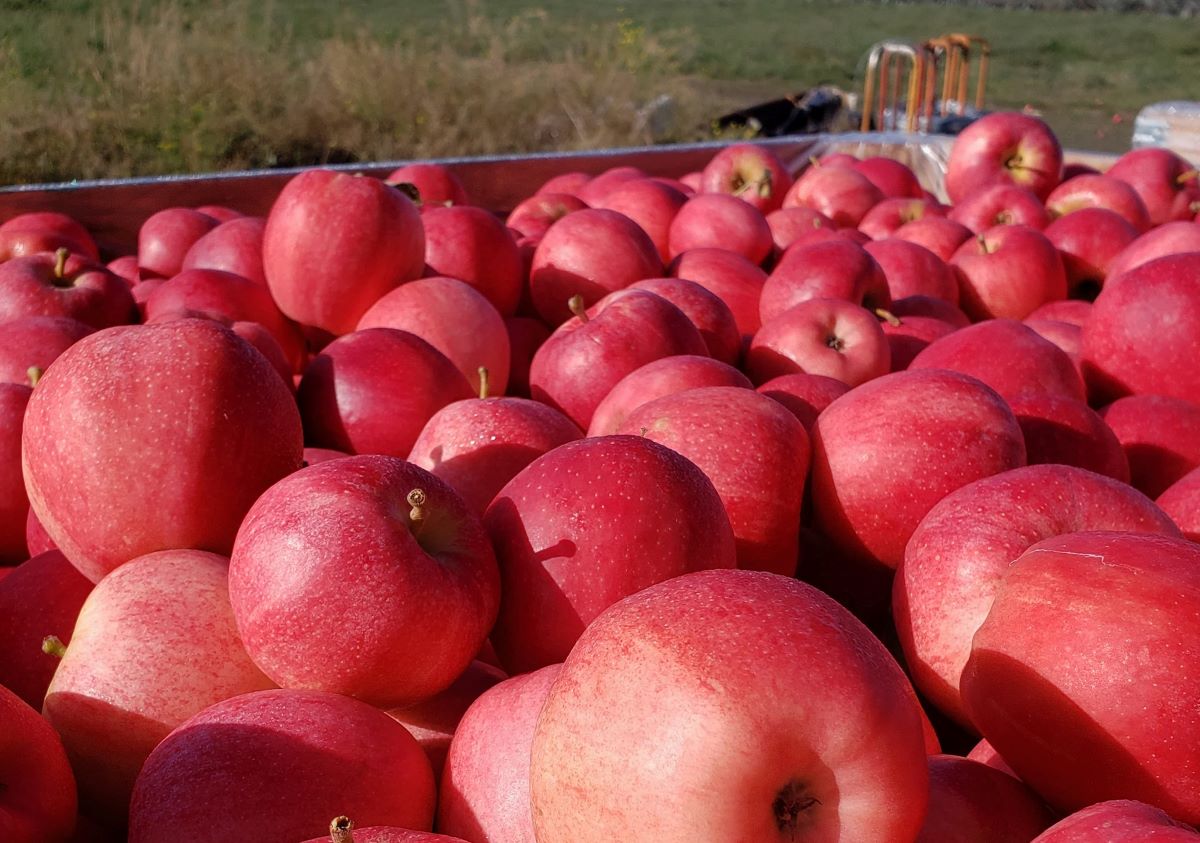
- Start by selecting fresh and firm apples. You can use any variety that you prefer, but crisp and tart apples such as Granny Smith or Honeycrisp work well.
- Peel the apples using a vegetable peeler or a paring knife. Make sure to remove all the skin so that you’re left with smooth and juicy apple chunks.
- Core the apples using an apple corer or a small knife. Remove the seeds and any tough parts from the center of the apple.
- Once the apples are peeled and cored, dice them into small, bite-sized pieces. Aim for approximately 1/2-inch to 1-inch cubes.
- Place the diced apples in a bowl of cold water with a splash of lemon juice to prevent browning. This step is optional but can help keep the apples looking fresh.
Now that your apples are perfectly prepared, let’s move on to the exciting part: frying the apple fritters!
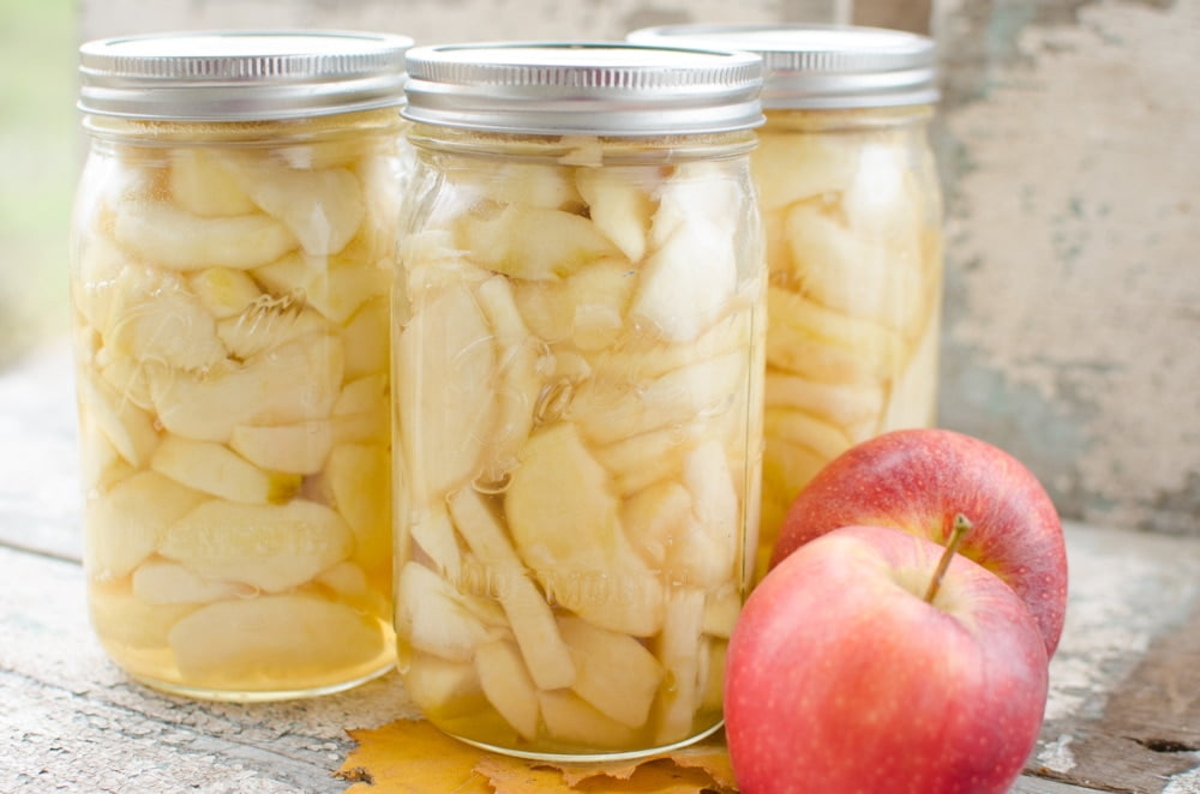
Store apple fritters in an airtight container at room temperature for up to 2 days. For longer storage, freeze them in a resealable plastic bag for up to 1 month. Reheat in the oven or toaster oven for best results.
Step 3: Frying the apple fritters
Now that you have the batter prepared and the apples diced, it’s time to fry the apple fritters to golden perfection. Follow these steps to achieve delicious, crispy fritters:
- Fill a large, deep skillet or a pot with vegetable oil. You’ll need enough oil to completely submerge the fritters while frying.
- Heat the oil over medium-high heat until it reaches a temperature of around 350°F (175°C). You can use a candy thermometer or simply test the oil by dropping a small piece of bread into it. If it sizzles and turns golden brown within seconds, the oil is ready.
- While the oil is heating up, use a slotted spoon or a fork to carefully lift the diced apples from the water and transfer them to a paper towel-lined plate. Pat them dry to remove any excess moisture.
- Drop spoonfuls of the apple fritter batter into the hot oil, being careful not to overcrowd the skillet. Flatten the batter slightly with the back of the spoon to create a round shape.
- Fry the fritters for about 2-3 minutes on each side or until they turn golden brown. Flip them carefully using a spatula or tongs.
- Once the fritters are evenly fried, use a slotted spoon or tongs to transfer them to a plate lined with paper towels. This will help absorb any excess oil.
Continue frying the remaining batches of fritters, making sure to adjust the heat as needed and maintaining a steady oil temperature. Now that your hot and crispy fritters are ready, let’s move on to the next step: draining and cooling.
Read more: How To Store Apples In Fridge
Step 4: Draining and Cooling
After frying the apple fritters to a beautiful golden brown, it’s important to properly drain and cool them before storing. Follow these steps to ensure your fritters are well-prepared for storage:
- Transfer the fried fritters from the paper towel-lined plate to a wire rack. This will allow the excess oil to drain off and prevent the fritters from becoming soggy.
- Leave the fritters on the wire rack for at least 10-15 minutes to cool down completely. This will also help them firm up and maintain their shape.
- If you prefer, you can lightly dust the cooled fritters with powdered sugar for added sweetness and presentation. This step is optional but highly recommended for an extra touch of deliciousness.
Now that your apple fritters are drained, cooled, and ready for storage, let’s move on to the final step: storing them properly.
Step 5: Storing the Apple Fritters
Now that your apple fritters are perfectly fried and cooled, it’s time to store them properly to maintain their flavor and texture. Follow these steps to keep your fritters fresh:
- Place the completely cooled apple fritters in an airtight container. Make sure they are arranged in a single layer to prevent them from sticking together.
- If you’re stacking multiple layers of fritters, place a sheet of parchment paper or wax paper between each layer to prevent them from sticking and becoming mushy.
- Seal the container tightly to keep air and moisture out. This will help preserve the crispiness of the fritters.
- Store the container of apple fritters in a cool, dry place. They can be stored at room temperature or in the refrigerator, depending on your preference.
- If storing in the refrigerator, allow the fritters to come to room temperature before serving to enhance their taste and texture.
Apple fritters can be stored for up to 2-3 days at room temperature or up to 5-7 days in the refrigerator. However, for the highest quality and freshness, it’s best to consume them within the first day or two.
When you’re ready to enjoy the stored apple fritters, simply take them out of the container and reheat them in a preheated oven at 350°F (175°C) for about 5 minutes or until heated through. This will help restore their crispiness.
With these steps, you now know how to store apple fritters properly and enjoy them even after they’ve been fried. Now it’s time to indulge in these delightful treats whenever you’re craving a sweet and comforting treat.
Conclusion
Congratulations! You have successfully learned how to store apple fritters and keep them delicious even after they have been fried. By following the steps outlined in this guide, you can now enjoy these tasty treats at any time, whether you have leftovers or want to prepare a batch in advance.
Remember, the key to storing apple fritters lies in proper preparation, frying, draining, cooling, and storage. By making sure the fritters are well-cooked and completely cooled before storing them in an airtight container, you can preserve their flavor and texture for several days.
Additionally, when it’s time to indulge in the stored fritters, a quick reheating in the oven will bring back their crispiness and make them taste as good as freshly made.
So, the next time you have a craving for apple fritters or want to surprise your family and friends with a delightful treat, you can confidently make a large batch, knowing that you can store them without compromising their taste and quality.
Enjoy your delicious apple fritters and happy storing!
Frequently Asked Questions about How To Store Apple Fritters
Was this page helpful?
At Storables.com, we guarantee accurate and reliable information. Our content, validated by Expert Board Contributors, is crafted following stringent Editorial Policies. We're committed to providing you with well-researched, expert-backed insights for all your informational needs.

0 thoughts on “How To Store Apple Fritters”