Articles
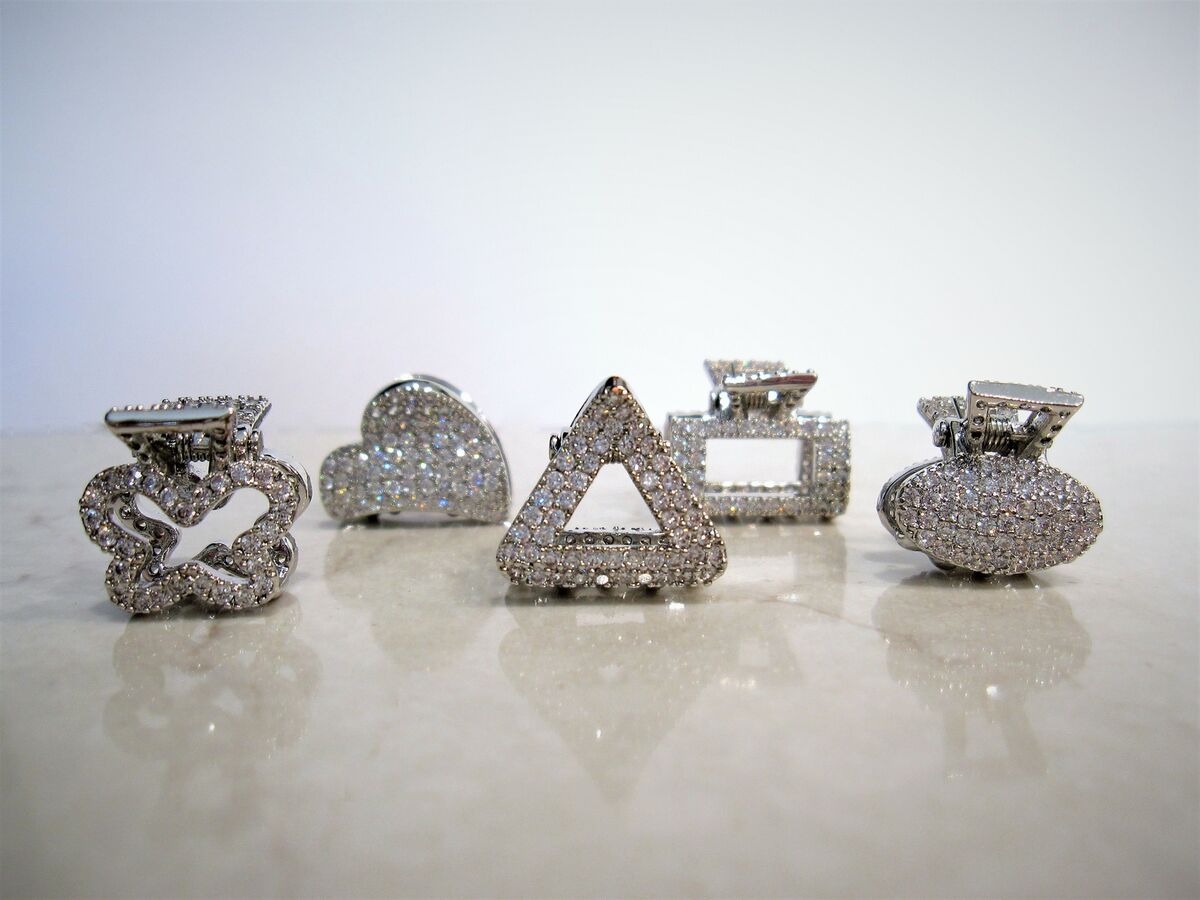
How To Store Hair Clips
Modified: February 11, 2024
Discover the best way to store your hair clips and keep them organized with our helpful articles. Find tips, tricks, and DIY solutions for a clutter-free hair accessories collection.
(Many of the links in this article redirect to a specific reviewed product. Your purchase of these products through affiliate links helps to generate commission for Storables.com, at no extra cost. Learn more)
Introduction
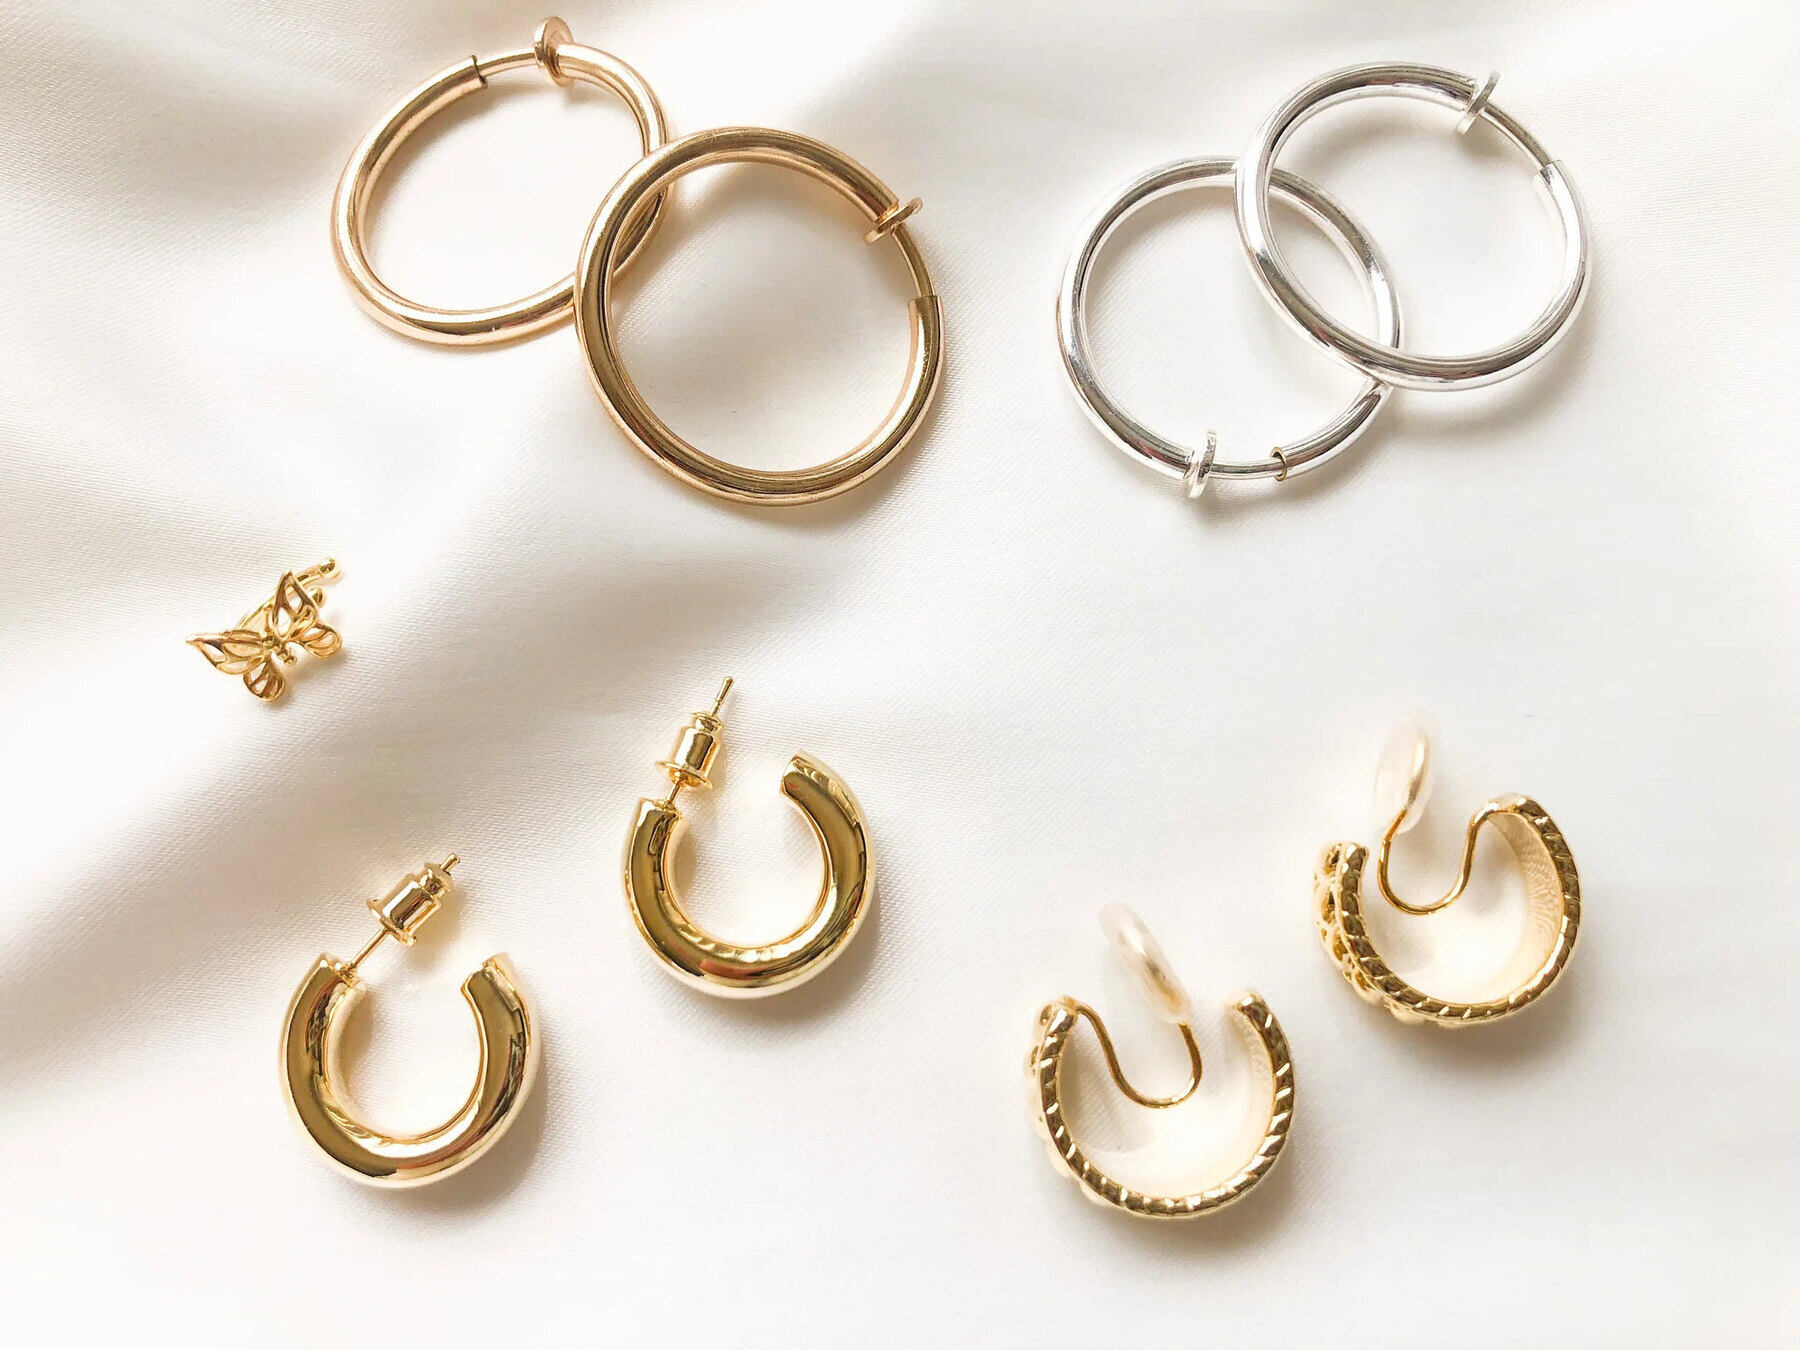
Welcome to our guide on how to store hair clips! Hair clips are an essential accessory for many women, helping to keep their hair in place and adding a stylish touch to their overall look. However, with their small size and delicate nature, it’s easy for hair clips to become scattered or damaged if not stored properly.
In this article, we will provide you with a step-by-step guide on organizing and storing your hair clips effectively. By following these simple tips and tricks, you can keep your hair clips easily accessible and in excellent condition.
Whether you have a collection of colorful hair clips for daily use, or you have several special occasion hair clips that you want to keep safe, our guide will offer you various storage options to suit your needs.
So, without further ado, let’s dive into the world of hair clip storage and find the perfect solution for you!
Key Takeaways:
- Keep your hair clips organized by gathering, cleaning, and categorizing them. Choose a suitable storage method, whether it’s a drawer, holder, or DIY solution, to ensure easy access and prevent damage.
- Regularly maintain and update your hair clip storage to keep it functional and efficient. Avoid overcrowding and remove damaged clips to prolong the lifespan of your collection.
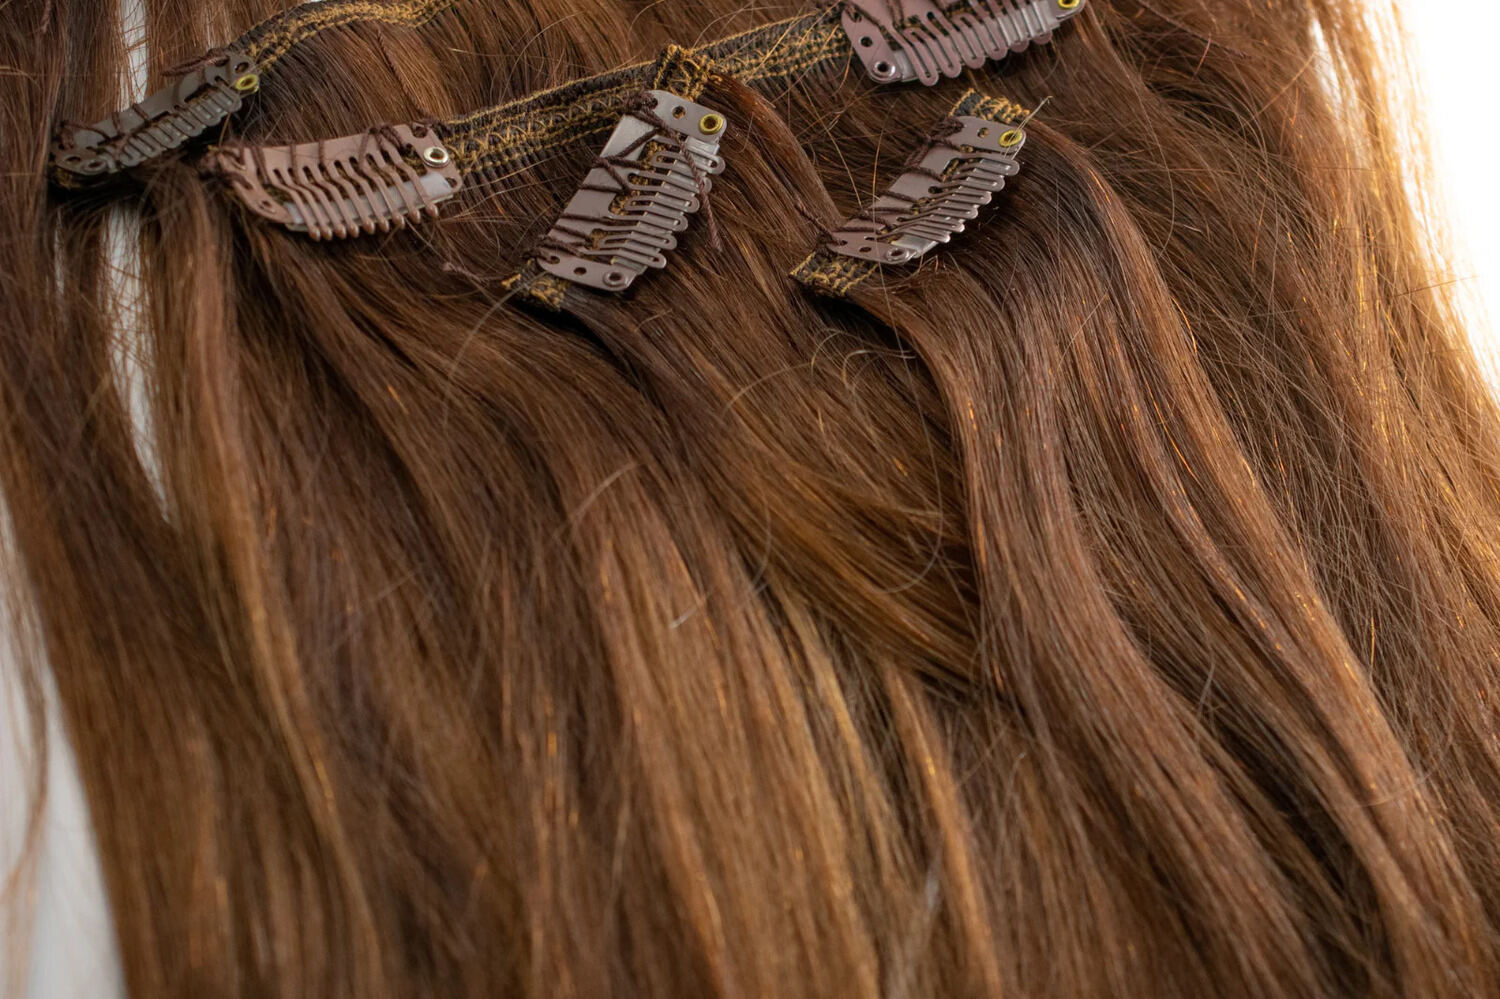
Read more: How To Store Clip-In Hair Extensions
Step 1: Gather Your Hair Clips
The first step in properly storing your hair clips is to gather them all in one place. This allows you to assess the quantity and condition of your clips, making it easier to determine the best storage method for your specific collection.
Start by collecting all of your hair clips from various locations such as your bathroom, bedroom, or handbags. Check your vanity, dresser, or any other areas where you might have left hair clips lying around.
Once you’ve gathered all your hair clips, take a moment to inspect them. Look for any damaged or broken clips that need repairs or replacements. Removing damaged clips from your collection will help you maintain an organized and functional storage system.
At this stage, you can also sort your hair clips based on different categories such as color, size, or style. This can make it easier to find the hair clip you’re looking for when you’re in a rush or trying to match your hair accessory with your outfit.
Once you have gathered and sorted your hair clips, it’s time to move on to the next step: cleaning and drying them.
Step 2: Clean and Dry Your Hair Clips
To ensure that your hair clips stay in top condition and avoid any buildup of dirt or product residue, it’s important to clean and dry them before storing.
Start by filling a small bowl or basin with warm water and a gentle shampoo or mild soap. Gently swirl your hair clips in the soapy water to remove any dirt or oils that may have accumulated on them.
For metal hair clips, you can use a soft toothbrush or a small cleaning brush to gently scrub away any stubborn residue. Be careful not to use excessive force, as this can bend or damage the clips.
Rinse the hair clips thoroughly with clean water to remove any soap residue. Make sure to rinse each clip individually to ensure that all traces of soap are removed.
After cleaning, pat dry your hair clips using a soft towel or cloth. Avoid rubbing too vigorously, as this can cause damage to the clips. If your hair clips are made of metal, ensure that they are completely dry to prevent any rusting.
For hair clips with fabric or decorative elements, such as bows or beads, it’s important not to immerse them in water. Instead, use a damp cloth or cotton swab to gently wipe away any dirt or stains. Be careful not to wet the fabric too much, as it can affect the integrity of the hair clip.
Once your hair clips are clean and dry, you can move on to the next step: organizing them for storage.
Step 3: Organize Your Hair Clips
Now that your hair clips are clean and dry, it’s time to focus on organizing them. Proper organization will make it easier for you to find the clip you need when you’re in a rush or trying to create a specific hairstyle.
There are a few different ways you can organize your hair clips:
- By Category: Sort your hair clips into categories based on their type, size, or color. For example, you can have separate sections for bobby pins, barrettes, and hair claws. This makes it easier to locate the specific type of hair clip you’re looking for.
- By Style or Occasion: If you have a wide variety of hair clips for different occasions or styles, consider organizing them based on their purpose. Create sections for everyday clips, formal clips, or clips for specific hairstyles.
- By Frequency of Use: If you have certain hair clips that you use more frequently than others, place them in a separate section or container for easy access.
Choose the organizing method that works best for you and aligns with your personal preferences and needs.
Additionally, you can consider using dividers or small containers to keep your hair clips separate and prevent them from tangling or getting mixed up. This can be especially helpful for smaller clips that may easily get lost or misplaced.
By organizing your hair clips effectively, you’ll save time and frustration when searching for the perfect accessory for your hairstyle. Now that your clips are organized, it’s time to move on to the next step: choosing a storage method.
Step 4: Choose a Storage Method
Once you’ve organized your hair clips, it’s time to select a suitable storage method. The right storage solution will keep your hair clips safe, easily accessible, and prevent them from getting tangled or damaged.
Here are a few popular storage options to consider:
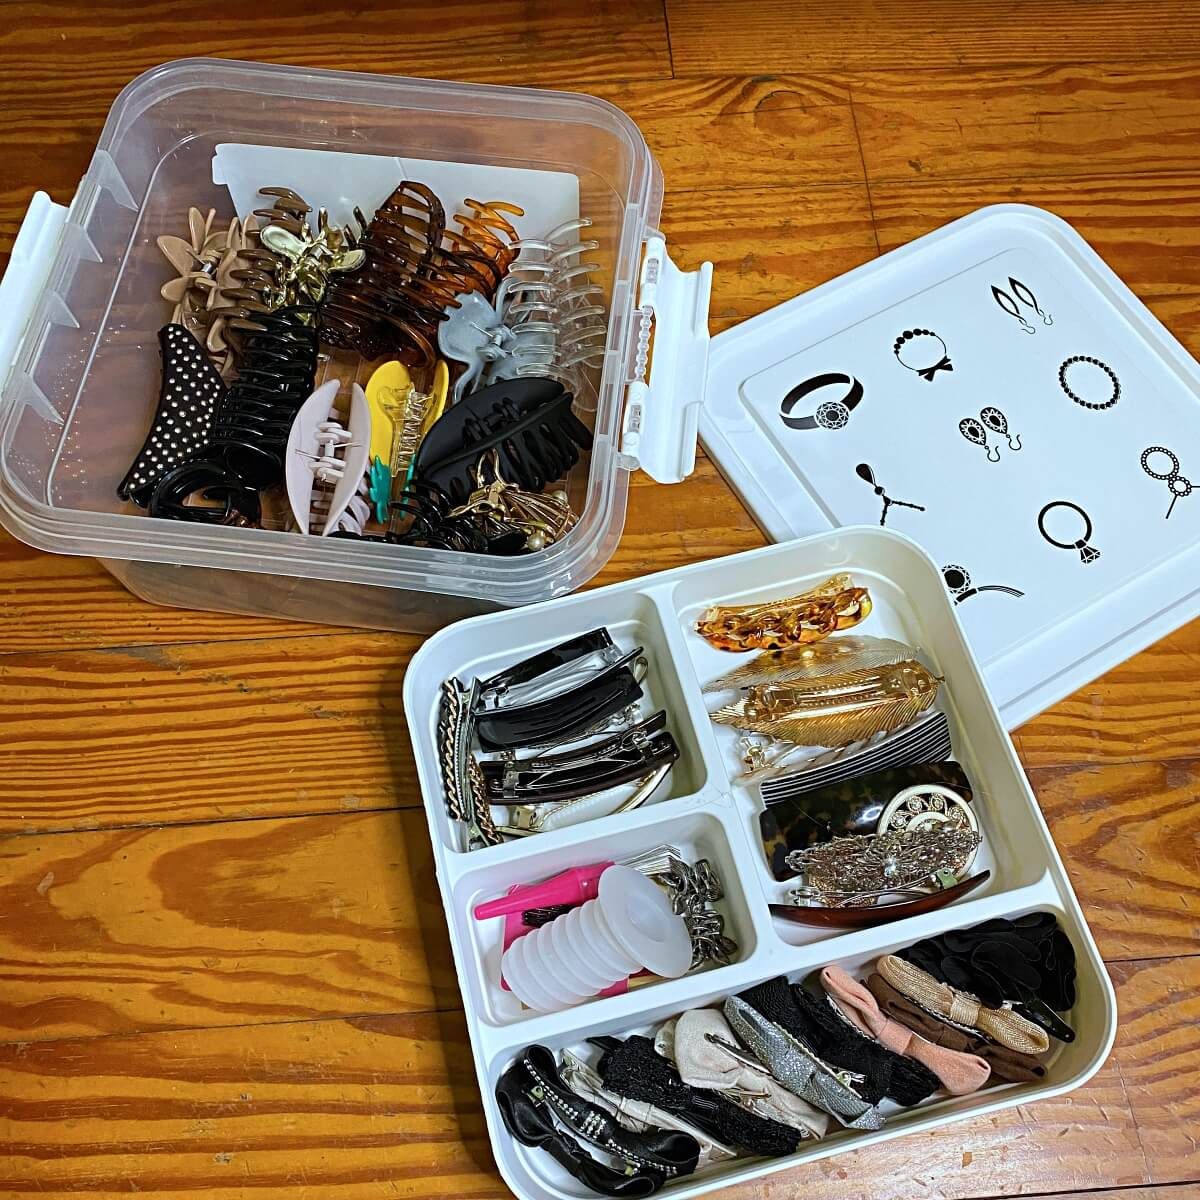
- Drawer Dividers: If you have a drawer available, using dividers can be a great way to store your hair clips. Arrange your clips in the divided sections based on the organizing method you’ve chosen. This method keeps your clips neatly organized and prevents them from tangling or getting lost.
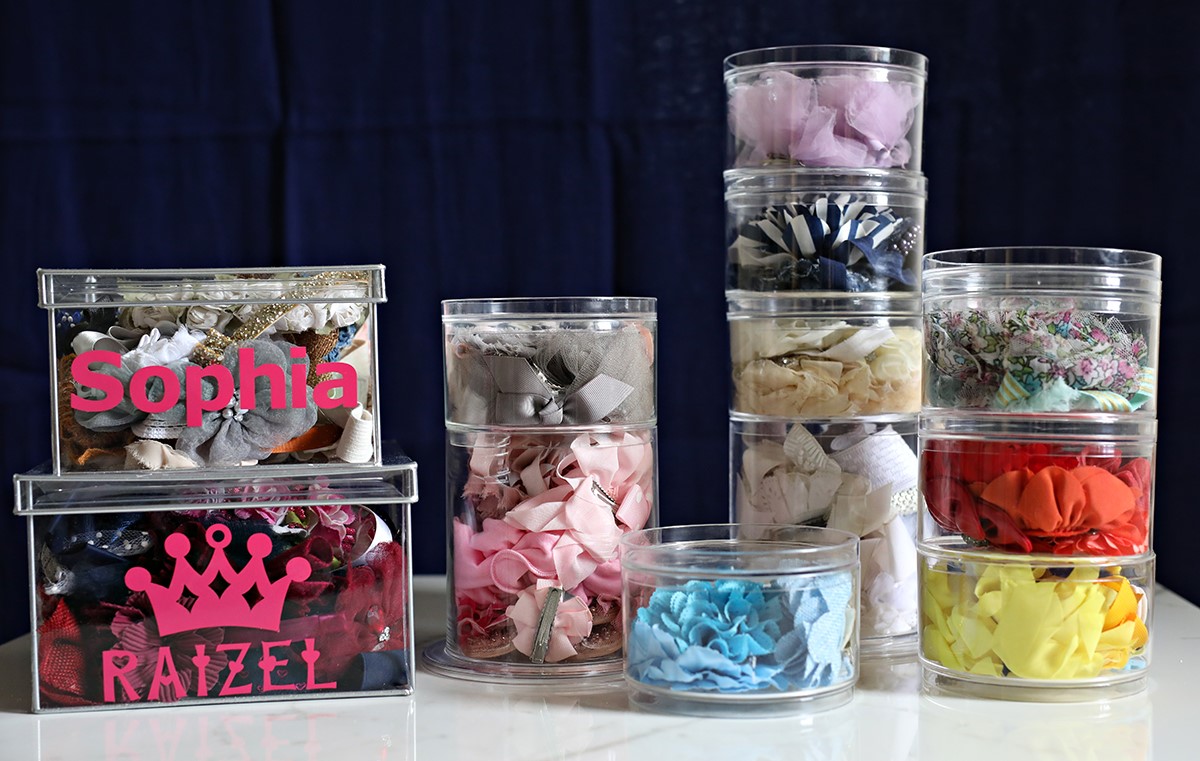
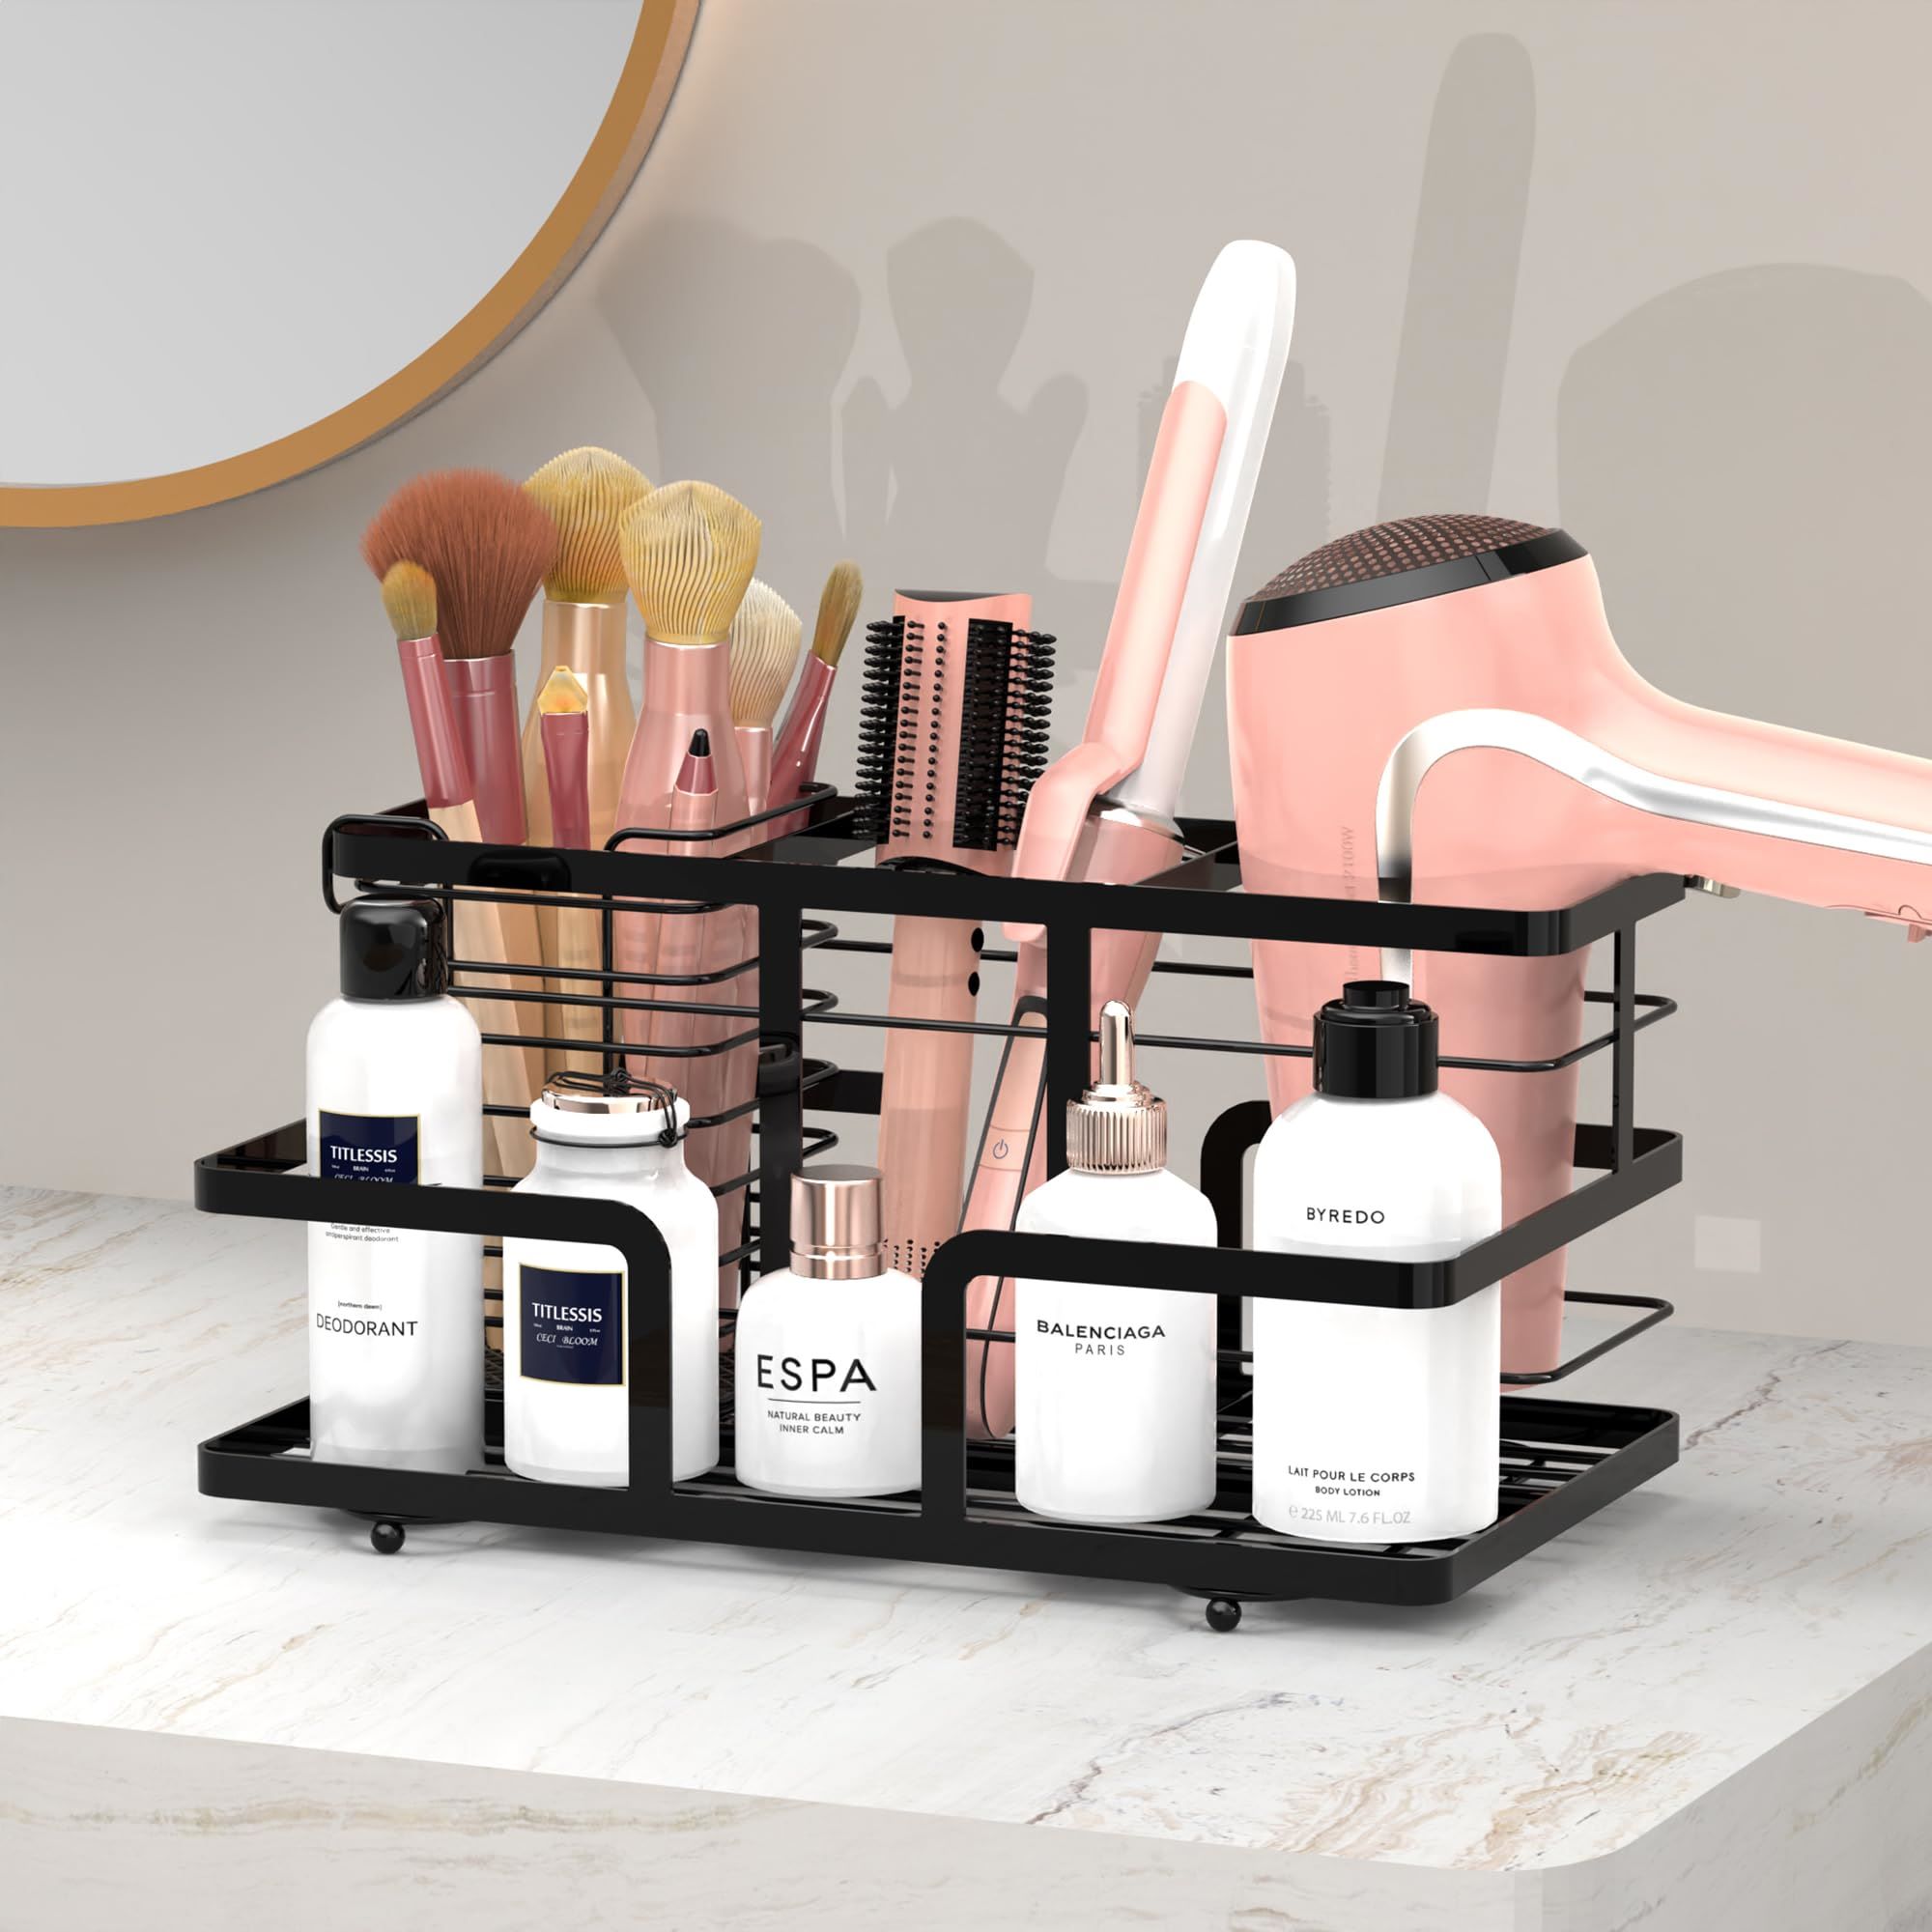
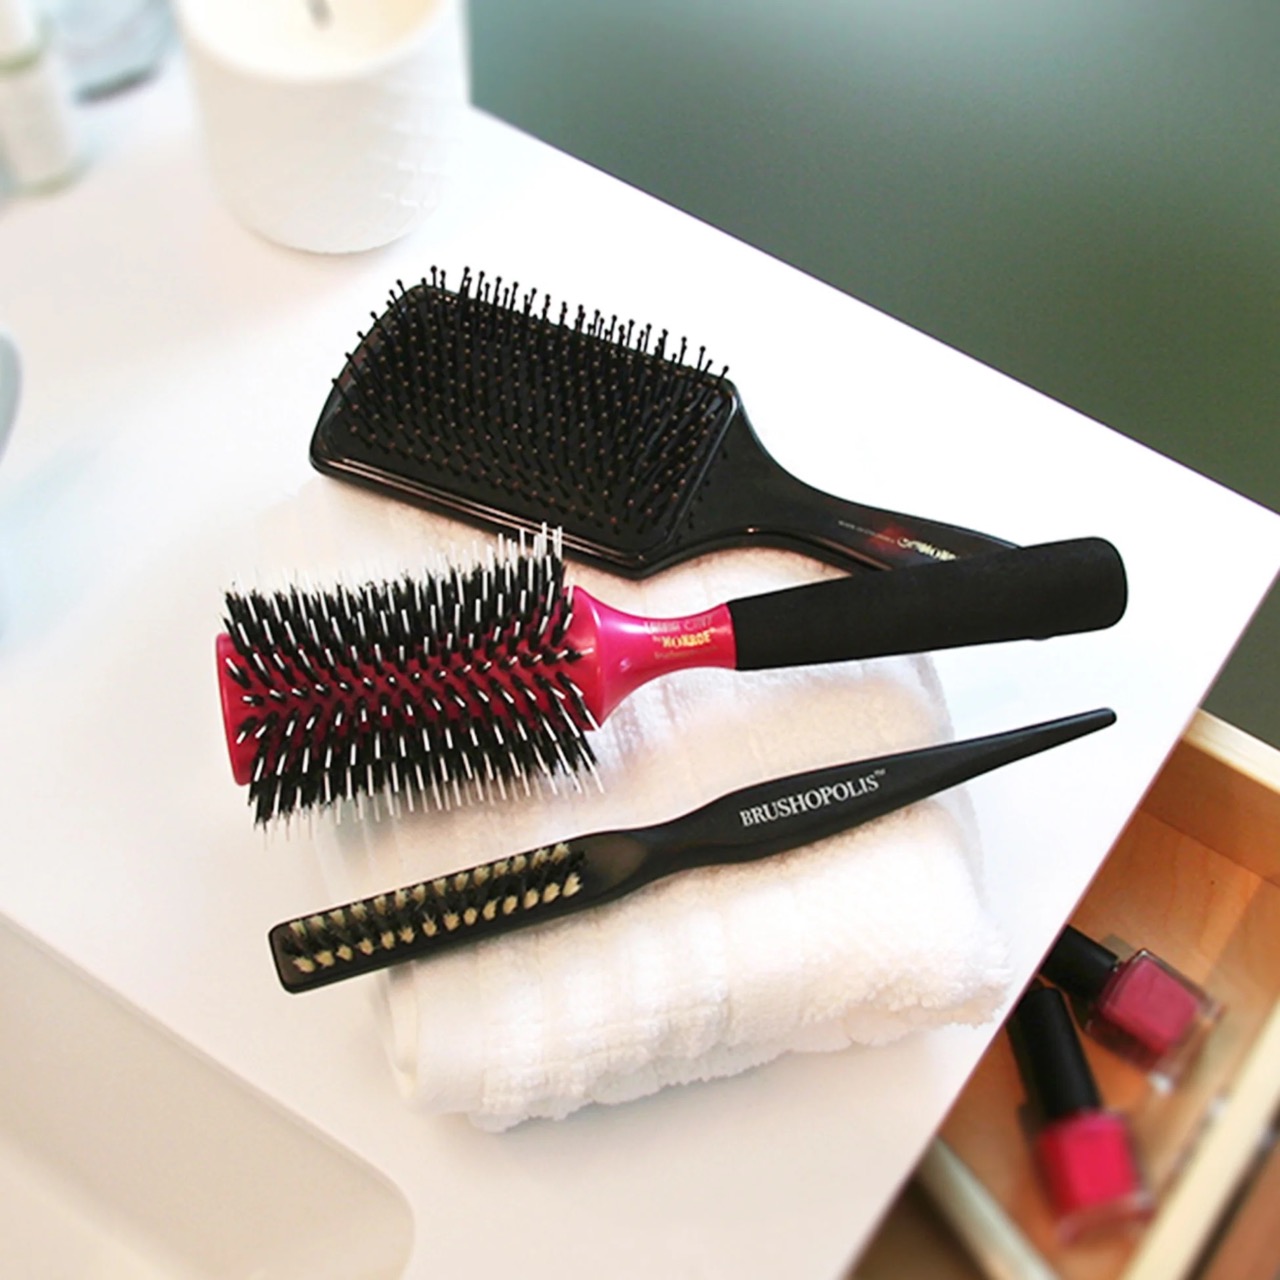
- Hair Clip Holders or Organizers: There are various hair clip holders and organizers available on the market, ranging from simple ones made of fabric or plastic to more elaborate options with multiple compartments. These organizers often have different sections to hold different types of hair clips, making it easy to find the one you need.
- DIY Storage Solutions: If you enjoy crafts or want to get creative, you can make your own hair clip storage solution. Use a small decorative tray, a corkboard, or even a repurposed jewelry organizer to display and store your clips. This not only provides a personalized touch but also adds a decorative element to your vanity or bathroom.
When choosing a storage method, consider factors such as the number of hair clips you own, the available space, and the ease of access. It’s important to choose a solution that fits your needs and helps maintain the organization you’ve established.
Now that you have a storage method in mind, let’s move on to the next step: storing your hair clips in a drawer.
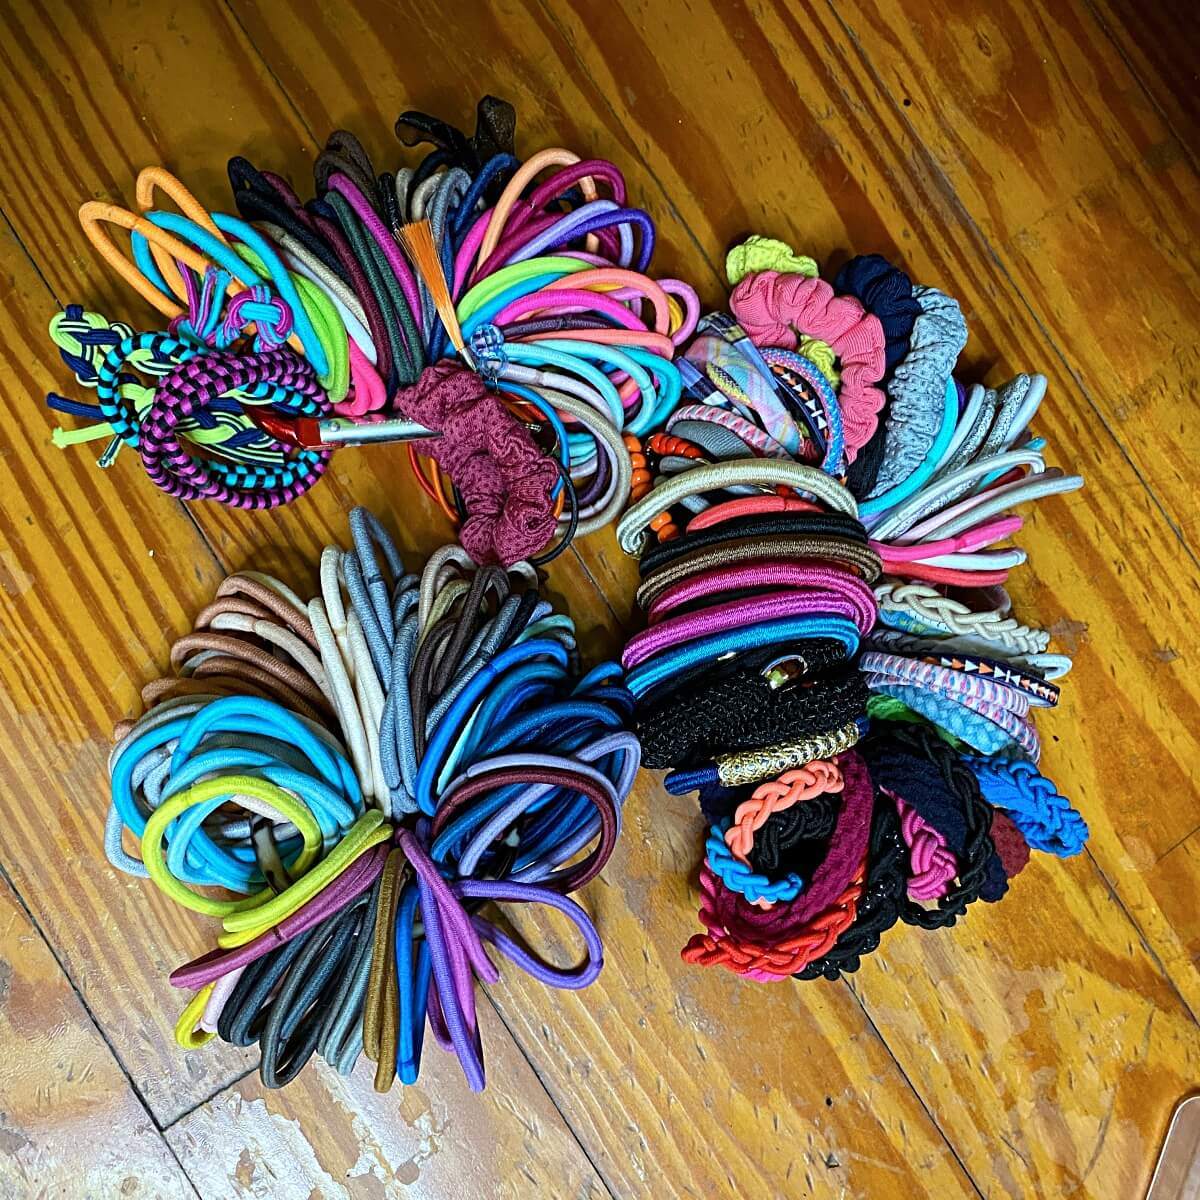
Store hair clips in a small container or pouch to keep them organized and prevent them from getting lost. You can also use a magnetic strip to hang them up and easily access them when needed.
Read more: How To Store Binder Clips
Step 5: Store Hair Clips in a Drawer
One of the most common and practical ways to store your hair clips is by utilizing a drawer. Storing your clips in a drawer keeps them out of sight while still keeping them easily accessible and organized.
Here’s how you can store your hair clips in a drawer:
- Clean and Empty the Drawer: Start by cleaning out the drawer you plan to use. Remove any items or debris and give it a quick wipe down to ensure it’s clean and ready for your hair clips.
- Use Dividers: If your drawer doesn’t have built-in dividers, you can purchase or make your own dividers using materials like cardboard, foam board, or acrylic. Place the dividers in the drawer to create separate compartments for each category or style of hair clip.
- Arrange Your Hair Clips: Organize your hair clips within their designated compartments. Keep similar types or colors together for ease of retrieval. You can also use small containers or ziplock bags within each section to further separate individual clips.
- Label or Color Code: Consider labeling or color-coding your dividers or containers to easily identify the different categories or styles of hair clips. This makes it simpler to find the specific clip you need.
- Close and Store: Once you have arranged your hair clips in the drawer, gently close the drawer with care to prevent any accidental movement or jumbling of the clips.
Storing your hair clips in a drawer keeps them organized, protected, and out of the way. It also allows for easy access when you’re getting ready in the morning or styling your hair for an event.
If you prefer a different storage method, such as using a hair clip holder or creating a DIY solution, feel free to skip to the respective step. Otherwise, let’s move on to exploring the option of using a hair clip holder or organizer.
Step 6: Use a Hair Clip Holder or Organizer
If you prefer a dedicated storage solution specifically designed for hair clips, using a hair clip holder or organizer is a great option. These holders or organizers come in various styles and designs, offering convenience and efficient storage for your hair clips.
Here’s how you can use a hair clip holder or organizer:
- Select a Hair Clip Holder: Choose a hair clip holder or organizer that suits your preferences and needs. There are different types available, including ones with hooks, clips, or compartments to accommodate different types of hair clips.
- Arrange Your Hair Clips: Start by organizing your hair clips based on the categories or styles you’ve chosen. Place them in the appropriate sections or hooks of the holder or organizer.
- Consider Additional Features: Some hair clip holders or organizers come with additional features such as a built-in mirror, storage pouches for small accessories, or even the ability to hang on a wall or door. Evaluate your needs and choose a holder or organizer with features that would enhance your hair clip storage experience.
- Keep it Accessible: Place the hair clip holder or organizer in a convenient location for easy access. Consider placing it on your vanity, bathroom countertop, or even hanging it on a hook or rack near your dressing area.
- Maintain Organization: Regularly assess your hair clip collection and make adjustments to the arrangement as needed. Remove any damaged or unused hair clips to keep your holder or organizer clutter-free and organized.
Using a dedicated hair clip holder or organizer not only keeps your hair clips in one place but also adds a stylish touch to your dressing area. It allows you to showcase your collection and easily select the perfect hair clip for your hairstyle.
If you prefer a more creative and personalized approach, you can explore the option of creating a DIY hair clip storage solution. Let’s move on to the next step to learn more about DIY options.
Step 7: Create a DIY Hair Clip Storage Solution
If you enjoy crafting or want to add a personal touch to your hair clip storage, creating a DIY solution can be a fun and creative project. With a little imagination and some basic supplies, you can design a unique storage solution that perfectly suits your style and preferences.
Here’s how you can create a DIY hair clip storage solution:
- Choose Your Base: Select a base for your storage solution. This can be a small decorative tray, a corkboard, a picture frame, or even a repurposed item like a jewelry organizer.
- Add Compartments: Depending on the base you’ve chosen, you can create compartments using various materials. For example, if using a corkboard, you can attach small containers or clips to hold your hair clips. If using a tray, you can create dividers using thin strips of wood or cardboard.
- Personalize with Fabric or Ribbons: To add a decorative touch, cover your compartments with fabric or ribbons that match your aesthetic. This not only adds visual appeal but also helps to prevent your hair clips from slipping out of their designated spots.
- Attach Hooks or Clips: If you prefer a hanging storage solution, you can attach small hooks or clips to your DIY creation. This allows you to easily hang it on a wall or a hook, keeping your hair clips within reach.
- Hang or Place Your DIY Storage: Find a suitable spot to hang or place your DIY hair clip storage. Consider your dressing area, bathroom, or vanity as convenient locations where you can access your hair clips easily.
- Update and Redecorate: As your hair clip collection grows or changes, feel free to update and redecorate your DIY storage. Add new fabric, rearrange compartments, or incorporate new elements that reflect your evolving style.
Creating a DIY hair clip storage solution allows you to customize the design to your liking and adds a personalized touch to your space. It’s a great way to showcase your creativity while keeping your hair clips neatly organized and easily accessible.
Now that you’ve learned about DIY options, it’s important to know how to maintain and update your hair clip storage. Let’s move on to the final step!
Step 8: Maintain and Update Your Hair Clip Storage
Once you have implemented a storage solution for your hair clips, it’s essential to maintain and update it regularly. This will ensure that your hair clips remain organized, easily accessible, and in excellent condition.
Here are some tips to help you maintain and update your hair clip storage:
- Regular Cleaning: Take the time to clean your hair clip storage solution periodically. Remove any dust, dirt, or hair strands that may have accumulated. This not only keeps your storage area clean but also prevents any debris from transferring onto your hair clips.
- Check for Damaged Clips: Inevitably, some hair clips may become damaged or worn over time. Regularly inspect your collection for any clips that need repair or replacement. Remove these clips from your storage to ensure that you’re only keeping functional and reliable clips.
- Reorganize as Needed: As your hair clip collection grows or your styling preferences change, you may need to reorganize your storage. Evaluate the current organization method and adjust it to better suit your needs. This may involve creating new categories, rearranging clips within compartments, or incorporating additional storage accessories.
- Update Your Storage Solution: If you find that your current storage solution is no longer working effectively, don’t hesitate to update it. Consider trying a different method, such as switching from a drawer to a hair clip holder or vice versa. Your storage needs may evolve over time, so it’s important to be flexible and adapt to your changing requirements.
- Avoid Overcrowding: It can be tempting to keep adding more hair clips to your collection, but be mindful of overcrowding your storage solution. When the compartments or hooks become too crowded, it becomes challenging to find and access specific clips. Regularly assess your collection and remove any clips that you no longer use or need to create more space.
By maintaining and updating your hair clip storage regularly, you’ll ensure that it remains functional, orderly, and efficient. This will make it easier for you to locate the perfect hair clip for each hairstyle and keep your collection in top-notch condition.
Now that you have learned all the steps on how to store hair clips effectively, you’re ready to implement these strategies and enjoy a well-organized and accessible hair clip collection.
Happy styling!
Read more: How To Store Claw Clips
Conclusion
Congratulations! You have now learned how to store your hair clips properly, ensuring they remain organized, easily accessible, and in great condition. By following the steps outlined in this guide, you can create a storage system that suits your needs and personal style.
The first step is to gather your hair clips and sort them based on categories or styles. Next, clean and dry your hair clips to remove any dirt or product residue. Then, organize your hair clips using dividers or containers based on your preferred method of categorization.
Once your hair clips are organized, it’s time to choose a suitable storage method. Whether you opt for a drawer with dividers, a hair clip holder, or a DIY solution, select the option that works best for your collection and space.
Remember to maintain and update your hair clip storage regularly. Clean your storage area, check for damaged clips, reorganize as needed, and update your storage solution if necessary. Avoid overcrowding to ensure easy access to your clips and prevent damage or tangling.
Storing your hair clips properly not only keeps them organized but also prolongs their lifespan. It saves you time and frustration when searching for the perfect clip, whether it’s for an everyday hairstyle or a special occasion.
So, take the knowledge you’ve gained from this guide and create a storage system that reflects your personal style. Embrace the creativity of DIY solutions or enjoy the convenience of dedicated hair clip holders. With a well-organized and accessible collection, you’ll always have the perfect hair clip at your fingertips.
Now, go ahead and give your hair clips the storage they deserve, and enjoy the ease and joy of styling your hair with ease. Happy hair clip organizing!
Frequently Asked Questions about How To Store Hair Clips
Was this page helpful?
At Storables.com, we guarantee accurate and reliable information. Our content, validated by Expert Board Contributors, is crafted following stringent Editorial Policies. We're committed to providing you with well-researched, expert-backed insights for all your informational needs.
0 thoughts on “How To Store Hair Clips”