Articles
How To Use Quilt Clips
Modified: October 23, 2024
Learn how to effectively use quilt clips to secure your articles in place and ensure a smooth quilting process. Step-by-step guide and tips included.
(Many of the links in this article redirect to a specific reviewed product. Your purchase of these products through affiliate links helps to generate commission for Storables.com, at no extra cost. Learn more)
Introduction
Welcome to our guide on how to use quilt clips! If you’re a quilting enthusiast, you know how important it is to keep your fabric layers taut and secure during the quilting process. This is where quilt clips come in handy. Quilt clips are small, plastic or metal devices that are designed to hold your quilt layers together, preventing shifting and bunching while you work.
In this article, we’ll walk you through the benefits of using quilt clips, how to choose the right ones for your project, and provide a step-by-step guide on how to use quilt clips effectively. So, whether you’re a beginner or an experienced quilter looking for some tips and tricks, you’ve come to the right place!
Quilt clips are a versatile tool that can be used for various quilting techniques, including machine quilting, hand quilting, and basting. They can be easily attached and removed, making them a convenient solution for securing your quilt layers. Not only do quilt clips help keep your fabric taut, but they also ensure that your quilting stitches are even and smooth.
Before diving into the process of using quilt clips, let’s explore the different types of quilt clips available in the market. Quilt clips come in various sizes, materials, and designs, and it’s essential to choose the right clips based on your project’s needs. Let’s dive deeper into the benefits of using quilt clips and how to select the perfect ones for your quilting journey.
Key Takeaways:
- Quilt clips offer a time-saving, damage-free, and versatile solution for securing fabric layers, ensuring even stitches and professional results in quilting projects.
- By carefully choosing, using, and securing quilt clips, quilters can achieve a smooth, stable, and enjoyable quilting process, resulting in beautifully finished quilts with ease.
Read more: How To Use Tablecloth Clips
What are Quilt Clips?
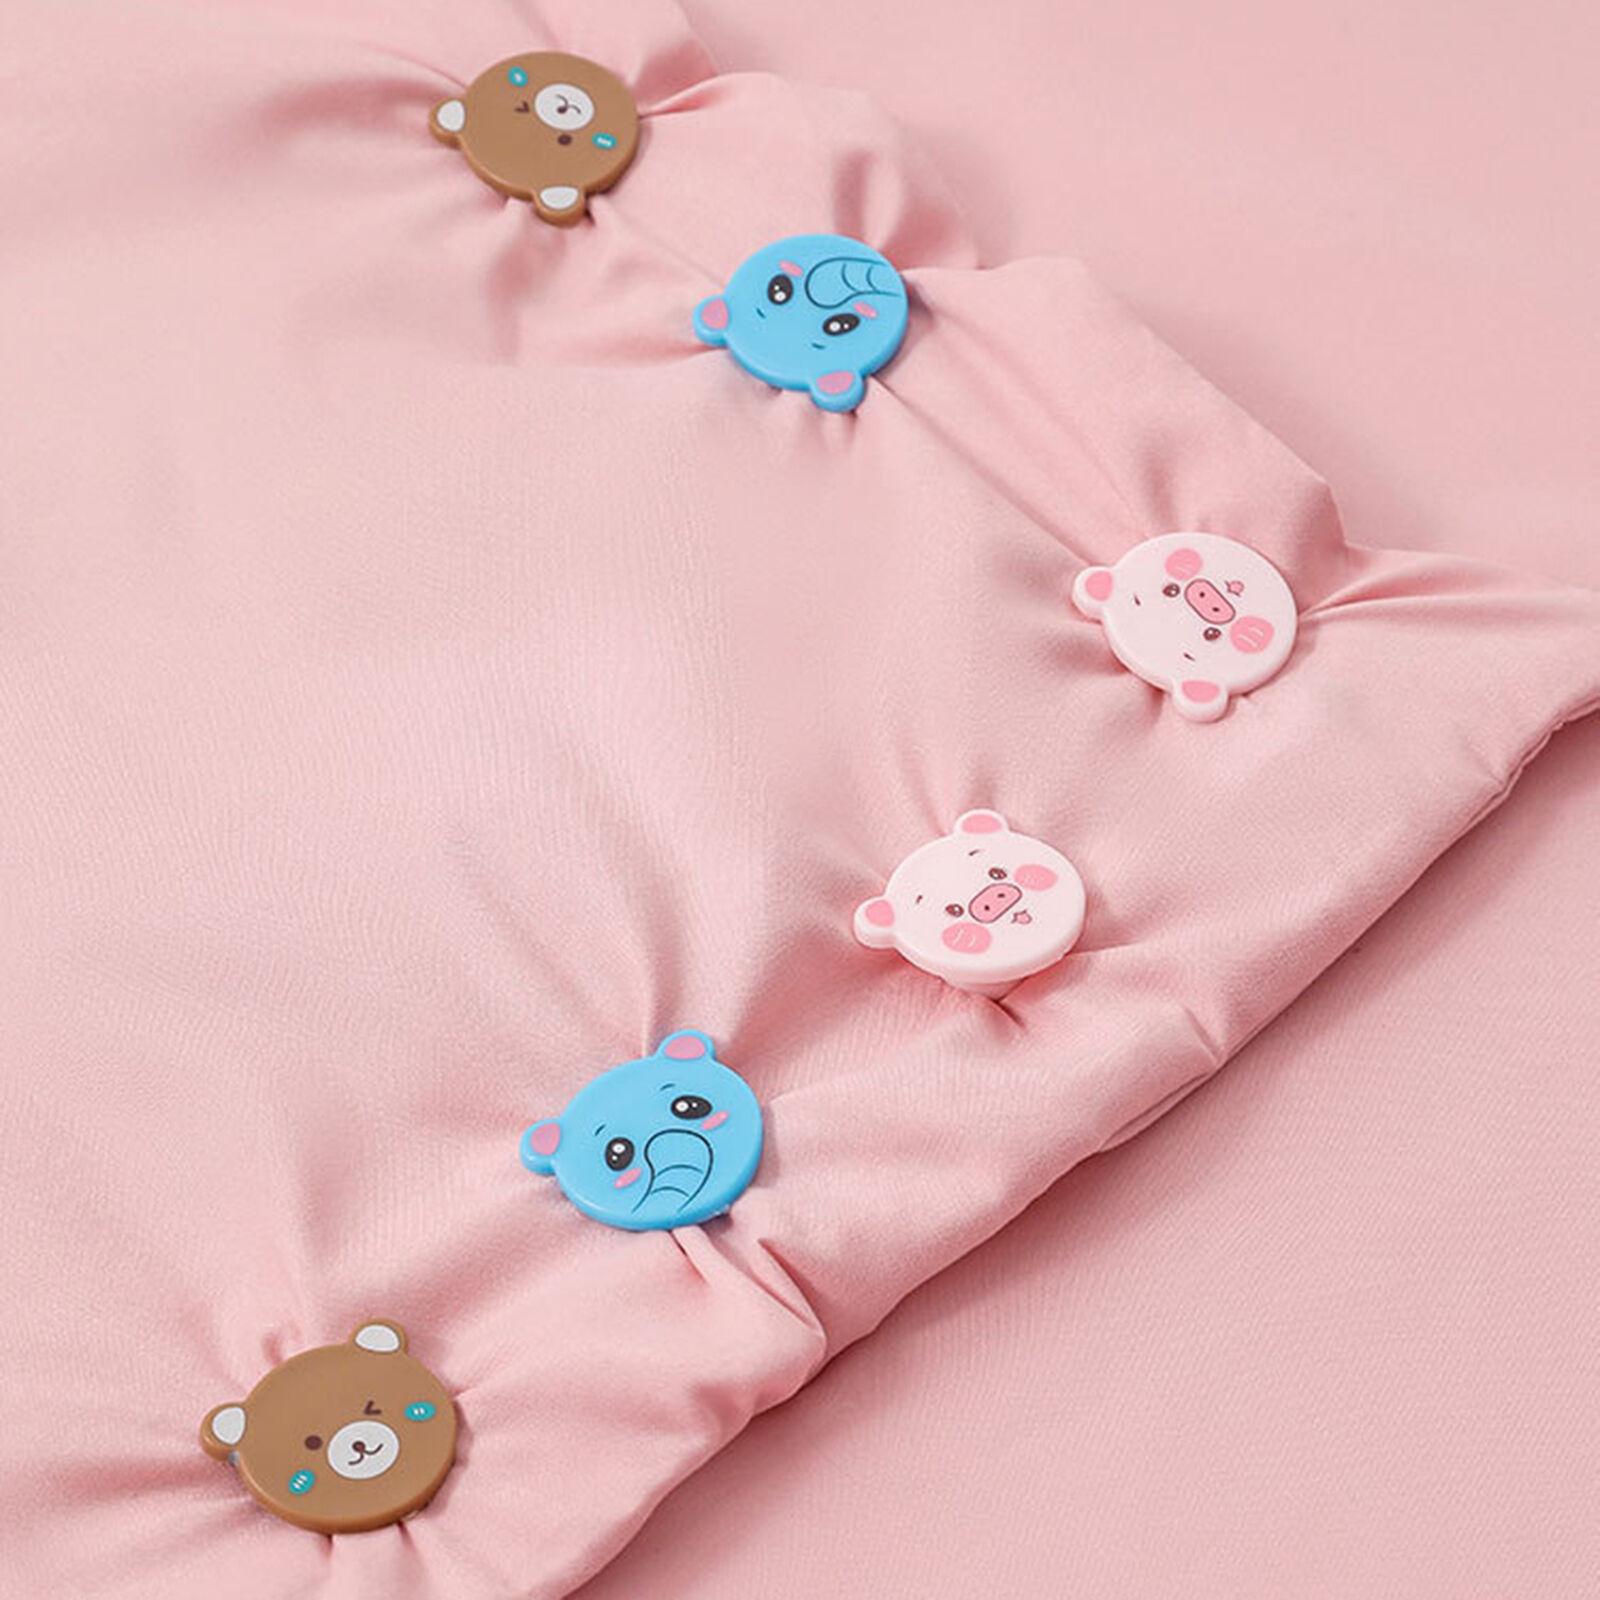
Quilt clips, also known as fabric clips or quilt binding clips, are small, spring-loaded devices that are specifically designed to hold together the layers of a quilt during the quilting process. They are typically made of plastic or metal and feature a clamp-like design.
These clips are an excellent alternative to traditional pinning methods, such as safety pins, which can be time-consuming and often leave holes or snags in the fabric. Quilt clips provide a secure grip on the quilt layers, preventing them from shifting or bunching while you work. This not only ensures a smoother quilting experience but also helps to achieve more precise and even stitches.
Quilt clips come in different sizes, ranging from small clips that are a few inches long to larger clips that can hold several layers of fabric together. The size you choose will depend on the thickness of your quilt and the amount of fabric you need to secure.
These clips are not only useful for quilting but can be handy for other sewing and crafting projects as well. They are often used to hold together layers of fabric when binding, attaching bias tape, or even for organizing and holding together pieces of fabric in various sewing projects.
One of the main advantages of quilt clips is their ease of use. Unlike pins, which require you to poke through the layers of fabric, quilt clips can be easily attached and removed without causing any damage. This makes them a popular choice among quilters, especially those who prefer machine quilting or want a quicker alternative to pinning.
Overall, quilt clips are a valuable tool for quilters of all skill levels. Whether you’re a beginner looking for a simpler way to secure your quilt layers or an experienced quilter wanting to speed up your quilting process, quilt clips are an essential addition to your quilting toolbox.
Benefits of Using Quilt Clips
Quilt clips offer a range of benefits that make them a valuable tool for quilters. Let’s explore some of the advantages of using quilt clips in your quilting projects:
- Secure Fabric Layers: One of the primary benefits of quilt clips is their ability to securely hold together the layers of your quilt. By preventing shifting and bunching, quilt clips ensure that your fabric remains taut and smooth throughout the quilting process.
- Even Stitches: With quilt clips, you can achieve more precise and even stitches. The clips hold the fabric in place, allowing you to focus on your stitching without worrying about the fabric moving or bunching up.
- Time-Saving: Using quilt clips can save you time during the quilting process. Compared to traditional pinning methods, such as safety pins, quilt clips are quicker and easier to attach and remove.
- No Damage to Fabric: Unlike pins, quilt clips do not penetrate the fabric, which means they won’t leave holes, snags, or marks on your quilt. This is particularly beneficial when working with delicate or easily damaged fabrics.
- Versatility: Quilt clips are not limited to quilting projects. They can be used in various sewing and crafting projects where holding fabric layers together is required. Whether you’re attaching bias tape, binding, or organizing pieces of fabric, quilt clips offer a versatile solution.
- Ease of Use: Quilt clips are user-friendly and can be easily attached and removed. Their spring-loaded design allows for a secure grip while being effortless to operate.
- Reusable: Quilt clips are reusable, making them a cost-effective tool for quilting. With proper care, they can be used for multiple projects, saving you money on disposable supplies like pins.
- Reduced Prick Risk: Unlike pins, quilt clips eliminate the risk of pricking yourself while quilting. This is especially helpful for those who find it difficult to manipulate pins or have concerns about accidental injuries.
Overall, using quilt clips can enhance your quilting experience by providing a secure and convenient way to keep your fabric layers in place. Whether you’re a beginner or an experienced quilter, incorporating quilt clips into your projects can help you achieve professional and beautiful results.
How to Choose the Right Quilt Clips
When it comes to choosing quilt clips, there are a few factors to consider to ensure you select the right ones for your quilting project. Here are some tips to help you make the right choice:
- Size: Consider the size of your quilt and the thickness of the fabric layers you’ll be working with. Choose quilt clips that are large enough to securely hold your layers without causing excessive tension or distortion.
- Material: Quilt clips are typically made of plastic or metal. Plastic quilt clips are lightweight, affordable, and gentle on the fabric. Metal quilt clips, usually made from stainless steel, are more durable and provide a stronger grip. Consider the characteristics of your fabric and choose the material that will work best.
- Design: Quilt clips come in various designs, including straight clips, curved clips, and clips with grips or teeth. The design you choose will depend on your preference and the specific needs of your quilting project. Curved clips can be helpful for holding quilt binding in place, while clips with grips or teeth offer extra grip and stability.
- Quantity: Determine the number of quilt clips you will need based on the size of your quilt and the spacing you desire. Having an ample quantity of quilt clips ensures that you can secure the layers adequately and evenly throughout the quilt.
- Quality: Invest in quilt clips that are of good quality to ensure they are durable and long-lasting. Look for clips with sturdy construction, smooth operation, and secure locking mechanisms. Reading customer reviews and recommendations can help you gauge the quality of different quilt clips available in the market.
- Budget: Consider your budget when selecting quilt clips. While it’s important to invest in quality clips, there are options available at different price points. Determine how much you’re willing to spend and choose quilt clips that fit within your budget.
- Personal Preference: Ultimately, choosing quilt clips is a matter of personal preference. Consider factors such as the color, style, and brand that appeal to you. Quilting is a creative endeavor, and using quilt clips that you enjoy and feel inspired by can add an extra touch of joy to your quilting process.
By considering these factors, you can choose the right quilt clips that meet your quilting needs and preferences. Remember that quilt clips are a long-term investment, as they can be reused for multiple projects, so choose wisely and enjoy the benefits of using quilt clips in your quilting journey.
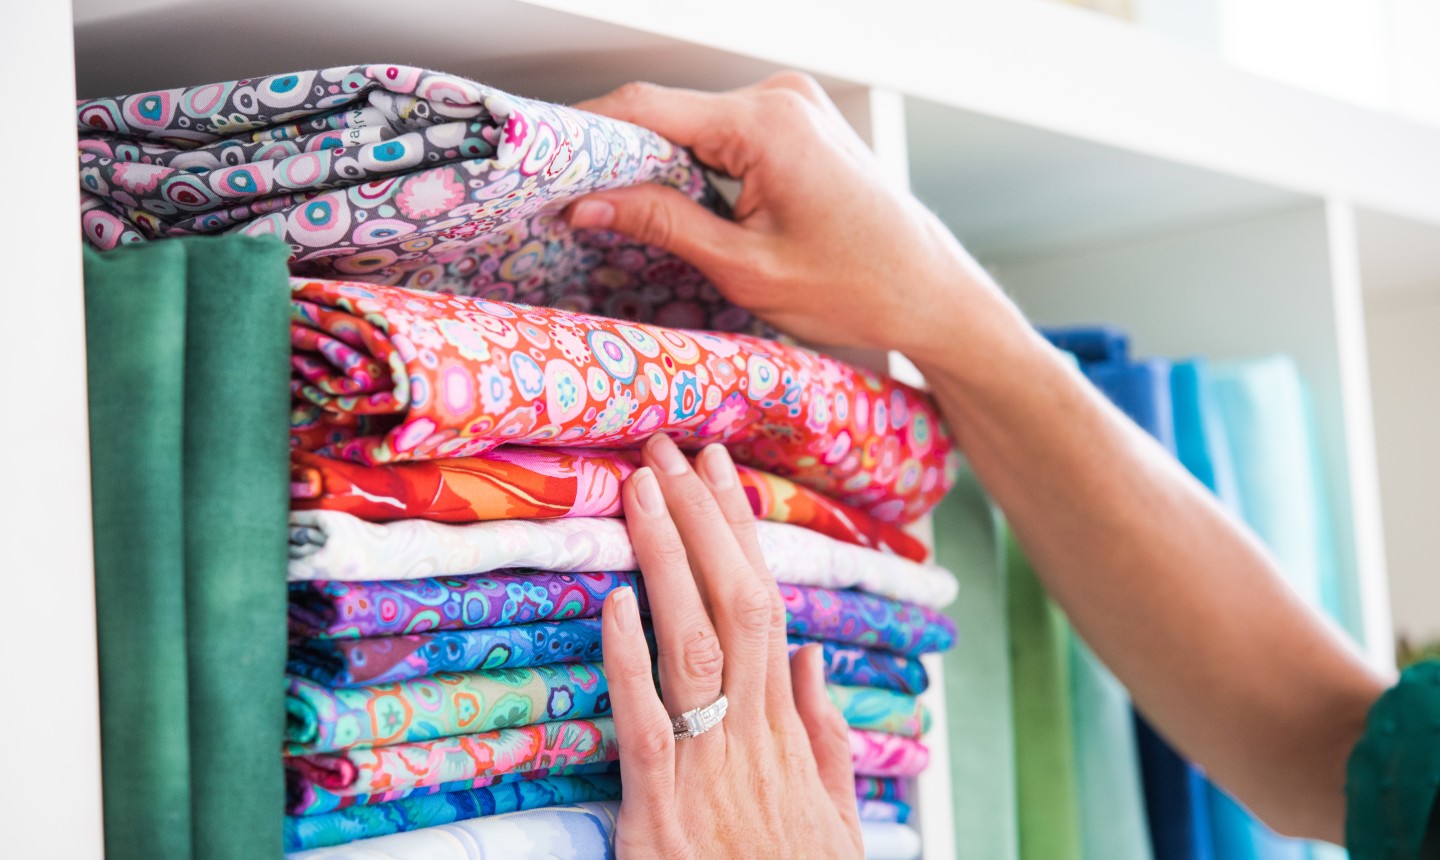
Step 1: Gathering the Necessary Materials
Before you begin using quilt clips, it’s essential to gather all the necessary materials. Having everything prepared and within reach will streamline the process and make your quilting experience more enjoyable. Here are the materials you’ll need:
- Quilt Clips: Of course, the most crucial material for this process is the quilt clips themselves. Make sure you have enough quilt clips to secure your fabric layers adequately. The number you’ll need will depend on the size of your quilt and how densely you want to place the clips.
- Quilt and Backing Fabric: Have your quilt top and backing fabric ready. Ensure they are prepared and properly sized, with excess fabric trimmed if necessary. Smooth out any wrinkles or folds to create a flat surface for quilting.
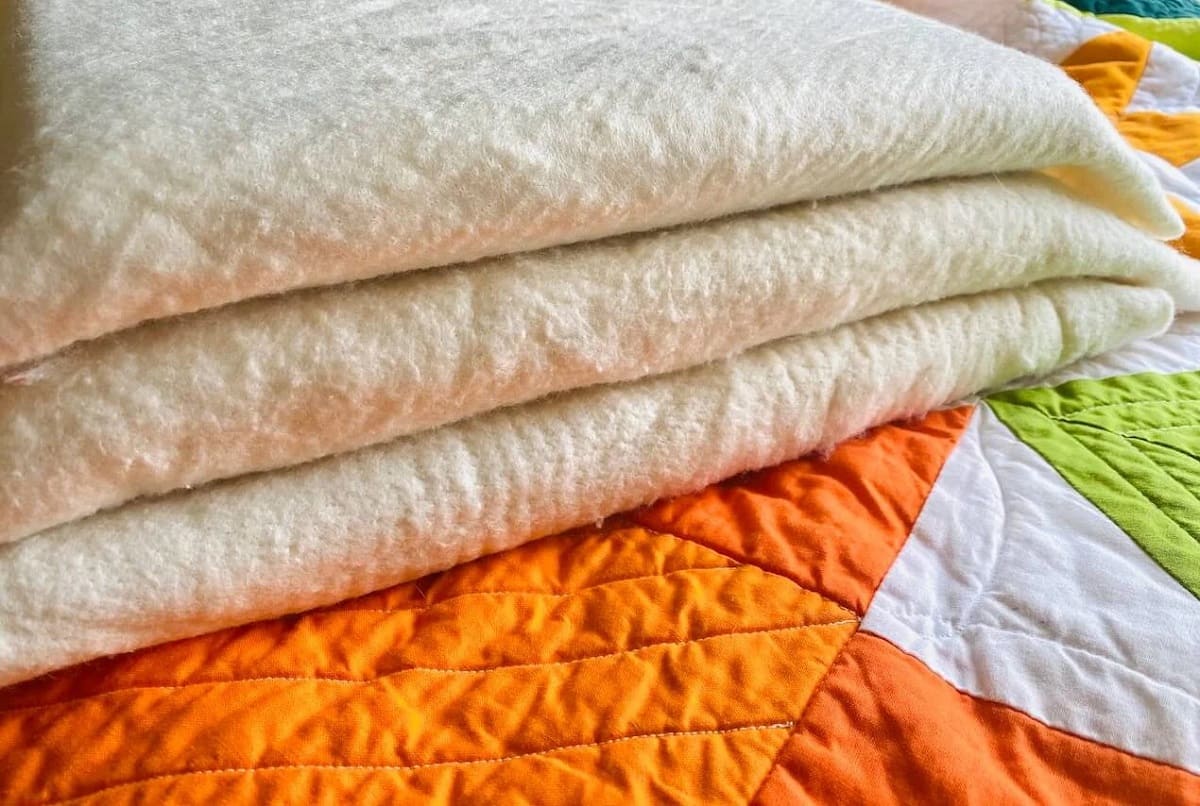
- Batting: If you’re planning to use batting in your quilt, have it prepared and cut to the appropriate size. Batting adds warmth and structure to your quilt, providing a cozy feel.
- Quilting Thread and Needles: Gather the appropriate thread and needles for your quilting technique. Whether you’re using a sewing machine or quilting by hand, make sure to have the necessary supplies ready.
- Iron and Ironing Board: Having an iron and an ironing board nearby will allow you to press and eliminate any creases or wrinkles in the fabric layers. This ensures a smooth and professional finish to your quilt.
- Optional: Basting Spray or Safety Pins: While quilt clips are an excellent alternative to traditional pinning methods, you may still find it helpful to use basting spray or safety pins to secure your layers before adding the quilt clips. This step is optional and can provide extra stability.
- Workspace: Set up a clean and clutter-free workspace to lay out your quilt. Having a dedicated area with enough room to maneuver around your quilt will make the process much easier.
- Good Lighting: Adequate lighting is essential for accurate and precise quilting. Make sure your workspace is well-lit so you can clearly see your stitches and fabric as you work.
By gathering all the necessary materials before you start using quilt clips, you’ll create a smooth and efficient quilting process. Having everything at hand will save you time and allow you to fully focus on the creative and enjoyable aspects of quilting.
Read more: How To Use A Quilt As A Slipcover
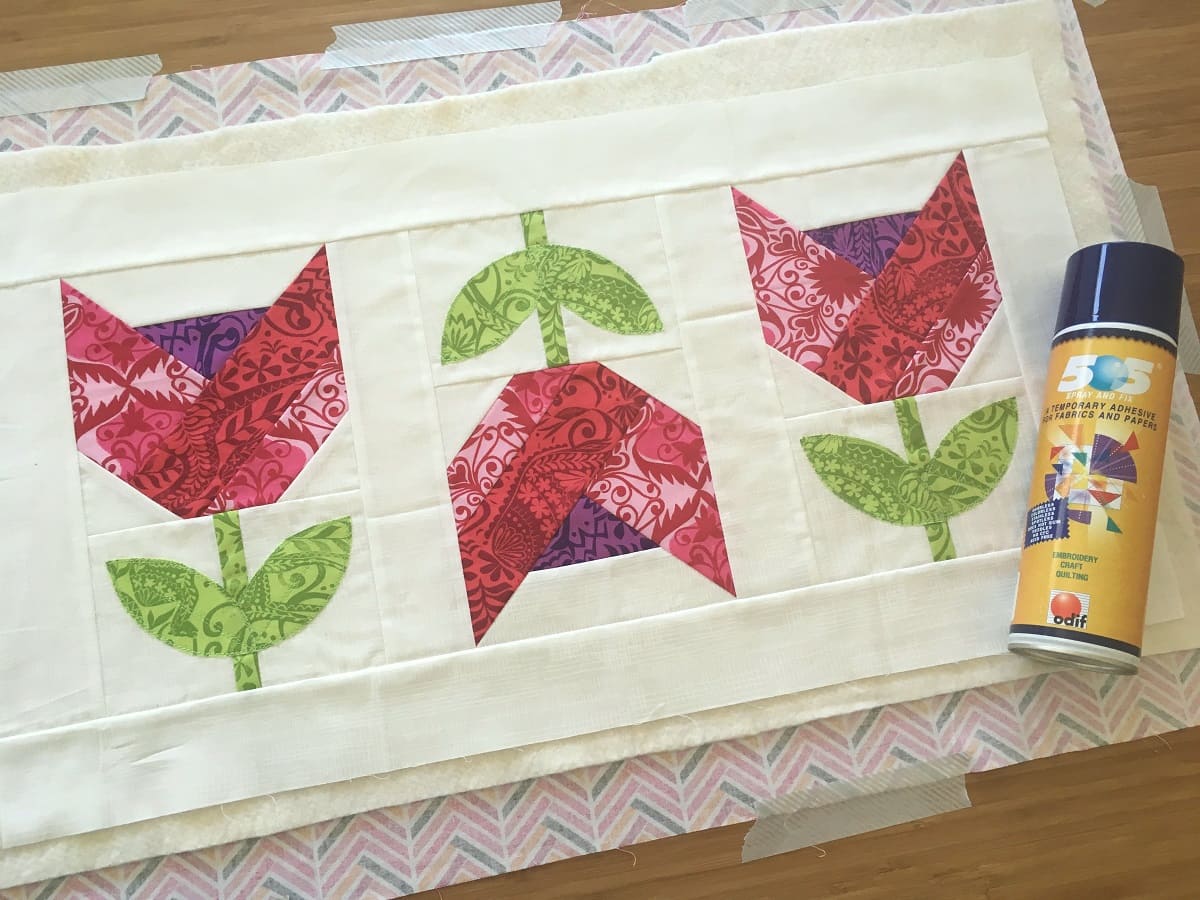
Step 2: Preparing the Quilt and Backing
Once you have gathered all the necessary materials, the next step is to prepare your quilt and backing fabric for the quilting process. Proper preparation ensures that your quilt lays flat and smooth, making it easier to attach the quilt clips and achieve professional-looking results. Follow these steps to prepare your quilt and backing fabric:
- Press Your Fabrics: Use an iron and ironing board to press both your quilt top and backing fabric. Start by ironing out any wrinkles or creases in the fabric. Make sure to press gently to avoid stretching or distorting the fabric.
- Trim Excess Fabric: If your quilt top or backing fabric has any excess fabric or uneven edges, trim them to create clean and straight edges. This will make it easier to align and secure the layers evenly.
- Layer the Quilt: Lay your backing fabric on a large, flat surface, right side down. Smooth it out to remove any wrinkles. Place the batting on top of the backing fabric, aligning the edges. Finally, place your quilt top on the batting, right side up, aligning the edges with the backing fabric and batting.
- Smooth Out Any Wrinkles: Take your time to smooth out any wrinkles or bubbles in the layers. Gently pull and adjust the fabric until it is taut and even. This will ensure a professional-looking finished quilt.
- Secure the Layers (Optional): If desired, you can temporarily secure the layers in place with either basting spray or safety pins. Basting spray is a temporary adhesive that holds the layers together, while safety pins can be used to pin the layers at regular intervals. These additional steps can provide added stability during the quilting process.
- Check Size and Alignment: Verify that your quilt top, batting, and backing fabric are aligned and properly sized. Double-check that there are no overhanging edges or uneven layers.
By properly preparing your quilt and backing fabric, you’ll create a solid foundation for the quilting process. Taking the time to press, trim, layer, and smooth out any wrinkles will result in a more visually appealing and professionally finished quilt. Now that your quilt is ready, it’s time to move on to the next step: attaching the quilt clips.
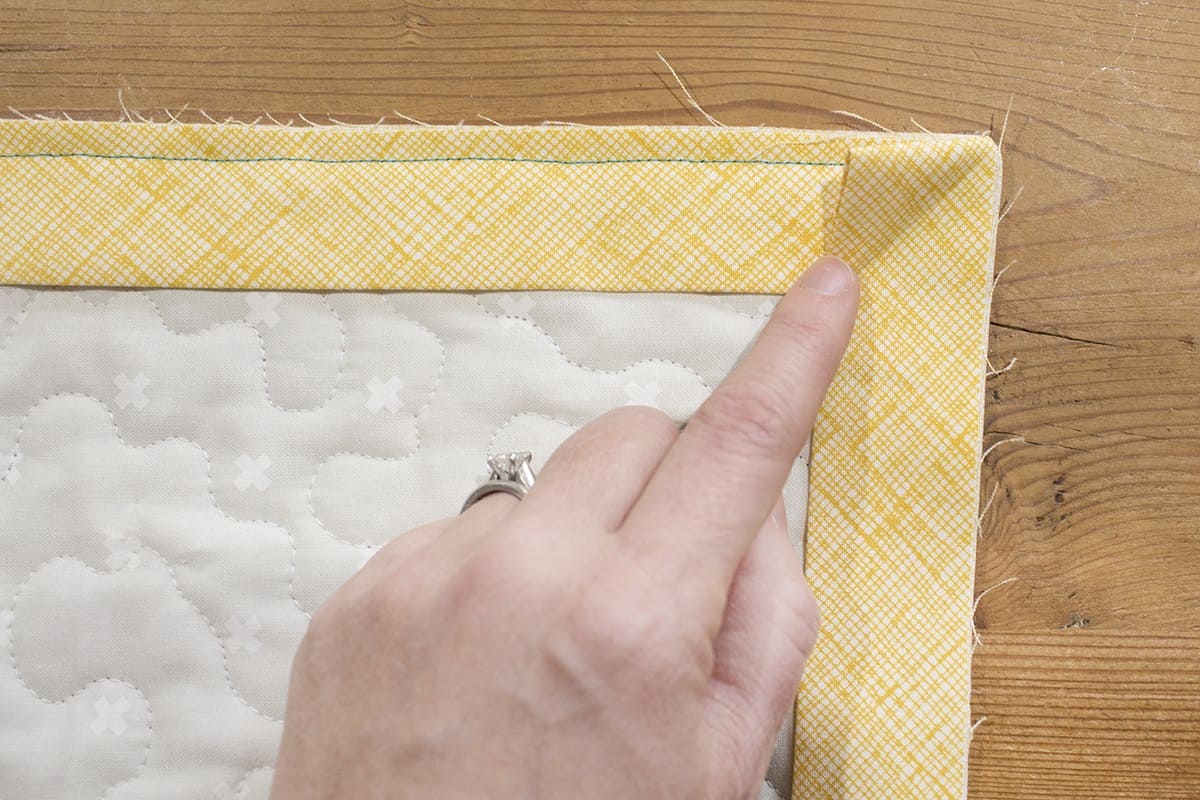
When using quilt clips, make sure to evenly distribute them along the edges of the quilt to prevent bunching or shifting. This will help keep the quilt in place and ensure a smooth, comfortable fit.
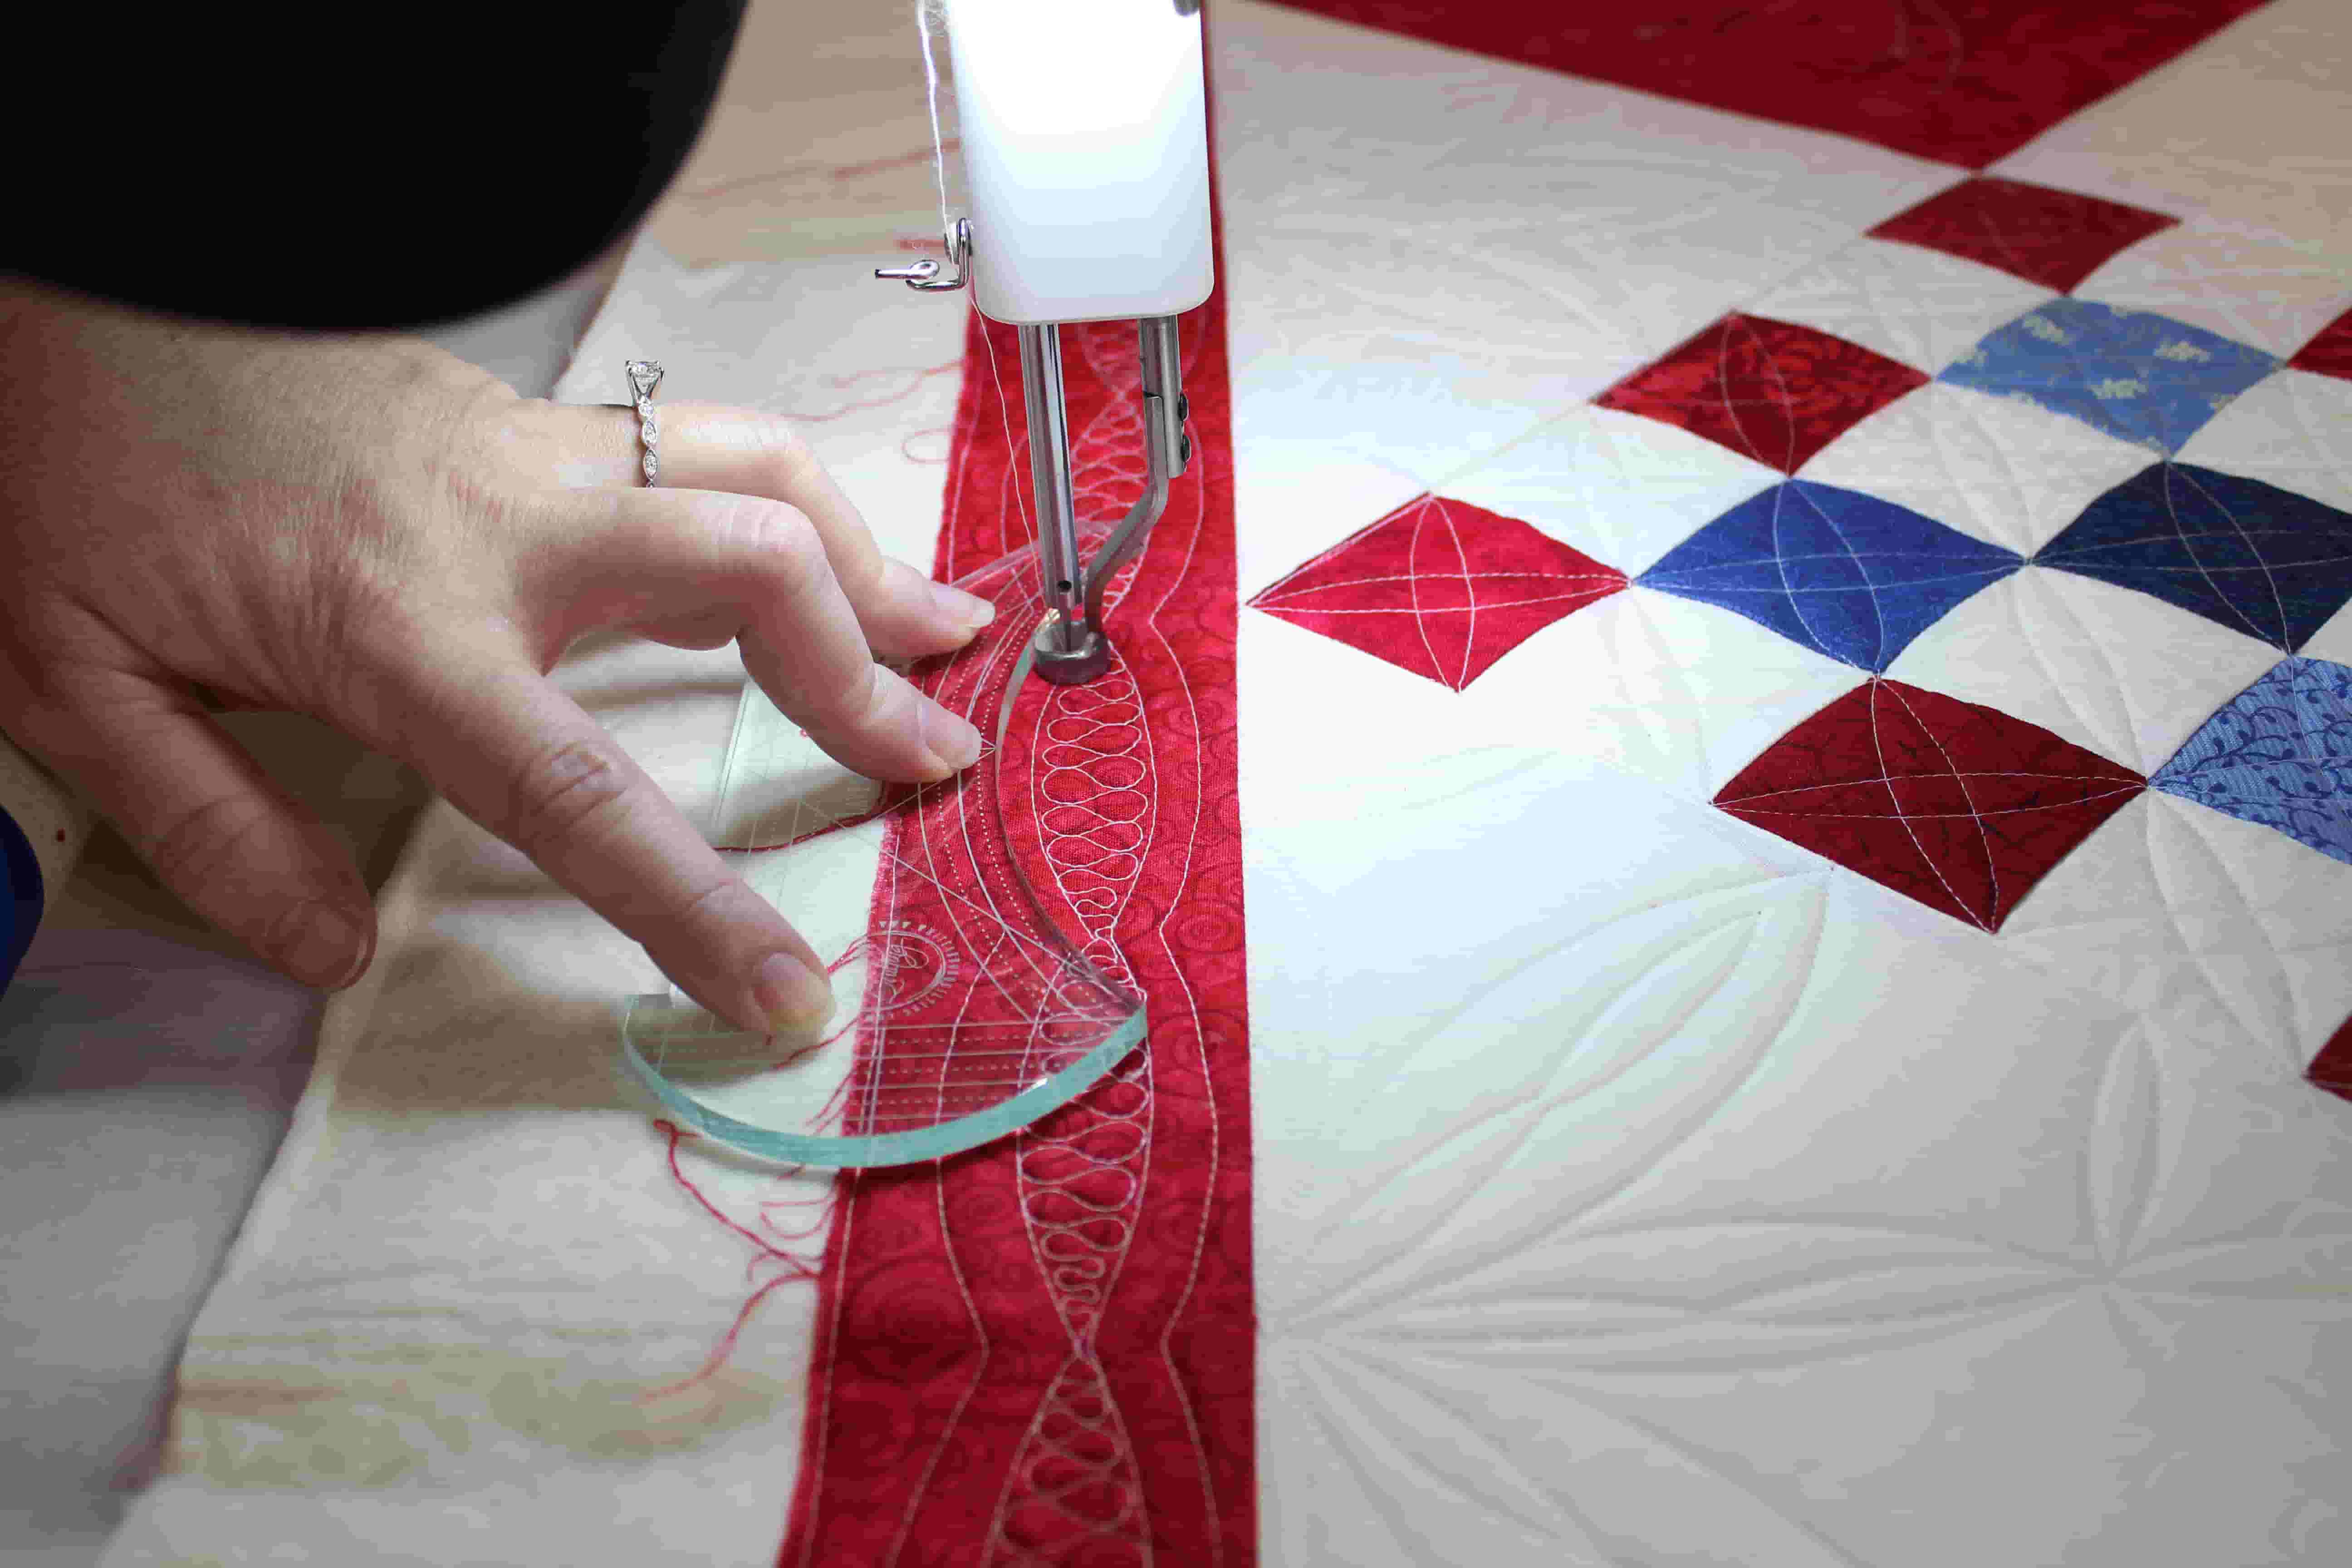
Step 3: Attaching the Quilt Clips
With your quilt and backing fabric properly prepared, it’s time to attach the quilt clips. This step involves securing the layers together to prevent shifting and bunching during the quilting process. Follow these steps to attach the quilt clips:
- Start at One Corner: Begin at one corner of your quilt. Take a quilt clip and open it by squeezing the sides together.
- Slide the Quilt Clip: Slide the opened quilt clip over the edge of your quilt, securing the three layers – the quilt top, batting, and backing fabric.
- Release the Quilt Clip: Release the sides of the quilt clip, allowing it to snap closed. Ensure that the clip is securely holding all the layers together.
- Repeat the Process: Move along the edge of the quilt, attaching quilt clips at regular intervals. Generally, spacing them every 4 to 6 inches is sufficient, but you can adjust the spacing based on your personal preference and the size of your quilt.
- Continue to the Next Side: Once you have attached quilt clips along one edge of the quilt, move on to the next side and repeat the process. Ensure that the layers remain smooth and flat as you attach the quilt clips.
- Work your way around the Quilt: Continue attaching quilt clips along each side of the quilt until you have clipped all the way around. Take your time and make sure the layers are properly aligned and taut as you go along.
- Check for any Loose Layers: After attaching all the quilt clips, check for any sections where the layers may have come loose. Gently readjust and secure any loose areas with additional quilt clips, if needed.
Attaching the quilt clips is a crucial step in the process, as it helps to hold the layers together. By evenly distributing the quilt clips along the edges of the quilt, you’ll ensure that the fabric remains taut and stable during the quilting process. With the quilt clips securely in place, you’re ready to move on to the next step: adjusting and aligning the clips.
Step 4: Adjusting and Aligning the Clips
Once you have attached the quilt clips to secure the layers of your quilt, it’s time to adjust and align them. This step ensures that the fabric remains taut and smooth, providing a solid foundation for your quilting stitches. Follow these steps to adjust and align the quilt clips:
- Check for Even Tension: Start by observing the tension across the quilt. Look for any areas where the fabric appears looser or more stretched. Adjust the tension by gently pulling or releasing the fabric, ensuring an even distribution of tension across the quilt.
- Smooth Out Any Bunching: As you adjust the tension, watch for any fabric bunching or puckering. Smooth out any of these areas by gently pulling or stretching the fabric in the appropriate direction. The goal is to create a smooth and flat surface for quilting.
- Align the Layers: Check that the layers of your quilt – the quilt top, batting, and backing fabric – are aligned properly. Make sure there are no overlaps or gaps between the layers as you adjust the quilt clips.
- Ensure Straight Edges: Take a moment to ensure that the edges of your quilt remain straight and even. Adjust the quilt clips as needed to maintain a neat and consistent perimeter.
- Double-Check the Quilt Clips: As you go along, double-check that all the quilt clips are securely holding the layers together. Replace or reposition any clips that may have become loose during the adjustment process.
- Step Back and Review: Once you have adjusted and aligned the quilt clips, step back and review the overall appearance of your quilt. Ensure that the fabric is smooth, the layers are aligned, and there are no noticeable wrinkles or bunching. This will set the stage for beautifully quilted results.
By taking the time to adjust and align the quilt clips, you’ll create a solid and stable foundation for your quilting stitches. Proper adjustments ensure that the fabric remains taut, smooth, and properly aligned, resulting in a visually pleasing and professional-looking quilt. Now that you have fine-tuned the quilt clips, you’re ready to move on to the next step: securing the quilt clips.
Step 5: Securing the Quilt Clips
After you have adjusted and aligned the quilt clips, it’s important to secure them in place. This will ensure that the fabric layers remain taut and stable throughout the quilting process. Follow these steps to secure the quilt clips:
- Starting at One Corner: Begin at one corner of your quilt and select a quilt clip that is easily accessible.
- Position the Quilt Clip: Take the chosen quilt clip and press it down firmly against the fabric layers. Ensure that the clip is positioned flat against the fabric.
- Slide the Quilt Clip: Starting at one end of the quilt clip, gently slide it toward the center of the clip. The goal is to create tension between the clip and the fabric layers, keeping them securely in place.
- Repeat the Process: Repeat steps 2 and 3 for each quilt clip along the edges of your quilt. Take your time to properly secure each clip, ensuring that the layers remain taut and without any wrinkles or bunching.
- Double-Check the Security: After securing all the quilt clips, double-check that they are firmly in place. Run your fingers along the edges, ensuring that there is no slippage or movement of the clips.
- Monitor the Clips: While quilting, periodically check the quilt clips to make sure they are still holding the fabric layers securely. Adjust or tighten any clips that may have loosened during the quilting process.
Securing the quilt clips is an important step in maintaining the tension and stability of your quilt layers. By properly securing the clips, you will minimize the risk of shifting or bunching, allowing for a smooth and consistent quilting experience.
Now that your quilt clips are securely in place, it’s time to move on to the final step: removing the quilt clips.
Read more: How To Use Quilt Stencils
Step 6: Removing the Quilt Clips
Once you have completed quilting your project, it’s time to remove the quilt clips. Removing the clips is a simple and straightforward process that allows you to reveal the beautiful quilting stitches you’ve created. Follow these steps to remove the quilt clips:
- Start at One Corner: Begin at one corner of your quilt and locate a quilt clip.
- Open the Quilt Clip: Gently squeeze the sides of the quilt clip to open it. Take care not to pull or catch the fabric layers as you do this.
- Release the Quilt Clip: Once the quilt clip is fully opened, release the sides to allow the clip to detach from the fabric layers. Be cautious and gentle to avoid any snags or pulls in the fabric.
- Repeat the Process: Repeat steps 2 and 3 for each quilt clip along the edges of your quilt. Work your way methodically, removing the clips one by one.
- Smooth Out Any Fabric Ripples: As you remove the quilt clips, you may notice some minor fabric ripples or creases. Smooth out these areas with your hands or use an iron on a low heat setting to lightly press them if needed.
- Inspect Your Quilting Stitches: After removing all the quilt clips, take a moment to inspect your quilted stitches. Appreciate the outcome of your hard work and make any necessary adjustments or touch-ups to ensure a clean and beautiful finish.
By carefully removing the quilt clips, you’ll safely reveal your quilting stitches without causing any damage or distortion to the fabric layers. Enjoy the satisfaction of seeing your completed quilt without the presence of the quilt clips.
Congratulations! You have successfully completed all the steps necessary to use quilt clips in your quilting project. Now you can sit back, admire your work, and enjoy the beauty of your finished quilt.
Conclusion
Using quilt clips in your quilting projects offers a multitude of benefits, from providing a secure grip on fabric layers to ensuring precise and even stitches. By following the steps outlined in this guide, you’ll be able to effectively utilize quilt clips to enhance your quilting experience.
First, we discussed what quilt clips are and how they can be a valuable tool for quilters. Quilt clips help keep your fabric taut, smooth, and free from shifting or bunching, resulting in a more professional finished product. We then delved into the benefits of using quilt clips, including time-saving, preventing damage to the fabric, versatility, and ease of use.
Choosing the right quilt clips is crucial, and we provided tips for selecting the appropriate size, material, design, and quantity based on your specific project needs and personal preferences. By considering these factors, you can ensure that your quilt clips will effectively secure your fabric layers.
We then walked you through the step-by-step process of using quilt clips, starting with gathering the necessary materials, preparing the quilt and backing fabric, attaching the quilt clips, adjusting and aligning them, securing the clips, and finally, removing them once your quilting is complete.
By following these steps, you will achieve a smooth and stable quilting process, allowing you to focus on your creative stitching without the worry of fabric movement or distortion. The use of quilt clips will help you maintain consistent tension and ensure professional-looking results in your quilting projects.
In conclusion, quilt clips are an invaluable tool for quilters of all skill levels. They provide convenience, precision, and a secure hold while minimizing the risk of damaging your fabric. Incorporating quilt clips into your quilting toolkit will enhance your quilting journey and help you achieve the beautiful quilts you’ve always dreamed of creating.
So, grab your quilt clips, gather your materials, and embark on your next quilting adventure with confidence. Happy quilting!
Frequently Asked Questions about How To Use Quilt Clips
Was this page helpful?
At Storables.com, we guarantee accurate and reliable information. Our content, validated by Expert Board Contributors, is crafted following stringent Editorial Policies. We're committed to providing you with well-researched, expert-backed insights for all your informational needs.


0 thoughts on “How To Use Quilt Clips”