Articles
How To Store Homemade Artisan Bread
Modified: August 24, 2024
Learn how to properly store and keep your delicious homemade artisan bread fresh for longer with these helpful articles.
(Many of the links in this article redirect to a specific reviewed product. Your purchase of these products through affiliate links helps to generate commission for Storables.com, at no extra cost. Learn more)
Introduction
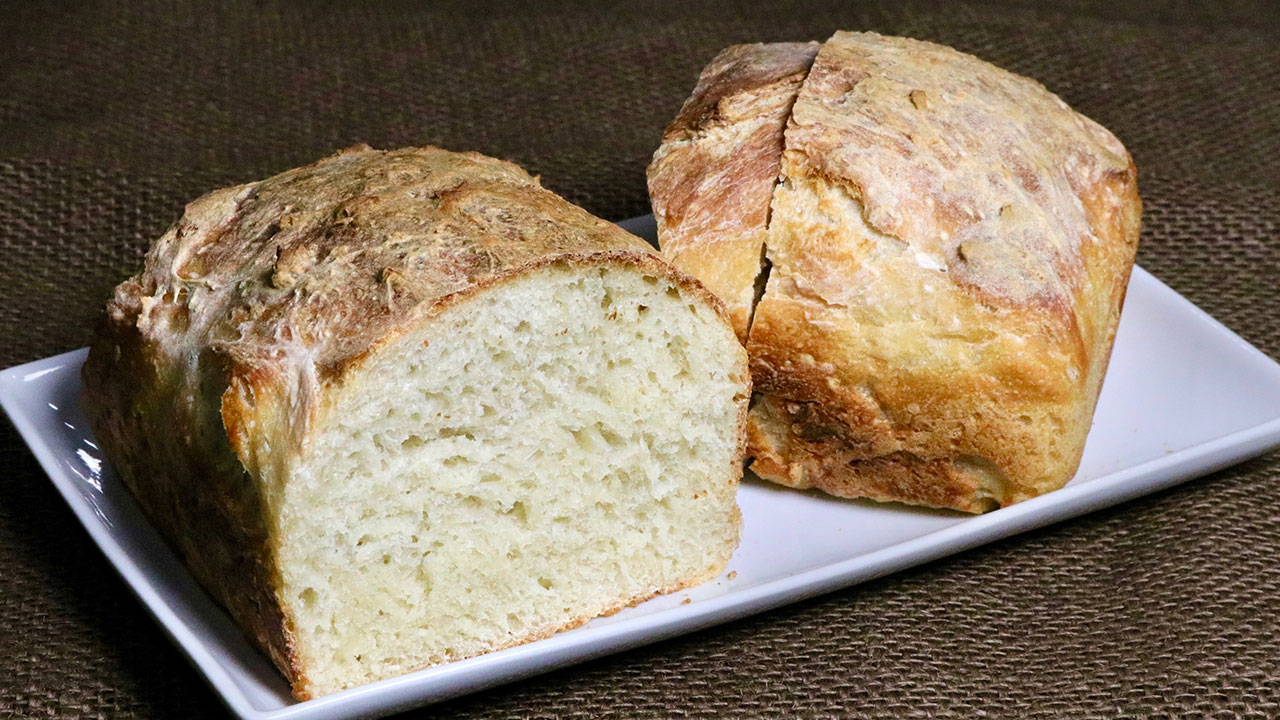
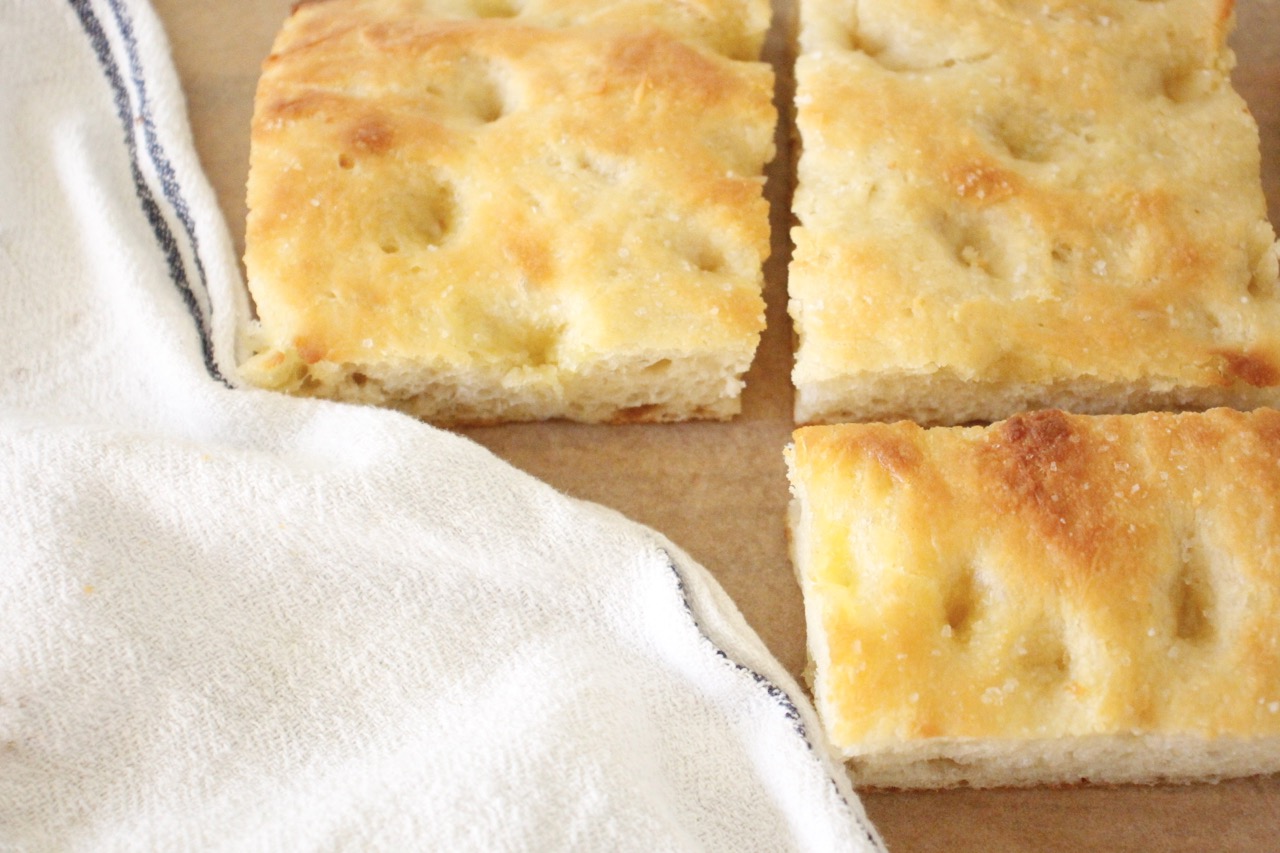
Homemade artisan bread is a delicious treat that requires time, effort, and love to create. Whether you’ve baked it yourself or received it as a gift, it’s crucial to know how to store it properly to maintain its freshness and flavor. Storing homemade artisan bread correctly can help to prevent it from going stale or getting moldy, ensuring that you can enjoy it for as long as possible.
In this article, we will guide you through the process of storing homemade artisan bread, including tips for extending its shelf life. From choosing the right container to freezing and thawing techniques, we’ve got you covered. Let’s dive in and explore the best practices for storing your precious bread.
Key Takeaways:
- Keep your homemade artisan bread fresh by choosing the right container, wrapping it tightly, and storing it at room temperature for short-term enjoyment. Avoid refrigeration for longer shelf life and explore freezing options for extended preservation.
- Extend the shelf life of your homemade artisan bread by freezing it for several weeks or months. Thaw and reheat it properly to enjoy its fresh, soft, and delicious qualities. Implement additional tips like slicing the bread and using a bread box to maintain its optimal flavor and texture.
Read more: How To Store Homemade Bread
Step 1: Choosing the Right Container
The first step in storing homemade artisan bread is choosing the right container. The container you choose will help to protect the bread from external factors that can affect its freshness. Here are a few container options to consider:
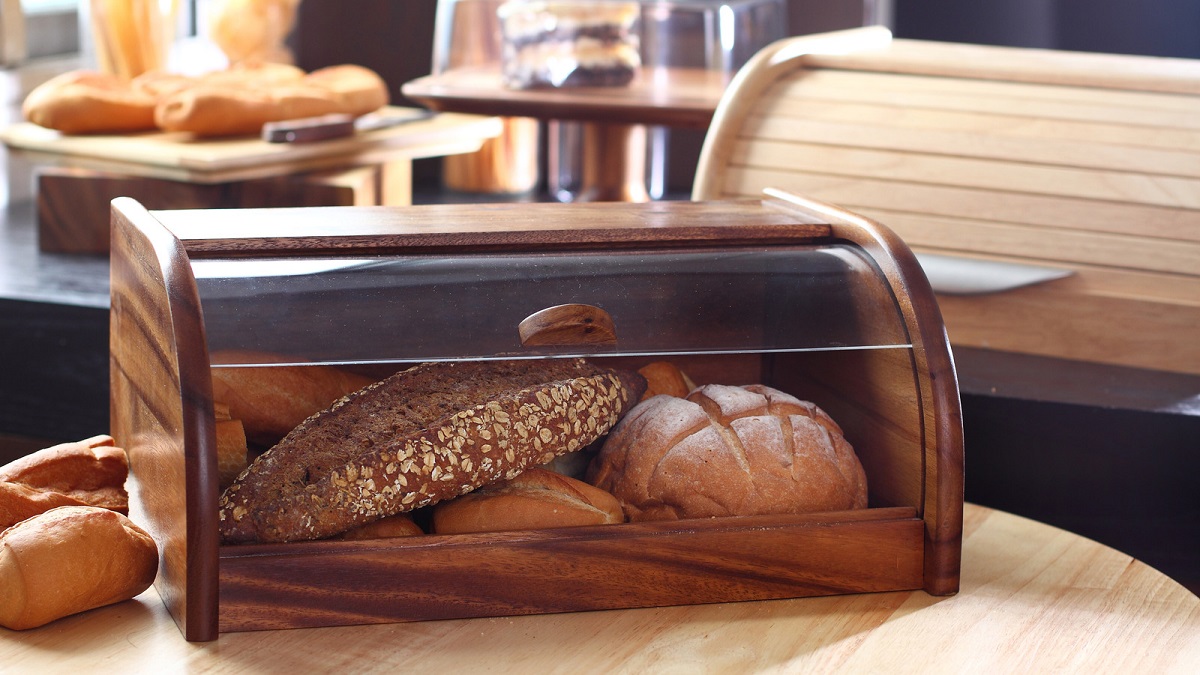
- Bread Box: A bread box is a classic option for storing bread. It is designed to provide the right balance of airflow and moisture, creating an ideal environment for keeping the bread fresh. Look for a bread box made of wood or metal, as plastic containers can trap moisture and lead to mold growth.
- Paper Bag: If you don’t have a bread box, a paper bag can be a good alternative. The paper allows the bread to breathe while protecting it from excessive moisture. Make sure the bag is clean and dry before placing the bread inside.
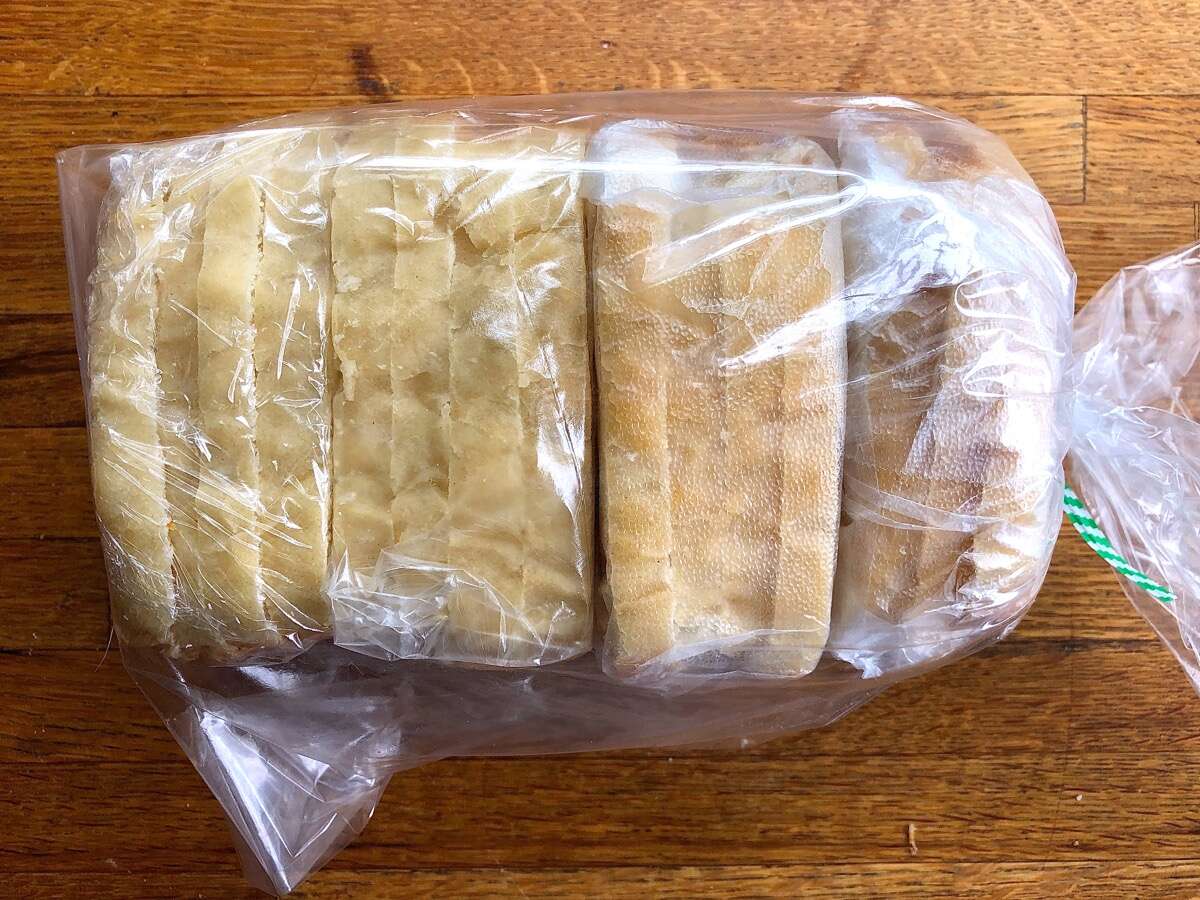
- Plastic Bag: While not the best option, a plastic bag can be used for short-term storage. Keep in mind that plastic can create a humid environment, making the bread go stale quickly. If you opt for a plastic bag, choose one with tiny perforations to allow some air circulation.
When selecting a container, ensure that it’s large enough to accommodate the bread without compressing or squishing it. A spacious container will help maintain the bread’s shape and prevent it from becoming dense or misshapen.
Remember, the container’s primary purpose is to protect the bread from moisture and excessive air exposure. With the right container in hand, you’re now ready to proceed to the next step: wrapping the bread for storage.
Step 2: Wrapping the Bread
Once you’ve chosen the appropriate container for storing your homemade artisan bread, the next step is to wrap it properly. Proper wrapping helps to maintain the bread’s moisture and prevent it from drying out or absorbing excess moisture. Here’s how to wrap your bread:
- Parchment or Wax Paper: Line the bottom of the container with a layer of parchment or wax paper. This will prevent the bread from sticking to the container, making it easier to remove later.
- Plastic Wrap: Place the bread in the center of a large sheet of plastic wrap. Gently fold and tuck the edges of the plastic wrap around the bread, ensuring it is tightly sealed. This will create a barrier against air and moisture, preserving the freshness of the bread.
- Aluminum Foil: For an extra layer of protection, you can wrap the plastic-wrapped bread in a layer of aluminum foil. This will provide added insulation and help maintain the bread’s moisture levels.
- Labeling: If you plan on storing multiple loaves of bread, it’s a good idea to label them with the date of preparation. This will help you keep track of when the bread was made and ensure you consume it before it loses its freshness.
By wrapping the bread properly, you create a seal that keeps the air and moisture out, maintaining the bread’s quality for an extended period. Now that your bread is securely wrapped, let’s move on to the different storage options available.
Step 3: Storing at Room Temperature
Storing homemade artisan bread at room temperature is a convenient option if you plan to consume it within a day or two. However, it’s important to note that bread stored at room temperature tends to dry out more quickly than if it were stored in a controlled environment. Here’s how to store your bread at room temperature:
- Keep It Moist: To retain moisture, place the wrapped bread in a bread box or basket, away from direct sunlight and heat sources. The bread box will regulate airflow and minimize moisture loss.
- Avoid Refrigeration: Unless the bread contains perishable ingredients like dairy or meat, avoid refrigerating it. Refrigeration can accelerate the staling process and negatively impact the bread’s texture, resulting in a dry and less enjoyable eating experience.
- Consume It Fresh: For the best taste and texture, try to consume your homemade artisan bread within 2 to 3 days of baking. As time passes, the bread will gradually lose its freshness and become less enjoyable to eat.
Storing bread at room temperature is ideal if you plan to consume it relatively quickly. However, if you need to store your bread for a longer period, it’s important to explore other storage options, such as refrigeration or freezing. Let’s move on to the next step to learn how to store your homemade artisan bread in the refrigerator.
Step 4: Refrigerating Homemade Artisan Bread
Refrigerating homemade artisan bread can help extend its shelf life beyond a few days. However, it’s important to be aware that refrigeration can cause bread to stale faster compared to storing it at room temperature. Here are the steps to properly refrigerate your bread:
- Cool the Bread: Allow your homemade artisan bread to cool completely before refrigerating. Placing warm bread directly into the refrigerator can create condensation, leading to a soggy texture.
- Wrap the Bread: Use the same wrapping method described in Step 2 to tightly wrap the bread in plastic wrap or aluminum foil. This will help retain moisture and prevent the bread from absorbing odors from other foods in the refrigerator.
- Use a Storage Bag: If you have a large enough storage bag, you can place the wrapped bread inside to provide an extra barrier against moisture and air exposure.
- Place in the Refrigerator: Store the wrapped bread in the main compartment of your refrigerator, away from strong-smelling items. The ideal temperature for refrigerating bread is between 35 to 45 degrees Fahrenheit (1 to 7 degrees Celsius).
- Consume Within a Week: Refrigerated bread typically stays fresh for up to a week. Beyond this time, the quality and taste may start to deteriorate.
Keep in mind that once refrigerated, the bread may become firmer and the crust may lose some of its crispness. It’s recommended to consume the refrigerated bread within a few days for the best taste and texture. If you need to store your bread for a longer period, freezing is an excellent option. Let’s explore freezing your homemade artisan bread in the next step.
Store homemade artisan bread in a paper bag at room temperature for the first day. After that, store it in a plastic bag at room temperature or freeze for longer storage.
Read more: How To Store Homemade Sourdough Bread
Step 5: Freezing Homemade Artisan Bread
Freezing homemade artisan bread is a great way to extend its shelf life for several weeks or even months without compromising its taste and quality. Follow these simple steps to freeze your bread:
- Cool the Bread: Allow your homemade artisan bread to cool completely before freezing. Similar to refrigeration, freezing warm bread can result in condensation and a soggy texture.
- Wrap the Bread: Wrap the bread tightly in plastic wrap or aluminum foil, just as we described in Step 2. This will help prevent freezer burn and keep the bread fresh during the freezing process.
- Double Wrapping: For an extra layer of protection, consider double-wrapping the bread by placing it in a resealable freezer bag, squeezing out any excess air before sealing it.
- Label and Date: It’s important to label the bag with the date of freezing. This will help you keep track of the bread’s freshness and ensure you use the oldest ones first.
- Freezing: Place the wrapped bread in the freezer, ideally on a flat surface where it won’t get squished or damaged. It’s recommended to keep the bread away from strong-smelling items in the freezer to prevent flavor transfer.
- Storage Duration: When stored properly, frozen homemade artisan bread can last for up to three months without significant loss of quality.
To enjoy the frozen bread, simply remove the desired amount of slices or the whole loaf from the freezer and thaw it following the next step.
Freezing bread is a convenient option when you have excess or want to stock up for future use. Now, let’s move on to Step 6 to learn how to thaw and reheat your frozen bread.
Step 6: Thawing and Reheating Frozen Bread
Thawing and reheating frozen homemade artisan bread is essential to bring it back to its fresh, soft, and delicious state. Follow these steps to thaw and reheat your frozen bread:
- Thawing: Remove the desired amount of frozen bread from the freezer and unwrap it. Allow the bread to thaw at room temperature for a few hours or overnight. Avoid using high heat methods like microwaving, as they can cause the bread to become soggy.
- Reheating Whole Loaf: If you have an entire loaf of frozen bread, preheat your oven to 350 degrees Fahrenheit (175 degrees Celsius). Once thawed, place the bread directly on the oven rack or on a baking sheet and bake it for about 10-15 minutes, or until warmed through.
- Reheating Sliced Bread: For individual slices of frozen bread, you can use a toaster or toaster oven. Place the slices in the toaster and toast them on a medium setting until they are heated to your liking. Alternatively, you can use a hot pan on the stove to lightly toast the slices.
- Enjoying the Bread: Once your frozen bread is thawed and reheated, it’s ready to be enjoyed. Spread some butter, add your favorite toppings, or use it to make sandwiches or toast.
Thawing and reheating methods will vary depending on your preferences and the equipment you have available. The key is to ensure that the bread is properly thawed and warmed through without becoming overly dry or burnt.
Now that you know how to bring your frozen bread back to life, let’s explore some additional tips to help extend the shelf life of your homemade artisan bread in Step 7.
Step 7: Tips for Extending Bread Shelf Life
To prolong the shelf life of your homemade artisan bread and keep it fresh for as long as possible, consider implementing these helpful tips:
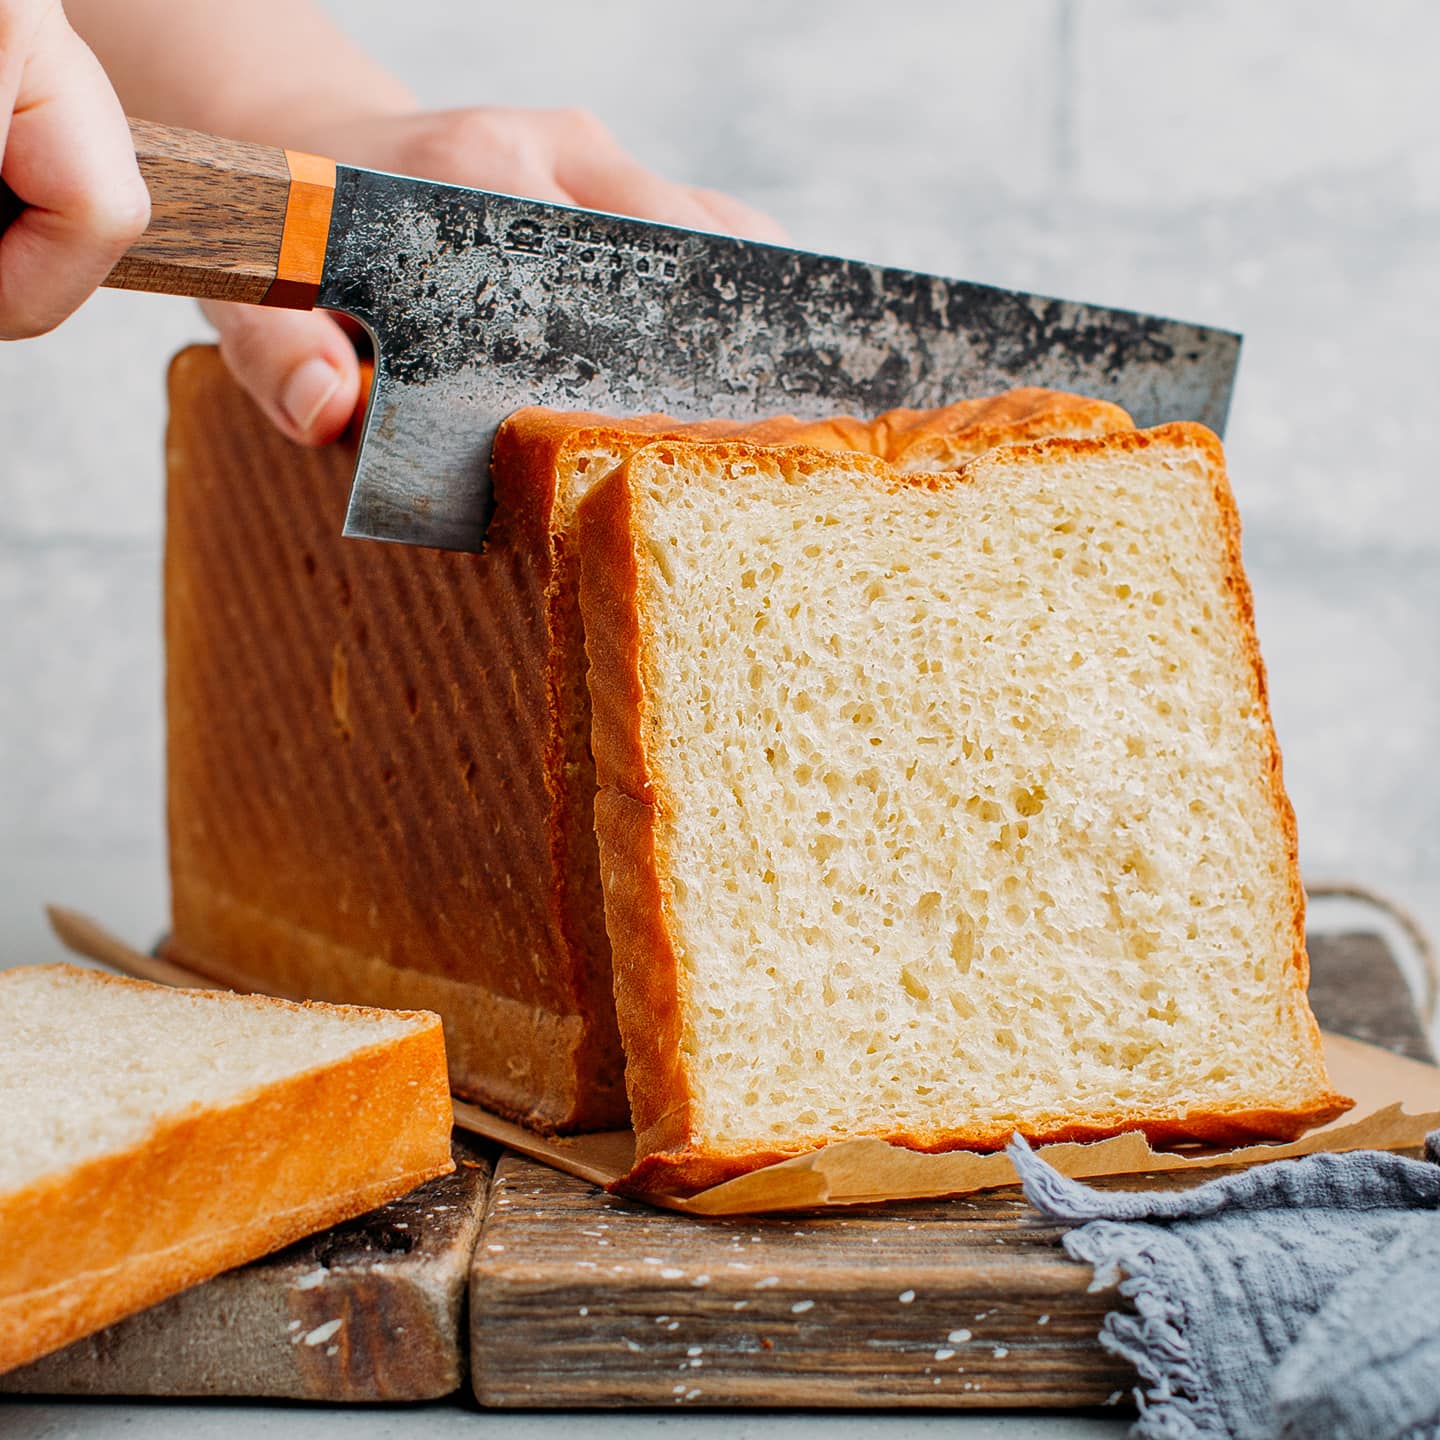
- Store in Slices: Consider slicing your bread before storing it. This allows you to take out only the slices you need, minimizing exposure to air and reducing waste.
- Reheat as Needed: Instead of reheating the entire loaf, only heat the slices you plan to eat. This will help maintain the texture and freshness of the remaining bread.
- Use a Bread Box: If you enjoy storing bread at room temperature, invest in a good quality bread box. A bread box will help regulate moisture levels and protect the bread from drying out.
- Wrap in a Tea Towel: Another method to store bread at room temperature is to wrap it in a clean, dry tea towel. This allows the bread to breathe while providing a barrier against dust and moisture.
- Avoid Direct Sunlight: Keeping bread away from direct sunlight can help prevent it from becoming stale or developing off flavors.
- Use Sourdough Starters: The natural acidity of sourdough bread can help prolong its shelf life. Consider incorporating sourdough starters into your bread recipes for a longer-lasting loaf.
- Wrap Extra Loaves for Gifting: If you have multiple loaves of bread, wrap some of them in airtight packaging and store them in the freezer. This way, you’ll have homemade bread ready to be gifted on special occasions.
- Freshen Bread in the Oven: If your bread has become slightly stale, you can freshen it up by sprinkling a little water on the crust and placing it in a preheated oven for a few minutes. This will help restore moisture and make it taste fresh again.
By following these tips, you can extend the shelf life of your homemade artisan bread and enjoy it for even longer. Remember that bread is best enjoyed when it’s fresh, so try to consume it within a reasonable time frame to savor its full flavor and texture.
Now that you have a comprehensive understanding of how to store homemade artisan bread, from choosing the right container to freezing and thawing techniques, you can confidently preserve the quality and freshness of your baked creations. Enjoy your delicious bread, whether it’s enjoyed freshly baked or stored for later enjoyment!
Happy bread storing!
Conclusion
Storing homemade artisan bread properly is crucial for maintaining its freshness and flavor. By following the steps outlined in this article, you can ensure that your bread stays delicious for as long as possible.
Choosing the right container, such as a bread box or paper bag, helps create the optimal storage environment. Wrapping the bread tightly in plastic wrap or aluminum foil protects it from excess air and moisture. Storing at room temperature is suitable for short-term consumption, while refrigeration and freezing are ideal for longer periods.
Refrigerating bread can extend its shelf life for up to a week, but be aware that it may become firmer and less crusty. Freezing bread allows you to store it for several weeks or months while preserving its taste and texture.
Thawing and reheating frozen bread properly ensures that it regains its fresh, soft, and delicious qualities. And if you want to extend the shelf life further, implementing additional tips such as slicing the bread, using a bread box, and avoiding direct sunlight can be beneficial.
Homemade artisan bread is a labor of love, and storing it properly allows you to enjoy its quality and goodness for an extended period. So, whether you’re baking bread for yourself or receiving it as a gift, follow the steps outlined here to savor every slice.
Remember, the key is to strike a balance between storing the bread correctly to maintain freshness and using it before it loses its optimal flavor and texture. So, get creative with your storage options, experiment with different containers and wrapping techniques, and never underestimate the power of a well-preserved loaf of homemade artisan bread.
Now, go forth and store your bread with confidence, knowing that you have the knowledge to keep it fresh and delicious! Happy baking and storing!
Frequently Asked Questions about How To Store Homemade Artisan Bread
Was this page helpful?
At Storables.com, we guarantee accurate and reliable information. Our content, validated by Expert Board Contributors, is crafted following stringent Editorial Policies. We're committed to providing you with well-researched, expert-backed insights for all your informational needs.


0 thoughts on “How To Store Homemade Artisan Bread”