
Articles
How To Store Fresh French Bread
Modified: October 19, 2024
Learn how to store fresh French bread in this informative article. Find the best tips and techniques to keep your bread tasting delicious for longer.
(Many of the links in this article redirect to a specific reviewed product. Your purchase of these products through affiliate links helps to generate commission for Storables.com, at no extra cost. Learn more)
Introduction
When it comes to enjoying a delicious loaf of French bread, nothing beats the satisfying crunch of its crust and the soft, airy texture inside. However, keeping French bread fresh and flavorful can be a challenge. Without the proper storage techniques, the bread can quickly become stale, dry, or even moldy.
Properly storing fresh French bread is crucial to preserve its taste, texture, and quality for as long as possible. Whether you plan to enjoy it later in the day or over the course of a few days, understanding the best storage methods will help ensure that every slice is as delightful as the first.
In this article, we will explore the importance of proper bread storage and discuss the best storage options for keeping French bread fresh. We will also provide tips on how to reheat stored French bread and offer some valuable advice for maintaining its freshness. By the end, you will be equipped with the knowledge you need to store your fresh French bread properly and enjoy its delectable taste for longer.
Key Takeaways:
- Proper storage of fresh French bread is crucial to maintain its taste, texture, and quality. Whether on the counter, in the fridge, or freezer, there are options to suit your needs and desired shelf life.
- Reheating stored French bread is simple and helps restore its texture and flavor. By following proper storage and care tips, you can savor every slice of deliciousness for an extended period.
Read more: How To Store Fresh Bread
Importance of Proper Bread Storage
The importance of proper bread storage cannot be overstated. Not only does it help maintain the freshness and flavor of French bread, but it also extends its shelf life. By storing French bread correctly, you can ensure that each slice remains moist, soft, and delicious for an extended period.
One of the main reasons why proper bread storage is crucial is to prevent it from becoming stale. When exposed to air, the moisture in the bread evaporates, leaving it dry and less enjoyable to eat. By storing French bread in the appropriate manner, you can slow down this process and maintain its freshness.
Additionally, proper storage helps prevent the growth of mold. French bread contains a high moisture content, making it susceptible to mold growth when stored in a humid environment or for an extended period. By utilizing the right storage techniques, you can minimize the risk of mold development and ensure that your bread stays safe to consume.
Another benefit of proper bread storage is the ability to preserve the bread’s texture. French bread is known for its light, airy, and chewy interior contrasted with a crispy crust. By storing it correctly, you can maintain its desired texture, ensuring that each bite remains as delightful as when it was freshly baked.
Furthermore, proper bread storage helps minimize food waste. By extending the shelf life of French bread, you can avoid throwing away stale or moldy loaves. This not only saves money but also contributes to a more sustainable lifestyle by reducing food waste.
In summary, proper bread storage is essential to maintain the freshness, flavor, texture, and shelf life of French bread. By utilizing the right storage techniques, you can enjoy every slice as if it were freshly baked, minimize the risk of mold or staleness, and contribute to reducing food waste. Next, we will explore the best storage options for keeping French bread fresh.
The Best Storage Options
When it comes to storing fresh French bread, there are a few options to choose from. The ideal storage method depends on how long you want to keep the bread and your personal preferences for its texture.
1. Storing Fresh French Bread on the Counter:
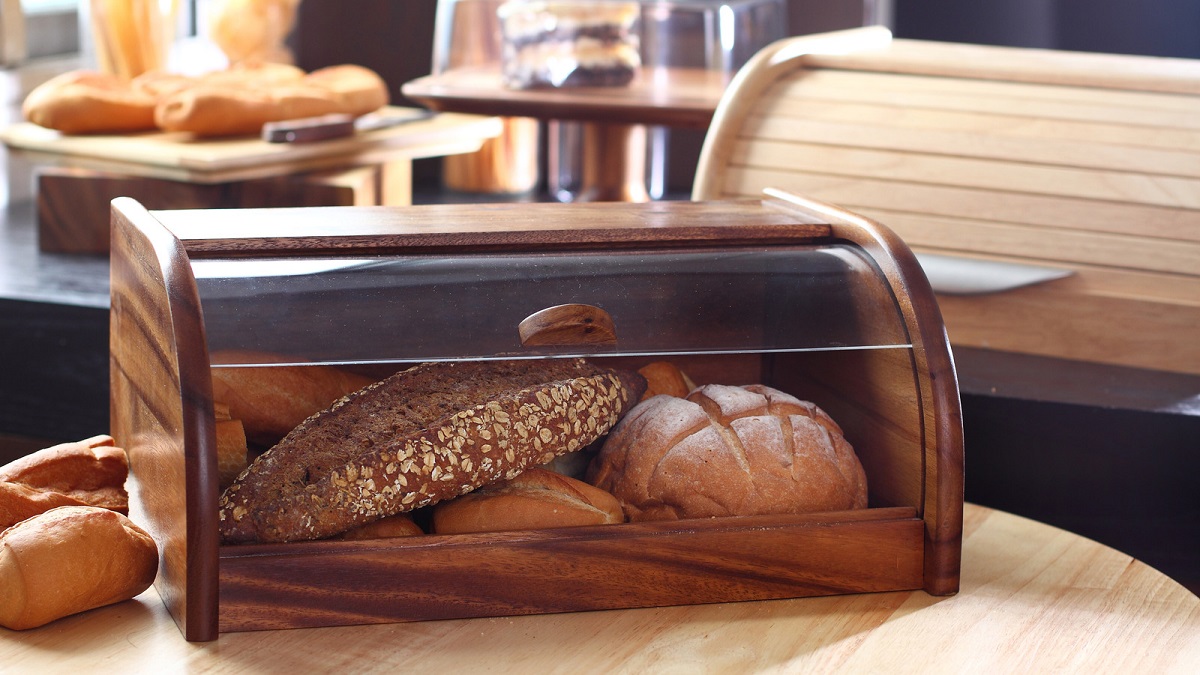
If you plan to consume the bread within a day or two, storing it on the counter is a convenient option. Place the loaf in a bread box or wrap it loosely with a clean kitchen towel to protect it from dust and maintain a bit of moisture. However, keep in mind that French bread stored this way will gradually become drier, and the crust may lose some of its crispiness.
2. Storing Fresh French Bread in the Fridge:
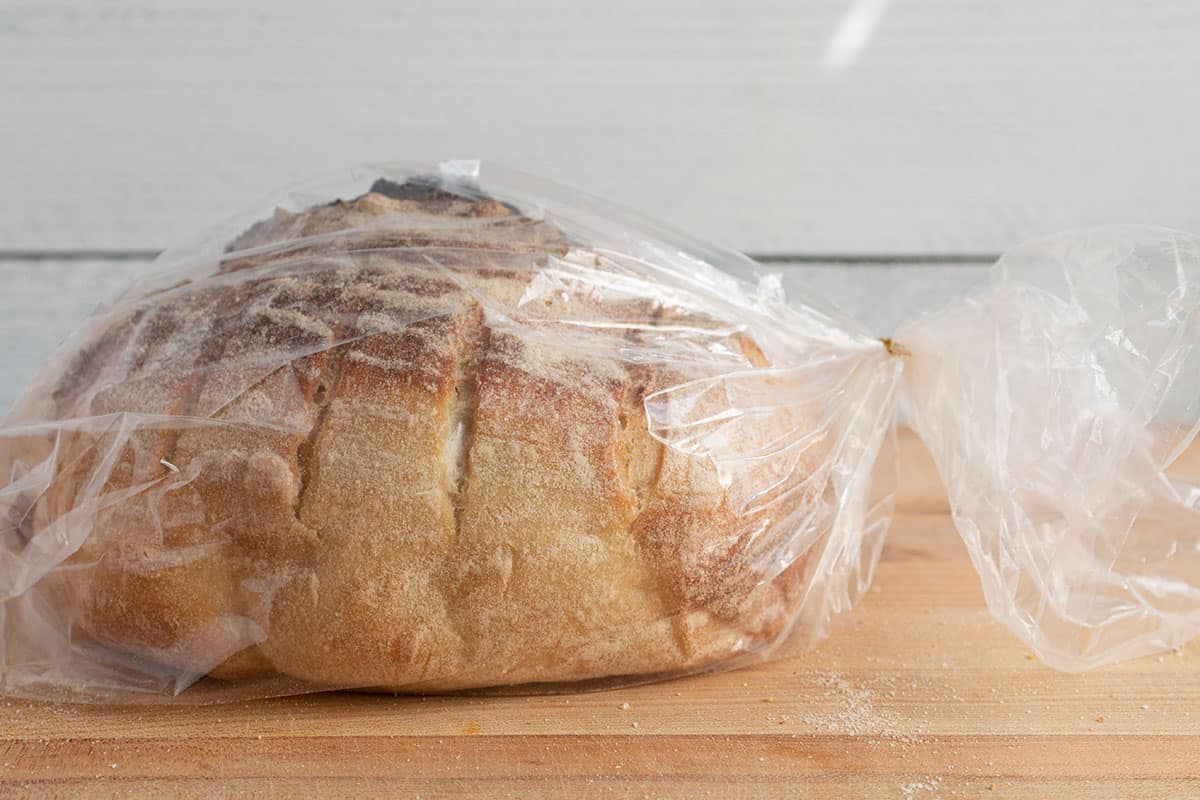
If you want to extend the freshness of French bread for a few more days, storing it in the fridge is a suitable option. Wrap the bread tightly in plastic wrap or place it in a resealable bag to prevent moisture loss. While refrigeration helps delay staling, it can cause the bread to become chewier and the crust to lose its crunchiness. Therefore, this method is best suited for bread that you plan to use for toast or sandwiches.
3. Storing Fresh French Bread in the Freezer:
The freezer is the best option for long-term storage of French bread. Wrap the loaf tightly in plastic wrap and then place it in a freezer bag or airtight container to prevent freezer burn. When properly stored, French bread can last for up to three months in the freezer. This method allows you to enjoy fresh-tasting bread whenever you desire, and it is an excellent way to preserve extra loaves or buy in bulk.
Now that we have explored the best storage options for fresh French bread, let’s take a closer look at each method’s specific instructions and considerations.
Storing Fresh French Bread on the Counter
Storing fresh French bread on the counter is a convenient and traditional method if you plan to consume it within a day or two. However, it’s important to note that storing bread this way will gradually cause it to become drier and the crust to lose its crispiness.
To store French bread on the counter:
- Ensure the bread is completely cooled before storing it.
- Place the loaf in a bread box or wrap it loosely with a clean kitchen towel.
- Avoid using a plastic bag or airtight container, as this can trap moisture and promote mold growth.
- Keep the bread away from direct sunlight and heat sources, as these can accelerate the staling process.
When stored on the counter, French bread will slowly dry out. However, you can help revive its freshness by reheating it briefly in the oven. Preheat your oven to 350°F (175°C), sprinkle a little water over the bread’s crust, and then bake it for 5-10 minutes. This will help restore some of the bread’s moisture and bring back a bit of its crust’s crispiness.
Keep in mind that bread stored on the counter is best consumed within one to two days. If you don’t plan on finishing the loaf within that timeframe, it’s recommended to consider an alternative storage method to maintain its freshness.
Next, let’s explore the option of storing fresh French bread in the fridge.
Storing Fresh French Bread in the Fridge
If you want to extend the freshness of French bread for a few more days, storing it in the fridge is a suitable option. However, it’s important to note that refrigeration can cause the bread to become chewier and the crust to lose its crispiness. Therefore, this method is best suited for bread that you plan to use for toast or sandwiches.
To store French bread in the fridge:
- Allow the bread to cool completely before storing.
- Wrap the loaf tightly in plastic wrap or place it in a resealable bag to prevent moisture loss.
- Make sure the bread is properly sealed to avoid absorbing any odors from other foods in the fridge.
- Place the wrapped bread in the main compartment of the refrigerator, away from any strong-smelling foods.
When you’re ready to enjoy the bread, remove it from the fridge and allow it to come to room temperature for a few minutes. This will help restore some of its original texture and flavor.
It’s important to note that while refrigeration helps delay staling, the bread will still gradually lose its freshness and texture over time. Therefore, it’s recommended to consume refrigerated French bread within 3-4 days for the best taste experience.
If you find that the crust of the bread has become less crispy after refrigeration, you can revitalize it by briefly toasting or warming it in the oven. This will help restore some of the crust’s crunchiness.
Now that we’ve covered storing French bread in the fridge, let’s move on to the option of storing it in the freezer for longer-term storage.
To store fresh French bread, wrap it in a clean kitchen towel and store it in a paper bag at room temperature. Avoid plastic bags, as they can trap moisture and make the bread soggy.
Read more: How To Store Fresh Pretzels
Storing Fresh French Bread in the Freezer
If you want to keep your French bread fresh for an extended period, storing it in the freezer is the best option. Freezing the bread allows you to preserve its taste, texture, and quality for up to three months.
To store French bread in the freezer:
- Ensure the bread is completely cooled before wrapping it for freezing.
- Wrap the loaf tightly in plastic wrap to prevent freezer burn and protect it from moisture.
- Place the wrapped bread in a freezer bag or an airtight container for extra protection against freezer odors.
- Label the bag or container with the date to keep track of its freshness.
- Place the bread in the freezer, preferably in an area where it won’t be crushed or damaged by other frozen items.
When you’re ready to enjoy the bread, remove it from the freezer and let it thaw at room temperature. For best results, leave it in the plastic wrap while thawing to retain moisture. Once thawed, you can reheat the bread to restore its texture and flavor.
To reheat frozen French bread, preheat your oven to 350°F (175°C). Remove the plastic wrap and place the bread directly on the oven rack or on a baking sheet. Bake for 10-15 minutes until heated through and the crust becomes crispy again. This will give you bread that tastes almost as fresh as when it was first baked.
It’s important to note that freezing bread can cause some moisture loss during thawing, and the texture may be slightly different from freshly baked bread. However, it is a convenient option for preserving French bread for future enjoyment.
Remember to only freeze French bread that is still fresh and at its best quality. This method is particularly useful if you have leftovers from a large loaf or if you want to stock up on bread to have on hand.
Now that you know how to store French bread in the freezer, let’s move on to the next section and learn how to reheat the stored bread for optimal taste and texture.
How to Reheat Stored French Bread
When it comes to reheating stored French bread, there are a few methods you can use to restore its texture and flavor. The best method depends on whether the bread is stored on the counter, in the fridge, or in the freezer.
Here are the methods for reheating stored French bread:
- For bread stored on the counter:
– Preheat your oven to 350°F (175°C).
– Sprinkle a little water over the bread’s crust to restore moisture.
– Place the bread directly on the oven rack or on a baking sheet.
– Bake for 5-10 minutes until the bread is warm and the crust becomes crispy again. - For bread stored in the fridge:
– Take the bread out of the fridge and let it come to room temperature for a few minutes.
– Preheat your oven to 350°F (175°C).
– Place the bread directly on the oven rack or on a baking sheet.
– Bake for 5-10 minutes until the bread is heated through. - For bread stored in the freezer:
– Remove the bread from the freezer and let it thaw at room temperature, in its plastic wrap, until completely thawed.
– Preheat your oven to 350°F (175°C).
– Remove the plastic wrap and place the bread directly on the oven rack or on a baking sheet.
– Bake for 10-15 minutes until the bread is heated through and the crust becomes crispy.
It’s important to keep an eye on the bread while reheating to avoid overcooking and drying it out. You want to restore its moisture and crispness without making it too hard or tough.
Once the bread is reheated, allow it to cool slightly before slicing and serving. This will give you warm, fresh-tasting French bread that is perfect for enjoying on its own, as a side to a meal, or as a base for sandwiches and bruschetta.
Now that you know how to reheat stored French bread, let’s move on to the next section, where we will provide some valuable tips for maintaining the freshness of French bread.
Tips for Maintaining Freshness
To ensure the maximum freshness and flavor of your French bread, here are some tips to follow:
- Buy or bake fresh bread: The first step to maintaining freshness is to start with fresh bread. Whether you purchase it from a bakery or make it at home, try to get the bread as fresh as possible.
- Store bread in a cool, dry place: Keep your French bread away from heat and humidity, as these conditions can promote mold growth and accelerate staling. Choose a cool, dry spot in your kitchen for storing the bread.
- Avoid storing bread in the refrigerator unless necessary: While refrigeration can delay staling, it can also make the bread chewier and affect the crust’s texture. Consider using the fridge only for longer-term storage or when necessary.
- Use proper storage containers: Use bread boxes, clean kitchen towels, or plastic wrap to protect the bread from exposure to air and dust. Avoid storing bread in containers that may trap moisture, such as plastic bags or airtight containers.
- Separate bread from other foods: To prevent absorption of odors and flavors, store your French bread away from other strong-smelling foods in your fridge or pantry.
- Slice as needed: To maintain freshness, slice the bread only when you’re ready to eat it. Leaving the loaf whole for as long as possible helps preserve its moisture and texture.
- Reheat as necessary: If your bread starts to lose its freshness, use the reheating methods mentioned earlier to revive its taste and texture.
- Use leftover bread creatively: If you have leftover French bread, don’t let it go to waste. Utilize it for making croutons, breadcrumbs, bread pudding, or French toast to extend its usability.
By following these tips, you can extend the freshness of your French bread and enjoy it at its best for a longer period. With proper storage and care, you can savor every slice of deliciousness.
Now that you have learned the tips for maintaining freshness, let’s wrap up this article.
Conclusion
Properly storing fresh French bread is essential to maintain its freshness, flavor, and texture. Whether you choose to store it on the counter, in the fridge, or in the freezer, there are various options to suit your needs and desired shelf life.
Storing French bread on the counter is convenient for short-term consumption, but it may gradually become drier. Refrigeration helps extend the bread’s freshness, but it can affect its texture. Freezing is the best method for long-term storage, preserving the bread’s quality for up to three months.
Reheating stored French bread is simple and helps restore its texture and flavor. Whether you’re using the oven or toaster, a few minutes of reheating can bring the bread back to life.
To maintain the freshness of your French bread, keep it in a cool, dry place and use proper storage containers to protect it from air and dust. Remember to separate the bread from strong-smelling foods and slice it only when needed to preserve its moisture.
By following these tips and techniques, you can enjoy French bread at its best for an extended period, minimizing waste and ensuring that every bite is as delightful as the first.
So, the next time you bring home a delicious loaf of fresh French bread, remember the importance of proper storage, choose the best storage method, and enjoy its delectable taste for longer. Bon appétit!
Frequently Asked Questions about How To Store Fresh French Bread
Was this page helpful?
At Storables.com, we guarantee accurate and reliable information. Our content, validated by Expert Board Contributors, is crafted following stringent Editorial Policies. We're committed to providing you with well-researched, expert-backed insights for all your informational needs.


0 thoughts on “How To Store Fresh French Bread”