Articles
How To Store Homemade Bread In Freezer
Modified: August 28, 2024
Learn the best way to store your homemade bread in the freezer for long-lasting freshness. Discover helpful tips and tricks in this informative article.
(Many of the links in this article redirect to a specific reviewed product. Your purchase of these products through affiliate links helps to generate commission for Storables.com, at no extra cost. Learn more)
Introduction
Welcome to the wonderful world of homemade bread! There’s nothing quite like the aroma of freshly baked bread wafting through your kitchen. Whether you’re an experienced baker or just starting out on your bread-making journey, you may find yourself with more loaves than you can consume in one sitting. But fear not! Freezing homemade bread is an excellent way to extend its shelf life and ensure that you can enjoy your delicious creations for weeks or even months to come.
In this article, we will explore the benefits of freezing homemade bread and provide you with some helpful tips on how to properly store and thaw your frozen loaves. So, before you let that beautiful bread go to waste, let’s dive into the world of freezer-friendly baked goodies.
Key Takeaways:
- Extend the life of your homemade bread by freezing it! Enjoy the benefits of convenient portions, reduced food waste, and preserved nutritional value while saving money and savoring the wonderful taste and quality of fresh bread.
- Properly prepare, store, and thaw your frozen homemade bread to maintain its freshness and flavor. Embrace texture changes, experiment with flavors, and avoid frequent thawing and refreezing for the best results.
Read more: How To Store Homemade Bread
Benefits of Freezing Homemade Bread
Freezing homemade bread offers many advantages, making it a convenient and practical solution for preserving your baked goods. Here are some key benefits to consider:
- Extended Shelf Life: By freezing your homemade bread, you can significantly prolong its freshness and prevent it from going stale. This means you can enjoy your bread over an extended period without worrying about it spoiling.
- Convenient Portions: When you freeze homemade bread, you have the flexibility to slice it before freezing or keep it as whole loaves. Sliced bread is convenient for those quick breakfast toasts or sandwiches, while whole loaves are perfect for when you need a larger batch for special occasions or gatherings.
- Reduces Food Waste: Single-handedly baking a fresh batch of bread every time you crave it can lead to wastage. By freezing your homemade bread, you can preserve it for future use and minimize the risk of throwing away unused portions.
- Economical: Buying pre-packaged bread from the store can be expensive in the long run. By making and freezing your homemade bread, you can save money while still enjoying the wonderful taste and quality of fresh bread.
- Preserves Nutritional Value: Freezing homemade bread helps to maintain its nutritional value. While the texture may slightly change once frozen and thawed, the overall nutritional content remains intact, ensuring you still receive the benefits of homemade bread even after freezing.
With these benefits in mind, it’s clear that freezing homemade bread is a practical way to prevent waste, maintain the taste and quality of your bread, and conveniently enjoy it whenever you desire.
Choosing the Right Packaging Materials
Proper packaging is essential when it comes to freezing homemade bread. It ensures that the bread remains fresh and protected from freezer burn. Here are some guidelines for choosing the right packaging materials:
- Freezer Bags: Using freezer bags specifically designed for freezing is highly recommended. These bags are thicker and more durable than regular storage bags, providing better protection against moisture and air. Opt for bags that have an airtight seal to keep your bread fresh.
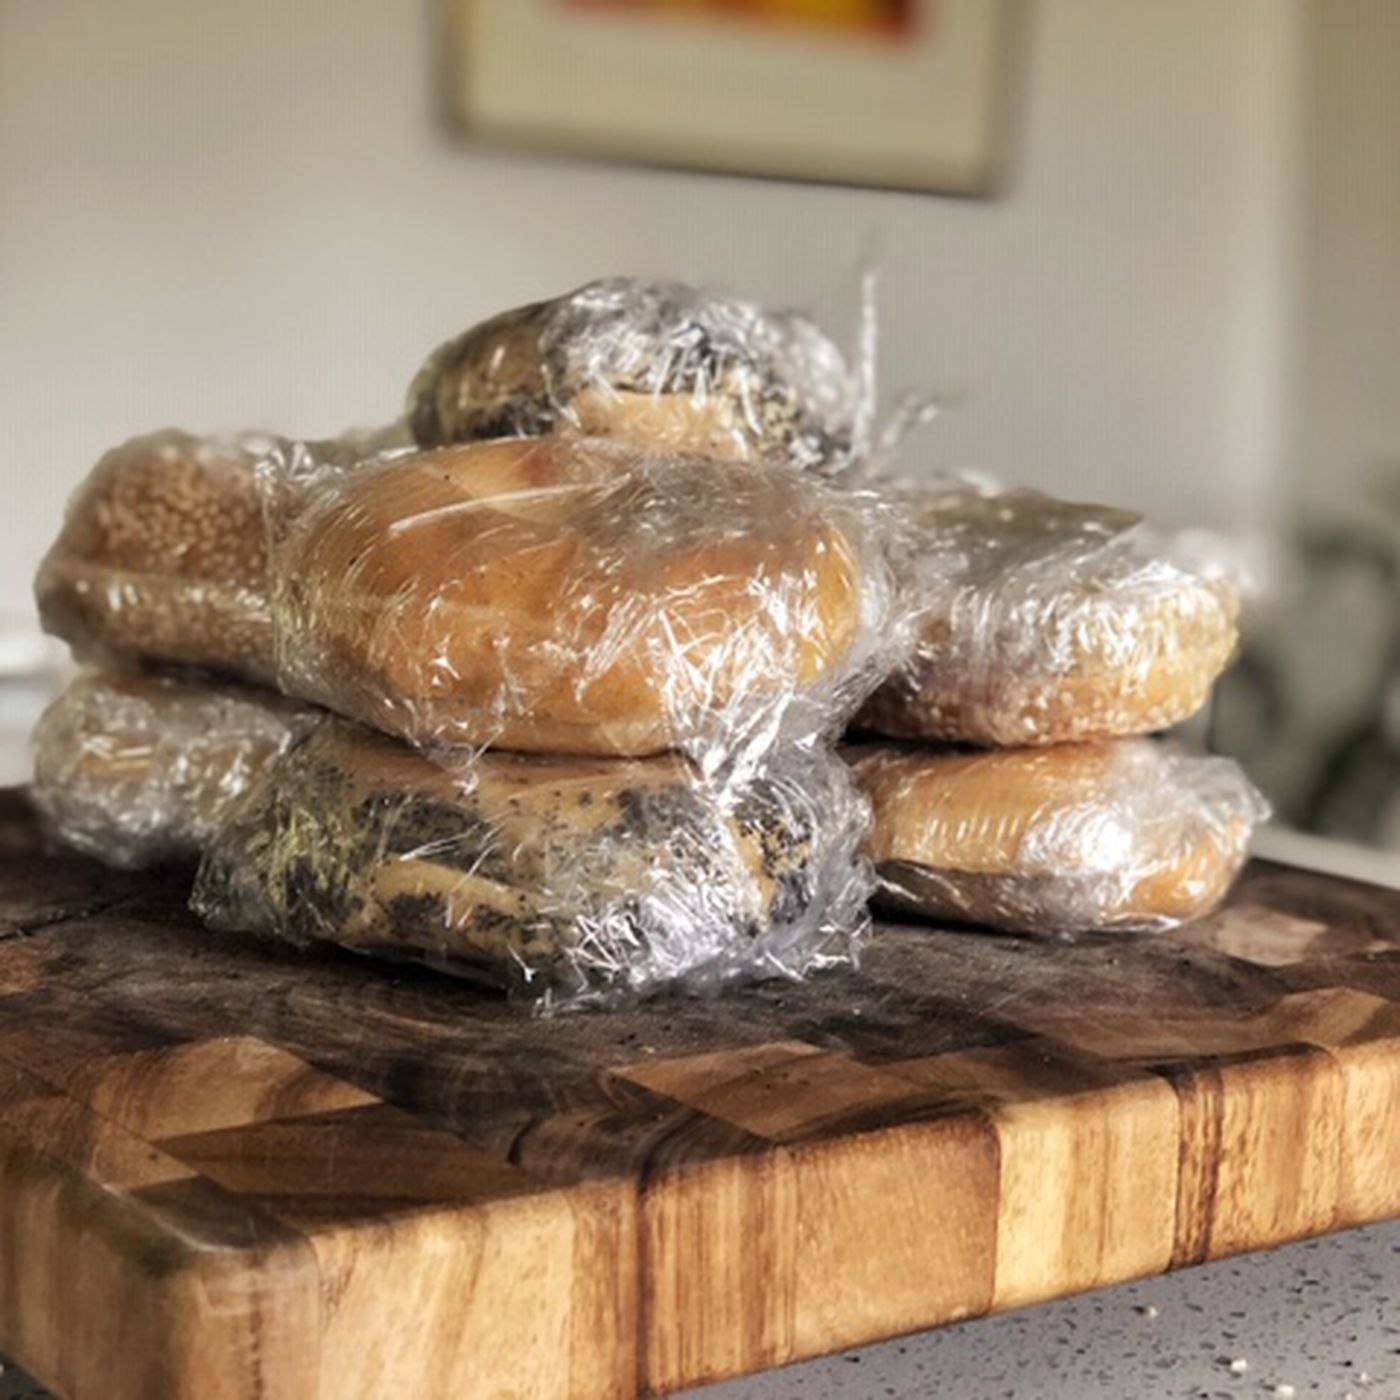
- Plastic Wrap: Plastic wrap is another excellent option for wrapping individual slices of bread or smaller portions. Make sure to tightly wrap the bread to prevent air from entering.
- Aluminum Foil: Aluminum foil is a versatile option for wrapping both whole loaves and individual slices. It offers excellent protection against freezer burn and is easy to mold around the bread to create a tight seal.
- Freezer Paper: Freezer paper is a heavy-duty type of paper that is coated on one side to provide better moisture resistance. It is an ideal choice for wrapping whole loaves or larger portions of bread.
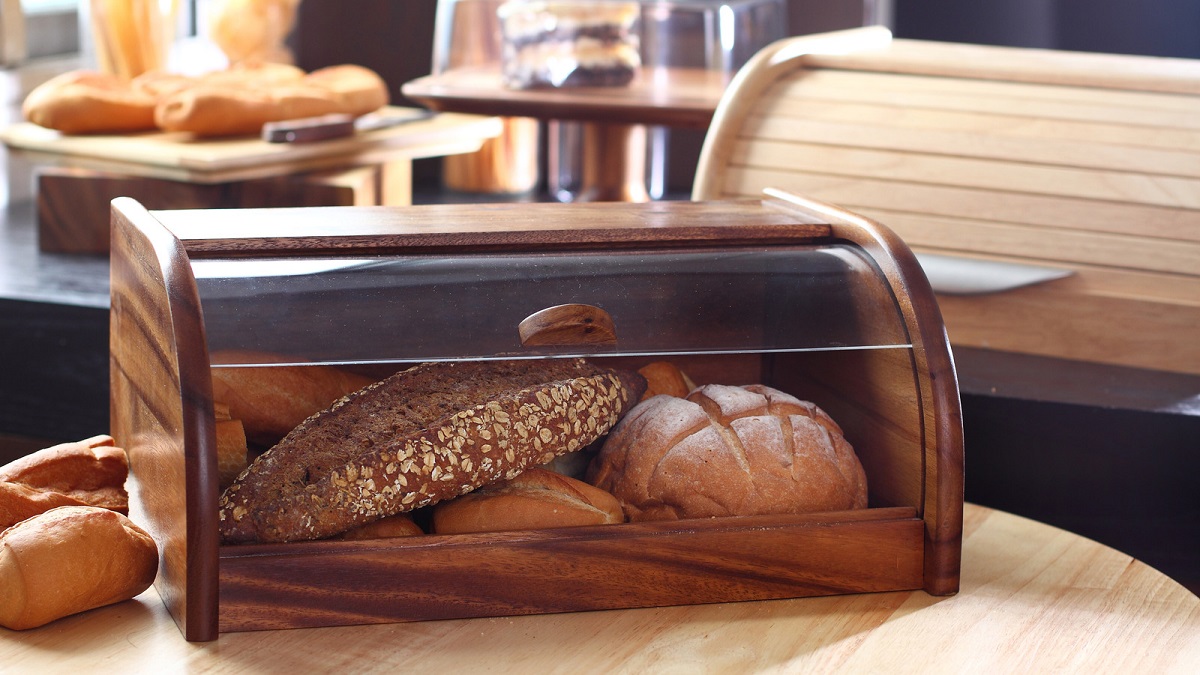
- Bread Boxes or Containers: If you prefer a more eco-friendly option, consider investing in bread boxes or containers specifically designed for freezing bread. These containers provide airtight storage and help maintain the shape and texture of the bread.
Remember to label your packaging with the date of freezing to keep track of time. Additionally, removing as much air as possible from the packaging helps prevent freezer burn and maintain the quality of your bread.
By choosing the appropriate packaging materials, you can ensure that your homemade bread remains fresh and delicious for extended periods in the freezer.
Preparing the Bread for Freezing
Before you proceed to freeze your homemade bread, it’s important to prepare it properly to maintain its quality and taste. Follow these steps to ensure that your bread is ready for the freezer:
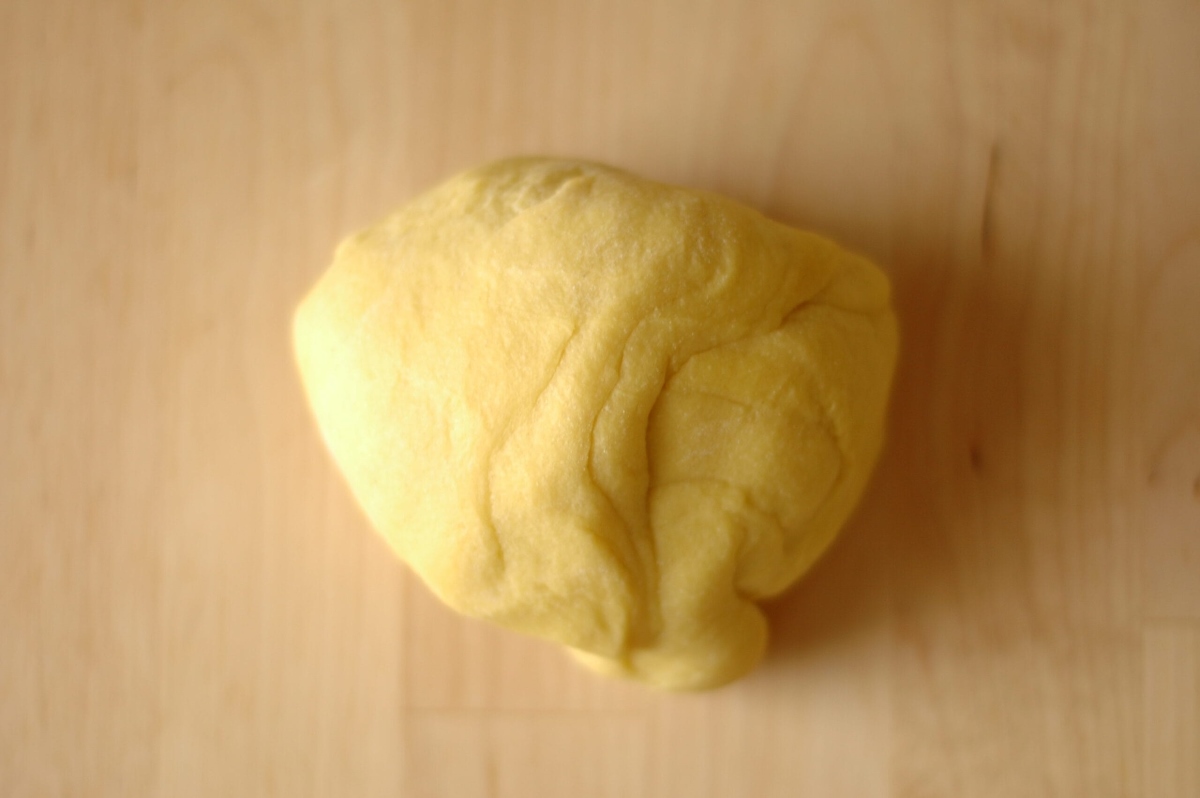
- Cool Completely: Allow your freshly baked bread to cool completely at room temperature. This process is crucial, as it helps prevent condensation from forming inside the packaging, which can lead to freezer burn.
- Slice or Keep Whole: Decide whether you want to freeze your bread as whole loaves or individual slices. Slicing the bread before freezing allows for easy grab-and-go portions, while freezing whole loaves preserves their integrity.
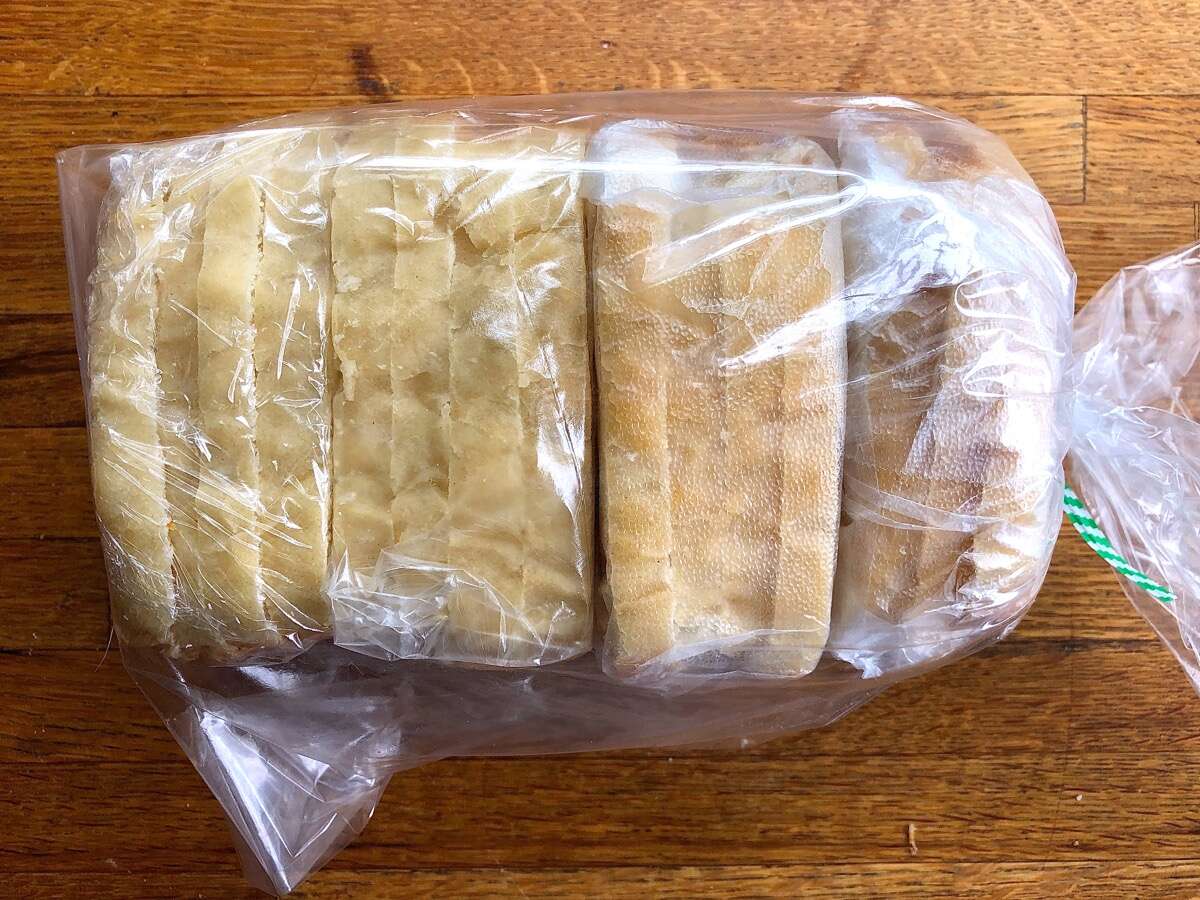
- Wrap in Plastic: If you choose to slice your bread, individually wrap each slice in plastic wrap to provide an extra layer of protection. This will help prevent freezer burn and keep the slices separate, allowing you to take out only what you need without thawing the entire loaf.
- Wrap in Packaging Material: Wrap your bread tightly using the chosen packaging materials mentioned earlier, such as freezer bags, aluminum foil, or freezer paper. Ensure that the packaging is airtight and provides a snug fit around the bread.
- Label and Date: Don’t forget to label the packaging with the type of bread and the date of freezing. This will help you keep track of the different breads in your freezer and know how long they’ve been stored.
By following these steps, you will prepare your homemade bread properly for freezing, ensuring that it maintains its texture, taste, and overall quality.
To store homemade bread in the freezer, wrap it tightly in plastic wrap or aluminum foil to prevent freezer burn. Place it in a resealable plastic bag for extra protection. Thaw at room temperature when ready to eat.
Properly Storing Homemade Bread in the Freezer
Now that your homemade bread is prepared for freezing, it’s time to store it properly in the freezer to maintain its freshness and quality. Follow these guidelines for optimal storage:
- Choose the Right Location: Select a spot in your freezer that is not subject to temperature fluctuations, such as near the door. Ideally, choose the coldest part of the freezer to ensure optimal preservation.
- Arrange Bread Carefully: Place the wrapped bread in a single layer or stack them neatly, depending on the available space. Avoid overcrowding or squishing the bread, as this may lead to deformation or loss of quality.
- Avoid Odor Contamination: To prevent your bread from absorbing any unwanted odors, make sure to store it away from strongly scented foods or items in the freezer.
- Don’t Store Bread for Too Long: While homemade bread can last in the freezer for several months, it’s best to consume it within 2-3 months for optimum taste and texture. After this period, the quality may start to decline.
- Keep an Inventory: It’s helpful to keep a list or inventory of the bread you have stored in your freezer, along with their corresponding dates. This way, you can keep track of what you have and plan your consumption accordingly.
- Avoid Frequent Thawing and Refreezing: It’s best to thaw only the amount of bread you need at a time. Avoid repeatedly thawing and refreezing the same loaf, as this can affect its quality and texture.
By following these storage tips, you can ensure that your homemade bread retains its freshness, taste, and texture while in the freezer.
Read more: How To Store Homemade Sourdough Bread
Thawing and Enjoying Frozen Homemade Bread
When the time comes to enjoy your frozen homemade bread, proper thawing is essential to ensure that it regains its delicious taste and texture. Here’s how to thaw and enjoy your frozen bread:
- Remove from Freezer: Take the desired amount of bread from the freezer and transfer it to the refrigerator. Leave it to thaw slowly in the refrigerator overnight or for several hours. Thawing in the refrigerator helps maintain the moisture and prevents the bread from becoming soggy.
- Room Temperature Thawing: If you’re in a hurry, you can also thaw the bread at room temperature. Remove the wrapped bread from the packaging and place it on a countertop or cutting board. Allow it to thaw for a few hours until it reaches room temperature. This method is quicker but may result in slightly drier bread compared to refrigerator thawing.
- Reheat if Desired: If you prefer warm bread, you can heat it in an oven or toaster oven after thawing. Preheat your oven to a low temperature (around 300°F/150°C) and place the bread directly on the oven rack or on a baking sheet. Heat for a few minutes until the bread is warm and refreshed.
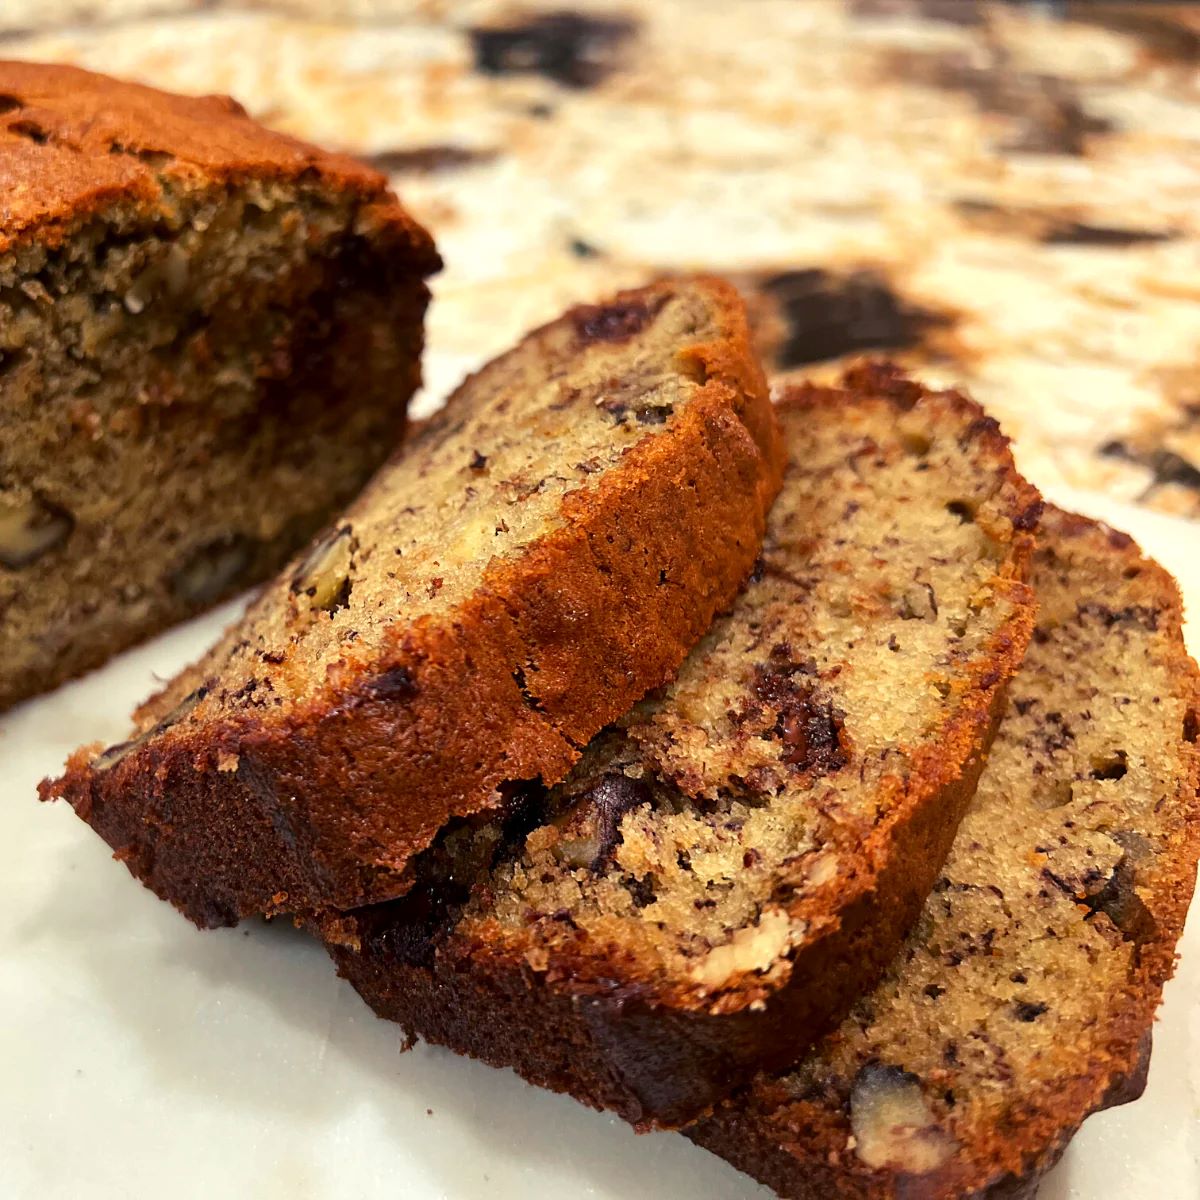
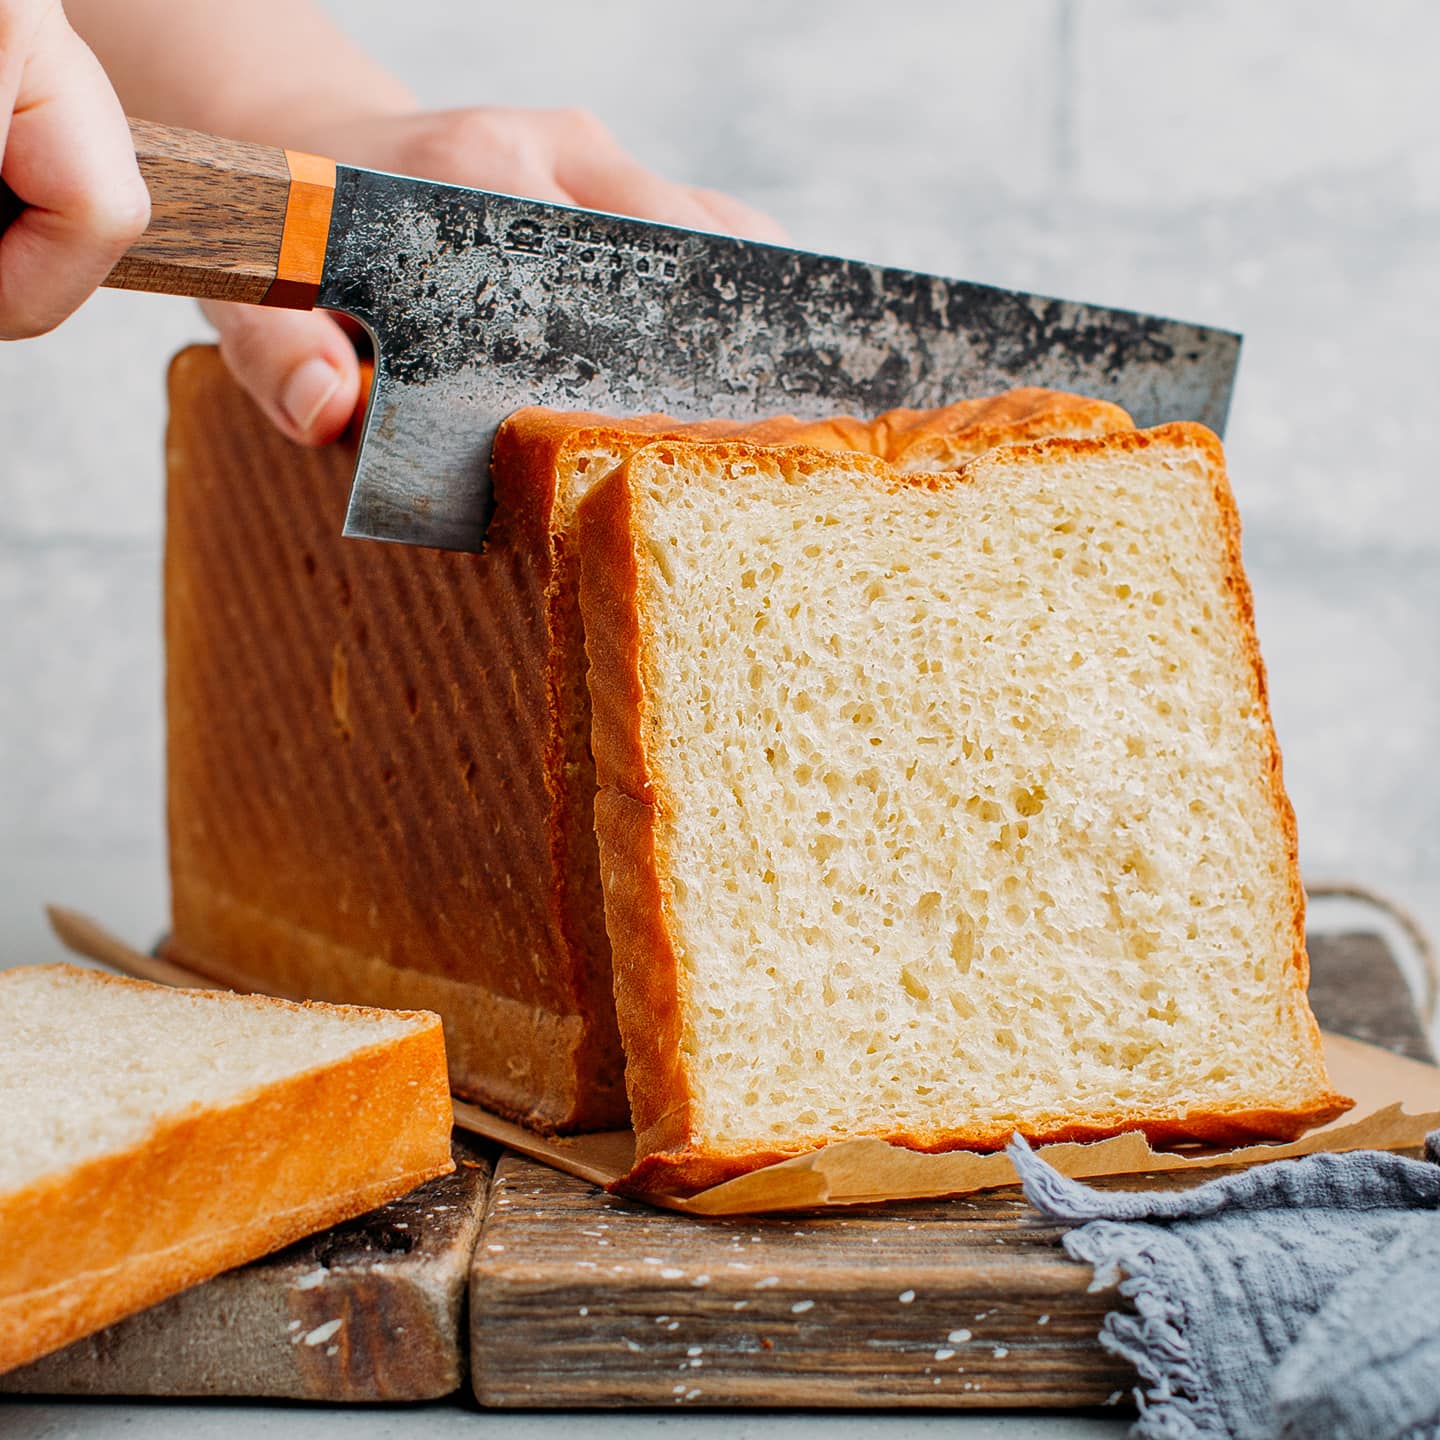
- Slice and Serve: Once thawed, your homemade bread is ready to be sliced and served. Use a sharp knife or a bread knife to slice it into desired thickness. Enjoy it as is, or with your favorite spreads, toppings, or fillings.
Remember, once your frozen bread is thawed, it should be consumed within a few days for the best taste. If you have any leftover slices, you can store them in an airtight container at room temperature for a short period.
By following these thawing and serving instructions, you can enjoy your frozen homemade bread with all the same freshness and flavor as when it was first baked!
Tips and Recommendations
Here are some additional tips and recommendations to help you make the most of freezing and storing your homemade bread:
- Flash Freeze Before Packaging: If you’re freezing individual slices, consider flash freezing them first. Place the slices on a baking sheet, ensuring they are not touching, and freeze them for about 1-2 hours. Once frozen, you can transfer them into a freezer bag, making it easier to separate and thaw only what you need without them sticking together.
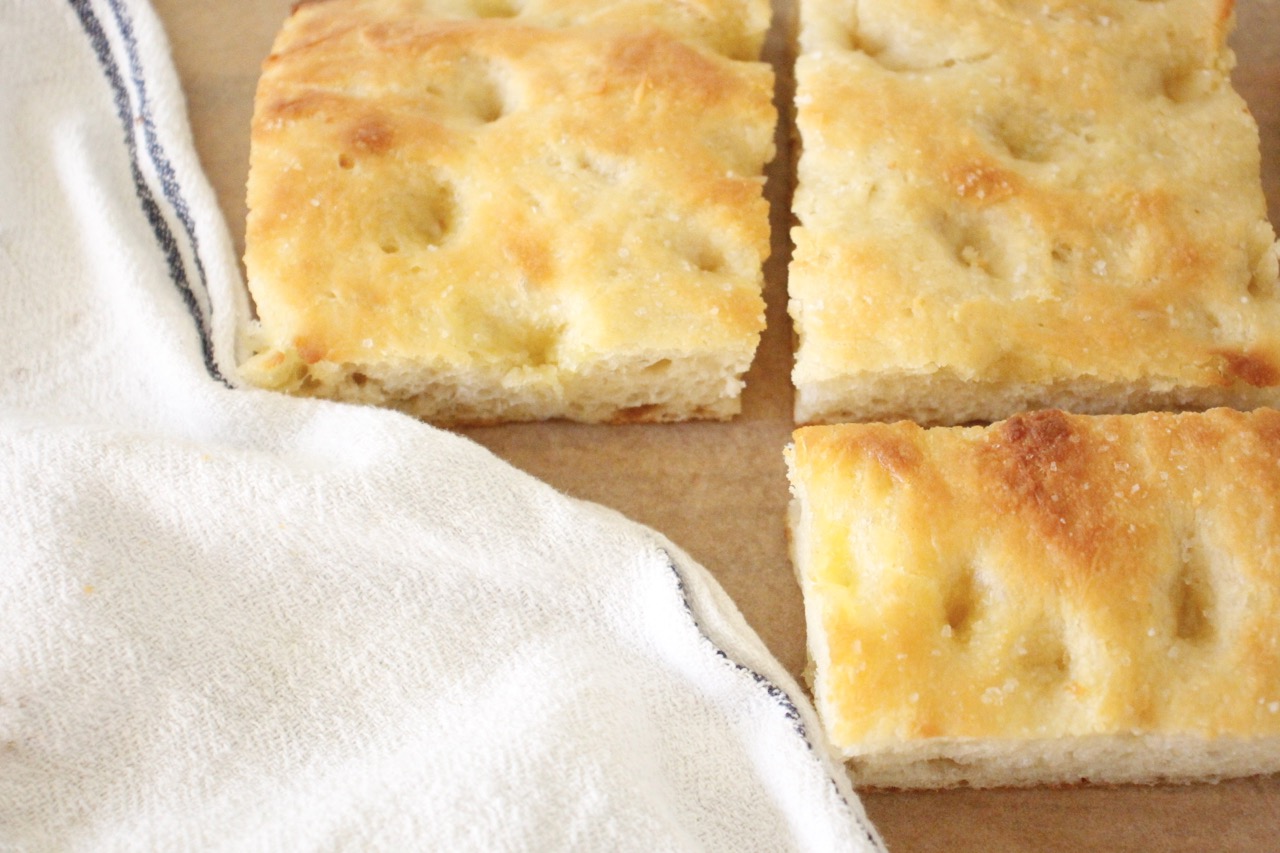
- Divide Large Batches: If you’ve baked a large batch of bread, consider dividing it into smaller portions before freezing. This way, you can thaw and consume only what you need at a given time, preventing unnecessary waste.
- Use Bread Bags: If you bake regularly and freeze bread often, consider investing in bread bags specifically designed for this purpose. These bags offer optimal protection against freezer burn and make it easy to access and store your bread efficiently.
- Label and Date: Properly labeling your homemade bread with the type of bread and the date of freezing is crucial. This allows you to keep track of its freshness and ensures that you use the older loaves first to prevent waste.
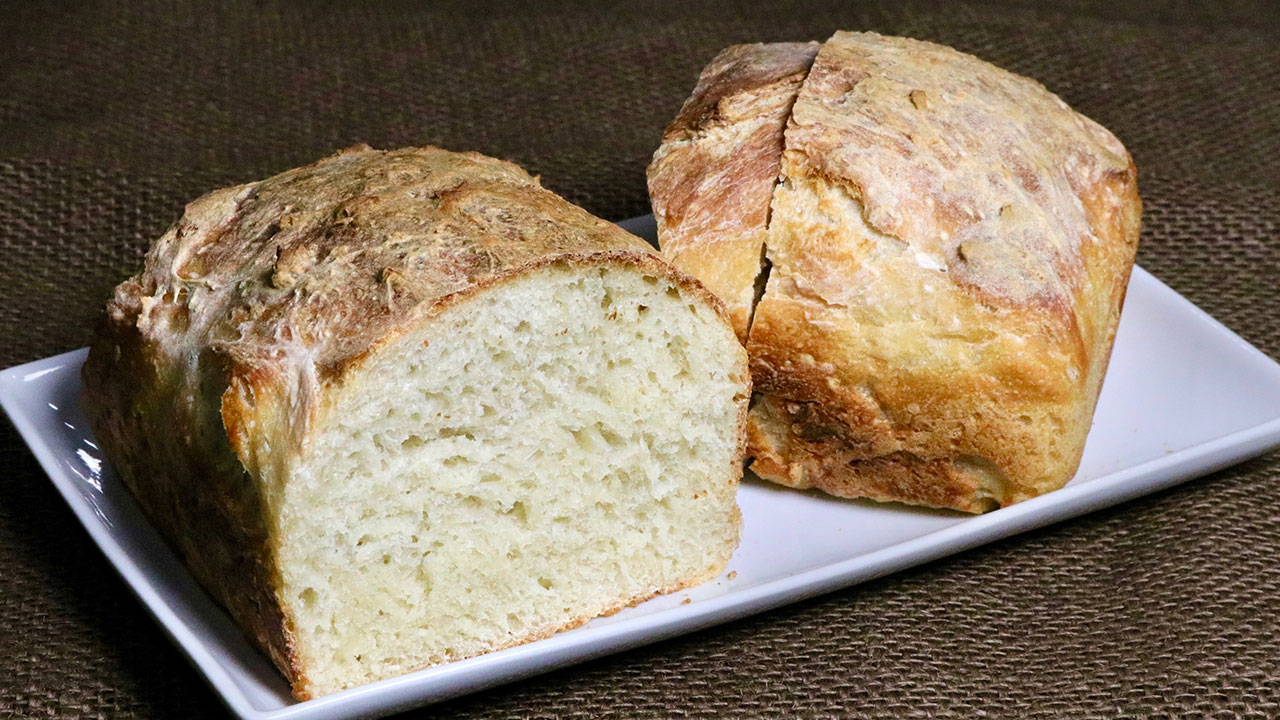
- Cut Larger Loaves in Half: If you find that a whole loaf is too much to thaw and consume at once, consider cutting it in half before freezing. This way, you can thaw and enjoy one half while keeping the other half frozen for later use.
- Experiment with Different Flavors: Don’t be afraid to get creative with your homemade frozen bread. You can experiment with adding various flavors and ingredients to the dough before baking, such as garlic, herbs, cheese, or dried fruits. This adds an extra level of excitement and variety when you enjoy the thawed bread.
- Remember Texture Changes: Keep in mind that freezing and thawing bread can slightly alter the texture. While the taste remains delicious, the bread may become slightly softer or denser after thawing. Embrace these changes and adjust your expectations accordingly.
With these tips and recommendations, you’ll be well-equipped to freeze, store, and enjoy your homemade bread with confidence and satisfaction.
Conclusion
Freezing homemade bread is a fantastic way to extend its shelf life and ensure that you can enjoy your delicious creations for weeks or even months to come. By following the proper techniques for packaging, preparing, storing, and thawing, you can maintain the taste, texture, and quality of your bread while minimizing waste.
We’ve explored the benefits of freezing homemade bread, such as the extended shelf life, convenient portioning, reduced food waste, and economic advantages. Additionally, we’ve discussed the importance of choosing the right packaging materials and the steps involved in preparing the bread for freezing. Properly storing the bread in the freezer is crucial to maintain its freshness, and strategic thawing ensures you can enjoy it just as if it were freshly baked.
Remember to label your bread with the date of freezing, keep track of your inventory, and avoid frequent thawing and refreezing for best results. Embrace the slight texture changes that may occur after thawing and experiment with different flavors to keep your frozen bread exciting and diverse.
So, the next time you find yourself with more homemade bread than you can consume, don’t let it go to waste. Freeze it and savor the joy of having freshly baked bread on hand whenever you desire. Happy freezing and enjoying!
Frequently Asked Questions about How To Store Homemade Bread In Freezer
Was this page helpful?
At Storables.com, we guarantee accurate and reliable information. Our content, validated by Expert Board Contributors, is crafted following stringent Editorial Policies. We're committed to providing you with well-researched, expert-backed insights for all your informational needs.


0 thoughts on “How To Store Homemade Bread In Freezer”