Articles
How To Store Homemade Marshmallows
Modified: May 6, 2024
Learn how to store homemade marshmallows and keep them fresh for longer with these helpful articles. Find the best storage tips for your delicious treats!
(Many of the links in this article redirect to a specific reviewed product. Your purchase of these products through affiliate links helps to generate commission for Storables.com, at no extra cost. Learn more)
Introduction
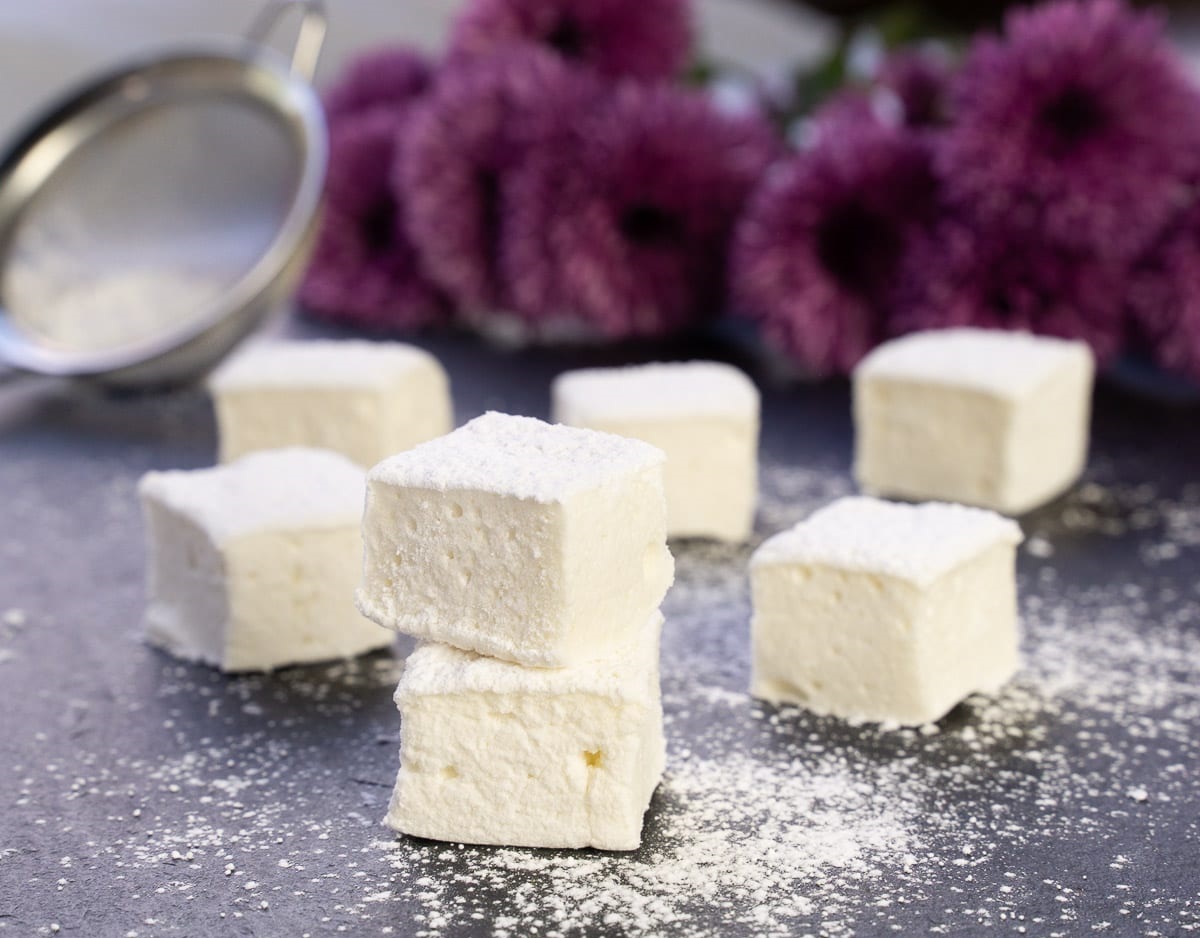
Welcome to the delicious world of homemade marshmallows! If you’ve ever had the pleasure of biting into a fluffy, pillowy marshmallow that melts in your mouth, you’ll understand why making them from scratch is worth the effort. Not only are homemade marshmallows incredibly tasty, but they also allow you to customize flavors, colors, and even shapes to create unique treats.
In this article, we’ll guide you through the process of making your own marshmallows at home. From gathering the ingredients to storing the finished product, we’ll cover everything you need to know. So, grab your apron, dust off that candy thermometer, and let’s get started!
But before we dive into the step-by-step process, let’s quickly go over the basic ingredients you’ll need:
Key Takeaways:
- Create fluffy, pillowy marshmallows at home with simple ingredients and essential tools. Customize flavors, colors, and shapes for a delightful, homemade treat that melts in your mouth.
- Store homemade marshmallows in an airtight container in a cool, dry place to maintain their freshness and texture. Extend their shelf life by freezing and enjoy the delightful sweetness anytime.
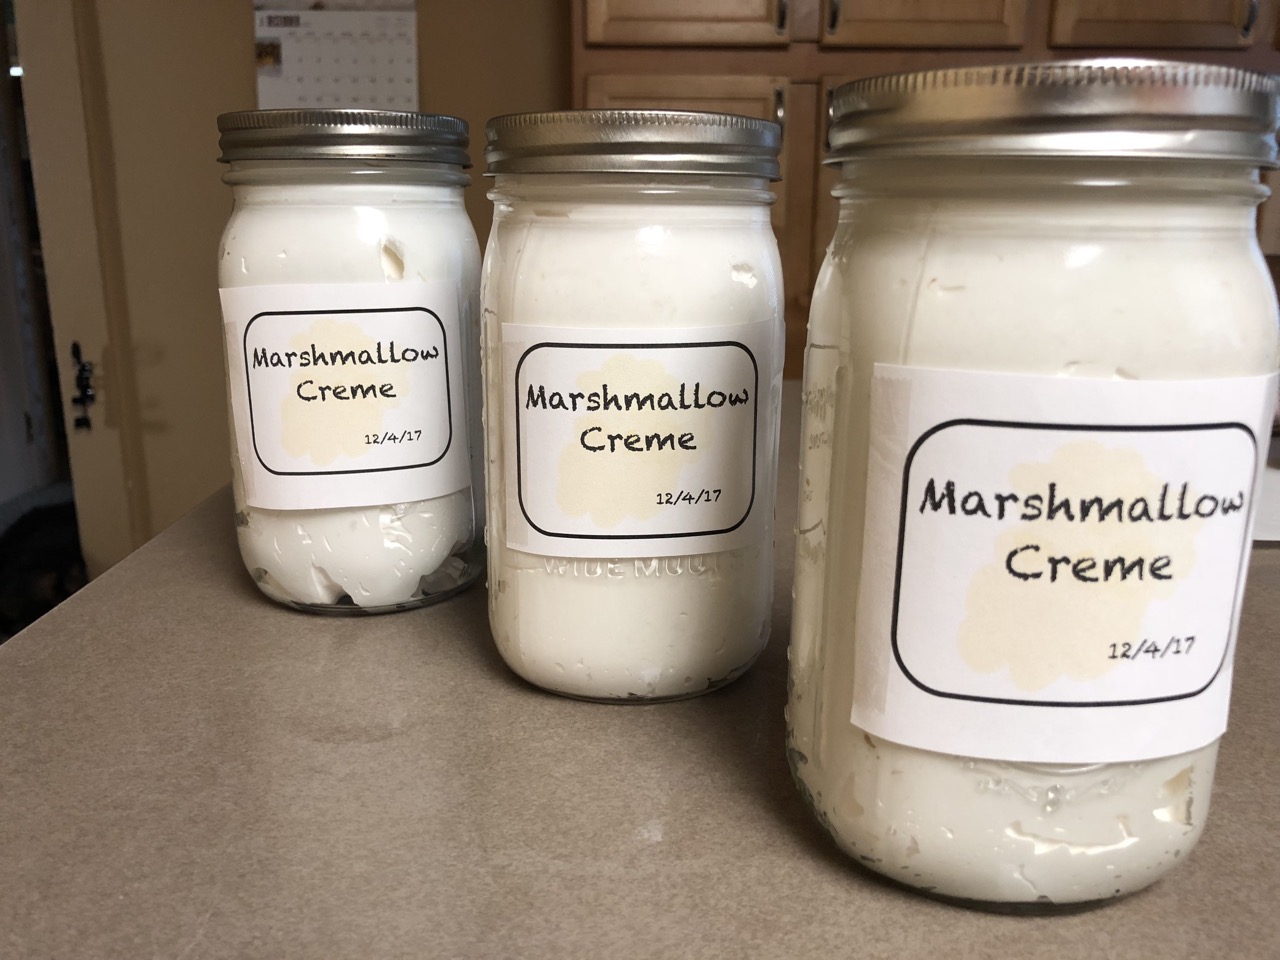
Read more: How To Store Marshmallow Fluff
Ingredients
- 1 cup of cold water
- 3 tablespoons of gelatin powder
- 1½ cups of granulated sugar
- 1 cup of light corn syrup
- ¼ teaspoon of salt
- 1 tablespoon of pure vanilla extract
- ½ cup of powdered sugar
- ½ cup of cornstarch
Now that you have your ingredient list ready, let’s move on to the equipment you’ll need:
Key Takeaways:
- Create fluffy, pillowy marshmallows at home with simple ingredients and essential tools. Customize flavors, colors, and shapes for a delightful, homemade treat that melts in your mouth.
- Store homemade marshmallows in an airtight container in a cool, dry place to maintain their freshness and texture. Extend their shelf life by freezing and enjoy the delightful sweetness anytime.
Read more: How To Store Marshmallow Fluff
Ingredients
Making homemade marshmallows requires just a few simple ingredients. Here’s what you’ll need:
- 1 cup of cold water: This is used to hydrate the gelatin and create the marshmallow base.
- 3 tablespoons of gelatin powder: Gelatin is the key ingredient that gives marshmallows their signature texture and allows them to set.
- 1½ cups of granulated sugar: The sugar provides sweetness and helps stabilize the marshmallow mixture.
- 1 cup of light corn syrup: Corn syrup is another sweetener that helps prevent the formation of large sugar crystals.
- ¼ teaspoon of salt: Just a pinch of salt enhances the flavor and balances the sweetness of the marshmallows.
- 1 tablespoon of pure vanilla extract: Vanilla extract adds a subtle and aromatic flavor to the marshmallows.
- ½ cup of powdered sugar: Powdered sugar, also known as confectioners’ sugar, is used to dust the marshmallows and prevent them from sticking together.
- ½ cup of cornstarch: Cornstarch is mixed with powdered sugar to create a dusting mixture that coats the marshmallows and prevents them from sticking.
These ingredients are readily available at most grocery stores and can be easily obtained. Now that you have everything you need, let’s move on to the equipment required to make homemade marshmallows.
Equipment Needed
To make homemade marshmallows, you’ll need a few essential tools and equipment. Here’s what you’ll need to gather before you start:
- Saucepan: A medium-sized saucepan is required to heat the sugar syrup and dissolve the gelatin. Choose a saucepan with high sides to prevent any overflow as the mixture heats up.
- Candy Thermometer: A candy thermometer is crucial for achieving the perfect texture and consistency of the marshmallow mixture. It allows you to monitor the temperature and ensure that the sugar syrup reaches the correct stage.
- Mixing Bowls: You’ll need a few mixing bowls to separate the gelatin and sugar syrup and to whip the marshmallow mixture. Opt for heatproof bowls that can withstand high temperatures.
- Mixer: A stand mixer or handheld electric mixer is essential for beating the marshmallow mixture to achieve the fluffy and airy texture. While a whisk can work, an electric mixer makes the process much easier and faster.
- Spatula: A rubber spatula is handy for scraping the sides of the saucepan and mixing bowls to ensure all ingredients are well incorporated. It’s also useful for transferring the marshmallow mixture to the prepared pan.
- Baking Pan or Mold: You’ll need a baking pan or mold to pour the marshmallow mixture into and allow it to set. A rectangular baking pan or a square cake pan works well, but you can also get creative with different shapes and sizes.
- Parchment Paper: Line your baking pan with parchment paper to prevent the marshmallows from sticking. It will also make it easier to remove them from the pan once they’ve set.
- Sieve: A fine-mesh sieve is useful for dusting the powdered sugar and cornstarch mixture onto the marshmallows. It helps create a smooth and even coating.
Having these essential tools and equipment on hand will make the process of making marshmallows much smoother. Now that you’ve gathered everything you need, let’s move on to the step-by-step process of making homemade marshmallows!
Step 1: Prepare the Gelatin
The first step in making homemade marshmallows is to prepare the gelatin. Gelatin is what gives marshmallows their unique texture and allows them to set. Here’s how to do it:
- Bloom the gelatin: In a small bowl, pour ½ cup of the cold water. Sprinkle the gelatin powder over the water and let it sit for about 5 minutes to bloom. This allows the gelatin to absorb the liquid and soften.
- Heat the bloomed gelatin: Once the gelatin has bloomed, transfer it to a saucepan. Heat the saucepan over low heat and stir the gelatin until it completely dissolves. This should take about 2-3 minutes. Make sure to use a gentle heat to avoid overheating or burning the gelatin.
- Remove from heat: Once the gelatin has completely dissolved, remove the saucepan from heat and set it aside.
Preparing the gelatin is a crucial step as it ensures that the gelatin is fully dissolved and incorporated into the marshmallow mixture. Now that the gelatin is ready, it’s time to move on to the next step: making the sugar syrup.
Read more: How To Store Marshmallow Fondant
Step 2: Make the Sugar Syrup
Now that the gelatin is prepared, it’s time to move on to making the sugar syrup. The sugar syrup is what provides sweetness and stability to the marshmallow mixture. Follow these steps to make the sugar syrup:
- Combine sugar, corn syrup, and water: In a medium saucepan, combine the granulated sugar, light corn syrup, salt, and the remaining ½ cup of cold water. Stir the mixture gently to combine the ingredients.
- Heat the mixture: Place the saucepan over medium heat and cook the sugar syrup until it reaches a temperature of 240°F (115°C). Use a candy thermometer to monitor the temperature. It’s important to stir the mixture occasionally to prevent the sugar from crystallizing.
- Remove from heat: Once the sugar syrup reaches 240°F (115°C), remove the saucepan from heat. Be cautious as the syrup will be very hot.
Creating the sugar syrup requires precision in temperature, as it determines the final texture of the marshmallows. Heating the mixture to 240°F (115°C) ensures that the sugar syrup will set properly. Now that the sugar syrup is ready, let’s move on to the next step: combining the gelatin and syrup.
Store homemade marshmallows in an airtight container at room temperature, away from direct sunlight and moisture. You can also add a dusting of powdered sugar or cornstarch to prevent sticking.
Step 3: Combine the Gelatin and Syrup
With the gelatin and sugar syrup prepared, it’s time to bring them together to create the marshmallow base. Follow these steps to combine the gelatin and syrup:
- Pour the sugar syrup into the gelatin: Slowly pour the hot sugar syrup into the saucepan containing the dissolved gelatin. Be careful while pouring to avoid any splatters or burns.
- Stir to combine: Using a whisk or spatula, gently stir the mixture until the gelatin and sugar syrup are fully combined. Make sure there are no lumps or streaks remaining.
Combining the gelatin and syrup is a crucial step in creating the marshmallow base. It’s important to work quickly and thoroughly to ensure that the mixture is well incorporated. Now that the gelatin and syrup are combined, it’s time to move on to the next step: whisking and beating the mixture.
Step 4: Whisk and Beat
Now that the gelatin and syrup are combined, it’s time to whisk and beat the mixture to create the fluffy and airy texture of marshmallows. Follow these steps to whisk and beat the mixture:
- Whisk the mixture: Using an electric mixer or stand mixer with a whisk attachment, begin whisking the marshmallow mixture on low speed to incorporate air into the mixture. Gradually increase the speed to medium and continue whisking for about 8-10 minutes.
- Beat until stiff peaks form: Continue beating the mixture until stiff peaks form. This means that when you lift the whisk from the mixture, the peaks hold their shape and do not deflate. The mixture should be thick, glossy, and have increased in volume.
- Add the vanilla extract: Once the mixture has reached stiff peaks, add the tablespoon of pure vanilla extract. Beat the mixture for another 1-2 minutes to incorporate the vanilla and ensure it is evenly distributed.
The whisking and beating process is what gives marshmallows their signature light and pillowy texture. Be patient and make sure to whisk the mixture until stiff peaks form. Now that you’ve achieved the desired texture, it’s time to move on to the next step: pouring and setting the marshmallow mixture.
Step 5: Pour and Set
With the marshmallow mixture whipped to perfection, it’s time to pour it into a prepared pan or mold and allow it to set. Follow these steps to pour and set the marshmallow mixture:
- Prepare the pan: Line a baking pan or mold with parchment paper, making sure to leave some overhang on the sides. This will make it easier to lift the marshmallows out of the pan once they’re set.
- Pour the mixture: Carefully pour the whipped marshmallow mixture into the prepared pan. Use a spatula to spread the mixture evenly, smoothing the top.
- Let it set: Allow the marshmallow mixture to set at room temperature for at least 4 hours, or preferably overnight. The mixture needs time to cool and firm up.
During the setting process, the marshmallow mixture will solidify and transform into a soft and fluffy block. Be patient and resist the temptation to touch or disturb the mixture while it sets. Now that the marshmallows are ready to be cut, it’s time to move on to the next step: cutting and dusting.
Read more: How To Store Marshmallows After Opening
Step 6: Cutting and Dusting
After allowing the marshmallow mixture to set, it’s time to cut it into individual marshmallows and dust them to prevent sticking. Follow these steps to cut and dust your homemade marshmallows:
- Prepare the dusting mixture: In a mixing bowl, combine the powdered sugar and cornstarch. This mixture will be used to coat the marshmallows and prevent them from sticking.
- Cut the marshmallows: Lift the set marshmallow block out of the pan using the parchment paper overhang. Place it on a cutting board. Dip a sharp knife or cookie cutter into hot water to prevent sticking and then cut the marshmallows into desired shapes and sizes. You can cut them into cubes, rectangles, or use fun-shaped cookie cutters for a whimsical touch.
- Dust the marshmallows: Using a fine-mesh sieve, dust the cut marshmallows with the powdered sugar and cornstarch mixture. Make sure each marshmallow is evenly coated to prevent sticking.
- Shake off excess: Gently shake off any excess powdered sugar and cornstarch mixture from the marshmallows. They should have a light, powdery coating.
By cutting and dusting the marshmallows, you’ll create individual pieces that are ready to be enjoyed. The dusting mixture adds a touch of sweetness and prevents the marshmallows from sticking together. Now that your marshmallows are cut and dusted, it’s time for the final step: storing them properly to maintain their freshness.
Step 7: Storage Tips
After putting in the effort to make homemade marshmallows, it’s important to store them correctly to maintain their freshness and texture. Here are some storage tips for your delicious creations:
- Airtight container: Store your marshmallows in an airtight container to prevent them from drying out and becoming stale. A plastic container with a tight-fitting lid or a resealable plastic bag works well for this purpose.
- Cool, dry place: Keep your marshmallows in a cool, dry place away from direct sunlight and moisture. Excessive heat or humidity can cause the marshmallows to become sticky and lose their shape.
- Absorbent material: To prevent moisture build-up, you can place a desiccant packet or a piece of paper towel in the container with the marshmallows. This helps absorb any excess moisture and keeps them fresh.
- Freezing: If you want to extend the shelf life of your marshmallows, you can freeze them. Place the marshmallows in a freezer-safe container or bag and store them in the freezer for up to 2 months. Allow them to thaw at room temperature before enjoying.
- Separate layers: If you need to store multiple layers of marshmallows, it’s a good idea to place a layer of parchment paper or wax paper between each layer. This prevents them from sticking together and maintains their individual shape.
By following these storage tips, you can ensure that your homemade marshmallows stay fresh, fluffy, and delicious for as long as possible. Now that you know how to store them properly, it’s time to indulge in the delightful sweetness of your homemade marshmallows!
Conclusion
Congratulations! You’ve successfully embarked on the journey of making homemade marshmallows. By following the step-by-step process outlined in this article, you’ve learned how to create fluffy, pillowy marshmallows that melt in your mouth.
From preparing the gelatin to whisking and beating the mixture, every step is crucial in achieving the perfect texture and flavor. By using simple ingredients and a few essential tools, you can create marshmallows that are far superior to their store-bought counterparts.
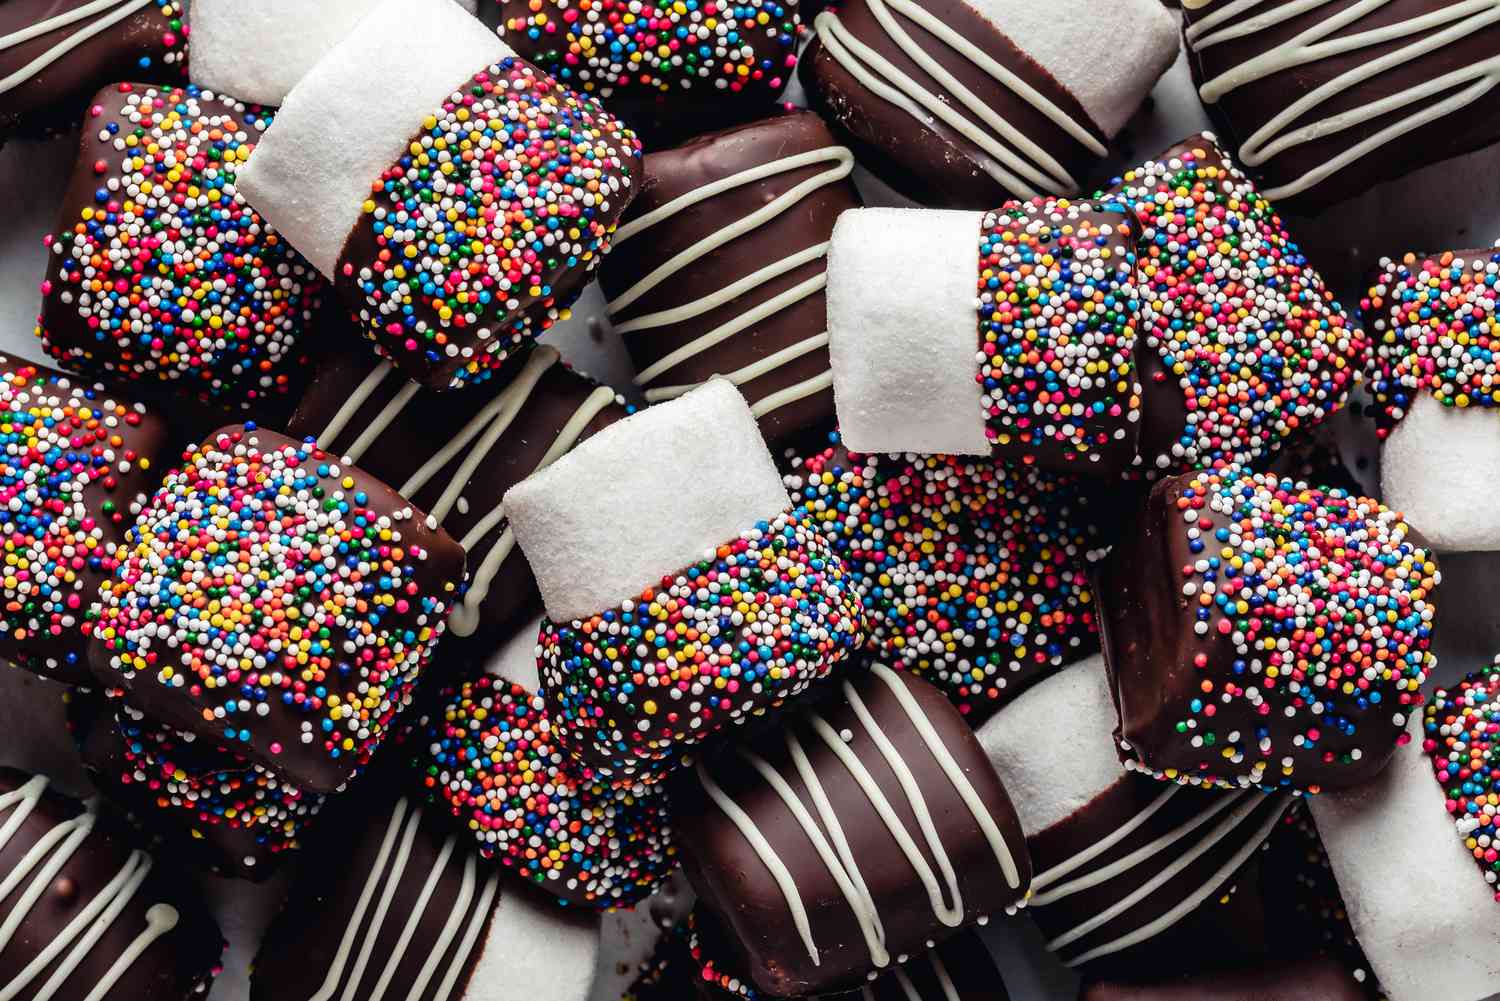
Whether you choose to enjoy your homemade marshmallows on their own, use them in recipes, or toast them over a campfire for s’mores, the possibilities are endless. Experiment with different flavors, colors, and shapes to create your own unique variations of this classic treat.
Remember to store your marshmallows properly in an airtight container in a cool, dry place to maintain their freshness and texture. And if you want to keep them for longer, freezing is always an option.
So, gather your ingredients, equipment, and enthusiasm, and let your creativity soar as you create your own batch of homemade marshmallows. Delight your family and friends with this sweet and fluffy treat, and enjoy the satisfaction of knowing that you made it from scratch.
Now, go ahead and indulge in the delightful sweetness of your homemade marshmallows. Happy cooking and happy snacking!
Now that you've mastered storing homemade marshmallows, why stop there? Enhance your preservation skills with our guide on optimal food keeping methods. Whether you're packing away seasonal produce or everyday snacks, knowing the right techniques can make all the difference in freshness and taste. Ready to step up your storage game? Dive into our detailed article on the best ways to keep your food at its best well into the future.
Frequently Asked Questions about How To Store Homemade Marshmallows
Was this page helpful?
At Storables.com, we guarantee accurate and reliable information. Our content, validated by Expert Board Contributors, is crafted following stringent Editorial Policies. We're committed to providing you with well-researched, expert-backed insights for all your informational needs.


0 thoughts on “How To Store Homemade Marshmallows”