Home>Garden Essentials>How To Inoculate Clover Seed
Garden Essentials
How To Inoculate Clover Seed
Modified: March 16, 2024
Learn how to effectively inoculate clover seed for your garden and enhance its growth and nutrient content. Step-by-step guide and expert tips.
(Many of the links in this article redirect to a specific reviewed product. Your purchase of these products through affiliate links helps to generate commission for Storables.com, at no extra cost. Learn more)
Introduction
Welcome to the world of gardening! If you have a passion for nurturing plants and creating a beautiful outdoor space, then you’ve come to the right place. In this article, we will explore the fascinating process of inoculating clover seed to promote healthy growth and maximize its potential in your garden. Whether you’re a seasoned gardener or just starting out, understanding the importance of inoculating clover seed is crucial for successful cultivation.
So, what exactly does it mean to inoculate clover seed? Inoculation is a process that introduces beneficial microorganisms, specifically nitrogen-fixing bacteria, to the seeds. These bacteria form a symbiotic relationship with the clover plant, helping it convert nitrogen from the air into a form that is accessible for plant growth. This mutual collaboration between the plant and bacteria results in increased nitrogen levels in the soil, leading to healthier and more robust clover plants.
Choosing to inoculate your clover seed has numerous benefits. First and foremost, it significantly improves the plant’s ability to absorb nitrogen, as the bacteria assist in the process. This, in turn, decreases the need for synthetic fertilizers, making your gardening practice more environmentally friendly. Additionally, inoculated clover seed is known to have enhanced disease resistance, better weed suppression, and improved soil fertility.
Now that we understand the importance and advantages of inoculating clover seed, let’s delve into the steps needed to successfully inoculate your clover seeds. From choosing the right seed to caring for your inoculated clover, this article will provide you with all the necessary information to ensure a successful gardening experience.
Key Takeaways:
- Inoculating clover seed introduces beneficial bacteria, promoting healthier plants and reducing the need for synthetic fertilizers, benefiting the environment and garden ecosystem.
- Choosing the right clover seed, proper soil preparation, and careful inoculation are essential for successful clover growth, leading to vibrant, nitrogen-rich plants in your garden.
Read more: What Is Inoculated Seed
Choosing the Right Clover Seed
When it comes to choosing the right clover seed for your garden, there are a few factors to consider. The type of clover and its intended purpose will determine which seed variety is best suited for your needs.
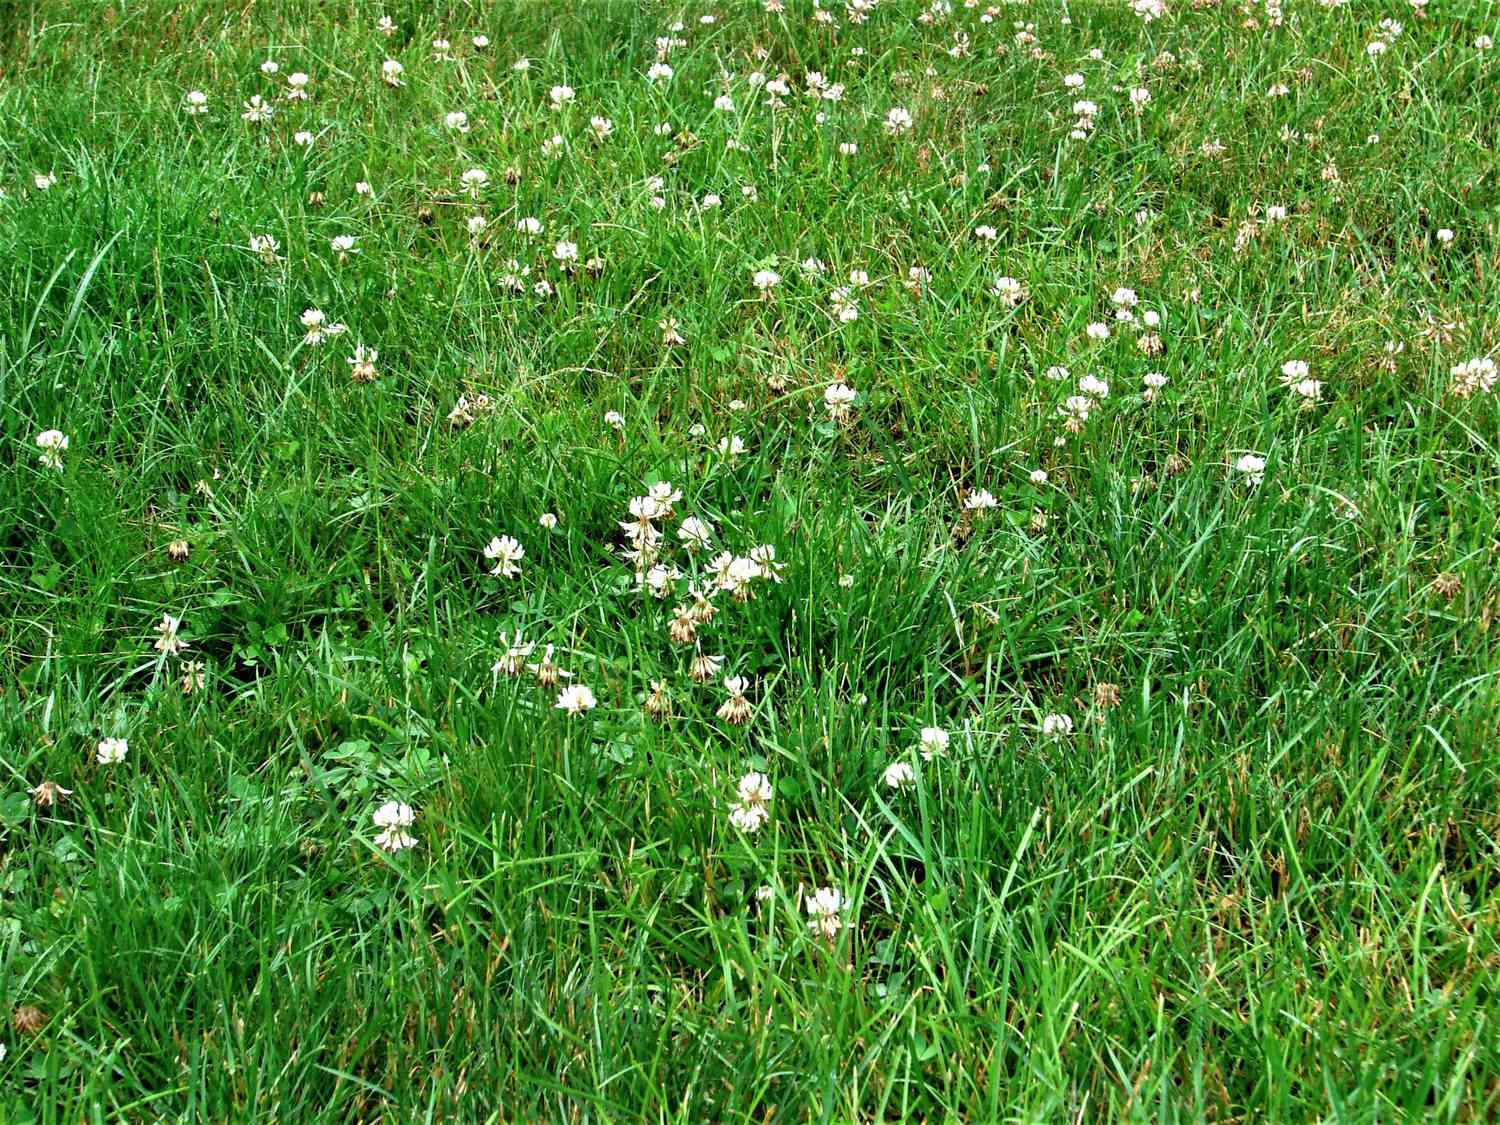
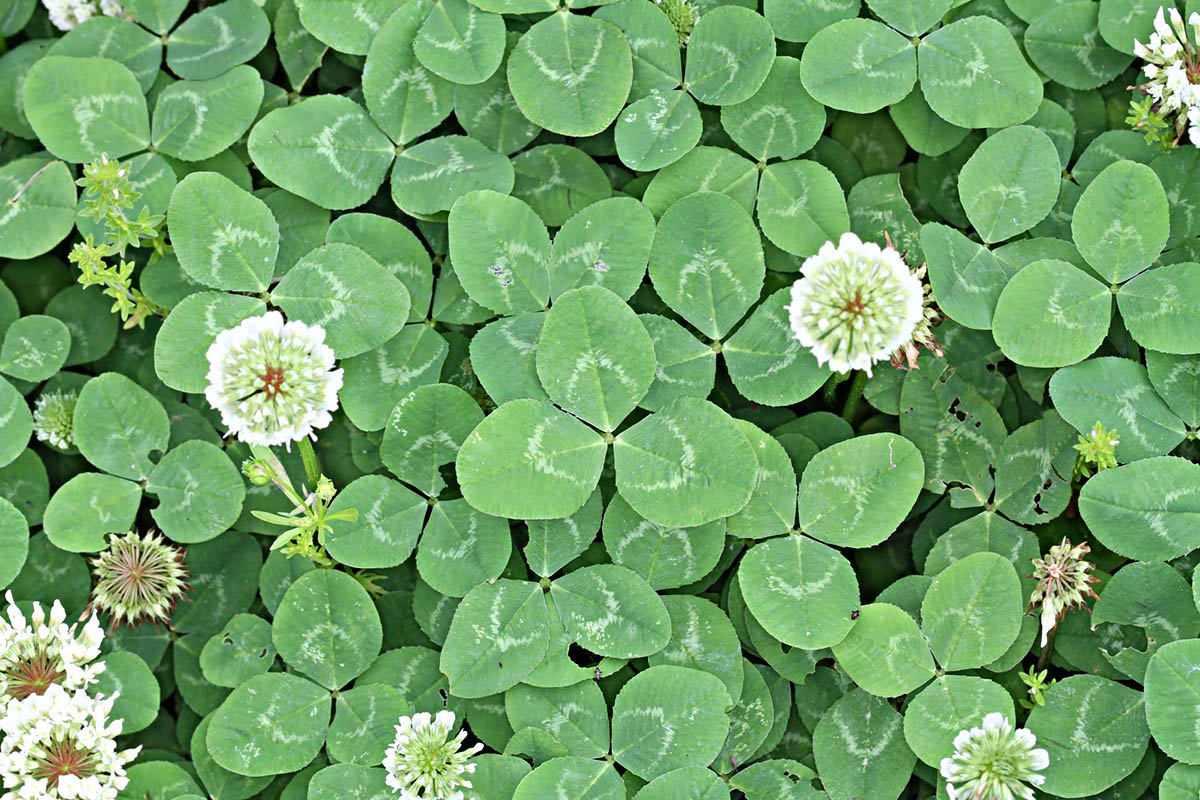
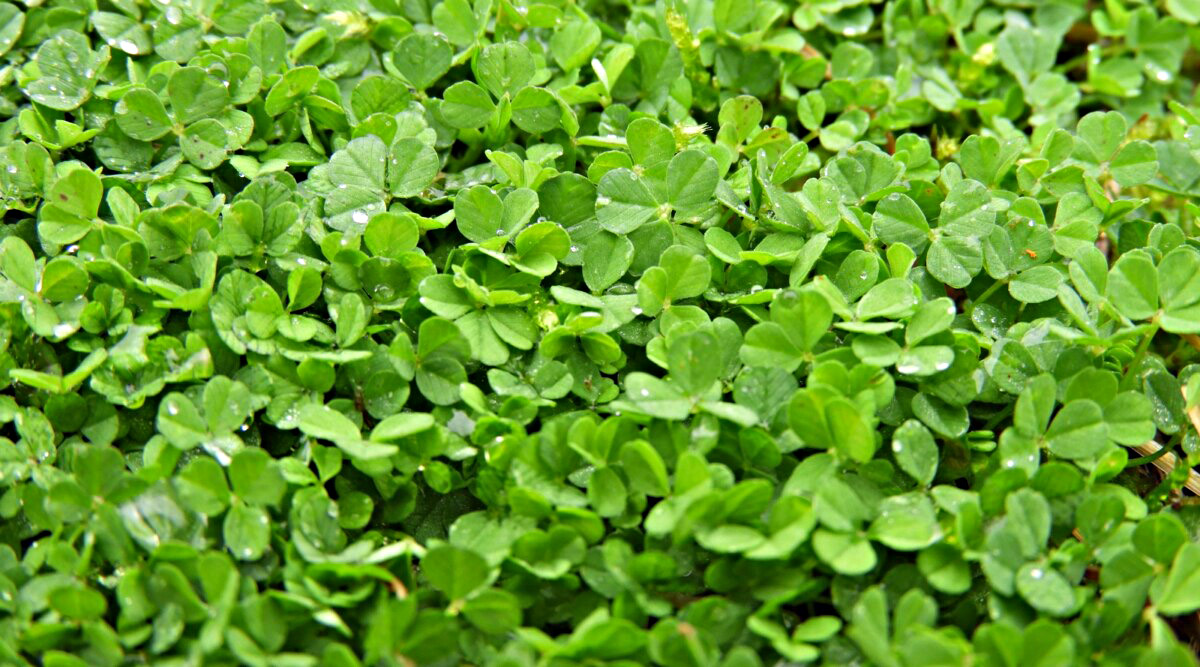
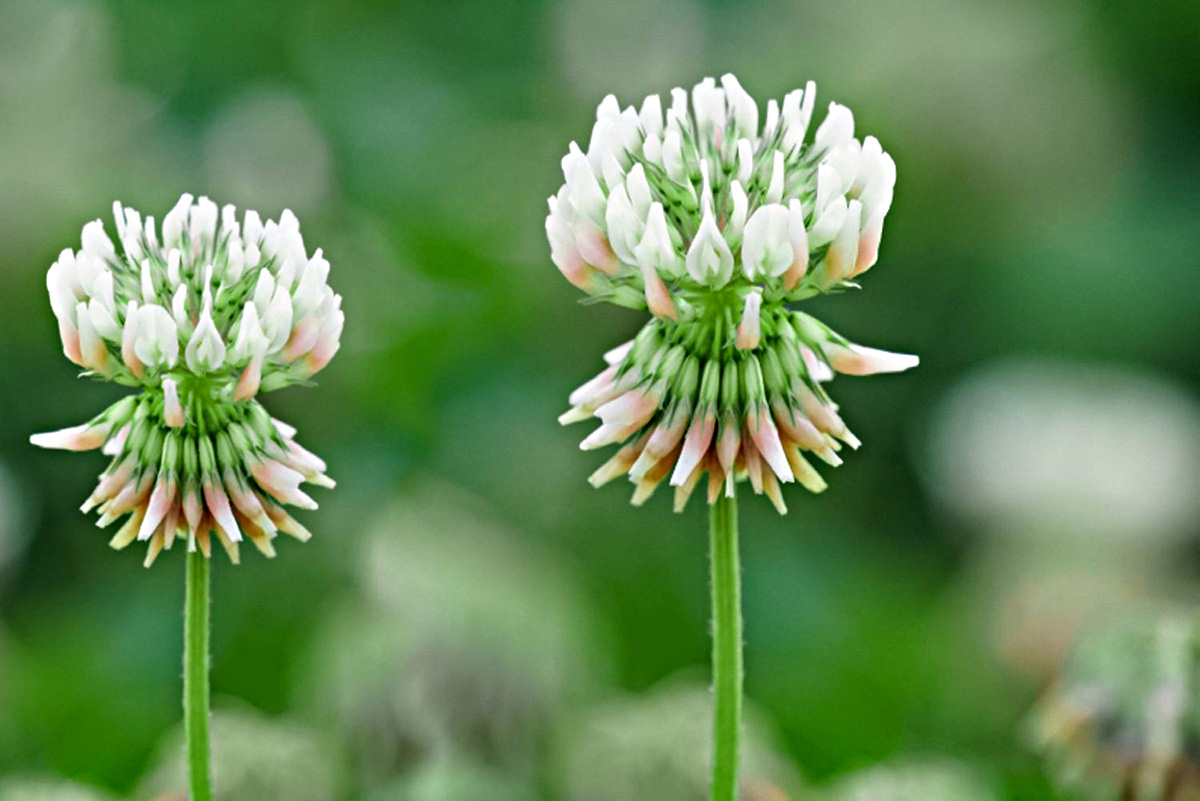
One of the most common clover types is white clover (Trifolium repens). It is a low-growing perennial clover that works well as ground cover, green manure, or as a companion plant in lawn mixtures. White clover is known for its nitrogen-fixing capabilities and its ability to attract pollinators. If you’re looking to improve soil fertility, control erosion, and enhance biodiversity in your garden, white clover is an excellent choice.
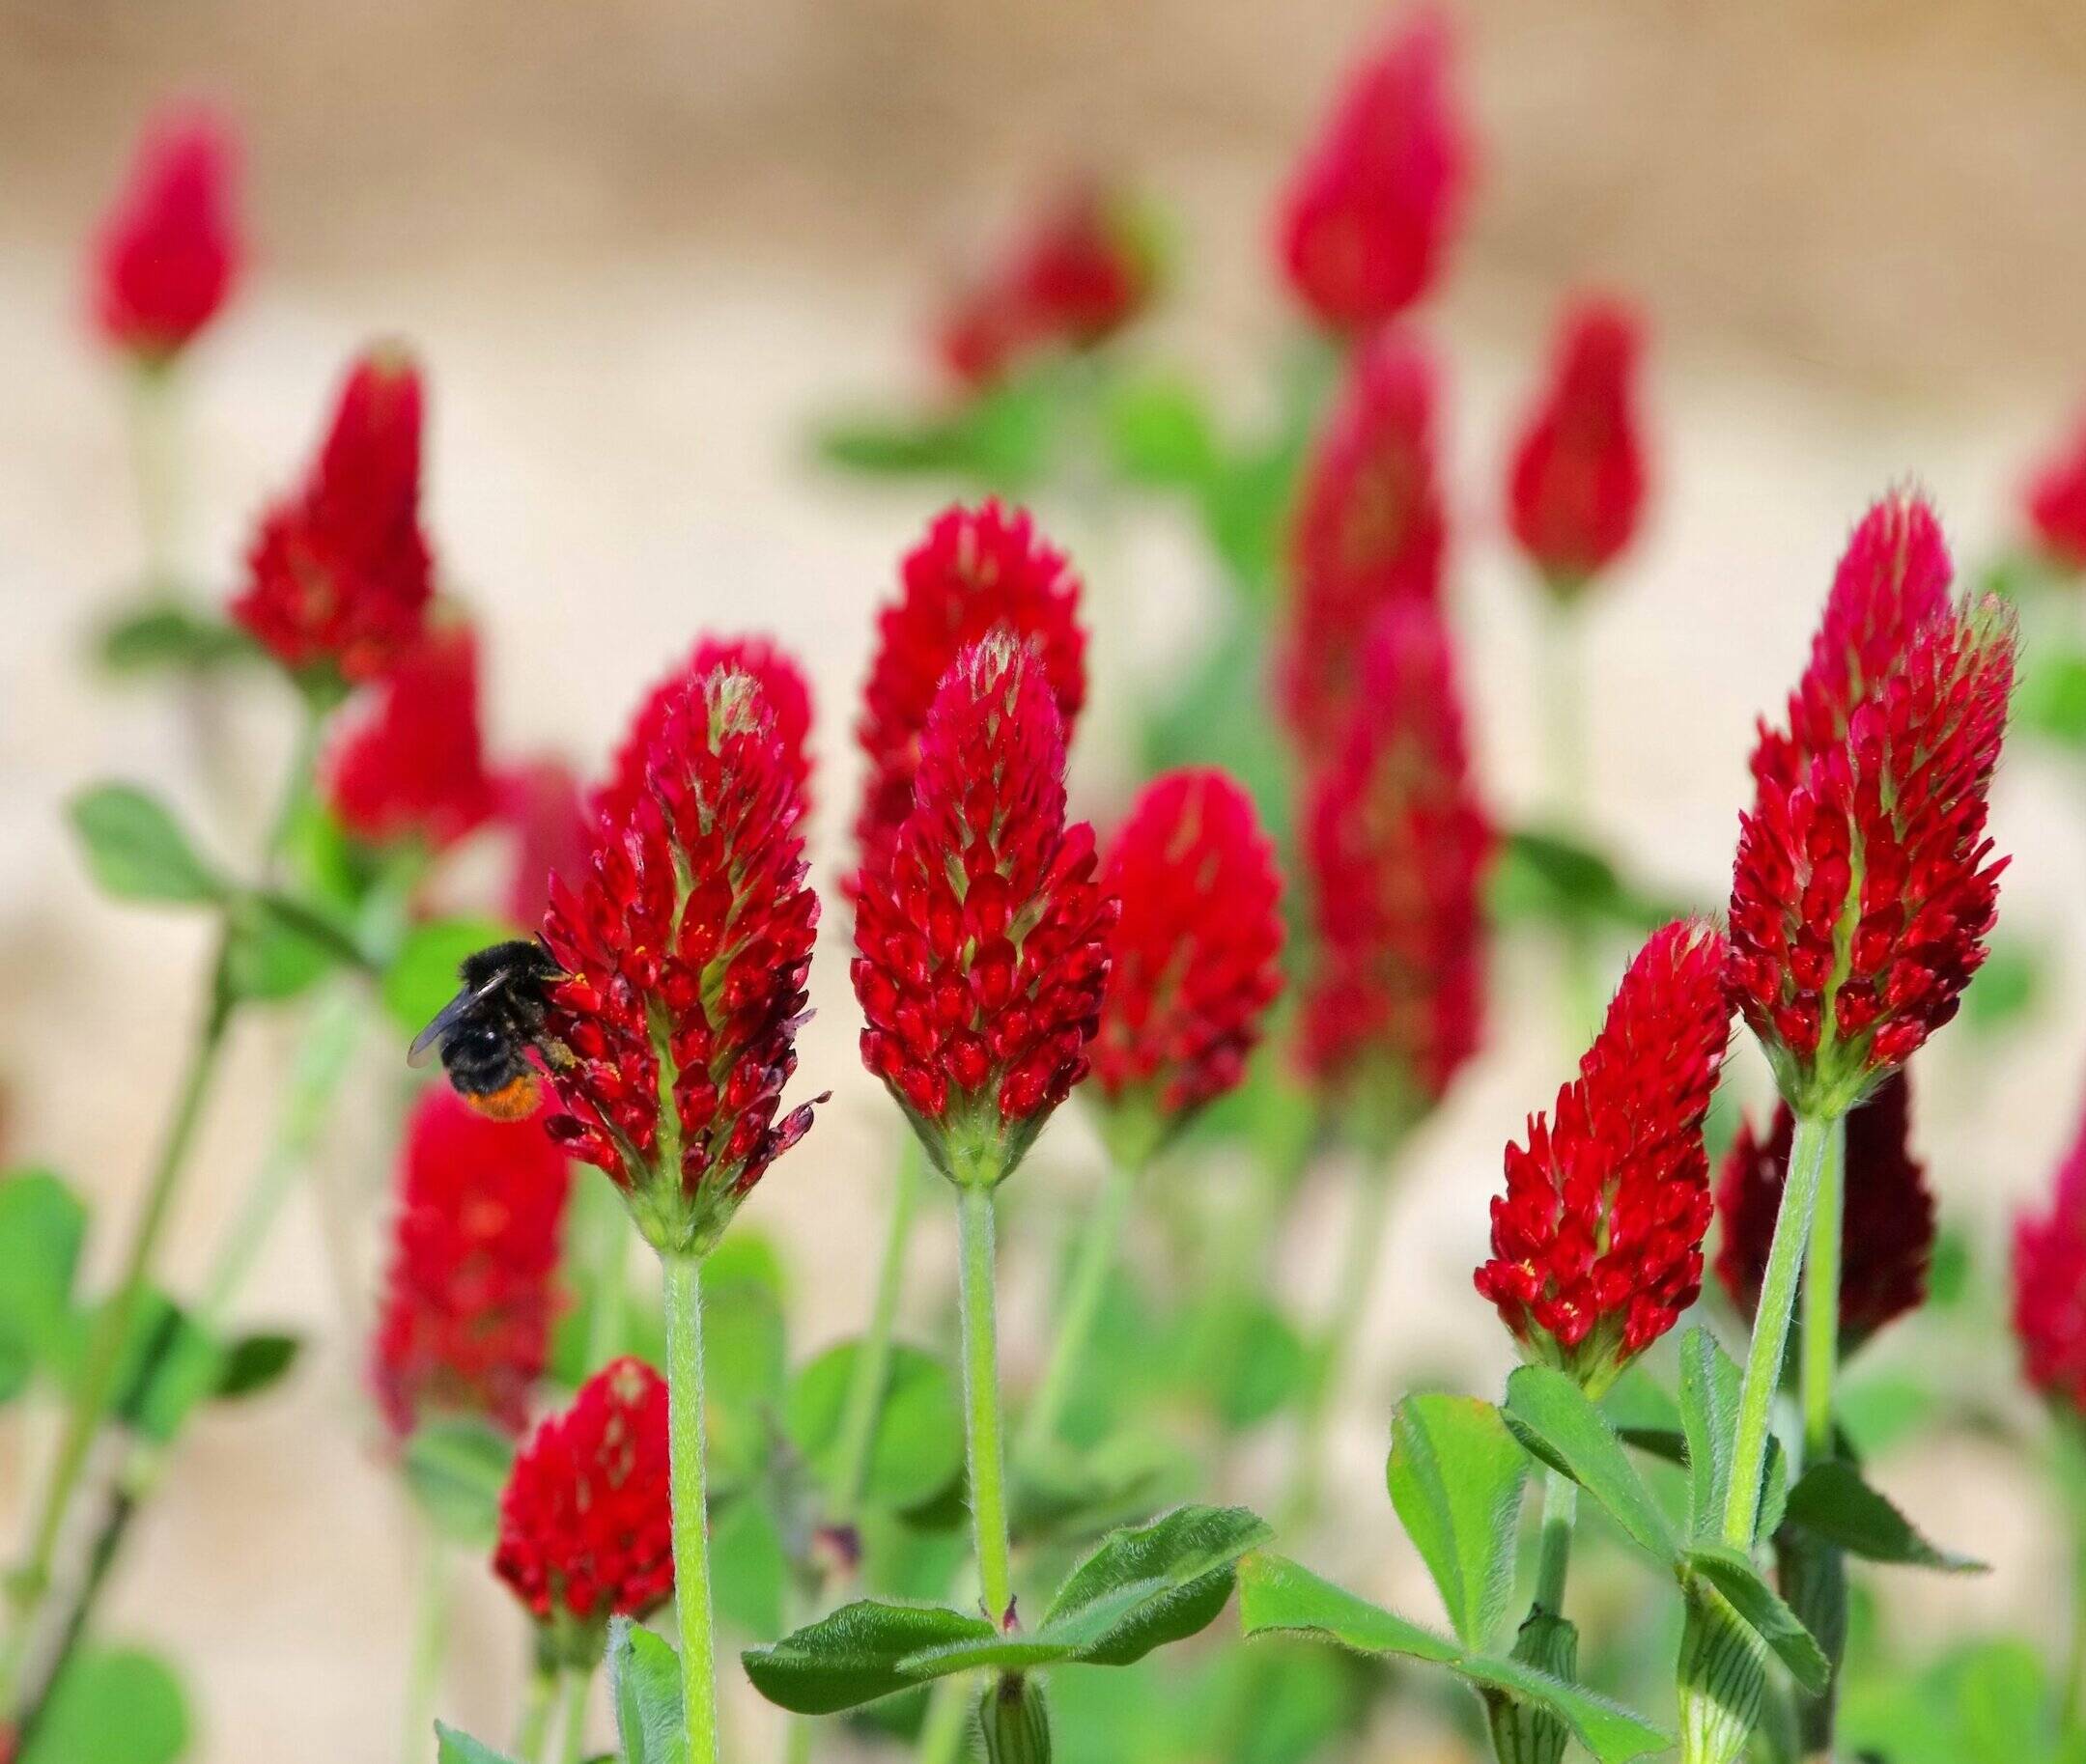
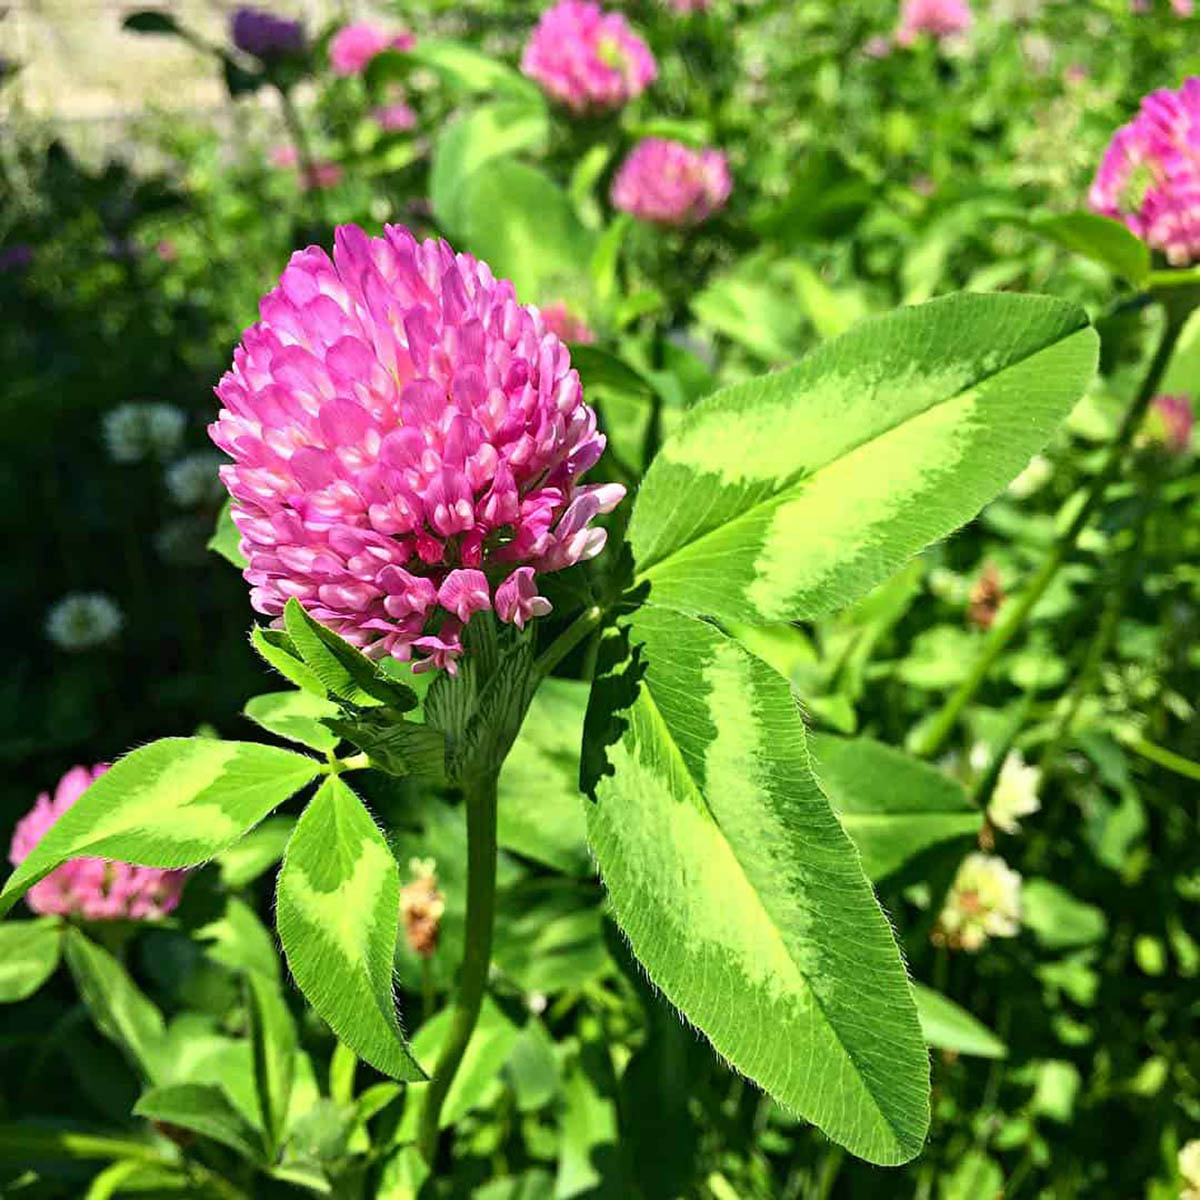
Another popular option is red clover (Trifolium pratense). This biennial or short-lived perennial clover is well-suited for hay production, as well as for bee forage and improving soil health. Red clover has high nitrogen-fixing potential, and its deep taproot aids in breaking up compacted soil. It can tolerate a range of soil conditions and is an excellent choice for larger garden areas or agricultural fields.
If you’re seeking a clover variety specifically for forage purposes, such as grazing or hay production, consider using species such as ladino clover (Trifolium repens var. latum) or berseem clover (Trifolium alexandrinum). These clovers excel in providing high-quality forage for livestock and have good regrowth potential.
When selecting clover seed, it’s essential to look for high-quality, professionally treated seed. This ensures that the seed has been properly cleaned, tested for purity and germination, and may also include inoculation with nitrogen-fixing bacteria. Procuring treated seed guarantees a higher success rate and ensures that you’re getting the most value out of your investment.
Lastly, consider your local climate and soil conditions when selecting clover seed. Different clover varieties have specific temperature and moisture requirements. Consult with local gardening experts or agricultural extension offices to determine the most suitable clover variety for your region.
By carefully considering the type of clover, its intended purpose, and the seed quality, you can confidently choose the right clover seed for your garden. This sets the foundation for successful clover inoculation and ensures that your garden will thrive with healthy, nitrogen-rich plants.
Proper Soil Preparation
Before you begin the process of inoculating clover seed, it is crucial to prepare the soil adequately. Proper soil preparation sets the stage for optimal seed germination and establishment, providing a favorable environment for the clover plants to thrive.
Here are some essential steps to follow for proper soil preparation:
1. Clear the area: Remove any debris, rocks, or existing vegetation from the area where you plan to sow the clover seed. This helps prevent competition for resources and ensures that the clover seedlings have ample space to grow.
2. Test the soil: Conduct a soil test to determine its nutrient levels and pH. Clover thrives in a slightly acidic to neutral pH range (around 6.0 to 7.0). If the soil pH is too low or too high, you may need to amend it with lime or sulfur accordingly to create optimal growing conditions for the clover.
3. Improve soil structure: If the soil is compacted or lacks proper drainage, it’s essential to improve its structure before sowing the clover seed. Work the soil with a garden fork or tiller to break up compacted layers and improve aeration. Incorporating organic matter, such as compost or well-rotted manure, can help improve soil structure and fertility.
4. Provide adequate drainage: Clover prefers well-draining soil. If the soil in your garden retains excessive moisture, especially during rainy periods, consider adding coarse sand or other suitable amendments to improve drainage. This helps prevent waterlogged soil conditions that can lead to root rot and poor seedling establishment.
5. Address nutrient deficiencies: Based on the results of your soil test, you may need to address specific nutrient deficiencies in the soil. Clovers, like other plants, require a balanced supply of essential nutrients for healthy growth. Incorporating organic fertilizers or applying mineral-based fertilizers can replenish any nutrient deficiencies in the soil and promote optimal growth.
6. Remove weeds: Before sowing the clover seed, eliminate any existing weeds from the area. Weeds compete with clover for nutrients, water, and light, hindering its growth. Removing weeds manually or using safe herbicides can help create a weed-free environment for the clover seedlings to thrive.
By following these steps, you can ensure that the soil is well-prepared and primed for successful clover seed establishment. Proper soil preparation creates an ideal environment for the clover plants to grow, develop strong roots, and access the essential nutrients required for healthy growth and nitrogen fixation.
Inoculating Clover Seed
Inoculating clover seed is a crucial step in promoting its growth and maximizing its nitrogen-fixing capabilities. By introducing nitrogen-fixing bacteria to the seed, you’re providing the clover plant with a symbiotic partner that helps convert atmospheric nitrogen into a usable form for plant growth. Here’s a step-by-step guide to inoculating clover seed:
1. Acquire the right inoculant: Purchase a high-quality inoculant specifically formulated for clover seed. These inoculants typically contain strains of beneficial bacteria that establish a symbiotic relationship with the clover plants.
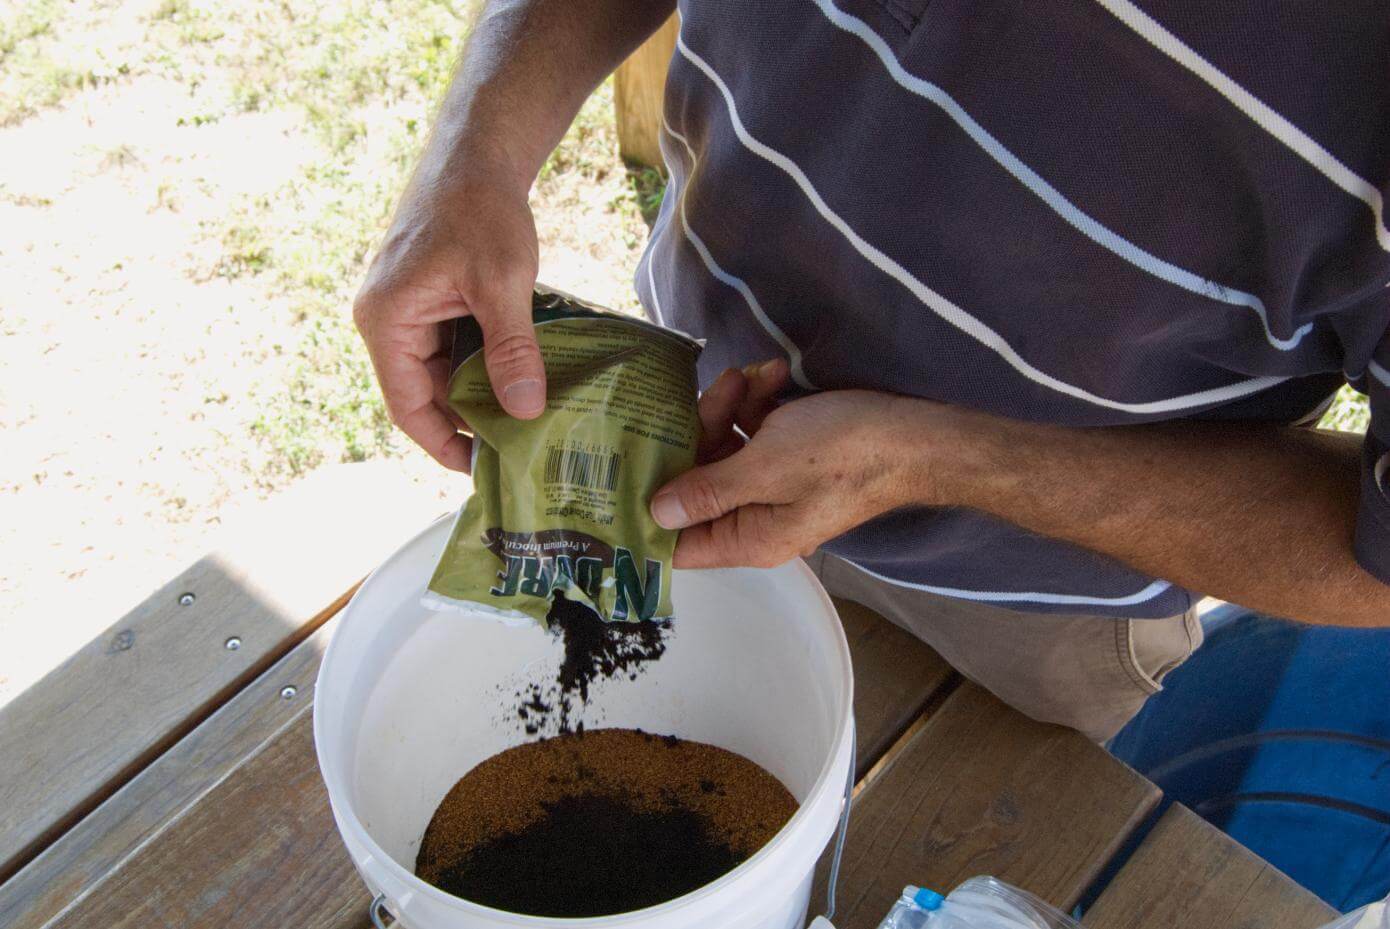
2. Prepare the inoculant: Follow the instructions provided with the inoculant to prepare it for use. In most cases, this involves mixing the inoculant powder with water to create a slurry-like consistency. Make sure to read and follow the instructions carefully.
3. Prepare the seed: Place the clover seed in a clean container or bucket. Ensure that the container is large enough to hold the seed without overcrowding them. Avoid using metal containers as they may react with the inoculant.
4. Apply the inoculant: Pour the prepared inoculant slurry over the clover seed. Use enough inoculant to coat the seed thoroughly, but avoid excess liquid pooling at the bottom of the container. Stir the seed gently to ensure even distribution of the inoculant.
5. Mix the seed and inoculant: Carefully mix the seed and inoculant together using a clean tool or by hand. Ensure that each seed is coated with the inoculant. Take care not to damage the seed during the mixing process.
6. Let the seed dry: Spread the inoculated seed in a thin layer on a clean surface to allow it to dry. Avoid placing the seed in direct sunlight, as excessive heat can harm the bacteria. Allow the seed to dry for the recommended period specified by the inoculant manufacturer.
7. Store or sow the seed: Once the seed is dry, you can store it in a cool, dark place until you’re ready to sow. Alternatively, you can proceed with sowing the inoculated seed directly in your garden or desired planting area according to the recommended planting depth and spacing for the specific clover variety.
Remember, inoculating clover seed is essential to ensure that the nitrogen-fixing bacteria establish a symbiotic relationship with the plant. This symbiosis leads to improved nitrogen availability, increased soil fertility, and healthier clover plants. By following these steps, you’ll set the stage for successful clover growth and reap the benefits of a thriving garden.
Required Tools and Materials
Before you begin the process of inoculating clover seed, it’s essential to gather all the necessary tools and materials. Having the right equipment on hand will ensure a smooth and efficient inoculation process. Here’s a list of the tools and materials you’ll need:
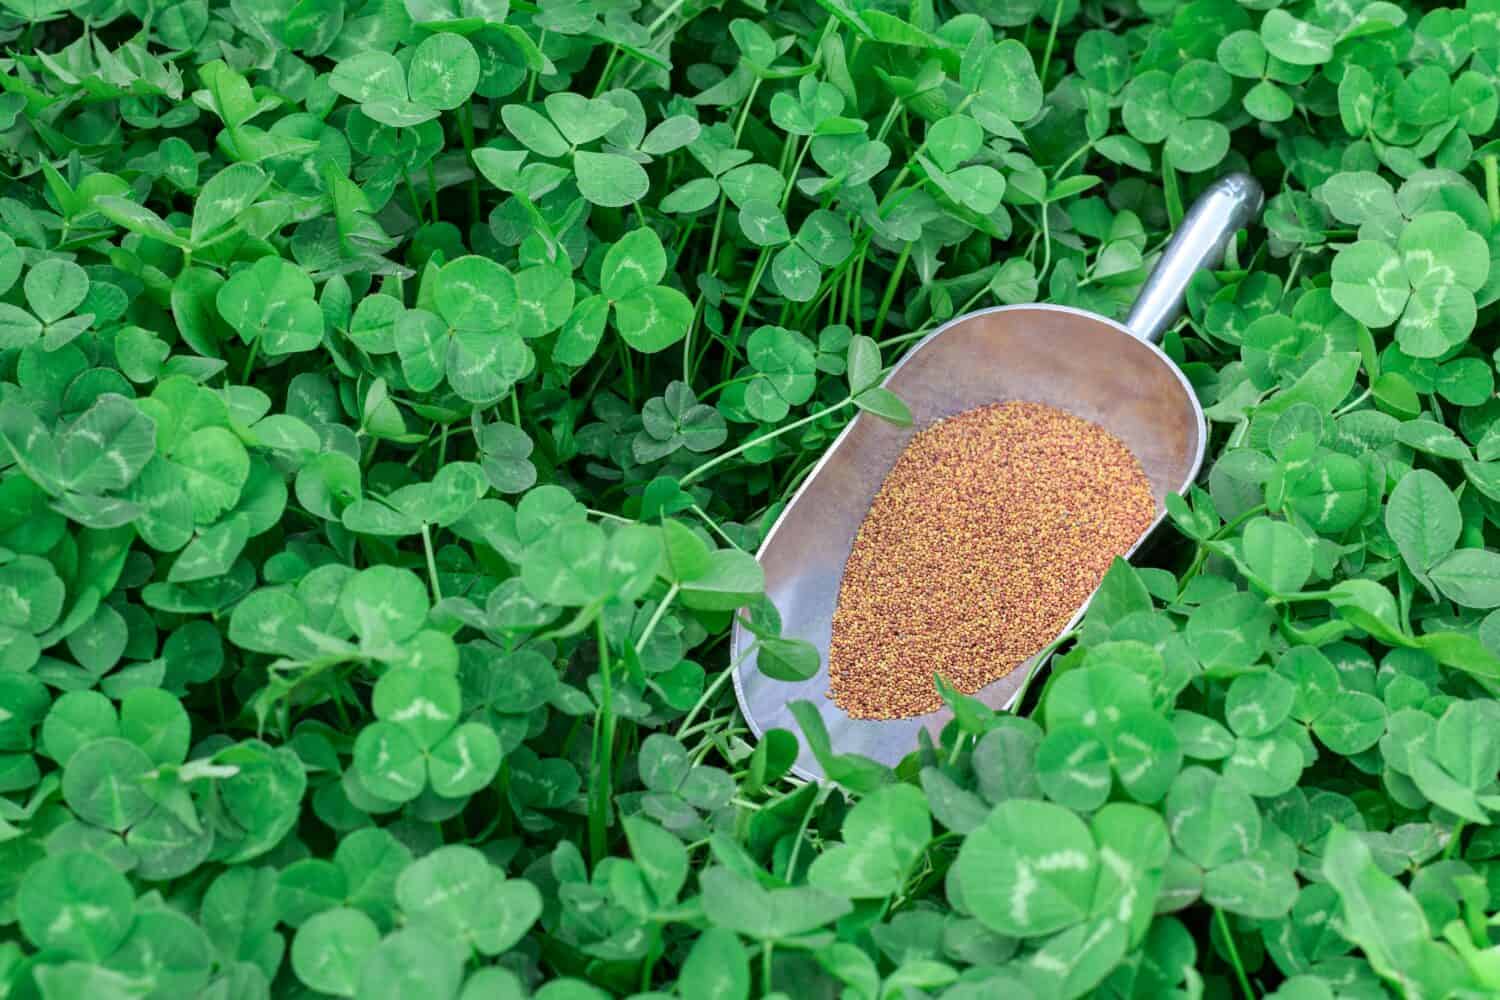
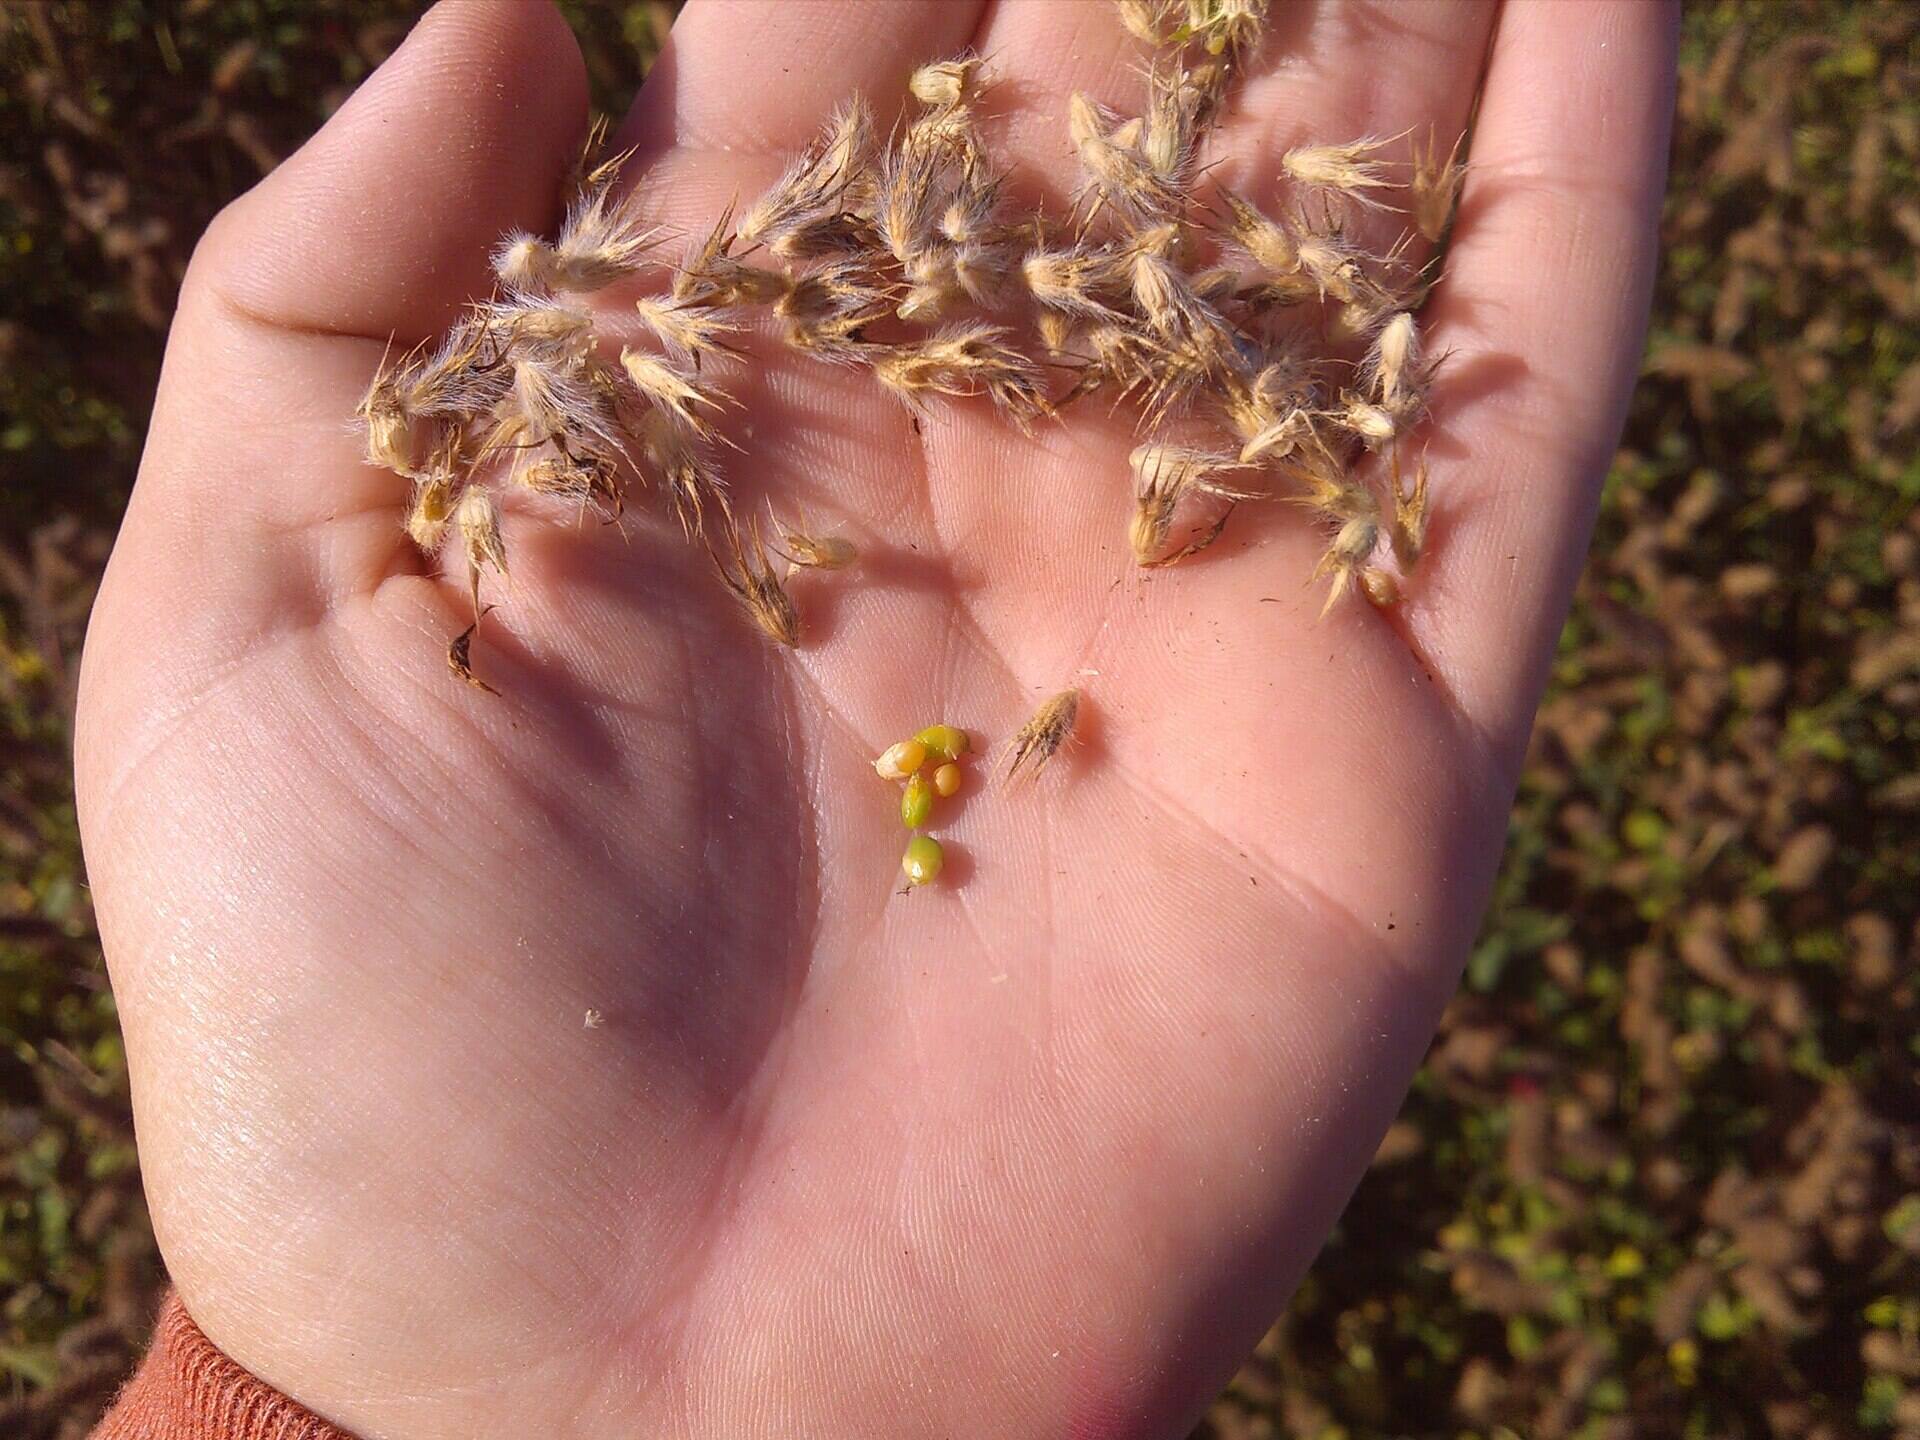
1. Clover seed: Acquire high-quality clover seed of the variety best suited for your gardening needs. Ensure that the seed is fresh and has a high germination rate. Choose the appropriate amount of seed based on the size of your planting area.
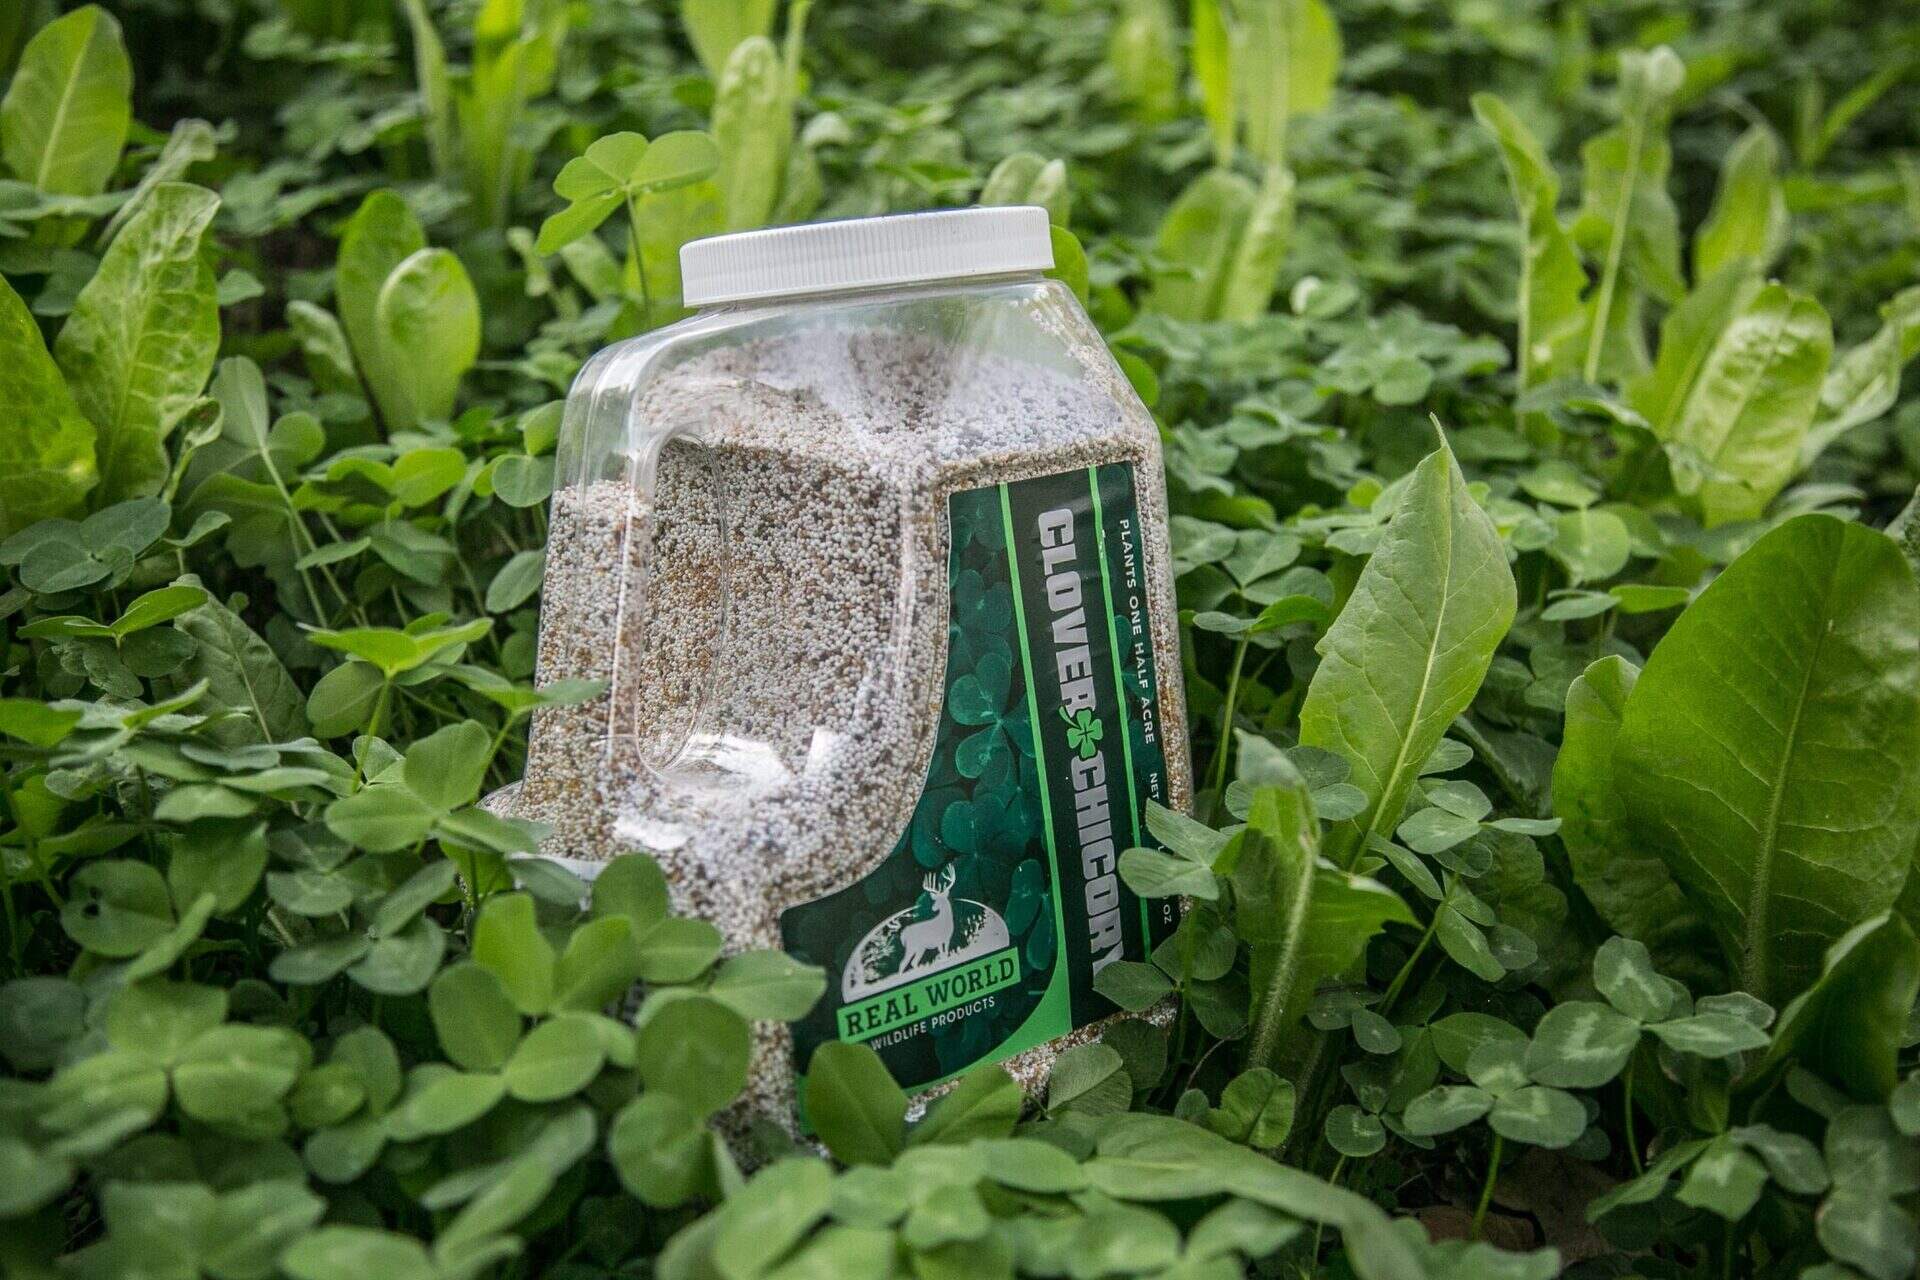
2. Inoculant: Purchase a clover-specific inoculant that contains nitrogen-fixing bacteria. This inoculant introduces beneficial microorganisms to the seed, forming a symbiotic relationship that aids in nitrogen fixation. Look for a reliable inoculant from reputable manufacturers or suppliers.
3. Container or bucket: Use a clean container or bucket to hold and mix the clover seed with the inoculant. Choose a container that is large enough to accommodate the amount of seed you will be inoculating without overcrowding them. Non-reactive plastic or glass containers are recommended.
4. Clean mixing tool: Select a clean stirring implement, such as a wooden stick or plastic spoon, to mix the clover seed and inoculant. This tool should be free of contaminants that might impact the effectiveness of the inoculation.
5. Water: You will need water to create a slurry-like mixture with the inoculant. Ensure that the water is clean and suitable for use in the inoculation process.
6. Clean surface: Prepare a clean surface, such as a tray or tarp, to spread out the inoculated seed for drying. Ensure that the surface is free of debris, dirt, or any substances that could contaminate the inoculated seed.
7. Storage container: If you don’t plan to sow the inoculated seed immediately, you will need a suitable container for storing the seed. Choose an airtight container that will protect the inoculated seed from moisture, pests, and excessive heat.
8. Labels and marker: Label your inoculated seed container with the clover variety, date of inoculation, and any other pertinent information. Use a marker to write clearly on the label and ensure that it remains visible and legible.
Gathering these tools and materials before beginning the inoculation process will help you stay organized and ensure that you have everything you need to inoculate your clover seed successfully. Proper preparation and having the right equipment will contribute to a seamless and efficient clover seed inoculation process in your garden.
When inoculating clover seed, make sure to use a specific rhizobium inoculant for clover to promote nitrogen fixation. Follow the instructions on the inoculant package for best results.
Read more: How Long For Crimson Clover To Germinate
Step-by-Step Inoculation Process
Now that you have all the necessary tools and materials ready, it’s time to dive into the step-by-step process of inoculating your clover seed. Follow these instructions to ensure a successful and effective inoculation:
1. Prepare the inoculant: Follow the instructions provided with the inoculant package to prepare the solution. Typically, this involves mixing the inoculant powder with a specified amount of clean water. Stir the mixture thoroughly to create a slurry-like consistency.
2. Place the clover seed in a container: Take a clean container or bucket and pour the desired amount of clover seed into it. Make sure the container is large enough to hold the seed without overcrowding them. This allows for better coating of the seed with the inoculant.
3. Apply the inoculant: Pour the prepared inoculant solution over the clover seed in the container. Ensure that the solution covers all the seed. Use enough inoculant solution to thoroughly coat the seed, but be careful not to create excess liquid pooling at the bottom of the container. Stir gently to distribute the inoculant evenly.
4. Mix the seed and inoculant: Carefully mix the clover seed and inoculant together using a clean mixing tool, such as a wooden stick or plastic spoon. Aim to coat each seed evenly with the inoculant, ensuring good contact between the seed and the beneficial bacteria.
5. Let the seed dry: Once the seed is thoroughly coated with the inoculant, spread it out in a thin layer on a clean surface (such as a tray or tarp) to dry. Avoid direct exposure to sunlight, as excessive heat can harm the bacteria. Allow the seed to air dry for the recommended duration specified by the inoculant manufacturer.
6. Store or sow the inoculated seed: If you’re not planning to sow the inoculated seed immediately, transfer it to a clean, airtight container for storage. Label the container with the variety of clover and the date of inoculation. Store the container in a cool, dark place until you’re ready to use the seed.
That’s it! You have successfully inoculated your clover seed. Now, you can proceed to sow the inoculated seed in your desired planting area or store it for future use. By following these steps, you ensure that the beneficial bacteria in the inoculant establish a symbiotic relationship with the clover plants, enhancing their nitrogen-fixing capabilities and contributing to healthier and more robust growth.
Caring for Inoculated Clover Seed
Once you have inoculated your clover seed and sown it in the garden, proper care is essential to ensure the success of your clover plants. Here are some essential tips for caring for your inoculated clover seed:
1. Watering: Water the clover seed regularly to keep the soil consistently moist but not waterlogged. Adequate moisture is crucial for seed germination and the establishment of healthy clover plants. However, be cautious not to overwater, as excessive moisture can cause root rot and hinder growth.
2. Gentle watering: When watering the area with your inoculated clover seed, use a gentle spray or mist nozzle on your watering device. This helps to prevent displacement or damage to the delicate seedlings. Avoid using a powerful stream of water, which may disturb the soil or wash away the inoculant.
3. Weed management: Keep the planting area free from weeds to reduce competition for nutrients, water, and sunlight. Pull out any weeds by hand or use safe herbicides specifically labeled for use with clover. Regular weeding ensures that the clover plants have optimal conditions for growth and nitrogen-fixing abilities.
4. Mulching: Applying a layer of mulch around the clover plants helps to conserve soil moisture, suppress weed growth, and regulate soil temperature. Organic materials like straw, wood chips, or shredded leaves make excellent mulching options. Ensure that the mulch is not piled too high around the plants to avoid smothering them.
5. Fertilization: Inoculated clover can greatly benefit from the nitrogen-fixing capabilities of the bacteria. However, in certain cases, additional fertilization may be necessary to provide other essential nutrients. Conduct a soil test to determine if any nutrient deficiencies exist, and if required, apply a balanced fertilizer that promotes healthy plant growth.
6. Mowing: Depending on the type of clover and its intended purpose, you may need to mow the plants to maintain a desired height. Mowing not only keeps the clover tidy but also helps promote denser growth and prevents the plants from becoming leggy or woody.
7. Monitoring for pests and diseases: Regularly inspect your clover plants for any signs of pests or diseases. Look for symptoms such as yellowing or wilting of leaves, unusual discoloration, or presence of pests. Taking early action can help prevent the spread of diseases or the infestation of harmful insects.
8. Crop rotation: To maintain the overall health of your garden, consider practicing crop rotation. After the clover has served its purpose, consider rotating with another crop to improve soil fertility and reduce the risk of pests and diseases that may be specific to clover plants.
By following these care guidelines, you’ll provide the best conditions for your inoculated clover seed to grow into healthy, thriving plants. Proper watering, weed management, and timely attention to pests and diseases will contribute to a successful garden filled with beautiful clover and improved soil fertility.
Common Mistakes to Avoid
While inoculating clover seed can greatly benefit your garden, it’s important to be aware of common mistakes that can hinder the success of the process. By avoiding these mistakes, you can ensure the proper growth and development of your clover plants. Here are some common mistakes to avoid when inoculating clover seed:
1. Using expired or low-quality inoculant: Inoculant has a shelf life, and using expired or low-quality inoculant can diminish its effectiveness. Always check the expiration date before purchasing and ensure that you procure a reputable, high-quality inoculant from trusted sources.
2. Overcrowding the seed: It’s important to avoid overcrowding the seed in the container during inoculation. Overcrowding can prevent proper coating of the seed with the inoculant, resulting in uneven distribution of bacteria and reduced effectiveness.
3. Inadequate mixing: Thoroughly mix the seed and inoculant to ensure even distribution. Inadequate mixing can lead to patches of seed being less coated, resulting in poor inoculation and less nitrogen-fixing efficiency in those areas.
4. Poor timing of sowing: Sow the inoculated seed at the right time for optimal growth. Planting too early or too late in the season may expose the seedlings to unfavorable weather conditions, reducing their chances of successful establishment.
5. Neglecting proper soil preparation: Skipping or improperly executing soil preparation can hinder the growth of the inoculated clover seed. Failing to remove debris, address soil deficiencies, or improve soil structure can limit nutrient availability and impede the plants’ ability to establish strong roots.
6. Overwatering or underwatering: Providing the right amount of water is vital for the successful germination and growth of clover seed. Overwatering can lead to waterlogged soil and root rot, while underwatering can stunt growth and reduce germination rates. Consistently monitor soil moisture levels and adjust watering accordingly.
7. Ignoring weed control: Neglecting weed control can result in competition for resources, such as nutrients, water, and sunlight. Weeds can limit the growth of clover plants and reduce the effectiveness of nitrogen fixation. Regularly weed the area to give the clover plants the best chance to thrive.
8. Overreliance on synthetic fertilizers: Inoculated clover has the ability to fix nitrogen from the air, reducing the need for synthetic fertilizers. Overreliance on synthetic fertilizers can inhibit the growth of the beneficial bacteria and disrupt the balance of nutrients in the soil. Use fertilizers sparingly and only if necessary after conducting a soil test.
9. Ignoring pest and disease management: Pests and diseases can negatively impact the growth and health of clover plants. Regularly monitor your plants for signs of pest infestation or disease and take appropriate measures to control and prevent their spread.
By being aware of these common mistakes and taking steps to avoid them, you can increase the chances of successful clover seed inoculation. With proper attention to detail and care, your clover plants will thrive, providing numerous benefits to your garden ecosystem and contributing to healthier soil and plant growth.
Conclusion
Inoculating clover seed is a valuable practice that can greatly enhance the growth and overall health of your garden. By introducing nitrogen-fixing bacteria to the seed, you provide the clover plants with a symbiotic partner that helps convert atmospheric nitrogen into a usable form, promoting better nutrient absorption and soil fertility.
Throughout this article, we have explored the importance of choosing the right clover seed, proper soil preparation, the step-by-step process of inoculating clover seed, caring for the inoculated seed, and common mistakes to avoid. Each of these aspects is crucial for the successful establishment and development of your clover plants.
Choosing the appropriate clover variety for your gardening needs ensures that you maximize the benefits of nitrogen fixation, ground cover, or forage purposes. Proper soil preparation creates a favorable environment for seed germination and plant growth. Inoculating clover seed introduces beneficial bacteria that form a symbiotic relationship with the plants, enhancing their nitrogen-fixing capabilities.
Caring for your inoculated clover seed involves regular watering, weed management, mulching, and monitoring for pests and diseases. Avoiding common mistakes, such as using expired inoculant, overcrowding the seed, or neglecting soil preparation, contributes to the success of the process.
In conclusion, inoculating clover seed is a rewarding and environmentally friendly endeavor that can greatly benefit your garden. Nitrogen fixation by clover plants enriches the soil, reduces the need for synthetic fertilizers, improves disease resistance, and promotes overall plant health. By following the steps outlined in this article and providing proper care, you can enjoy the numerous advantages that inoculated clover brings to your garden ecosystem.
So, roll up your sleeves, gather your tools, and embark on your journey to successfully inoculate and nurture your clover seed. Embrace the beauty and benefits that clover plants offer, and watch your garden flourish with vibrant, nitrogen-rich growth.
Frequently Asked Questions about How To Inoculate Clover Seed
Was this page helpful?
At Storables.com, we guarantee accurate and reliable information. Our content, validated by Expert Board Contributors, is crafted following stringent Editorial Policies. We're committed to providing you with well-researched, expert-backed insights for all your informational needs.


0 thoughts on “How To Inoculate Clover Seed”