Articles
How To Store Plums
Modified: August 17, 2024
Learn how to store plums properly and keep them fresh for longer with these helpful articles.
(Many of the links in this article redirect to a specific reviewed product. Your purchase of these products through affiliate links helps to generate commission for Storables.com, at no extra cost. Learn more)
Introduction:
Plums are delicious and juicy fruits that are enjoyed by many people all over the world. Whether you pick them from your own backyard or buy them from a local grocery store, it’s important to know how to properly store plums to ensure they stay fresh and delicious for as long as possible. Proper storage will not only help maintain the plum’s flavor, but also its nutritional value.
In this article, we will explore different methods of storing plums to help you make the most of these delightful fruits. We will cover topics such as choosing ripe plums, storing them at room temperature, refrigerating, freezing, canning, and other creative ways to store them. By following these tips and techniques, you’ll be able to enjoy plums at their peak freshness for an extended period of time.
So, let’s dive into the world of plum storage and learn how to preserve their flavor and texture!
Key Takeaways:
- Enjoy plums year-round by freezing, canning, or dehydrating them. Follow proper storage methods to preserve their flavor and nutritional value, ensuring delightful culinary experiences.
- Select ripe plums, handle with care, and explore creative storage methods to extend their shelf life. Embrace food safety practices and enjoy plums in various delightful preparations.
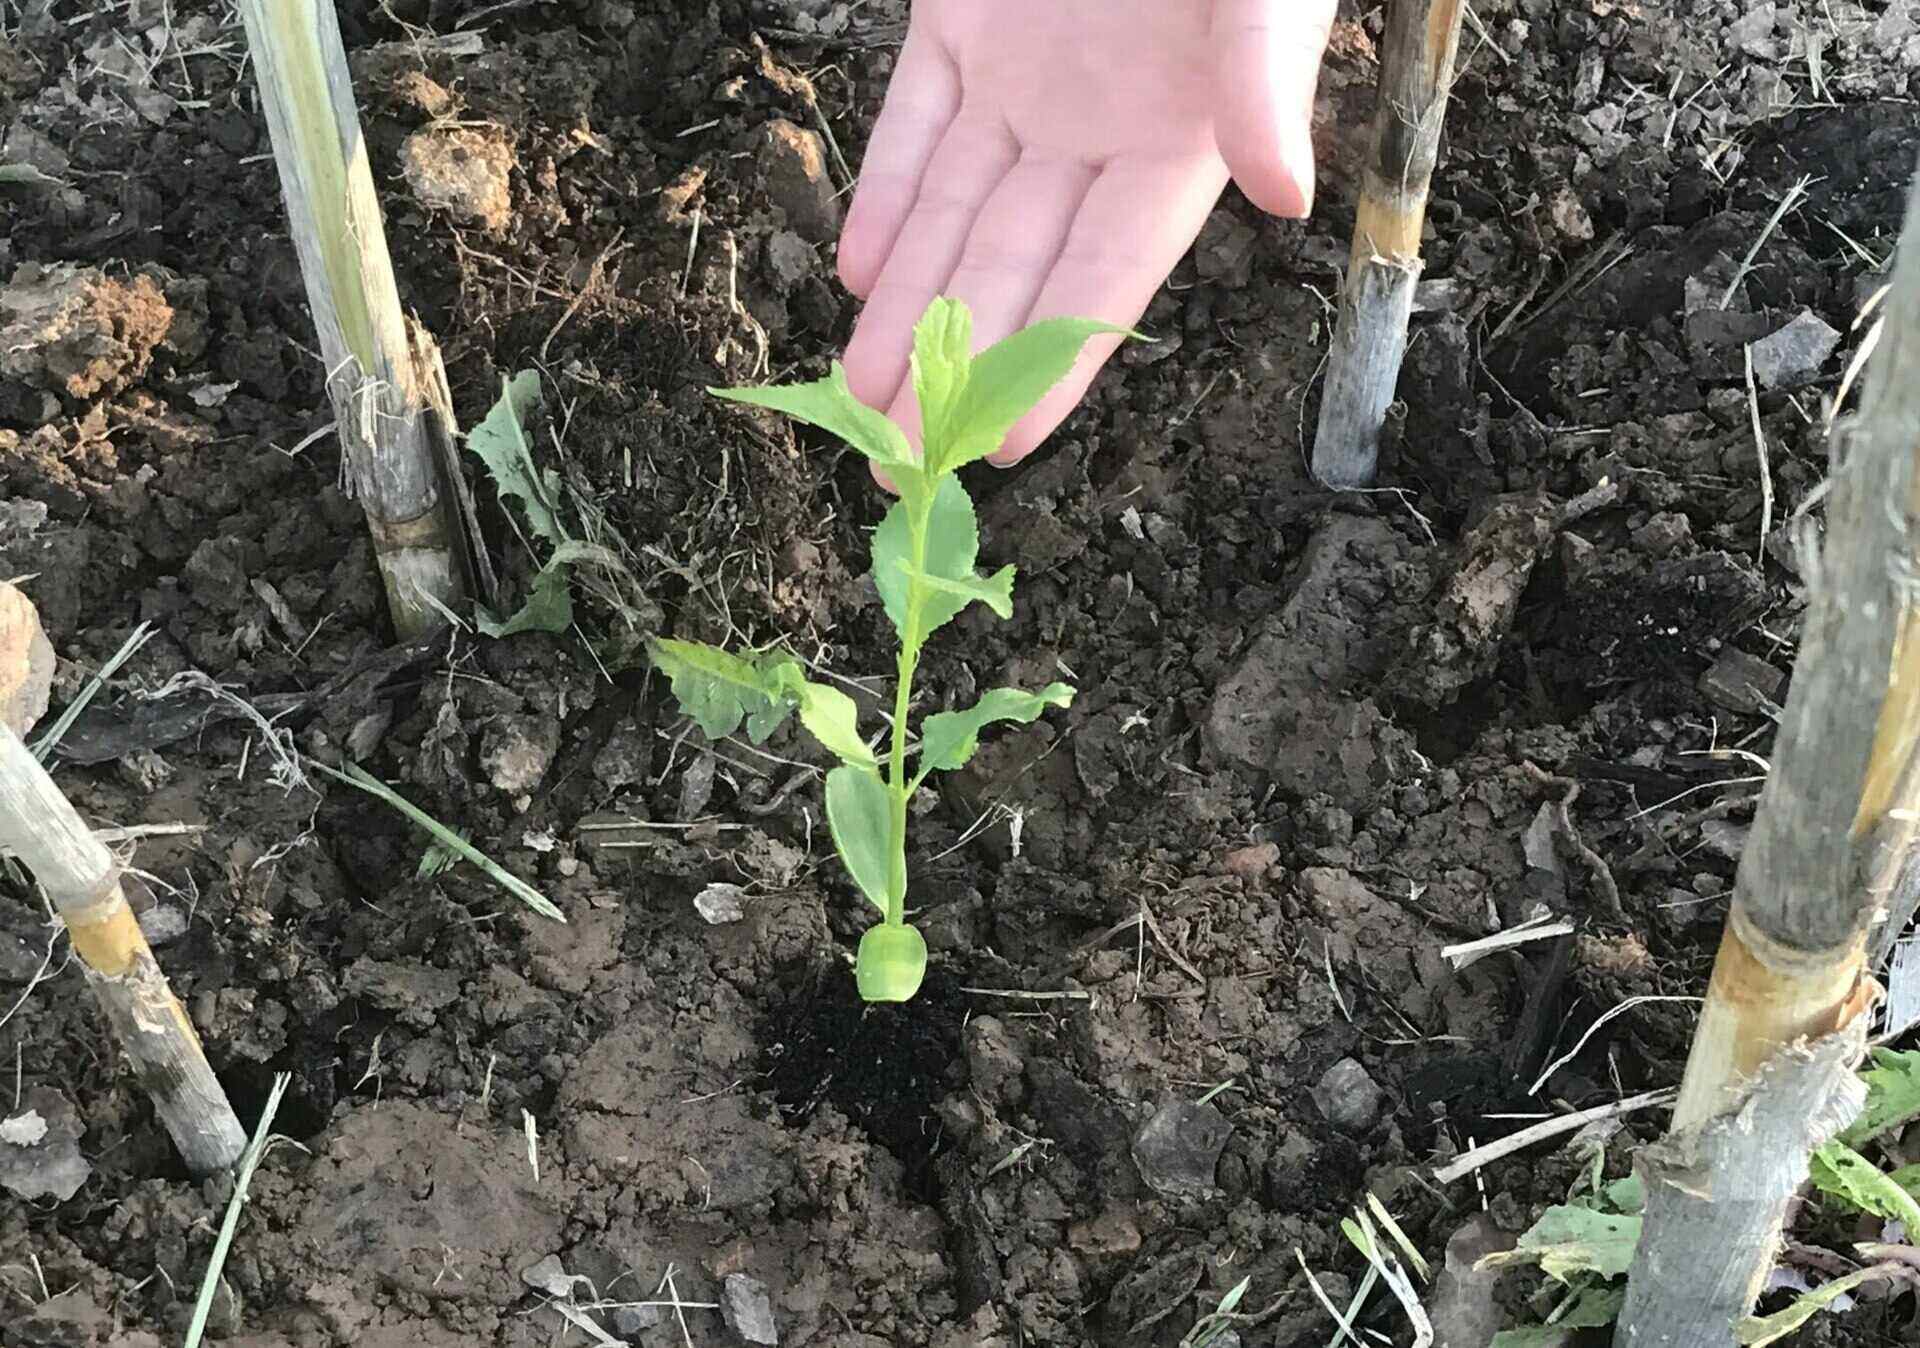
Read more: How To Grow Plum Seeds
Choosing Ripe Plums:
When it comes to storing plums, it is crucial to start with ripe and high-quality fruits. Choosing ripe plums not only ensures a better flavor but also extends their shelf life. Here are a few tips to help you select the perfect plums:
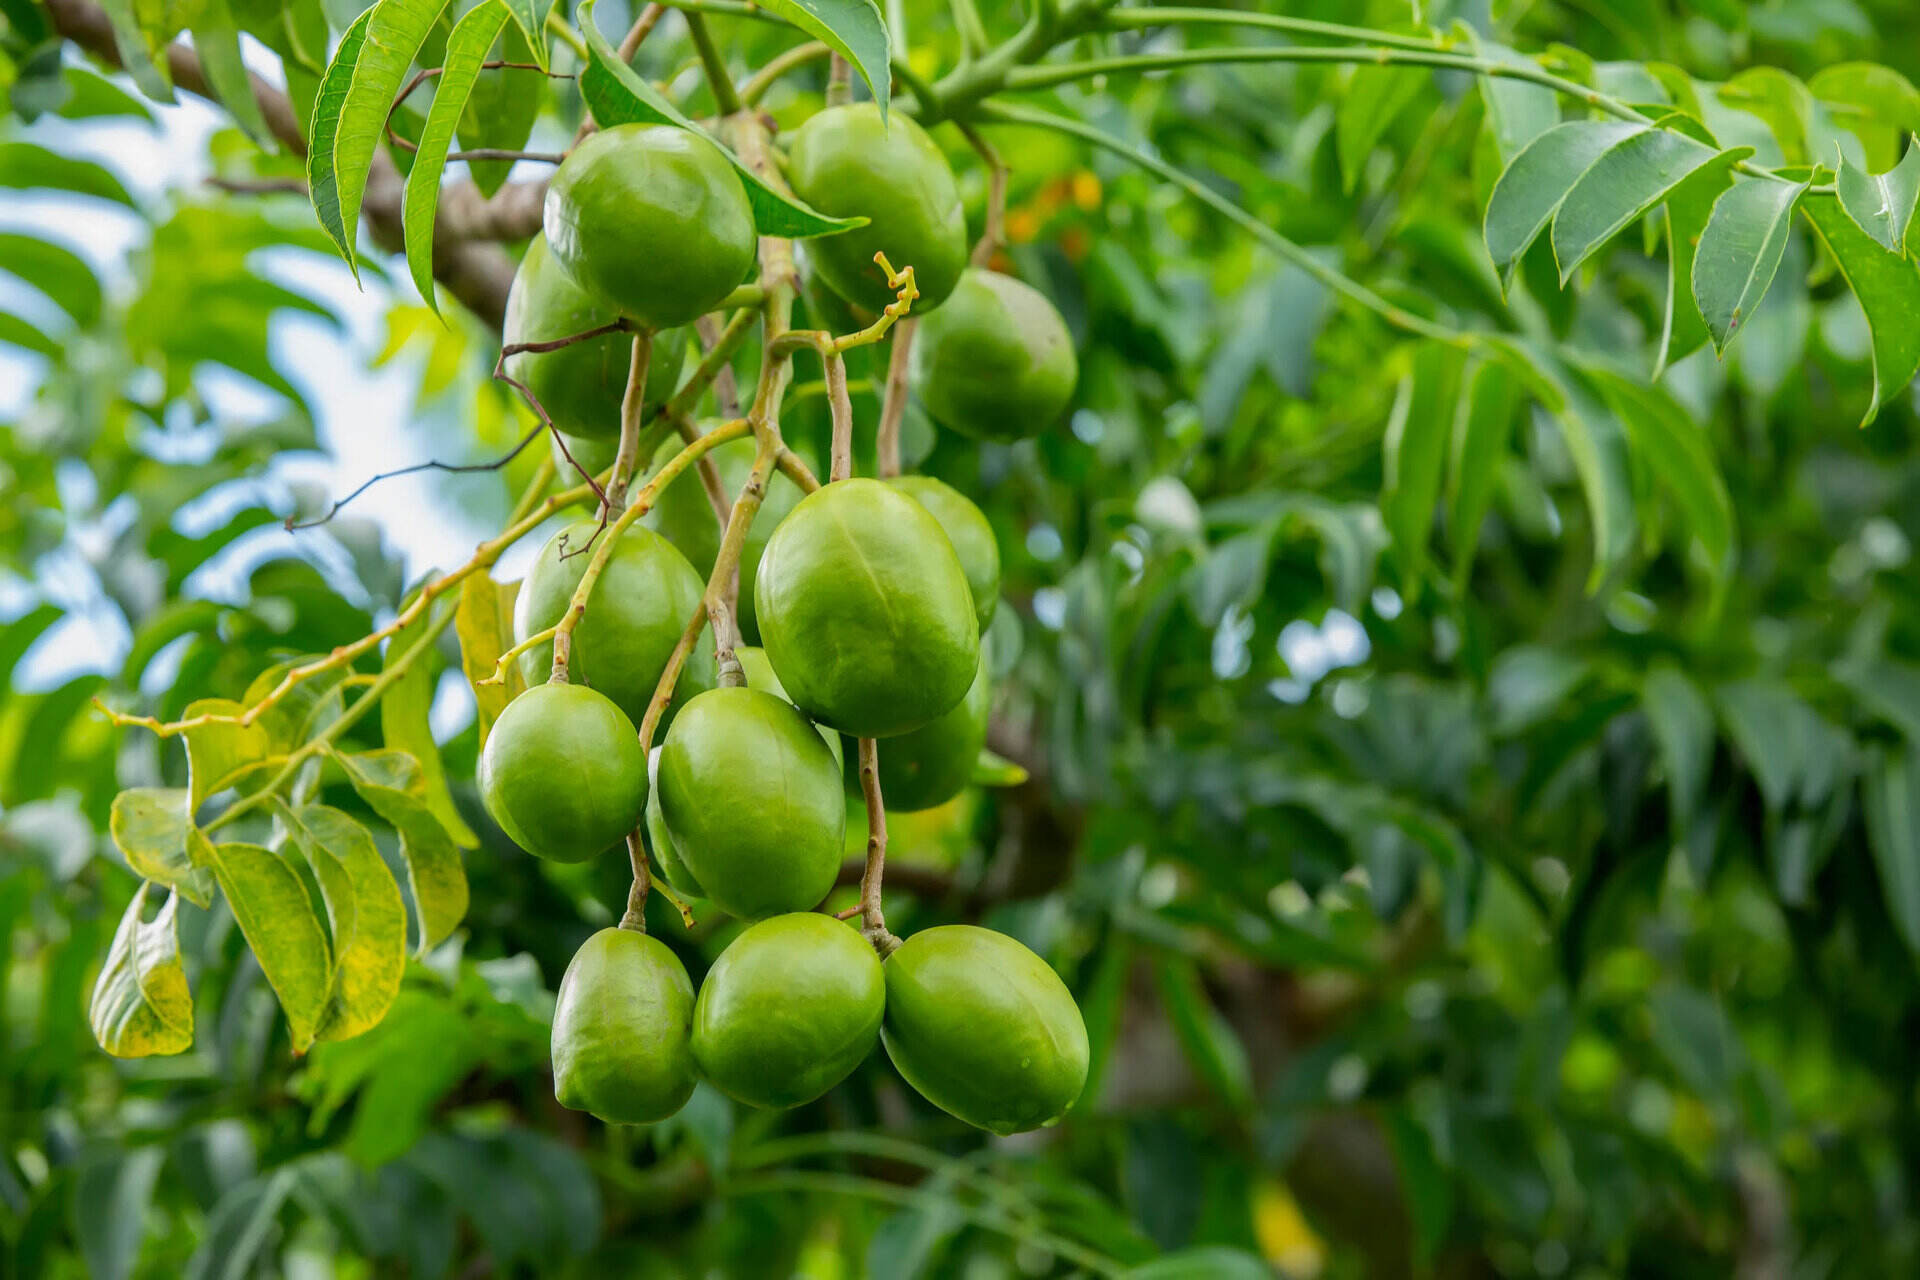
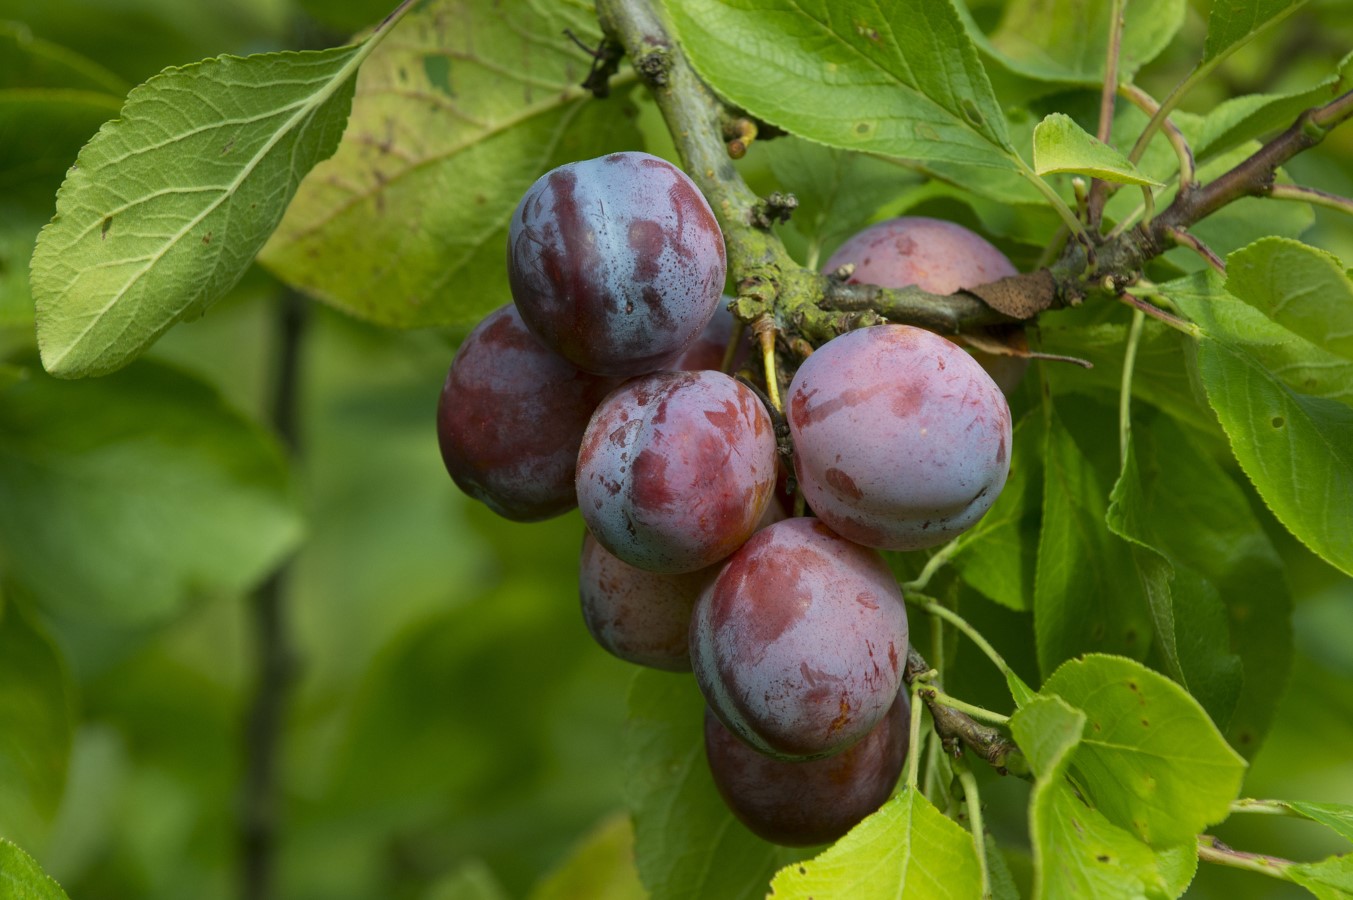
- Color: Look for plums that have a vibrant, even color. Depending on the variety, plums can range from deep purple to golden yellow or even shades of red. Avoid plums with green patches as they indicate underripe fruit.
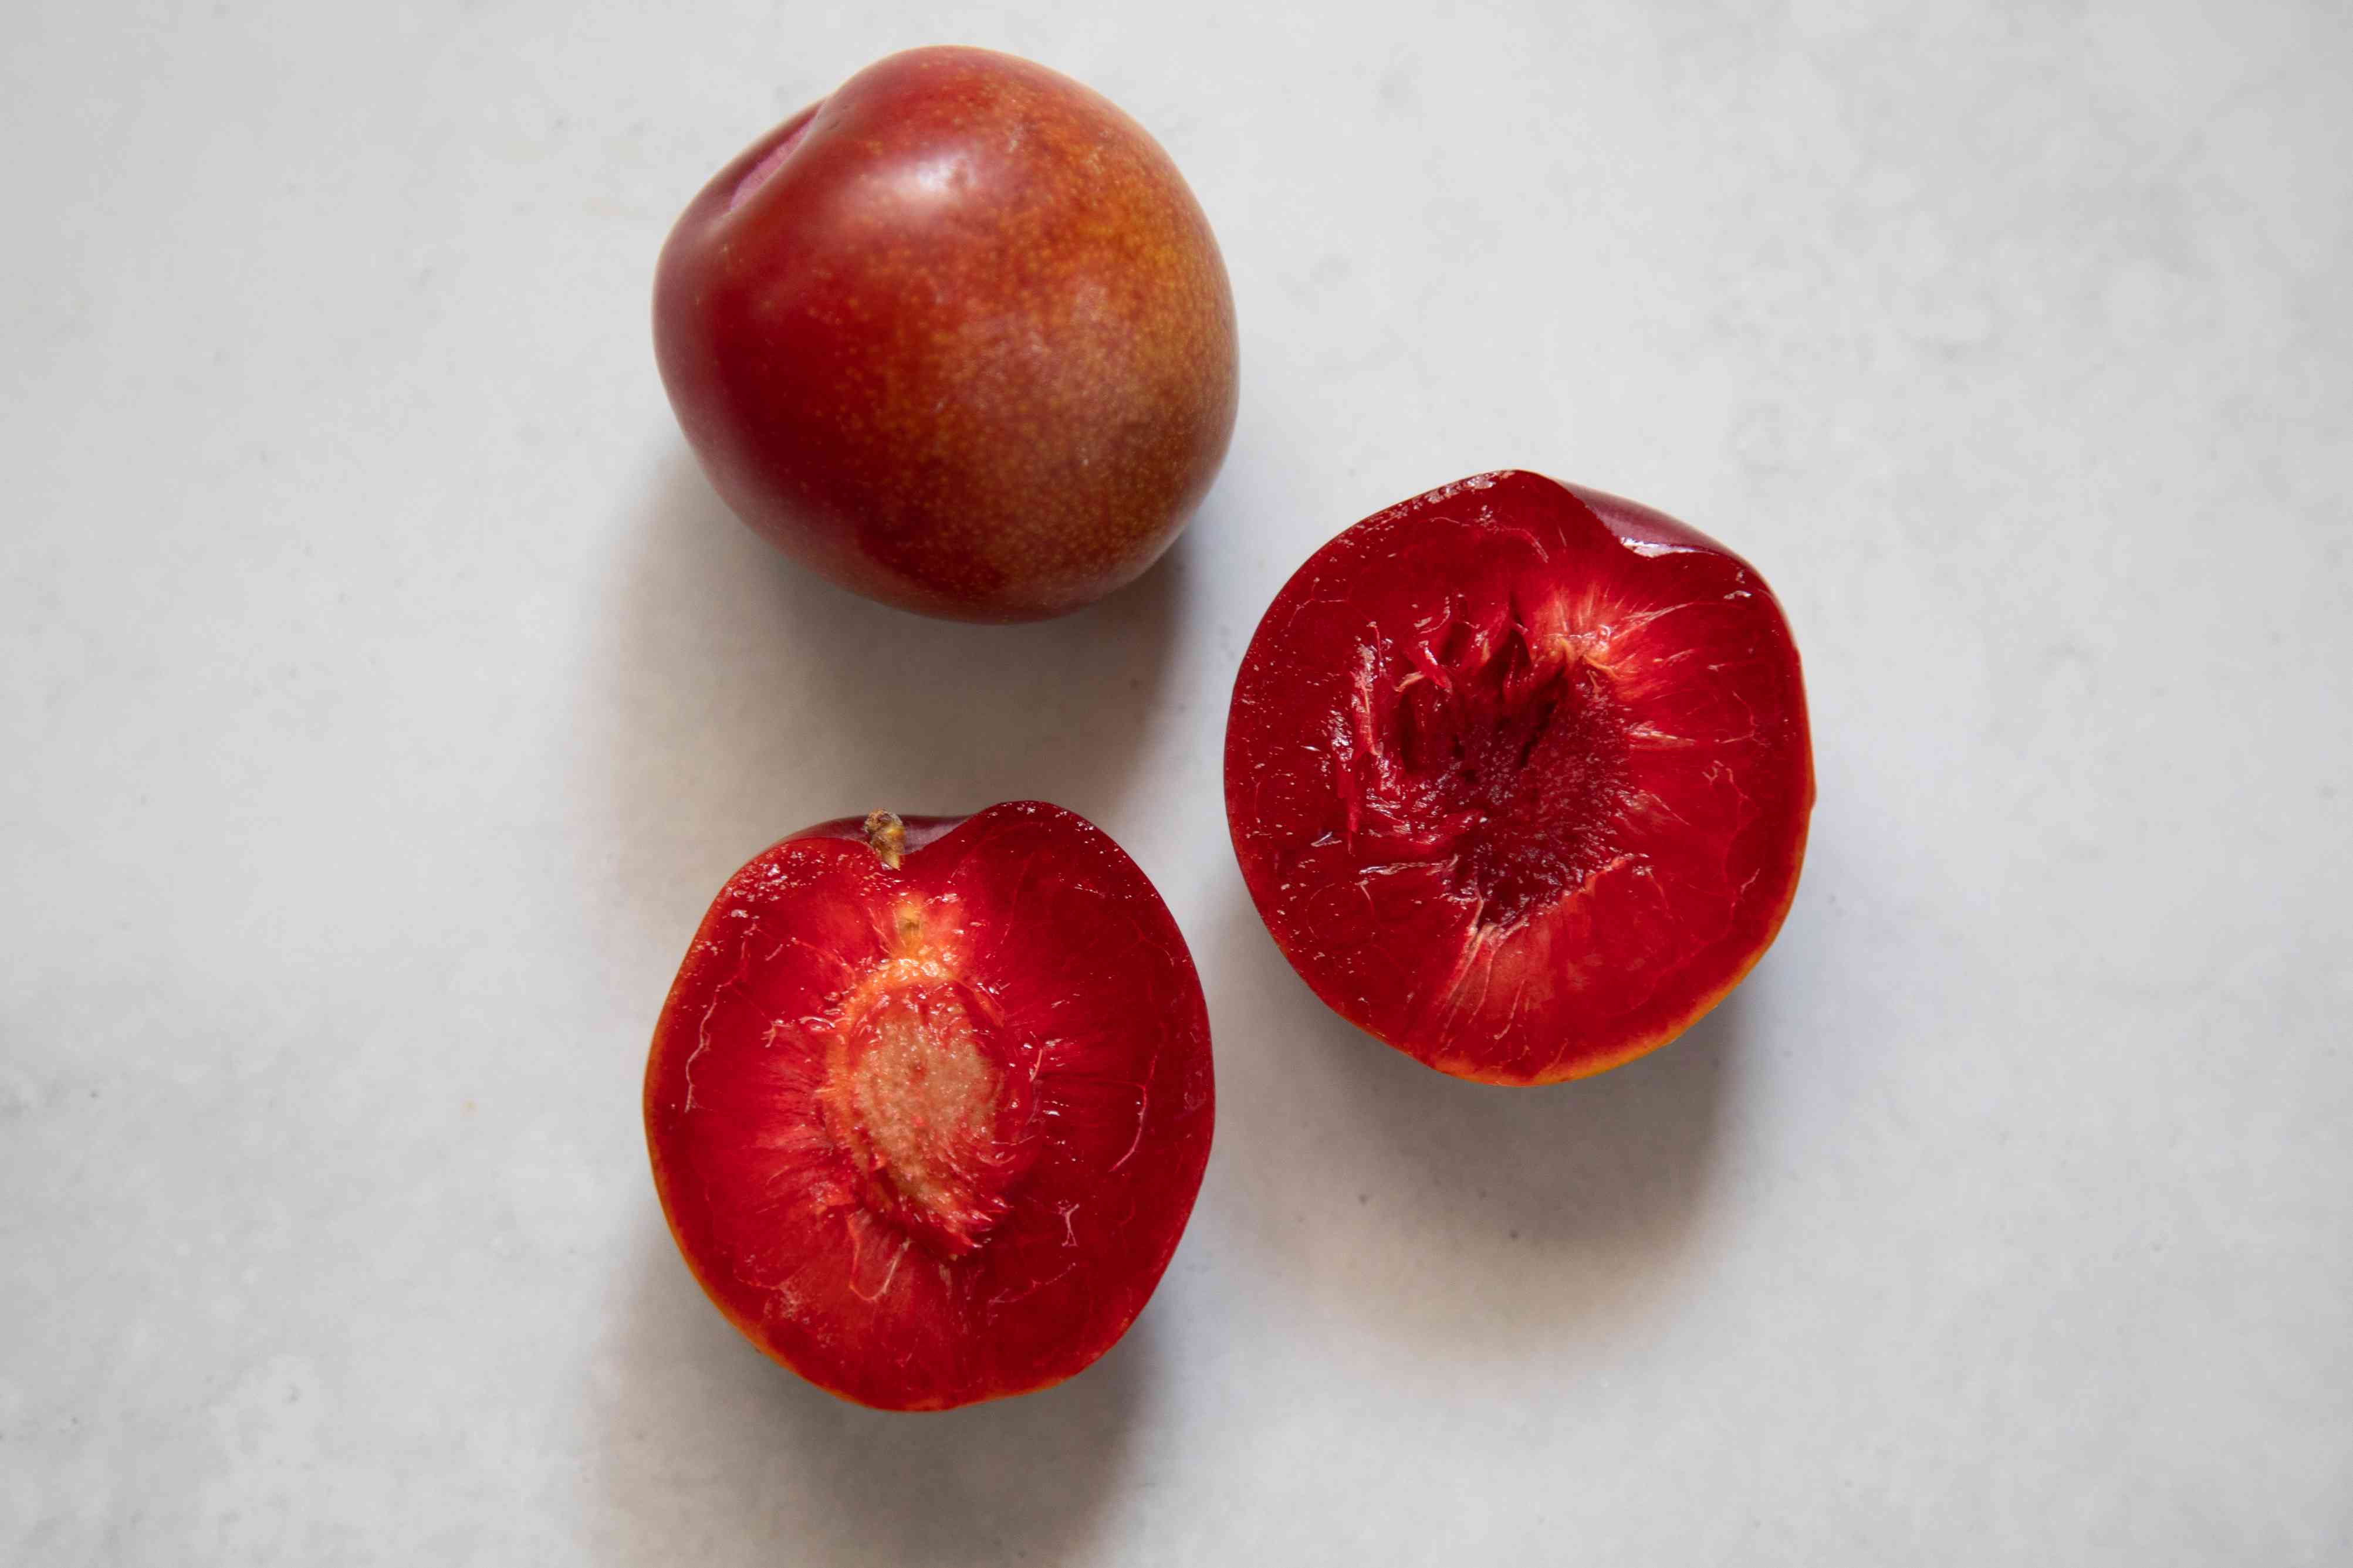
- Firmness: Gently press the plum with your fingers. It should give slightly without being too soft or mushy. A firm and slightly yielding texture is a good indicator of a ripe plum.
- Aroma: Ripe plums emit a sweet and fragrant aroma. Take a whiff near the stem end to check if the plum has a pleasant, fruity scent.
- Size: Plums come in various sizes, but the size should be consistent within the same batch. Avoid plums that are shriveled or have noticeable blemishes.
- Weight: Ripe plums tend to be heavier due to their high water content. Pick up the plum and compare its weight to others of the same variety. Choose the plum that feels weighty in your hand.
It’s important to note that plums continue to ripen after they are picked. If you prefer slightly underripe plums for immediate consumption, select fruits that are firmer to the touch. For those who want to store plums for an extended period, it’s better to choose fully ripe ones to ensure that they don’t become overripe too quickly.
By selecting ripe plums, you lay a solid foundation for proper storage and enjoyable eating experiences. Now that we have the ripe fruits in hand, let’s explore different methods of storing plums to keep them fresh and delicious!
Storing Plums at Room Temperature:
If you plan on consuming your plums within a few days, storing them at room temperature is a great option. Here are some steps to follow:
- Inspect and Sort: Before storing, inspect your plums to ensure there are no bruises or signs of spoilage. Remove any damaged fruits from the batch to prevent them from affecting the others.
- Place in a Single Layer: Line a shallow container or a fruit bowl with a clean cloth or paper towel. Arrange the plums in a single layer, making sure they are not touching each other. This ensures proper air circulation and prevents them from bruising or overripening.
- Keep in a Cool Spot: Find a cool area in your home, away from direct sunlight and heat sources. Plums are best stored at a temperature between 55-65°F (approximately 13-18°C). Avoid storing them near ripening fruits like bananas, as the release of ethylene gas can speed up the ripening process.
- Check for Ripeness: Regularly check the plums for ripeness. Gently press them to ensure they are not becoming too soft. If you notice any plums starting to overripen, consume them immediately or consider refrigerating or freezing them to prevent spoilage.
- Consume or Store: Plums stored at room temperature will typically last for 2-5 days. Enjoy them fresh during this time or consider other methods of storage if you want to prolong their shelf life.
Storing plums at room temperature allows them to continue ripening, enhancing their sweetness and flavor. However, keep in mind that this method is best suited for short-term storage. If you have a larger quantity of plums or want to preserve them for an extended period, it is recommended to explore other storage options like refrigeration or freezing.
Refrigerating Plums:
If you want to extend the shelf life of your plums and keep them fresh for a longer period, refrigeration is the ideal method. Follow these steps to properly refrigerate your plums:
- Inspect and Sort: Before refrigerating, carefully examine your plums to ensure there are no signs of damage or spoilage. Remove any bruised or overripe fruits from the batch.
- Place in a Perforated Bag or Container: To prevent moisture buildup and maintain proper airflow, place the plums in a breathable bag or container. You can use a perforated plastic bag, a mesh bag, or simply leave them unwrapped on a plate lined with a paper towel.
- Adjust the Humidity: Many refrigerators have adjustable humidity settings in vegetable drawers. If available, set the humidity level to high to provide a more suitable environment for your plums. This helps maintain their moisture and freshness.
- Store in the Crisper Drawer: Place the bag or container of plums in the crisper drawer of your refrigerator. This drawer helps regulate temperature and minimizes exposure to ethylene gas, which is produced by some fruits and can speed up ripening.
- Keep Separate from Strong-Smelling Foods: Plums can absorb odors easily, so it’s important to keep them away from strong-smelling foods like onions, garlic, or other pungent items in the refrigerator.
- Check Regularly: Periodically inspect your plums to ensure there are no signs of spoilage. Remove any moldy or spoiled fruits promptly to prevent them from affecting the rest.
When properly refrigerated, plums can last up to 1-2 weeks. Be aware that refrigeration can slightly affect the texture of plums, making them slightly firmer. However, their flavor and nutritional value will remain intact.
Refrigerating plums is an excellent option if you have a larger quantity or want to enjoy them over a longer period. However, if you want to store plums for an even longer duration, freezing is a convenient and effective method to consider.
Freezing Plums:
Freezing plums is a fantastic way to preserve their freshness for an extended period. Here’s how you can freeze plums:
- Preparation: Start by washing the plums thoroughly under cool, running water. Pat them dry with a clean towel. Make sure to remove any stickers or labels from the fruit.
- Pit and Slice: Cut the plums in half and gently remove the pit. You can choose to leave the skin intact or peel it, depending on your personal preference. Slice the plums into wedges or chunks as desired.
- Blanching (Optional): If you prefer to preserve the color, flavor, and texture of the plums, you can choose to blanch them briefly. Bring a pot of water to a boil and carefully drop the plums in for 1-2 minutes. Remove them and immediately plunge them into an ice water bath to stop the cooking process. Drain well before freezing.
- Packaging: Place the prepared plums into airtight containers or freezer bags. Press out any excess air before sealing to prevent freezer burn. Make sure to leave some headspace to allow for expansion during freezing.
- Labeling: It’s essential to label the containers or bags with the date of freezing. This will help you keep track of their freshness and easily locate them in the freezer.
- Freezing: Place the plums in the freezer, ensuring they are arranged in a single layer to allow for faster and even freezing. Once they are initially frozen, you can stack them to save space.
- Storage Time: Frozen plums can be stored for up to 10-12 months. While they can last longer, the quality may gradually deteriorate over time.
Frozen plums are excellent for use in smoothies, jams, pies, and other recipes. They can also be thawed and enjoyed as a snack or added to fruit salads. Freezing plums not only preserves their taste but also retains most of their nutrients.
Now that you know how to freeze plums, you can take advantage of this method to enjoy these delicious fruits throughout the year, even when they are out of season!
Store plums in the refrigerator to keep them fresh for up to 5 days. Place them in a single layer to prevent bruising and store away from ethylene-producing fruits to avoid overripening.
Read more: How To Grow Plum From Seed
Preserving Plums through Canning:
Canning is a popular method for preserving plums, allowing you to enjoy their flavors long after the harvest season. Follow these steps to achieve the perfect canned plums:
- Choose the Right Plums: Select ripe but firm plums for canning. Make sure they are not overly ripe or bruised.
- Wash and Prepare: Thoroughly wash the plums under running water. Remove any stems, blemishes, or bruises. You can choose to leave the skin on or peel it based on your preference.
- Sterilization: Sterilize canning jars and lids by boiling them in hot water. This process eliminates any potential bacteria or contaminants.
- Pack the Plums: Carefully pack the plums into the sterilized jars, leaving about an inch of headspace at the top. You can add a syrup or fruit juice to enhance the flavor, but it’s optional.
- Remove Air Bubbles: Gently tap the jar to release any trapped air bubbles. You can also use a non-metallic utensil to remove air bubbles along the sides of the jar.
- Seal the Jars: Place the lids on the jars and screw the bands on, but not too tightly. The bands should be tightened only until finger-tight to allow air to escape during the canning process.
- Process in a Water Bath: Submerge the sealed jars in a boiling water bath. The processing time will depend on the size of the jars and the altitude of your location. Follow a trusted canning recipe or guidelines to determine the appropriate processing time for plums.
- Cool and Store: After processing, carefully remove the jars from the water bath and let them cool on a towel or a heat-resistant surface. As the jars cool, a vacuum seal will form, ensuring the safety and longevity of your canned plums.
- Labeling: Once cooled, label the jars with the date of canning. Proper labeling helps you keep track of the freshness and enables you to use older jars first.
Canned plums can be stored in a cool, dark place for up to 1 year or even longer. They can be enjoyed on their own, used in desserts, or added to savory dishes for a touch of sweetness. When canning plums, ensure that you follow proper canning techniques and use reliable recipes to ensure food safety.
Canning allows you to enjoy the taste of plums even when they are out of season, making it a wonderful preservation method for these delicious fruits.
Storing Plums in Different Ways:
In addition to the methods mentioned above, there are a few other creative ways to store plums and make the most of their deliciousness. Let’s explore some of these alternative methods:
- Dehydration: Dehydrating plums removes the moisture content, resulting in a chewy and concentrated fruit. You can use a food dehydrator or an oven set at a low temperature to dry the plums. Once dehydrated, store them in an airtight container in a cool, dry place.
- Plum Jam or Preserves: Making plum jam or preserves is a wonderful way to enjoy the flavor of plums throughout the year. Cook down the plums with sugar and any desired flavorings until thickened, and then store them in sterilized jars. These can be stored in the pantry or refrigerator.
- Plum Puree or Sauce: Pureeing plums and turning them into a sauce or puree allows for versatile usage. Freeze the puree in small portions or store them in airtight containers. Use the plum puree in desserts, smoothies, or sauces when needed.
- Dried Plum Snacks: Slice ripe plums into thin wedges and dry them in a dehydrator or oven to create healthy and portable snacks. Pack them in airtight containers or small bags for on-the-go enjoyment.
- Infused Vinegar or Liqueur: For a unique twist, infuse plums into vinegar or create plum liqueur. Simply place sliced plums in a jar with vinegar or alcohol of your choice and let it sit for a few weeks. Strain and store the infused vinegar or liqueur in sterilized bottles.
- Cooked Plum Compote: Make a plum compote by gently cooking plums with sugar and spices like cinnamon and vanilla. Once cooled, store the compote in sterilized jars and refrigerate. Enjoy it as a topping for pancakes, waffles, yogurt, or as a filling in pastries.
These alternative methods of storing plums allow you to explore different flavors and textures while expanding the ways you can incorporate these delightful fruits into your meals and snacks.
Remember to follow proper food safety practices and use reliable recipes when trying out these different storage methods. With a bit of creativity, you can make the most of your plums and enjoy their deliciousness throughout the year!
Tips for Proper Plum Storage:
To ensure the best quality and longevity of your plums, here are some helpful tips for proper plum storage:
- Handle with Care: Always handle plums gently to avoid bruising or damaging the delicate fruit. Treat them with care during harvesting, transportation, and storage.
- Don’t Wash Until Ready to Use: Plums have a natural protective coating that helps preserve their freshness. Avoid washing them until you’re ready to consume or prepare them to prevent moisture buildup and premature spoilage.
- Use First-In, First-Out (FIFO) Method: When storing plums, organize them in such a way that the older ones are used first. This allows you to enjoy the ripest plums before they become overripe or spoiled.
- Separate Ripe and Unripe Plums: If you have a mix of ripe and unripe plums, store them separately. This prevents the ethylene gas produced by ripe plums from ripening the unripe ones too quickly.
- Check on a Regular Basis: Regularly inspect your stored plums for any signs of spoilage. Remove any damaged or moldy fruits immediately to prevent them from affecting the others.
- Store Damaged Plums Separately: If you have any bruised or slightly damaged plums, it’s best to store them separately from the unblemished ones. Damaged fruits can deteriorate quickly and may affect the overall quality of the batch.
- Keep Proper Air Circulation: Whether storing at room temperature or in the refrigerator, ensure there is adequate air circulation around the plums. This helps maintain their freshness and prevents mold or bacterial growth.
- Choose an Optimal Storage Location: Plums are sensitive to temperature fluctuations and ethylene gas. Find a cool and well-ventilated area, away from direct sunlight, heat sources, and ethylene-producing fruits like apples and bananas.
- Maximize Freezer Space: If freezing plums, arrange them in a single layer initially to facilitate faster and even freezing. Once frozen, you can stack or pack them more efficiently to save freezer space.
- Label and Date: Properly label your stored plums with the date of storage. This helps you keep track of their freshness and allows for easier identification when you need them later.
By following these tips, you can optimize the storage conditions for your plums and enjoy their succulent flavor and nutritional benefits for an extended period of time.
Conclusion:
Properly storing plums is essential to preserve their flavor, texture, and nutritional value. Whether you have an abundant harvest from your backyard or purchased a large quantity from the store, knowing the different methods of plum storage can help you enjoy these delightful fruits for a longer period.
From storing plums at room temperature to refrigerating, freezing, canning, and exploring other creative ways, there are plenty of options to suit your preferences and needs. Choosing ripe plums, handling them with care, and organizing them properly are key factors in maintaining their freshness.
By following the tips mentioned in this article, such as selecting quality plums, using appropriate storage methods, and checking for spoilage, you’ll be able to extend their shelf life and enjoy their delectable taste even when they are out of season.
Whether you choose to freeze plums for smoothies or pies, can them for preserves or compotes, or experiment with different preservation techniques, you can find a storage method that fits your lifestyle and culinary creativity.
Remember to embrace proper food safety practices and use reliable recipes when canning or preserving plums. Labeling and organizing your stored plums will further ensure that you can consume them in a timely manner.
So, the next time you have plums on hand, make the most of them by implementing proper storage techniques. Whether enjoyed fresh, frozen, canned, or in other creative preparations, plums will continue to delight your taste buds and enhance your culinary endeavors.
With the knowledge gained from this article, you can savor the deliciousness of plums throughout the year, keeping their flavors and nutritional benefits at their peak. Happy plum storage and enjoy the abundance of this beautiful fruit!
Frequently Asked Questions about How To Store Plums
Was this page helpful?
At Storables.com, we guarantee accurate and reliable information. Our content, validated by Expert Board Contributors, is crafted following stringent Editorial Policies. We're committed to providing you with well-researched, expert-backed insights for all your informational needs.


0 thoughts on “How To Store Plums”