Articles
How To Use Ryobi Spiral Screw Extractor
Modified: December 7, 2023
Learn how to effectively use the Ryobi Spiral Screw Extractor with our informative articles. Gain expert tips and techniques for hassle-free screw extraction.
(Many of the links in this article redirect to a specific reviewed product. Your purchase of these products through affiliate links helps to generate commission for Storables.com, at no extra cost. Learn more)
Introduction
When it comes to tackling stubborn or stripped screws, a reliable tool like the Ryobi Spiral Screw Extractor can be a game-changer. This innovative tool is designed to effortlessly remove damaged screws, making your DIY projects or maintenance work a breeze. Whether you are a professional tradesperson or a home DIY enthusiast, the Ryobi Spiral Screw Extractor is a must-have in your toolbox.
In this article, we will explore the ins and outs of the Ryobi Spiral Screw Extractor, providing you with a comprehensive guide on how to effectively use it. We will walk you through the steps, share tips, and answer some common questions you may have. So, let’s dive in and discover how this tool can save you time, frustration, and keep your projects on track!
Key Takeaways:
- The Ryobi Spiral Screw Extractor is a game-changer for effortlessly removing damaged screws, offering versatility for both professionals and DIY enthusiasts. Its innovative design and reliable performance make it a must-have in any toolbox.
- By following the step-by-step guide and tips provided, users can confidently and safely use the Ryobi Spiral Screw Extractor to tackle stubborn screws. Its compatibility with various screw types and ease of maintenance make it a valuable asset for efficient project completion.
Read more: How To Use Ryobi Router
Understanding the Ryobi Spiral Screw Extractor
Before we delve into the specifics of how to use the Ryobi Spiral Screw Extractor, it’s important to understand its design and functionality. The Ryobi Spiral Screw Extractor is a specialized tool designed to remove damaged or stripped screws from various surfaces.
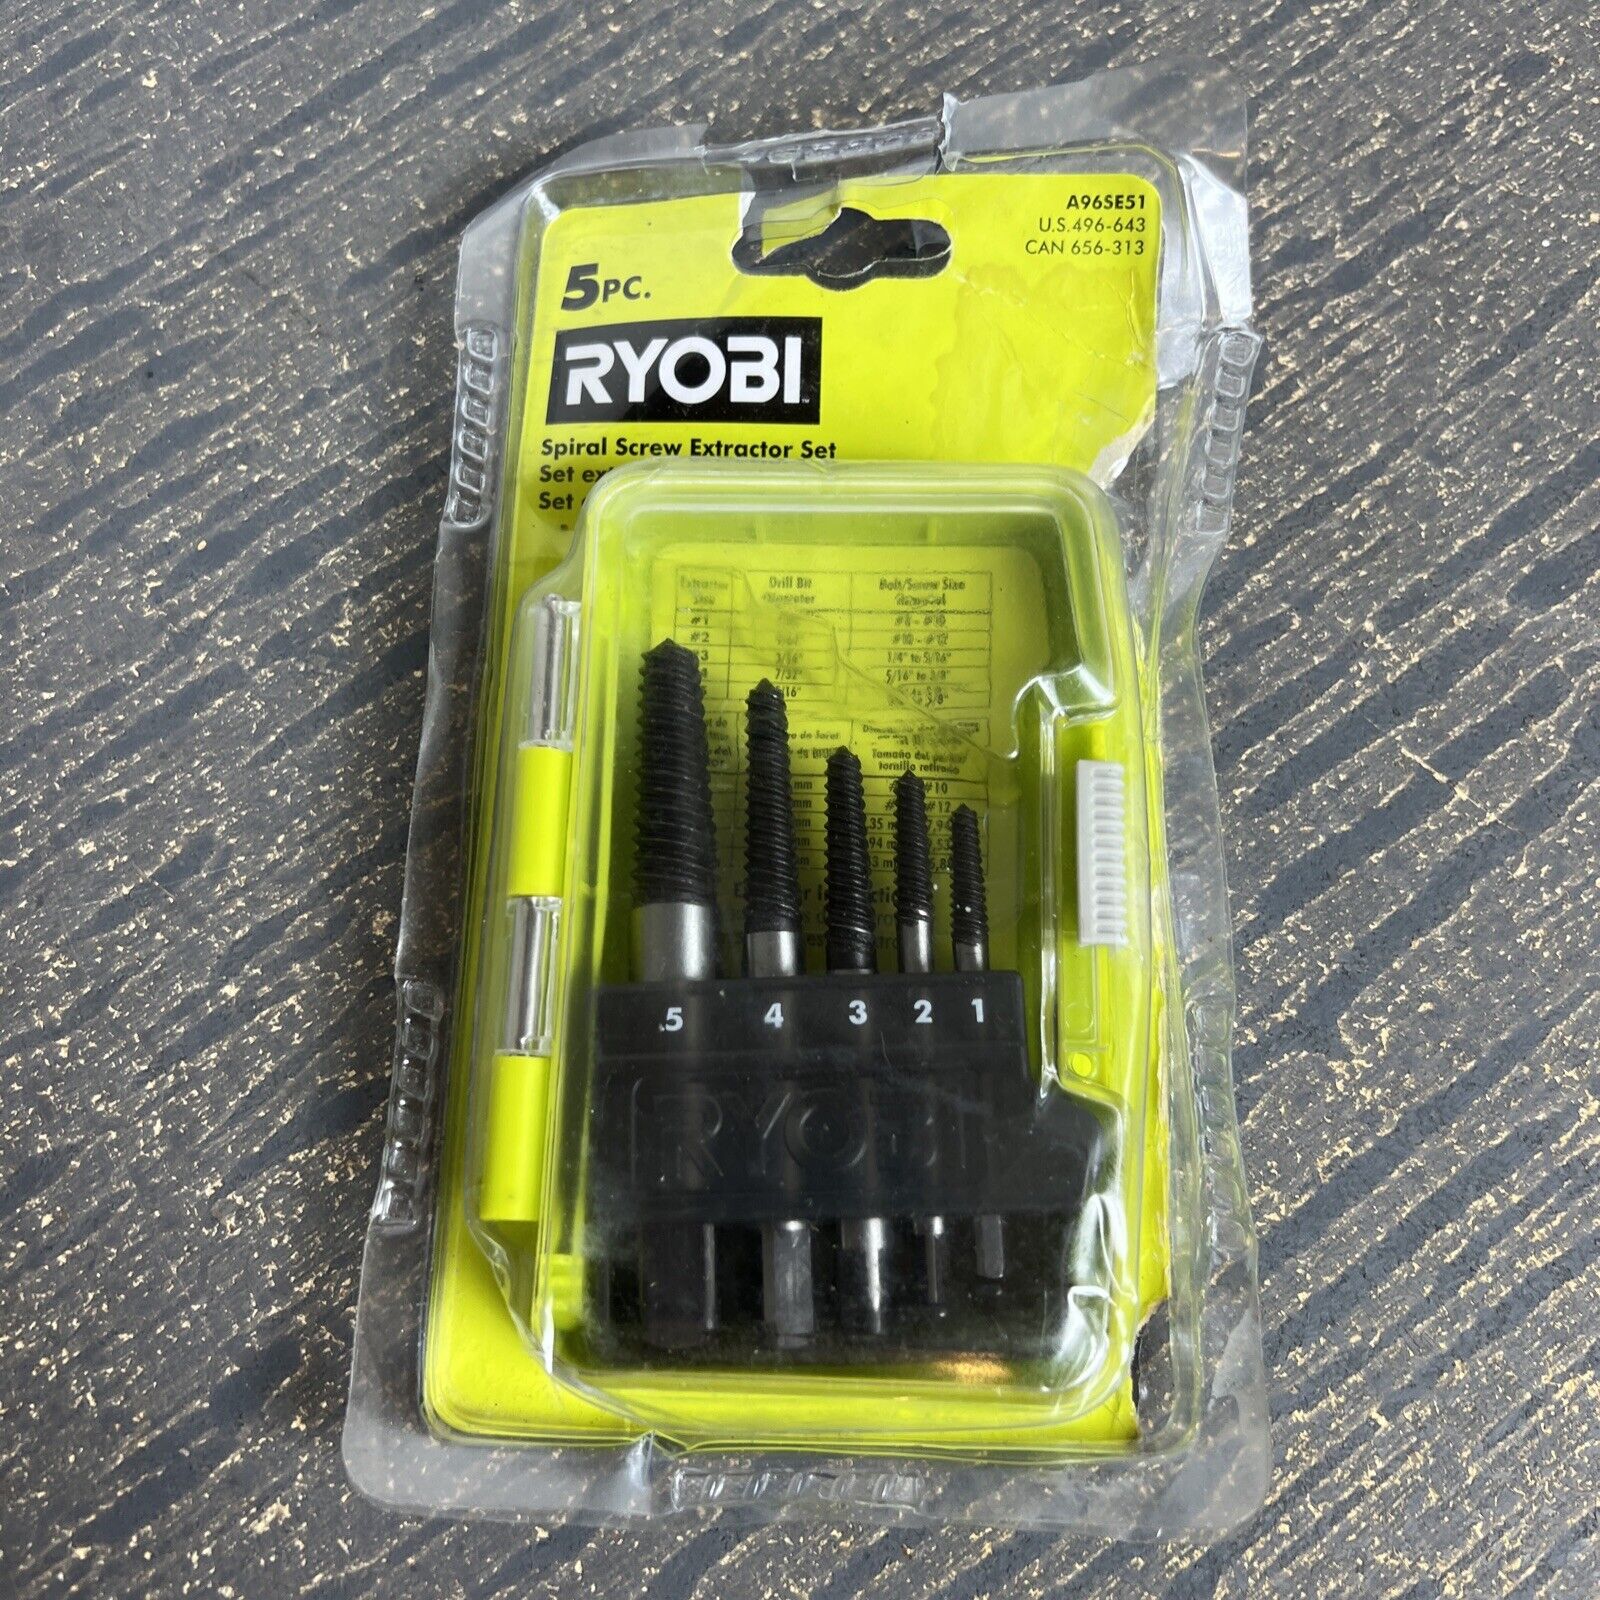
One of the key features of the Ryobi Spiral Screw Extractor is its spiral flutes. These unique flutes are designed to grip into the damaged screw, allowing for easy extraction. The extractors are made from high-quality hardened steel, ensuring durability and longevity.
The Ryobi Spiral Screw Extractor is available in different sizes to accommodate screws of various diameters. It’s crucial to select the right size extractor for the job to ensure a secure grip and successful extraction. The extractor set usually includes a range of sizes, offering versatility and flexibility for different screw types.
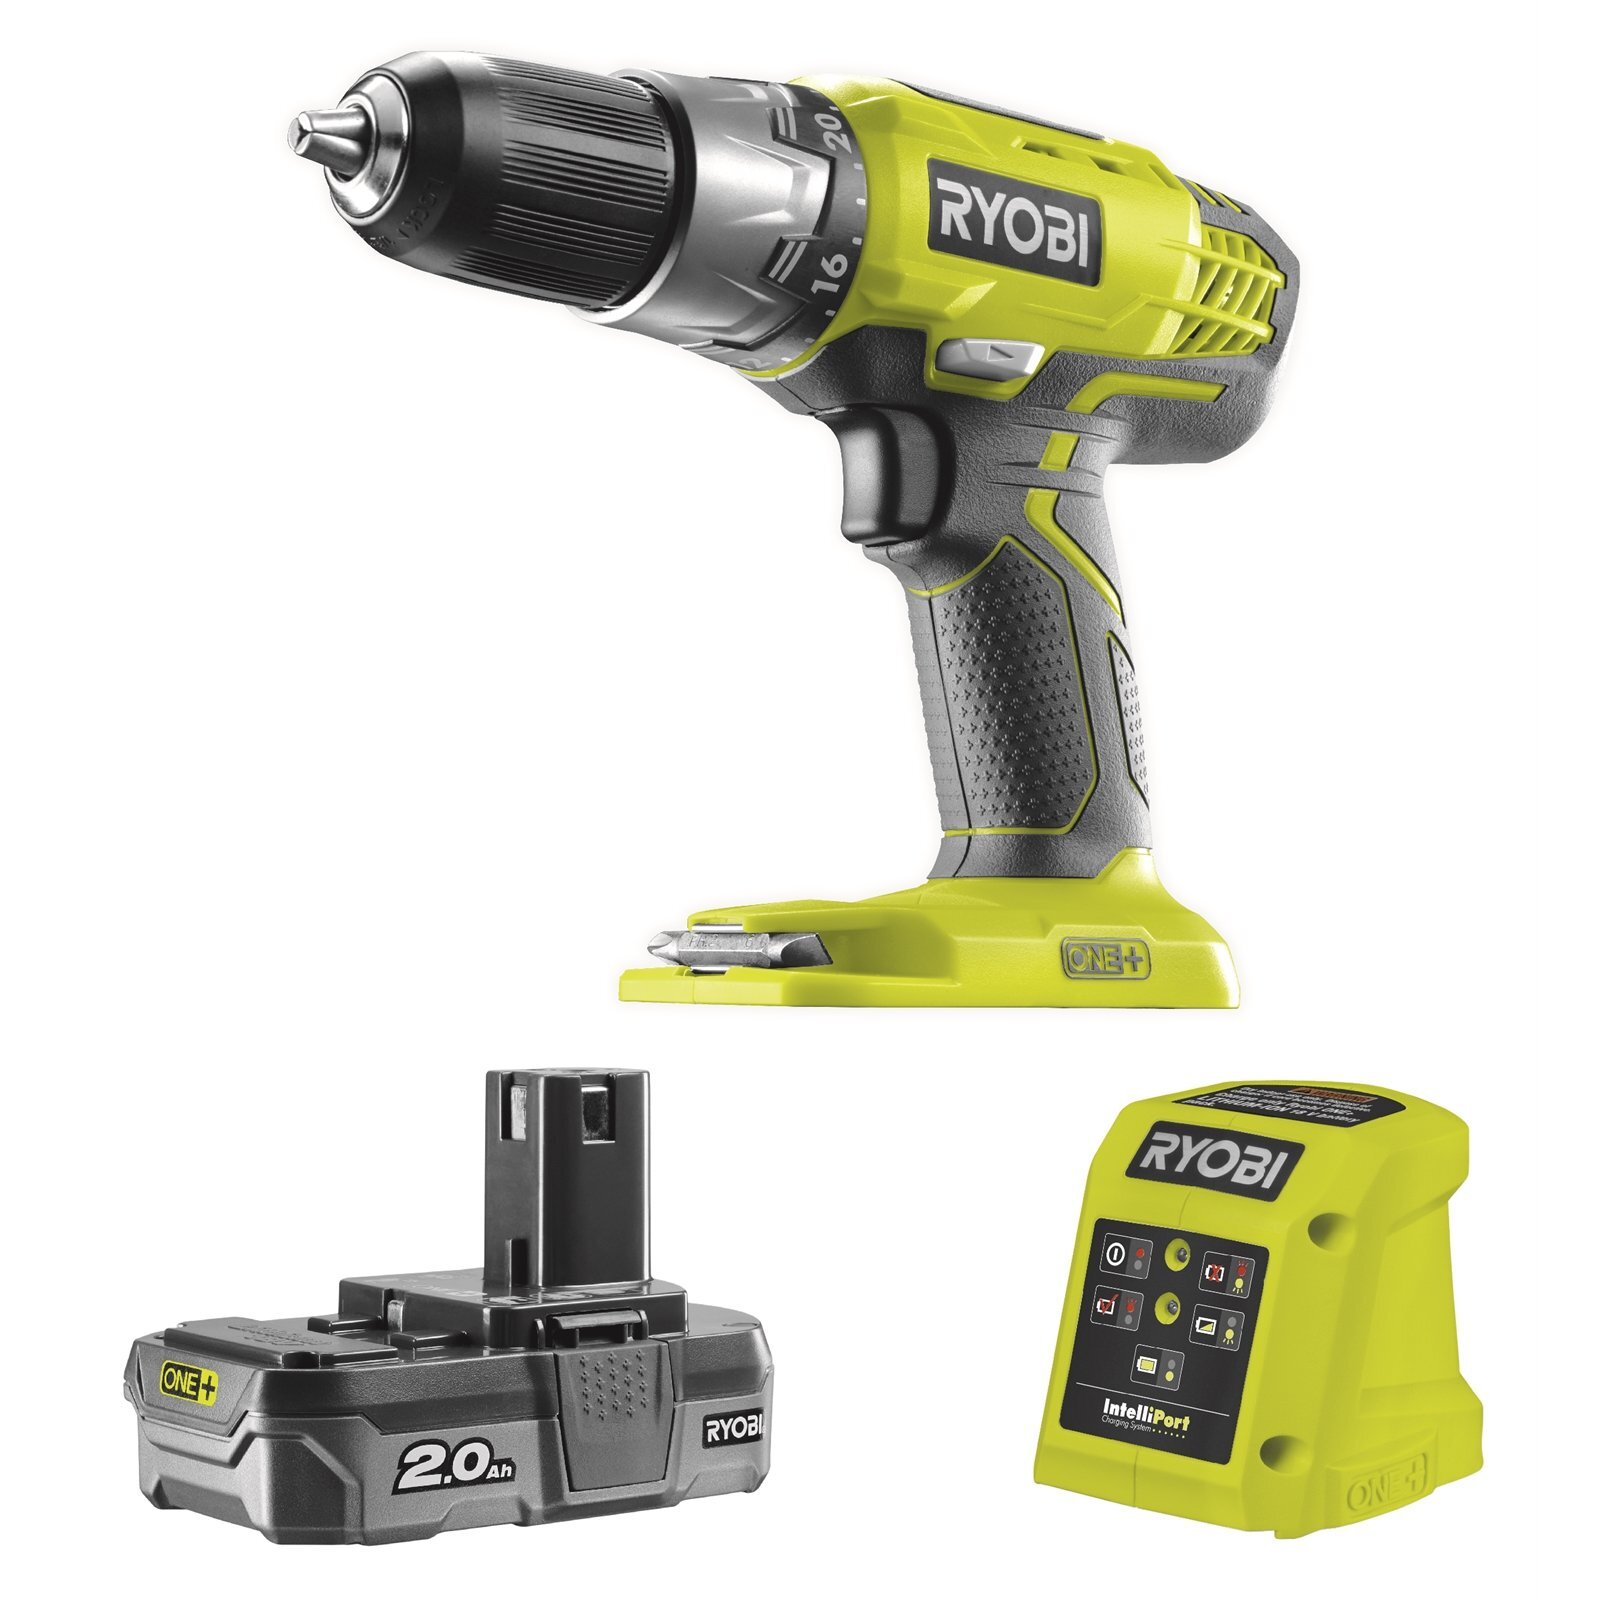
Another important aspect to note is that the Ryobi Spiral Screw Extractor is suited for use with power drills, making the process of removing stubborn screws faster and more efficient. However, it can also be used manually with a wrench or pliers if a power drill is not available. The versatility of this tool allows both professionals and DIYers to tackle a wide range of projects.
Overall, the Ryobi Spiral Screw Extractor is designed to simplify the process of removing damaged screws. Its innovative design and reliable performance make it a valuable addition to any toolbox.
Step-by-Step Guide: How to Use the Ryobi Spiral Screw Extractor
Using the Ryobi Spiral Screw Extractor is a straightforward process. Follow these simple steps to effectively remove damaged screws:
- Start by selecting the appropriate size extractor from your Ryobi Spiral Screw Extractor set. The extractor should match the diameter of the damaged screw.
- Attach the extractor to your power drill by inserting it into the chuck and tightening it securely. Make sure it is centered.
- Set your power drill to reverse mode. This is important as the extractor is designed to turn counterclockwise to remove the screw.
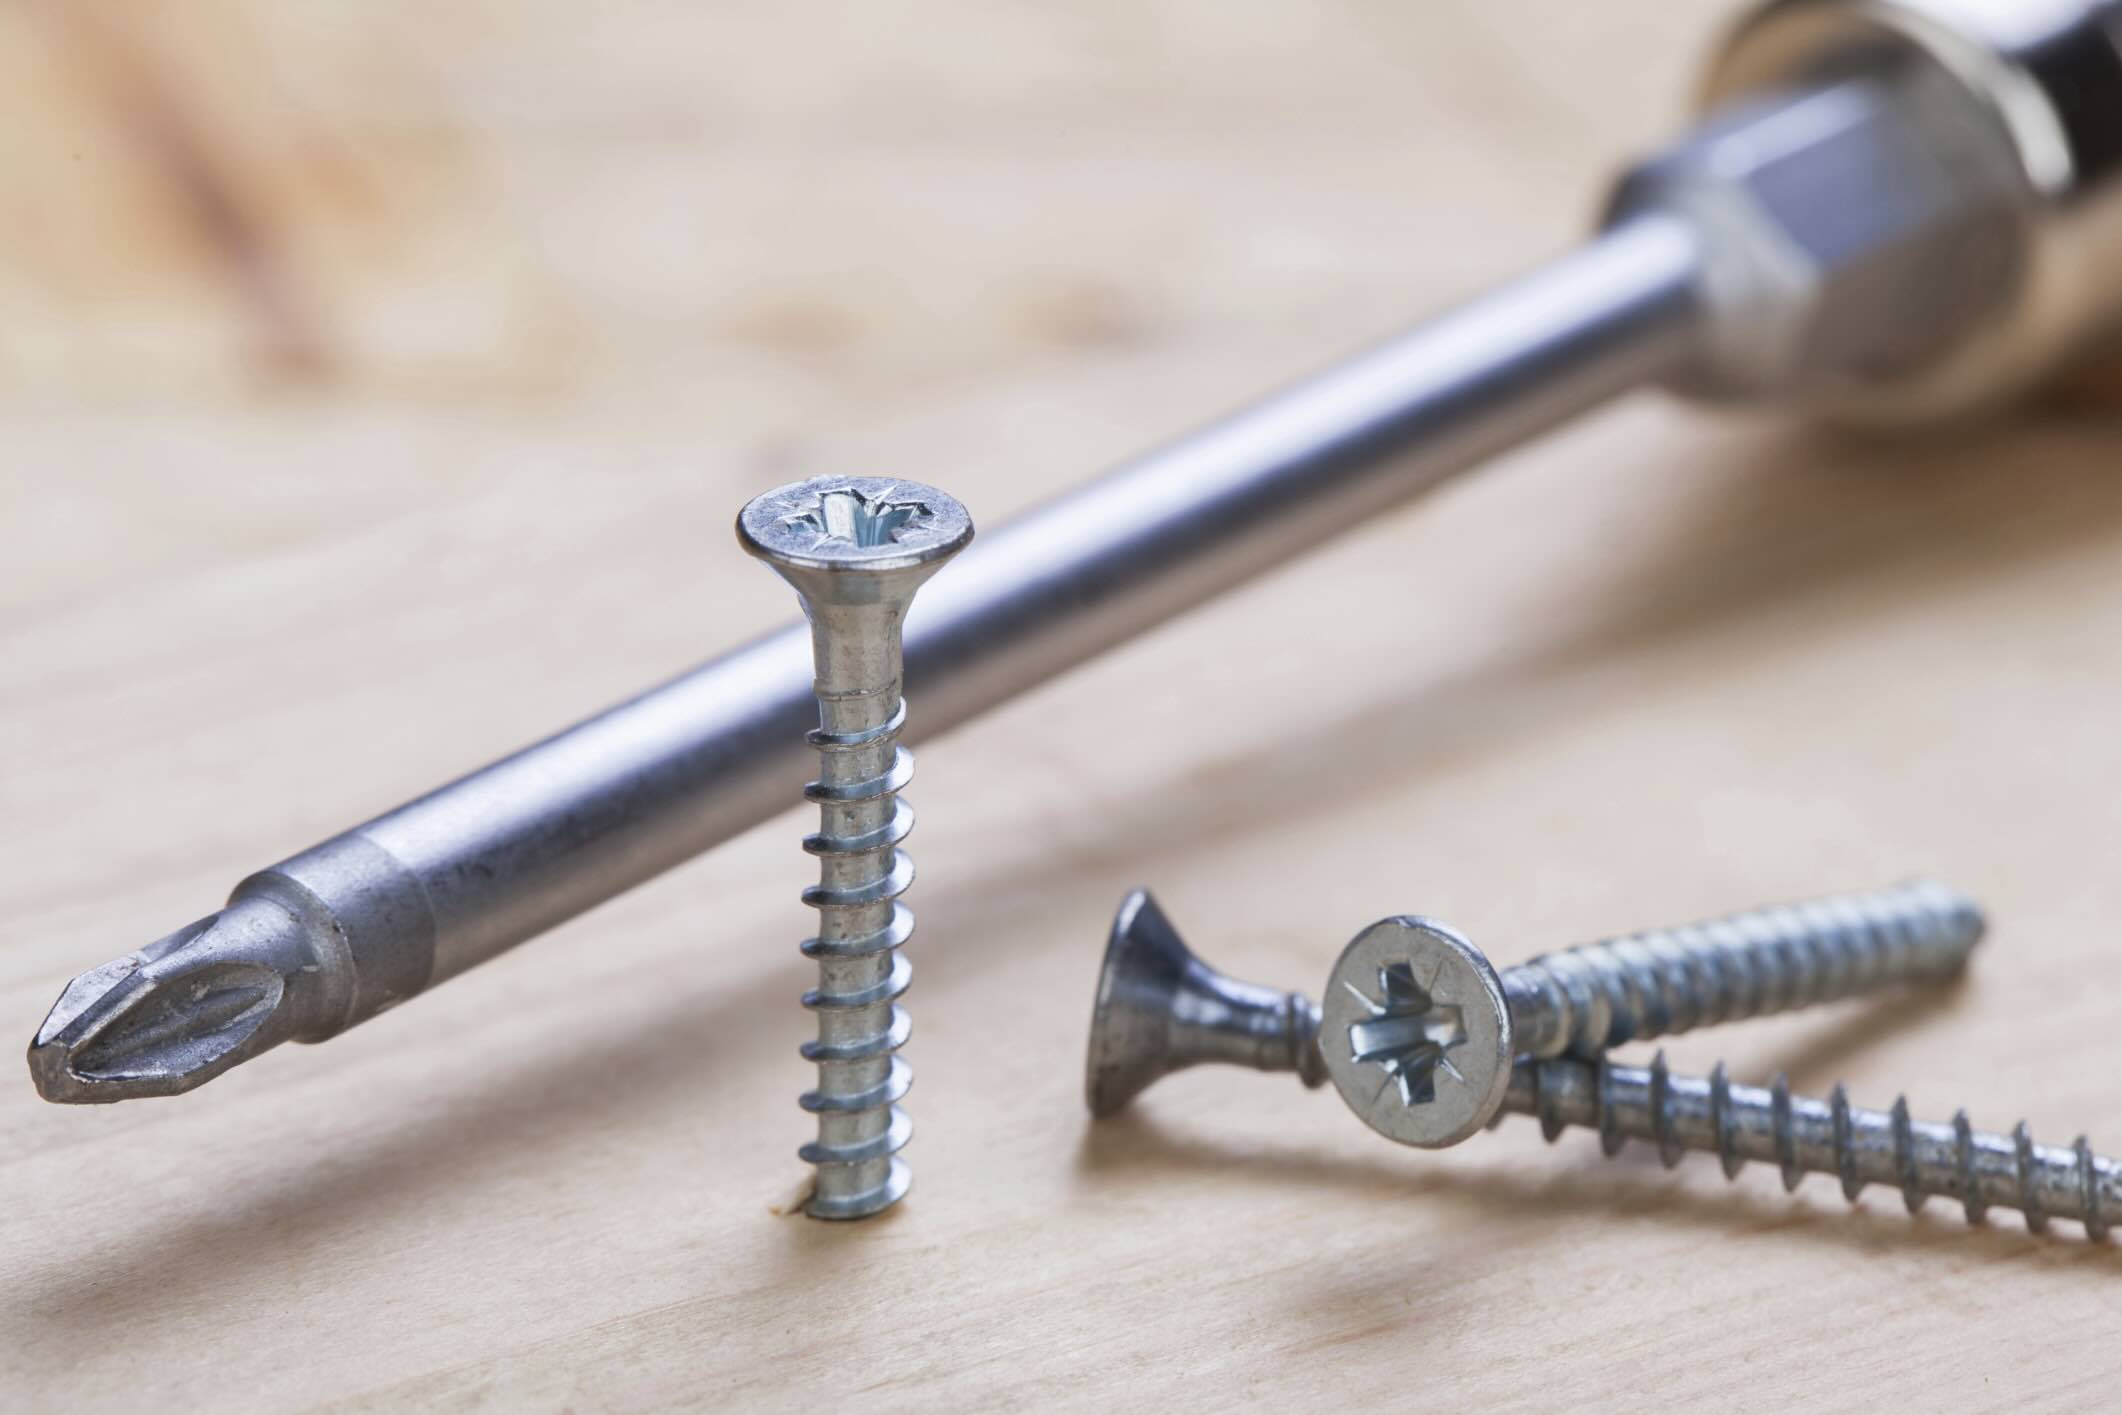
- Position the extractor tip on the center of the damaged screw and apply gentle pressure to create a pilot hole. Make sure the pilot hole is deep enough to accommodate the extractor.
- Increase the drill speed to a moderate setting, and apply additional pressure to help the extractor bite into the screw.
- Gently squeeze the trigger on your power drill to start extracting the screw. Keep the drill at a steady speed and apply consistent pressure.
- As the extractor bites into the screw, you will feel resistance. This is a good sign that it is gripping the screw securely.
- Continue drilling in reverse until the damaged screw is completely removed.
- Once the screw is extracted, detach the Ryobi Spiral Screw Extractor from the power drill and clean off any debris or residue.
It’s important to note that if the extracted screw is still stuck in the extractor, you can use pliers or a wrench to grip the extractor and unscrew it manually.
Remember to take your time and apply steady pressure during the extraction process. Rushing or using excessive force can lead to further damage to the screw or the surrounding material.
By following these step-by-step instructions, you’ll be able to effectively use the Ryobi Spiral Screw Extractor to remove even the most stubborn damaged screws.
When using a Ryobi spiral screw extractor, make sure to drill a small pilot hole in the center of the damaged screw before using the extractor. This will help the extractor grip the screw and make the removal process easier.
Tips and Precautions for Using the Ryobi Spiral Screw Extractor
While using the Ryobi Spiral Screw Extractor is relatively straightforward, it’s always helpful to keep a few tips and precautions in mind for a smooth and successful extraction process:
- Before beginning the extraction process, ensure that the area around the damaged screw is clear of any obstructions. This will give you better access and prevent any accidents or damage to nearby surfaces.
- If the screw is very tightly embedded or rusted, applying a penetrating oil or rust dissolver beforehand can help loosen it, making the extraction process easier.
- Always select the correct size extractor. Attempting to use a larger or smaller extractor may result in an ineffective grip or cause further damage to the screw or surrounding material.
- Take caution to align the extractor tip in the center of the damaged screw to ensure a proper grip. Off-center positioning may cause the extractor to slip or strip the screw further.
- Start with a slow and steady drilling speed, gradually increasing it as the extractor gains a firmer grip on the screw. Avoid using excessive speed or force, as it can lead to the extractor breaking or causing damage to the material.
- If the extractor becomes stuck in the screw, carefully use pliers or a wrench to grip the extractor and undo it. Be cautious not to apply excessive force, as this can damage the extractor or the screw.
- After successfully removing the damaged screw, inspect the surrounding area for any signs of excessive damage. If necessary, repair or reinforce the material to ensure proper functionality.
- Once you have finished using the Ryobi Spiral Screw Extractor, clean it thoroughly, removing any debris or residue. This will help preserve its performance and extend its lifespan.
- If you encounter a particularly challenging or stubborn screw, don’t hesitate to seek professional assistance. Sometimes, specialized tools and expertise are required to remove certain types of screws.
By following these tips and precautions, you can enhance your experience using the Ryobi Spiral Screw Extractor and ensure safe and efficient screw extraction in various applications.
Frequently Asked Questions (FAQs)
Here are some commonly asked questions about using the Ryobi Spiral Screw Extractor:
- Can the Ryobi Spiral Screw Extractor be used on any type of screw?
The Ryobi Spiral Screw Extractor is designed to be compatible with a wide range of screw types, including Phillips, slotted, hex, and Torx. However, it is important to choose the appropriate size extractor to ensure a proper fit and grip. - What if the damaged screw is too small for the extractor?
If the damaged screw is too small for the Ryobi Spiral Screw Extractor, you may need to consider alternative methods such as drilling a small hole into the screw and using pliers or an easy-out tool to remove it. - What should I do if the extractor breaks or gets stuck in the screw?
If the extractor breaks or gets stuck in the screw, you can try using pliers or a wrench to grip and remove it. If that fails, you may need to consult a professional or consider using a different extraction method. - Can the Ryobi Spiral Screw Extractor be used manually without a power drill?
Yes, the Ryobi Spiral Screw Extractor can be used manually with a wrench or pliers. While using a power drill offers more convenience and speed, manual extraction can be effective for smaller projects or when a power drill is not available. - How do I maintain and store the Ryobi Spiral Screw Extractor?
After use, make sure to clean the extractor thoroughly, removing any debris or residue. Store it in a dry and secure place, keeping it away from moisture and extreme temperatures to prevent rust or damage. Additionally, periodically check for any signs of wear or damage and replace the extractor if necessary.
If you have further questions or concerns about using the Ryobi Spiral Screw Extractor, it’s recommended to refer to the manufacturer’s instructions or contact customer support for assistance.
Read more: How To Use Ryobi Sander
Conclusion
The Ryobi Spiral Screw Extractor is a valuable tool that can save you time and frustration when dealing with damaged or stripped screws. Its innovative design and reliable performance make it a must-have in any toolbox, whether you’re a professional tradesperson or a DIY enthusiast.
By understanding the design and functionality of the Ryobi Spiral Screw Extractor, you can confidently tackle a variety of projects, knowing that you have the right tool for the job. The step-by-step guide we provided gives you clear instructions on how to effectively use the extractor to remove damaged screws.
Remember to follow the tips and precautions mentioned to ensure safe and successful extraction. Taking the time to select the correct size extractor, align it properly, and apply steady pressure will lead to better results and minimize the risk of further damage.
If you encounter any challenges or have specific questions, consult the manufacturer’s instructions or seek professional assistance. It’s important to approach each project with caution and use the appropriate tools and techniques.
With the Ryobi Spiral Screw Extractor in your toolbox, you can confidently take on any project that involves removing damaged screws. Say goodbye to frustration and hello to efficiency as you effortlessly extract stubborn screws and complete your projects with ease.
In conclusion, the Ryobi Spiral Screw Extractor is a reliable and effective tool that should be a staple in every DIYer’s toolkit. Its versatility, durability, and ease of use make it a valuable asset in any project that involves removing damaged screws. So, get your hands on this tool and experience hassle-free screw extraction like never before!
Frequently Asked Questions about How To Use Ryobi Spiral Screw Extractor
Was this page helpful?
At Storables.com, we guarantee accurate and reliable information. Our content, validated by Expert Board Contributors, is crafted following stringent Editorial Policies. We're committed to providing you with well-researched, expert-backed insights for all your informational needs.


0 thoughts on “How To Use Ryobi Spiral Screw Extractor”