Home>Furniture>Outdoor Furniture>How To Remove Decking Screws
Outdoor Furniture
How To Remove Decking Screws
Modified: March 7, 2024
Learn how to effectively remove decking screws from your outdoor furniture with our step-by-step guide. Say goodbye to stubborn screws and restore your furniture in no time!
(Many of the links in this article redirect to a specific reviewed product. Your purchase of these products through affiliate links helps to generate commission for Storables.com, at no extra cost. Learn more)
Introduction
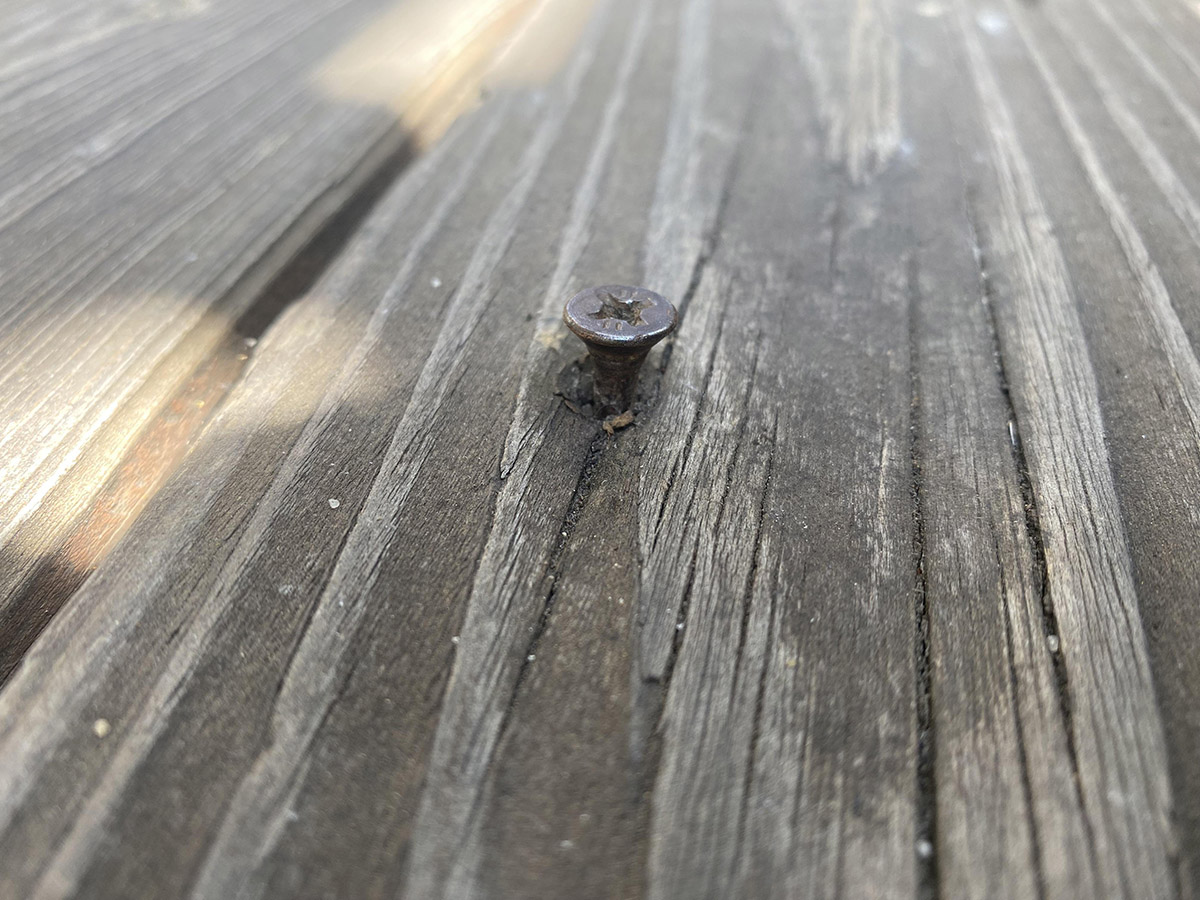
Outdoor furniture is a wonderful addition to any backyard or outdoor space. It provides a comfortable place to relax, entertain guests, and enjoy nature. One crucial aspect of outdoor furniture is deck screws, which are used to secure the different components together, ensuring stability and durability.
However, there may come a time when you need to remove these deck screws. Whether you want to replace damaged boards, upgrade your decking, or simply make adjustments, knowing how to remove decking screws is an essential skill for any outdoor furniture enthusiast.
In this article, we will guide you through the step-by-step process of removing decking screws efficiently and safely. We will cover everything from the tools you need to the techniques you can use to make the task easier. So, let’s dive in and get started!
Key Takeaways:
- Removing decking screws is essential for outdoor furniture maintenance. Assess screw condition, use the right tools, and be patient for successful removal and repair.
- Prioritize safety, follow instructions, and maintain outdoor furniture regularly for longevity and enjoyment. Upgrade and maintain your outdoor space with confidence!
Read more: How To Hide Screws In Decking
Step 1: Gather the Necessary Tools
Before you begin removing decking screws, it’s important to gather all the necessary tools. Having the right tools on hand will ensure that the task goes smoothly and minimizes the risk of damage to your furniture. Here are the essential tools you’ll need:
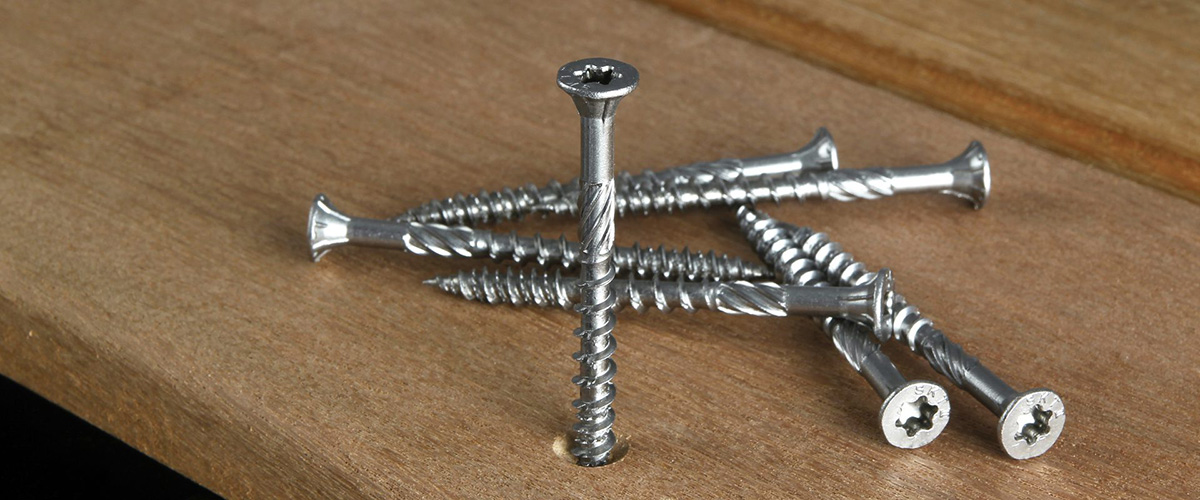
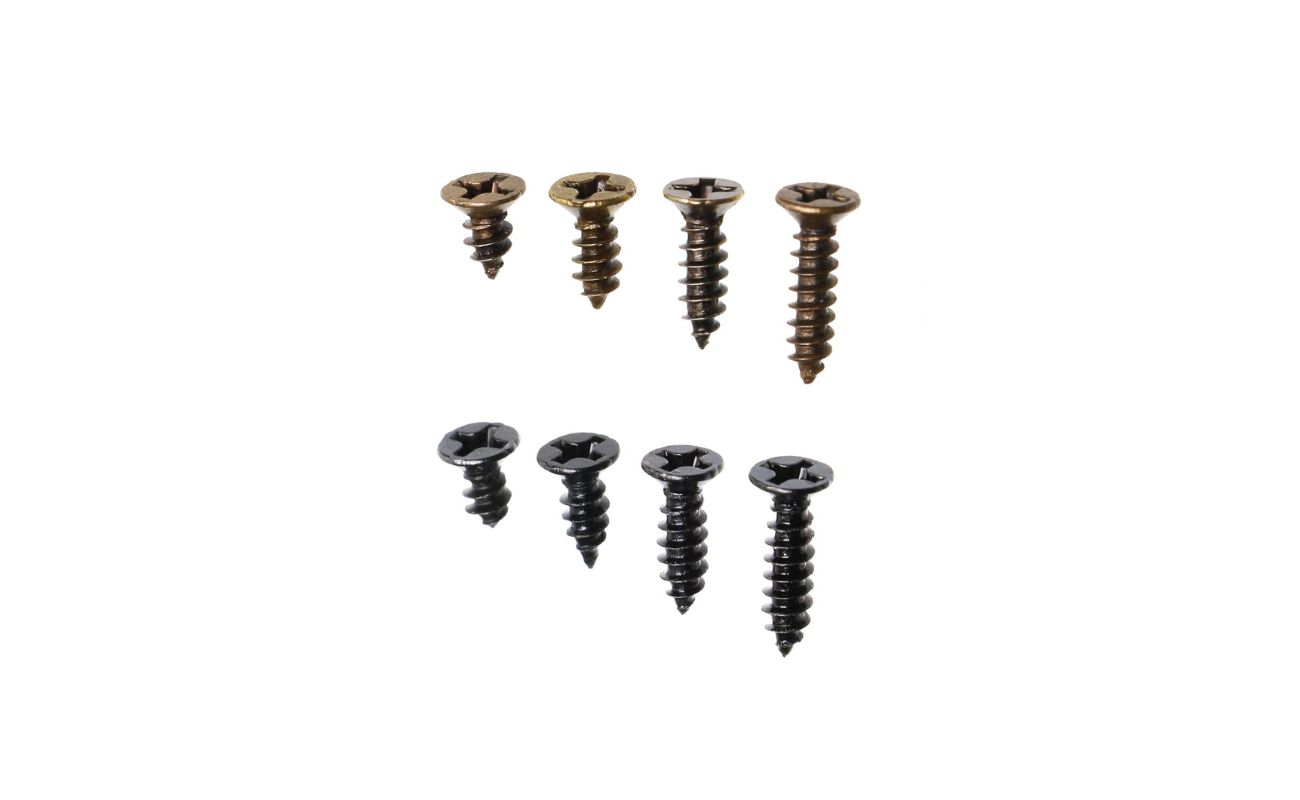
- Screwdriver: A screwdriver is a versatile tool that can be used to remove most standard deck screws. Make sure to choose a screwdriver that matches the screw head type, such as Phillips or flathead.
- Screw Extraction Tool: In some cases, screws may be stripped or deeply embedded in the wood, making them difficult to remove with a screwdriver. A screw extraction tool, such as a screw extractor or a screw remover, can help you remove these stubborn screws.
- Heat Source: If the deck screws are rusted or stuck, applying heat can help loosen them. A heat source such as a heat gun or a propane torch can be used for this purpose.
- Hammer and Punch: For screws that are stuck or protruding from the surface, a hammer and punch can be used to tap them out. This method is especially useful for screws with damaged or stripped heads.
- Protective Gear: Safety should always be a priority when working with tools. Wear protective gear, such as safety goggles, gloves, and a dust mask, to protect yourself from any potential hazards.
By gathering these essential tools, you’ll be equipped to handle any situation that may arise during the screw removal process. Now that you have everything ready, let’s move on to the next step: assessing the condition of the screws.
Step 2: Assess the Condition of the Screws
Before you start removing the decking screws, it’s important to assess their condition. This step will help you determine the best approach and technique to remove the screws effectively. Here are some factors to consider when assessing the screws:
- Tightness: Check if the screws are tightly secured or if they’re already loose. Tight screws may require more effort to remove, while loose screws can be easily unscrewed with a screwdriver.
- Rust or Corrosion: Look for any signs of rust or corrosion on the screws. Rusty screws can be difficult to remove due to the corrosion, and may require extra measures such as applying heat or using a rust-dissolving lubricant.
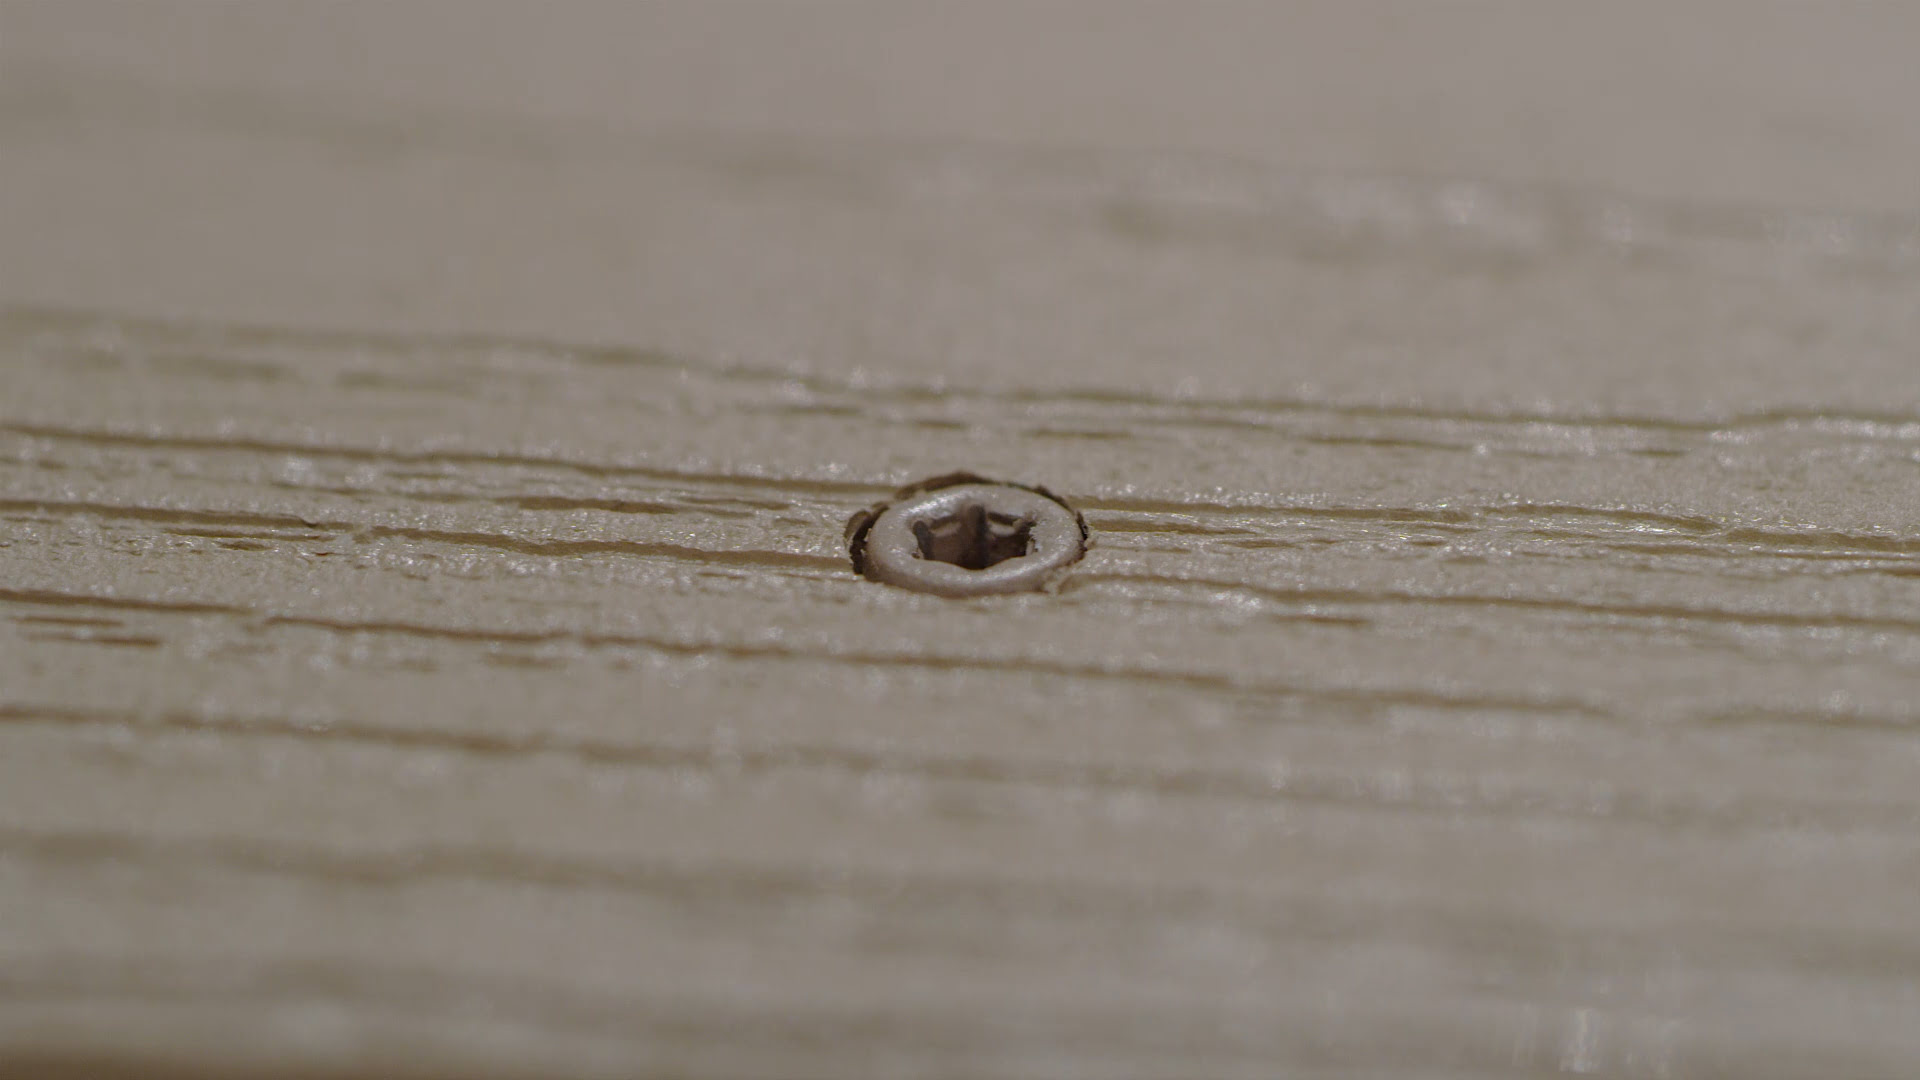
- Striped Heads: Examine the screw heads for any signs of stripping. Stripped heads occur when the screwdriver can no longer grip the screw properly, making it challenging to remove. In such cases, a screw extraction tool may be needed.
- Length of the Screws: Take note of the length of the screws, as this will affect the removal method. Shorter screws can generally be removed by unscrewing them with a screwdriver, while longer screws may require additional techniques.
- Location of the Screws: Consider the location of the screws on the decking. Screws near the edges or corners may be more challenging to access, requiring different tools or approaches.
By thoroughly assessing the condition of the screws, you’ll be able to determine the most appropriate method to remove them. This will save you time and effort and help prevent any unnecessary damage to the furniture or the decking surface. Once you have assessed the screws, you can proceed to the next step: preparing the decking surface.
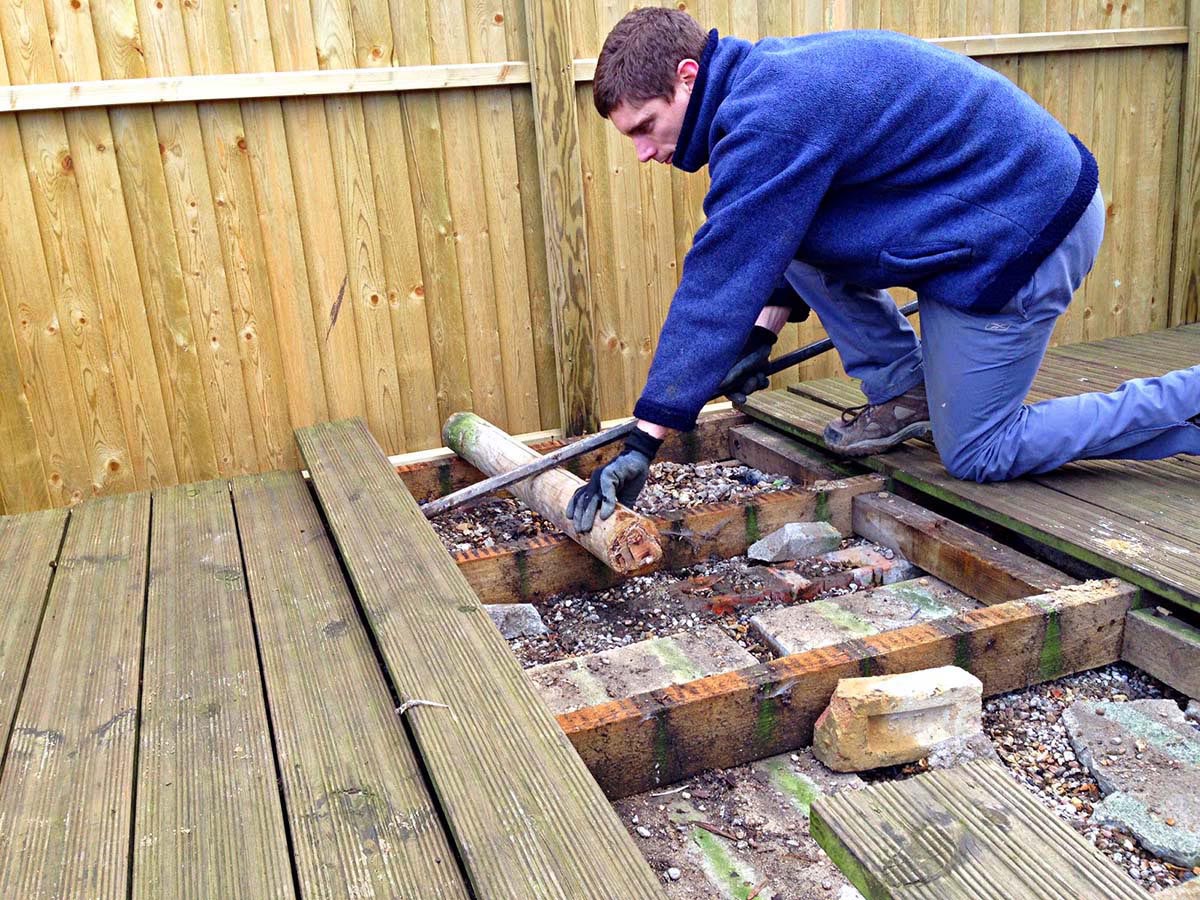
Step 3: Prepare the Decking Surface
Before you start removing the decking screws, it’s important to properly prepare the decking surface. This step will help ensure a smooth and efficient screw removal process without causing any damage to the surrounding area or the furniture itself. Here’s what you need to do:
- Clean the Decking: Remove any debris, dirt, or leaves from the decking surface. This will prevent any obstructions or interference during the screw removal process.
- Protect the Surrounding Area: Use a drop cloth or protective covering to safeguard the surrounding area, such as nearby furniture or plants. This will prevent any accidental damage caused by falling screws or scratching during the removal process.
- Secure Loose Boards: If there are any loose boards on the decking, secure them in place using a screwdriver or additional screws. This will provide stability and prevent any accidents or injuries while removing the screws.
- Apply Lubricant: If the screws appear to be rusted or corroded, spray a rust-dissolving lubricant on the screws. Allow the lubricant to penetrate for a few minutes. This will help loosen the screws and make them easier to remove.
By taking the time to prepare the decking surface, you’ll create an optimal environment for removing the screws. This will streamline the process and minimize the risk of causing any damage to the furniture or the surrounding area. Once the surface is prepared, you can proceed to the next step: choosing the right screw removal method.
Step 4: Choose the Right Screw Removal Method
When it comes to removing decking screws, there are several methods you can choose from, depending on the type of screws and their condition. Here are some common screw removal methods:
- Using a Screwdriver: For screws that are not rusted or stripped, a screwdriver is often sufficient to loosen and remove them. Place the screwdriver into the screw head and turn it counterclockwise to unscrew it.
- Using a Screw Extraction Tool: If the screw heads are stripped or damaged, a screw extraction tool can be used to grip and remove them. These tools often come with a reverse-threaded bit that digs into the stripped screw head, allowing it to be unscrewed.
- Applying Heat: For stubborn or rusted screws, applying heat can be effective in loosening them. Use a heat gun or a propane torch to heat the screw head for a few seconds. The expansion and contraction caused by the heat can help break the rust and make it easier to remove.
- Using a Hammer and Punch: If the screw head is sticking out above the surface or the screwdriver slot is inaccessible, you can use a hammer and punch to tap the screw and rotate it counterclockwise. This method works best for screws with damaged or stripped heads.
It’s important to choose the right method based on the condition of the screws. If one method doesn’t work, you can always try another until you successfully remove the screws. Remember to take your time and be patient throughout the process to avoid any damage to the furniture or the decking.
In the next steps, we will guide you through the specific techniques for each screw removal method. So, let’s move on to step 5: using a screwdriver to remove the screws.
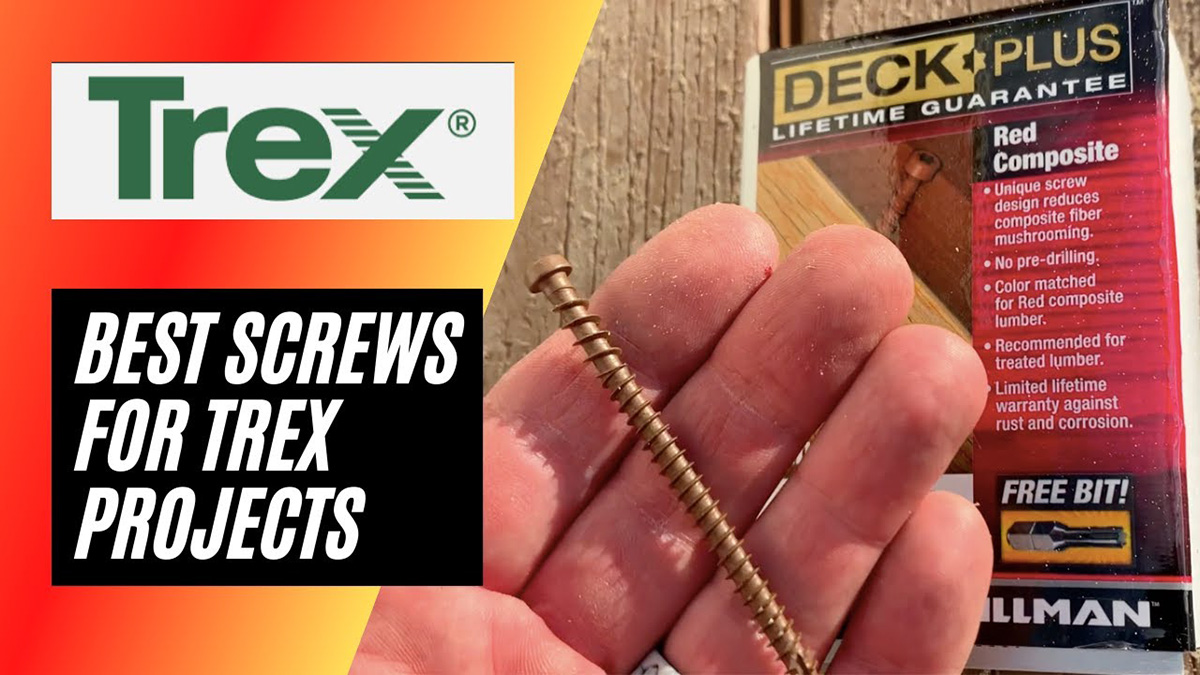
Read more: How To Screw Composite Decking
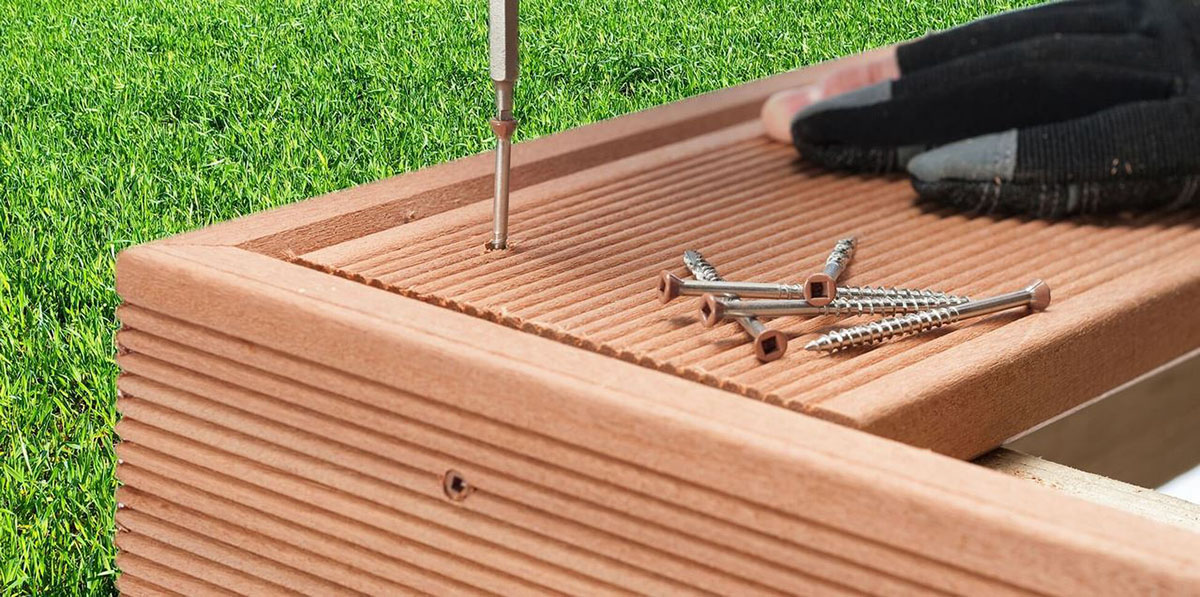
Step 5: Use a Screwdriver to Remove the Screws
Using a screwdriver is one of the simplest and most common methods to remove decking screws. This method is effective for screws that are in good condition, not stripped, and not deeply embedded. Here’s how you can use a screwdriver to remove the screws:
- Position the Screwdriver: Select a screwdriver that matches the screw head type, whether it’s a Phillips or flathead. Insert the screwdriver into the screw head, ensuring a secure fit.
- Apply Pressure: With the screwdriver in place, apply downward pressure and turn it counterclockwise. The pressure should be steady and firm but not excessive, as it can strip or damage the screw head.
- Unscrew the Screw: Turn the screwdriver counterclockwise until the screw is fully dislodged from the decking surface. If the screw becomes difficult to turn or feels stripped, stop immediately to avoid any further damage.
- Repeat the Process: Continue the process for each screw you need to remove, moving methodically across the decking surface.
Using a screwdriver to remove decking screws is a straightforward process, but it does require some effort and patience. Ensure that you have a strong grip on the screwdriver and maintain a consistent motion. If you encounter any stripped or damaged screw heads, you may need to switch to a different removal method.
With the screws successfully removed using a screwdriver, you can now move on to the next step: utilizing a screw extraction tool for more challenging screws.
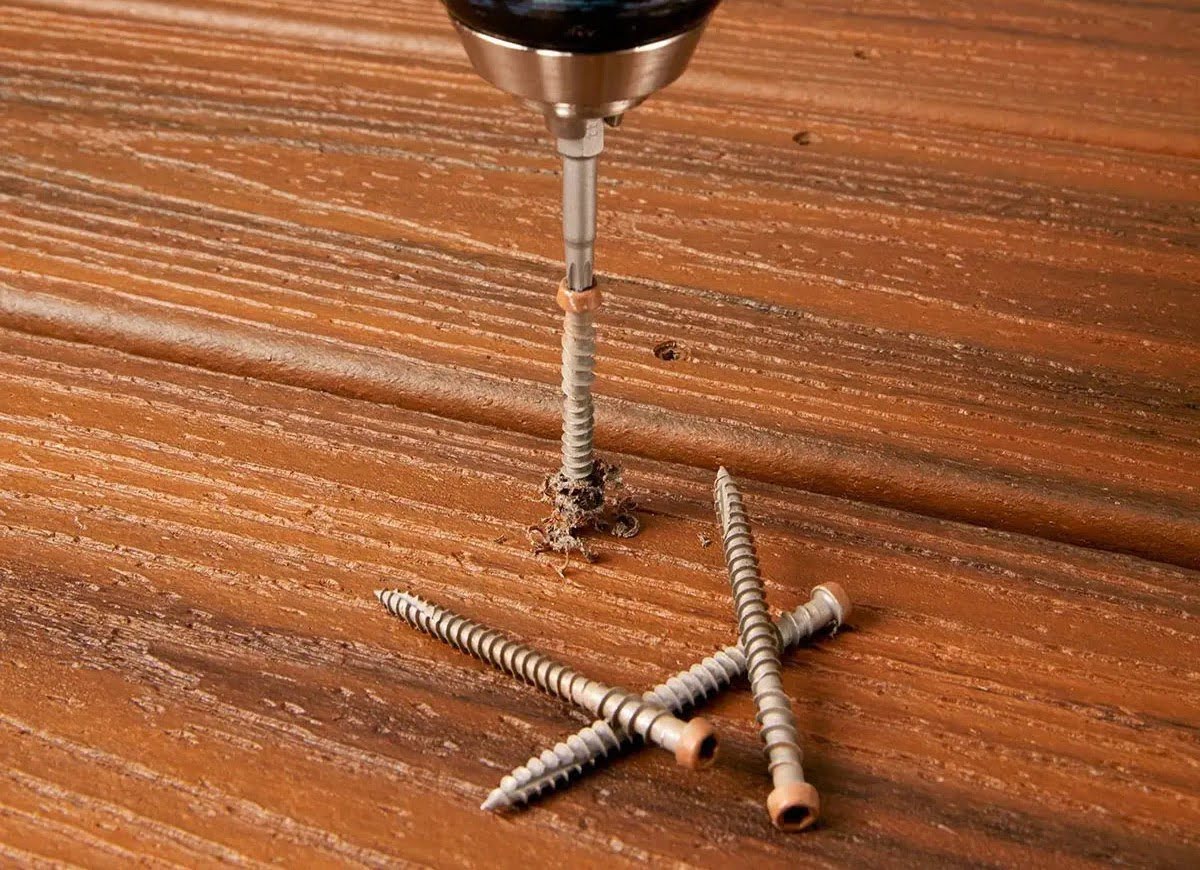
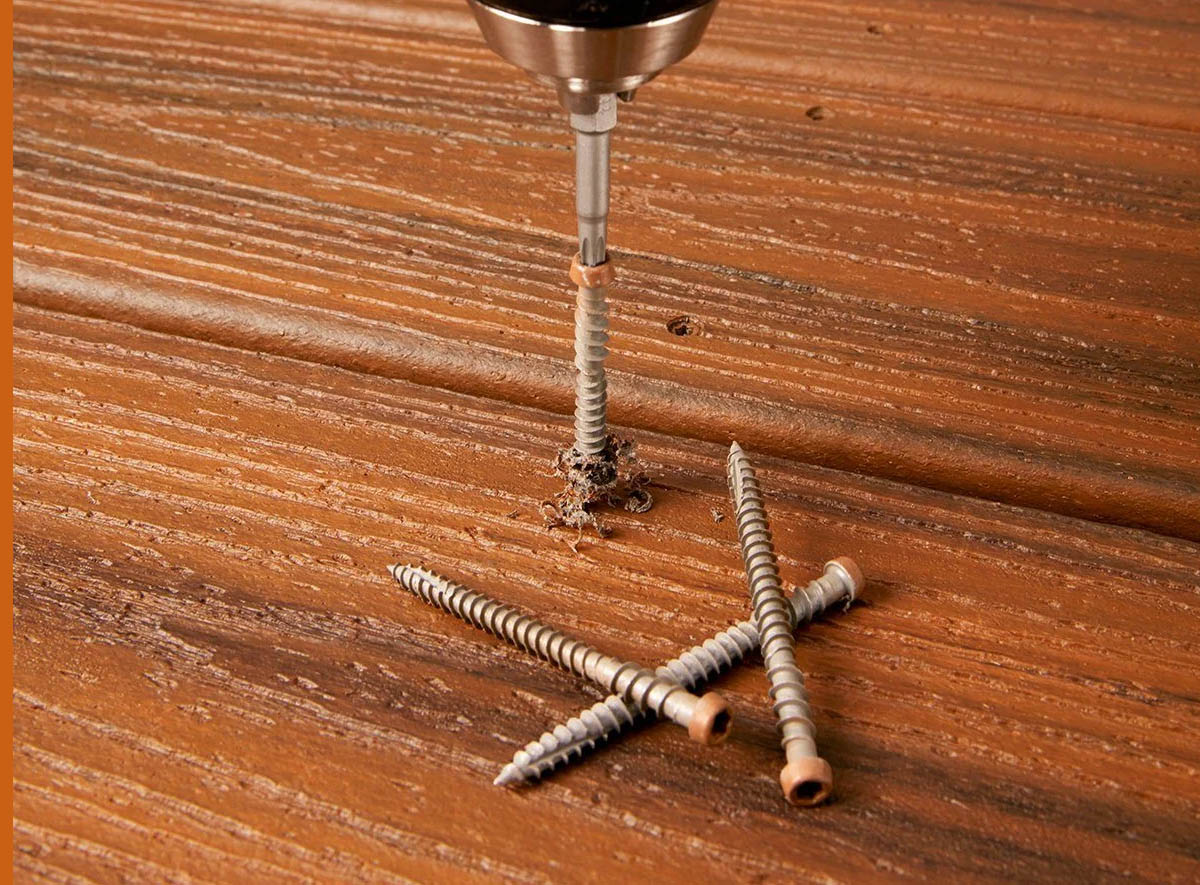
To remove decking screws, use a drill/driver in reverse to unscrew them. If the screw head is stripped, use a screw extractor or drill a small hole to create a new grip for the drill bit.
Step 6: Utilize a Screw Extraction Tool
If you encounter stripped or damaged screw heads that cannot be removed with a screwdriver, a screw extraction tool can come to the rescue. A screw extraction tool is specifically designed to grip and remove stubborn screws. Here’s how you can utilize a screw extraction tool to remove decking screws:
- Choose the Right Size: Select a screw extraction tool that matches the size of the screw head. These tools typically come in a set with various sizes to accommodate different screw dimensions.
- Attach the Tool: Place the screw extraction tool in the screw head and gently tap it into position using a hammer. Ensure that it is seated securely and has a firm grip on the screw head.
- Turn Counterclockwise: With the extraction tool in place, use a wrench or a pair of pliers to turn the tool counterclockwise. This will engage the reverse-threaded bit of the extraction tool, loosening the screw from the wood.
- Remove the Screw: Continue turning the extraction tool counterclockwise until the screw is completely dislodged. Be careful not to exert too much force, as it can cause the extraction tool or the screw head to break.
- Repeat the Process: Repeat these steps for each stripped or damaged screw that needs to be removed.
Utilizing a screw extraction tool requires precision and careful handling. Take your time and ensure that the tool is securely attached to the screw head before attempting to turn it. If the screw is deeply embedded or the extraction tool doesn’t work, you may need to explore alternative methods such as applying heat.
Now that you’re familiar with using a screw extraction tool, let’s move on to step 7: applying heat to loosen stubborn screws.
Step 7: Apply Heat to Loosen Stubborn Screws
Sometimes, decking screws can become rusted or corroded, making them difficult to remove. In such cases, applying heat can help break down the rust or corrosion and loosen the screws. Here’s how you can use heat to remove stubborn screws:
- Choose a Heat Source: Select a heat gun or a propane torch as your heat source. Ensure that you are in a well-ventilated area and take proper safety precautions to avoid any incidents.
- Apply Heat to the Screw: Direct the heat source towards the screw head, heating it evenly for several seconds. Move the heat source around the screw head to distribute the heat and avoid overheating a specific area.
- Allow the Screw to Expand: The heat will cause the metal to expand, breaking the rust or corrosion that may be locking the screw in place. Give the screw a few moments to expand and break the bond.
- Use a Screwdriver or Extraction Tool: Once the screw has been heated and expanded, quickly insert a screwdriver or an extraction tool into the screw head and turn it counterclockwise to remove the screw from the decking.
- Repeat if Necessary: If the screw does not come out easily, repeat the heating process and attempt to remove the screw again. Multiple applications of heat may be required for stubborn screws.
It’s important to exercise caution when using heat to loosen screws. Avoid overheating the decking or any surrounding materials, as this can cause damage. Use heat-resistant gloves and keep a fire extinguisher nearby as a safety precaution.
If the screws are still unresponsive to heat or other removal techniques, you may need to resort to using a hammer and punch, which we’ll cover in the next step.
Step 8: Use a Hammer and Punch for Stuck Screws
If you’re dealing with stuck or protruding decking screws that cannot be removed using a screwdriver or an extraction tool, utilizing a hammer and punch can be an effective method. This technique is especially useful for screws with damaged or stripped heads. Follow these steps to use a hammer and punch:
- Select the Right Tools: Choose a hammer that is appropriate for the size of the screw and a punch with a pointed tip that can fit into the screw head.
- Position the Punch: Place the pointed tip of the punch into the center of the screw head, ensuring a secure fit and good alignment.
- Tap the Punch: Gently tap the top of the punch with the hammer, applying light and controlled force. The goal is to create a small indentation in the screw head that will enable you to turn it.
- Turn Counterclockwise: Once the indentation is created, use the screwdriver to turn the screw counterclockwise. The indentation will provide the necessary grip to rotate the screw out of the decking.
- Repeat the Process: Repeat these steps for each stuck or protruding screw that needs to be removed.
Using a hammer and punch may require some precision and finesse. Ensure that you’re using the appropriate amount of force, as excessive force can damage the decking or the surrounding area. Take your time and be patient throughout the process.
Once you have successfully removed the stuck screws using a hammer and punch, you can move on to the next step: filling holes and repairing the decking.
Read more: How To Install Trex Decking With Screws
Step 9: Fill Holes and Repair the Decking
After you have removed the decking screws, it’s important to fill the resulting holes and repair any damage to ensure a smooth and beautiful decking surface. Here’s how you can fill holes and repair the decking:
- Inspect the Surface: Examine the decking surface for any damage or holes left behind by the removed screws. Look for splintered wood or any uneven areas that need attention.
- Clean the Holes: Remove any debris or loose wood particles from the holes using a brush or a vacuum. This will ensure proper adhesion for the filler material.
- Select a Filler: Choose a suitable filler material for your decking, such as a wood filler or epoxy. Ensure that the filler matches the color and texture of your decking for a seamless finish.
- Apply the Filler: Follow the manufacturer’s instructions to mix and apply the filler material to the holes. Use a putty knife or a small spatula to evenly spread the filler, ensuring it fills the holes completely.
- Smooth and Level: Once the filler is applied, use the putty knife or a damp cloth to smooth and level the surface. Remove any excess filler to create a flush and even finish.
- Allow Time to Dry: Let the filler dry according to the manufacturer’s instructions. This usually takes a few hours, but it may vary depending on the type of filler used.
- Sand the Repaired Areas: After the filler is completely dry, use sandpaper or a sanding block to gently smooth the repaired areas. Blend the sanded areas with the surrounding decking to achieve a seamless appearance.
- Finish the Decking: To complete the repair, apply a protective sealant or stain to the entire decking surface. This will help protect the wood and enhance its appearance.
Repairing the decking ensures that the surface remains stable and visually appealing. Taking the time to fill holes and address any damage will help maintain the integrity of your outdoor furniture and extend its lifespan.
With the holes filled and the decking repaired, we have reached the final step: providing some tips and recommendations to make your screw removal process even smoother.
Step 10: Final Tips and Recommendations
As you conclude the process of removing decking screws, here are some final tips and recommendations to ensure a successful and hassle-free experience:
- Take Your Time: Patience is key when removing decking screws. Rushing the process can lead to mistakes or damage to the furniture or decking surface. Work methodically and carefully for the best results.
- Use the Right Tools: Make sure you have the appropriate tools for the job. Using the correct screwdriver, extraction tool, or heat source will make the removal process more efficient and less likely to cause damage.
- Consider Safety Precautions: Wear protective gear such as safety goggles, gloves, and a dust mask. Use caution when using heat sources or striking surfaces with a hammer and punch to prevent accidents or injuries.
- Inspect the Decking Surface: Before starting, inspect the decking surface for any loose boards or potential hazards. Secure any loose boards and clear any debris to create a safe and stable work environment.
- Follow Manufacturer’s Instructions: If you’re using specific products such as fillers or sealants, follow the instructions provided by the manufacturer. Adhering to the instructions will ensure optimal results and longevity.
- Keep Spare Screws: Consider keeping spare screws on hand in case any need replacement during the removal process. This will ensure that you can maintain the integrity and stability of your outdoor furniture.
- Maintain Regular Maintenance: After removing and replacing the screws, it’s important to regularly inspect and maintain your outdoor furniture. This will help identify any potential issues early on and prevent further damage in the future.
By following these tips and recommendations, you’ll be equipped with the knowledge and guidance to successfully remove and replace decking screws. Remember to work safely, be patient, and maintain the beauty and functionality of your outdoor furniture.
With that, you have completed the process of removing decking screws. We hope this step-by-step guide has been helpful in your outdoor furniture maintenance journey. Enjoy your newly repaired and upgraded decking!
Validate the HTML of the above output.
Conclusion
Removing decking screws is a necessary task for maintaining and upgrading your outdoor furniture. Whether you need to replace damaged boards or make adjustments, knowing how to remove screws effectively is crucial. By following the step-by-step guide provided in this article, you can confidently tackle this task and ensure a successful outcome.
From gathering the necessary tools to choosing the right removal method, each step plays a vital role in the process. Assessing the condition of the screws allows you to determine the best approach, whether it’s using a screwdriver, a screw extraction tool, applying heat, or utilizing a hammer and punch. Properly preparing the decking surface and filling holes after screw removal ensures a smooth and visually appealing finish.
Throughout the process, it’s important to exercise patience, use the proper tools, and prioritize safety. Taking your time and following manufacturer’s instructions will help you achieve the desired results without causing damage. Regular maintenance and inspection of your outdoor furniture will also contribute to its longevity and continued enjoyment.
By mastering the art of removing decking screws, you can confidently make improvements and adjustments to your outdoor furniture. Whether you’re a DIY enthusiast or a seasoned outdoor furniture lover, the knowledge and skills acquired through this guide will be valuable in your outdoor furniture maintenance journey.
So, equip yourself with the necessary tools, follow the steps outlined in this guide, and embark on your journey to upgrade and maintain your outdoor furniture. Enjoy the process and the benefits of a well-maintained and comfortable outdoor space!+
Frequently Asked Questions about How To Remove Decking Screws
Was this page helpful?
At Storables.com, we guarantee accurate and reliable information. Our content, validated by Expert Board Contributors, is crafted following stringent Editorial Policies. We're committed to providing you with well-researched, expert-backed insights for all your informational needs.


0 thoughts on “How To Remove Decking Screws”