Articles
How To Stain Wood Furniture
Modified: November 1, 2024
Learn how to stain wood furniture and give it a fresh new look with our expert tips and techniques. Transform your furniture with the right stains and finishes for lasting beauty.
(Many of the links in this article redirect to a specific reviewed product. Your purchase of these products through affiliate links helps to generate commission for Storables.com, at no extra cost. Learn more)
Introduction
Welcome to the world of furniture staining! If you’re looking to enhance the natural beauty of your wooden furniture and give it a fresh new look, staining is the way to go. Staining not only adds color and depth to the wood but also helps to protect it from everyday wear and tear.
However, it’s important to approach staining with the right techniques and knowledge to ensure a successful outcome. In this article, we will guide you through the process of staining wood furniture, from choosing the right stain to applying it like a pro.
Before we dive into the process, let’s briefly discuss the benefits of staining your furniture. Not only does staining add a touch of elegance and sophistication to your pieces, but it can also help to bring out the natural grain and character of the wood. Additionally, staining can help to protect the wood from moisture, sunlight, and other environmental factors that can cause it to warp or deteriorate over time.
Now that we understand the importance and benefits of staining, let’s explore how to choose the right stain for your furniture.
Key Takeaways:
- Enhance the natural beauty of your wooden furniture and protect it from wear and tear by choosing the right stain, preparing the furniture, and applying the stain like a pro.
- Achieve a flawless and long-lasting finish by following expert tips, removing excess stain, and properly drying and finishing your wood furniture. Enjoy the creative and rewarding process of transforming your furniture with staining.
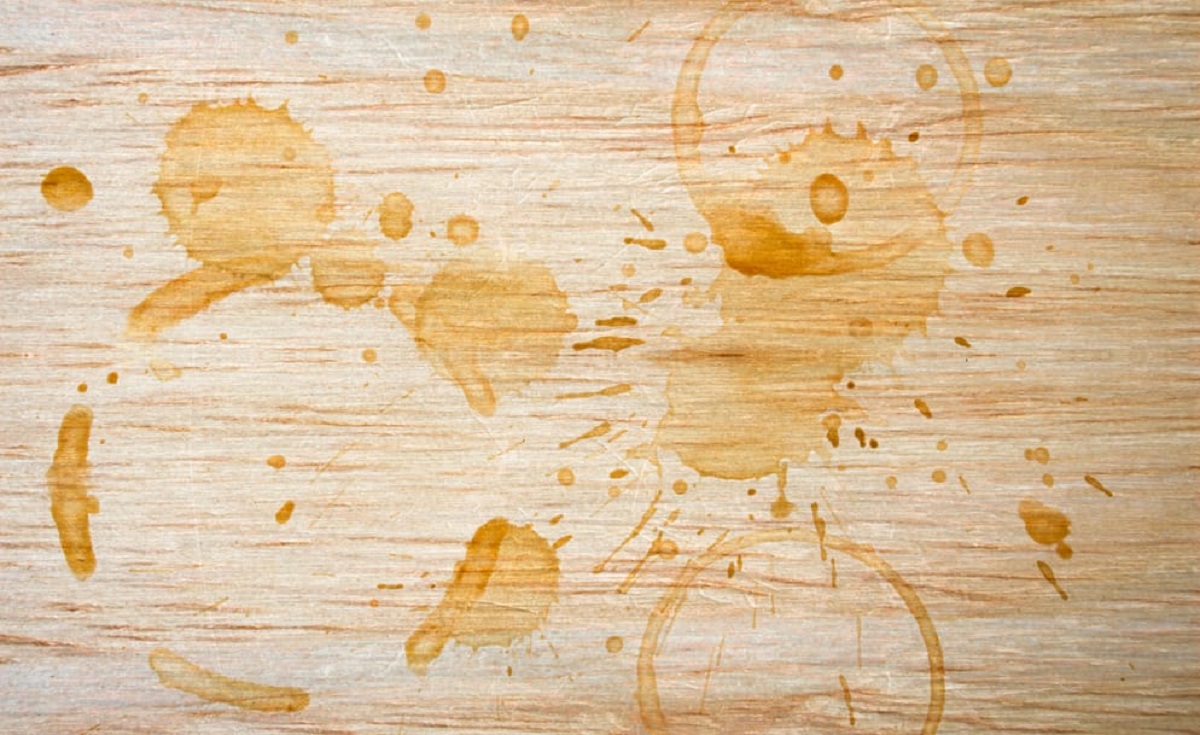
Read more: How To Remove Water Stains On Wood Furniture
Choosing the right stain
When it comes to choosing the right stain for your wood furniture, there are a few factors to consider. The first thing to think about is the type of wood you’re working with. Different types of wood absorb stain differently, so it’s important to choose a stain that will complement the natural characteristics of the wood.
Next, consider the desired color and finish of your furniture. Stains come in a wide range of colors, from light and natural tones to deeper and richer hues. Think about the overall aesthetic you want to achieve and choose a stain color that will harmonize with your existing decor or desired style.
It’s also worth considering the opacity of the stain. Some stains are more translucent, allowing the natural grain of the wood to show through, while others are more opaque, providing a more uniform color. The level of opacity you choose depends on your personal preference and the desired look for your furniture piece.
Another important factor to consider is the type of stain itself. There are two main types of wood stains: oil-based and water-based. Oil-based stains are known for their rich color and durability. They penetrate deep into the wood and provide a long-lasting finish. On the other hand, water-based stains are easier to clean up and have a faster drying time. They are also more environmentally friendly.
Lastly, it’s a good idea to test the stain on a small, inconspicuous area of the furniture before applying it to the entire piece. This will give you a better idea of how the stain will look on your specific wood and allow you to make any necessary adjustments.
Now that you have a better understanding of how to choose the right stain for your furniture, let’s move on to the next step: preparing the furniture for staining.
Preparing the furniture for staining
Before you begin the staining process, it’s crucial to properly prepare your furniture to ensure an even and long-lasting finish. Here are the steps to follow:
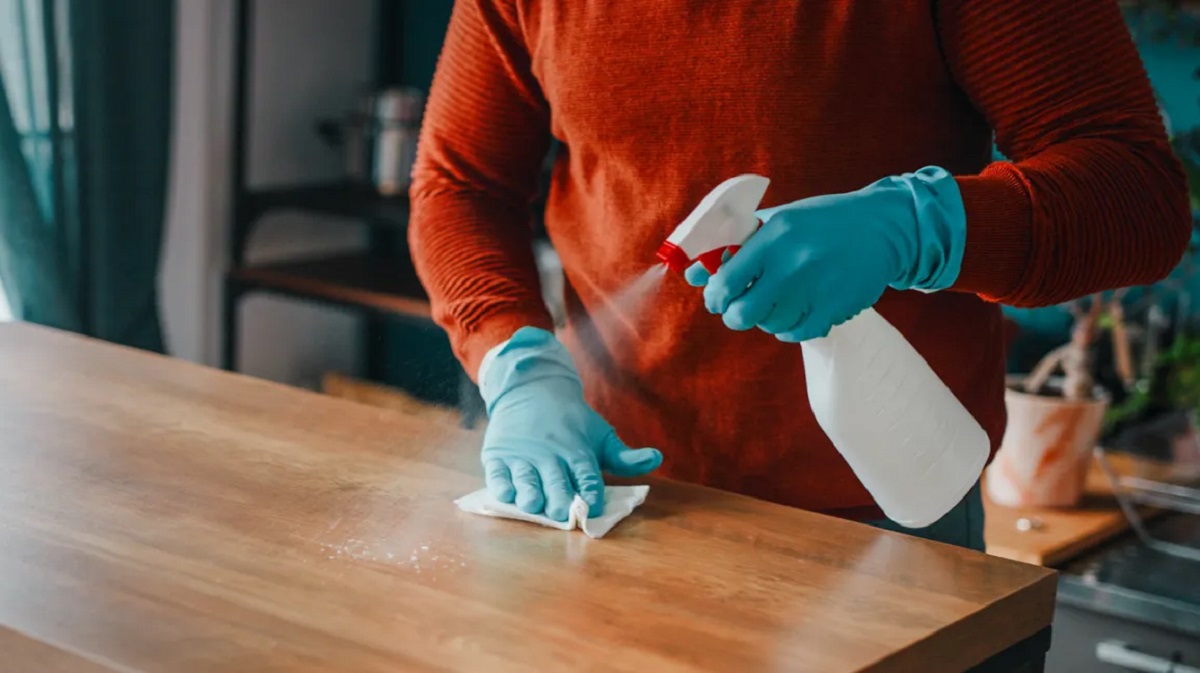
- Clean the surface: Start by cleaning the furniture surface to remove any dirt, dust, or grease. Use a mild detergent mixed with water and a soft cloth to gently wipe down the furniture. Ensure that the surface is completely dry before proceeding.
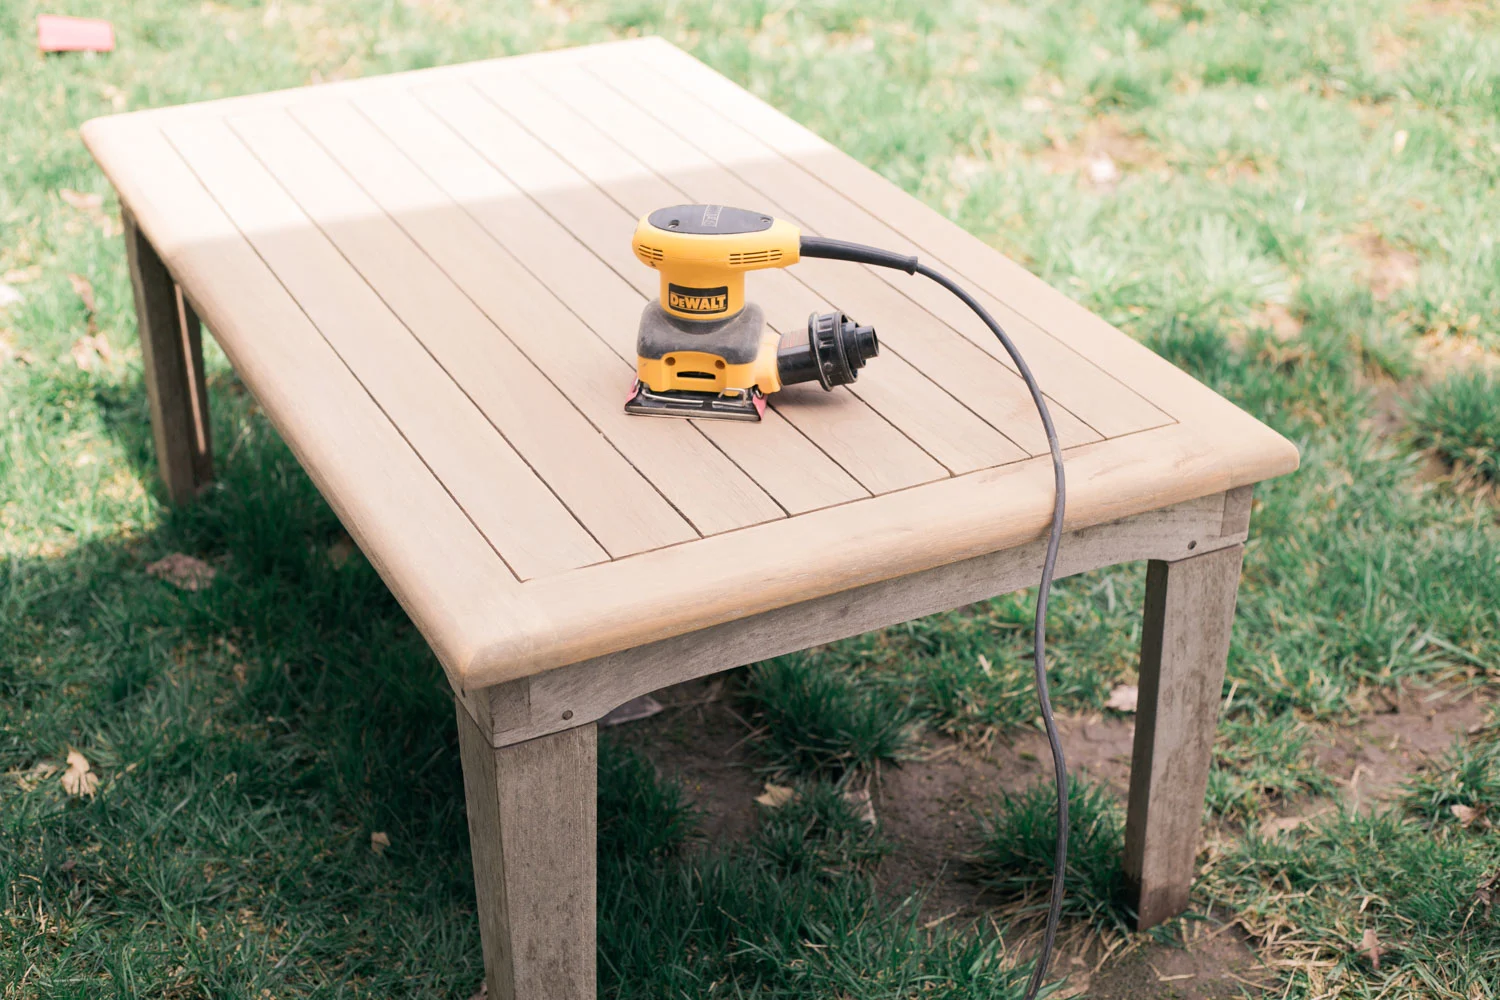
- Sand the wood: Next, sand the wood to create a smooth and even surface for the stain to adhere to. Start with a medium-grit sandpaper and gradually move to a finer grit. Sand in the direction of the wood grain to avoid creating visible scratches. This step helps to open up the pores of the wood and allows the stain to penetrate more effectively.
- Repair any damage: Inspect the furniture for any chips, scratches, or dents. Repair these imperfections using wood filler or putty. Follow the manufacturer’s instructions for application and drying time. Once the filler is dry, sand the repaired areas gently to blend them with the rest of the wood.
- Remove hardware: If your furniture has any hardware such as handles or knobs, remove them to prevent them from getting stained. If removal is not possible, cover the hardware with painter’s tape or plastic wrap to protect them.
- Apply pre-stain conditioner (optional): Depending on the type of wood you’re working with, you may need to apply a pre-stain conditioner. This step is especially important for porous woods such as pine or cherry. The conditioner helps to control the absorption of the stain and prevents blotchiness. Follow the manufacturer’s instructions for application and drying time.
By properly preparing your furniture before staining, you’ll ensure that the stain adheres evenly and creates a beautiful finish. Once you’ve completed these steps, you’re ready to move on to the exciting part: applying the stain.
Applying the stain
Now comes the fun part – applying the stain to your furniture! Follow these steps to achieve a professional-looking finish:
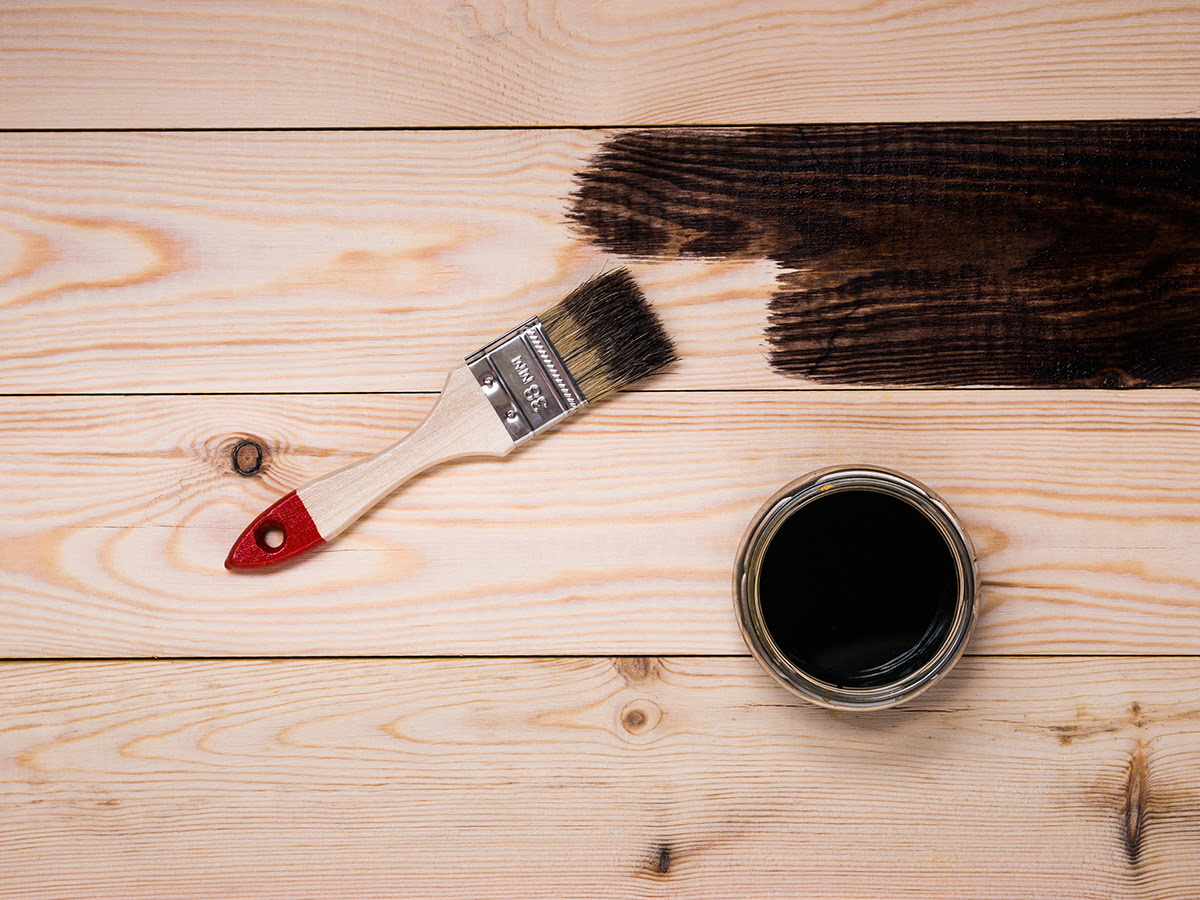
- Stir the stain: Before you begin, thoroughly stir the stain to ensure that any settled pigments are evenly distributed. Do not shake the stain, as this can introduce air bubbles.
- Test the stain: It’s always a good idea to test the stain on a small, inconspicuous area of the furniture or a scrap piece of wood. This will allow you to see how the stain interacts with your specific wood and make any necessary adjustments.
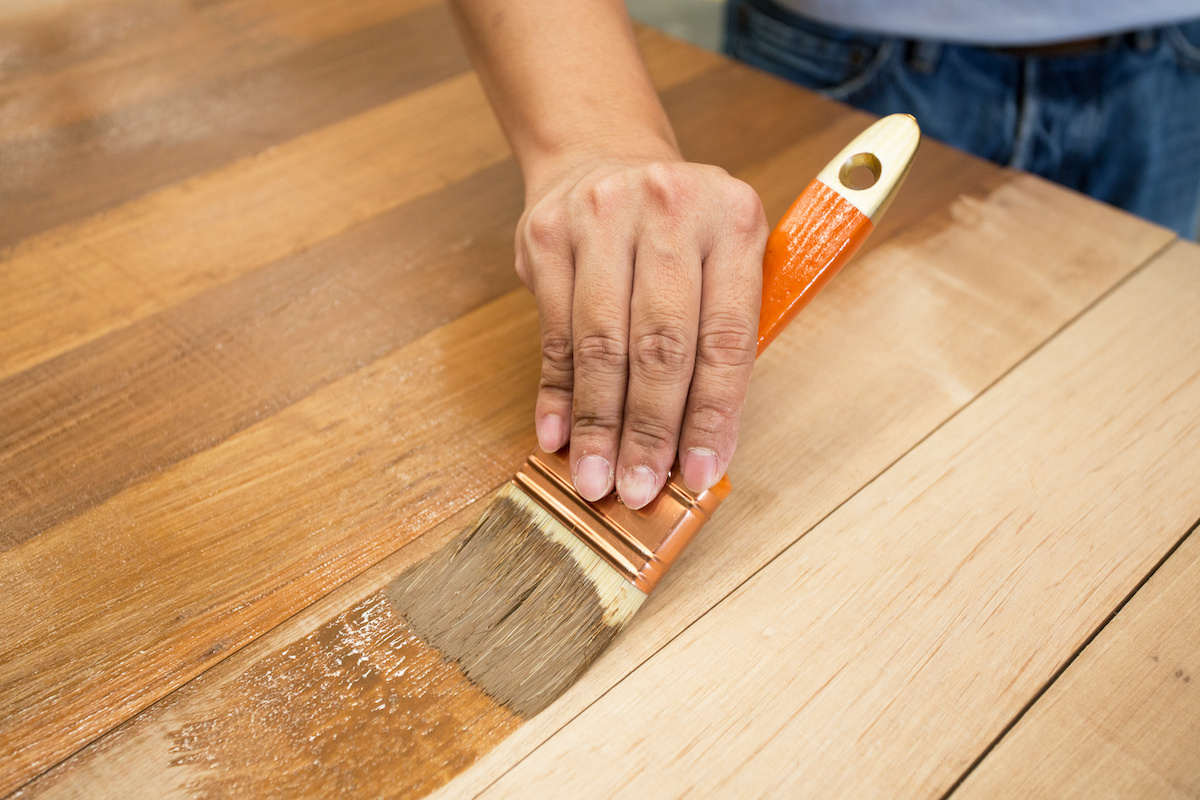
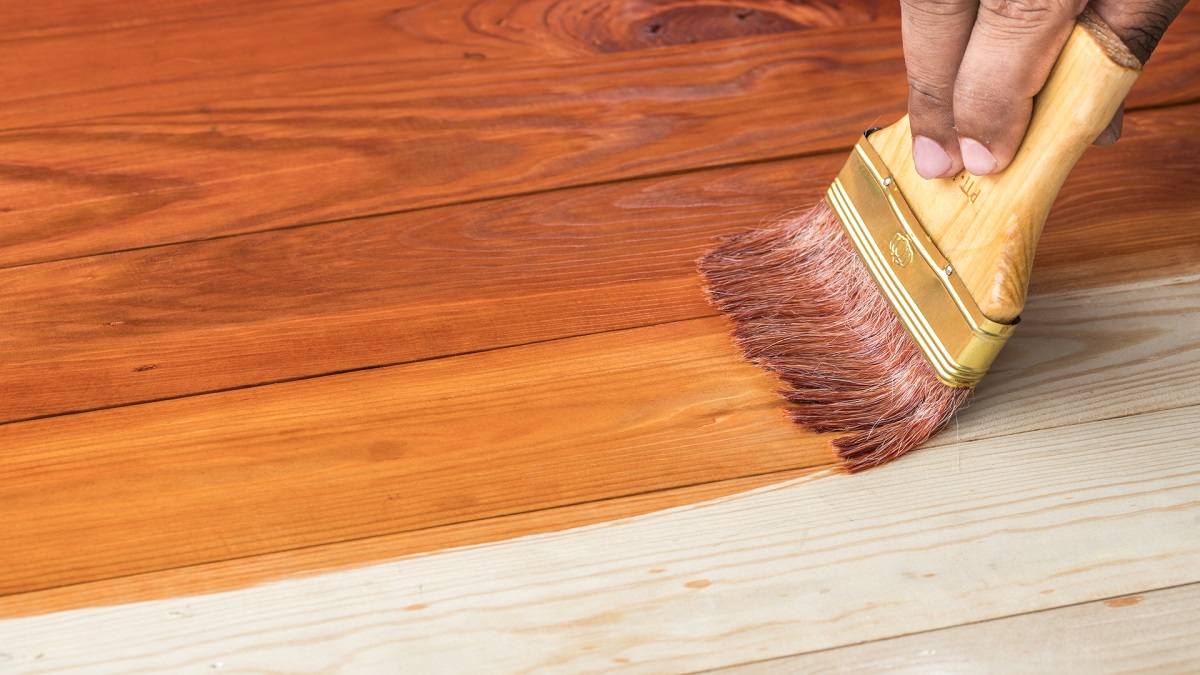
- Apply the stain: Using a brush, sponge, or clean cloth, apply an even coat of stain to the wood, working in the direction of the grain. Be sure to cover the entire surface and pay extra attention to any intricate or recessed areas. Work in small sections to ensure that the stain doesn’t dry before you have a chance to wipe off the excess.
- Wipe off the excess: After applying the stain, use a clean cloth or rag to wipe off any excess stain. This step is crucial in achieving an even and consistent color. Wipe with the grain to avoid creating streaks or blotches. Ensure that no pools or drips of stain are left behind.
- Let the stain dry: Allow the stain to dry according to the manufacturer’s instructions. This typically takes several hours, but it’s best to wait overnight for optimal results. Make sure the area is well-ventilated to aid in the drying process.
Remember that the longer you leave the stain on the wood, the deeper and richer the color will be. If you desire a lighter shade, you can wipe off the excess stain sooner. Take your time with this step to achieve the desired color and effect.
Once the stain is dry, you can assess the color and determine if additional coats are needed. If you want a darker or more intense color, apply additional coats following the same process. Be sure to let each coat dry completely before applying the next.
In the next section, we’ll discuss how to remove any excess stain and ensure a clean and professional finish for your wood furniture.
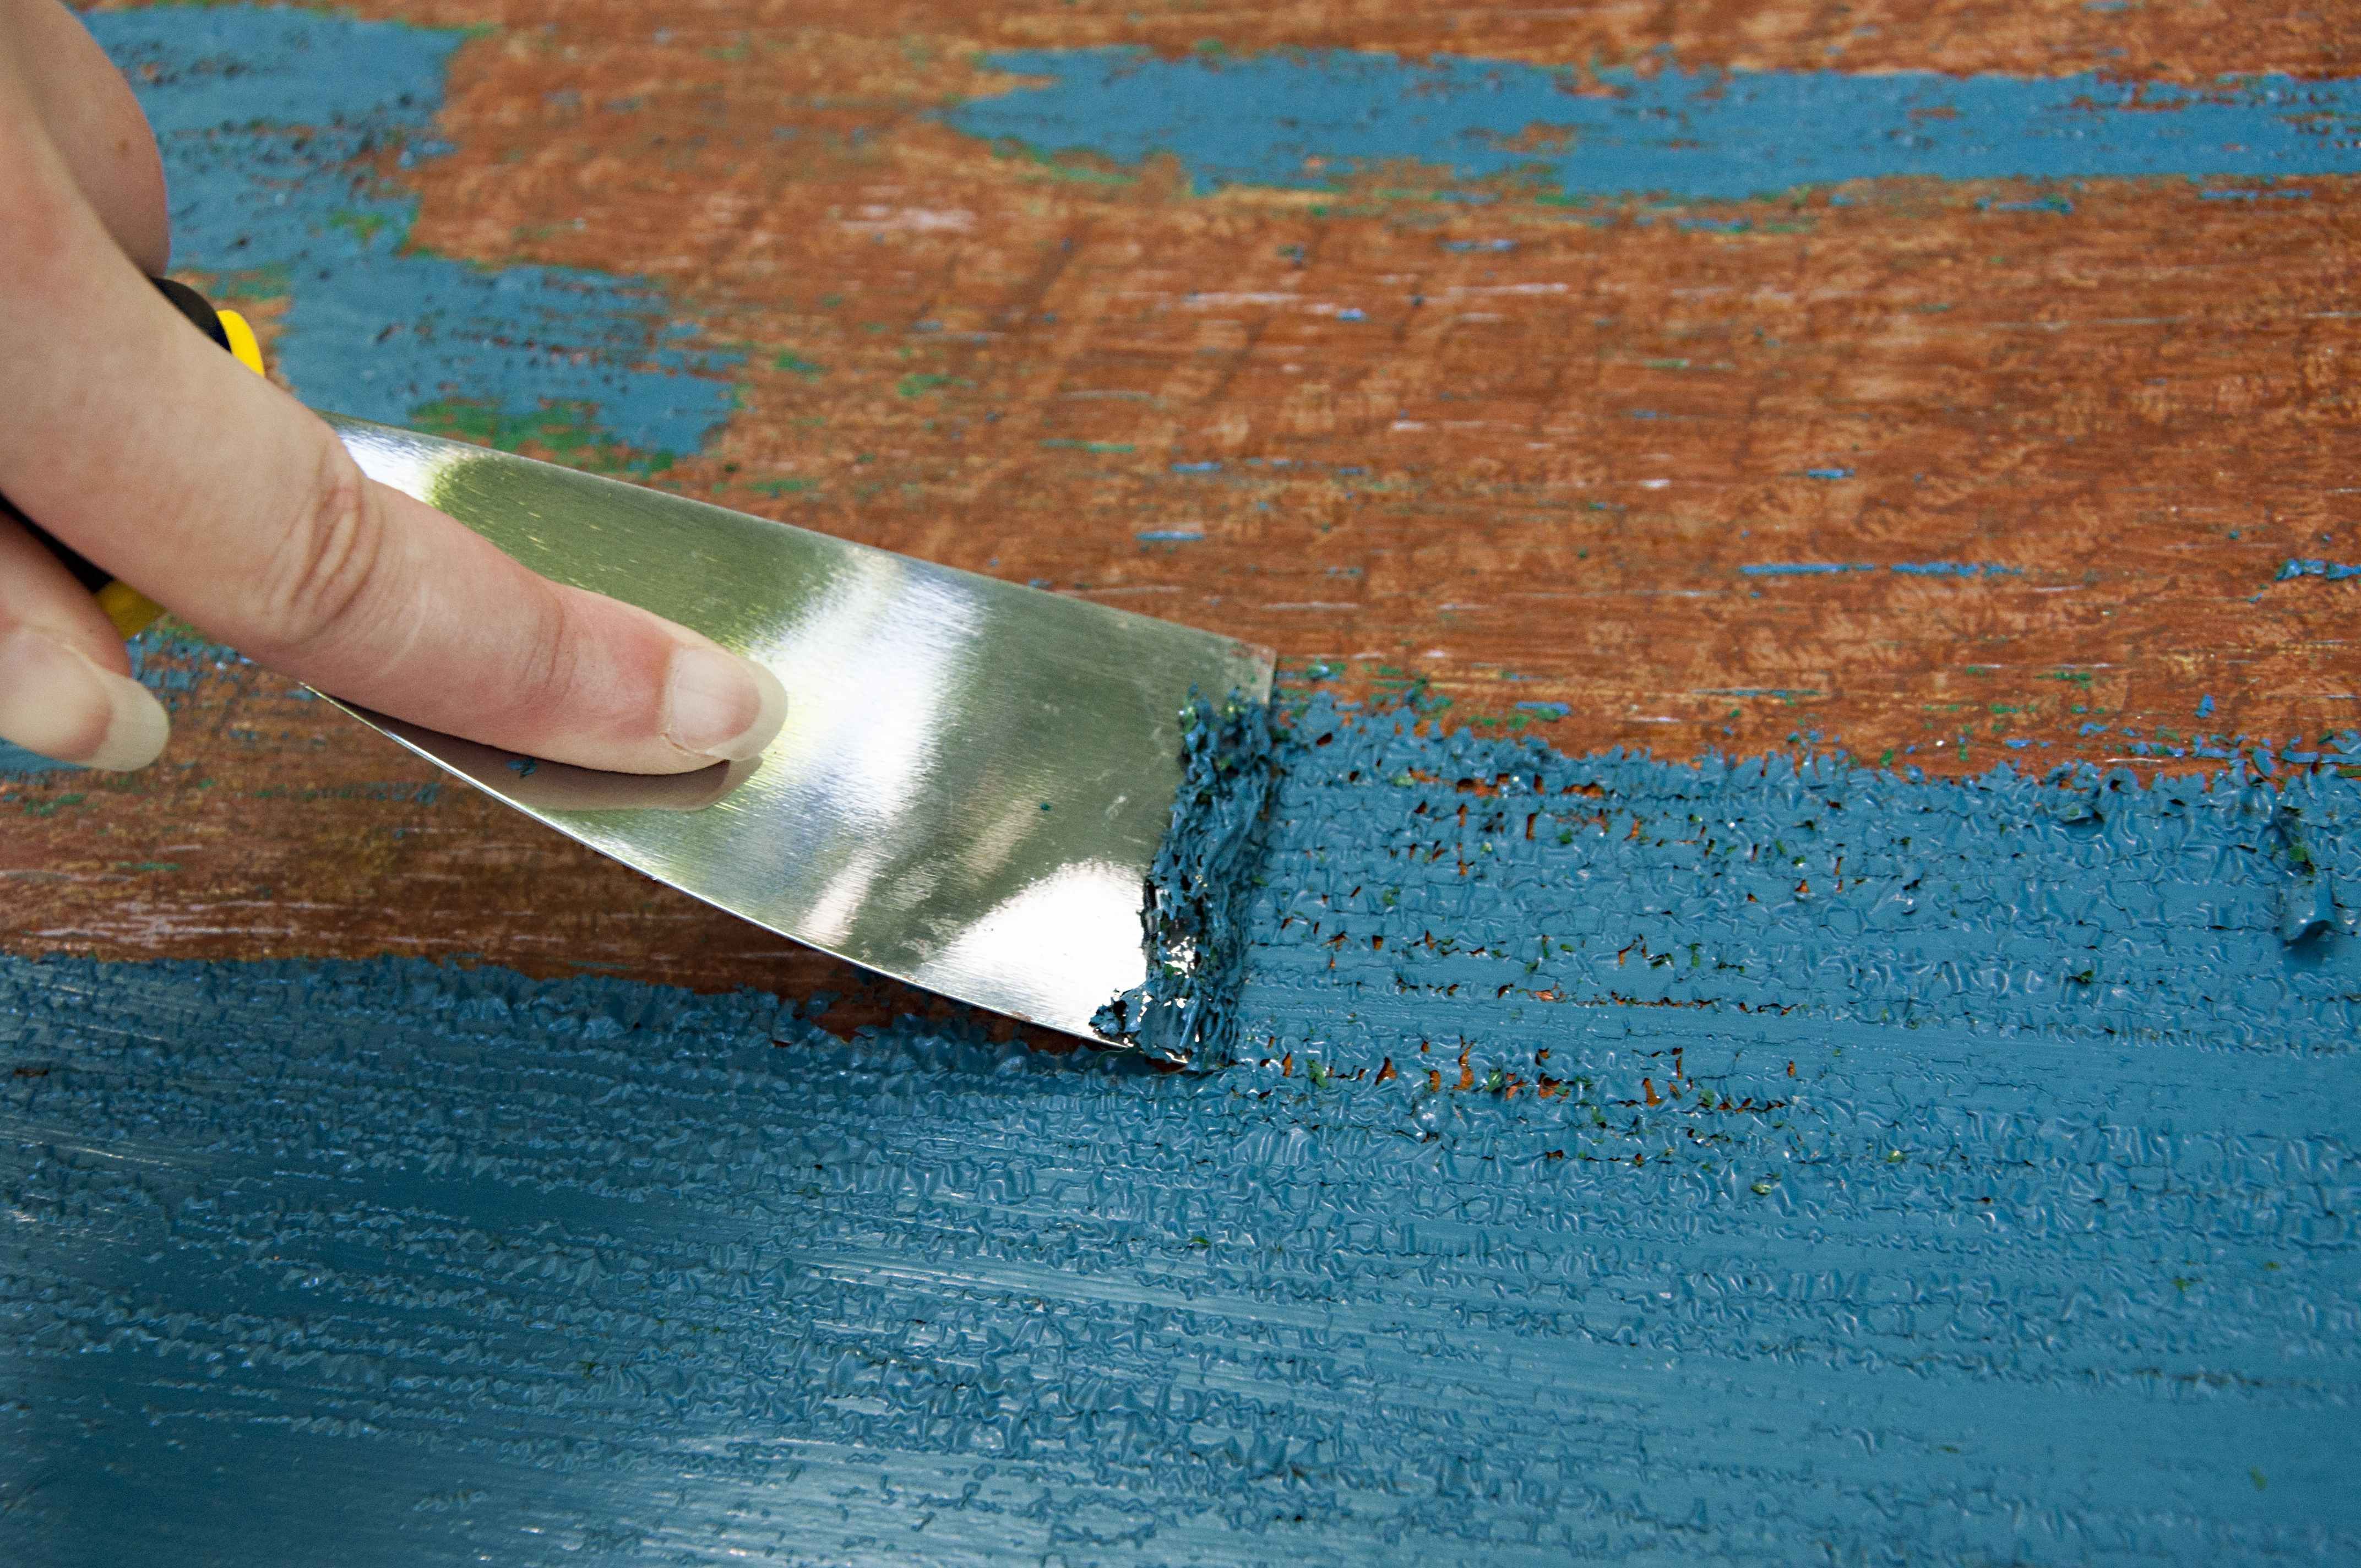
Before staining wood furniture, always sand the surface thoroughly to remove any existing finish and to create a smooth, even surface for the stain to adhere to. Sanding also helps to open up the wood grain, allowing the stain to penetrate more evenly.
Removing excess stain
After applying the stain, it’s important to remove any excess to achieve a clean and professional finish. Here are the steps to follow:
- Inspect the surface: Take a close look at the stained wood to identify any areas with excess stain or pooling. These areas may appear darker or have a shiny appearance.
- Use a clean cloth: Take a clean, lint-free cloth or rag and lightly dampen it with mineral spirits or the recommended solvent for your specific stain. Gently rub the cloth over the areas with excess stain.
- Work in small sections: It’s best to work in small sections, focusing on one area at a time. Use a gentle circular motion or back-and-forth motion to lift the excess stain from the wood.
- Check the cloth: As you work, check the cloth regularly to see how much stain is being lifted. If the cloth becomes saturated with stain, switch to a clean cloth to avoid redistributing the excess stain back onto the wood.
- Dry and assess: Once you have removed the excess stain, allow the wood to dry completely. This may take a few hours or longer, depending on the type of stain and environmental conditions. Once dry, assess the color and apply additional coats if desired.
Remember to work carefully and gently when removing excess stain to avoid damaging the wood or removing too much color. It’s better to gradually remove the excess stain than to risk stripping too much and having to start the staining process from scratch.
If you happen to notice any stubborn areas with excess stain that cannot be removed with the cloth and solvent, you may need to lightly sand the affected areas. Be cautious and use a fine-grit sandpaper, as excessive sanding can damage the wood.
Now that you’ve removed the excess stain, it’s time to move on to the next step: drying and finishing the wood for a beautiful and long-lasting result.
Drying and finishing the wood
After you have applied the stain and removed any excess, it’s crucial to allow the wood to dry and properly finish it to protect and enhance the beauty of the stain. Follow these steps to ensure a successful drying and finishing process:
- Allow sufficient drying time: The drying time will vary depending on the type of stain, humidity levels, and ventilation. It’s important to follow the manufacturer’s instructions for drying time. In general, stain can take anywhere from a few hours to overnight to dry completely.
- Avoid touching or placing objects on the wood: While the stain is drying, avoid touching the wood or placing any objects on the surface. This will prevent smudges or imprints from forming on the freshly stained wood.
- Apply a topcoat (optional): To further protect the stained wood and enhance its longevity, you may choose to apply a topcoat or sealer. This can be a clear varnish, polyurethane, lacquer, or wax. Follow the manufacturer’s instructions for application and drying time.
- Apply additional coats: Depending on the type of finish you desire, you may need to apply multiple coats of the topcoat. Be sure to allow each coat to dry completely before applying the next. Sand lightly between coats to ensure a smooth and even finish.
- Buff and polish: Once the final coat of the topcoat is dry, you can gently buff the surface with a soft cloth or fine-grade steel wool to smoothen any imperfections. You can also apply a furniture polish to add a beautiful sheen and further protect the wood.
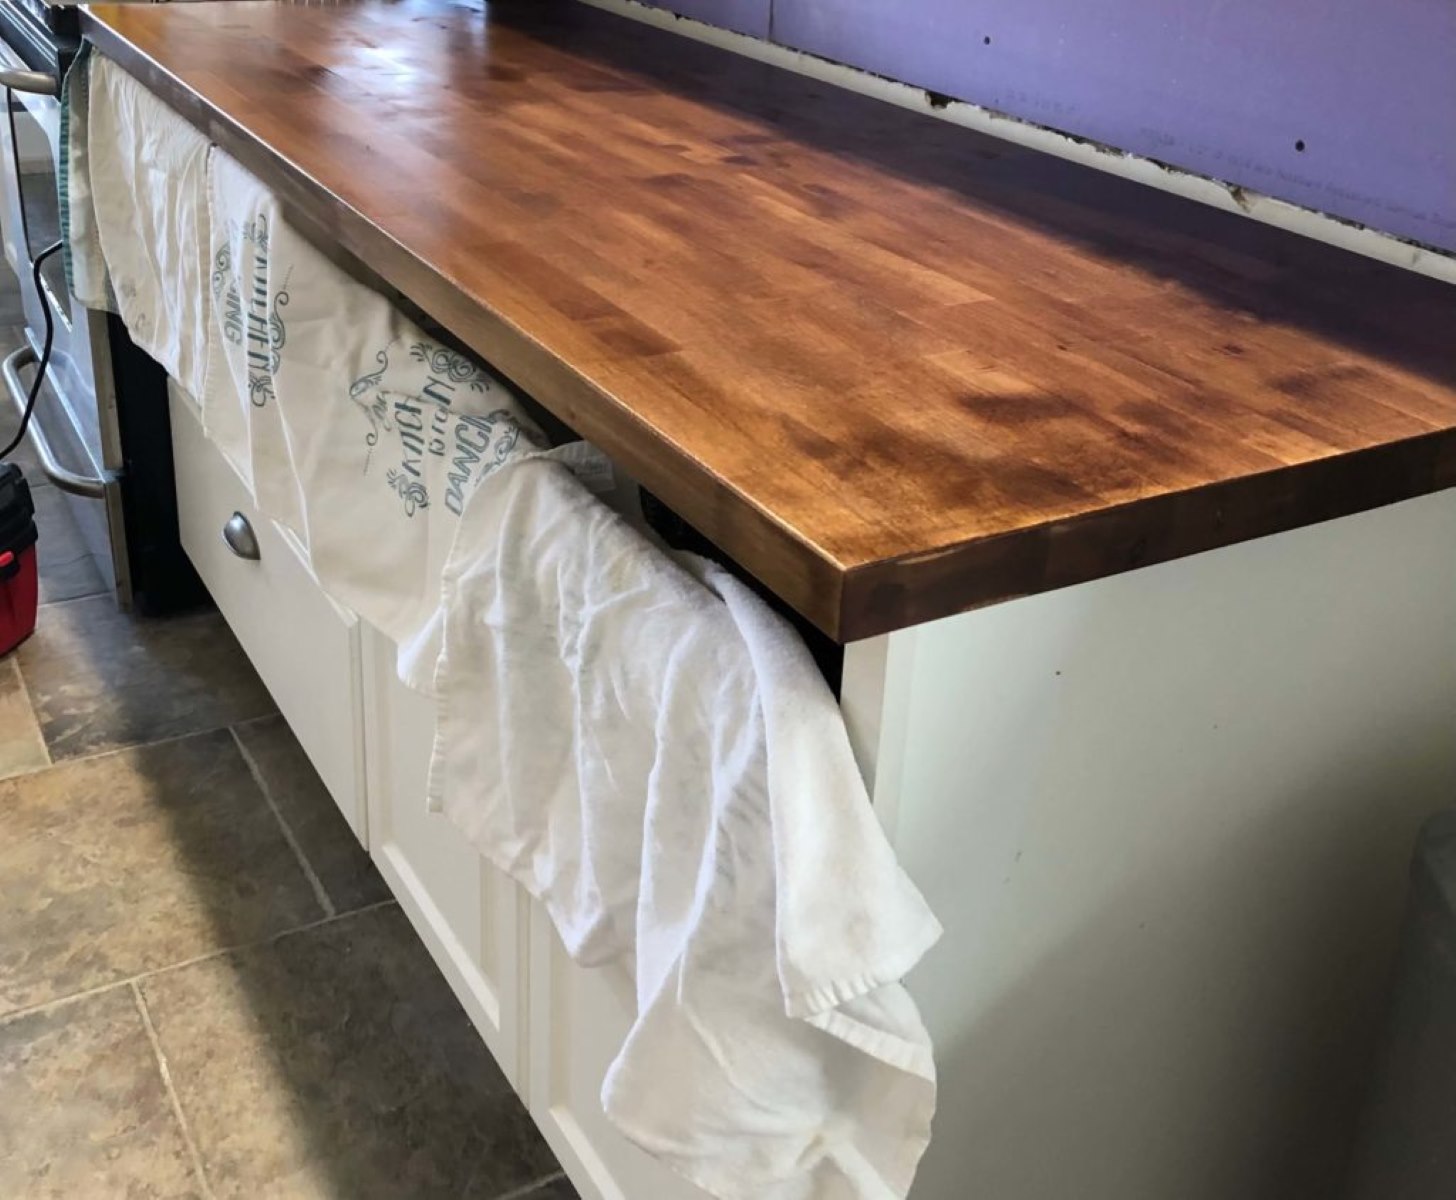
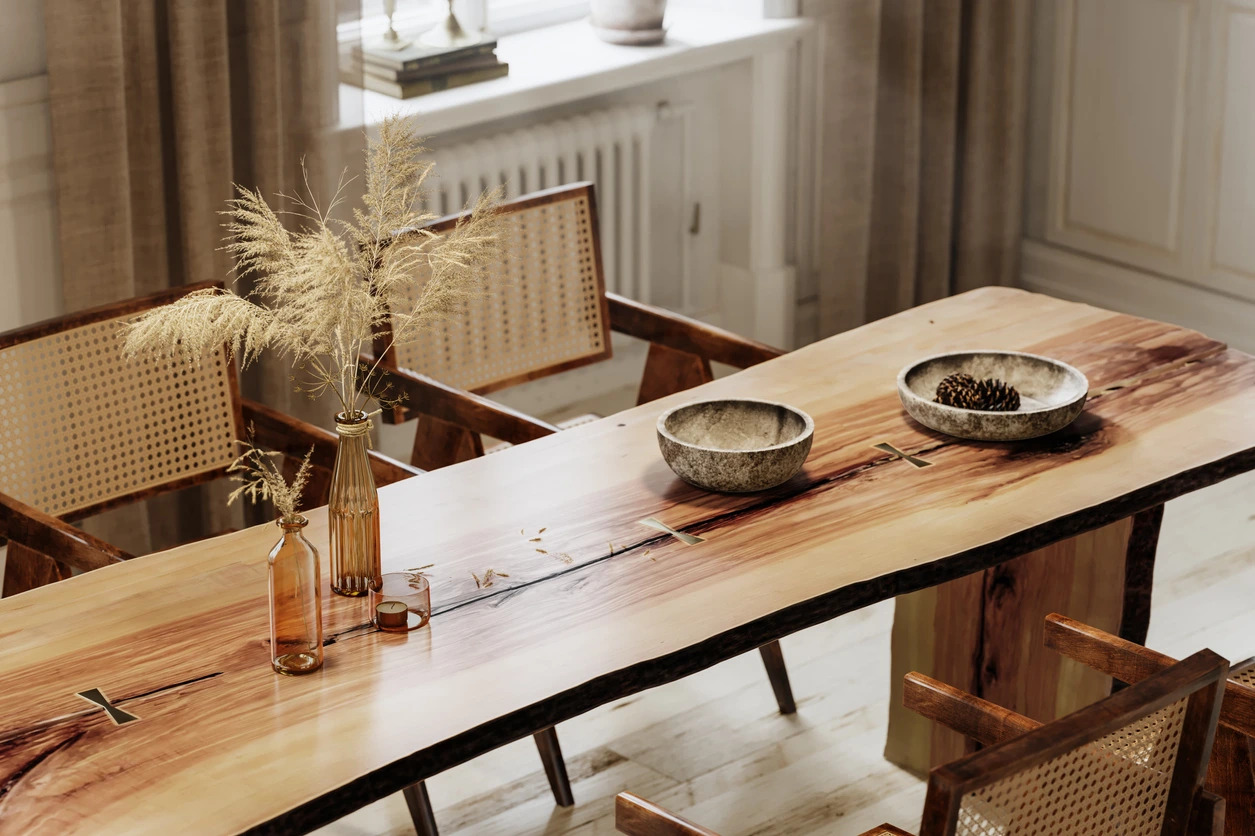
As the wood dries and the finish is applied, you’ll begin to see the full transformation of your furniture piece. The stain will enrich the natural beauty of the wood, and the finish will provide a protective layer that ensures the longevity of the stain.
Remember to follow the recommended drying and curing time for the topcoat before using or placing objects on the furniture. This will help to prevent any damage to the finish and ensure its durability.
Now, armed with a beautifully stained and finished piece of furniture, you can enjoy the fruits of your labor and revel in the gorgeous transformation you’ve achieved.
Before we wrap up, let’s go over some helpful tips for achieving a flawless finish.
Tips for achieving a flawless finish
When it comes to staining wood furniture, attention to detail and proper technique can make all the difference in achieving a flawless finish. Here are some valuable tips to help you achieve the best possible results:
- Always test the stain: Before applying the stain to your furniture, it’s essential to test it on a small, inconspicuous area or a scrap piece of wood. This will help you gauge the color, absorption, and how the stain interacts with your specific wood.
- Work in a well-ventilated area: Proper ventilation is crucial when staining furniture. Make sure you’re working in a well-ventilated area or open windows and use fans to circulate the air. This will help to minimize fumes and ensure a more pleasant working environment.
- Follow the manufacturer’s instructions: Different stains and topcoats have specific instructions for application, drying time, and other important details. It’s essential to carefully read and follow the manufacturer’s instructions to achieve the best results.
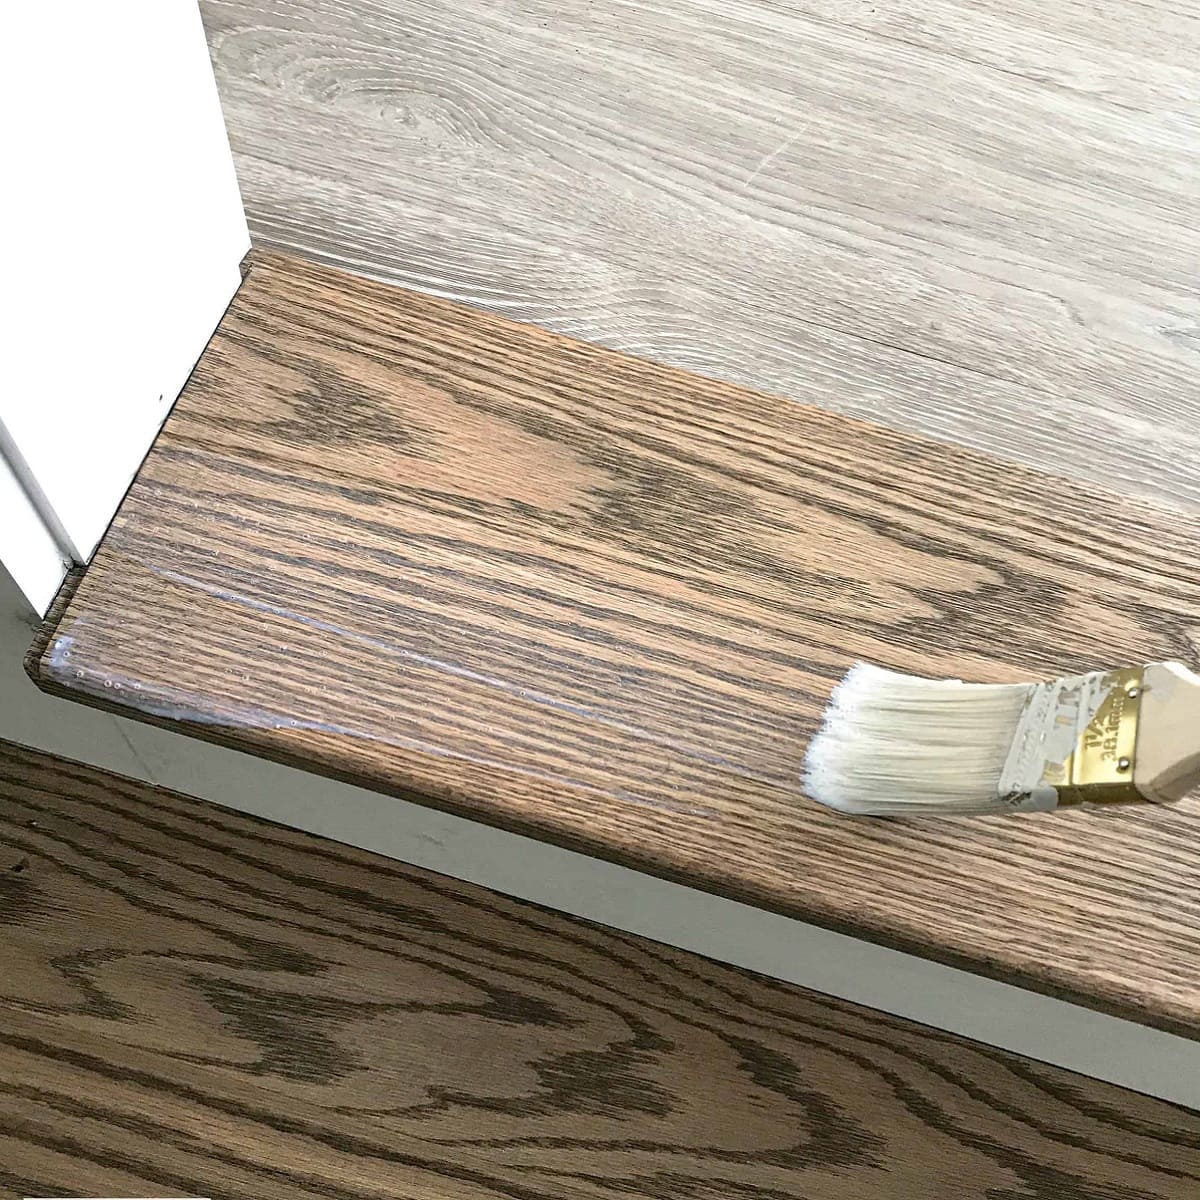
- Apply thin and even coats: When applying the stain, it’s better to start with thin coats and build up the color gradually. This will help to avoid uneven or blotchy results. Apply the stain in the direction of the wood grain for a smoother finish.
- Keep track of drying times: Allow each coat of stain and topcoat to dry completely before applying the next. Rushing this step can lead to a sticky or uneven finish. Be patient and follow the recommended drying times to ensure optimal results.
- Maintain a clean workspace: Before you begin staining, ensure that your workspace is clean and free of dust or debris. This will help to prevent any particles from getting stuck in the stain and affecting the final outcome.
- Use the right tools: Invest in good quality brushes, sponges, or cloths to apply the stain evenly. Using the right tools will help you achieve smoother and more consistent results. Clean your brushes or cloths thoroughly after use to prolong their lifespan.
- Protect yourself: Stains and topcoats can contain chemicals that may be harmful if inhaled or if they come into contact with your skin. Wear protective gloves, goggles, and a mask to safeguard yourself while working with these products.
- Practice patience: Staining furniture is a process that requires patience and attention to detail. Take your time and don’t rush through the steps. This will ensure a more professional and flawless finish.
By following these tips, you’ll be well on your way to achieving a flawless finish when staining your wood furniture. Remember, practice makes perfect, so don’t be discouraged if your first attempt doesn’t turn out exactly as you envisioned. With each project, you’ll gain more experience and refine your technique.
Finally, let’s conclude our journey through the world of furniture staining.
Conclusion
Congratulations! You now have the knowledge and techniques to tackle the task of staining your wood furniture like a pro. By following the steps outlined in this article, you can transform your furniture, bringing out its natural beauty and adding a touch of elegance to your space.
From choosing the right stain to preparing the furniture, applying the stain, and finishing it off with a protective coat, each step plays a crucial role in achieving a flawless and long-lasting result. Remember to take your time, follow the manufacturer’s instructions, and always test the stain on a small area before committing to the entire piece.
Throughout the process, pay attention to detail, work in a well-ventilated area, and ensure a clean workspace. Use high-quality tools and protect yourself with the necessary safety gear. With patience and practice, you’ll develop your own staining techniques and refine your approach to achieve stunning results.
Lastly, don’t forget to enjoy the process of transforming your furniture. Staining wood is a creative and rewarding experience that allows you to personalize your pieces and breathe new life into them.
Now, armed with your newfound knowledge, go forth and unleash your creativity. Whether you’re staining a beloved heirloom, giving a second life to a thrifted find, or adding a new dimension to a modern piece, staining your wood furniture will undoubtedly bring joy and beauty to your home.
So, gather your supplies, select the perfect stain, and dive into the world of furniture staining. Embrace the process and be proud of the unique creations you’ll make. Happy staining!
Frequently Asked Questions about How To Stain Wood Furniture
Was this page helpful?
At Storables.com, we guarantee accurate and reliable information. Our content, validated by Expert Board Contributors, is crafted following stringent Editorial Policies. We're committed to providing you with well-researched, expert-backed insights for all your informational needs.


0 thoughts on “How To Stain Wood Furniture”