
Articles
How To Tighten Kitchen Sink Faucet
Modified: April 23, 2024
Discover helpful articles on how to tighten your kitchen sink faucet. Get step-by-step instructions and expert tips for a hassle-free fix.
(Many of the links in this article redirect to a specific reviewed product. Your purchase of these products through affiliate links helps to generate commission for Storables.com, at no extra cost. Learn more)
Introduction
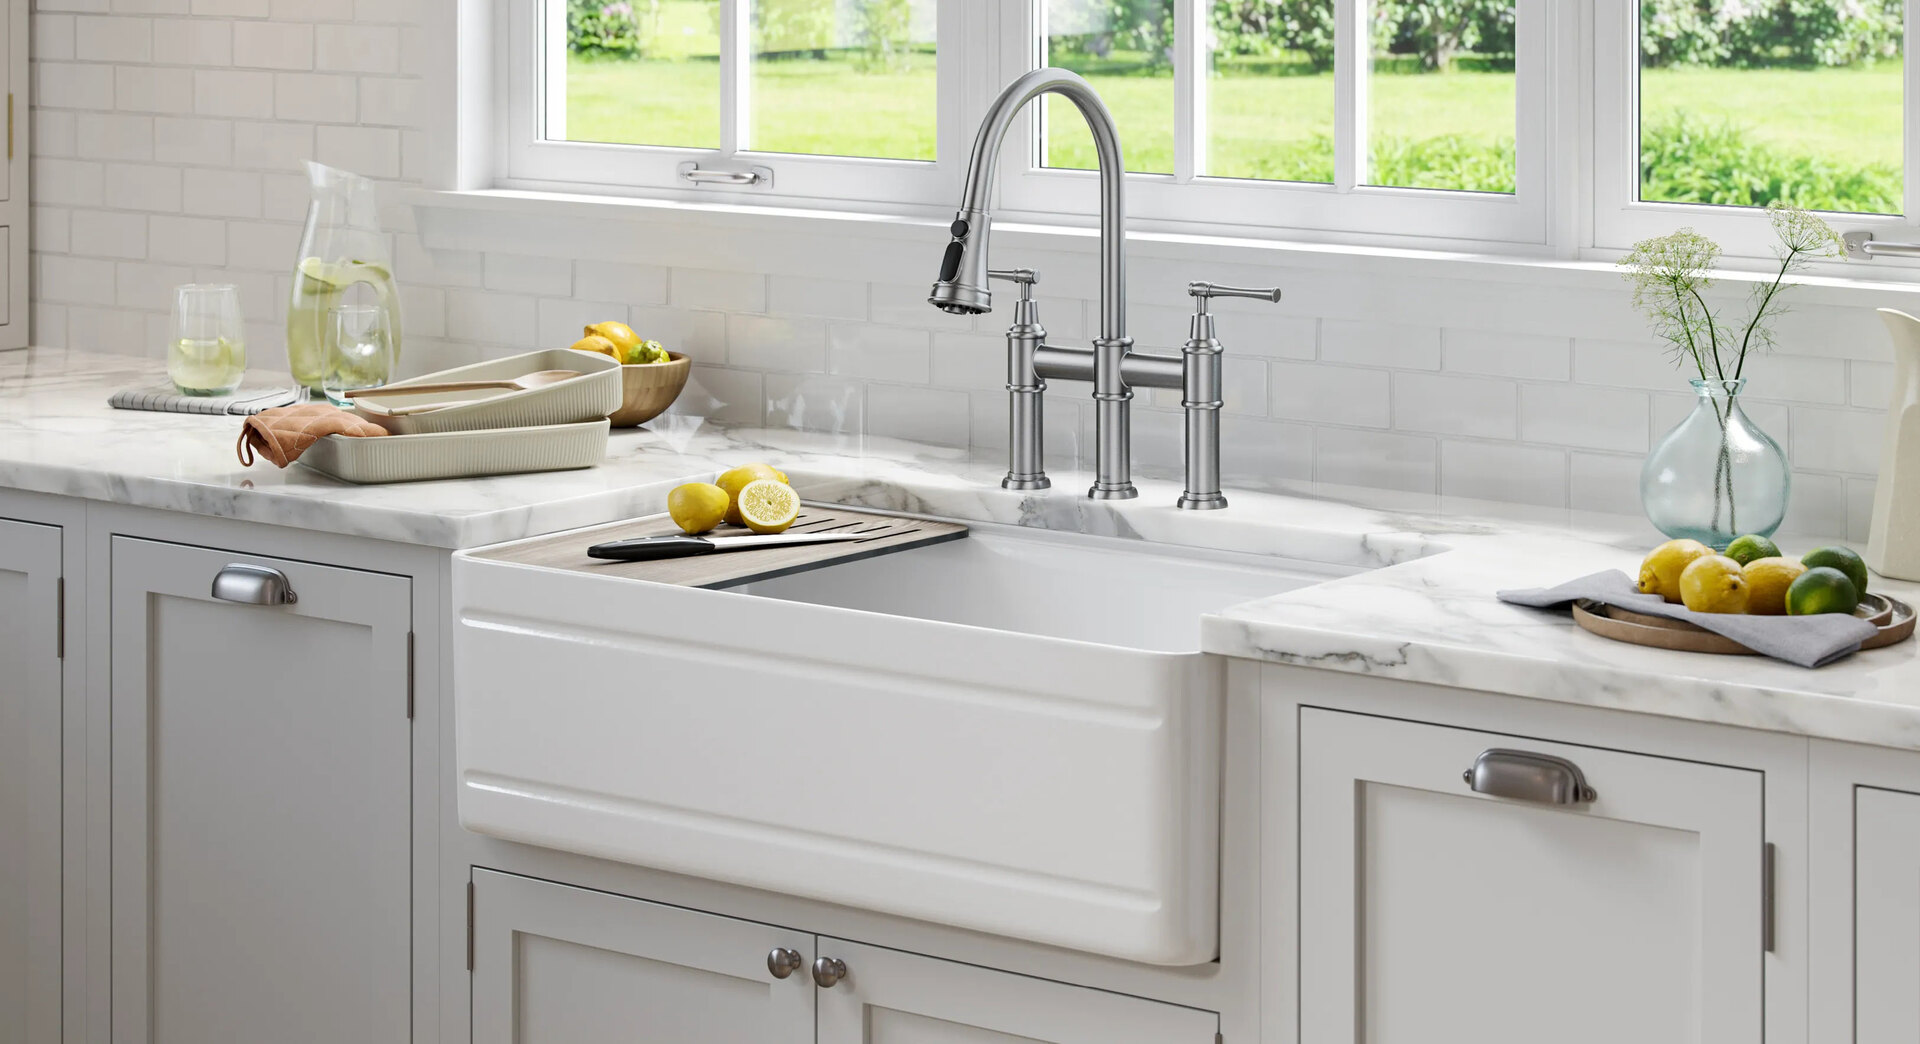
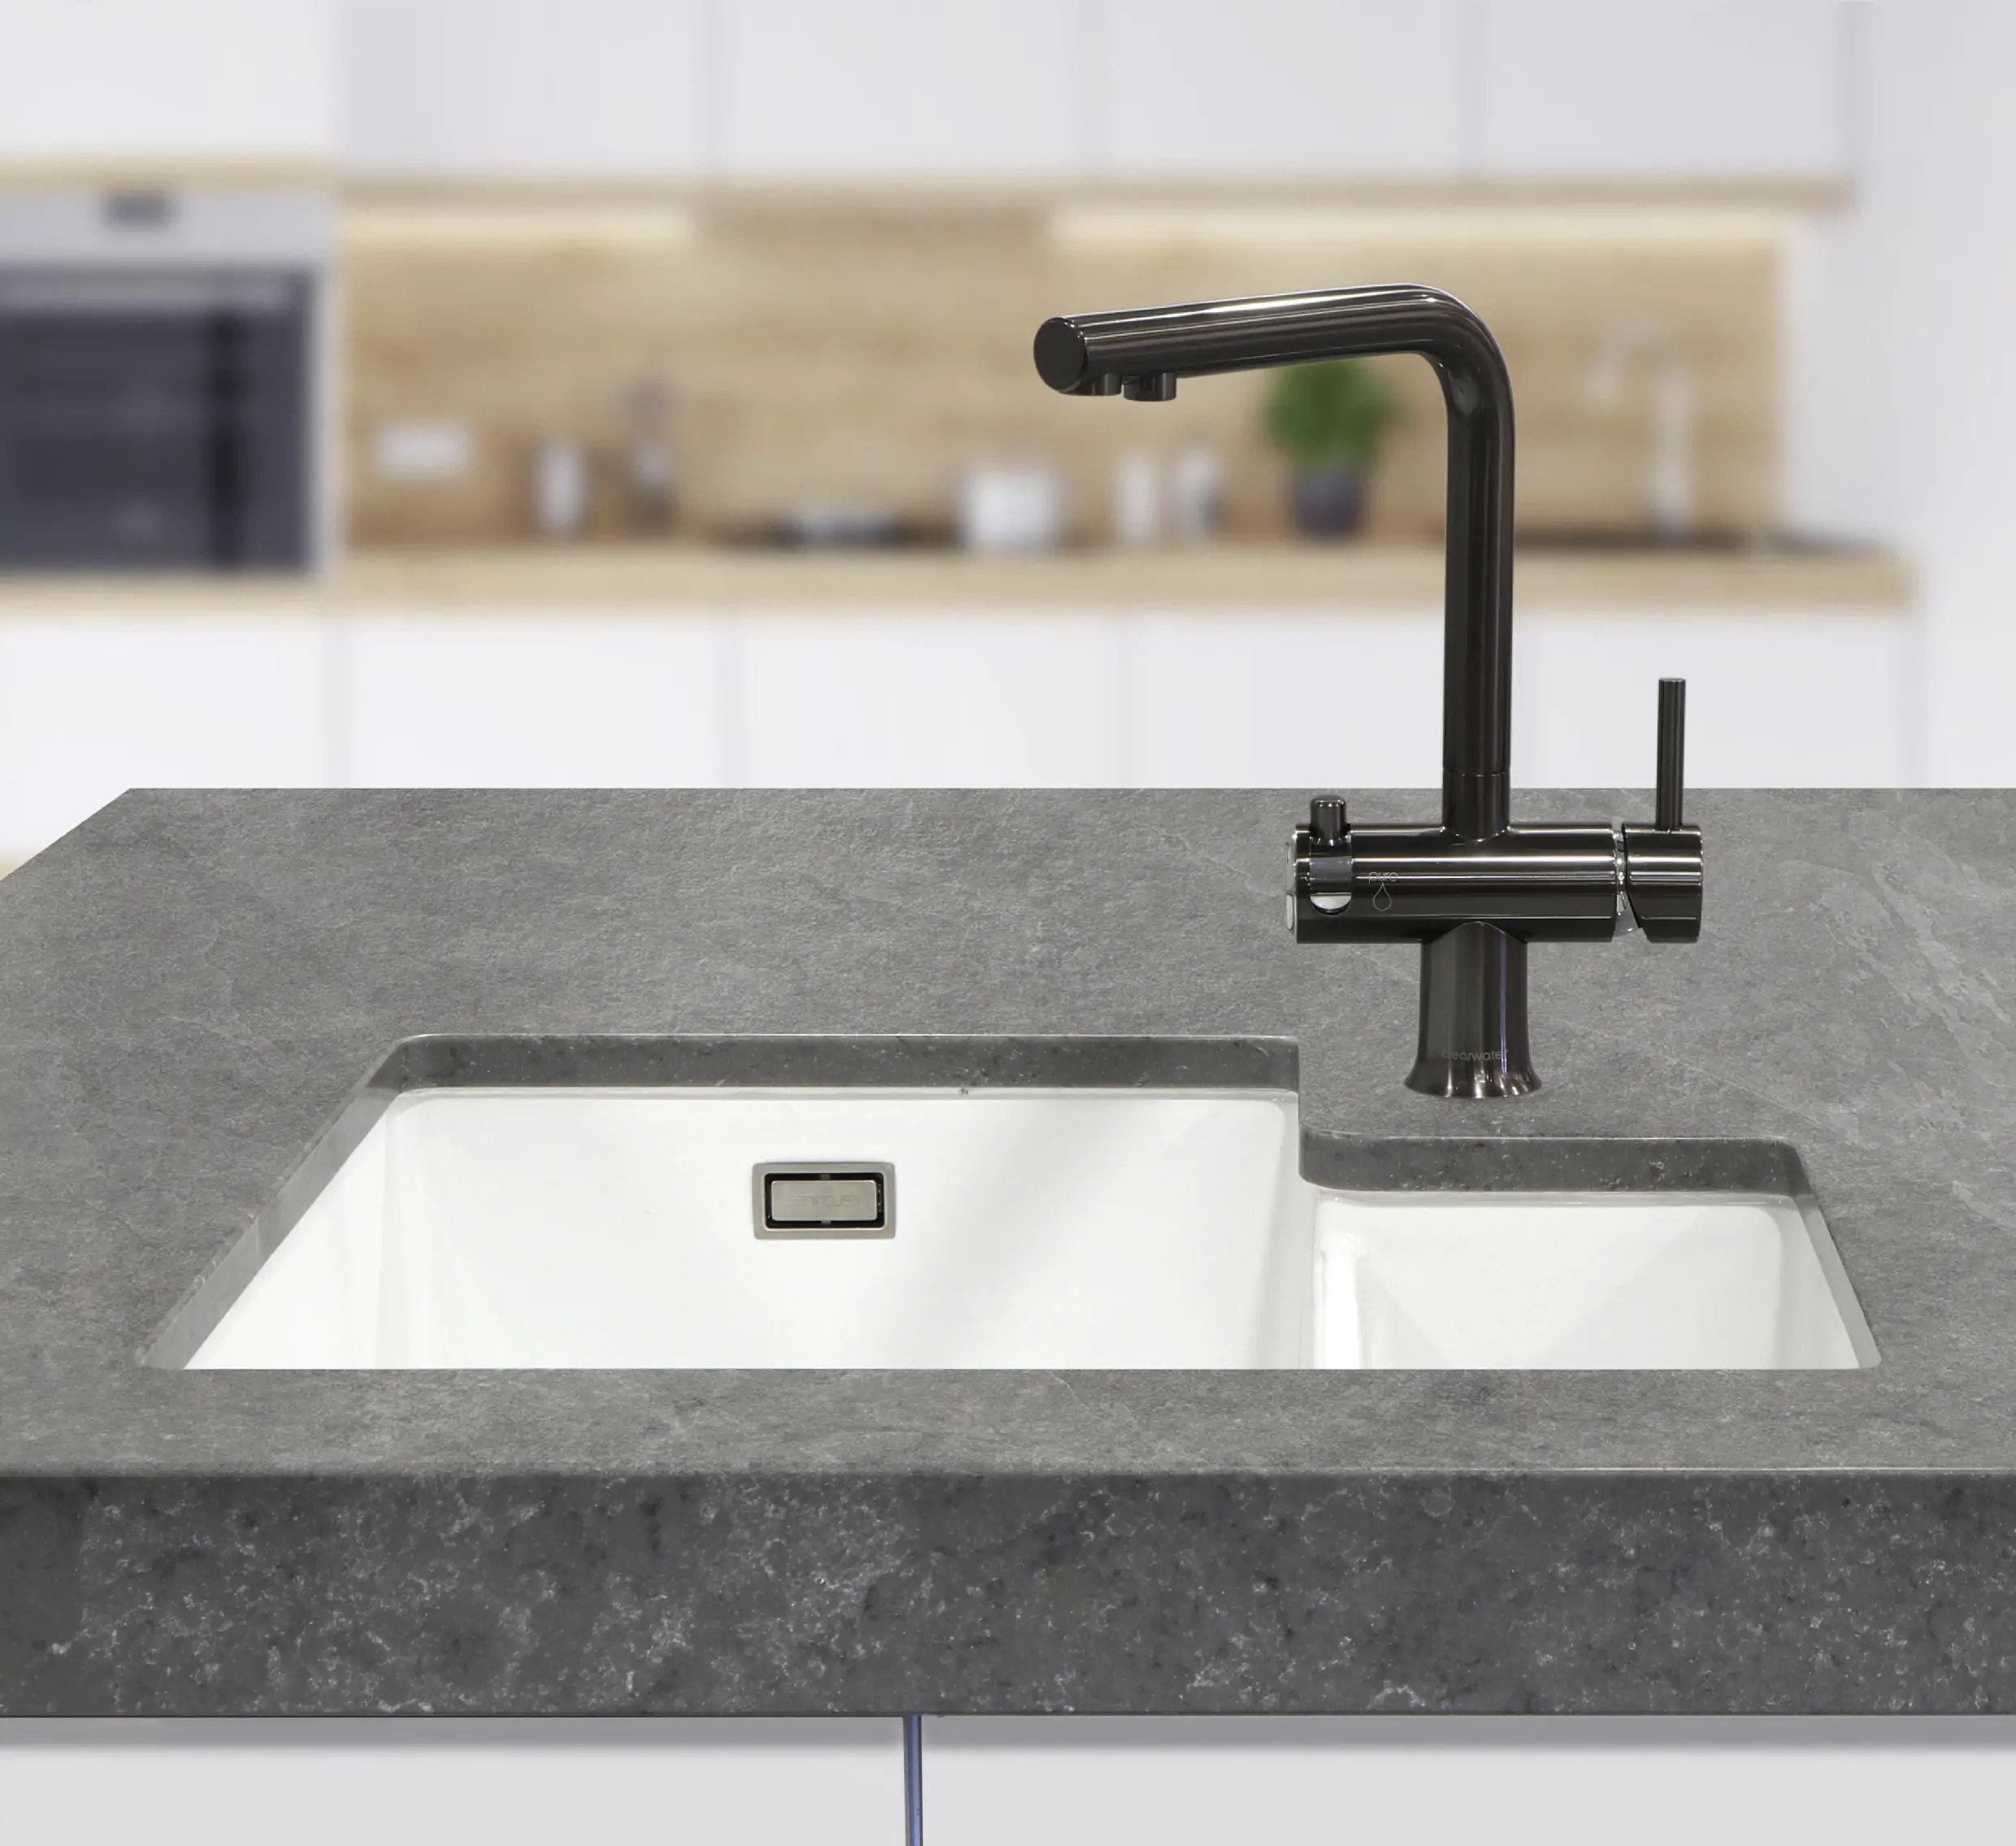
The kitchen sink faucet is an essential part of every kitchen, allowing you to easily control the flow of water for various tasks such as washing dishes, filling pots, and cleaning fruits and vegetables. Over time, however, the faucet may become loose, causing it to wobble or leak. This not only affects its functionality but also detracts from the overall appearance of your kitchen.
If you notice that your kitchen sink faucet is loose, it’s important to address the issue promptly to prevent any further damage. The good news is that you don’t necessarily need to call a plumber for this problem. By following some simple steps and using basic tools, you can easily tighten your kitchen sink faucet and restore its stability.
In this article, we will guide you through the process of tightening a kitchen sink faucet. We will provide a step-by-step approach, outlining the tools and materials you will need, and providing expert tips along the way. With just a little bit of time and effort, you can have your faucet securely tightened and performing at its best.
Key Takeaways:
- Easily tighten your kitchen sink faucet using basic tools and materials, saving time and money on professional assistance. Follow simple steps to restore stability and functionality to your faucet.
- Regular maintenance and prompt tightening of your kitchen sink faucet can prevent further damage, ensuring a secure and properly functioning faucet for your convenience and peace of mind in the kitchen.
Read more: How To Tighten Sink Faucet Handle
Tools and Materials Needed
Before you begin tightening your kitchen sink faucet, it’s important to gather all the necessary tools and materials. Here’s a list of what you’ll need:
- Adjustable wrench
- Flathead screwdriver
- Allen wrench (if applicable)
- Plumber’s tape
The adjustable wrench will be used to loosen and tighten the mounting nut, while the flathead screwdriver will come in handy for removing the faucet handle. If your faucet has an Allen screw, you’ll need an Allen wrench to loosen or remove it. Lastly, plumber’s tape is essential for creating a watertight seal when reassembling the faucet.
Make sure to have these tools and materials readily available before you start the process. It will save you time and ensure smooth progress throughout the project.
Step 1: Turn Off the Water Supply
Before you begin working on your kitchen sink faucet, it’s crucial to turn off the water supply to avoid any potential water damage or accidents. Here’s how to do it:
- Locate the water shut-off valves under your sink. These valves are typically located on the hot and cold water supply lines, close to where they connect to the faucet.
- Using your hand, turn the valves clockwise to shut off the water supply. It’s important to ensure that the valves are completely closed.
- Once the water supply is turned off, test it by turning the faucet handle to check if water comes out. If no water flows, you have successfully shut off the water supply.
Turning off the water supply is essential to prevent any water leakage or accidents while you’re working on the faucet. It’s important to follow this step carefully before proceeding to the next steps.
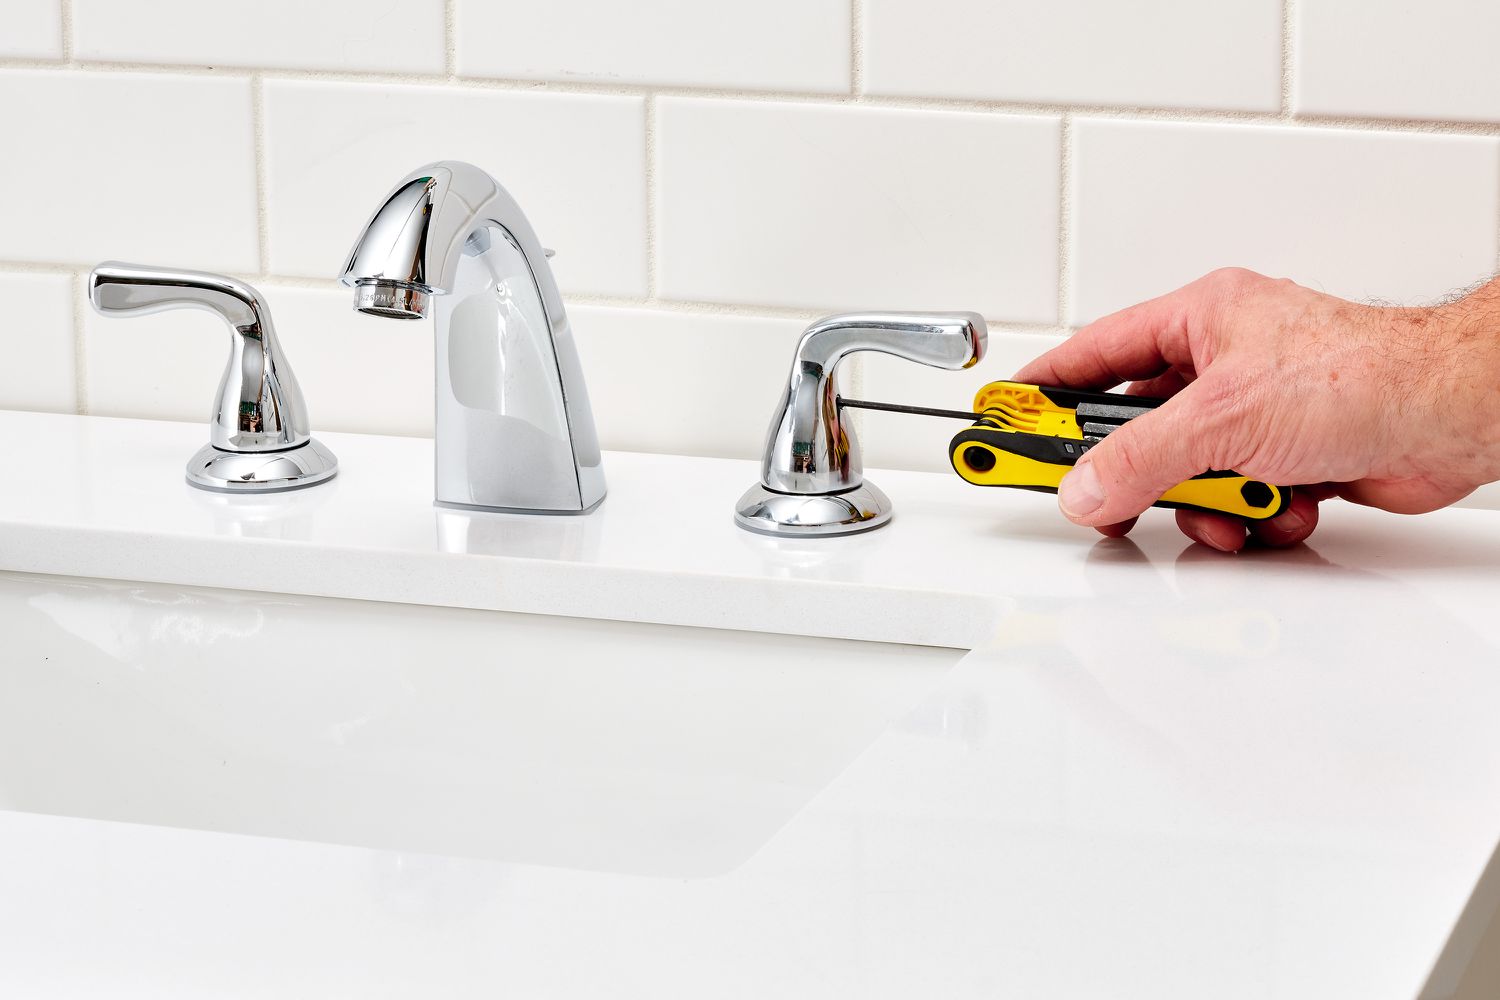
Step 2: Remove the Faucet Handle
Once you have successfully turned off the water supply, it’s time to remove the faucet handle. Here’s how you can do it:
- Locate the screw or cap covering the handle. It is usually located on the top or underside of the handle.
- Using a flathead screwdriver, gently pry off the cap or unscrew the screw to release the handle.
- Once the screw or cap is removed, carefully lift the handle off the faucet. If the handle is stuck, you can gently wiggle it or use a pair of pliers to help loosen it.
Removing the faucet handle will give you access to the mounting nut, which is necessary for the next step. It’s important to be gentle while removing the handle to avoid any damage to the faucet or handle itself.
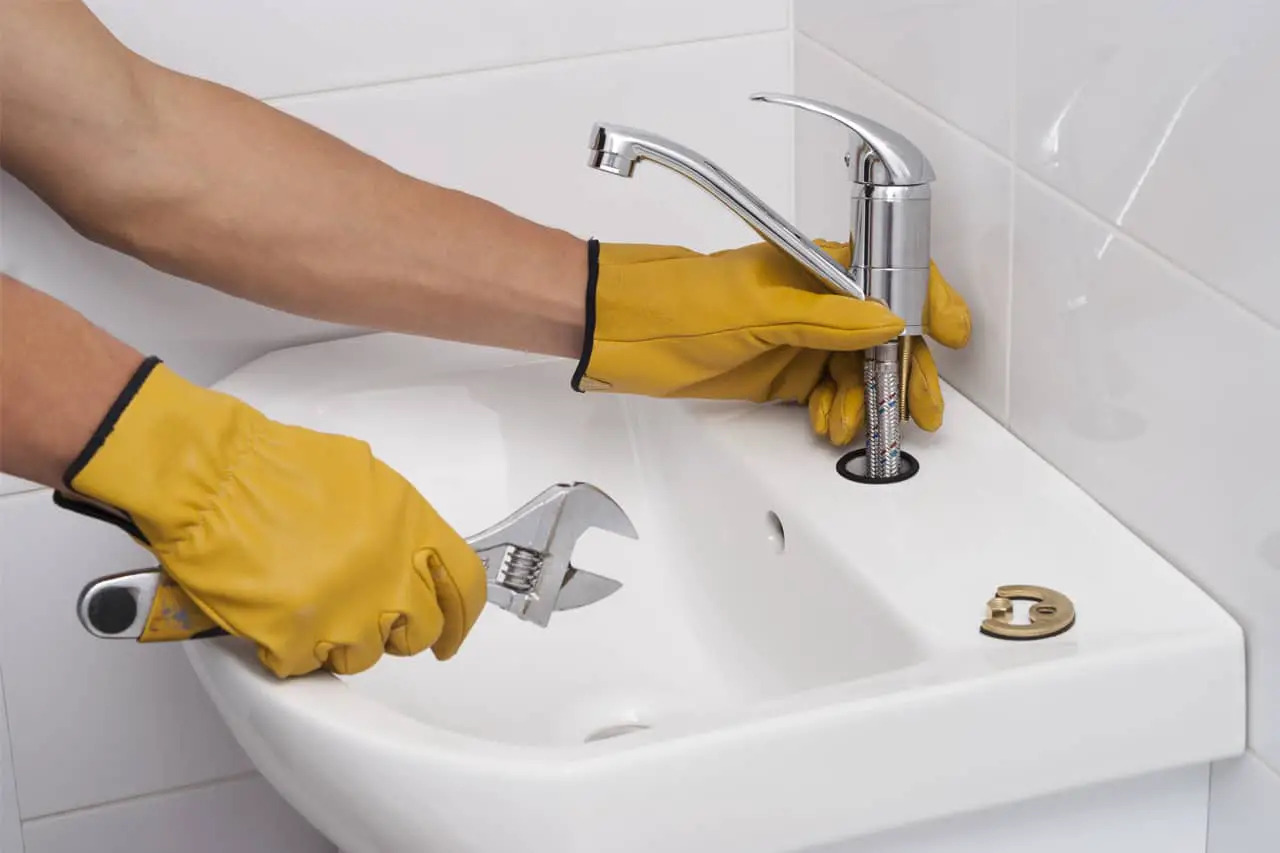
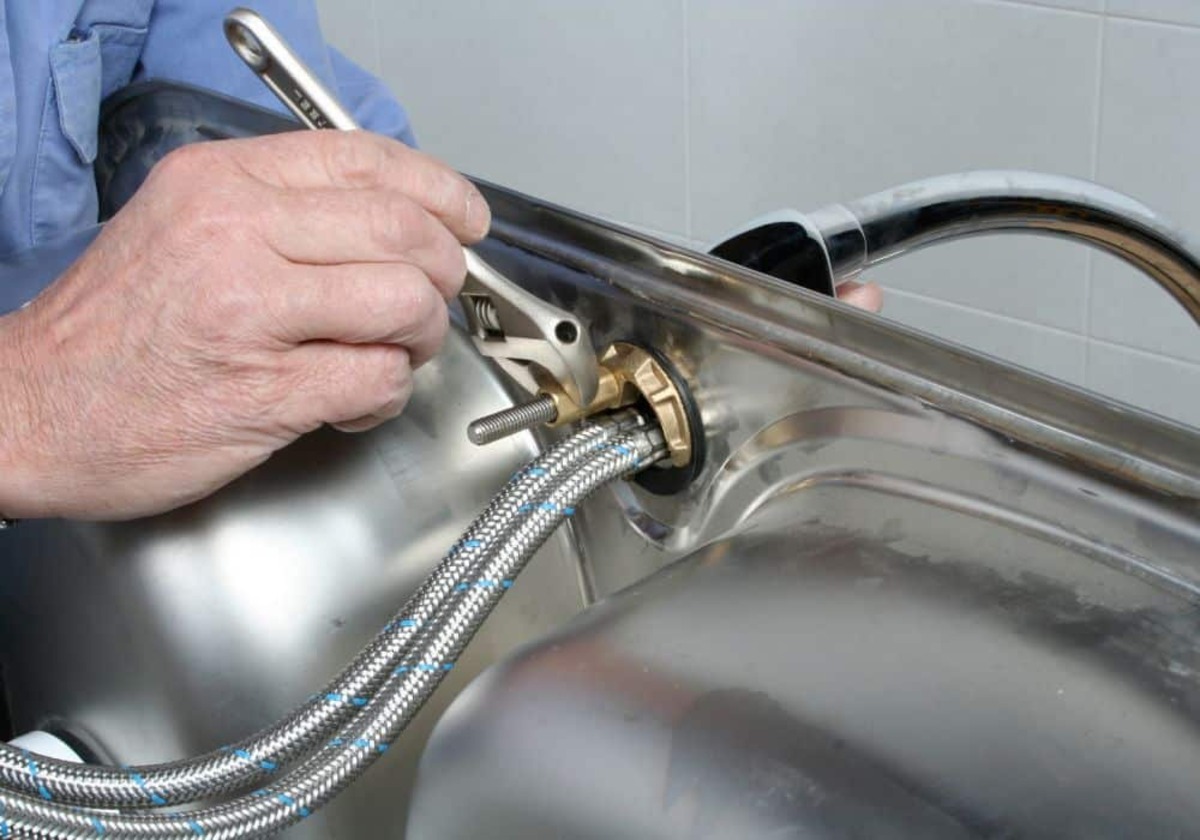
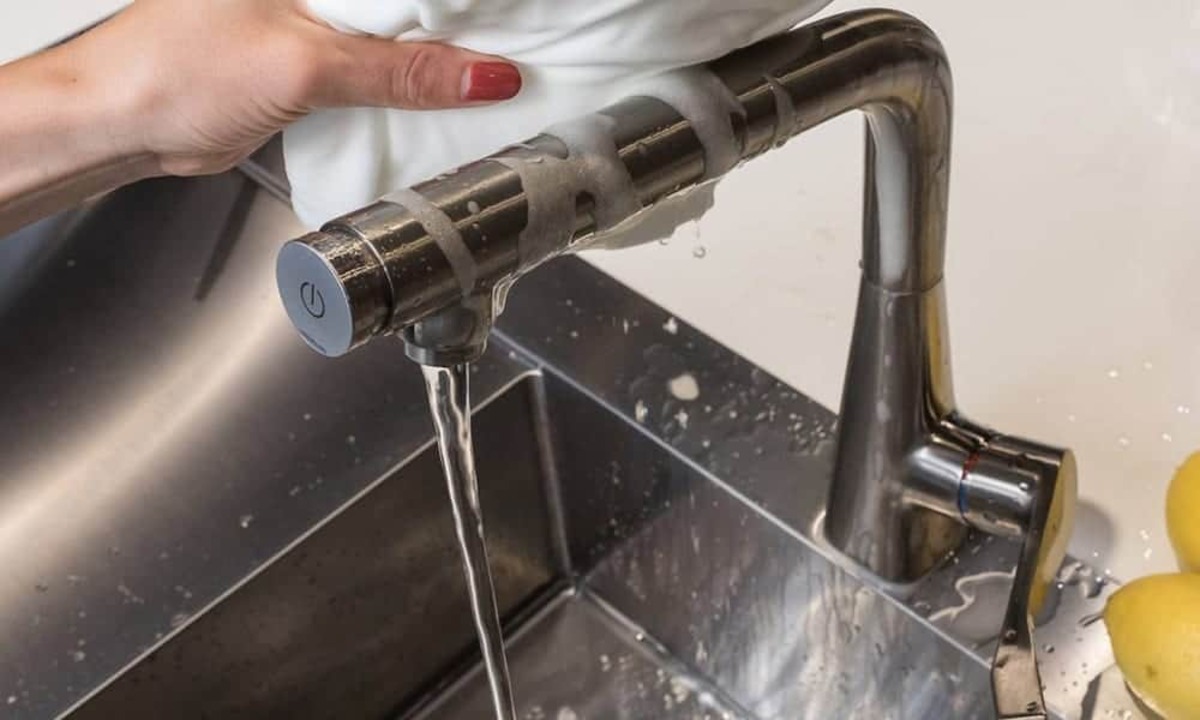
To tighten a kitchen sink faucet, use a wrench to tighten the mounting nuts underneath the sink. Check for any loose screws or connections and tighten them as needed.
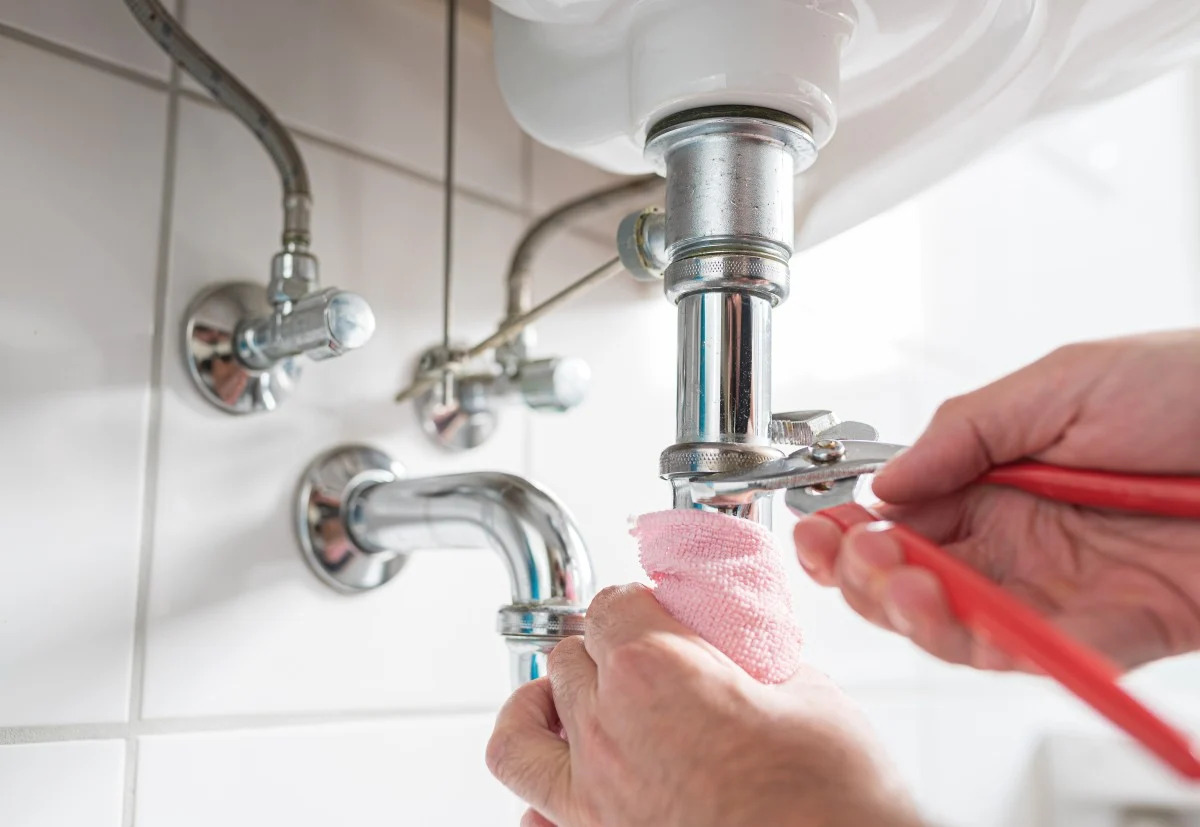
Step 3: Tighten the Mounting Nut
With the faucet handle removed, you can now focus on tightening the mounting nut to secure the faucet in place. Follow these steps:
- Locate the mounting nut, which is the large nut that holds the faucet in place underneath the sink.
- Using an adjustable wrench, grip the mounting nut firmly and turn it clockwise to tighten it. Make sure to apply steady pressure and avoid over-tightening, as it can lead to damage.
- If your faucet has a base plate, make sure it is properly aligned and tightened as well.
- Once you have tightened the mounting nut, give the faucet a gentle shake to test its stability. If you no longer feel any wobbling or movement, you have successfully tightened the faucet.
It’s important to ensure that the mounting nut is tightened securely to prevent any further loosening or wobbling of the faucet. By following these steps, you can ensure that your faucet is stable and functions properly.
Read more: How To Tighten Kitchen Faucet
Step 4: Reassemble the Faucet Handle
Now that you have tightened the mounting nut, it’s time to reassemble the faucet handle. Follow these steps to complete the process:
- Take the faucet handle and position it back onto the faucet.
- If your handle has an Allen screw, insert the Allen wrench into the screw hole and tighten it securely.
- If your handle has a cap, press it firmly into place or screw it back on.
- Test the handle by turning it on and off to ensure it functions smoothly. If it feels secure and operates correctly, you have successfully reassembled the faucet handle.
Reassembling the faucet handle is the final step to complete the tightening process. By following these steps, you can ensure that your faucet handle is securely attached and functions properly.
Step 5: Turn On the Water Supply
With the faucet handle reassembled, it’s time to turn on the water supply and test your newly tightened kitchen sink faucet. Follow these steps to complete the process:
- Locate the water shut-off valves under your sink.
- Using your hand, turn the valves counter-clockwise to gradually open the water supply.
- Stand by the sink and slowly turn on the faucet, allowing the water to flow.
- Check for any leaks or drips around the faucet and handle. If you notice any, turn off the water supply and tighten the mounting nut further.
- If there are no leaks or drips, let the water flow for a few minutes to flush out any air or debris that may have accumulated while you were working on the faucet.
Once you have confirmed that the water is flowing smoothly and there are no leaks, you have successfully tightened your kitchen sink faucet. Enjoy your newly secured and functional faucet!
Conclusion
Tightening your kitchen sink faucet is a simple yet essential task that can restore stability and functionality to your faucet. By following the steps outlined in this guide and using basic tools, you can easily tighten your faucet and prevent any further damage.
Remember to gather all the necessary tools and materials before you start the process. Turning off the water supply, removing the faucet handle, tightening the mounting nut, reassembling the faucet handle, and finally turning on the water supply are the key steps to successfully tighten your kitchen sink faucet.
Regularly checking and maintaining your faucet can help prolong its lifespan and prevent any potential issues. If you encounter any difficulties during the tightening process or notice persistent leaks or other problems, it may be necessary to seek professional assistance.
With a secure and properly functioning faucet, you can now enjoy the convenience and ease of use that your kitchen sink provides. So don’t delay—take a few minutes today to tighten your kitchen sink faucet and enjoy peace of mind in your kitchen.
Frequently Asked Questions about How To Tighten Kitchen Sink Faucet
Was this page helpful?
At Storables.com, we guarantee accurate and reliable information. Our content, validated by Expert Board Contributors, is crafted following stringent Editorial Policies. We're committed to providing you with well-researched, expert-backed insights for all your informational needs.


0 thoughts on “How To Tighten Kitchen Sink Faucet”