Articles
How To Replace RV Skylight
Modified: February 23, 2024
Discover helpful articles on how to replace an RV skylight. Gain step-by-step instructions and expert tips to ensure a smooth installation process.
(Many of the links in this article redirect to a specific reviewed product. Your purchase of these products through affiliate links helps to generate commission for Storables.com, at no extra cost. Learn more)
Introduction
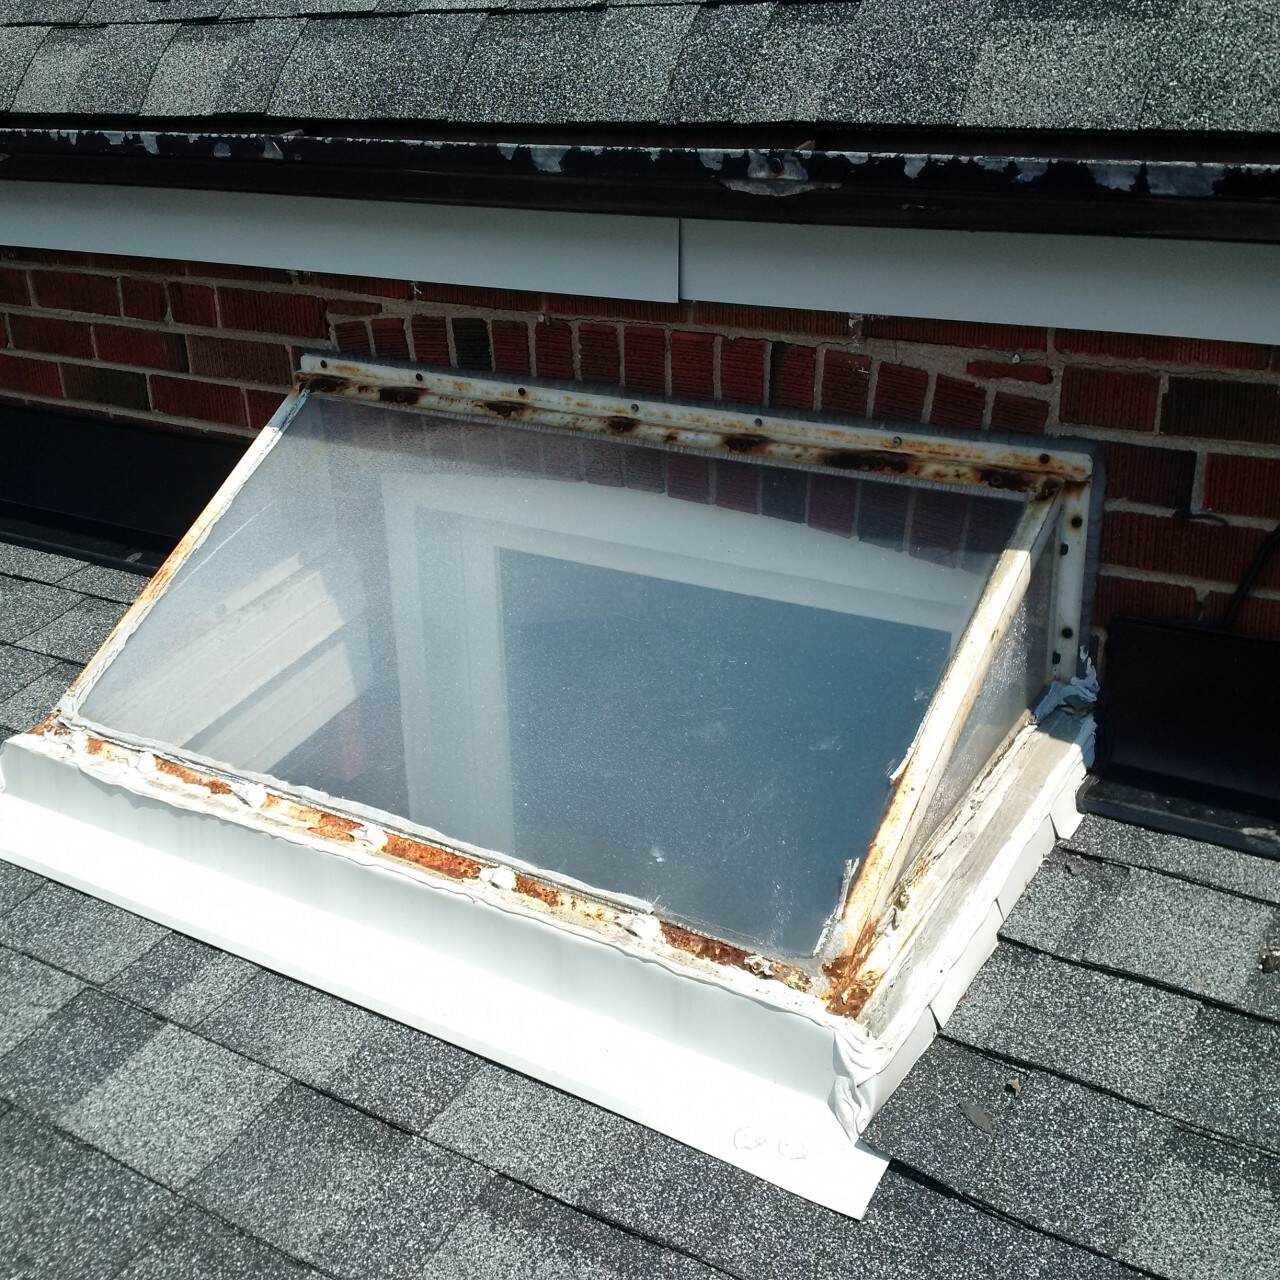
Welcome to this comprehensive guide on how to replace an RV skylight. RV skylights are a wonderful feature that allows natural light to flood into the interior space, creating a bright and inviting atmosphere. However, over time, skylights can become worn, cracked, or damaged, compromising their functionality and aesthetics.
Replacing an RV skylight may seem like a daunting task, but with the right tools, materials, and knowledge, it can be a straightforward and rewarding DIY project. In this article, we will walk you through the step-by-step process of replacing an RV skylight, ensuring a successful and durable installation.
Before we dive into the details, it’s important to note that safety should always be the top priority when undertaking any RV maintenance or repair project. Make sure to exercise caution and follow proper safety protocols throughout the process.
Now, let’s gather the tools and materials that you will need for this project.
Key Takeaways:
- Replacing an RV skylight is a manageable and rewarding DIY project with the right tools, materials, and safety precautions. Enjoy a bright and inviting interior space by following the comprehensive step-by-step guide.
- Prioritize safety, proper installation, and thorough sealing to ensure a durable and watertight RV skylight. With regular maintenance, your new skylight will provide natural light and a pleasant atmosphere for years to come.
Read also: 12 Best RV Skylight Replacement For 2025
Tools and Materials Needed
Before starting the RV skylight replacement, it’s crucial to have the necessary tools and materials at hand. Here is a list of items you will need:
- Screwdriver set: A set of screwdrivers with various sizes and types will be required for removing the old skylight and installing the new one.
- Utility knife: A sharp utility knife will come in handy for cutting through the sealant and any other materials during the removal process.
- Measuring tape: You’ll need a measuring tape to ensure the new skylight is the correct size for your RV.
- Sealant: High-quality sealant specifically designed for RVs is essential for creating a watertight seal around the new skylight.
- Putty knife: A putty knife will help you remove the old sealant and clean the surface before installing the new skylight.
- Butyl tape: Butyl tape is used to provide additional waterproofing and seal the skylight frame to the RV roof.
- Caulking gun: A caulking gun is necessary for applying the sealant or adhesive in a controlled and uniform manner.
- Safety goggles and gloves: To protect your eyes and hands from any debris or chemicals, wear safety goggles and gloves throughout the process.
- Rags or towels: Keep a supply of rags or towels nearby to clean up any spills or messes during the replacement process.
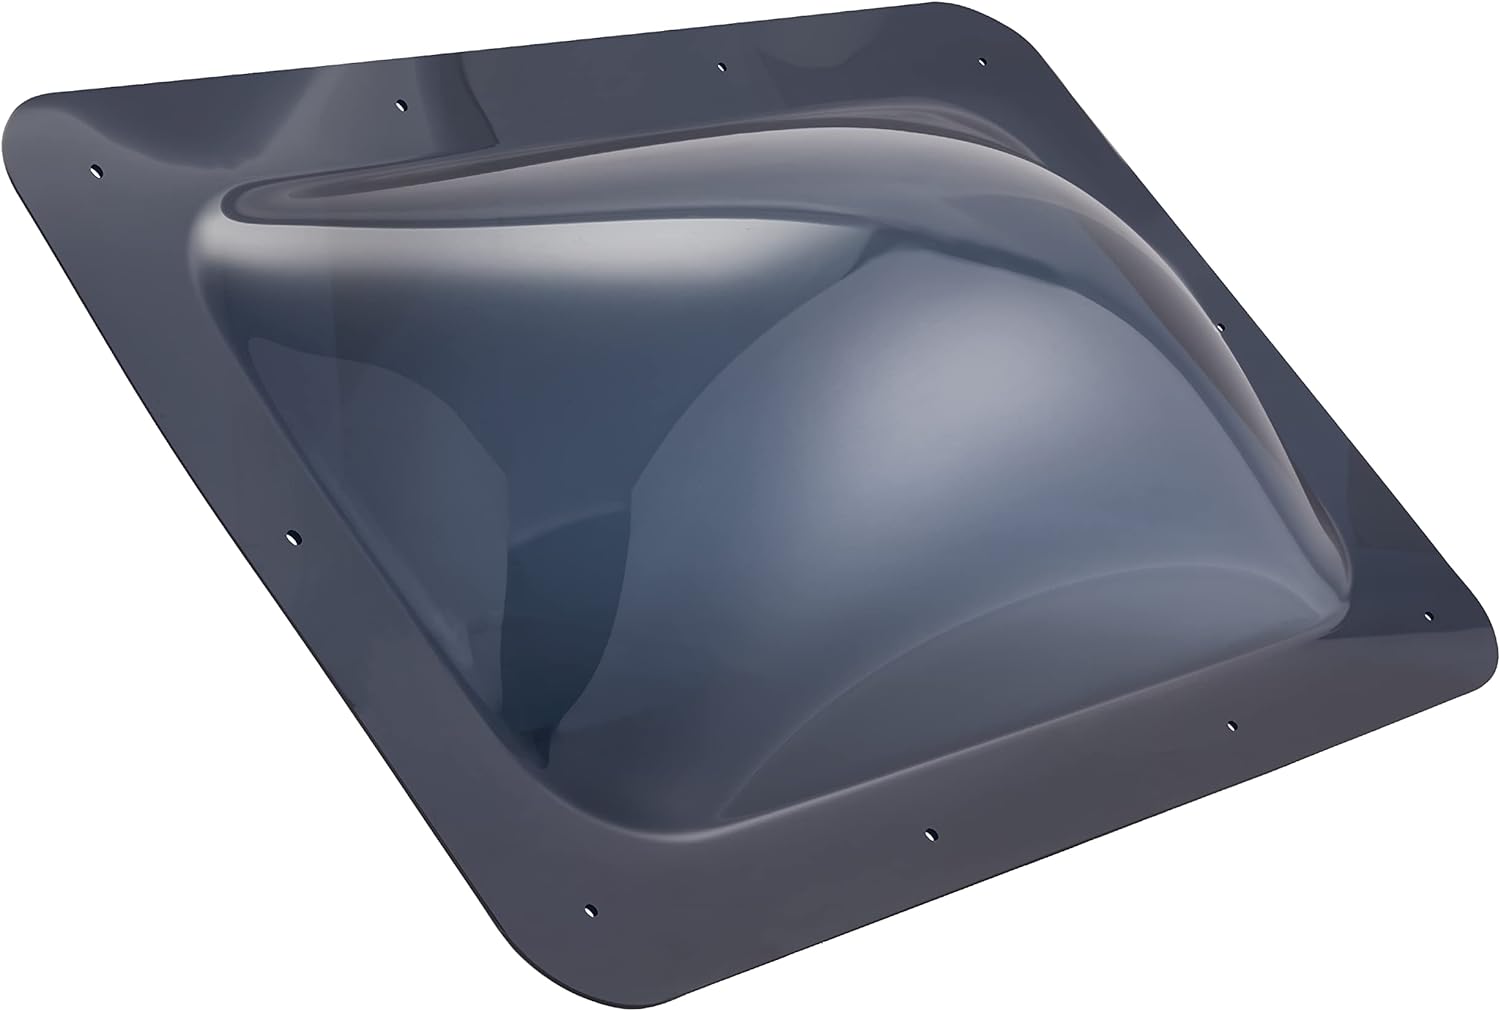
- New RV skylight: Of course, you will need a replacement skylight that fits the dimensions and specifications of your RV. Make sure to choose a skylight made from durable materials to withstand the elements.
Once you have gathered all the necessary tools and materials, you are ready to begin the RV skylight replacement process. Remember to double-check your inventory before starting to ensure you have everything needed to complete the project smoothly and efficiently.
Step 1: Safety Precautions
Before you start working on replacing the RV skylight, it’s important to take proper safety precautions to protect yourself and prevent any accidents or injuries. Here are some essential safety measures to keep in mind:
- Turn off all power sources: Before beginning the replacement process, make sure to turn off all power sources in your RV. This will help prevent any electrical shocks or mishaps.
- Wear protective gear: Put on safety goggles, gloves, and appropriate clothing to safeguard yourself from debris, sharp edges, and chemicals.
- Secure the RV: Park your RV on a level surface and engage the parking brake. This will ensure stability while you work on the skylight replacement.
- Use proper tools: Always use the correct tools for the job to avoid accidents and ensure efficient and effective work.
- Be cautious of the roof condition: Pay attention to the condition of the RV roof, as it may be slippery or unstable. Use caution and take necessary precautions when climbing on the roof.
- Work in a well-ventilated area: If you are using any sealants or adhesives during the replacement process, make sure to work in a well-ventilated area to avoid inhaling fumes.
- Work with a partner if needed: If the skylight is large or heavy, it’s advisable to have someone assist you during the removal and installation process.
By following these safety precautions, you can minimize the risk of accidents and injuries while replacing the RV skylight. It’s important to take your time, stay focused, and prioritize safety throughout the entire process.
Now that you are aware of the necessary safety measures, let’s move on to step 2, which involves removing the old skylight.
Step 2: Removing the Old Skylight
Once you have taken the necessary safety precautions, you can proceed with removing the old skylight. Follow these steps:
- Inspect the skylight: Examine the old skylight to identify any screws, bolts, or fasteners securing it to the RV roof. These may vary depending on the manufacturer and model of your skylight.
- Prepare your tools: Gather your screwdriver set and utility knife. Depending on the fasteners used, you may need a flat-head or Phillips-head screwdriver.
- Remove the screws or bolts: Loosen and remove all screws or bolts securing the skylight to the RV roof. Keep them in a safe place for later use or replacement.
- Cut through the sealant: Carefully use a utility knife to cut through the sealant that surrounds the skylight frame. This will help loosen the skylight and allow for easier removal.
- Gently pry off the old skylight: Once the screws and sealant are loosened, use a putty knife or a flat-head screwdriver to gently pry off the old skylight from the RV roof. Be careful not to damage the roof or surrounding areas.
- Inspect the roof and clean the area: Take a moment to inspect the roof for any damage or debris left behind by the old skylight. Clean the area thoroughly and remove any remaining sealant or adhesive.
Remember to work slowly and carefully during the removal process to avoid causing any additional damage to the RV or roof. Once the old skylight is removed and the area is cleaned, you can proceed to the next step: preparing the installation area.
Step 3: Preparing the Installation Area
With the old skylight successfully removed, it’s time to prepare the installation area for the new skylight. Follow these steps:
- Assess the condition of the roof: Inspect the RV roof for any damage, leaks, or areas that may need repair. Address any issues and ensure the roof is in good condition before proceeding.
- Measure the opening: Using a measuring tape, determine the exact dimensions of the opening where the skylight will be installed. This will ensure that the new skylight fits properly.
- Clean the installation area: Thoroughly clean the area where the new skylight will be placed. Remove any dirt, debris, or remnants of the old sealant. You may use a cleaning solution and a rag for this purpose.
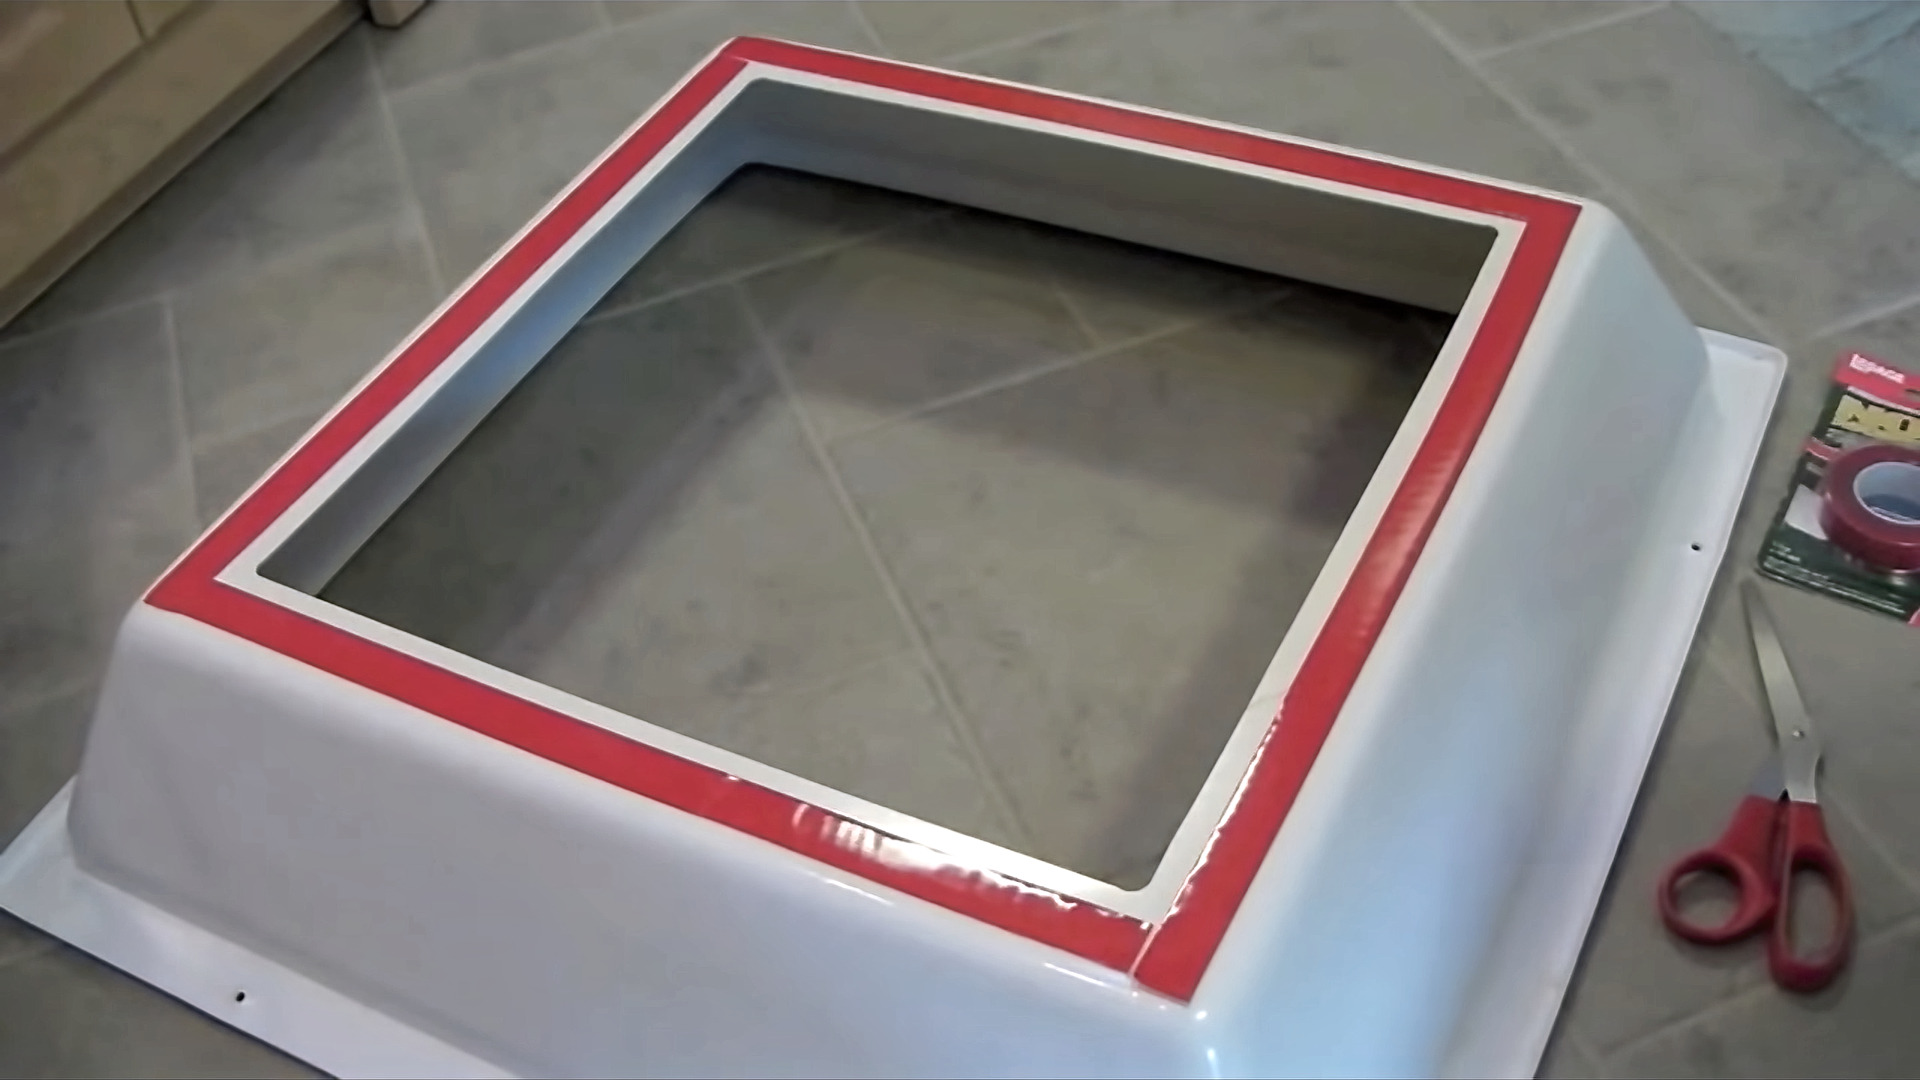
- Apply butyl tape: Cut a length of butyl tape to fit the perimeter of the skylight opening. Apply the tape to the outer edge of the opening, creating a waterproof barrier between the skylight and the roof.
- Position the new skylight: Carefully place the new skylight onto the butyl tape-lined opening. Ensure that it is centered and aligned properly with the RV roof.
- Check for proper fit: Make sure the new skylight fits snugly into the opening and sits flush with the roof. Adjust if necessary.
Preparing the installation area is a critical step in ensuring a successful and secure installation of the new skylight. Taking the time to clean and properly align the skylight will help prevent future leaks and issues. Once the installation area is prepared, you can move on to the next step: installing the new skylight.
When replacing an RV skylight, make sure to measure the existing skylight carefully to ensure you purchase the correct size replacement. Double check the measurements before making a purchase to avoid any issues during installation.
Read more: How To Replace A Skylight Dome
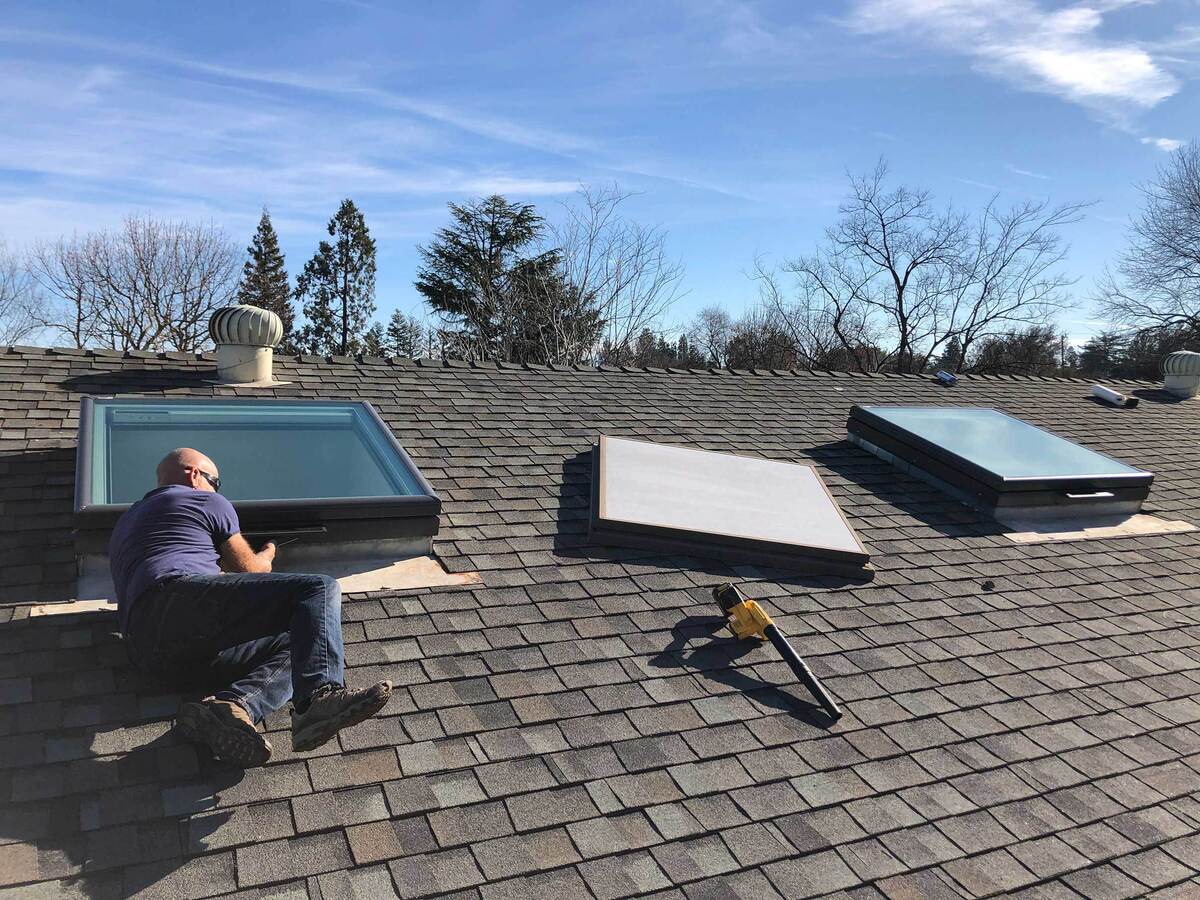
Step 4: Installing the New Skylight
Now that the installation area is prepared, you can proceed with installing the new skylight. Follow these steps:
- Apply sealant to the skylight frame: Using a caulking gun, apply a generous amount of sealant to the bottom side of the skylight frame. This will create a watertight seal between the skylight and the RV roof.
- Position the skylight: Carefully place the skylight onto the butyl tape-lined opening. Ensure that it is aligned properly and sits flush with the roof.
- Secure the skylight: Using the screws or bolts that were removed earlier, secure the skylight to the RV roof. Start by partially tightening one screw or bolt, then move to the opposite side and partially tighten another. Continue with the remaining screws or bolts, gradually tightening them until the skylight is securely fastened.
- Tighten the screws or bolts: Once all the screws or bolts are partially tightened, go back and fully tighten each one. Be careful not to overtighten, as this may damage the skylight or the RV roof.
During the installation process, ensure that the skylight remains centered and aligned with the RV roof. Double-check that it is sitting securely and that there are no gaps or areas where water could potentially seep in.
After installing the skylight, it’s time to move on to the next step: sealing and securing the skylight to ensure its durability and prevent any potential leaks.
Step 5: Sealing and Securing the Skylight
To ensure the durability and watertightness of the newly installed skylight, it is important to properly seal and secure it. Follow these steps:
- Apply sealant around the skylight: Using a caulking gun, carefully apply a generous amount of sealant around the edges of the skylight where it meets the RV roof. Ensure that the entire perimeter is covered, creating a complete seal.
- Smooth the sealant: With a putty knife or a gloved finger, smooth out the applied sealant. This will help create an even and uniform seal, as well as remove any excess sealant.
- Inspect for gaps: Carefully inspect the sealant for any gaps or areas that may need additional sealing. Fill in any gaps or cracks with more sealant as necessary.
- Secure the skylight frame: Check the screws or bolts that secure the skylight frame to the RV roof. Ensure that they are tightened securely, but again, be cautious not to overtighten and risk damaging the skylight or roof.
- Allow the sealant to cure: Follow the manufacturer’s instructions regarding the curing time for the sealant. Allow the sealant to fully cure before exposing the skylight to any moisture or extreme weather conditions.
Properly sealing and securing the skylight is crucial to prevent any potential leaks or water damage. Taking the time to apply sealant and ensure a watertight seal will provide long-lasting protection for your RV interior.
Now that the skylight is sealed and secure, it’s time to move on to the final step: adding the finishing touches and cleaning up the installation area.
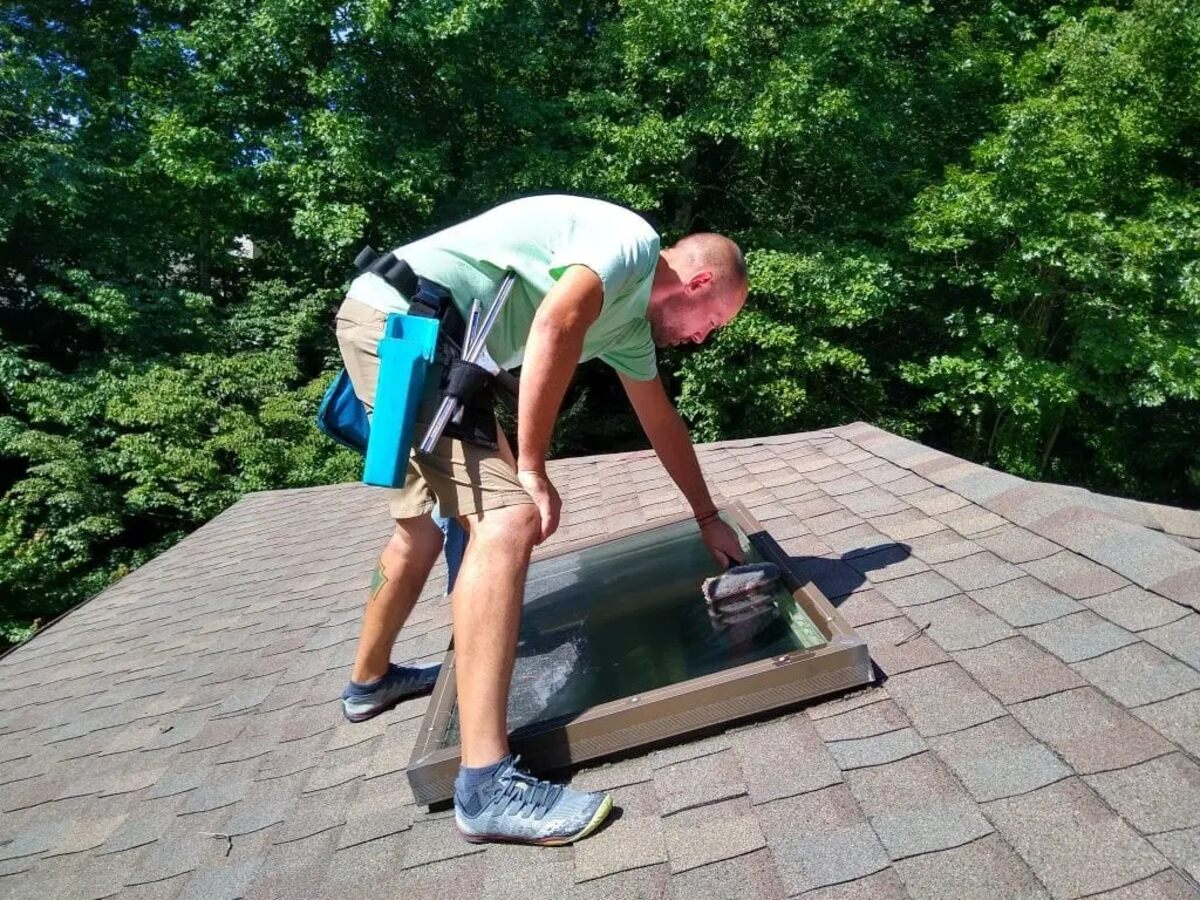
Step 6: Final Touches and Cleanup
With the skylight installed, sealed, and secured, it’s time to add the final touches and clean up the installation area. Follow these steps:
- Trim and clean excess sealant: Use a utility knife or a putty knife to carefully trim any excess sealant around the skylight. This will help create a neat and tidy appearance.
- Clean the skylight: Use a non-abrasive cleaner and a soft cloth to clean the surface of the skylight. Remove any fingerprints, smudges, or dirt that may have accumulated during the installation process.
- Check for any gaps or leaks: Inspect the skylight and the surrounding area for any signs of gaps or leaks. Look for any areas where the sealant may have separated or where water could potentially penetrate. If necessary, reapply sealant to these areas.
- Dispose of waste properly: Dispose of any leftover packaging, old skylight, or other debris from the installation process in accordance with local regulations. Keep the work area clean and free of unnecessary clutter.
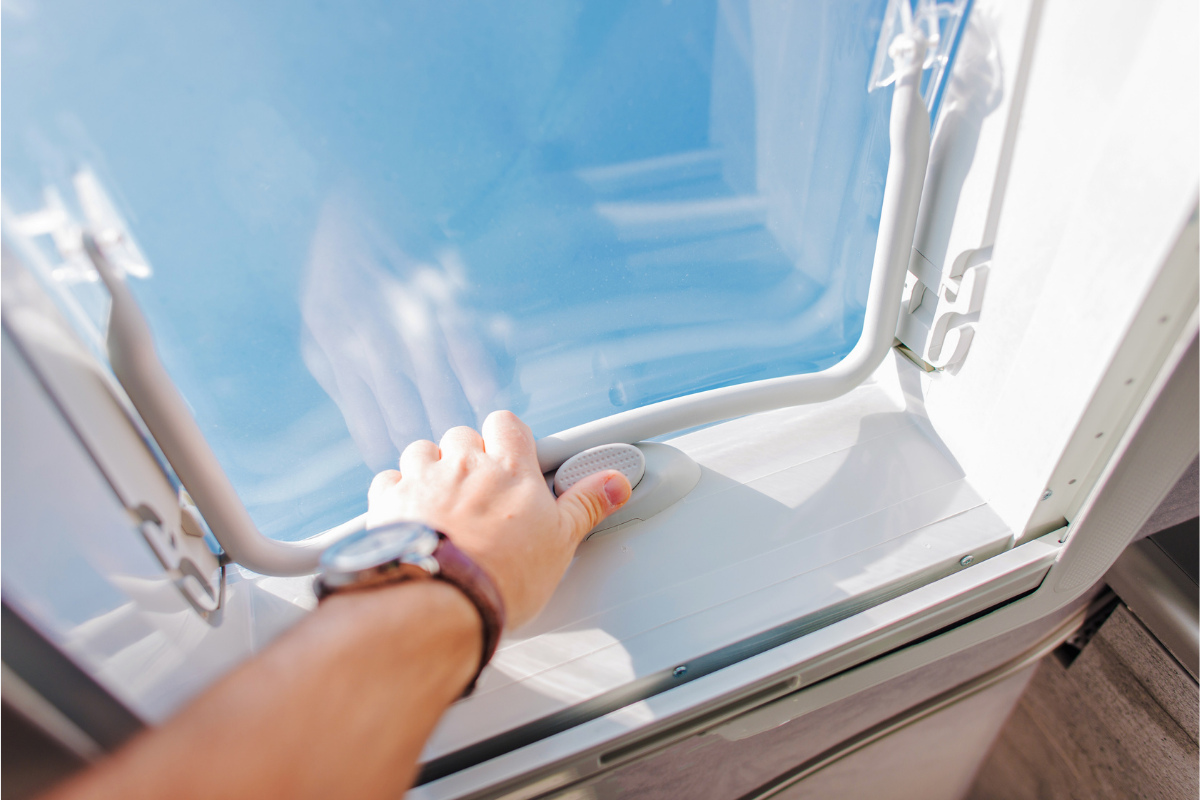
- Test the skylight: Once everything is cleaned up, test the skylight to ensure it opens, closes, and functions properly. Check for any signs of leaking or other issues before considering the installation complete.
By completing these final touches and cleanup steps, you can ensure that the skylight is not only properly installed but also visually appealing and ready to enhance the interior of your RV.
Congratulations! You have successfully replaced the RV skylight. With proper maintenance and care, your new skylight will provide natural light and a pleasant atmosphere inside your RV for years to come.
Remember to consult the manufacturer’s instructions specific to your skylight model and follow any additional guidelines they provide for maintenance and usage.
Thank you for following this comprehensive guide. Enjoy the benefits of your new RV skylight!
Conclusion
Replacing an RV skylight may seem like a daunting task, but with the right tools, materials, and knowledge, it can be a manageable and rewarding DIY project. By following the step-by-step guide outlined in this article, you can successfully replace your RV skylight and enjoy the benefits of a bright and inviting interior space.
Throughout the process, it is essential to prioritize safety by following proper precautions and using protective gear. Take your time during each step, ensuring that everything is done correctly and securely. This will help prevent any potential issues or leaks in the future.
From preparing the installation area to sealing and securing the new skylight, each step plays a vital role in maintaining the structural integrity and weatherproofing of your RV. By taking the time to clean up excess sealant and perform a final inspection, you can ensure a clean and professional-looking installation.
Remember to refer to the manufacturer’s instructions for your specific skylight model, as they may provide additional guidelines or specifications. Regular maintenance and inspections will help prolong the lifespan of your skylight and prevent any potential issues from arising.
Now that you are equipped with the knowledge to replace an RV skylight, take on the challenge and give your RV a fresh and bright update. Enjoy the beauty of natural light while traveling on your adventures!
Thank you for following this comprehensive guide. Safe travels and happy RVing!
Frequently Asked Questions about How To Replace RV Skylight
Was this page helpful?
At Storables.com, we guarantee accurate and reliable information. Our content, validated by Expert Board Contributors, is crafted following stringent Editorial Policies. We're committed to providing you with well-researched, expert-backed insights for all your informational needs.


0 thoughts on “How To Replace RV Skylight”