Articles
How To Tighten A Loose Toilet Seat
Modified: January 6, 2024
Learn how to easily tighten a loose toilet seat with these helpful articles. Prevent wobbling and ensure a secure and stable seat!
(Many of the links in this article redirect to a specific reviewed product. Your purchase of these products through affiliate links helps to generate commission for Storables.com, at no extra cost. Learn more)
Introduction
Having a loose toilet seat can be both annoying and potentially hazardous. Constantly shifting and wobbling, it not only affects the comfort of your bathroom experience but also poses a safety risk, especially for elderly or mobility-challenged individuals. Thankfully, tightening a loose toilet seat is a relatively simple task that can be done by anyone with a few basic tools and a little bit of time.
In this article, we will guide you through the step-by-step process of tightening a loose toilet seat, ensuring a more stable and secure seat for your daily use. Whether your toilet seat is attached with screws or bolts, we’ve got you covered. So, put on your DIY hat, grab your toolbox, and let’s get to work!
Key Takeaways:
- Easily tighten a loose toilet seat using basic tools and a step-by-step process, ensuring a stable and secure bathroom fixture for a safer and more comfortable experience.
- Regular maintenance and periodic checks can prevent future loosening, but if issues persist, consider a replacement seat better suited for your toilet bowl to restore stability.
Read more: How To Tighten A Toto Toilet Seat
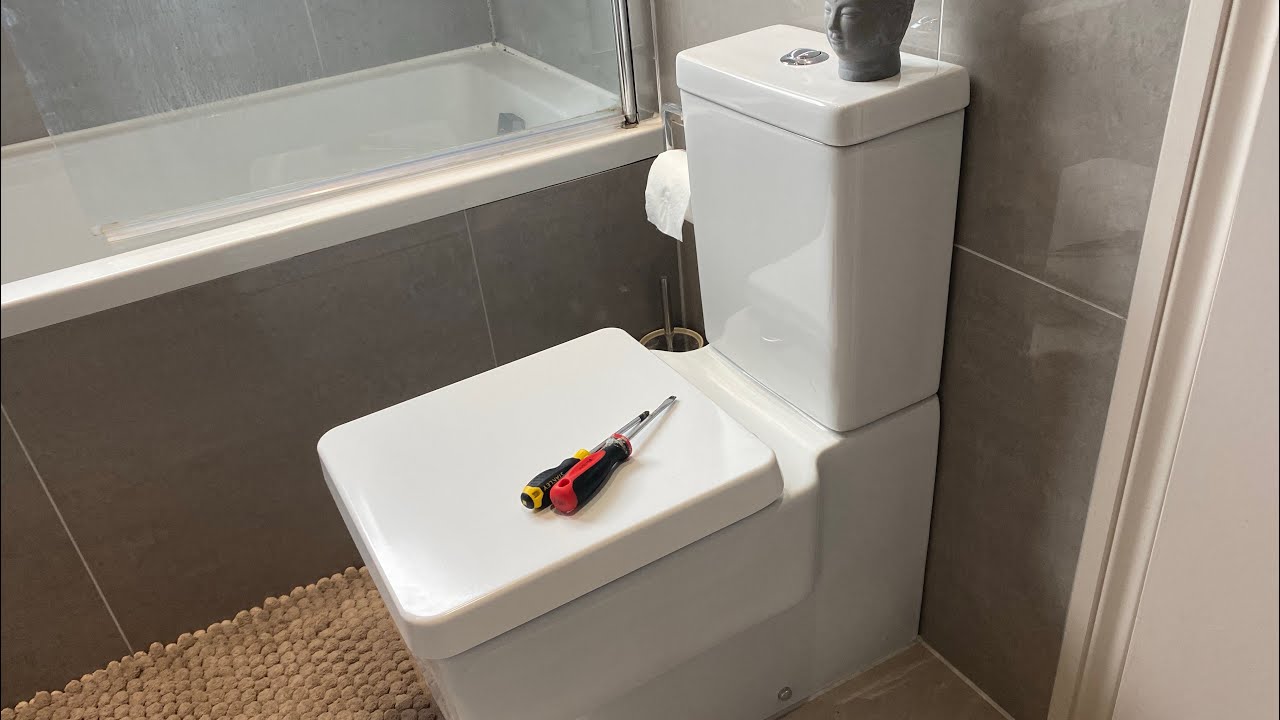
Tools and Materials Needed
Before you begin tightening your loose toilet seat, it’s important to gather the necessary tools and materials. Here’s a list of items you’ll need:
- Adjustable wrench
- Screwdriver (flathead or Phillips, depending on your seat)
- Putty knife or scraper
- Replacement screws or bolts (if needed)
- Penetrating oil or lubricant (optional)
Having these tools and materials on hand will make the process much smoother and help you avoid any unnecessary trips to the hardware store. Now that you’re all set, let’s dive into the steps of tightening your loose toilet seat.
Step 1: Assessing the Issue
Before you start tightening your loose toilet seat, it’s important to assess the issue and determine the underlying cause of the problem. There are a few common reasons why a toilet seat becomes loose:
- Loose screws or bolts: Over time, the screws or bolts that hold the toilet seat in place can become loose due to regular use. This is the most common reason for a wobbly seat.
- Worn-out seat hinges: If you have a toilet seat with hinges, they may become worn or damaged over time, causing the seat to become loose.
- Cracked or damaged seat: In some cases, a loose toilet seat may be a result of a cracked or damaged seat itself. Check for any visible cracks or signs of damage.
By examining the toilet seat and identifying the issue, you’ll be better equipped to address the problem effectively. Once you understand the cause, you can move on to the next step of removing the toilet seat.
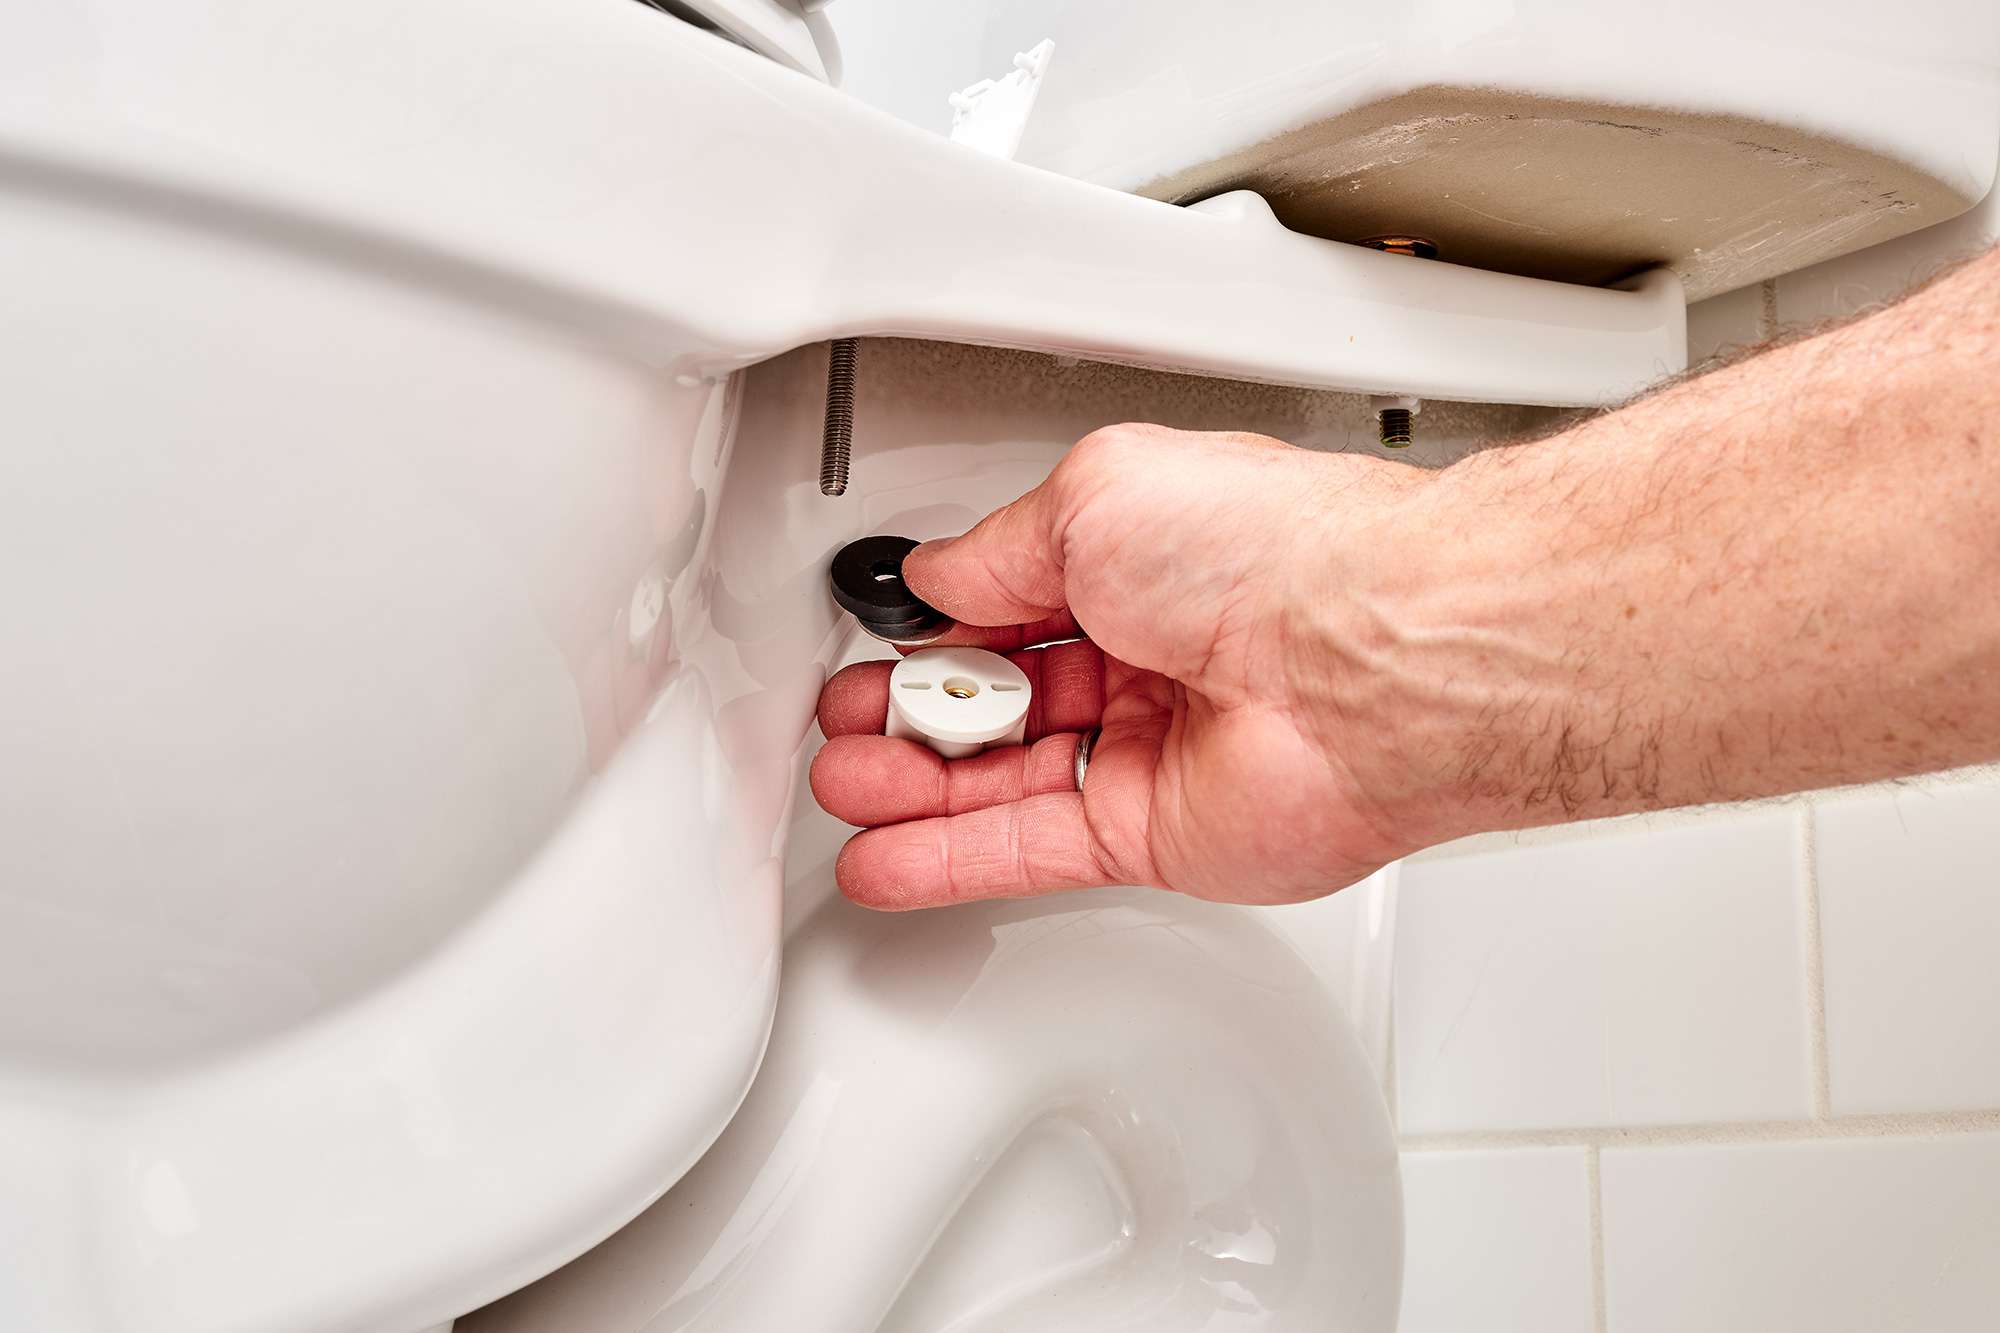
Step 2: Removing the Toilet Seat
Before you can tighten a loose toilet seat, you need to remove it from the toilet bowl. Here’s how:
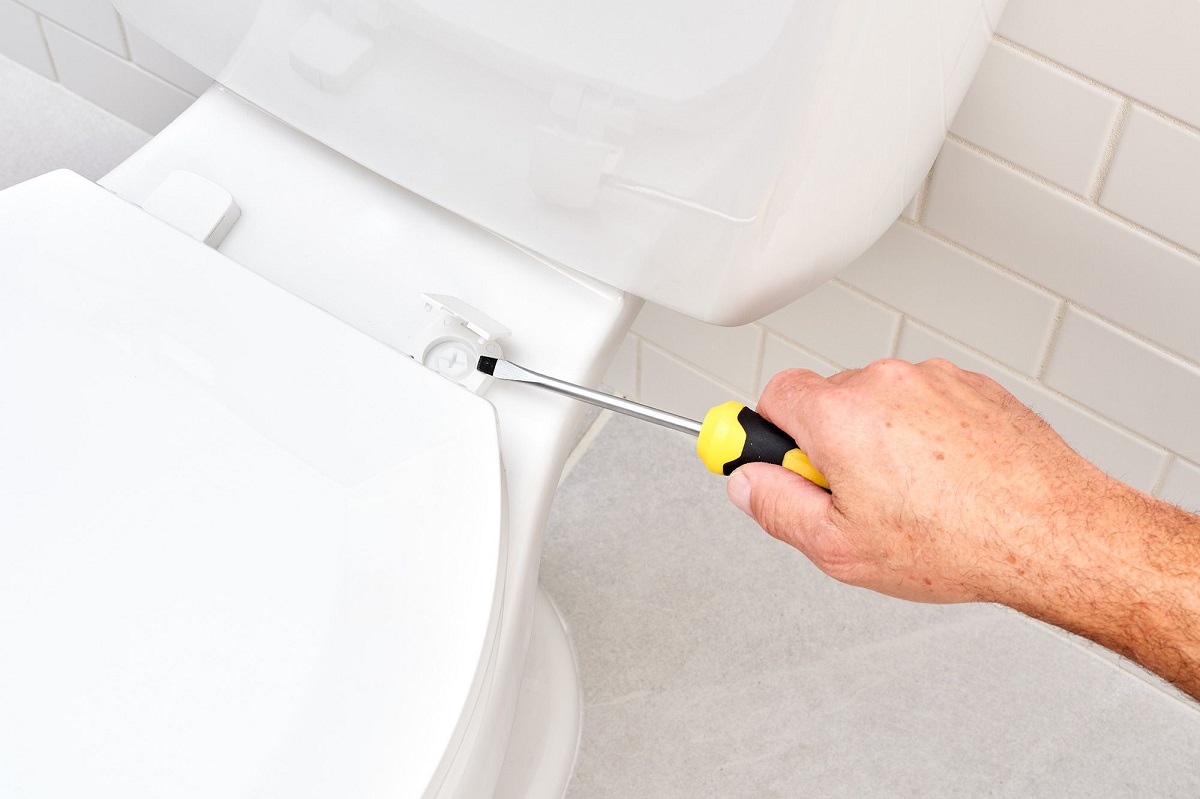
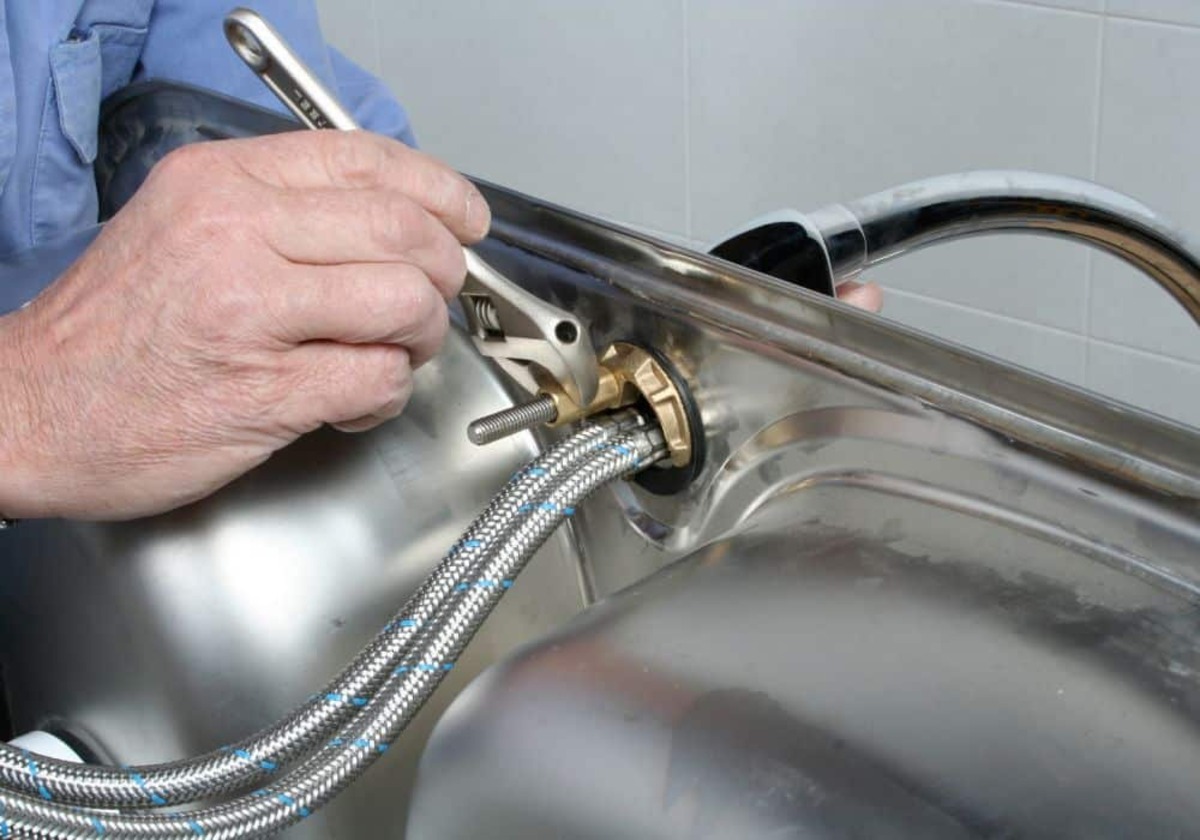
- Start by locating the screws or bolts that secure the seat to the toilet bowl. These are typically found on the underside of the seat.
- Using an adjustable wrench or screwdriver, loosen the screws or bolts counterclockwise. Be careful not to overtighten or strip them.
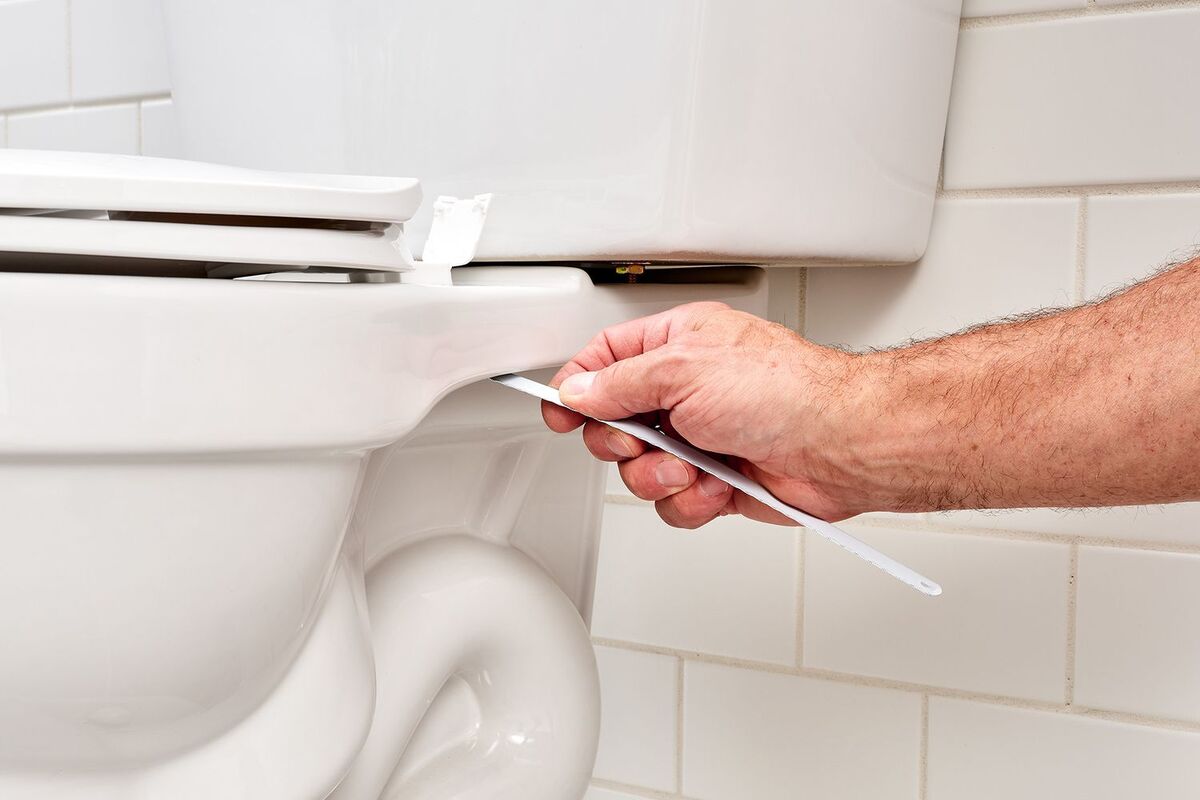
- If the screws or bolts are stubborn and won’t loosen easily, you can try using a penetrating oil or lubricant to loosen them. Apply the oil and let it sit for a few minutes before attempting to remove the screws or bolts again.
- Once the screws or bolts are loosened, lift the seat straight up to detach it from the toilet bowl. Set it aside in a safe place.
- If the seat has hinges, take note of how they are attached to the toilet bowl. This will help with reattaching the seat later on.
With the seat removed, you can now move on to the next step of tightening the toilet seat.
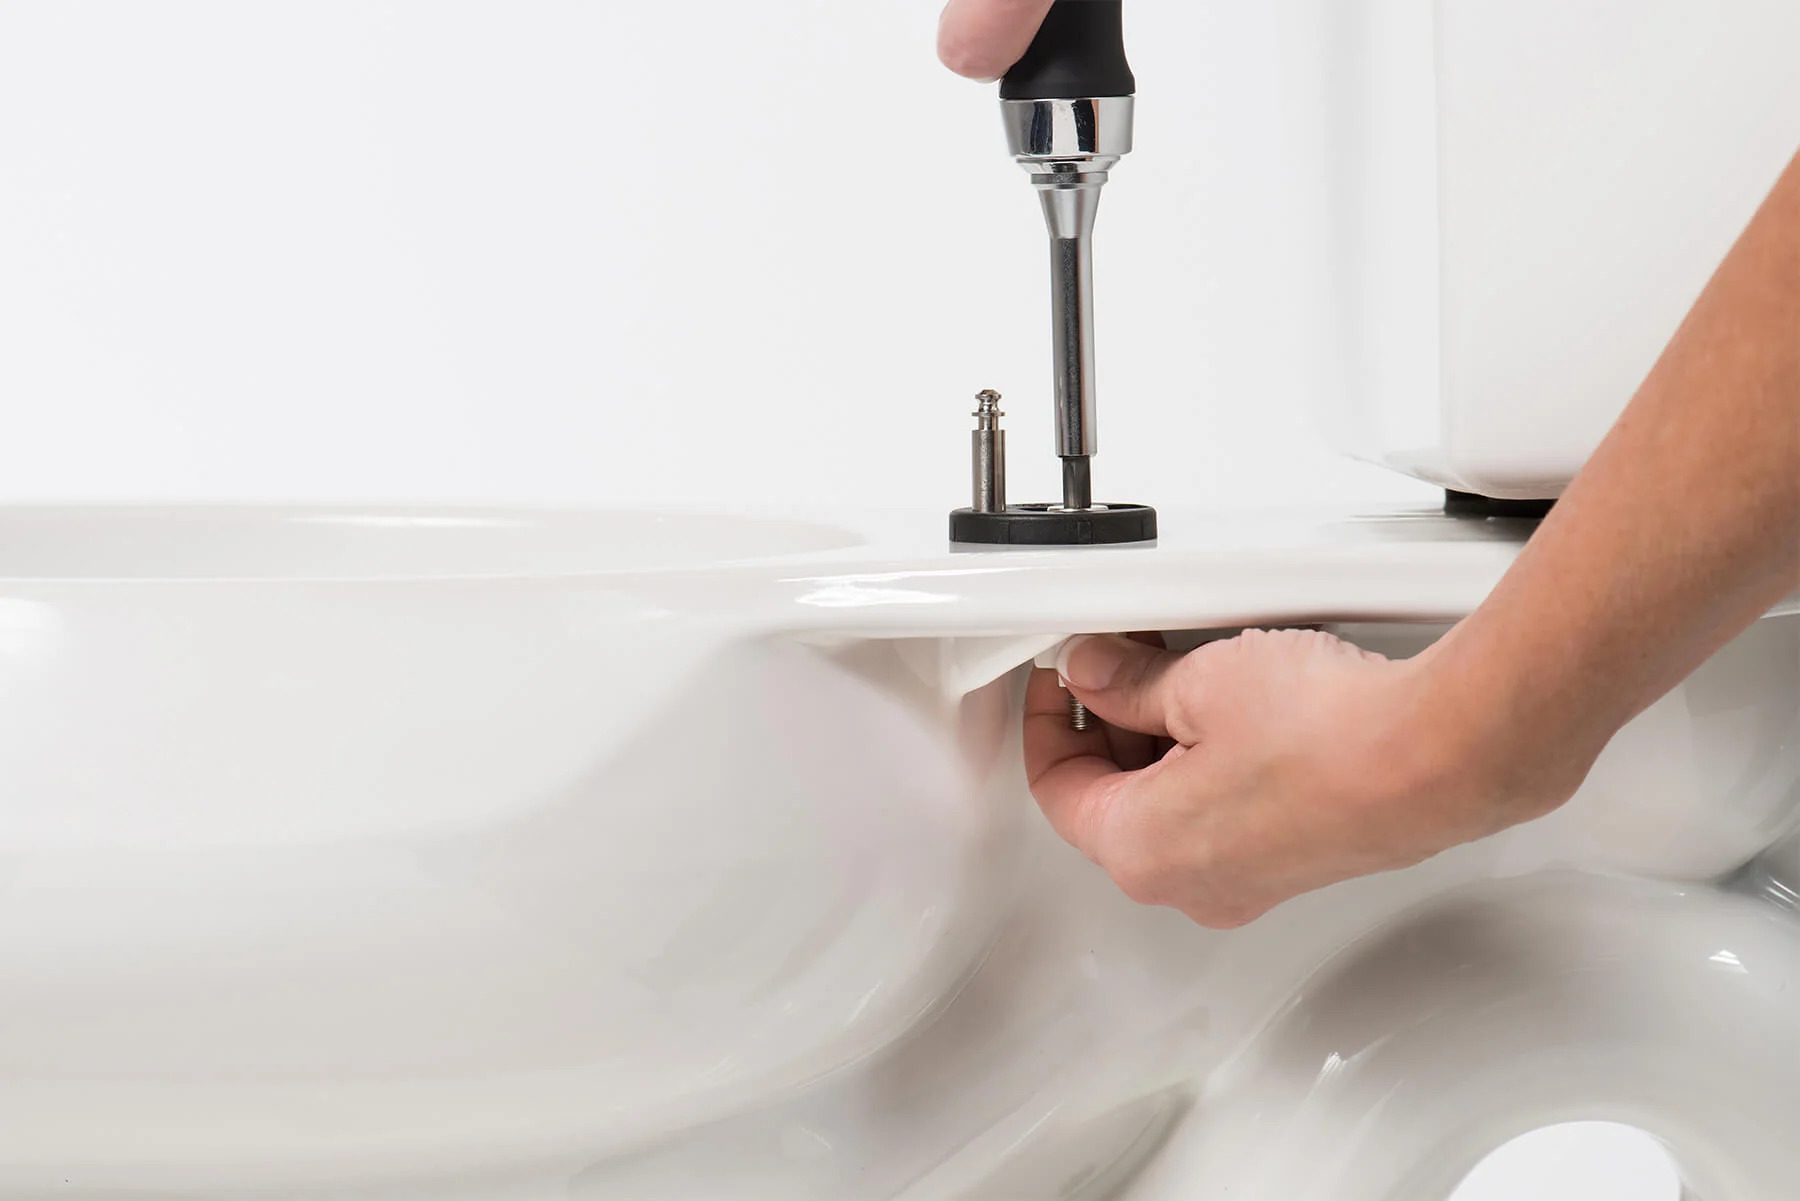
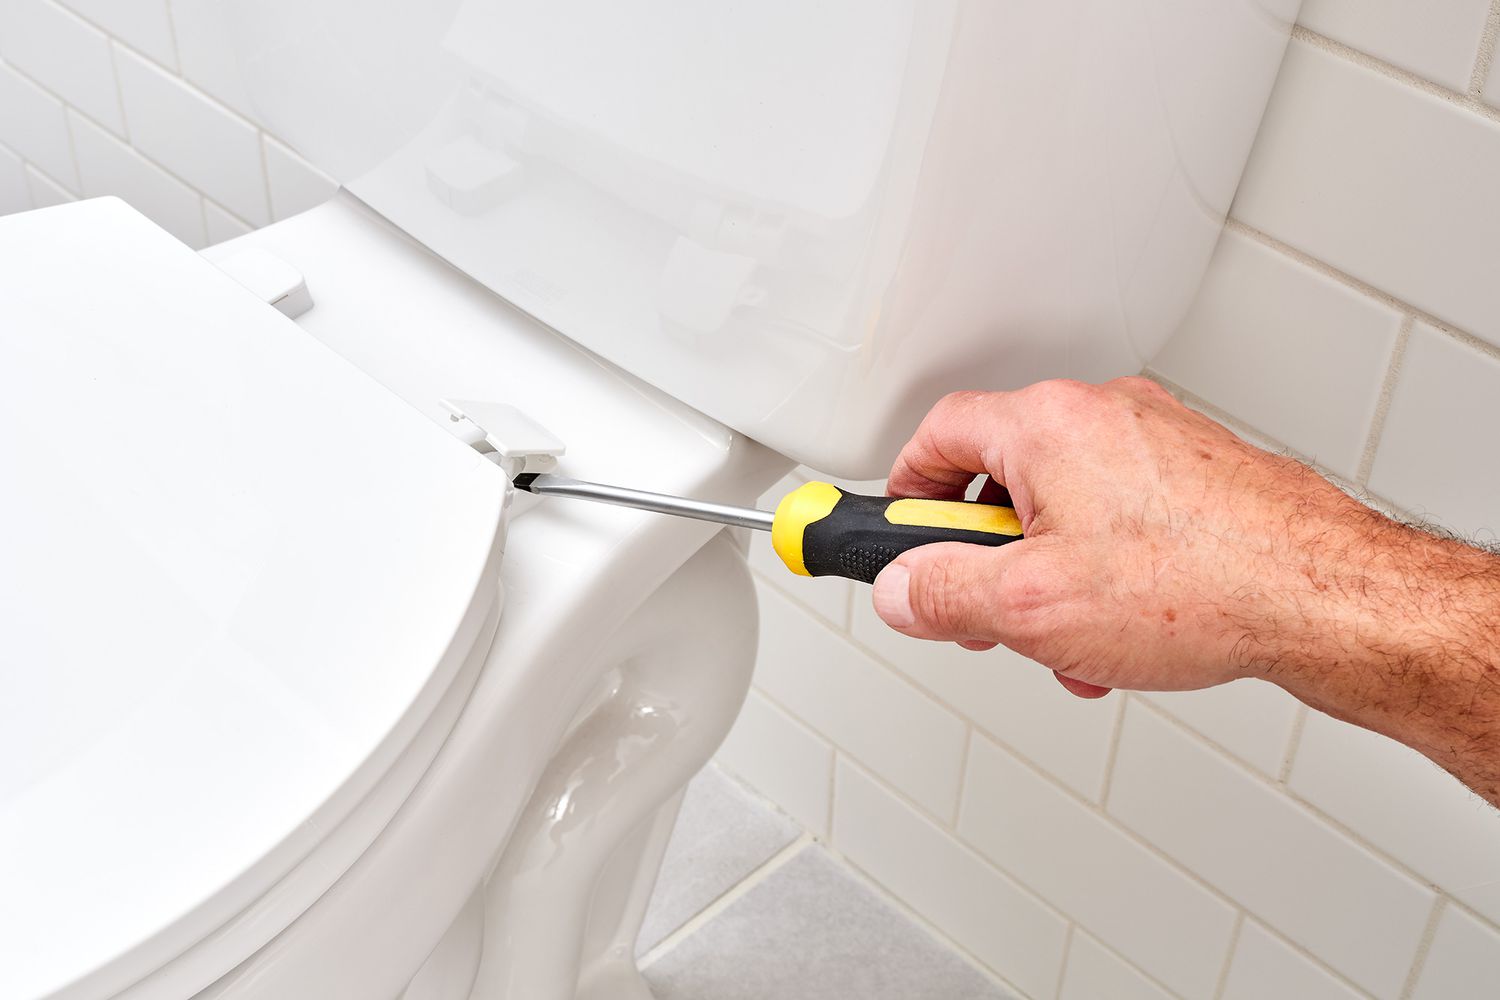
Use a screwdriver to tighten the bolts on the underside of the toilet seat. If the bolts are plastic, be careful not to over-tighten as this can cause them to crack.
Step 3: Tightening the Toilet Seat
Now that you have removed the loose toilet seat, it’s time to tighten it up. Follow these steps to ensure a secure fit:
- Inspect the screws or bolts that hold the seat in place. Check for any damage or wear and replace them if necessary.
- Position the seat back on the toilet bowl, aligning it with the holes for the screws or bolts.
- If the seat is attached with screws, insert them into the holes and tighten them snugly using a screwdriver. Be careful not to overtighten, as it could damage the seat or toilet bowl.
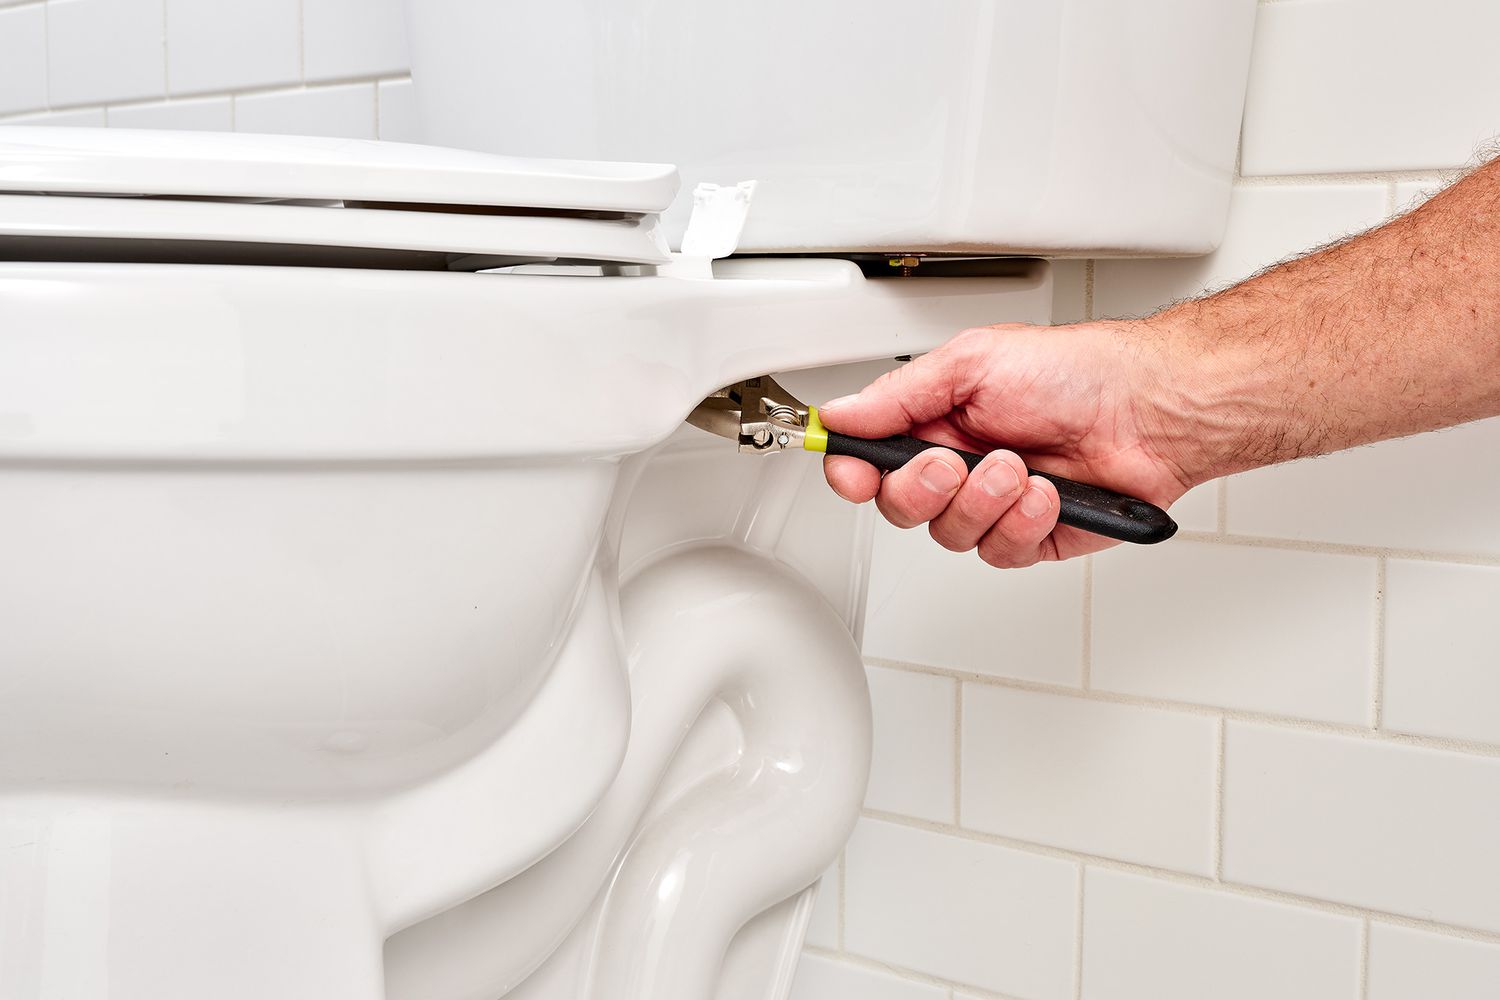
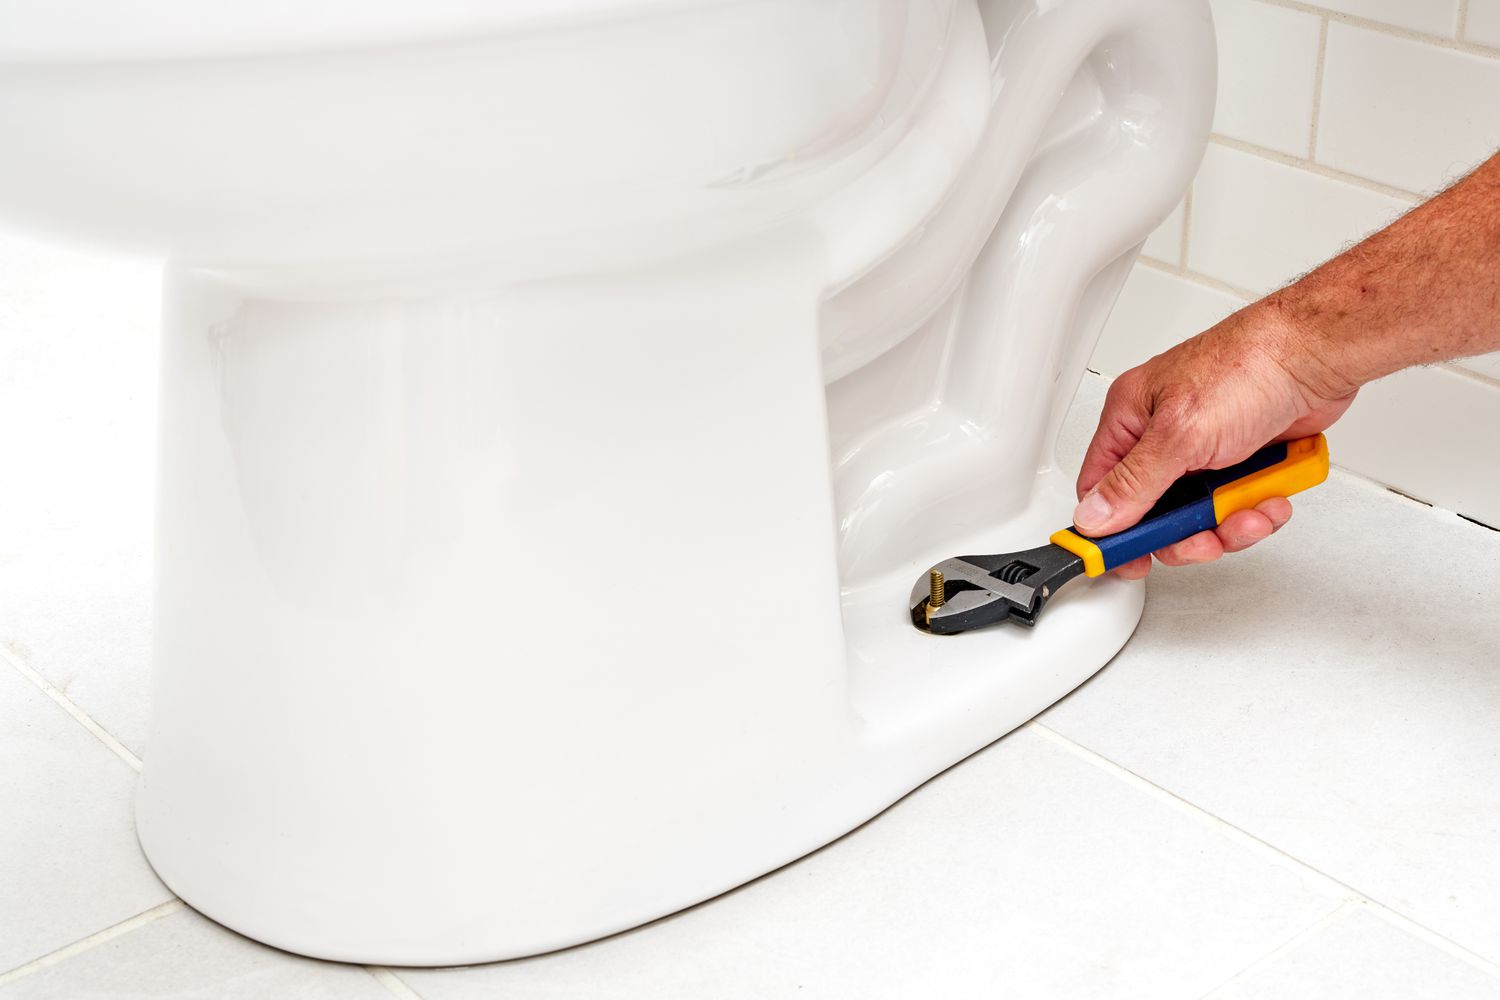
- If the seat is attached with bolts, insert them into the holes and thread the nuts onto the bolts from underneath the toilet bowl. Use an adjustable wrench to tighten the nuts securely.
- If the seat has hinges, ensure they are properly aligned with the slots on the toilet bowl. Some seats have snap-on hinges, while others require screws or bolts to secure them. Follow the manufacturer’s instructions to attach the hinges securely.
Make sure to tighten the screws or bolts evenly on both sides to prevent any wobbling or unevenness. Once you have tightened the seat, proceed to the next step of reattaching it to the toilet bowl.
Step 4: Reattaching the Toilet Seat
With the loose toilet seat now securely tightened, it’s time to reattach it to the toilet bowl. Follow these steps:
- Align the holes on the seat with the corresponding holes on the toilet bowl.
- If your seat uses screws, insert them into the holes and tighten them using a screwdriver. If your seat uses bolts, insert them into the holes and secure them with nuts underneath the toilet bowl using an adjustable wrench.
- Ensure that the seat is centered and positioned correctly on the toilet bowl. Adjust it as needed.
- Double-check that all screws or bolts are tightened securely, but be careful not to overtighten and risk damaging the seat or toilet bowl.
Once the seat is reattached, give it a gentle shake to test its stability. It should feel secure and stable without any wobbling or movement.
Now that you have successfully reattached the toilet seat, it’s time to move on to the final step: checking for stability.
Step 5: Checking for Stability
After tightening and reattaching the toilet seat, it’s essential to check for stability to ensure a safe and comfortable experience. Here’s what you need to do:
- Gently sit on the toilet seat and test its stability. Make sure it feels secure and doesn’t shift or wobble.
- If you notice any remaining wobbling or movement, try tightening the screws or bolts a bit more. Be cautious not to overtighten, as this could damage the seat or toilet bowl.
- If the seat still feels unstable, you may need to consider replacing the seat altogether. Look for any signs of cracks or damage in the seat itself, as this could be the cause of the instability.
- If you do need to replace the seat, remove it following the steps outlined earlier. Purchase a new toilet seat that is compatible with your toilet bowl and follow the same steps to install it.
By thoroughly checking the stability of the toilet seat, you can ensure a secure and comfortable bathroom experience for yourself and your family.
Remember to periodically check the tightness of the seat screws or bolts and make any necessary adjustments to maintain its stability over time.
With that, you have successfully tightened your loose toilet seat and can now enjoy a stable and secure seat in your bathroom.
Conclusion
Dealing with a loose toilet seat may seem like a minor inconvenience, but it can impact your comfort and safety in the bathroom. By following the step-by-step process outlined in this article, you can easily tighten a loose toilet seat and restore stability to your bathroom fixture.
Remember, the key to fixing a loose toilet seat is proper assessment, removal, tightening, and reattachment. Take the time to inspect the screws, bolts, and hinges, replace any damaged parts if needed, and ensure that they are securely tightened without overdoing it.
Regular maintenance and periodic checks can help prevent future loosening of the toilet seat. If you notice any recurring issues or persistent instability despite your efforts, it may be worth considering a replacement seat that is better suited for your toilet bowl.
Whether you’re a seasoned DIY enthusiast or a beginner, tightening a loose toilet seat is a manageable task that can be accomplished with just a few simple tools and a little bit of time. By following the steps outlined in this article, you can enjoy a stable and secure toilet seat once again.
So, don’t let a wobbly toilet seat disrupt your bathroom routine. Take action today and tighten that loose seat for a more comfortable and safe experience.
Frequently Asked Questions about How To Tighten A Loose Toilet Seat
Was this page helpful?
At Storables.com, we guarantee accurate and reliable information. Our content, validated by Expert Board Contributors, is crafted following stringent Editorial Policies. We're committed to providing you with well-researched, expert-backed insights for all your informational needs.


0 thoughts on “How To Tighten A Loose Toilet Seat”