
Articles
How To Update Corian Countertops
Modified: February 23, 2024
Learn how to update your Corian countertops with our informative articles. Discover tips and techniques for achieving a fresh and modern look for your kitchen surfaces.
(Many of the links in this article redirect to a specific reviewed product. Your purchase of these products through affiliate links helps to generate commission for Storables.com, at no extra cost. Learn more)
Introduction
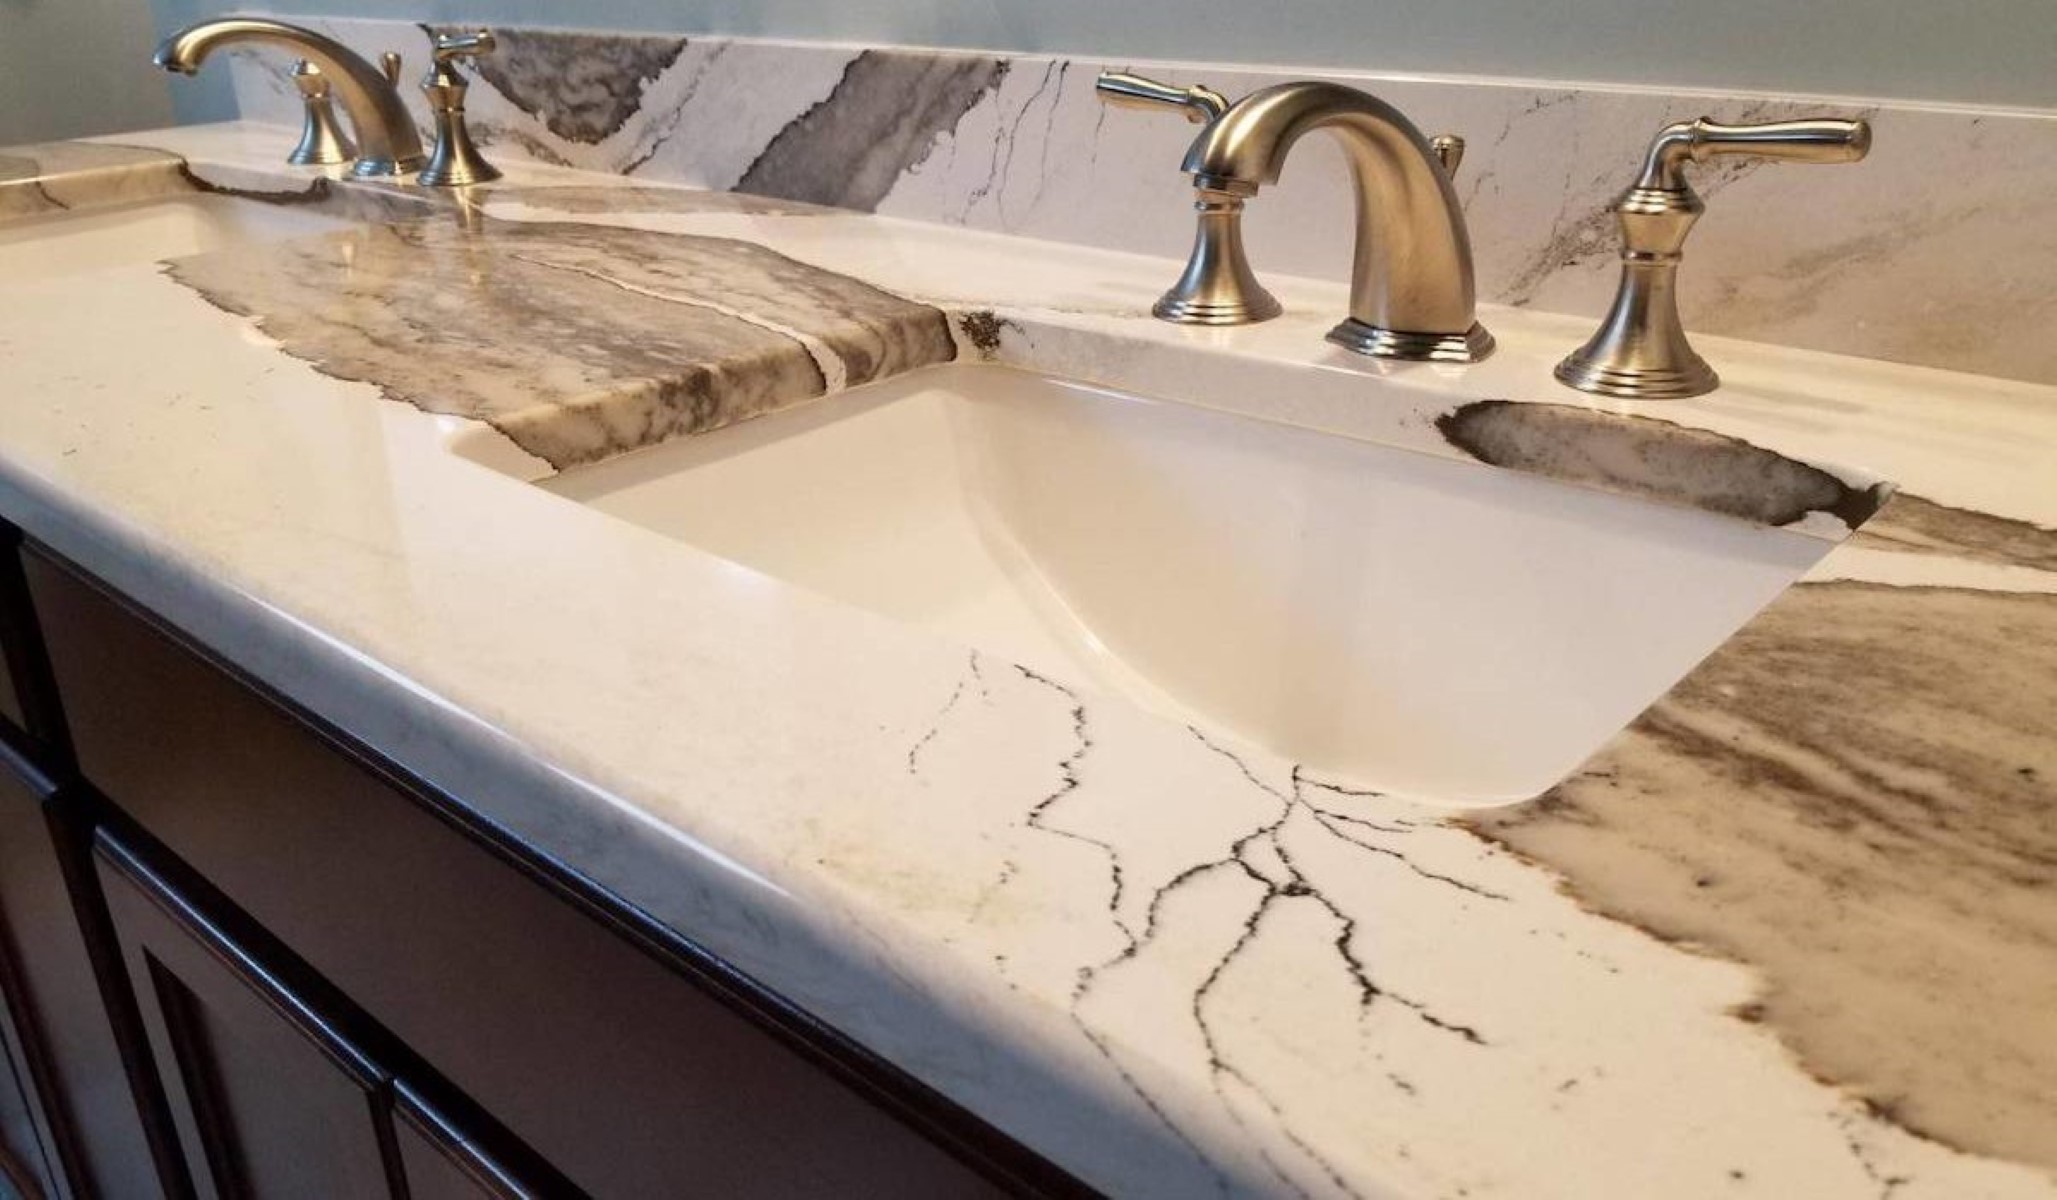
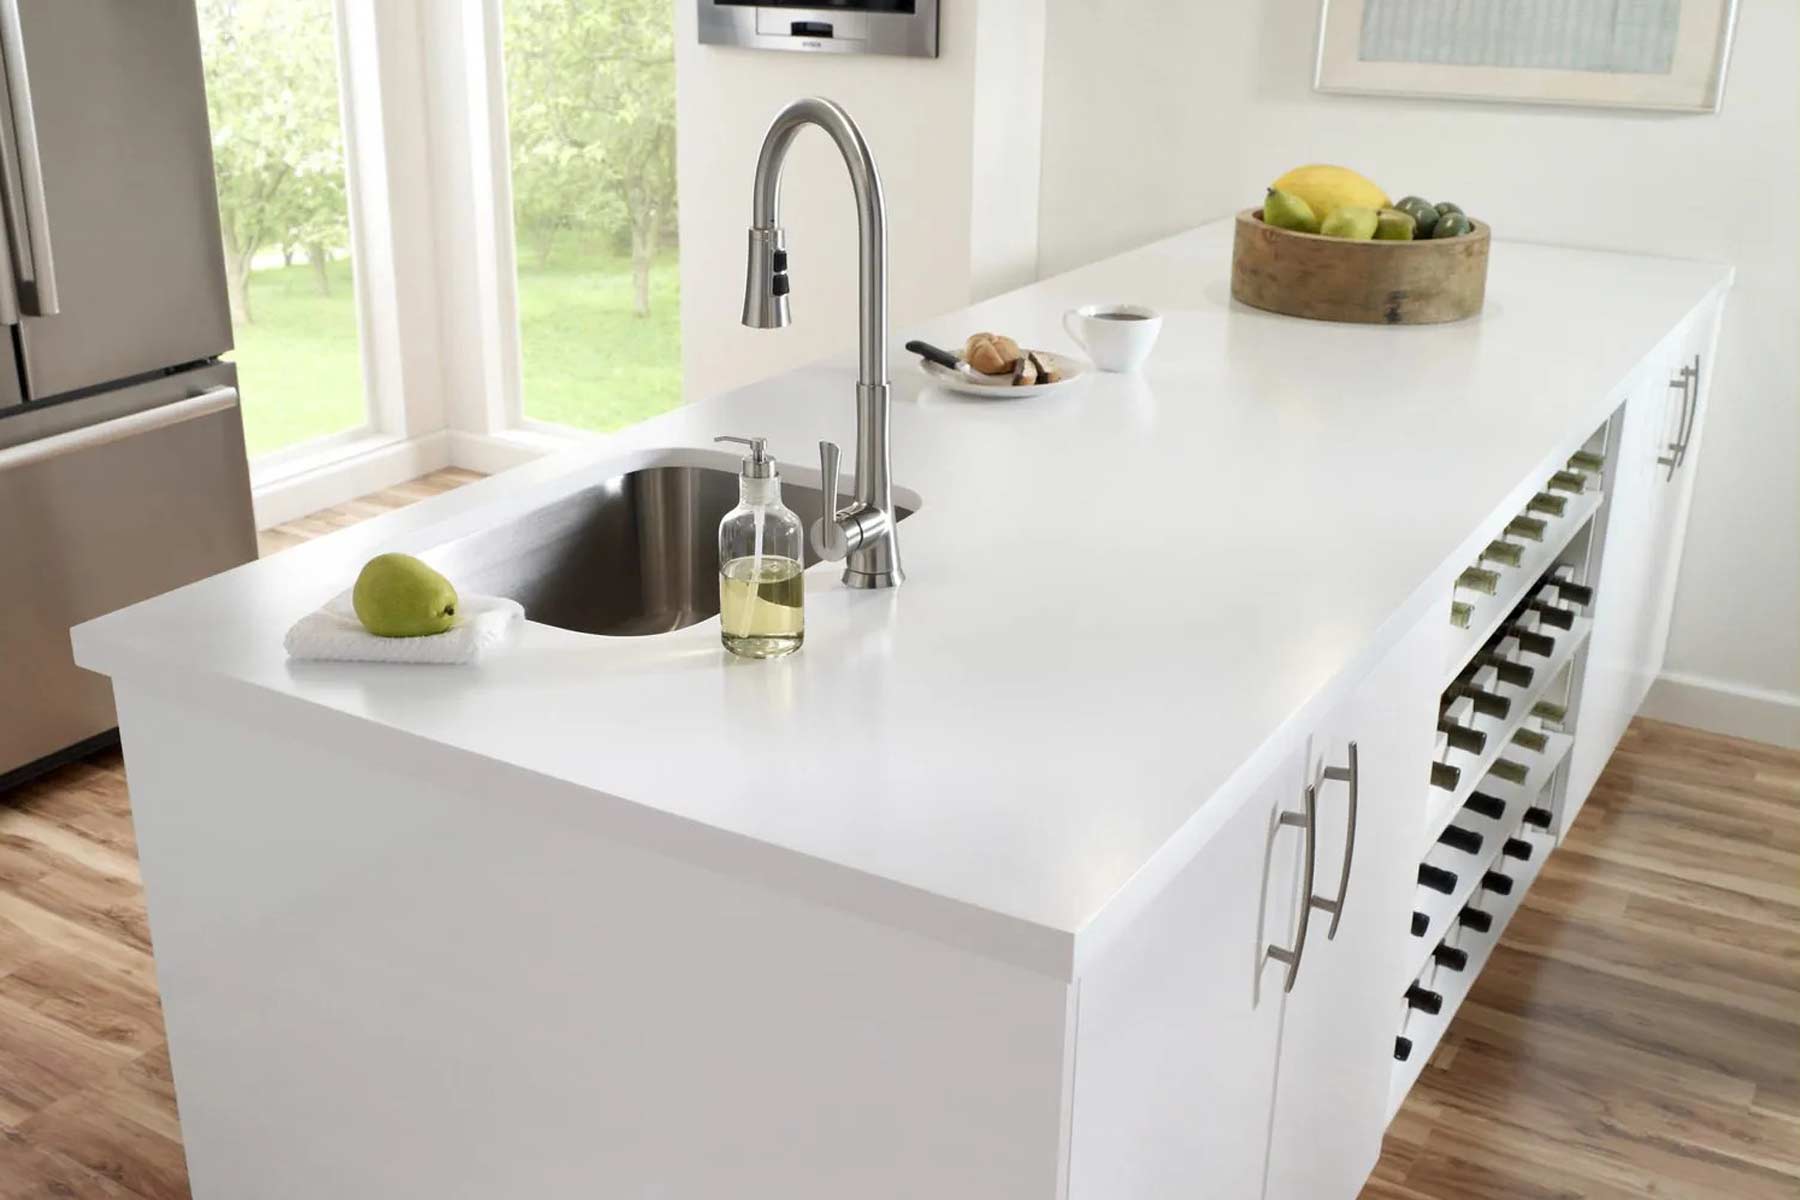
Corian countertops are a popular choice for homeowners who want a durable and visually appealing surface for their kitchen or bathroom. Over time, however, Corian countertops can become worn, scratched, or outdated, requiring an update to restore their beauty and functionality.
In this article, we will guide you through the process of updating your Corian countertops, giving them a fresh new look. Whether you want to change the color, repair damage, or simply refresh the surface, following these steps will help you achieve professional-looking results.
Before you get started, it’s important to note that updating Corian countertops is not a task that should be taken lightly. It requires careful preparation, attention to detail, and the use of proper tools and materials. If you’re not comfortable with DIY projects or have more extensive damage, it’s always a good idea to consult a professional.
Now, without further ado, let’s dive into the step-by-step process of updating your Corian countertops!
Key Takeaways:
- Transform your Corian countertops with a fresh new look by following a step-by-step process, from cleaning and sanding to applying the new Corian coat and finishing for a professional and lasting result.
- Achieve a polished and long-lasting finish for your Corian countertops by carefully following the manufacturer’s instructions, exercising caution at each step, and seeking professional assistance if needed.
Read more: How To Polish Corian Countertops
Step 1: Cleaning the Countertop
Before you begin any updates or repairs on your Corian countertops, it’s essential to start with a clean surface. This will ensure that the new coatings and treatments adhere properly and provide a smooth, even finish.
Here’s how to effectively clean your Corian countertops:
- Clear the countertop: Remove any objects, appliances, or debris from the surface of the countertop. This will allow you to effectively clean every inch of the Corian.
- Gentle Soap and Warm Water: Fill a basin or sink with warm water and add a few drops of mild dish soap. Dip a soft sponge or cloth into the soapy water and gently wipe down the entire countertop. Be sure to remove any spills, stains, or dirt that may have accumulated.
- Rinse with Water: Once you’ve finished cleaning the countertop with the soapy water, rinse it thoroughly with clean water. This step is important to remove any soap residue that may interfere with the adhesion of the new coatings.
- Pat Dry: Use a clean, dry cloth or paper towels to pat dry the countertop. Make sure there is no moisture left on the surface as this can affect the application of the primer and subsequent layers.
It’s crucial to avoid using harsh or abrasive cleaners on Corian countertops, as they can damage the surface. Stick to mild dish soap and water for regular cleaning. If you encounter stubborn stains that don’t come off with soap and water, you can try using a non-abrasive kitchen cleaner or a mixture of baking soda and water.
Once your Corian countertop is thoroughly cleaned and dried, you’re ready to move on to the next step: sanding the countertop.
Step 2: Sanding the Countertop
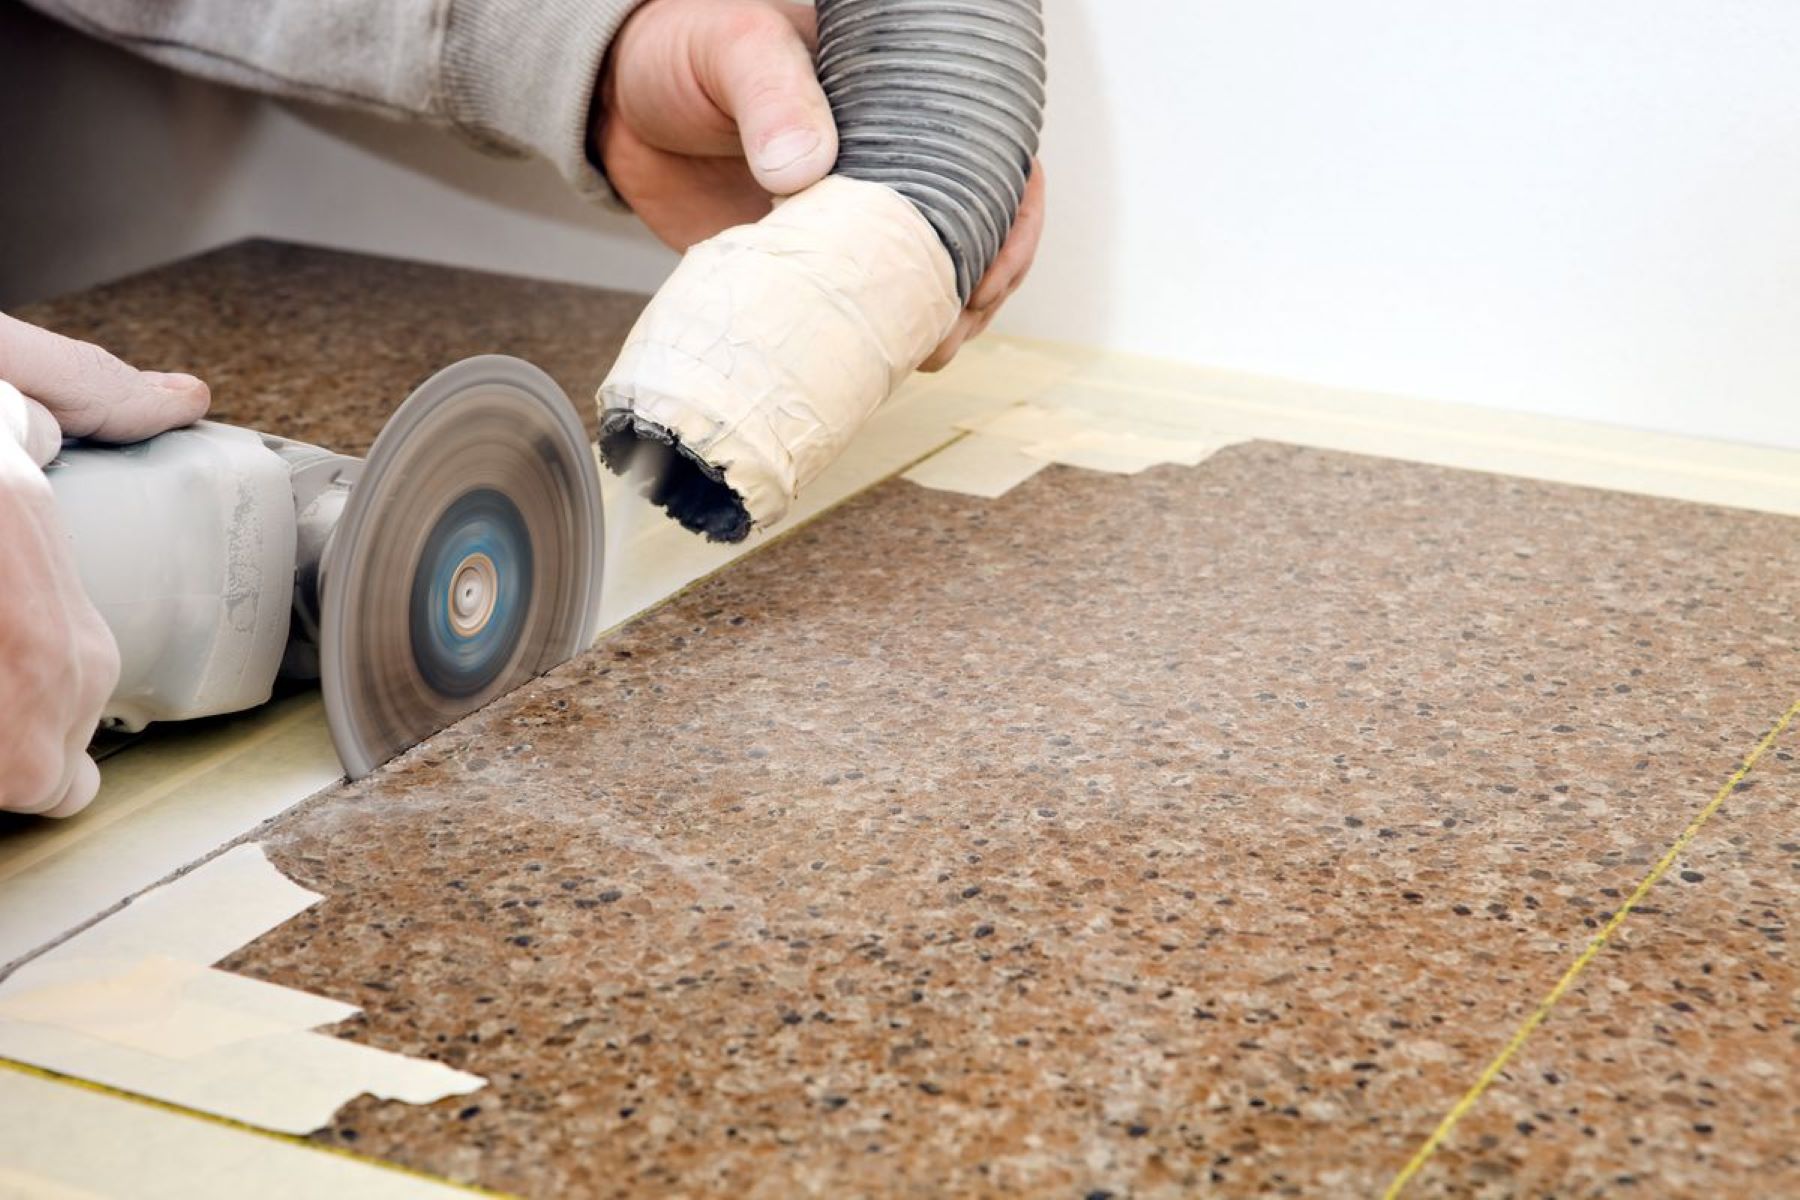
Sanding the Corian countertop is a crucial step in the updating process as it helps to remove any existing coatings, scratches, or imperfections from the surface. This prepares the countertop for the application of new coatings, ensuring a smooth and even finish.
Here’s how to properly sand your Corian countertop:
- Gather the necessary materials: You will need a sanding block or sandpaper (around 220 grit), a soft cloth, and a vacuum or damp cloth for cleaning up the dust.
- Begin with a gentle sanding: Start by lightly sanding the entire surface of the countertop in a circular motion. This will help to remove any existing coatings or scratches. Be sure to sand evenly and apply consistent pressure.
- Focus on problem areas: If there are stubborn stains or deeper scratches on the countertop, focus your sanding efforts on those specific areas. Use a finer grit sandpaper (around 400 grit) for more delicate sanding, gradually working your way up to a smoother finish.
- Clean the countertop: Once you have finished sanding, use a vacuum or damp cloth to remove any dust or debris from the countertop. It’s important to have a clean and smooth surface before moving on to the next step.
It’s important to note that while sanding can help to remove surface damage and imperfections, it can also affect the original thickness of the Corian countertop. Take care not to sand too aggressively, as this can compromise the structural integrity of the material. If you’re unsure about the sanding process, consider seeking professional assistance.
Once you have completed the sanding process, you’re ready to move on to the next step: applying the primer to the countertop.
Step 3: Applying the Primer
After cleaning and sanding your Corian countertop, the next step is to apply a primer. The primer acts as a bonding agent between the surface and the new coatings, ensuring better adhesion and durability.
Follow these steps to properly apply the primer to your Corian countertop:
- Prepare the area: Make sure the countertop is clean and free of any dust or debris from the sanding process.
- Choose the right primer: Select a primer that is specifically designed for use on Corian surfaces. It’s important to use a primer that is compatible with the type of coating you plan to apply on top.
- Apply the primer: Start by pouring a small amount of the primer into a paint tray. Use a foam roller or a paintbrush to apply an even coat of primer onto the countertop surface. Work in small sections, ensuring that the primer is spread evenly.
- Allow the primer to dry: Follow the manufacturer’s instructions for drying time. Typically, it takes a few hours for the primer to fully dry. Make sure the area is well-ventilated during the drying process.
- Inspect the surface: Once the primer has dried, carefully inspect the countertop for any missed spots or uneven coverage. If necessary, apply a second coat of primer to ensure the entire surface is properly primed.
Priming is an important step as it helps to create a strong bond between the existing countertop and the new coatings. It provides a smooth and even base for the next layer, ensuring a long-lasting and professional finish.
Once the primer has fully dried and the surface is properly prepared, you’re ready to move on to the next step: applying the new Corian coat.
When updating Corian countertops, make sure to clean the surface thoroughly before applying any new finishes or treatments to ensure proper adhesion and a long-lasting result.
Step 4: Applying the New Corian Coat
Now that you have cleaned, sanded, and primed your Corian countertop, it’s time to apply the new Corian coat. This is where you can bring your desired color or design to life, giving your countertop a fresh and updated appearance.
Follow these steps to effectively apply the new Corian coat:
- Choose the Corian coat: Select the color and finish of the Corian coat that best suits your aesthetic preferences and complements your space. Make sure to choose a product that is specifically formulated for use on Corian surfaces.
- Prepare the area: Protect your surrounding surfaces by covering them with drop cloths or plastic sheets. This will prevent any unintentional drips or spills from damaging other surfaces in your space.
- Apply the first coat: Use a brush or a roller to apply an even coat of the new Corian coat onto the primed countertop. Work methodically and evenly, ensuring that the entire surface is covered.
- Allow the coat to dry: Follow the manufacturer’s instructions for drying time. Typically, it takes several hours for the first coat to fully dry. Avoid using the countertop during this time to prevent any damage or imperfections on the newly applied coat.
- Apply additional coats (if necessary): Depending on the desired effect and the instructions provided by the manufacturer, you may need to apply additional coats for optimal coverage. Allow each coat to dry before applying the next.
- Smooth out imperfections: Once the final coat has dried, inspect the countertop for any imperfections or uneven areas. Use a fine-grit sandpaper (around 600 grit) to gently sand any rough spots, ensuring a smooth and flawless finish.
Applying the new Corian coat allows you to transform your countertop, updating its appearance and renewing its beauty. Take your time during the application process to ensure a professional and lasting result.
With the new Corian coat applied and any imperfections smoothed out, you’re ready to move on to the final step: curing and finishing the countertop.
Read more: What Are Corian Countertops
Step 5: Curing and Finishing
After applying the new Corian coat to your countertop, the final steps involve curing and finishing the surface. Curing allows the coatings to fully set and harden, while finishing brings out the shine and adds a layer of protection to your newly updated Corian countertop.
Follow these steps to effectively cure and finish your Corian countertop:
- Follow manufacturer’s instructions: Refer to the manufacturer’s guidelines for the specific product you used to apply the new Corian coat. They will provide instructions on the curing time required for the product to fully set. It’s crucial to allow sufficient time for the coatings to cure to ensure their durability.
- Avoid heavy usage: While the coatings are curing, avoid placing any heavy objects, applying excessive pressure, or using harsh cleaners on the countertop. This can disrupt the curing process and compromise the quality of the finish.
- Apply a finishing product: Once the coatings have fully cured, it’s time to apply a finishing product to protect the surface and bring out its shine. Choose a non-abrasive, Corian-compatible finishing product and follow the manufacturer’s instructions for application.
- Buff the surface: Use a soft cloth or a buffing pad to gently buff the surface of the countertop. This will help to bring out the shine and ensure a smooth and polished finish. Take care to avoid using any abrasive materials that could scratch the surface.
- Maintain and enjoy your updated countertop: With the curing and finishing complete, you can now enjoy your updated Corian countertop. To maintain its beauty and longevity, clean the surface regularly with mild dish soap and water, and avoid using harsh chemicals or abrasive cleaners.
By following these steps and taking proper care of your updated Corian countertop, you can ensure that it remains beautiful and functional for years to come.
Congratulations! You have successfully updated your Corian countertop, giving it a fresh new look that will enhance the overall appearance of your kitchen or bathroom. Enjoy your newly transformed space!
Disclaimer: The process outlined in this article is a general guide for updating Corian countertops. Always refer to the manufacturer’s instructions provided with the specific products you are using, and if in doubt, consult a professional for assistance.
Conclusion
Updating your Corian countertops can breathe new life into your kitchen or bathroom, transforming the look and feel of the space. By following the step-by-step process outlined in this article, you can achieve professional-looking results and enjoy a refreshed and beautiful countertop.
Starting with a thorough cleaning and sanding, you create a smooth and prepared surface for the application of the primer. The primer acts as a bonding agent, ensuring better adhesion and durability for the new coatings. Applying the new Corian coat allows you to bring your desired color or design to life, completely updating the appearance of your countertops. Finally, curing and finishing the surface adds a protective layer and enhances the shine, creating a polished and long-lasting finish.
Remember, it’s important to follow the manufacturer’s instructions for the specific products you are using and exercise caution during each step to ensure the best possible outcome. If you’re uncertain or uncomfortable with the process, it’s always a good idea to seek professional assistance.
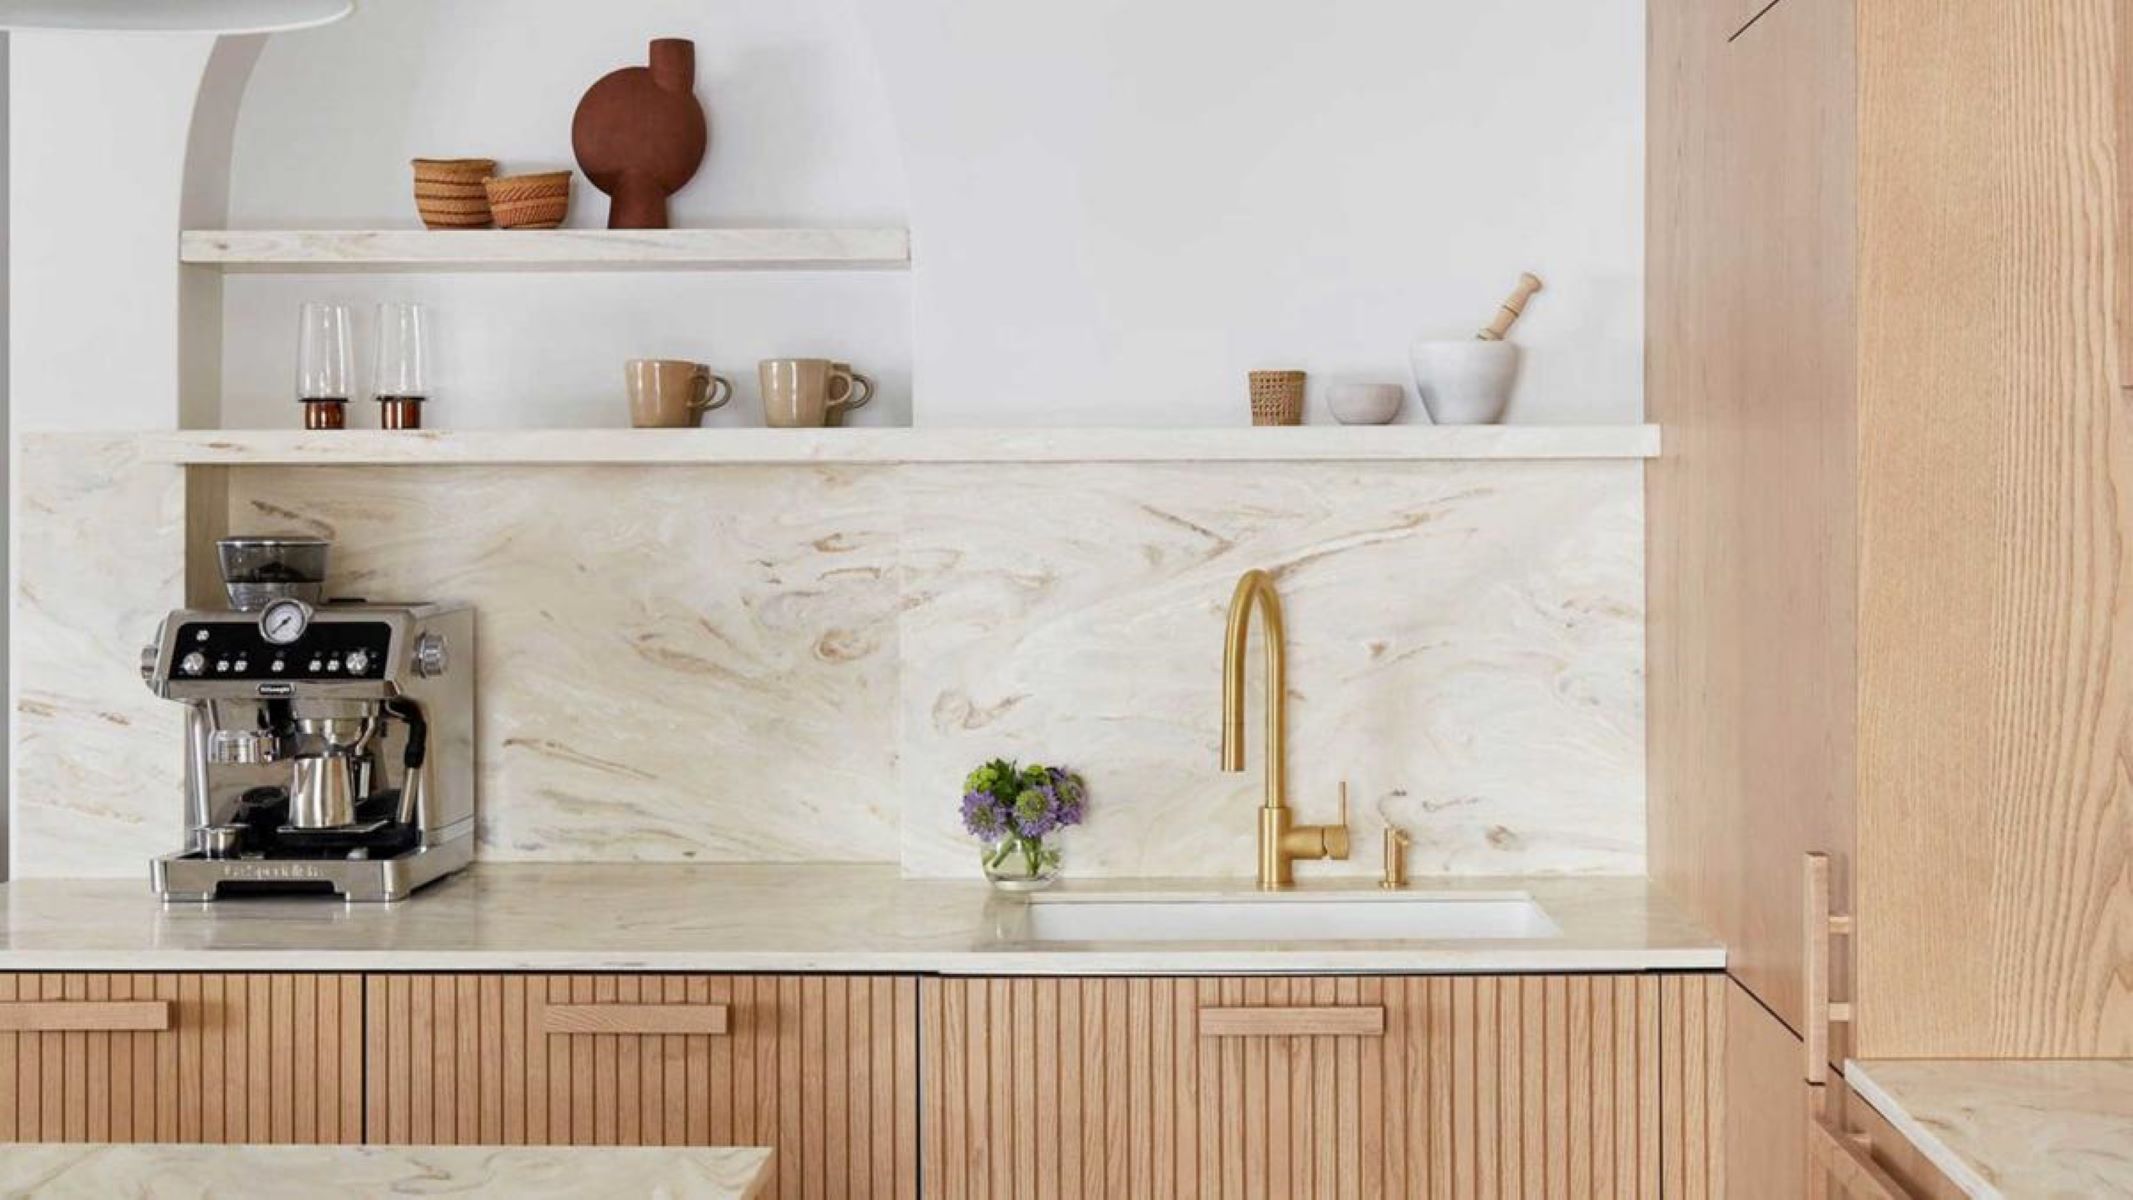
With your newly updated Corian countertops, you can now enjoy a fresh and modern look in your kitchen or bathroom. Regular cleaning and proper maintenance will help preserve the beauty and longevity of your countertops for years to come. So go ahead, show off your updated space and enjoy the renewed beauty and functionality provided by your Corian countertops!
Disclaimer: The information provided in this article is a general guide. Always refer to the manufacturer’s instructions provided with the specific products you use and consult professionals when needed.
Frequently Asked Questions about How To Update Corian Countertops
Was this page helpful?
At Storables.com, we guarantee accurate and reliable information. Our content, validated by Expert Board Contributors, is crafted following stringent Editorial Policies. We're committed to providing you with well-researched, expert-backed insights for all your informational needs.




0 thoughts on “How To Update Corian Countertops”