
Tableware
How To Update Dining Table
Modified: March 2, 2024
Learn how to update your dining table with new tableware and create a fresh and stylish look for your dining space. Discover tips and ideas for selecting the perfect tableware.
(Many of the links in this article redirect to a specific reviewed product. Your purchase of these products through affiliate links helps to generate commission for Storables.com, at no extra cost. Learn more)
Introduction
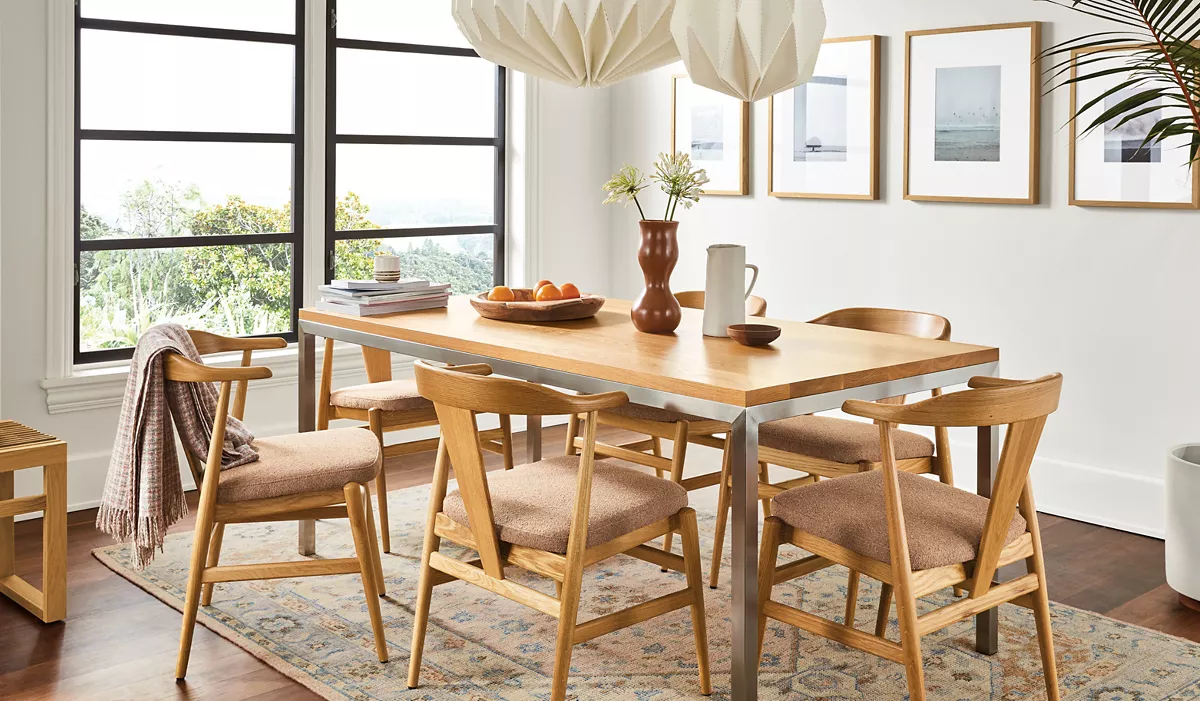
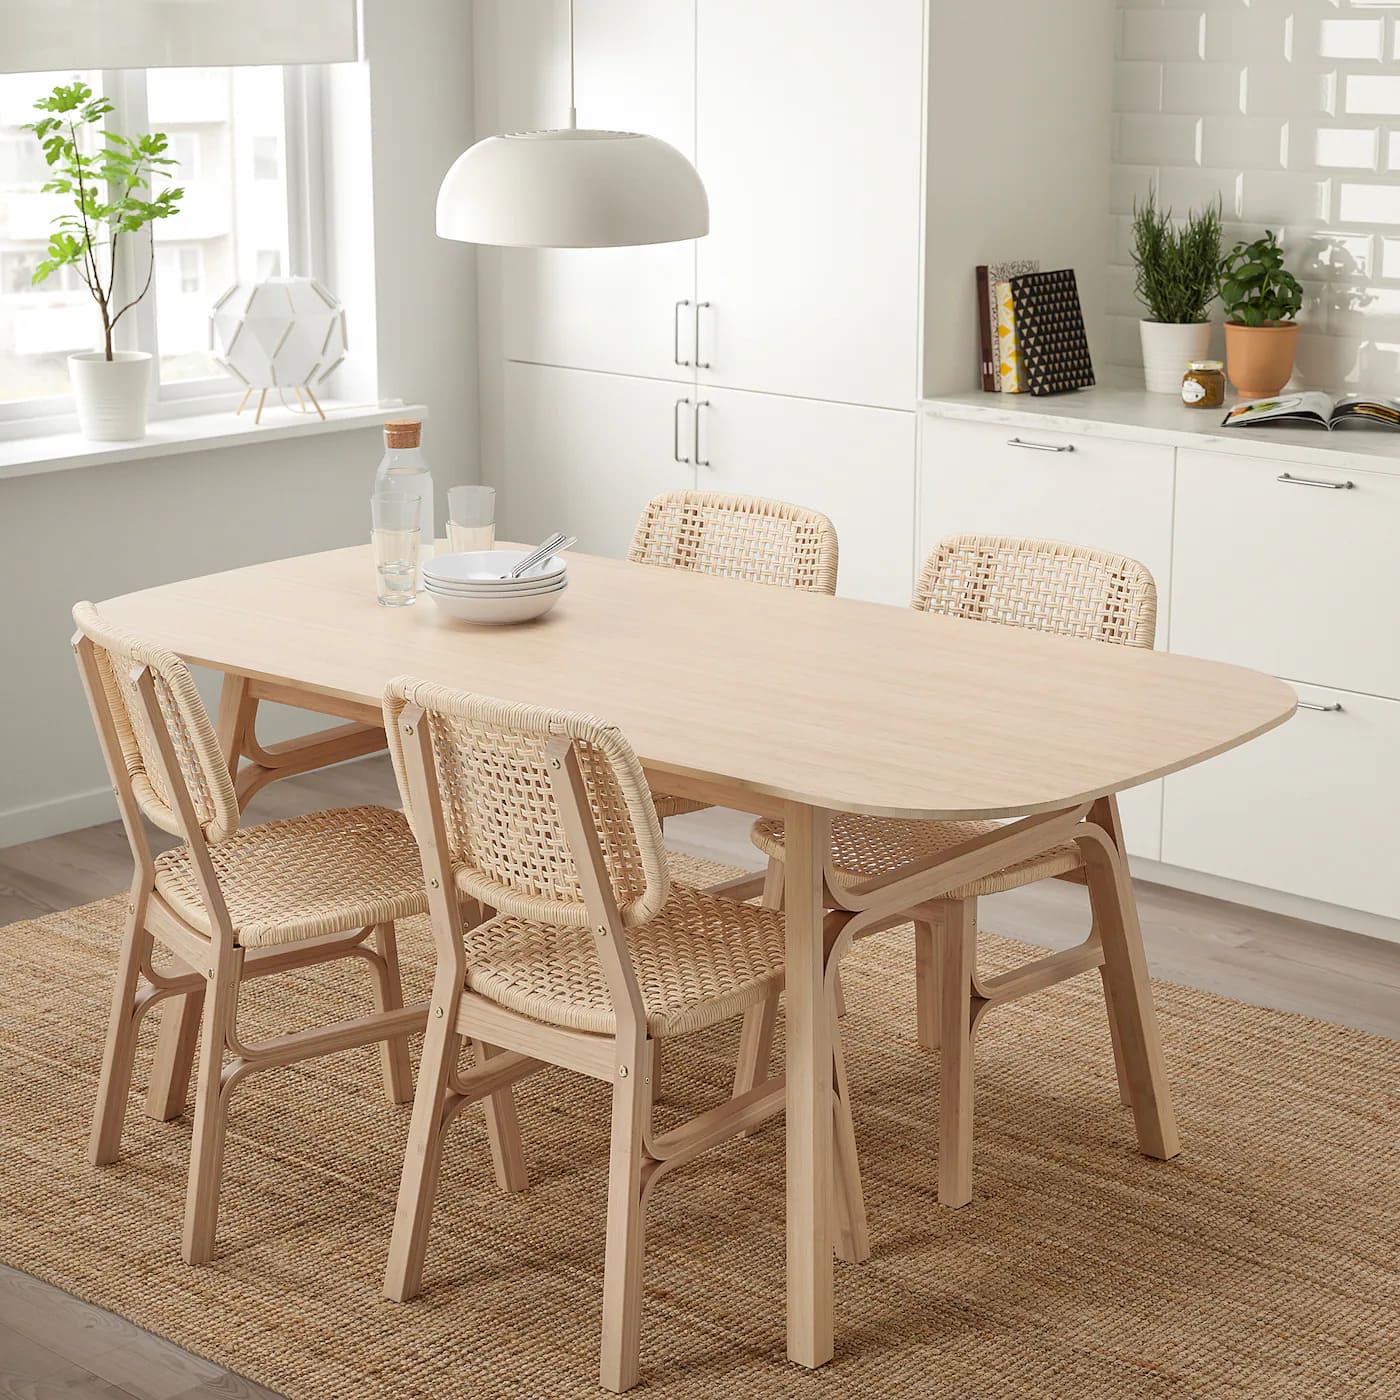
Updating your dining table is a great way to breathe new life into your dining space and give it a fresh, updated look. Whether you’re tired of the current finish, want to change the color, or simply want to add some new accents, updating your dining table can transform the entire room.
In this article, we will guide you through the step-by-step process of updating your dining table. From gathering the necessary tools and supplies to assessing the condition of your table, cleaning, repairing, and applying new finishes, we’ll cover it all. By following these steps, you’ll be able to achieve a beautifully updated dining table that suits your style and enhances your dining experience.
Before you begin, it’s important to note that the specific techniques and materials you’ll use will depend on the type of dining table you have and the desired outcome. However, the general steps outlined here will provide a solid foundation for your project.
So, grab your tools and let’s get started on transforming your dining table!
Key Takeaways:
- Transforming your dining table is a creative and rewarding process that involves assessing, cleaning, updating, and protecting the table. By following the step-by-step guide, you can achieve a fresh and personalized look that enhances your dining space.
- From sanding and applying paint or stain to adding new finishes and reassembling the table, each step contributes to the successful update of your dining table. Embrace your creativity, take your time, and enjoy the transformation process.
Read more: How To Update A Traditional Dining Room
Step 1: Gather necessary tools and supplies
Before diving into the process of updating your dining table, it’s crucial to gather all the necessary tools and supplies. Having everything on hand will ensure a smooth and efficient process.
Here’s a list of the tools and supplies you may need:
- Screwdriver or drill: This will be handy if you need to disassemble any parts of the dining table.
- Sandpaper: Different grits of sandpaper (coarse, medium, and fine) will be needed for sanding and smoothing the surfaces.
- Dust mask and safety goggles: These will protect you from inhaling dust particles or getting debris in your eyes while sanding.
- Drop cloth or plastic sheet: To protect the surrounding area from any mess or spills.
- Tack cloth: A sticky cloth that is used to remove leftover dust after sanding.
- Primer: If you plan to paint your dining table, a primer will ensure better adhesion and a smoother finish.
- Paint or stain: Depending on the desired look, choose the appropriate paint or stain for your dining table.
- Paintbrushes or foam rollers: These are essential tools for applying paint or stain evenly.
- New hardware: If you want to update the look of your table further, consider replacing the hardware (such as drawer pulls or hinges) with new ones.
- Protective finish: A clear protective finish, such as polyurethane or lacquer, will help protect the surface of the dining table from scratches and spills.
Make sure to take stock of your dining table and assess if there are any additional tools or supplies that may be required based on its specific construction or condition.
Once you have gathered all the necessary tools and supplies, you’re ready to move on to the next step: assessing the condition of your dining table. This will help you determine the kind of updates or repairs that may be needed. Let’s move on to step 2!
Step 2: Determine the condition of the dining table
Before you proceed with any updates or repairs, it’s important to assess the current condition of your dining table. This will help you determine the extent of work that needs to be done and the specific areas that require attention.
Here are some key aspects to consider when evaluating the condition of your dining table:
- Surface damage: Examine the tabletop and other surfaces for any scratches, dents, or stains. Note the severity of the damage and whether it can be repaired or if the surface needs to be completely refinished.
- Structural stability: Check the stability of the table legs, supports, and joints. Look for any signs of wobbling or loose connections. If there are significant structural issues, you may need to reinforce or repair those areas.
- Finish integrity: Evaluate the current finish of the table. Is it worn, peeling, or chipped in certain areas? Determine if the existing finish can be salvaged or if it needs to be stripped before applying a new one.
- Hardware condition: Take a close look at any hardware elements, such as drawer pulls or hinges. Check if they are in good working condition or if they need to be replaced to achieve the desired update.
By carefully examining these factors, you’ll gain a clear understanding of the state of your dining table and the specific areas that need attention. This will help you plan and prioritize the updates and repairs accordingly.
If you’re unsure about the best course of action for any particular issue, consult with a professional or seek guidance from knowledgeable sources. They can provide valuable advice and insights tailored to your specific dining table.
Once you have assessed the condition of your dining table, you can move on to step 3: cleaning the dining table. This important step will ensure a clean and smooth surface for the updates you’ll be applying. Let’s proceed!
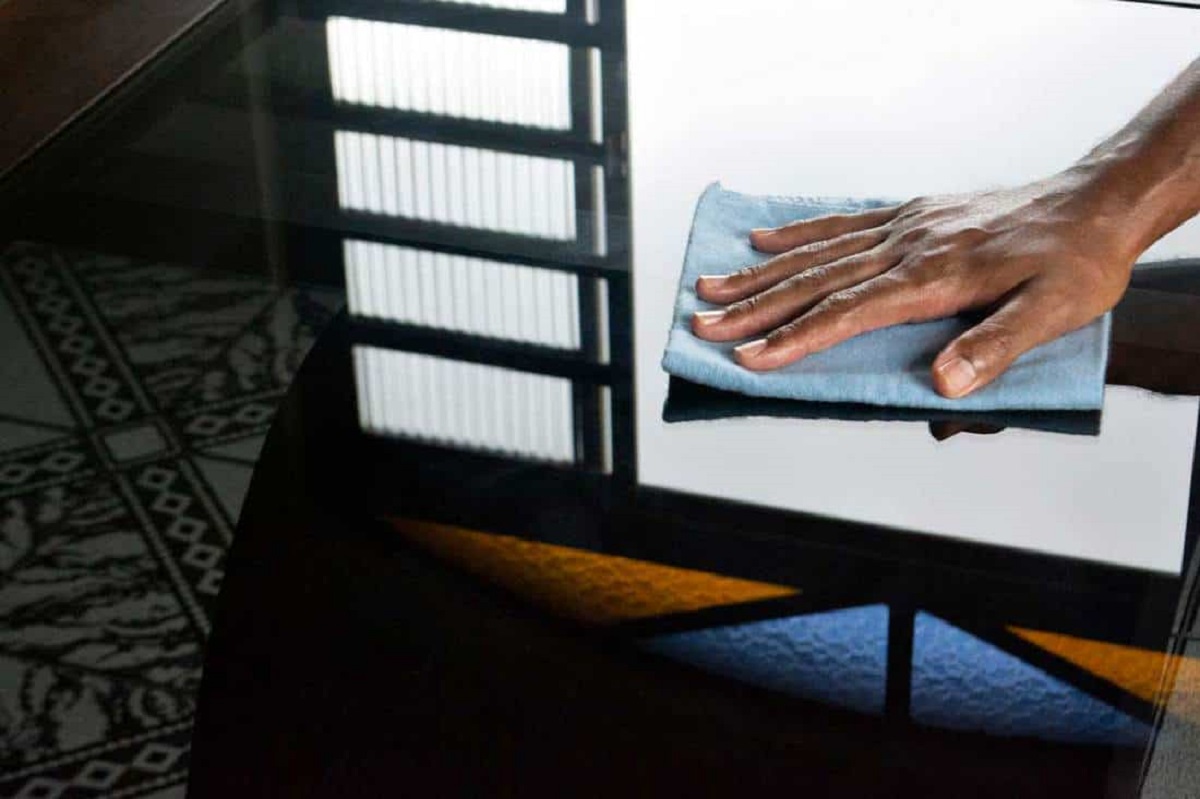
Step 3: Cleaning the dining table
Before you begin any repairs or updates, it’s crucial to thoroughly clean your dining table. This step will remove dirt, grime, and any residual polish or wax that may interfere with the adhesion of new finishes.
Follow these steps to clean your dining table effectively:
- Clear the surface: Remove any objects or dining accessories from the table. This will give you a clear workspace.
- Dust removal: Use a soft, lint-free cloth or a feather duster to remove loose dust and debris from the surface. Pay special attention to corners, edges, and any decorative elements.
- Mild soap and water: Prepare a solution of mild dish soap and warm water. Dampen a clean cloth or sponge with this solution and gently wipe down the entire surface of the table. Be careful not to saturate the wood, especially if it is unfinished.
- Stain removal: If there are any stubborn stains or food residue, moisten the cloth or sponge with a bit of vinegar or a specialized wood cleaner. Apply gentle pressure while wiping in the direction of the grain until the stain is lifted.
- Dry thoroughly: After cleaning, use a dry cloth to completely dry the table surface. Ensure that no moisture remains, as this can lead to warping or damage to the wood.
Remember to take care when cleaning delicate or antique dining tables. Consult with experts or seek professional advice if you have concerns about the appropriate cleaning techniques for your specific table.
Once your dining table is clean and dry, proceed to step 4: assessing the need for repairs. This will help you identify any structural or cosmetic issues that need to be addressed before updating the table’s appearance. Let’s move on!
Step 4: Assessing the need for repairs
Now that you have a clean dining table, it’s time to assess if any repairs are needed before moving forward with the updates. This step is crucial to ensure that your dining table is structurally sound and ready to withstand the changes you plan to make.
Here’s what you should look out for when assessing the need for repairs:
- Stability and structural integrity: Test the stability of the table by gently pushing or shaking it. If you notice any wobbling or unevenness, it may indicate loose joints or weakened supports. Tighten any loose screws or bolts and consider reinforcing any weak areas.
- Surface damage: Examine the table’s surface for any scratches, dents, or gouges. If the damage is minor, you can often repair it by sanding down the affected area and filling it with wood putty. For more significant damage, consult a professional or consider replacing the damaged section.
- Hardware condition: Check the condition of any hardware components, such as drawer handles, hinges, or locks. Replace any broken or malfunctioning hardware to ensure proper functionality and a consistent look after the update.
- Wood defects: Inspect the wood for any signs of rot or decay. Pay attention to areas where moisture may have accumulated or where there is visible damage. Address any wood defects by replacing affected parts or treating them appropriately.
By thoroughly assessing the condition of your dining table, you can identify any necessary repairs and address them before proceeding with the updates. This will not only improve the longevity of your table but also ensure a smooth and successful transformation.
Once you have made any necessary repairs, you can move on to step 5: identifying the desired update or makeover for your dining table. This is where you can unleash your creativity and define the new look you want to achieve. Let’s continue!
Read more: How To Update An Old Dining Room Set?
Step 5: Identifying the desired update or makeover
Now that your dining table is in good condition, it’s time to envision the desired update or makeover. This step allows you to unleash your creativity and personalize your dining table to match your style and preferences.
Here are a few ideas to consider when identifying the desired update for your dining table:
- Change of finish: Decide whether you want to paint, stain, or leave the natural wood grain exposed. Each option offers a unique look and can dramatically transform the appearance of your table.
- Color scheme: Determine the color palette you envision for your dining table. Consider the existing decor and choose a color that complements or contrasts with the surrounding elements.
- New accents or embellishments: Think about adding decorative accents, such as stencils, decals, or inlays, to add interest and personality to the table’s surface.
- Refinishing techniques: Explore different refinishing techniques, such as distressing, antiquing, or creating a weathered or rustic look. These techniques can give your dining table a vintage or worn-in appeal.
- Hardware replacement: Consider updating the hardware to further enhance the updated look of your dining table. Replace drawer handles, knobs, or hinges with modern or vintage-inspired options.
Take inspiration from interior design magazines, online platforms, or even your favorite restaurants for ideas and inspiration. Create a vision board or collect sample swatches to help you visualize the desired outcome.
Remember, the update should align with your personal taste and complement the overall style of your home. It’s important to strike a balance between your desired aesthetic and the functionality of the dining table.
Once you have identified the desired update or makeover for your dining table, you are now ready to move on to the practical steps of bringing your vision to life. In the next steps, we will cover the sanding process, applying paint or stain, and adding new finishes or accents. Let’s get started!
When updating a dining table, consider refinishing the surface for a fresh look, or adding a tablecloth or runner for a quick and easy change. You can also update the chairs with new upholstery or a fresh coat of paint.
Step 6: Sanding the dining table
Now that you have a clear vision of your desired update, it’s time to prepare the surface of your dining table for the transformation. Sanding is an essential step that will create a smooth and even surface for the application of paint, stain, or other finishes.
Follow these steps to properly sand your dining table:
- Prepare the workspace: Lay down a drop cloth or plastic sheet to protect the surrounding area from any dust or debris.
- Select the appropriate sandpaper: Choose the correct grit of sandpaper based on the condition of your dining table. Start with a coarser grit (around 80-120) to remove any existing finish or imperfections. Gradually move to a finer grit as you progress (such as 180-220) to achieve a smoother surface.
- Sand along the grain: Begin sanding the surface of your dining table, making sure to sand along the direction of the grain. Apply even pressure and use long, steady strokes to avoid creating uneven or circular marks.
- Remove old finish: If you’re planning to change the finish or color completely, continue sanding until the previous finish is completely removed. Ensure that you’ve removed all traces of the old finish to prevent any inconsistencies in the new update.
- Smooth out imperfections: Pay close attention to any rough spots, scratches, or dents during the sanding process. Sand them gently to create a smooth and even surface.
- Clean the table: Once you’ve finished sanding, use a tack cloth or a clean, damp cloth to remove any dust or debris left behind. Make sure the surface is completely clean before proceeding to the next step.
Remember to wear a dust mask and safety goggles during the sanding process to protect yourself from inhaling dust particles or getting debris in your eyes.
Sanding your dining table will provide an optimal surface for the upcoming paint, stain, or finish application. It will also help the new update adhere properly and ensure a professional-looking result.
With the sanding complete, we can now move on to step 7: applying paint or stain to transform the look of your dining table. Let’s continue!
Step 7: Applying paint or stain
Now that your dining table has been sanded and prepared, it’s time to apply the paint or stain to achieve your desired update. The choice between paint or stain depends on the look you want to achieve and the type of wood your dining table is made of.
Follow these steps to effectively apply paint or stain:
- Choose the right product: Select a high-quality paint or stain that suits your desired finish and the type of wood your dining table is made of. Consider factors such as durability, color saturation, and ease of application.
- Prepare the work area: Lay down a drop cloth or plastic sheet to protect the surrounding area from any paint or stain splatters.
- Stir the product: Thoroughly stir the paint or stain to ensure an even consistency. Follow the manufacturer’s instructions regarding proper stirring techniques.
- Apply the paint or stain: Use a brush, roller, or sponge applicator to apply an even coat of paint or stain to the surface of your dining table. Work in the direction of the wood grain for a smooth and uniform finish. Apply multiple thin coats rather than one thick coat for better results. Allow each coat to dry completely before applying the next.
- Be mindful of drips and runs: Pay attention to any drips or runs that may form during the application process. Immediately smooth them out with a brush or cloth to prevent unevenness or pooling.
- Let it dry: Allow the paint or stain to dry according to the manufacturer’s instructions. This typically takes a few hours or overnight, depending on the product. Ensure the surface is completely dry before moving on to the next step.
If you’re using a stain, you may prefer the natural wood grain to shine through. In this case, apply a topcoat or protective finish to seal the stain and protect the surface of your dining table.
Keep in mind that multiple coats may be necessary to achieve the desired color or opacity. Take your time and allow each coat to dry thoroughly before applying the next. Patience is key to achieving a beautiful and long-lasting finish.
With the paint or stain applied, we can now move on to step 8: adding new finishes or accents to enhance the updated look of your dining table. Let’s continue!
Step 8: Adding new finishes or accents
With the paint or stain applied, it’s time to give your updated dining table some extra flair by adding new finishes or accents. This step allows you to customize the look and make your table truly unique.
Consider the following options for adding finishes or accents to your dining table:
- Decorative details: Add decorative elements such as trim, molding, or appliques to enhance the visual appeal of your table. These can be applied to the edges or corners of the tabletop or along the legs to create a more intricate and elegant look.
- Painted or stenciled designs: Use stencils or your artistic skills to create designs or patterns on the tabletop. This can add a touch of creativity and personality to the overall look of your dining table.
- Distressing or antiquing techniques: If you prefer a vintage or aged look, consider distressing the edges or surfaces of your dining table. This can be done using sandpaper or specialized distressing techniques to create a worn-in appearance.
- Inlays or mosaic accents: Get creative with inlays or mosaic accents, adding small pieces of contrasting wood or tiles to create unique and eye-catching designs on the tabletop or legs.
- Metallic accents: Consider adding metallic finishes, such as gold or silver leaf, to highlight certain areas or decorative elements of your table. This can create an elegant and sophisticated touch.
Remember to choose finishes or accents that complement the overall style of your dining table and the surrounding decor in the room. Aim for a cohesive and harmonious look that ties everything together.
Whether you’re going for a rustic, modern, or eclectic look, adding these finishes or accents will give your dining table a one-of-a-kind appearance.
With the finishes or accents in place, it’s time to protect your updated dining table from wear and tear. In the next step, we’ll cover sealing and protecting your table to ensure its longevity. Let’s move on!
Read more: How To Seal A Dining Table
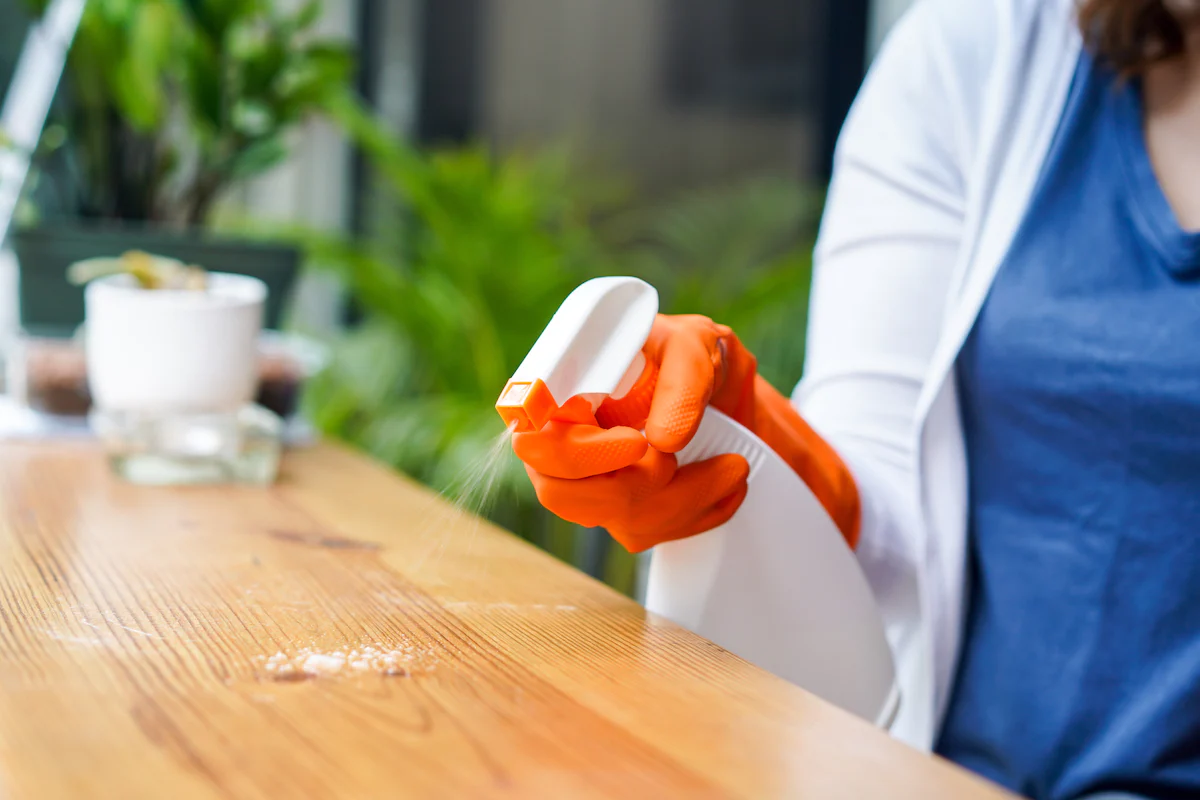
Step 9: Sealing and protecting the updated dining table
Once you have achieved the desired look of your updated dining table, it’s important to protect it to ensure its longevity and durability. Sealing the table will provide a protective barrier against spills, stains, and everyday wear and tear.
Follow these steps to effectively seal and protect your updated dining table:
- Choose the right sealant: Select a high-quality sealant that is appropriate for the type of finish you applied to your table. Consider factors such as durability, resistance to moisture, and ease of application.
- Prepare the work area: Ensure the surrounding area is clean and clear of any debris. Place a drop cloth or plastic sheet to protect the floor or other surfaces from any sealant drips or spills.
- Apply the sealant: Using a brush or a clean cloth, apply an even layer of sealant over the entire surface of your dining table. Work in the direction of the wood grain for a smooth and uniform finish. Pay special attention to the edges and corners to ensure thorough coverage.
- Allow drying time: Follow the manufacturer’s instructions regarding the drying time of the sealant. It can vary based on the product and environmental conditions. Make sure the surface is completely dry before using your dining table.
- Apply multiple coats (optional): Depending on the type of sealant and the level of protection you desire, you may choose to apply multiple coats. Allow each coat to dry completely before applying the next. This will provide a stronger and more durable protective layer.
- Regular maintenance: Even with a protective sealant, it’s important to practice regular maintenance to keep your dining table in optimal condition. Clean spills and stains immediately, use coasters and placemats to protect the surface, and avoid placing hot or sharp objects directly on the table.
Remember, the sealant will enhance the durability of your updated dining table and make it more resistant to daily use. Regular maintenance and care will help prolong the life and beauty of your dining table for years to come.
With your dining table now sealed and protected, it’s time to reassemble and place it in its designated space. In the final step, we’ll cover how to properly reassemble and position your updated dining table. Let’s proceed!
Step 10: Reassembling and placing the dining table
With your updated dining table fully transformed and protected, it’s time to reassemble and place it back in its designated space. Proper reassembly and placement will ensure that your table looks and functions its best.
Follow these steps for reassembling and placing your dining table:
- Gather all the necessary components: Locate all the parts and hardware needed to reassemble your dining table. This may include legs, supports, screws, or other fasteners.
- Organize and prepare the components: Lay out all the components in the order they are meant to be assembled. Clean any hardware or parts that may have accumulated dirt or dust during the update process.
- Follow the manufacturer’s instructions: If your dining table came with assembly instructions, refer to them for the correct order and method of reassembly. If not, use your knowledge of the table’s construction or consult with professionals if needed.
- Secure all connections: Assemble the dining table components, ensuring that all connections are tight and secure. Use the appropriate tools, such as a screwdriver or drill, to tighten screws or fasteners as necessary.
- Place the dining table in its designated space: Choose the location in your dining area where you want to place your updated table. Consider factors such as flow of traffic, available space, and alignment with other furniture or decor.
- Level the table: Use a bubble level to ensure that your dining table is level and stable. Adjust the legs or supports as needed to achieve an even surface. This will prevent any wobbling or unevenness during use.
- Arrange seating and accessories: Position chairs or benches around the table to complete the dining set. Add any desired accessories, such as table runners, centerpieces, or decorative items, to enhance the look and ambiance of your dining area.
Take a step back and admire your fully updated dining table in its new space. Your hard work and attention to detail have paid off, and you can now enjoy a beautiful and refreshed dining area.
Remember to maintain and care for your updated dining table to preserve its appearance and functionality. Clean spills promptly, use appropriate coasters and placemats, and periodically reapply protective finishes as needed.
Congratulations on successfully updating and reassembling your dining table! Enjoy your newly transformed space and create many cherished memories around your beautiful table.
Concluding our guide, we hope these steps have provided you with the knowledge and confidence to update your dining table. Embrace your creativity, take your time, and enjoy the process of transforming a piece of furniture into a true reflection of your personal style.
Conclusion
Updating your dining table can bring new life and style to your dining space. By following the step-by-step guide outlined in this article, you have learned how to transform your dining table and create a fresh and updated look that suits your personal taste.
From gathering the necessary tools and assessing the condition of your table to cleaning, making repairs, and applying new finishes or accents, each step plays a crucial role in achieving the desired results. By taking the time to properly prepare and execute each step, you can ensure a successful and satisfying update.
Remember, when choosing the right tools, finishes, and accents, consider the overall style of your home and your personal preferences. Strive for a cohesive and harmonious look that integrates seamlessly with your existing decor.
Additionally, proper care and maintenance are essential to preserving the beauty and longevity of your updated dining table. Regularly clean spills, use protective measures, and maintain the finish to prevent damage and ensure your table remains in pristine condition for years to come.
By updating your dining table, you have the opportunity to create a focal point in your dining area and enhance the overall ambiance. Whether you’re going for a contemporary, rustic, or eclectic style, the possibilities are endless.
We hope this comprehensive guide has provided you with the knowledge and inspiration to confidently update your dining table. Embrace your creativity, enjoy the process, and watch your dining area transform into a space that reflects your style and personality.
Now, go forth and give your dining table a stunning makeover!
Frequently Asked Questions about How To Update Dining Table
Was this page helpful?
At Storables.com, we guarantee accurate and reliable information. Our content, validated by Expert Board Contributors, is crafted following stringent Editorial Policies. We're committed to providing you with well-researched, expert-backed insights for all your informational needs.


0 thoughts on “How To Update Dining Table”