Articles
How To Install Corian Countertops Yourself
Modified: August 28, 2024
Learn how to install Corian countertops yourself with our step-by-step articles. Save time and money by following our expert guides and tips.
(Many of the links in this article redirect to a specific reviewed product. Your purchase of these products through affiliate links helps to generate commission for Storables.com, at no extra cost. Learn more)
Introduction
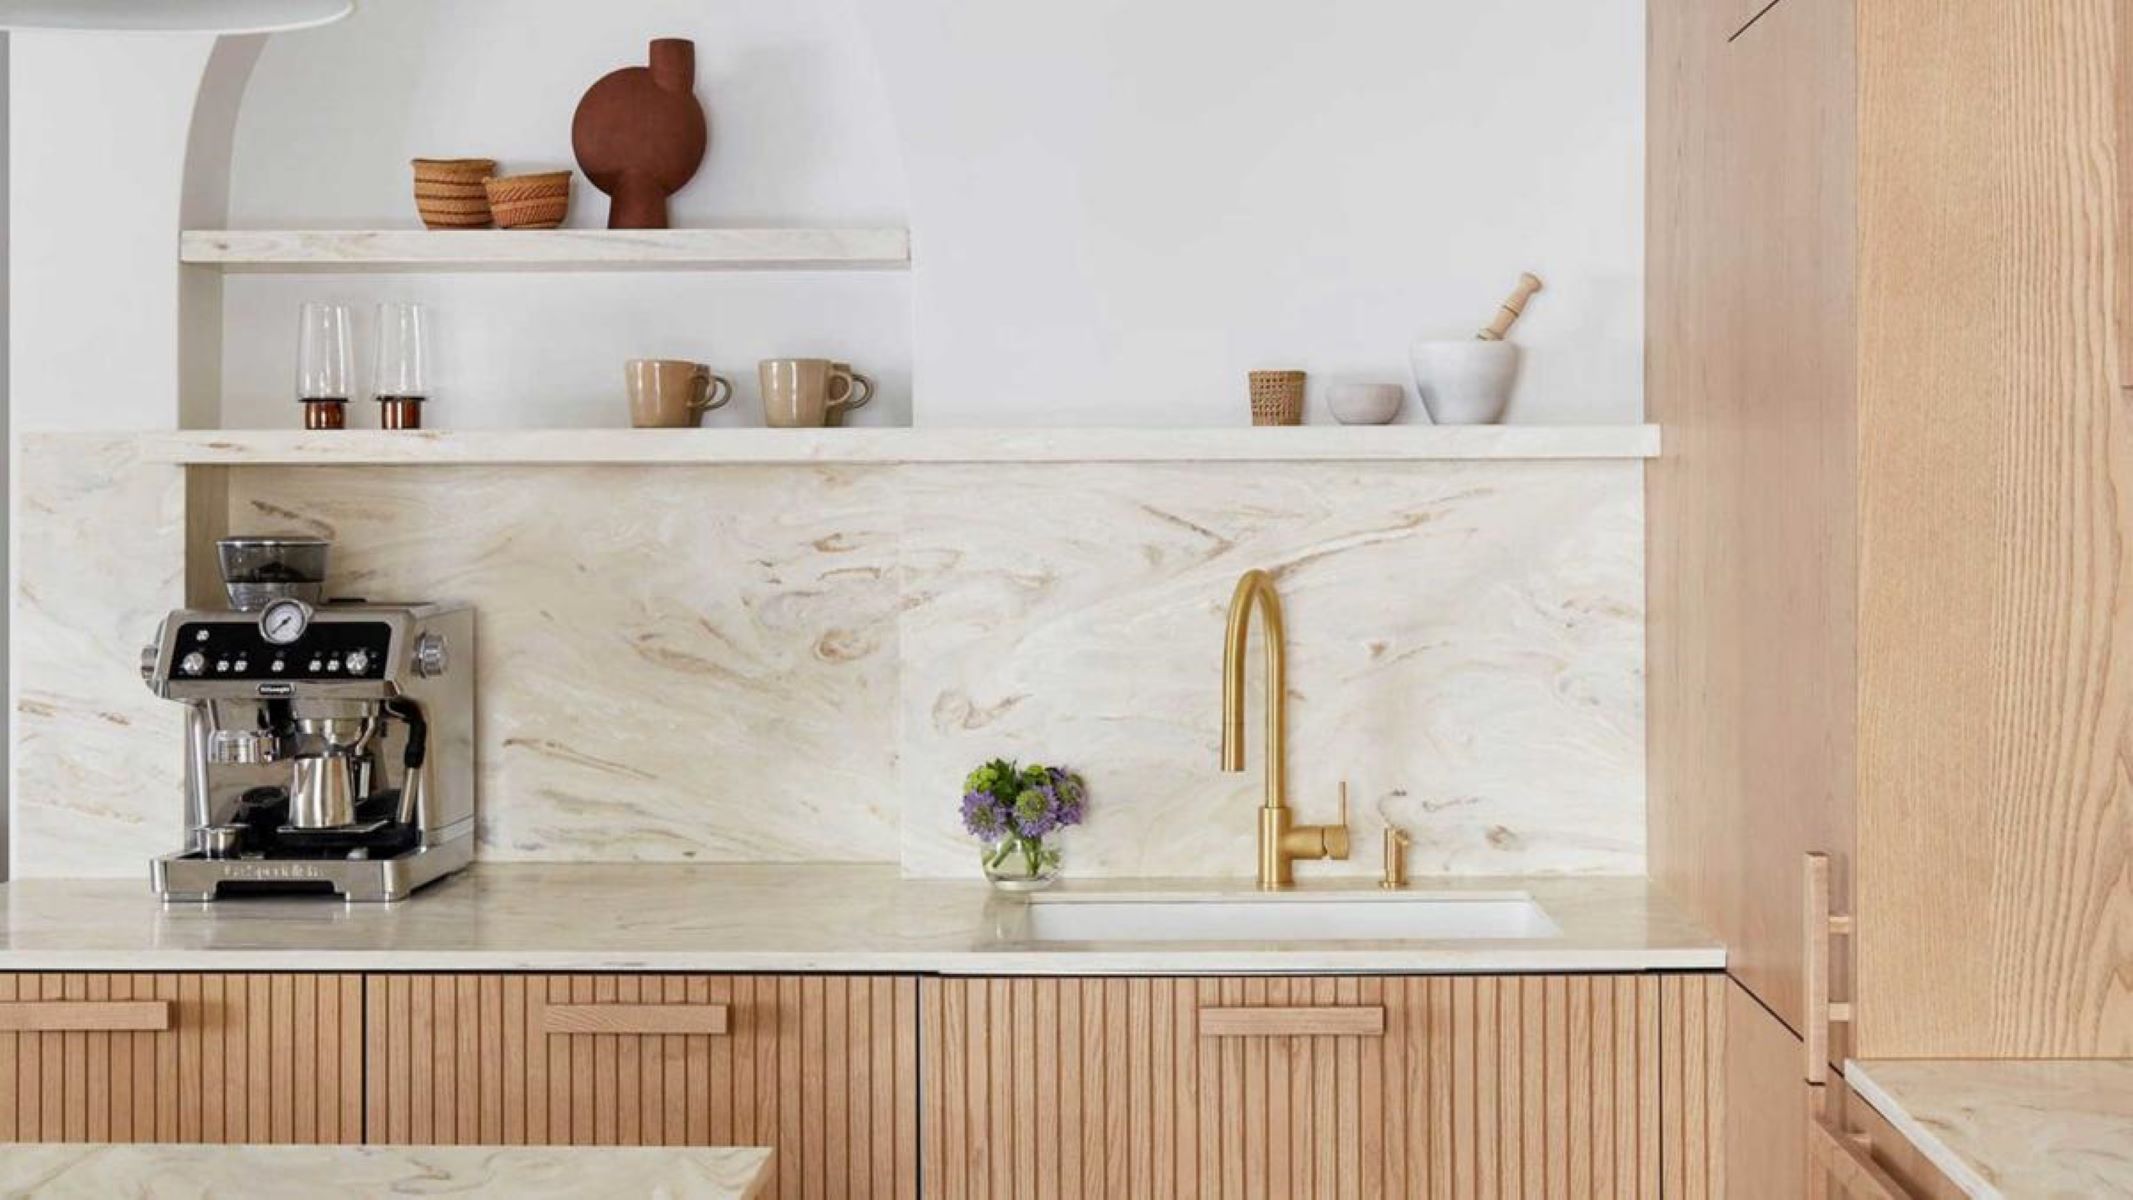
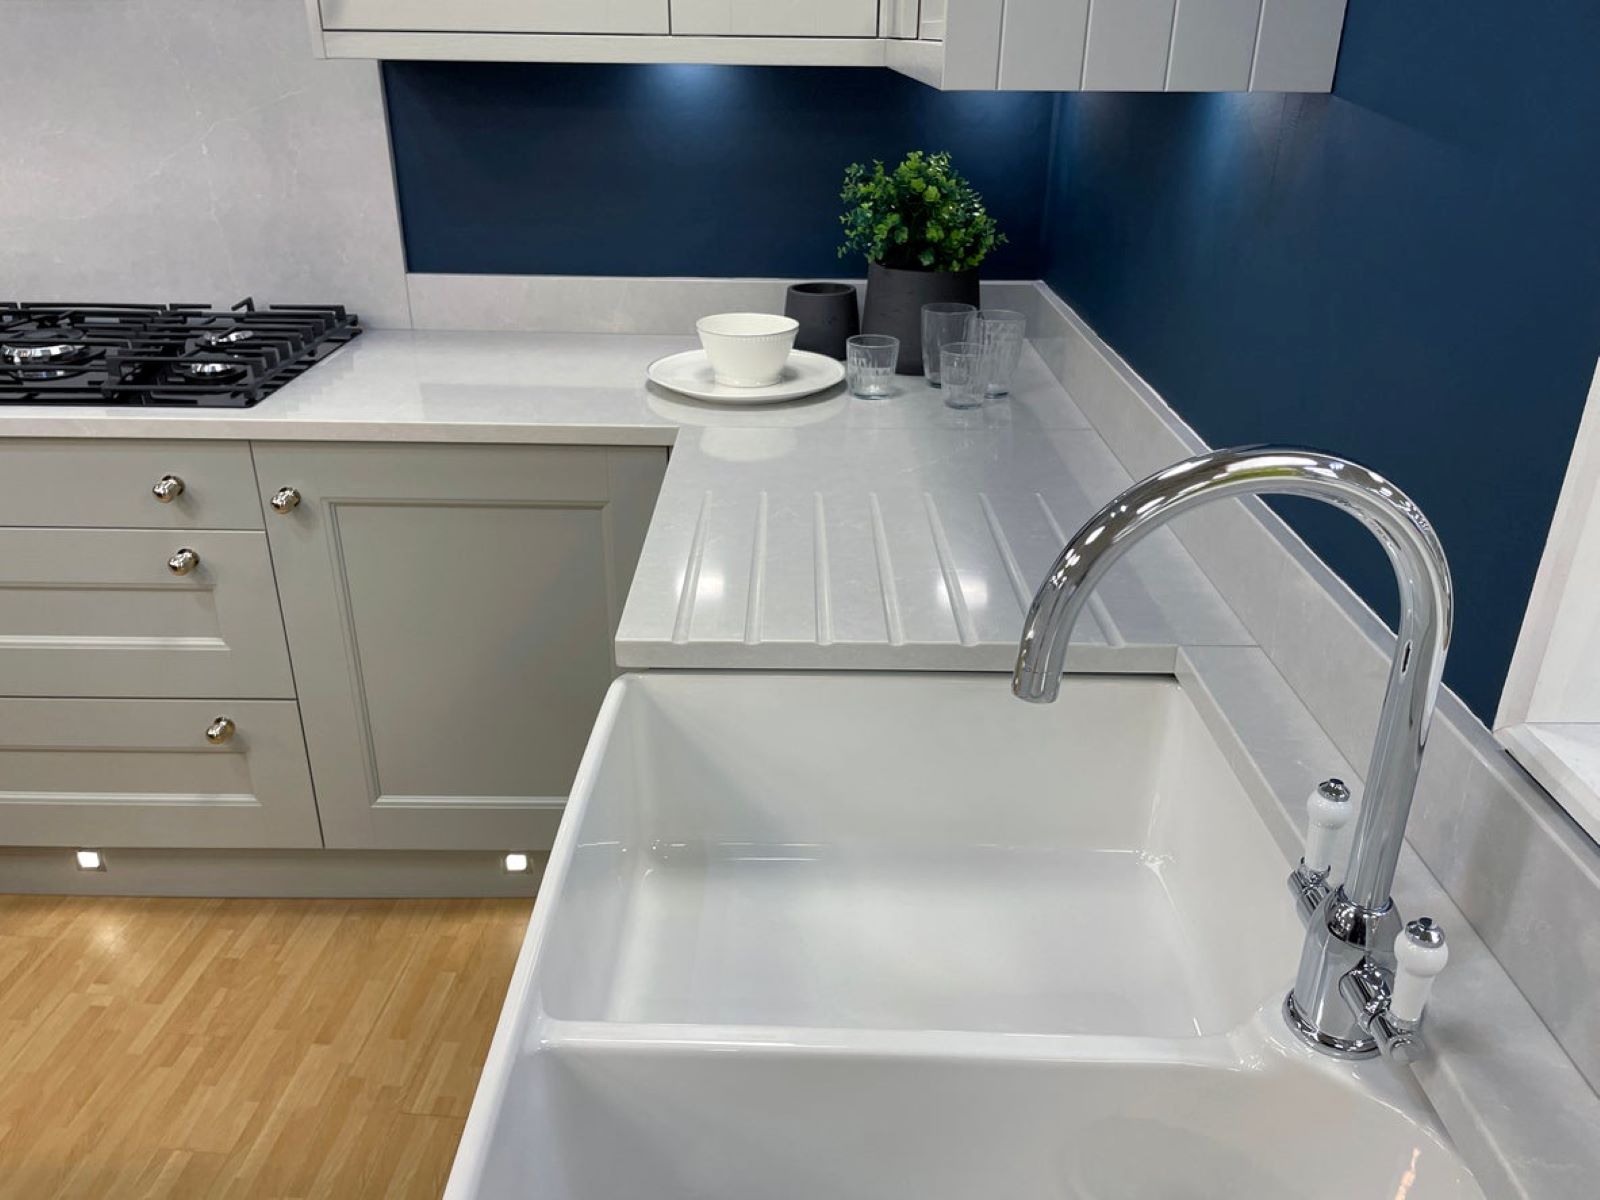
When it comes to kitchen or bathroom renovations, installing Corian countertops can be a fantastic choice. Corian is a high-quality material known for its durability, versatility, and sleek appearance. It is a solid surface material that is manufactured by blending acrylic polymers with natural minerals, resulting in a non-porous surface that is resistant to stains and bacteria.
While hiring a professional to install your Corian countertops is always an option, installing them yourself can be a rewarding and budget-friendly DIY project. With the right tools, proper planning, and a little bit of patience, you can achieve professional-looking results and enjoy the satisfaction of completing the installation on your own.
In this step-by-step guide, we will walk you through the process of installing Corian countertops yourself. From measuring and planning to securing the countertops in place, we’ll cover all the essential steps you need to know. So roll up your sleeves, gather your tools, and let’s get started on transforming your kitchen or bathroom with beautiful Corian countertops!
Key Takeaways:
- Installing Corian countertops yourself is a rewarding DIY project that saves money and offers a sense of accomplishment. With careful planning, precise measurements, and proper installation, you can achieve professional-looking results and transform your space.
- Corian countertops provide durability, versatility, and easy maintenance, making them an ideal choice for kitchens and bathrooms. By following the step-by-step guide and adding finishing touches, you can create a stylish and functional area that reflects your personal style.
Read more: How To Polish Corian Countertops
Step 1: Measure and Plan
The first step in installing Corian countertops is to accurately measure your existing countertop area and plan the layout of your new countertops. This step is crucial to ensure that you order the correct amount of materials and that your countertops fit perfectly in your space.
Start by measuring the length and width of your existing countertop, using a measuring tape. Take precise measurements at multiple points to account for any irregularities or variations in the surface. Make note of any appliances or fixtures that will be incorporated into the countertops, such as sinks or cooktops.
Next, transfer these measurements to graph paper or a digital design program. This will allow you to create a scaled layout of your countertops and experiment with different configurations if desired. Take note of any cutouts or special considerations that need to be made for sinks, faucets, or other features.
When planning the layout, it’s important to consider the flow and functionality of your space. Think about how you will use the countertops and position them accordingly. Additionally, take into account any design preferences or aesthetic considerations that you have in mind.
Once you have a finalized layout, you can calculate the amount of Corian material you will need. Corian is typically sold in sheets or slabs of various sizes, so refer to the product specifications to determine the appropriate quantity for your project. It’s always a good idea to add a bit of extra material to account for any mistakes or unexpected issues that may arise during installation.
With the measurements and layout in hand, you’re now ready to move on to the next step: preparing the surface for installation.
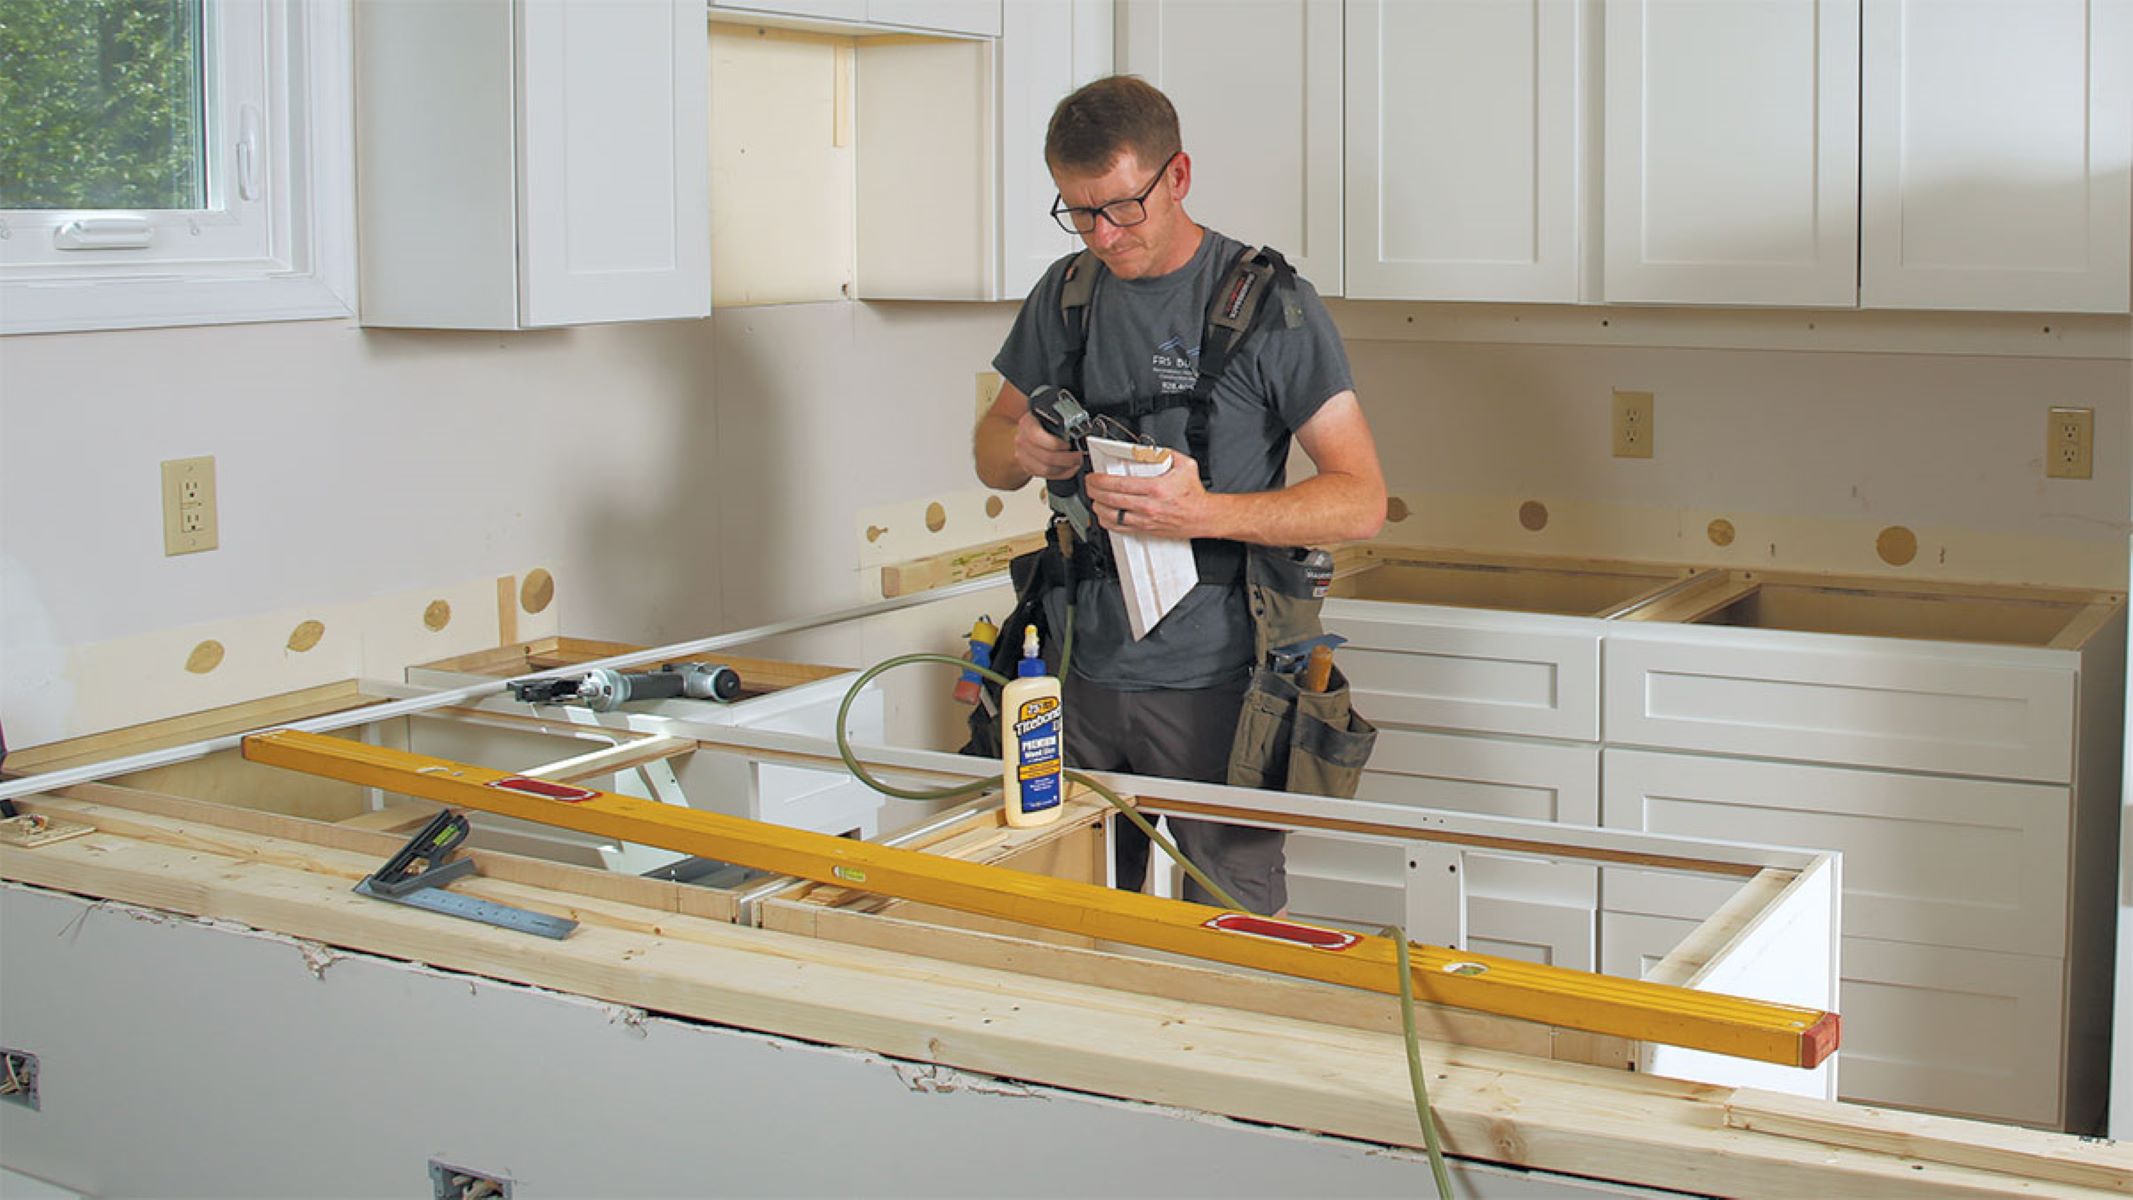
Step 2: Prepare the Surface
Before you can install your Corian countertops, it’s important to properly prepare the surface where they will be placed. This step ensures that the countertops adhere securely and provides a smooth and level base for installation.
Start by removing any existing countertops, if applicable. Carefully disconnect any plumbing fixtures, such as sinks or faucets, and set them aside for later reinstallation. Use a pry bar or screwdriver to lift and remove the old countertops, taking care not to damage the surrounding cabinets or walls.
Once the old countertops are removed, thoroughly clean the surface beneath. Remove any dirt, dust, or debris using a mild detergent and a sponge or cloth. Ensure that the surface is completely dry before proceeding.
If your existing cabinets have a plywood or particleboard substrate, it’s a good idea to reinforce them by adding support brackets or shims. This will help distribute the weight of the Corian countertops evenly and prevent sagging or damage over time. Consult the installation instructions or guidelines provided by the Corian manufacturer for specific recommendations.
Next, inspect the surface for any uneven areas or imperfections. Use a level or straightedge to check for any high or low spots. If you find any discrepancies, you may need to sand down high areas or use a leveling compound to fill in low areas. The goal is to create a perfectly level and smooth surface for the Corian countertops to be placed on.
If you’re installing Corian countertops over an existing laminate surface, you’ll need to roughen the surface for better adhesion. Use a sander or sandpaper to lightly sand the laminate, creating a rough texture. Wipe away any dust or debris before moving on to the next step.
By properly preparing the surface, you’re setting the foundation for a successful installation. With the surface ready, it’s time to move on to the next step: cutting the Corian countertops to size.
Step 3: Cut Corian Countertops
With the surface prepared, it’s time to cut the Corian countertops to fit your measurements and layout. Cutting Corian requires precision and the right tools to ensure clean and accurate cuts.
Start by transferring your measurements from the layout to the Corian sheets or slabs. Remember to account for any cutouts or special considerations for sinks, cooktops, or other fixtures. Mark the cutting lines on the protective film that covers the Corian surface.
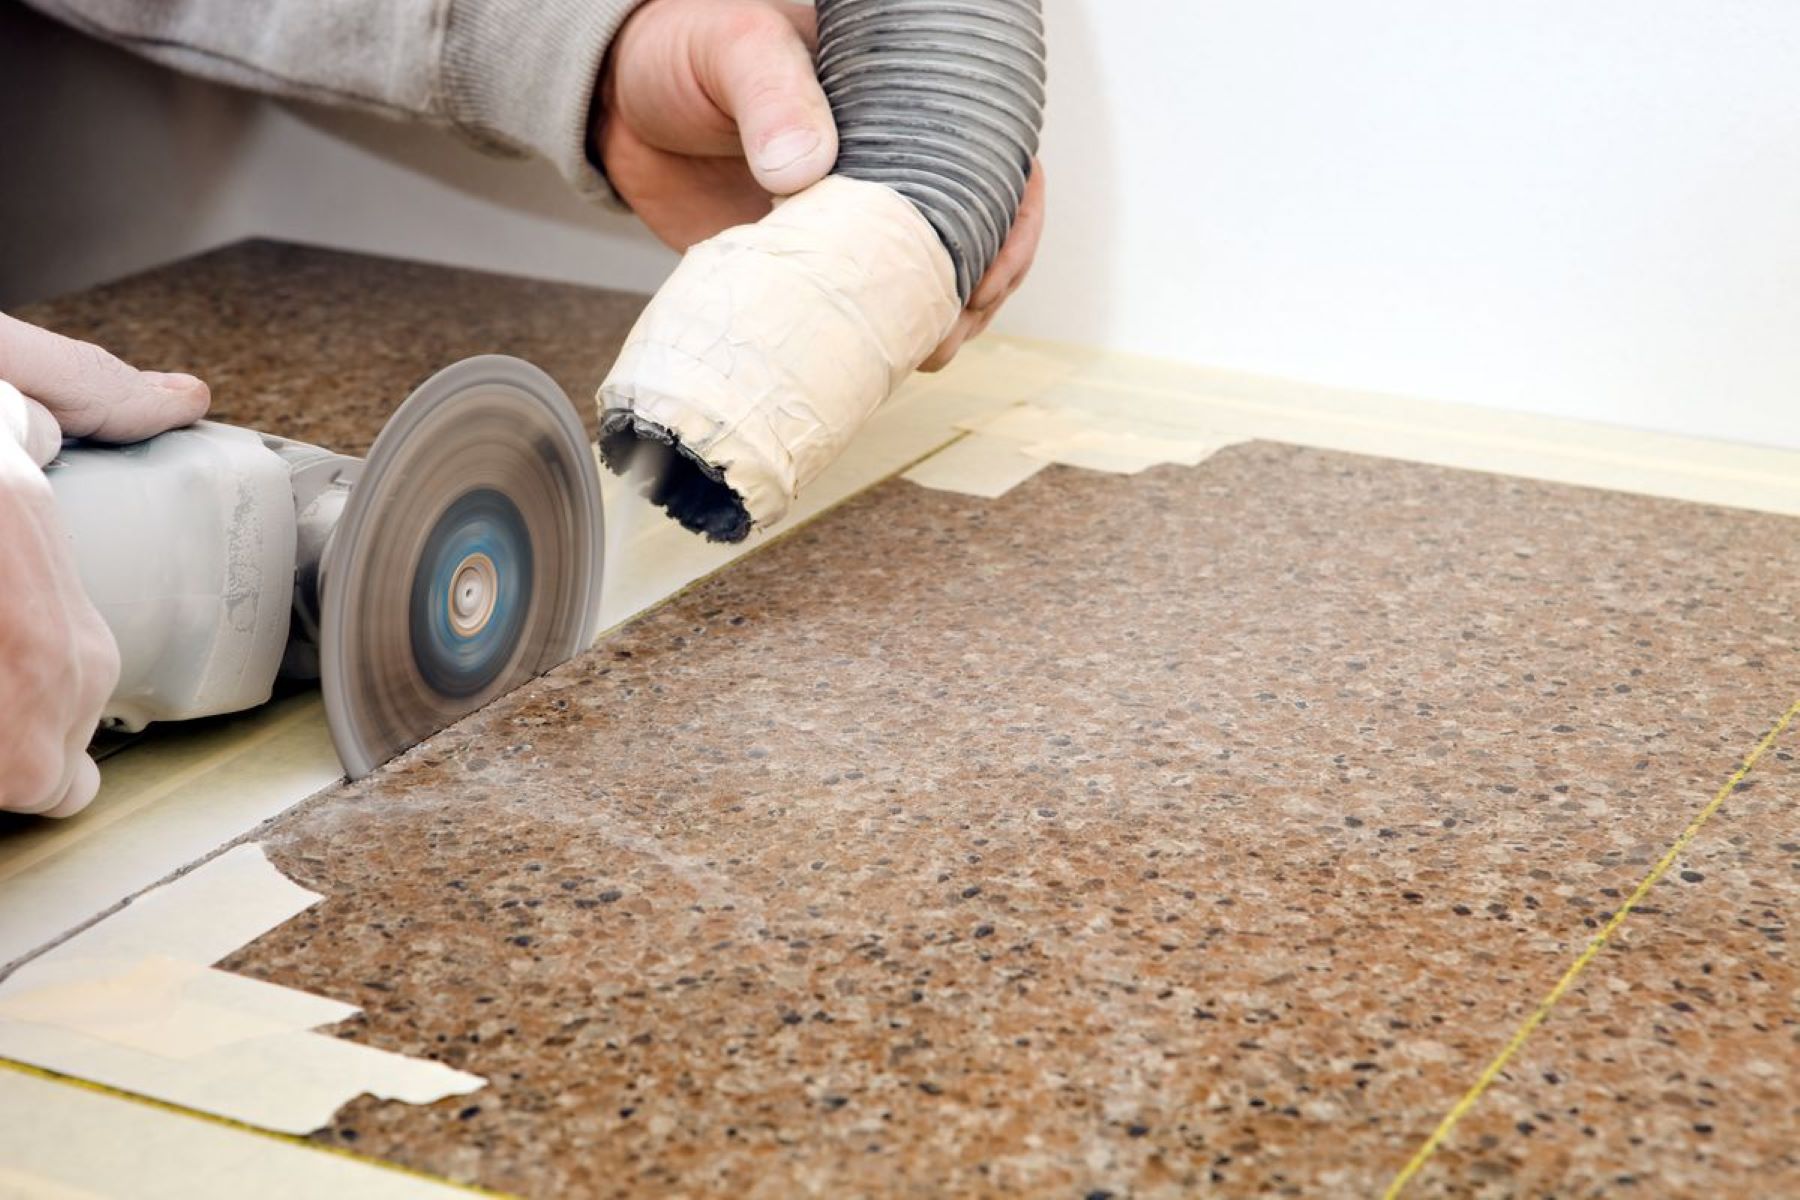
Next, gather the necessary tools for cutting Corian. A circular saw with a fine-toothed carbide-tipped blade is ideal for straight cuts. For curved or intricate cuts, a jigsaw with a downcutting or laminate cutting blade is recommended. Additionally, you’ll need clamps to secure the Corian in place during cutting, as well as safety equipment like goggles and a dust mask.
Before you start cutting, protect the surface of the Corian from scratches by applying masking tape along the cutting line. This will also help to reduce splintering or chipping during the cutting process.
For straight cuts, use a straightedge or guide to ensure a straight and accurate cut. Clamp the Corian securely in place, making sure it doesn’t shift during cutting. Slowly and steadily guide the saw along the marked cutting line, allowing the blade to do the work. Take your time and avoid rushing the process to prevent any mistakes.
When making curved or intricate cuts, use a jigsaw with a downcutting or laminate cutting blade. Carefully follow the marked cutting line, adjusting the speed and pressure as needed to maintain control. Take breaks if necessary to prevent the blade from overheating.
Once the cuts are complete, remove the protective film from the Corian surface. This will reveal the smooth and pristine finish underneath. Use sandpaper or a router with a flush-trim bit to clean up any rough edges or imperfections.
With the Corian countertops now cut to size, you’re ready to move on to the next step: applying adhesive to secure the countertops in place.
Step 4: Apply Adhesive
Now that you have your Corian countertops cut to the correct size, it’s time to apply adhesive to ensure they are securely attached to the prepared surface. The adhesive creates a strong bond between the countertops and the substrate, ensuring stability and longevity.
Before applying adhesive, make sure the surface is clean and free of dust or debris. Use a clean cloth or sponge to wipe away any remaining particles. Additionally, double-check that the surface is completely dry to ensure proper adhesion.
Choose a high-quality adhesive specially designed for bonding Corian or solid surface materials. Follow the manufacturer’s instructions for the recommended application method and drying time.
Apply the adhesive according to the manufacturer’s guidelines. Use a notched trowel or a brush to spread a thin, even layer of adhesive onto the prepared surface. Spread the adhesive in long, sweeping motions to ensure consistent coverage.
Place the Corian countertops onto the adhesive, carefully aligning them with the layout and measurements. Press down firmly to ensure good contact between the countertops and the surface. Use a roller or a clean block of wood to apply even pressure across the entire surface to ensure a strong bond.
If installing multiple sections of Corian countertops, make sure to butt the seams together tightly. Use clamps or temporary fasteners to hold the sections in place while the adhesive cures. Check the manufacturer’s instructions for the recommended curing time.
During the adhesive curing process, it’s important to avoid putting any weight on the countertops or disturbing them. This will ensure that the adhesive sets properly and the countertops stay in place.
Once the adhesive has fully cured, you can move on to the next step: securing the countertops in place.
By following these steps and applying adhesive correctly, you’ll have solid and stable countertops that will withstand regular use and provide a beautiful and functional surface in your kitchen or bathroom.
When installing Corian countertops yourself, make sure to properly support the countertop during installation to prevent any cracking or damage. Use shims and support brackets as needed to ensure a secure and level installation.
Read more: How To Update Corian Countertops
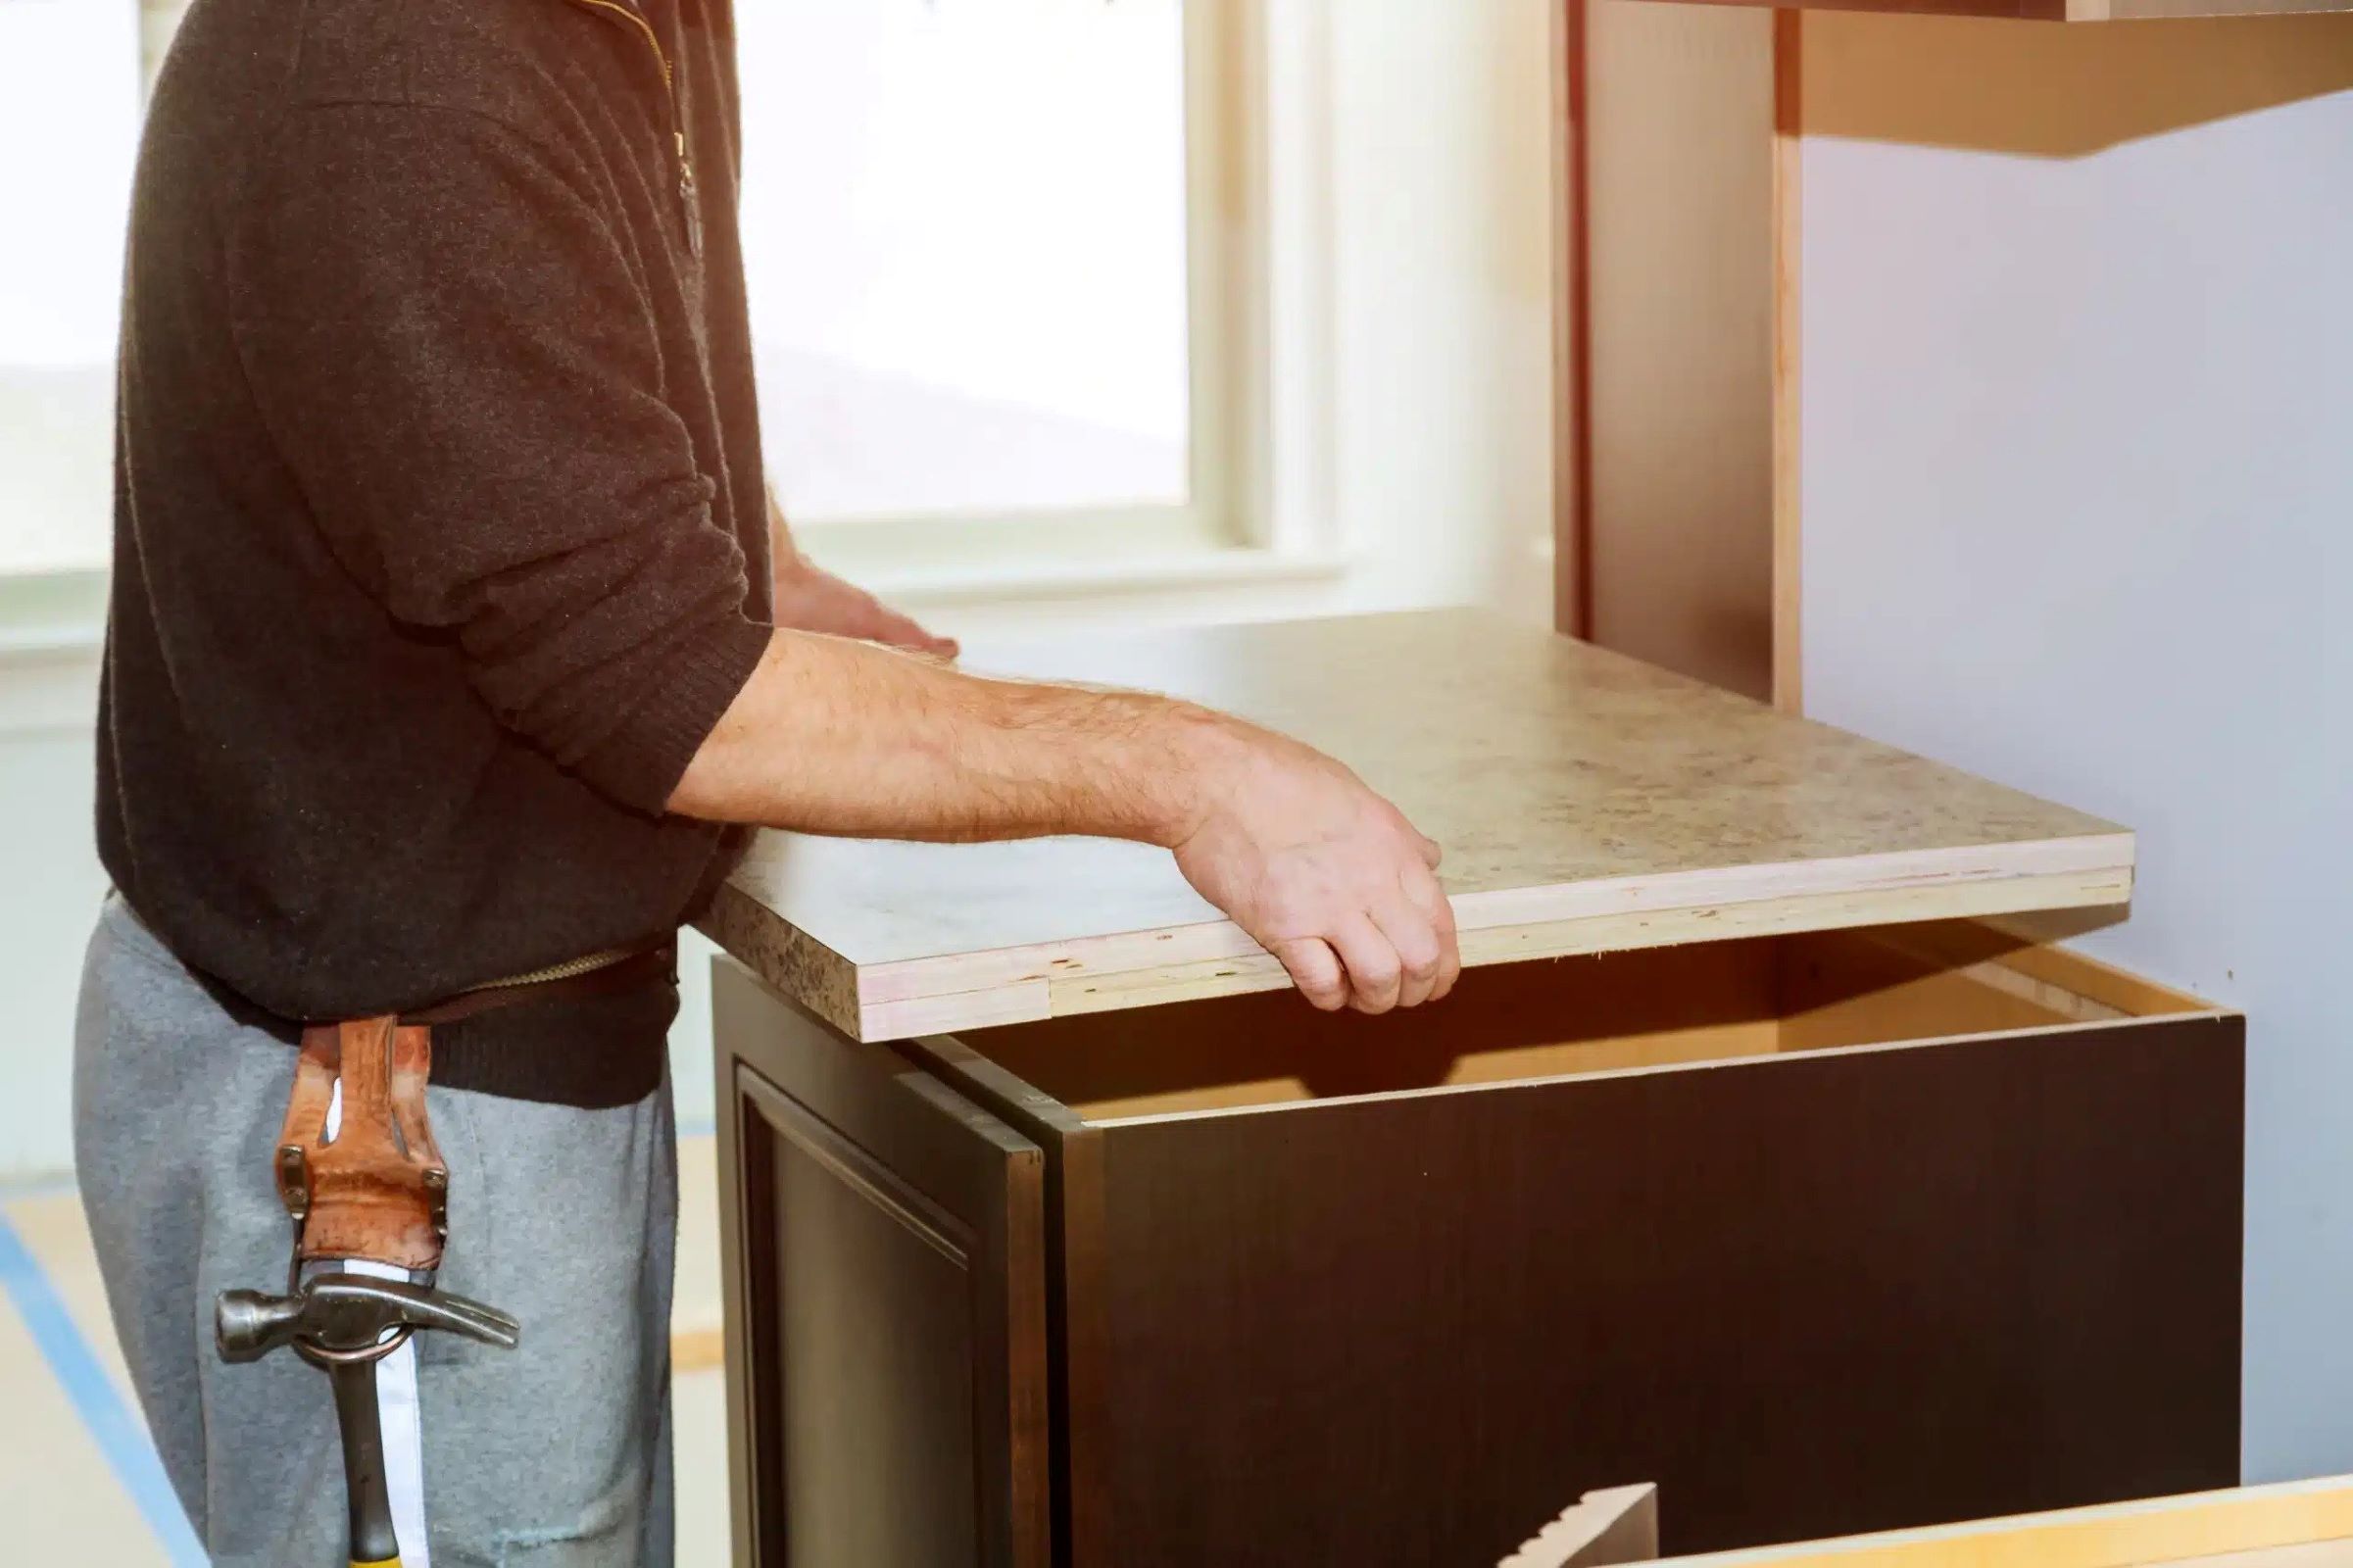
Step 5: Install Corian Countertops
Now that the adhesive has cured and the Corian countertops are securely in place, it’s time to complete the installation process. This step involves making sure the countertops are level, properly aligned, and ready for use.
Start by checking the levelness of the countertops. Use a level or a straightedge to ensure that the surface is even and there are no high or low spots. If necessary, adjust the countertops by shimming or sanding down uneven areas. This will ensure that your countertops are not only visually appealing but also functional.
Next, inspect the alignment of the countertops. Check that the edges are flush with the surrounding cabinets and that any seams or joints are tightly fitted together. Use a mallet or a block of wood and a hammer to gently tap the countertops into place if needed.
If you’re installing a sink or cooktop, follow the manufacturer’s instructions for placement and secure them in their designated cutouts. Use the appropriate tools and hardware provided to ensure a proper fit and secure installation.
Once you’re satisfied with the levelness and alignment of the countertops, clean the surfaces with a mild detergent and a non-abrasive cloth. This will remove any dust or debris accumulated during the installation process and leave your countertops looking pristine.
At this point, reconnect any plumbing fixtures that were detached during the installation process. Ensure that all connections are tight and secure, and check for any leaks or issues.
With the Corian countertops now fully installed, take a moment to admire your work. You’ve successfully transformed your space with beautiful and functional countertops. However, there is still one more step to complete: securing the countertops in place.
By following these installation steps, you’ll have sturdy and professionally installed Corian countertops that will enhance the beauty and functionality of your kitchen or bathroom for years to come.
Step 6: Secure Countertops
Once your Corian countertops are installed and in position, the next step is to secure them to ensure long-lasting stability and support. Securely fastening the countertops will prevent any shifting, sagging, or potential damage over time.
Start by using screws or brackets specifically designed for securing countertops. These brackets are typically installed underneath the countertop, connecting it to the cabinet structure for added support.
Position the brackets underneath the overhang of the countertop, near the front edge or at regular intervals along the length. Ensure that they are evenly spaced for consistent support.
Using a drill and the appropriate screws, securely fasten the brackets to the cabinet structure. Be careful not to overtighten the screws, as this could damage the countertop. Take your time and make sure the brackets are firmly attached.
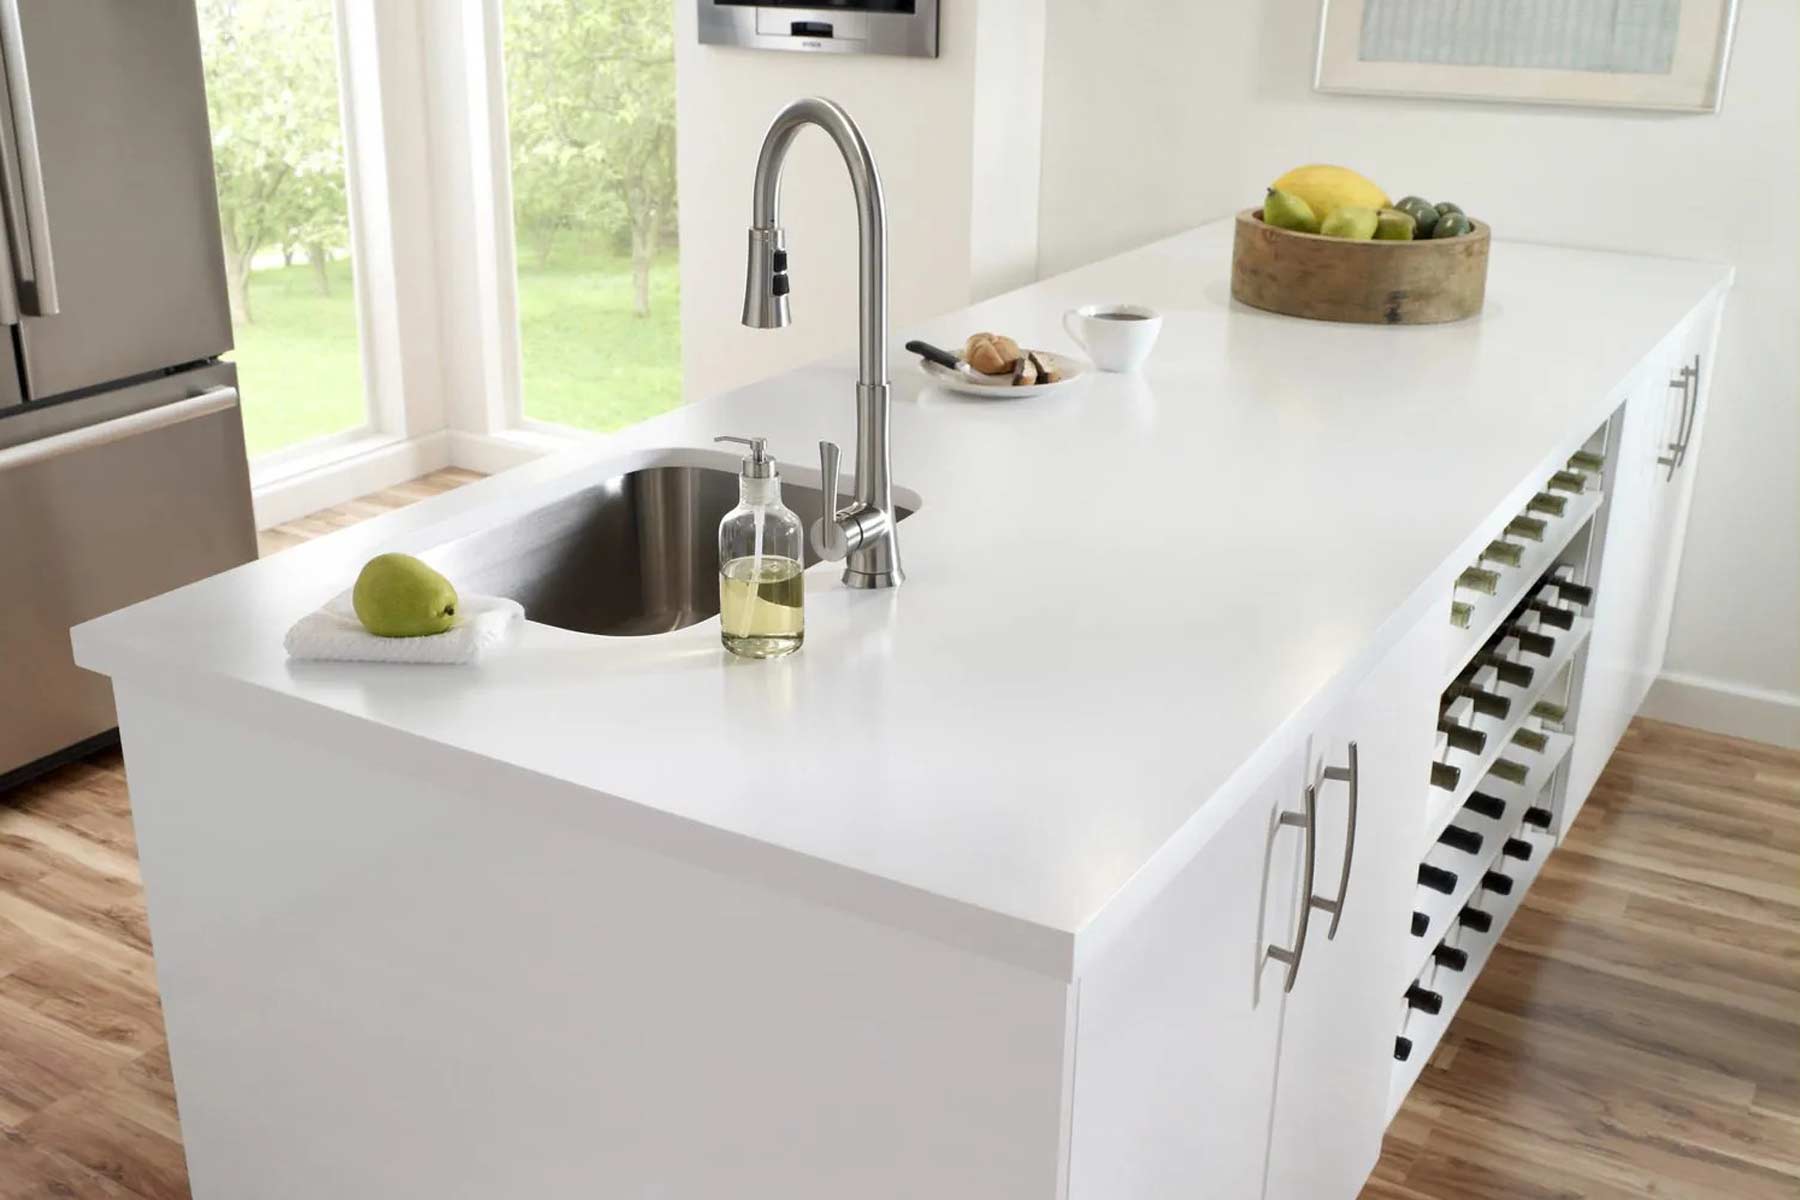
If the Corian countertops are in an island or in the center of the room, additional support may be required. Consult with a professional or refer to the manufacturer’s recommendations for the best approach. This may involve adding support brackets or using other methods to ensure the stability of the countertops.
Once the brackets are securely installed, check the countertops for any movement or wobbling. Apply pressure at various points to ensure that they are stable and properly secured. If you notice any movement or issues, make adjustments as necessary.
It’s worth noting that depending on your specific circumstances, additional countertop support may also be needed. Factors such as the size of the countertops, the material of the cabinets, and the weight of any installed appliances can all impact the need for additional support. Be sure to assess your situation and consult with professionals if needed.
By properly securing your Corian countertops, you can enjoy peace of mind knowing that they will remain stable and secure for years to come. This final step in the installation process ensures the long-term durability and functionality of your countertops.
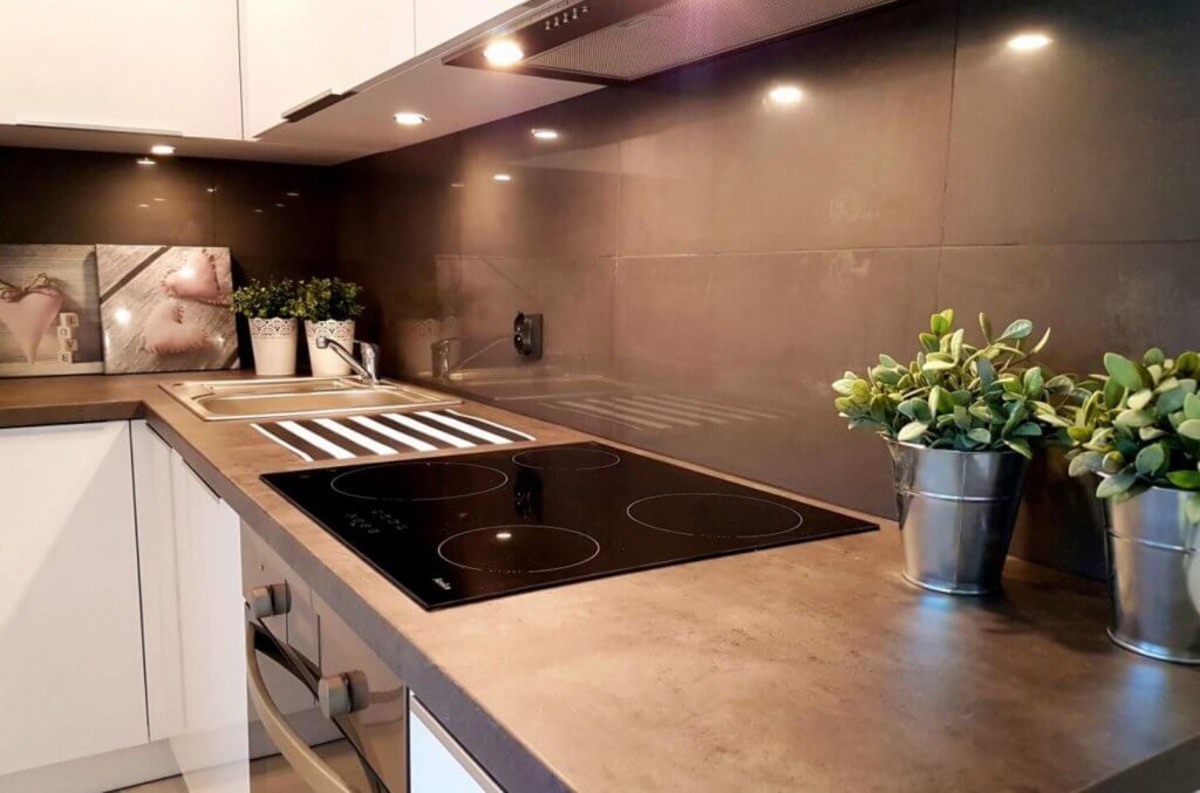
Step 7: Finishing Touches
After completing the installation and securing your Corian countertops, it’s time to add the finishing touches that will enhance their appearance and make them ready for use.
Start by cleaning the countertops thoroughly. Wipe away any dust or debris using a mild detergent and a non-abrasive cloth. This will ensure that your countertops are free of any installation residue and ready for everyday use.
If there are any visible seams or joints, you can use a color-matching adhesive or filler to blend them seamlessly. Apply the adhesive or filler according to the manufacturer’s instructions, and use a clean cloth to remove any excess and create a smooth finish. This step will further enhance the visual appeal of your Corian countertops.
Consider adding edge profiles to your countertops for an extra touch of style. Corian offers a variety of edge profiles, from simple beveled edges to more intricate designs. Choose an edge profile that suits your personal taste and complements the overall aesthetic of your space.
Apply a protective coating or polish specifically formulated for Corian countertops. This will help maintain the beauty and shine of the surface while providing added resistance to stains and scratches. Follow the product instructions for application and maintenance guidelines to ensure your countertops remain in top condition.
Finally, take the opportunity to organize and arrange your countertop space. Add decorative items, kitchen essentials, or bathroom accessories that reflect your personal style. Keep in mind that simplicity and decluttering can create a visually pleasing and functional countertop area.
With the finishing touches complete, step back and admire your newly installed Corian countertops. They are now ready to be enjoyed for their durability, versatility, and aesthetic appeal.
Remember to follow the manufacturer’s guidelines for routine cleaning and maintenance to ensure that your Corian countertops remain in pristine condition for years to come.
Congratulations on successfully installing and completing your Corian countertops project!
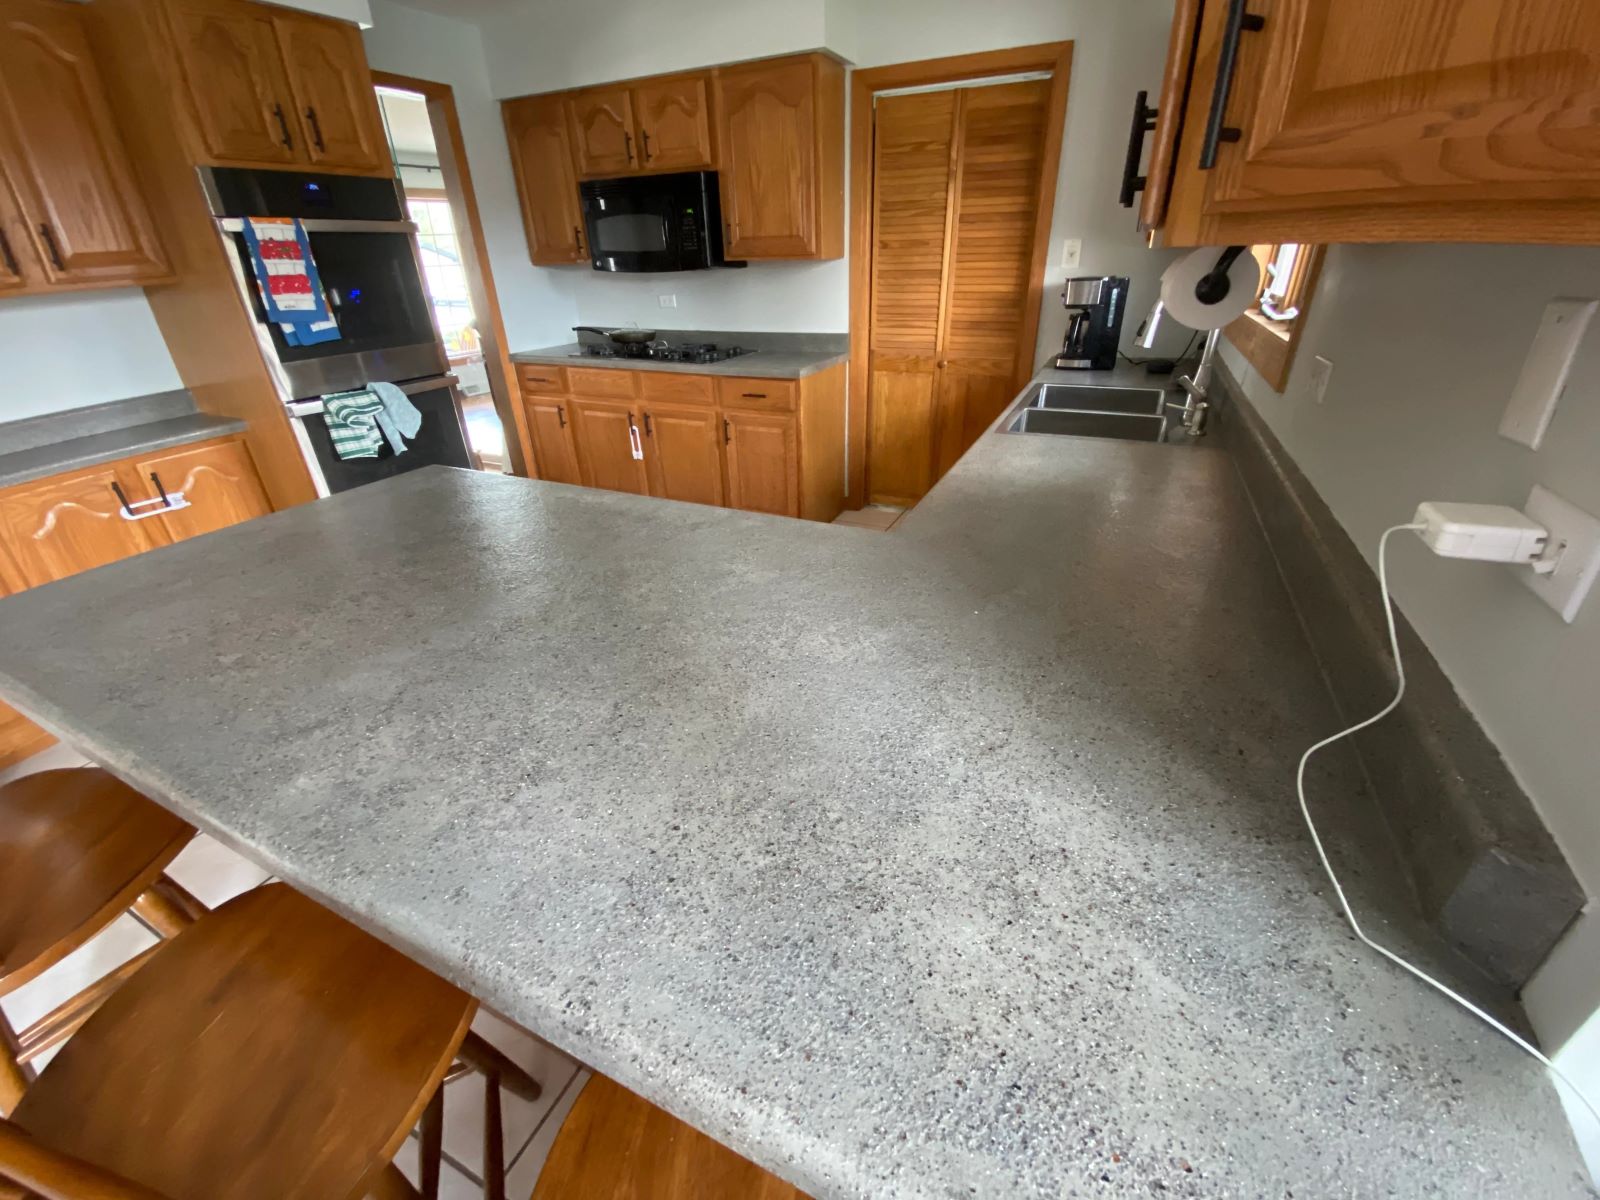
Conclusion
Installing Corian countertops yourself can be a rewarding and cost-effective project that adds beauty, functionality, and value to your kitchen or bathroom. By following the step-by-step guide outlined in this article, you can achieve professional-looking results and enjoy the satisfaction of completing the installation on your own.
From measuring and planning to cutting, applying adhesive, and securing the countertops, each step is crucial in ensuring a successful installation. Careful attention to detail, precision, and patience throughout the process will yield sturdy, level, and visually stunning countertops.
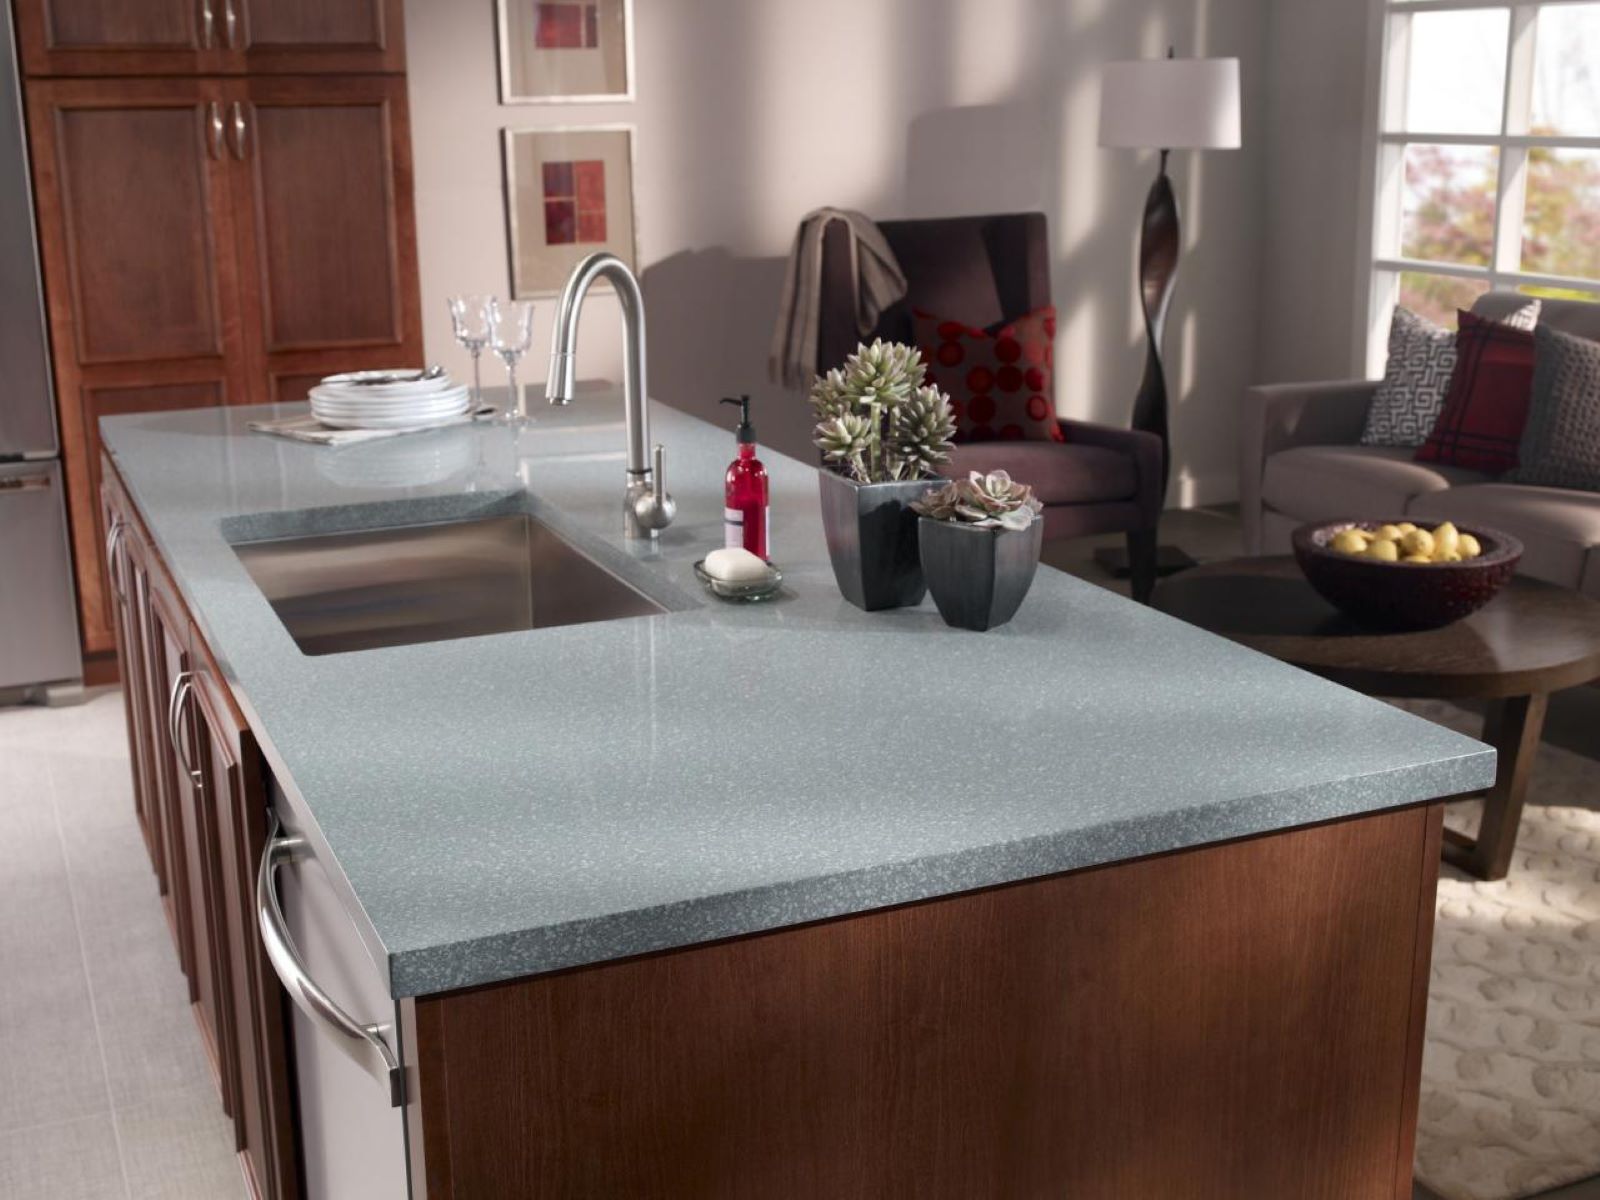
Corian countertops offer numerous benefits, including durability, versatility, and easy maintenance. With their non-porous surface, they are resistant to stains, scratches, and bacterial growth, making them an ideal choice for busy kitchens and bathrooms.
Remember to take the time to properly prepare the surface, measure accurately, and align the countertops correctly. Securing the countertops with brackets or screws will provide long-lasting stability and support, while the finishing touches like cleaning, edge profiles, and protective coatings will enhance their overall appearance.
Installing Corian countertops yourself not only allows you to personalize your space but also gives you the chance to save money by eliminating professional installation costs. Additionally, the sense of accomplishment and pride that comes from completing the project on your own is invaluable.
Whether you’re remodeling your kitchen or revamping your bathroom, installing Corian countertops can transform your space into a stylish and functional area. The durability, variety of designs, and ease of maintenance make Corian a popular choice among homeowners.
So, roll up your sleeves, gather your tools, and embark on the journey of installing Corian countertops yourself. Enjoy the process and take pride in knowing that you have created a beautiful and customized space that reflects your personal style and enhances the value of your home.
Frequently Asked Questions about How To Install Corian Countertops Yourself
Was this page helpful?
At Storables.com, we guarantee accurate and reliable information. Our content, validated by Expert Board Contributors, is crafted following stringent Editorial Policies. We're committed to providing you with well-researched, expert-backed insights for all your informational needs.


0 thoughts on “How To Install Corian Countertops Yourself”