Articles
How To Use A 45 Rpm Adapter
Modified: December 7, 2023
Learn how to effectively use a 45 rpm adapter with our informative articles. Enhance your vinyl record listening experience with expert tips and tricks.
(Many of the links in this article redirect to a specific reviewed product. Your purchase of these products through affiliate links helps to generate commission for Storables.com, at no extra cost. Learn more)
Introduction:
The 45 RPM adapter is an essential tool for any vinyl enthusiast or DJ who owns a turntable. If you’re unfamiliar with what a 45 RPM adapter is, don’t worry – we’re here to help! In this article, we’ll guide you through the process of using a 45 RPM adapter, from understanding its purpose to playing and removing it properly.
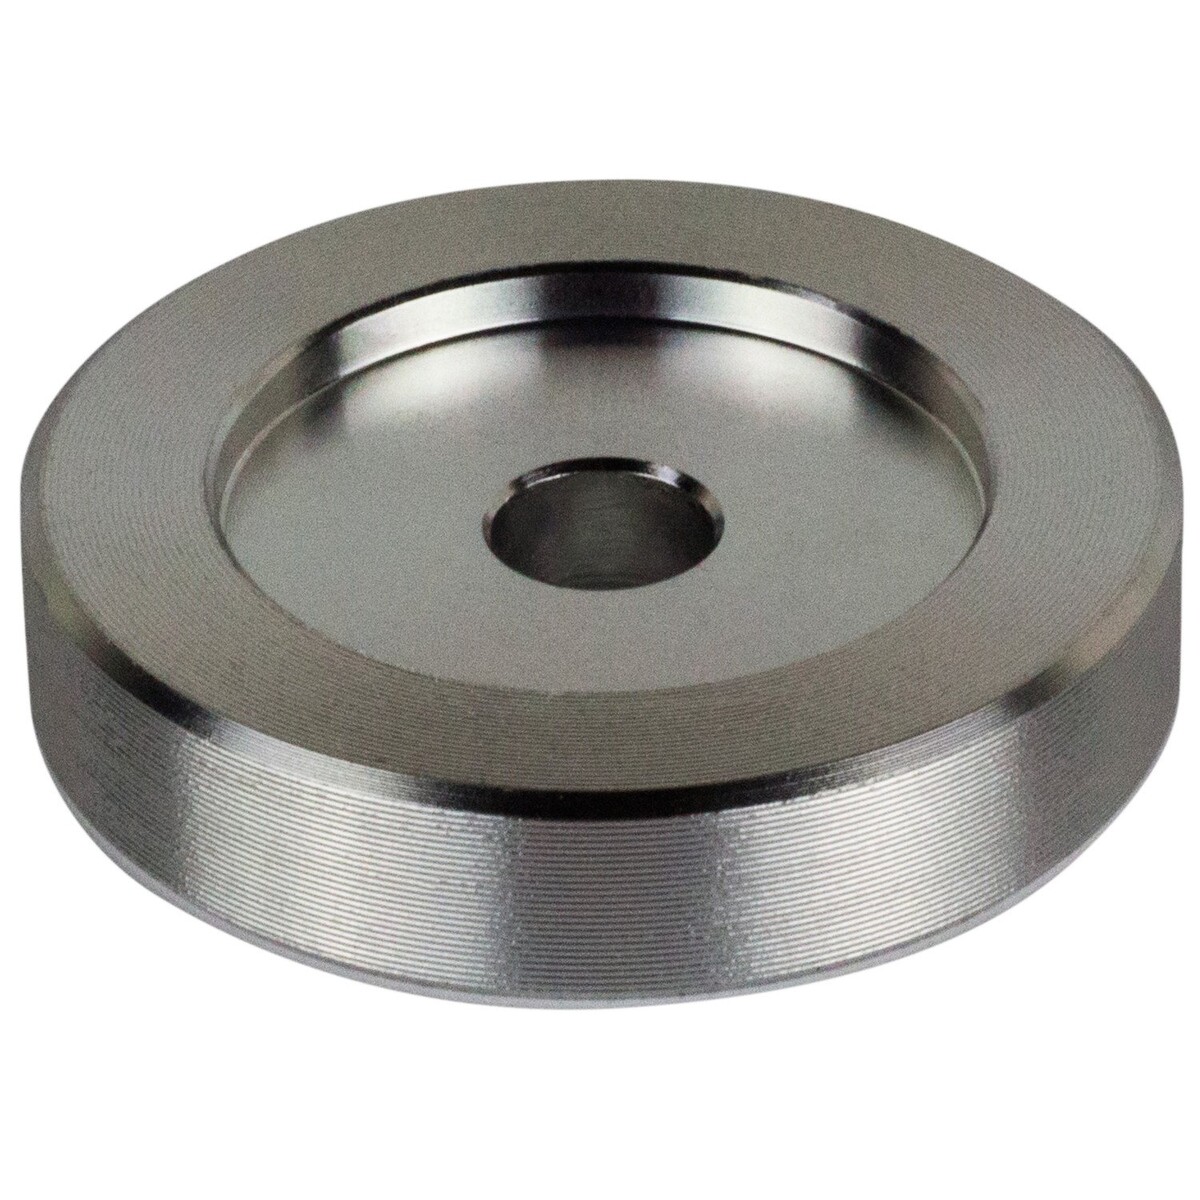
A 45 RPM adapter is a small device that allows you to play 7-inch vinyl records on a turntable. These records, also known as singles, have a larger center hole compared to the standard 12-inch LPs. The adapter fits into the turntable’s spindle, ensuring the record is properly centered and held in place during playback.
Using a 45 RPM adapter is simple and straightforward, but it’s important to follow the correct steps to avoid damaging your records or turntable. Whether you’re a vinyl collector, DJ, or just starting your vinyl journey, learning how to use a 45 RPM adapter will open up a whole new world of music.
In the next sections, we will walk you through the process of obtaining a 45 RPM adapter, preparing your turntable, inserting the adapter, playing a 45 RPM record, and removing the adapter when you’re done. So, let’s dive in and get started!
Key Takeaways:
- Embrace the world of 7-inch vinyl records by mastering the use of a 45 RPM adapter, ensuring optimal playback and a smooth, enjoyable listening experience for all music enthusiasts.
- With the right 45 RPM adapter and careful turntable preparation, you can unlock the unique charm of 7-inch singles, immersing yourself in the rich, nostalgic sound of analog music.
Read more: How To Store 45 RPM Vinyl Records
Understanding the 45 Rpm Adapter:
Before we dive into the steps of using a 45 RPM adapter, it’s important to understand its purpose and how it works. As mentioned earlier, the 45 RPM adapter is a small device that allows you to play 7-inch vinyl records on your turntable.
The main function of the adapter is to bridge the gap between the larger spindle hole on the 45 RPM record and the smaller spindle on your turntable. Without the adapter, the record would not sit properly on the turntable, resulting in an unstable playback and potential damage to both the record and the turntable.
Most 45 RPM adapters are made of either plastic or metal, and they typically have a cylindrical shape with a slightly wider diameter compared to the center hole of the record. This design ensures a snug fit and keeps the record centered during playback, allowing for a smooth and uninterrupted listening experience.
It’s worth noting that some turntables have a built-in mechanism that automatically adjusts to different record sizes, including 7-inch singles. In such cases, you may not need a separate 45 RPM adapter. However, if your turntable doesn’t have this feature, using a dedicated adapter is essential for playing 45 RPM records.
Now that we have a clear understanding of the purpose and functionality of a 45 RPM adapter, let’s move on to the next steps of using it. In the following sections, we’ll guide you through obtaining a 45 RPM adapter, preparing your turntable, inserting the adapter, playing a 45 RPM record, and finally, removing the adapter when you’re done. So, let’s get started!
Step 1: Obtaining a 45 Rpm Adapter
Before you can use a 45 RPM adapter, you’ll need to obtain one. The good news is that 45 RPM adapters are widely available and can be purchased online or at your local record store. Here are a few options for obtaining a 45 RPM adapter:
- Purchase one online: There are numerous websites that sell 45 RPM adapters, such as Amazon, eBay, and specialized audio equipment stores. Look for adapters made from durable materials like metal or high-quality plastic for long-lasting use.
- Visit a record store: If you prefer a hands-on approach, visit your local record store and check if they have 45 RPM adapters available. Not only will you be supporting local businesses, but you can also get personalized advice from the staff.
- Borrow from a friend: If you have friends or fellow vinyl enthusiasts, ask if they have an extra 45 RPM adapter that you can borrow. This is a cost-effective option if you’re on a budget or just want to try out a 45 RPM record before investing in your own adapter.
Once you have obtained a 45 RPM adapter, you’re ready to move on to the next step: preparing your turntable. Ensure you have the adapter in hand before proceeding to avoid any delay in playing your favorite 45 RPM records.
Remember, having a dedicated 45 RPM adapter will allow you to fully enjoy and explore a wide range of 7-inch vinyl records. Whether you’re a fan of classic singles or new releases, having the right adapter is crucial for a smooth playback experience.
Now that you know how to obtain a 45 RPM adapter let’s move on to the next step: preparing your turntable for use.
Step 2: Preparing Your Turntable
Before you can start using a 45 RPM adapter, it’s important to prepare your turntable. This step ensures that your turntable is in proper working condition and ready to accommodate the adapter. Here are the key steps to follow:
- Clean the turntable: Start by ensuring your turntable’s surface is clean. Remove any dust, debris, or fingerprints that may have accumulated. This will help prevent any interference during playback and protect your records.
- Check the mechanical components: Inspect the tonearm, platter, and spindle to ensure they are functioning properly. Make sure the tonearm moves smoothly and that the spindle is clean and free from any obstructions.
- Adjust the tracking force: Use the user manual or manufacturer’s instructions to adjust the tracking force of your turntable’s tonearm. This ensures the proper weight is applied to the stylus when playing records, minimizing wear and ensuring accurate playback.
- Verify the speed setting: Some turntables have multiple speed settings, including 33 RPM and 45 RPM. Ensure that your turntable is set to the correct speed, in this case, 45 RPM. Refer to the user manual or consult the manufacturer’s website for guidance if needed.
- Ensure proper grounding: Many turntables have a grounding wire that needs to be properly connected to minimize noise and interference. Make sure the grounding wire, if applicable, is securely connected to the designated grounding point on your turntable or audio system.
Following these steps will help ensure that your turntable is in optimal condition to play 45 RPM records. Additionally, performing regular maintenance and cleaning on your turntable will extend its lifespan and preserve the sound quality.
Now that your turntable is prepared, it’s time to move on to the next step: inserting the 45 RPM adapter to start playing your 7-inch vinyl records.
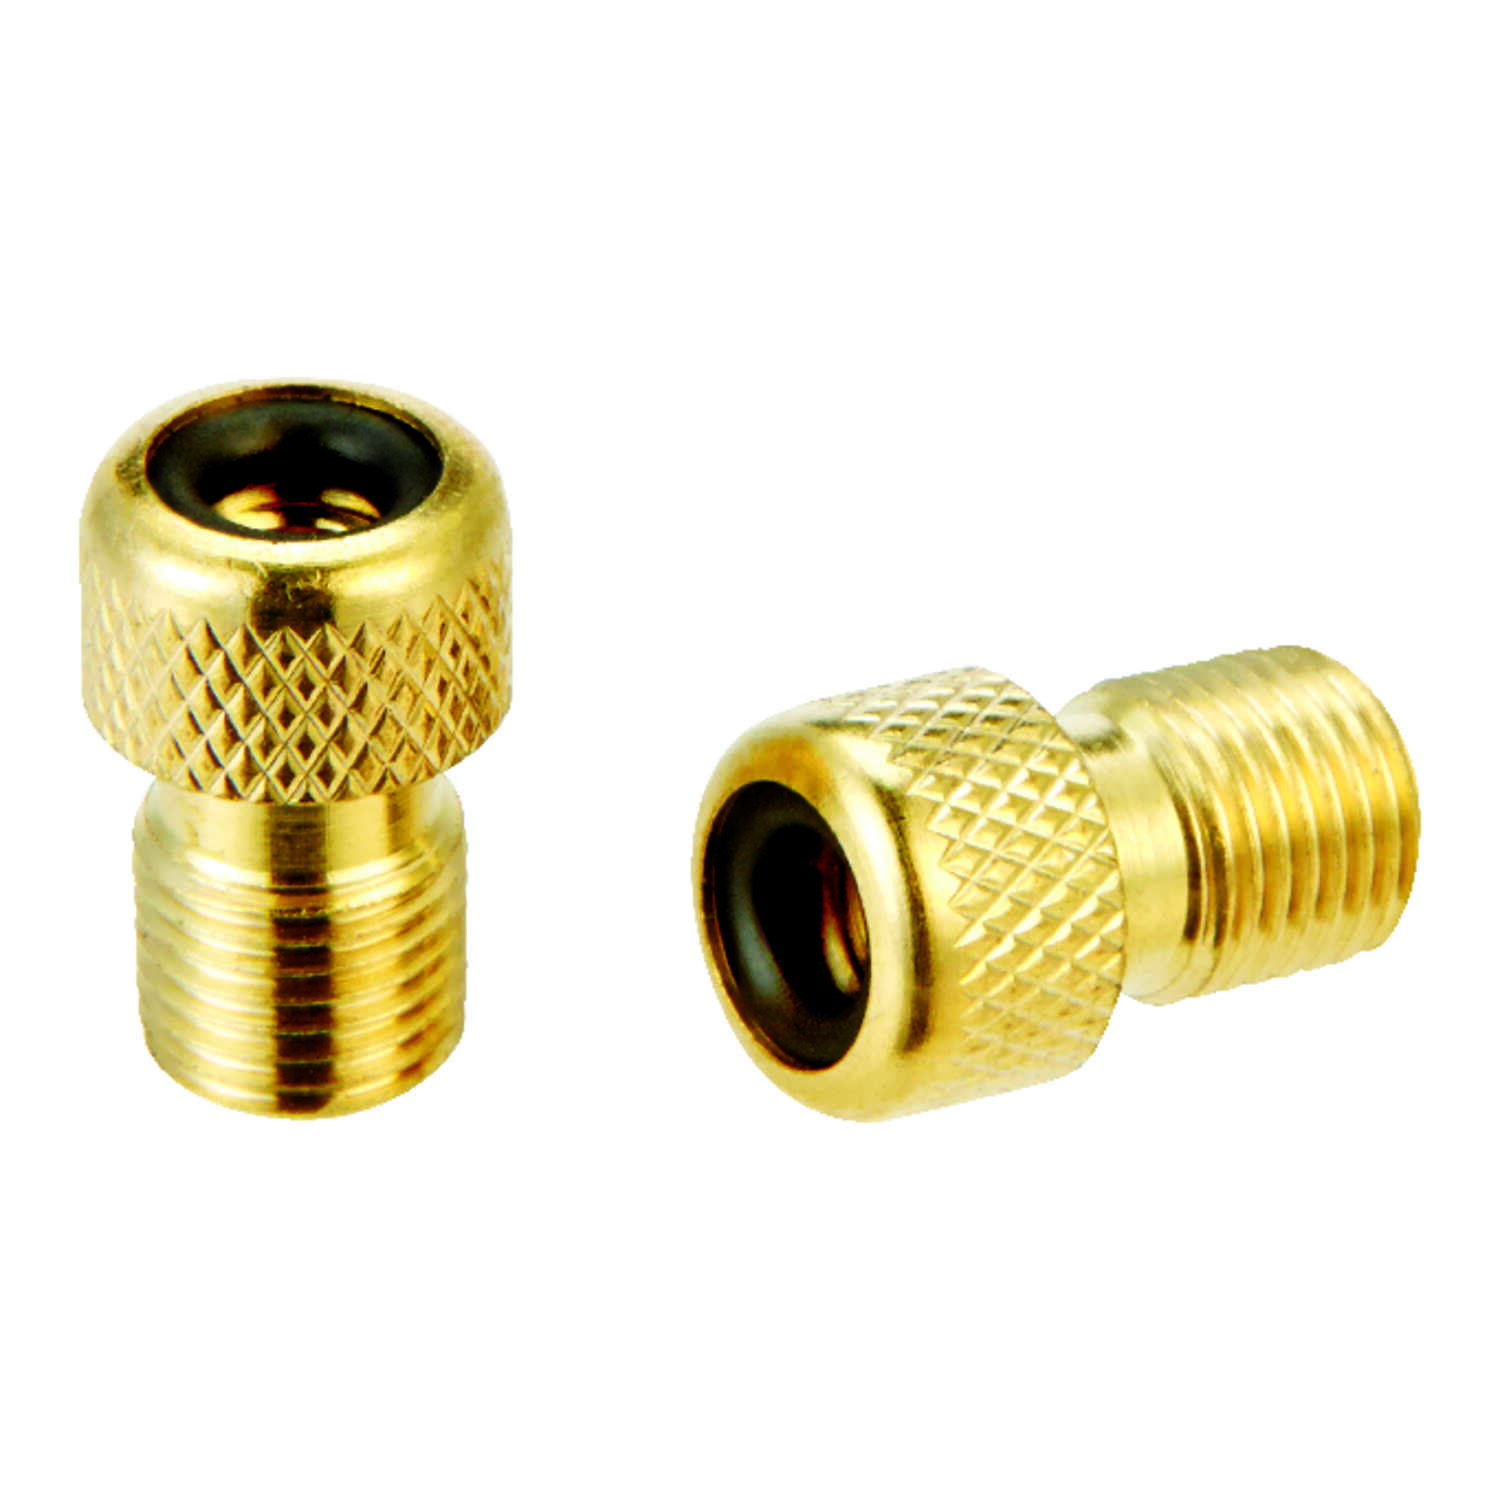
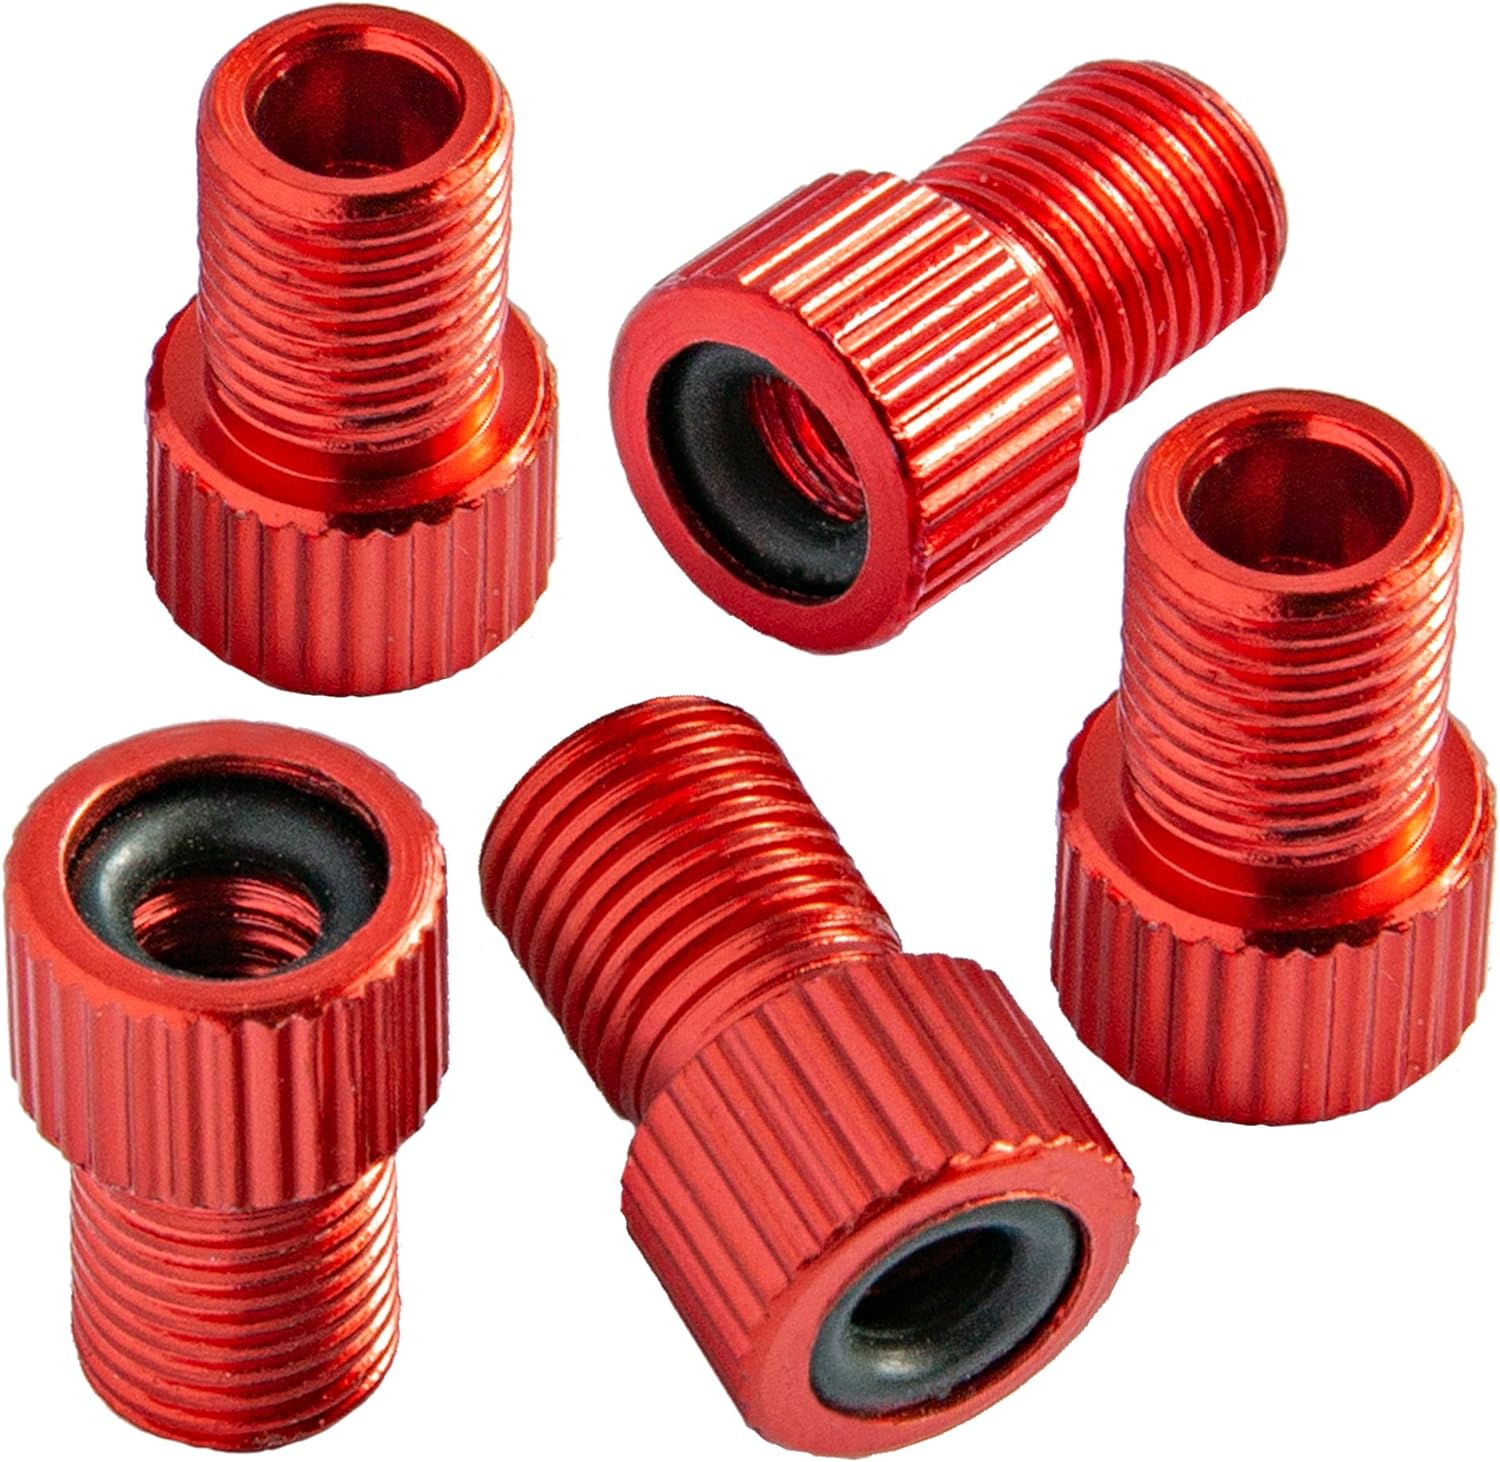
When using a 45 rpm adapter, make sure to place it in the center of the record spindle before placing the 45 rpm record on top. This will ensure that the record spins properly and the adapter stays in place.
Step 3: Inserting the 45 Rpm Adapter
Now that you have obtained a 45 RPM adapter and prepared your turntable, it’s time to insert the adapter. Follow these steps to ensure a secure and proper fit:
- Locate the turntable spindle: The spindle is the central point on your turntable where the record sits. It typically has a smaller diameter and is designed to accommodate the 45 RPM adapter.
- Hold the 45 RPM adapter: Grab the adapter between your thumb and index finger, ensuring you have a firm grip.
- Position the adapter: Align the center hole of the 45 RPM record with the adapter. The adapter should fit snugly into the center hole of the record.
- Place the adapter on the turntable spindle: Gently lower the adapter onto the turntable spindle, making sure it sits securely. The adapter should slot into place and rest flush against the turntable surface.
- Test the fit: Once the adapter is in place, give it a slight twist to ensure it rotates smoothly. This will confirm that the adapter is properly aligned and won’t cause any playback issues.
It’s important to note that some turntables have a built-in adapter that can be raised or lowered to accommodate 45 RPM records. If your turntable has this feature, simply adjust the built-in adapter to the raised position before placing the record.
With the 45 RPM adapter correctly inserted, you’re now ready to move on to the next step: playing a 45 RPM record. Let’s dive into the process and get those vinyl grooves spinning!
Read more: How To Use Grounding Adapter
Step 4: Playing a 45 Rpm Record
With the 45 RPM adapter securely in place, it’s time to enjoy the music by playing a 45 RPM record on your turntable. Follow these steps to ensure a smooth and enjoyable playback experience:
- Select a 45 RPM record: Choose a 7-inch vinyl record that you want to play. Place it on a clean surface and inspect it for any visible scratches or dirt. Ensure the record is in good condition before proceeding.
- Hold the record from the edges: Gently grip the record with your fingertips and make sure your fingers only touch the outer edges. This will help avoid any fingerprints or smudges on the playable surface.
- Position the record on the turntable: Carefully lower the 45 RPM record onto the 45 RPM adapter. The adapter will hold the record securely in place and ensure proper alignment.
- Start the turntable: Switch on the turntable and set it to the 45 RPM speed setting. If your turntable has a start/stop button, press it to begin the rotation of the record.
- Lift the tonearm: Gently lift the tonearm from its resting position and carefully move it toward the outer edge of the record.
- Lower the tonearm: Position the tonearm’s stylus (needle) at the outer edge of the record, making sure it is aligned with the first groove. Slowly lower the tonearm onto the record surface.
- Enjoy the music: Once the tonearm is playing the record, you can sit back, relax, and enjoy the music. Adjust the volume level to your preference and immerse yourself in the rich analog sound.
Remember to handle the record and tonearm with care to avoid any accidental damage. Avoid touching the stylus or applying excessive pressure on the record, as this can cause skipping or distortion.
When you’re finished listening to the 45 RPM record, make sure to follow the next step: removing the 45 RPM adapter. Let’s move on to the final step of the process.
Step 5: Removing the 45 Rpm Adapter
When you’re ready to remove the 45 RPM adapter and switch back to playing standard-sized records, follow these steps:
- Stop the turntable: If the turntable is currently playing, stop it by pressing the stop button or lifting the tonearm and returning it to the resting position.
- Grab the 45 RPM adapter: Using your thumb and index finger, firmly hold the 45 RPM adapter.
- Lift the adapter: Gently lift the adapter straight up and away from the turntable spindle.
- Store the adapter: Find a safe place to store the 45 RPM adapter, such as a dedicated storage compartment on your turntable or in a protective case to prevent damage or loss.
It’s important to handle the 45 RPM adapter with care when removing it. Avoid dropping or mishandling the adapter, as it can cause damage to the turntable or the adapter itself.
Once you’ve removed the 45 RPM adapter, your turntable is ready to play standard-sized records. You can now select a 12-inch LP and repeat the process of setting the speed, placing the record, and enjoying your favorite music.
Remember, the process of inserting and removing the 45 RPM adapter should be done carefully and gently to ensure the longevity of your turntable and the preservation of your records. By following these simple steps, you can continue to explore the world of vinyl records with ease and keep your audio setup in excellent condition.
With that, you have now successfully completed the process of using a 45 RPM adapter, from obtaining the adapter to removing it after playing your favorite 7-inch vinyl records. Enjoy your vinyl collection and the rich sound that only analog music can provide!
For more tips and information on vinyl and turntables, be sure to check out our other articles and resources.
Conclusion:
Using a 45 RPM adapter is an essential skill for any vinyl enthusiast or DJ who wants to explore the world of 7-inch singles. By following the steps outlined in this article, you can easily obtain a 45 RPM adapter, prepare your turntable, insert the adapter, play a 45 RPM record, and remove the adapter when you’re done.
Remember to handle your records and turntable with care at all times to protect them from damage and ensure optimal sound quality. Regular maintenance, including cleaning your turntable and records, will also contribute to a better listening experience and longer lifespan for your equipment.
Whether you’re a seasoned vinyl collector or just starting your vinyl journey, using a 45 RPM adapter opens up a whole new world of music and enjoyment. 7-inch singles offer a range of music genres and unique releases that deserve to be appreciated on your turntable.
So go ahead, dive into your vinyl collection, and start enjoying the rich, warm sound of your favorite 45 RPM records. With your 45 RPM adapter and properly prepared turntable, you can savor the true essence and nostalgia of analog music like never before.
Have fun exploring your 7-inch vinyl records, and happy listening!
Frequently Asked Questions about How To Use A 45 Rpm Adapter
Was this page helpful?
At Storables.com, we guarantee accurate and reliable information. Our content, validated by Expert Board Contributors, is crafted following stringent Editorial Policies. We're committed to providing you with well-researched, expert-backed insights for all your informational needs.
0 thoughts on “How To Use A 45 Rpm Adapter”