Articles
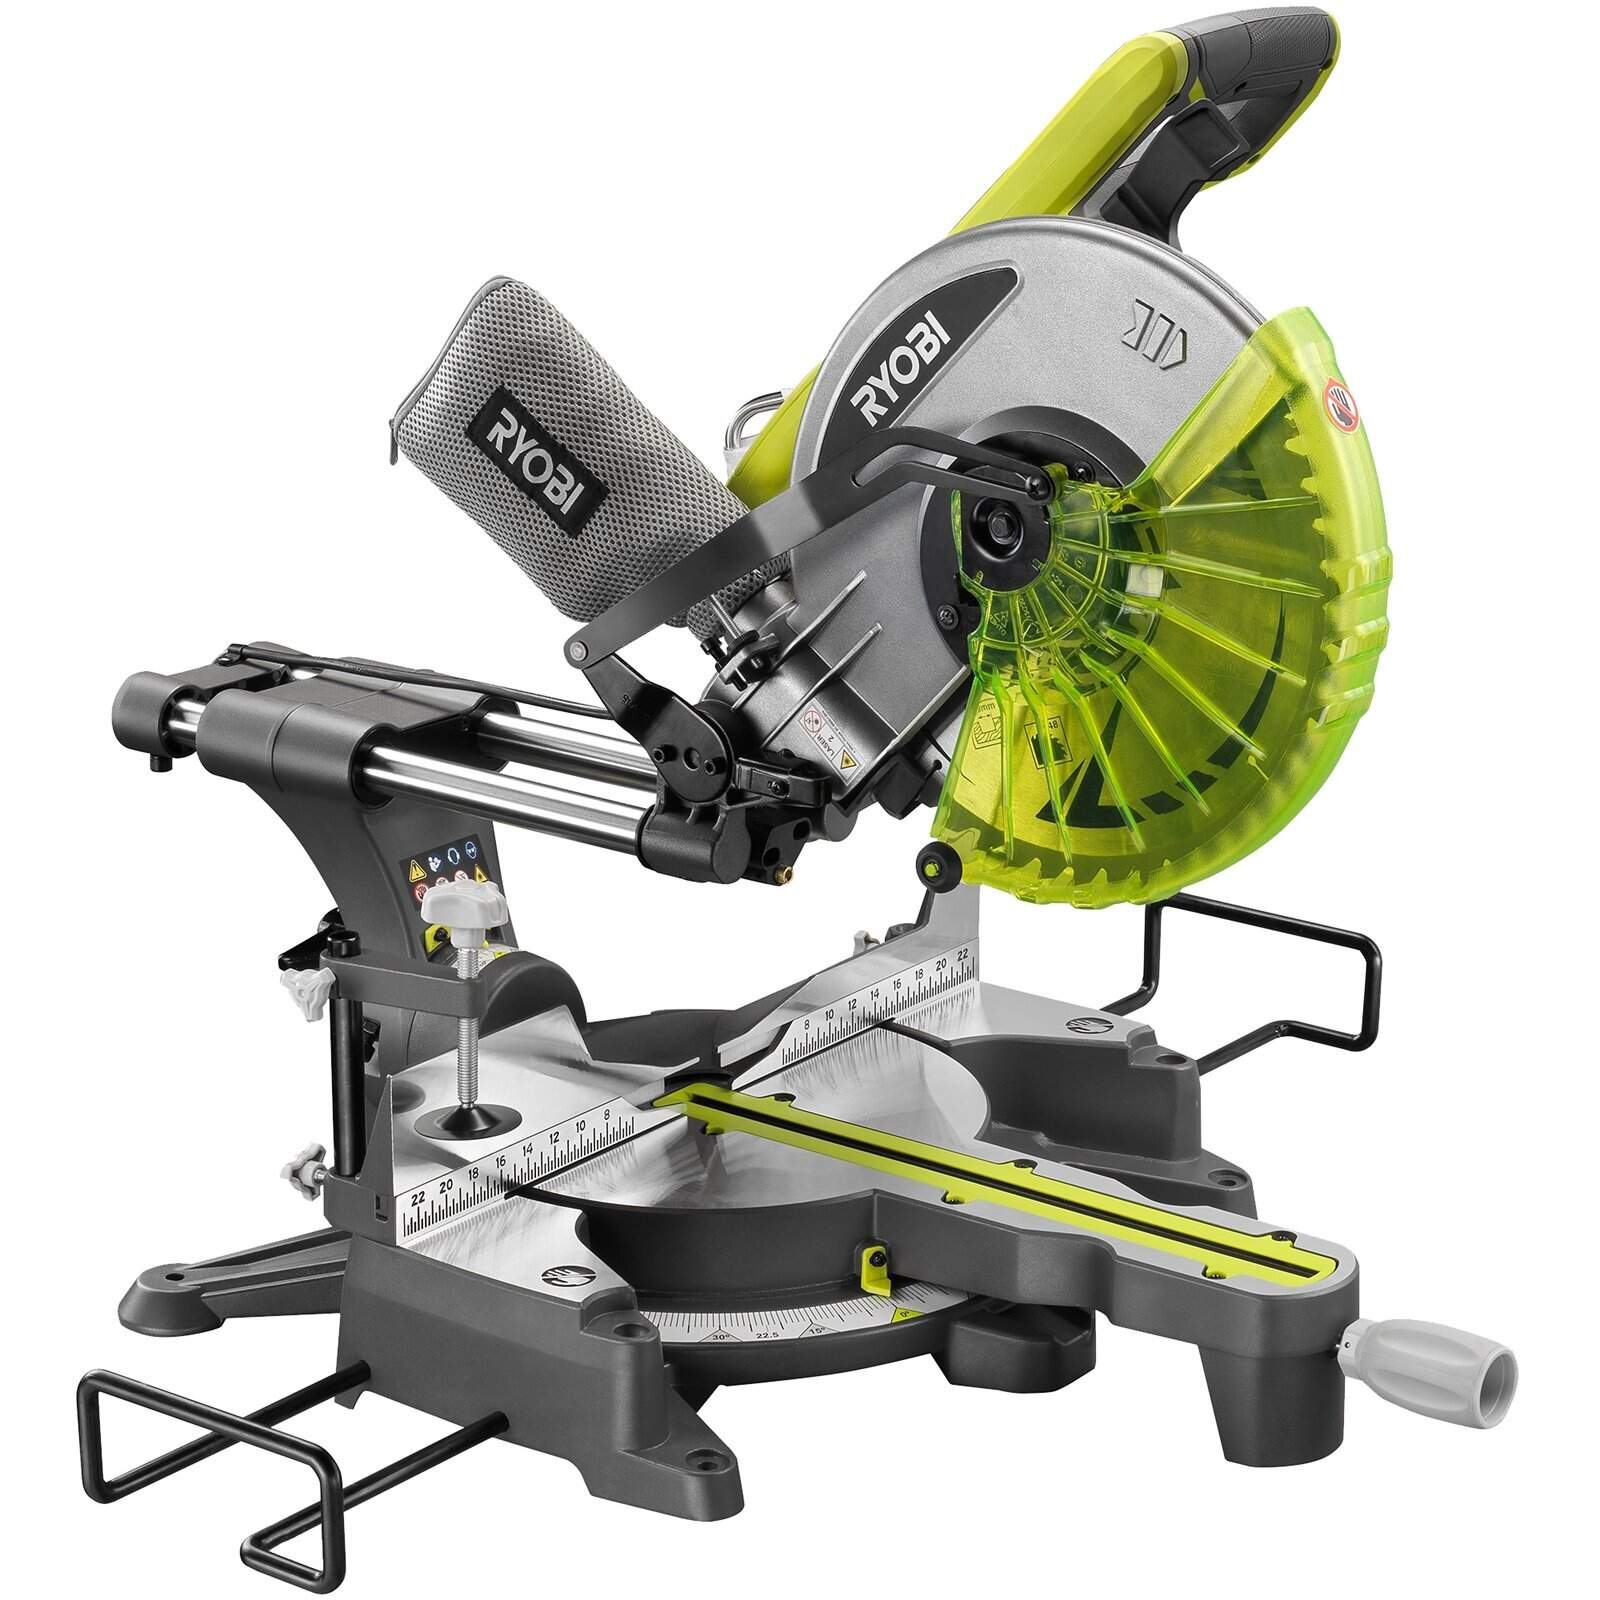
How To Unlock A Ryobi Miter Saw
Modified: December 7, 2023
Learn how to unlock a Ryobi miter saw with our informative articles. Discover step-by-step guides and expert tips to make your woodworking projects easier.
(Many of the links in this article redirect to a specific reviewed product. Your purchase of these products through affiliate links helps to generate commission for Storables.com, at no extra cost. Learn more)
Introduction
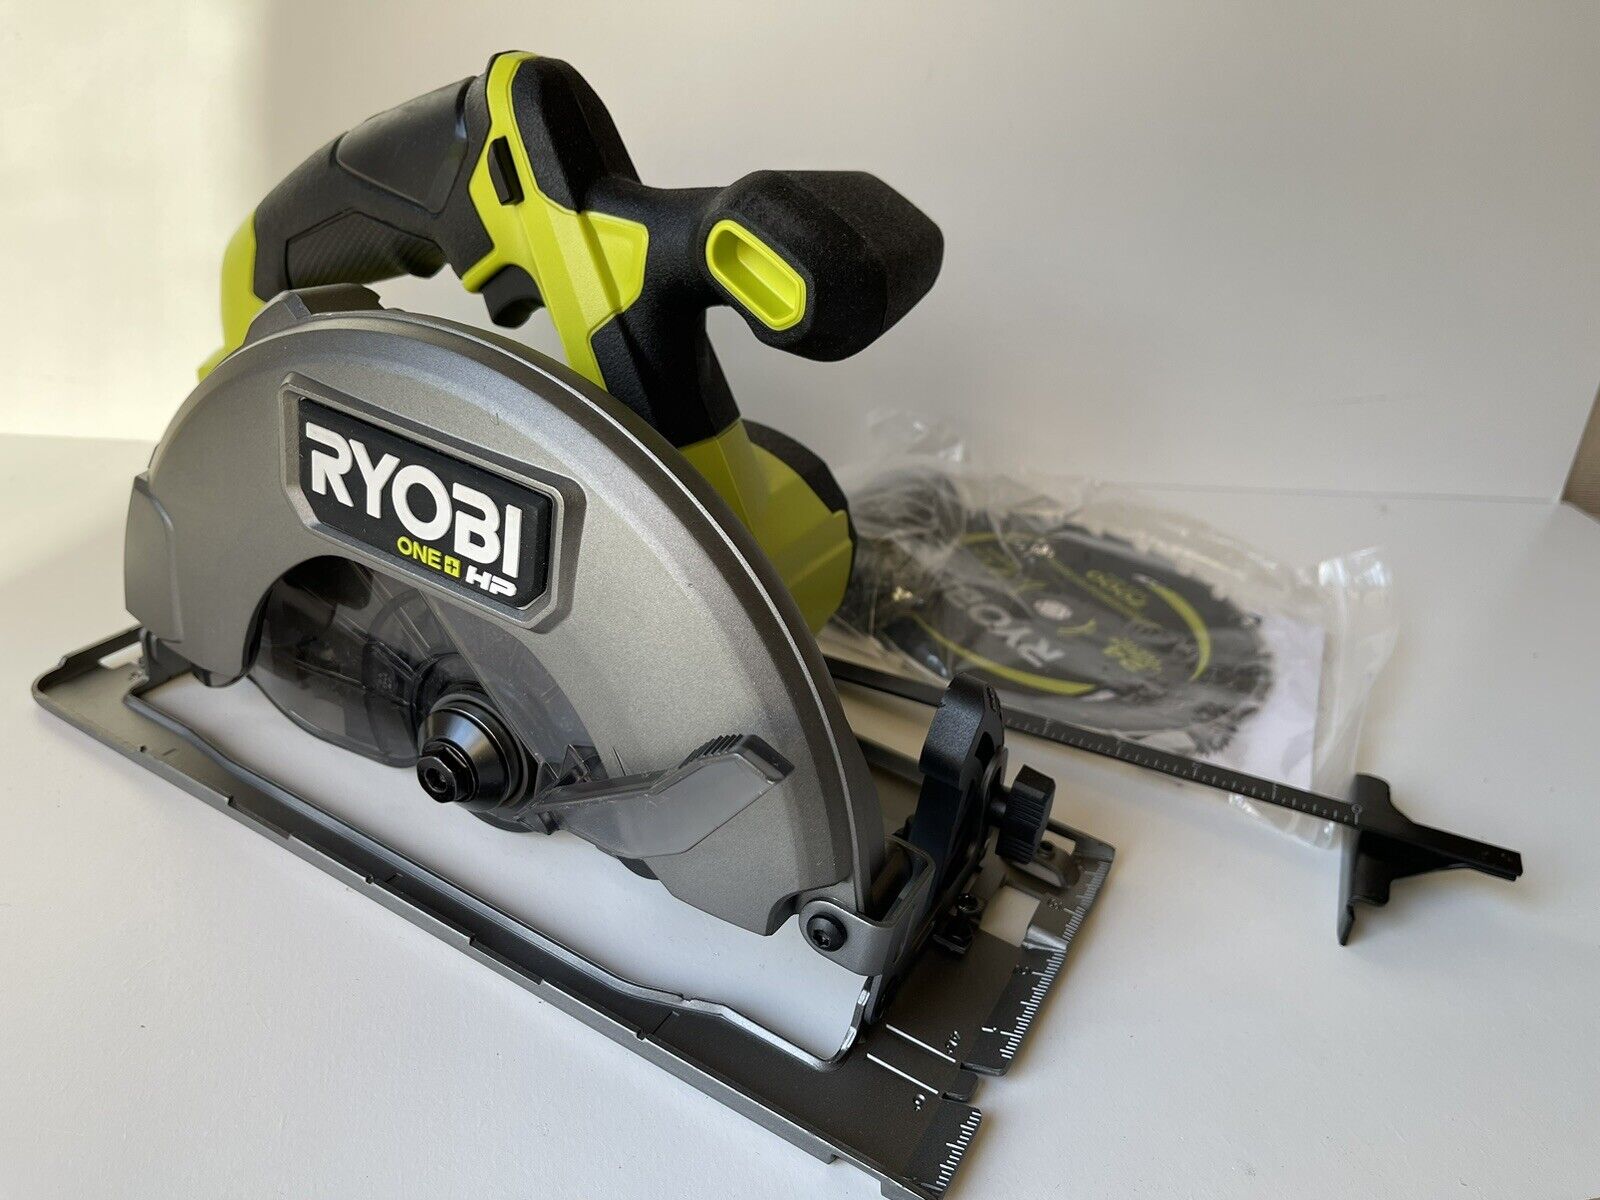
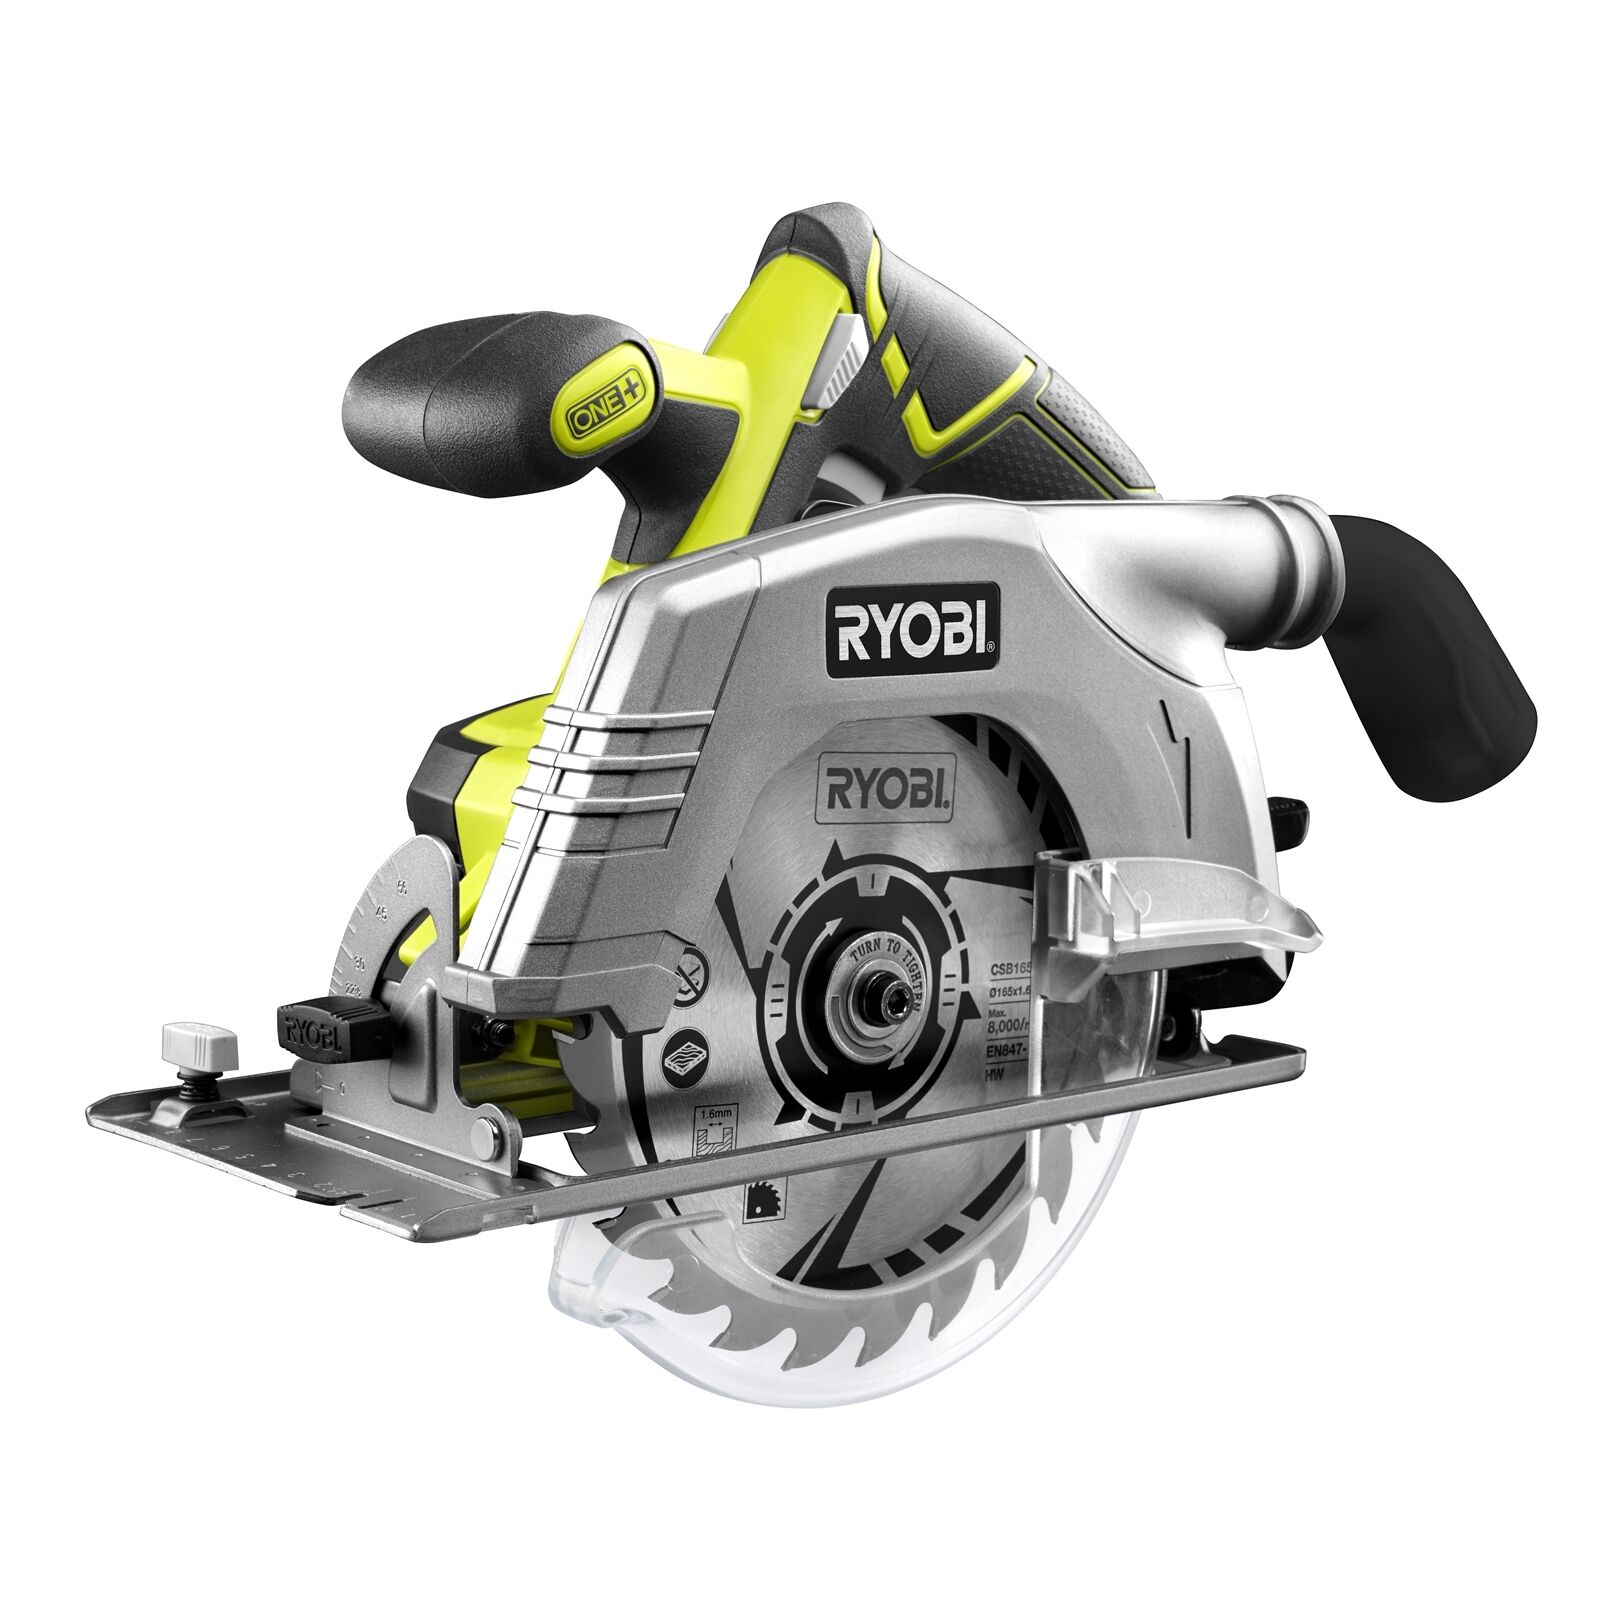
Unlocking a Ryobi miter saw is an essential skill for any DIY enthusiast or professional woodworker. Whether you need to change the blade, adjust the bevel angle, or perform maintenance on the saw, knowing how to unlock it safely is crucial.
In this comprehensive guide, we will walk you through the step-by-step process of unlocking a Ryobi miter saw. From gathering the necessary materials to reassembling the saw, we will cover everything you need to know to unlock your saw effectively.
Before we begin, it’s important to note that safety should always be your top priority. Take the necessary precautions, such as wearing protective gear and working in a well-ventilated area. Now, let’s get started on unlocking your Ryobi miter saw!
Key Takeaways:
- Prioritize safety by gathering materials, ensuring a safe work area, and examining the saw before unlocking your Ryobi miter saw. This empowers you to unlock the saw confidently and prevent accidents.
- Unlocking your Ryobi miter saw involves locating and disengaging the blade lock, testing the blade’s functionality, and reassembling the saw. Mastering this skill enhances your woodworking capabilities and promotes efficient maintenance.
Read more: How To Adjust Ryobi Miter Saw
Step 1: Gather Materials
Before unlocking your Ryobi miter saw, it’s important to gather all the necessary materials. This will ensure a smooth and efficient process. Here’s what you’ll need:
- Protective gloves
- Safety glasses
- Hex key set
- Clean cloth or rag
The protective gloves will help keep your hands safe from any sharp edges or debris, while safety glasses will protect your eyes from sawdust or flying particles.
The hex key set is essential for unlocking the blade, as most Ryobi miter saws come with a blade lock that can be disengaged using a hex key.
Lastly, a clean cloth or rag will come in handy for wiping away any dust or debris that may have accumulated on the saw.
Once you have gathered these materials, you’re ready to move on to the next step and ensure the safety of your work area.
Step 2: Ensure Safety
Prioritizing safety is crucial when working with power tools like a Ryobi miter saw. Here are some important safety precautions you should take before unlocking the saw:
- Wear appropriate safety gear: Put on safety glasses to protect your eyes from debris and gloves to shield your hands from potential injuries.
- Inspect the work area: Ensure that your work area is clean and well-lit. Remove any clutter or obstacles that may hinder your movement.
- Disconnect the power: Unplug the saw from the power source or turn off the power switch to prevent accidental starting while working on it.
- Allow the saw to cool down: If the saw has been in use, give it enough time to cool down before attempting to unlock it. This will prevent accidental burns.
By following these safety measures, you can significantly reduce the risk of accidents or injuries while working on your Ryobi miter saw. Once you have ensured a safe working environment, you can proceed to the next step of examining the saw.
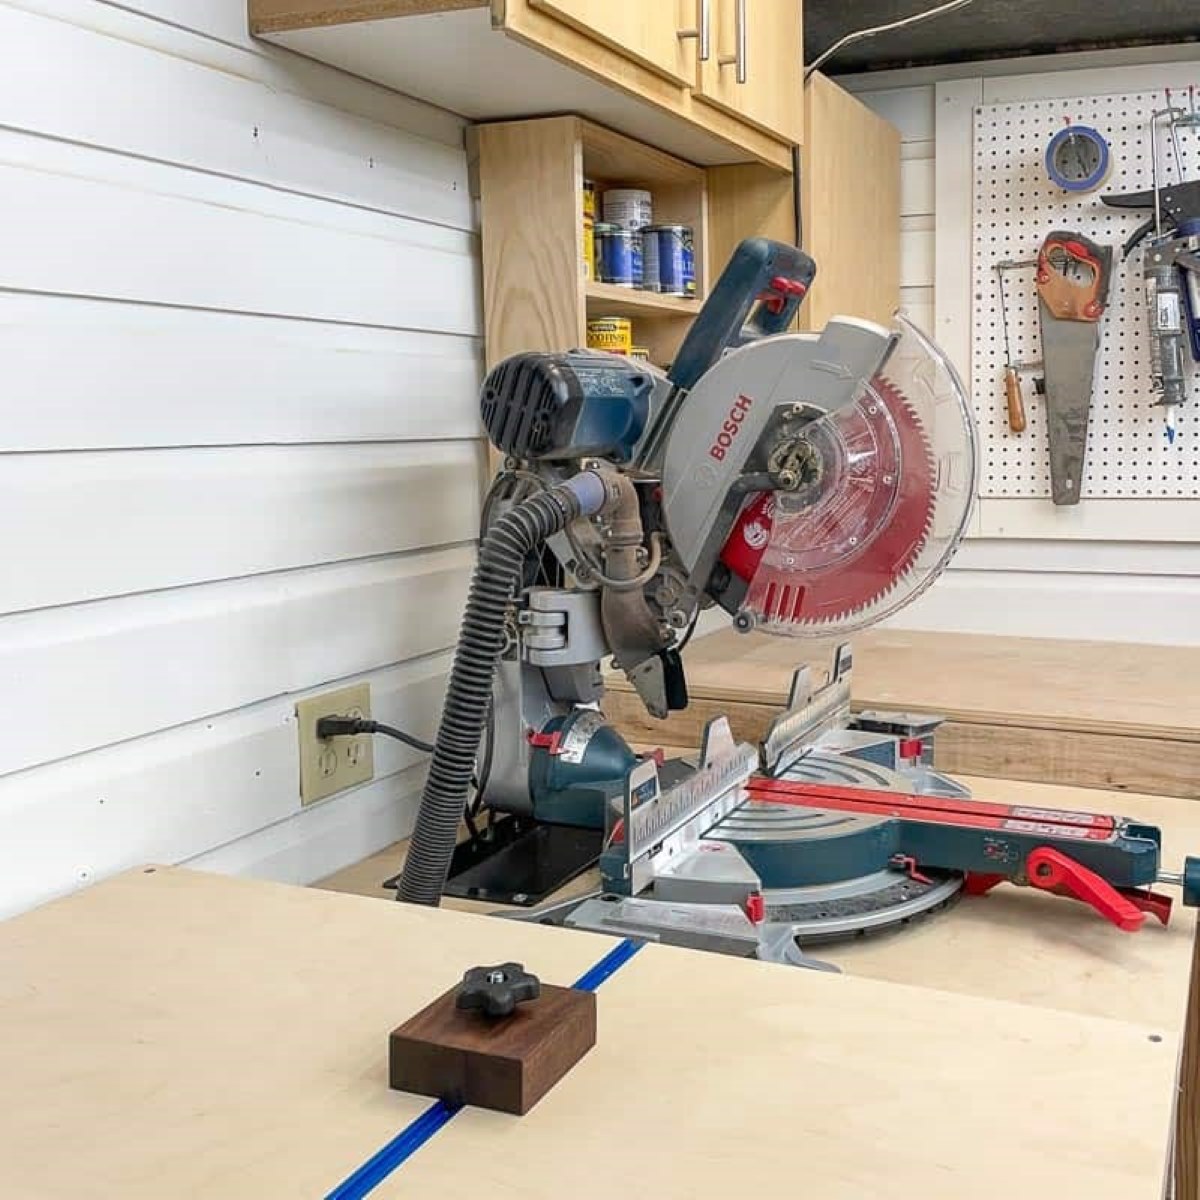
Step 3: Examine the Saw
Before unlocking your Ryobi miter saw, it’s important to carefully examine the saw and familiarize yourself with its components. This will help you locate the blade lock and unlock it effectively. Here’s what you need to do:
- Inspect the blade guard: Take a close look at the blade guard to ensure it is in good condition and properly installed. If you notice any damage or misalignment, do not proceed with unlocking the saw. Instead, consult the user manual or seek professional assistance for repairs.
- Check the bevel adjustment: The bevel adjustment is a crucial feature of a miter saw. Make sure the bevel adjustment mechanism is not engaged before attempting to unlock the saw.
- Locate the blade lock: Take a moment to identify the blade lock mechanism on your Ryobi miter saw. It is usually located near the blade and can be engaged or disengaged to lock or unlock the blade.
By carefully examining the saw and understanding its components, you will have a better understanding of how the blade lock operates, making it easier to unlock the saw in the following steps. Once you are confident in your knowledge of the saw’s features and mechanisms, you can proceed to the next step of locating the blade lock.
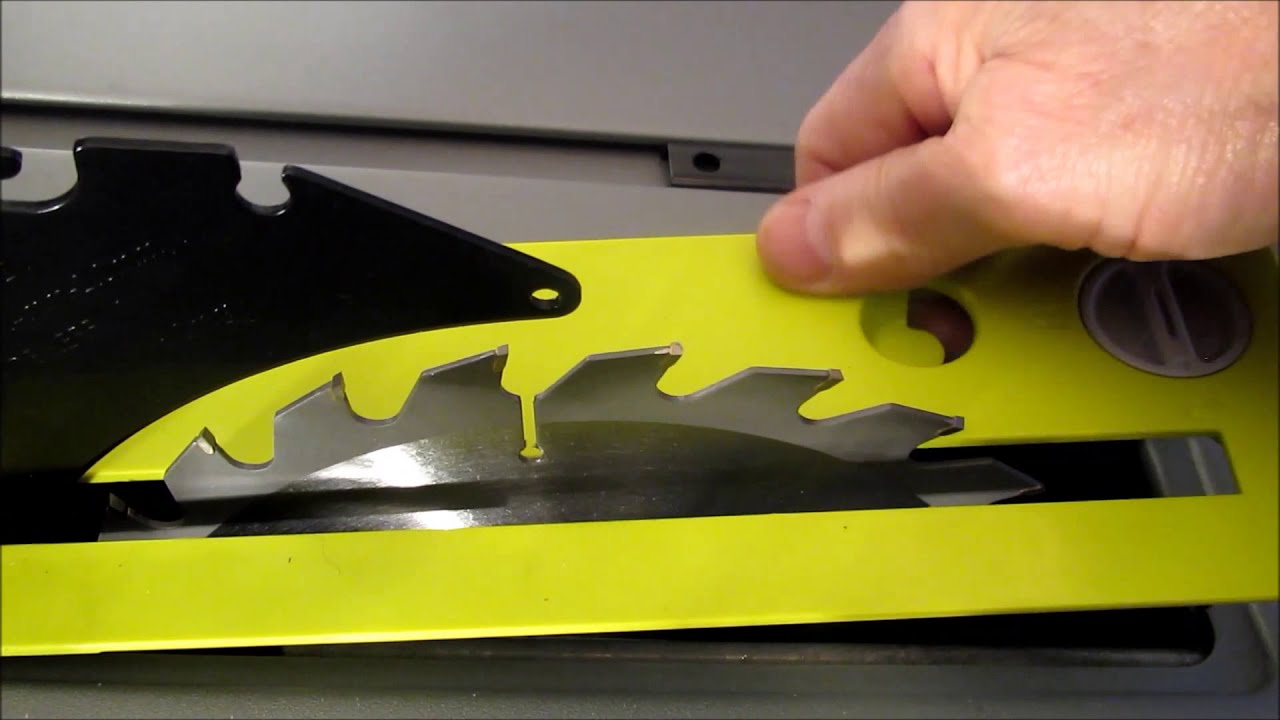
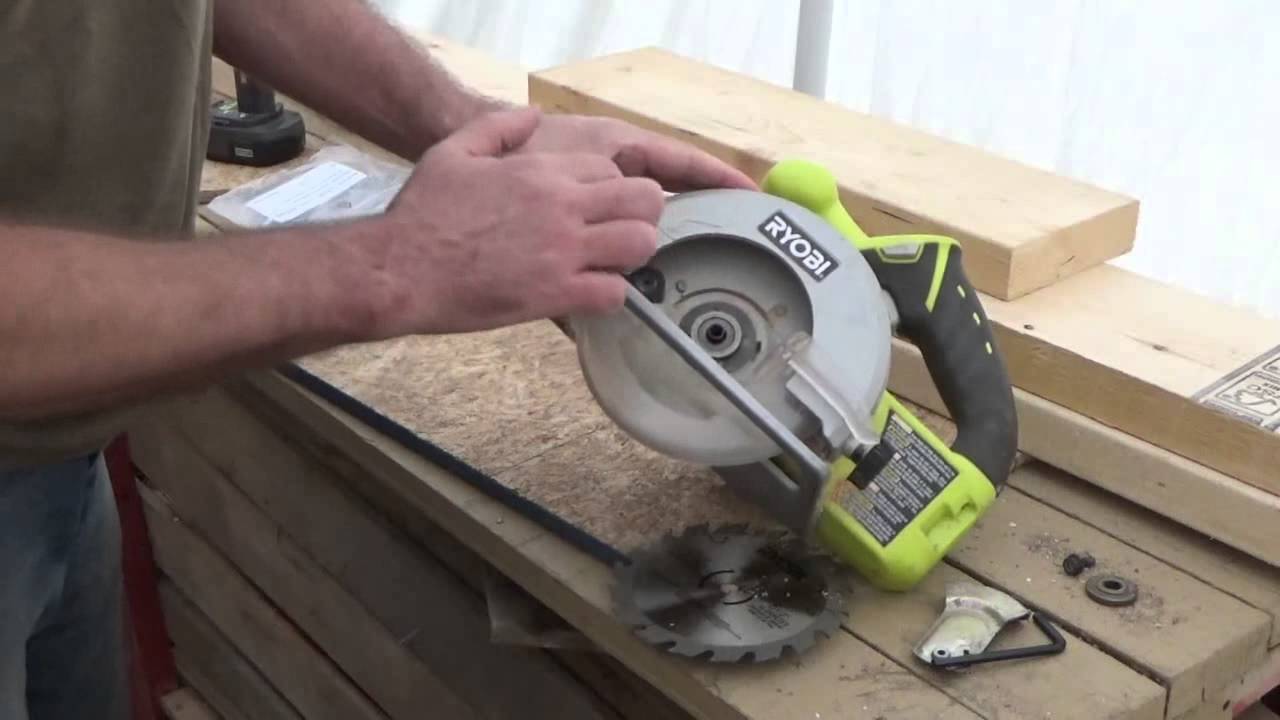
Step 4: Locate the Blade Lock
In order to unlock your Ryobi miter saw, you need to locate the blade lock mechanism. The blade lock is designed to keep the blade in place, preventing it from rotating while you work on the saw. Here’s how to locate the blade lock:
- Look for a hex bolt or screw near the blade: Most Ryobi miter saws feature a hex bolt or screw as the blade lock mechanism. It is typically located on the right side of the blade, close to the motor housing.
- Check the user manual: If you’re having trouble locating the blade lock on your specific model, refer to the user manual provided with your Ryobi miter saw. The manual will contain detailed diagrams and instructions to help you find and operate the blade lock.
Once you have located the blade lock, you’re ready to proceed to the next step of unlocking the blade. Make sure you have the necessary tools, such as a hex key, to disengage the blade lock.
Remember to exercise caution when working with the blade lock and ensure that you have a firm grip on the saw. Take your time to familiarize yourself with the location and operation of the blade lock to avoid any unnecessary accidents. Now, let’s move on to unlocking the blade in the next step.
When unlocking a Ryobi miter saw, make sure to release the locking pin or lever before attempting to adjust the angle or position of the saw blade. This will prevent any damage to the saw or potential injury.
Read more: How To Change The Blade On Ryobi Miter Saw
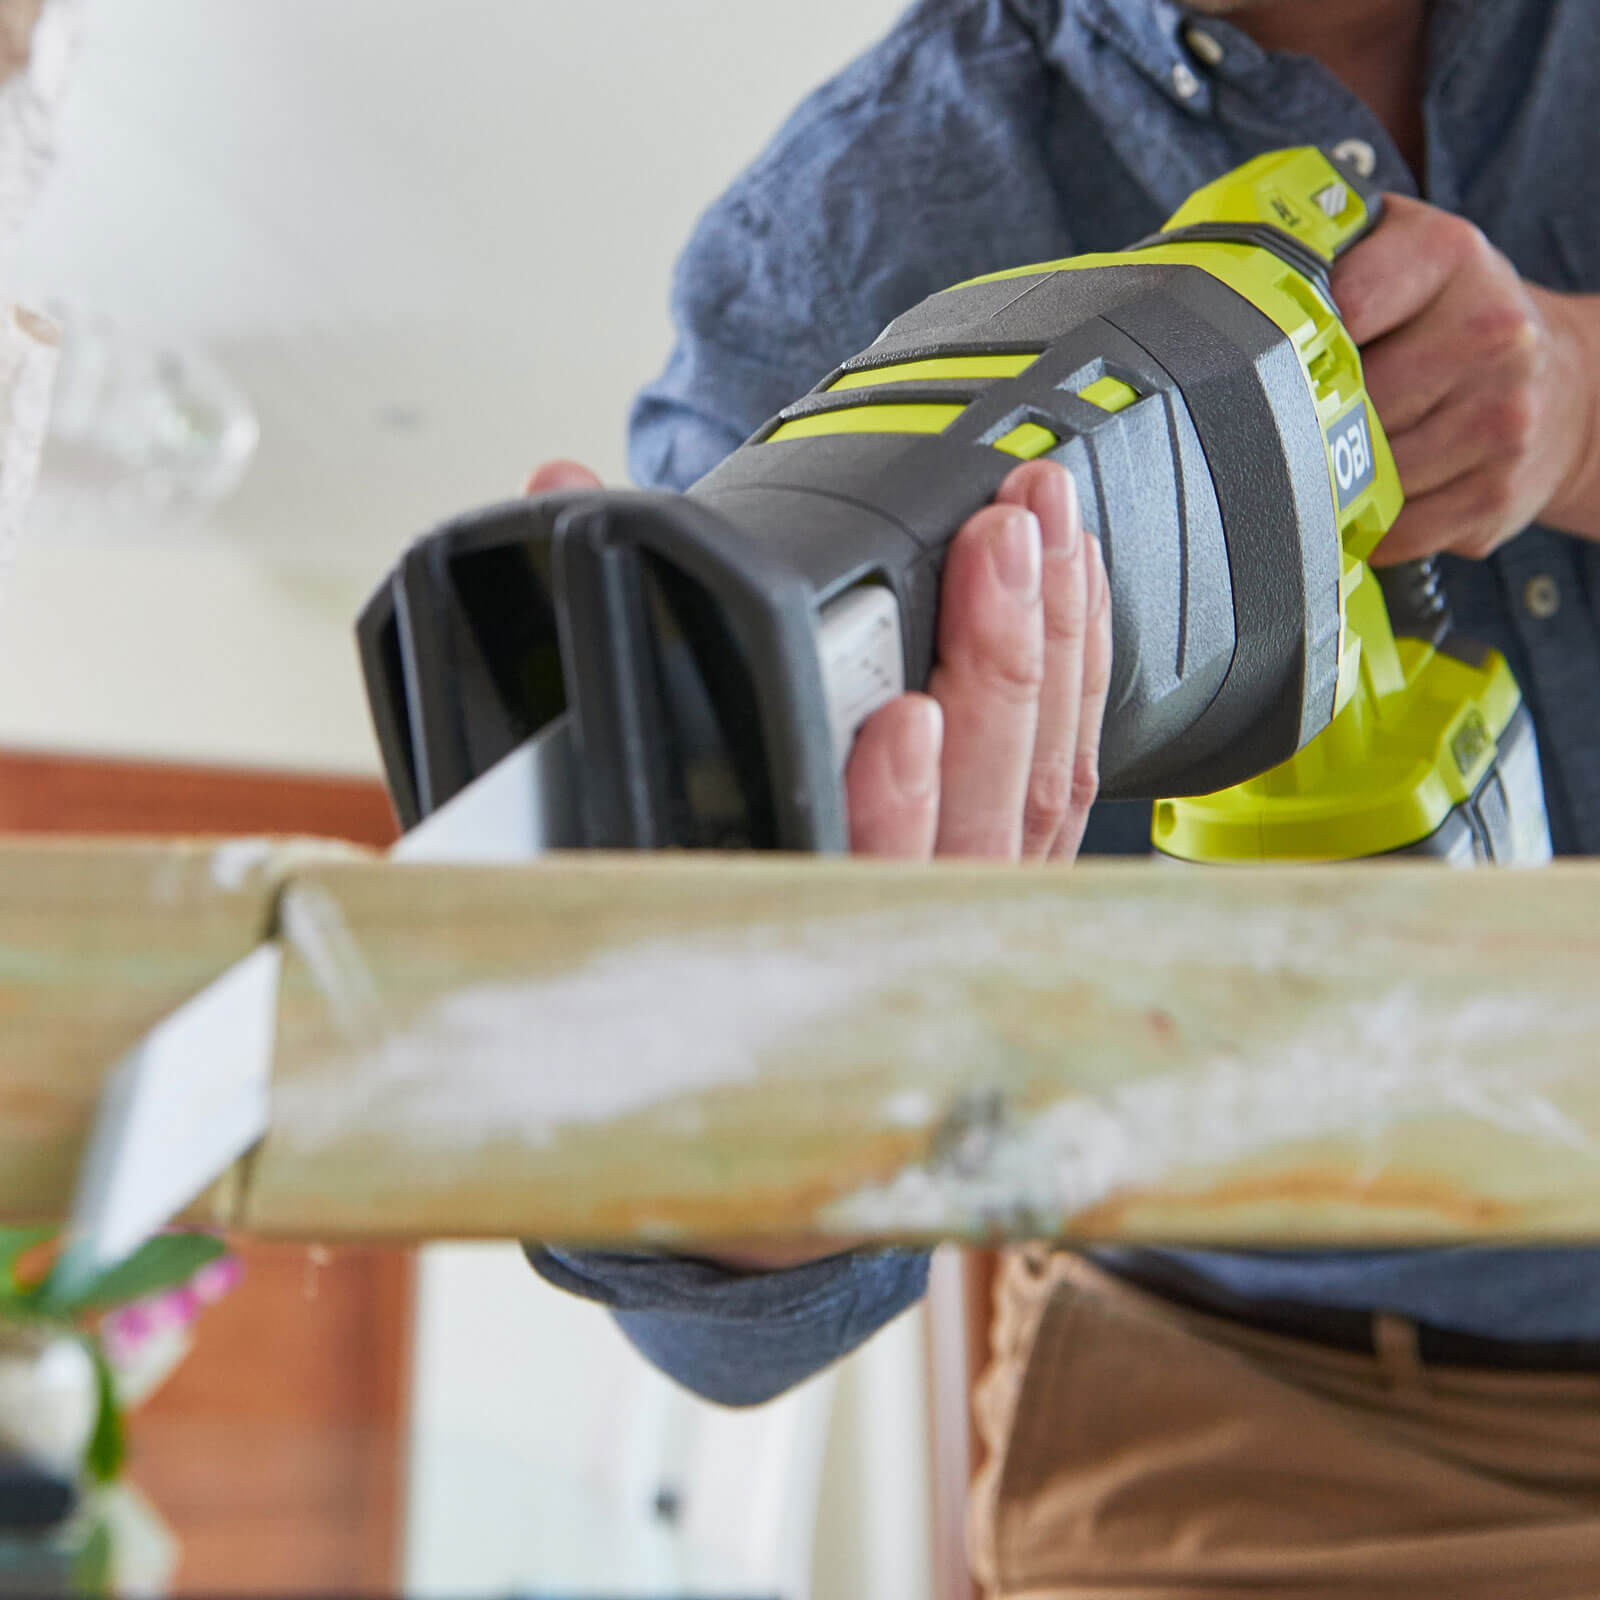
Step 5: Unlock the Blade
Now that you have located the blade lock on your Ryobi miter saw, it’s time to unlock the blade. Follow these steps to safely disengage the blade lock and unlock the saw:
- Ensure the saw is powered off and unplugged: Before proceeding with unlocking the blade, make sure the saw is completely powered off and disconnected from the power source. This will prevent any accidental activation of the saw while you work on it.
- Choose the right tool: Depending on the model of your Ryobi miter saw, you will need either a hex key or wrench to unlock the blade. Refer to the user manual for the appropriate tool size and type.
- Insert the tool into the blade lock mechanism: Carefully insert the hex key or wrench into the blade lock mechanism. This mechanism is designed to hold the blade in place and prevent it from spinning.
- Turn the tool counterclockwise: Apply slight pressure and turn the tool counterclockwise to disengage the blade lock. You may need to exert some force, but be careful not to overtighten or strip the mechanism. The blade lock should release, allowing the blade to rotate freely.
Remember to proceed with caution and take your time when turning the tool counterclockwise. If you encounter any difficulties or resistance, stop and double-check that the blade lock is properly disengaged before proceeding.
Once you have successfully unlocked the blade, you can move on to the next step of testing the blade to ensure proper functionality.
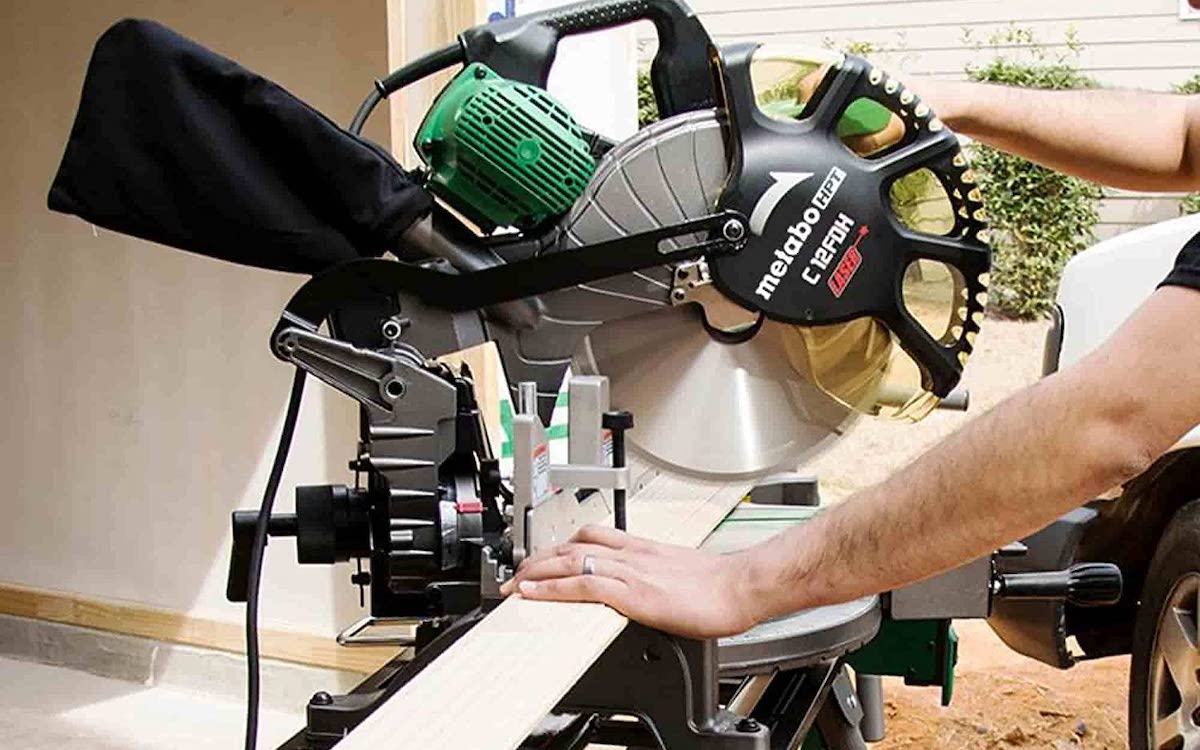
Step 6: Test the Blade
After unlocking the blade of your Ryobi miter saw, it’s important to test it to ensure that it is rotating smoothly and functioning properly. Follow these steps to test the blade:
- Reconnect the power: Plug the saw back into the power source or turn on the power switch to restore power to the saw.
- Double-check the blade lock: Before testing the blade, make sure that the blade lock is completely disengaged. This will allow the blade to rotate freely.
- Turn on the saw: Press the power button or switch on the saw to start the motor. The blade should begin rotating smoothly.
- Listen for any unusual sounds: As the blade rotates, listen for any strange or unusual sounds. If you hear any grinding, rattling, or scraping noises, turn off the saw immediately and inspect the blade and its housing for any obstructions or damage.
- Observe the blade rotation: Watch the blade as it rotates to ensure that it is spinning evenly and without any wobbling or vibrations. A properly functioning blade should rotate smoothly and without any issues.
If you notice any abnormalities or concerns during the blade test, it is recommended to stop using the saw and seek professional assistance. Continuing to use a faulty or damaged blade can result in accidents or poor cutting results.
If the blade passes the test and is functioning properly, you can move on to the final step of reassembling the saw.
Step 7: Reassemble the Saw
After testing the blade and ensuring its proper functionality, it’s time to reassemble your Ryobi miter saw. Follow these steps to safely and correctly reassemble the saw:
- Turn off the saw: Ensure that the saw is powered off and disconnected from the power source before proceeding with reassembling.
- Secure the blade: If you had removed the blade for any reason, now is the time to secure it back in place. Follow the manufacturer’s instructions for correctly installing and tightening the blade. Use the appropriate tool, such as a wrench or socket, to secure the blade.
- Inspect the blade guard: Double-check that the blade guard is properly aligned and seated. It should move freely and cover the blade fully when the saw is not in use.
- Tighten any loose components: During the unlocking process, some screws or bolts may have become loose. Use a suitable tool, such as a screwdriver or wrench, to tighten any loose components on the saw.
- Wipe down the saw: Use a clean cloth or rag to wipe down the saw and remove any dust, debris, or fingerprints that may have accumulated during the unlocking process.
Once you have reassembled the saw and ensured that all components are secure and properly aligned, you can safely store or continue using your Ryobi miter saw for your woodworking projects.
Congratulations! You have successfully learned how to unlock a Ryobi miter saw. By following these steps and prioritizing safety, you can confidently unlock your saw whenever needed, allowing for easy blade changes, adjustments, and maintenance.
Remember to always refer to the user manual provided by Ryobi for specific instructions and guidelines pertaining to your specific model of miter saw.
Conclusion
Unlocking a Ryobi miter saw is a skill that every DIY enthusiast and professional woodworker should master. By following the step-by-step process outlined in this guide, you can safely and effectively unlock your Ryobi miter saw for various purposes, such as changing the blade, adjusting the bevel angle, or performing maintenance tasks.
Throughout the unlocking process, it is crucial to prioritize safety. Always wear appropriate safety gear, inspect the saw and work area, and ensure the saw is powered off and unplugged before attempting to unlock it. Taking these precautions can help prevent accidents and injuries.
By gathering the necessary materials and familiarizing yourself with the saw’s components, including the location of the blade lock, you can confidently proceed with unlocking the saw. Remember to use the appropriate tools, such as a hex key or wrench, to disengage the blade lock while applying the necessary force.
After unlocking the blade, it’s important to test its functionality by reconnecting the power, listening for any unusual sounds, and observing the blade’s rotation. Any abnormalities should be addressed before proceeding.
Finally, reassembling the saw involves securing the blade, inspecting the blade guard, tightening any loose components, and cleaning the saw. By following these steps, you can ensure that the saw is ready for use or storage.
Unlocking your Ryobi miter saw is an essential skill that empowers you to make necessary adjustments and perform routine maintenance. By mastering this skill, you can enhance your woodworking capabilities and achieve precise and accurate cuts with ease.
Remember to consult the user manual provided by Ryobi for model-specific instructions and guidelines. With practice and continued attention to safety, unlocking your Ryobi miter saw will become second nature, allowing you to focus on your woodworking projects with confidence and efficiency.
Frequently Asked Questions about How To Unlock A Ryobi Miter Saw
Was this page helpful?
At Storables.com, we guarantee accurate and reliable information. Our content, validated by Expert Board Contributors, is crafted following stringent Editorial Policies. We're committed to providing you with well-researched, expert-backed insights for all your informational needs.


0 thoughts on “How To Unlock A Ryobi Miter Saw”