Home>Articles>How To Replace Fuse On Maytag Stacked Washer Dryer
Articles
How To Replace Fuse On Maytag Stacked Washer Dryer
Modified: August 30, 2024
Learn how to replace a fuse on your Maytag stacked washer dryer with this helpful article. Step-by-step instructions and tips included!
(Many of the links in this article redirect to a specific reviewed product. Your purchase of these products through affiliate links helps to generate commission for Storables.com, at no extra cost. Learn more)
Introduction
Welcome to this guide on how to replace the fuse on your Maytag stacked washer dryer. If you’re experiencing issues with your appliances, such as them not turning on or the dryer not producing heat, a faulty fuse could be the culprit. Understanding how to identify and replace a blown fuse can save you time and money by avoiding unnecessary repairs or service calls.
Before we begin, it’s important to prioritize safety. Always remember to unplug your washer and dryer before attempting any repairs or maintenance. Additionally, be cautious when working with electrical components and follow the guidelines provided by the manufacturer.
In this article, you’ll find a step-by-step guide on how to replace the fuse in your Maytag stacked washer dryer. By following these instructions carefully, you’ll be able to restore the functionality of your appliances and extend their lifespan.
So, let’s get started!
Key Takeaways:
- Replacing the fuse on your Maytag stacked washer dryer is a straightforward DIY solution that can save you time and money on unnecessary repairs. Prioritize safety, gather the right tools, and follow the step-by-step guide for a successful repair.
- Regular maintenance and prompt resolution of electrical issues can extend the lifespan of your appliances. By confidently replacing the fuse and testing the washer and dryer, you can enjoy the convenience of clean and dry laundry for years to come.
Step 1: Gather necessary tools and equipment
Before you begin the process of replacing the fuse on your Maytag stacked washer dryer, you’ll need to gather a few essential tools and equipment. Having these items ready will ensure a smooth and efficient repair process. Here’s what you’ll need:
- Screwdriver (Phillips or flathead, depending on your specific model)
- Replacement fuse (make sure to check the specifications for the correct fuse type and rating)
- Flashlight (optional, but can be helpful for better visibility)
If you are unsure of the type or rating of the replacement fuse needed for your washer dryer, refer to the manufacturer’s documentation or consult the user manual. It’s crucial to use the correct fuse to prevent further damage to your appliances.
Once you have gathered all the necessary tools and equipment, you’re ready to move on to the next step: unplugging the washer and dryer.
Step 2: Unplug the washer and dryer
Prior to any repair or maintenance work, it’s crucial to unplug your Maytag stacked washer dryer from the power source. This step ensures your safety and prevents any potential electrocution or damage to the appliances.
Locate the power cord at the back of the unit and gently pull it out from the electrical outlet. Double-check that there is no power running to the washer and dryer by attempting to turn them on. If the appliances remain unresponsive, you can proceed to the next step with peace of mind.
Remember, safety should always be your top priority when dealing with electrical appliances. By disconnecting the power supply, you minimize the risk of accidents and ensure a safe working environment.
Once you have successfully unplugged the washer and dryer, it’s time to move on to the next step, where we will locate the fuse panel.
Step 3: Locate the fuse panel
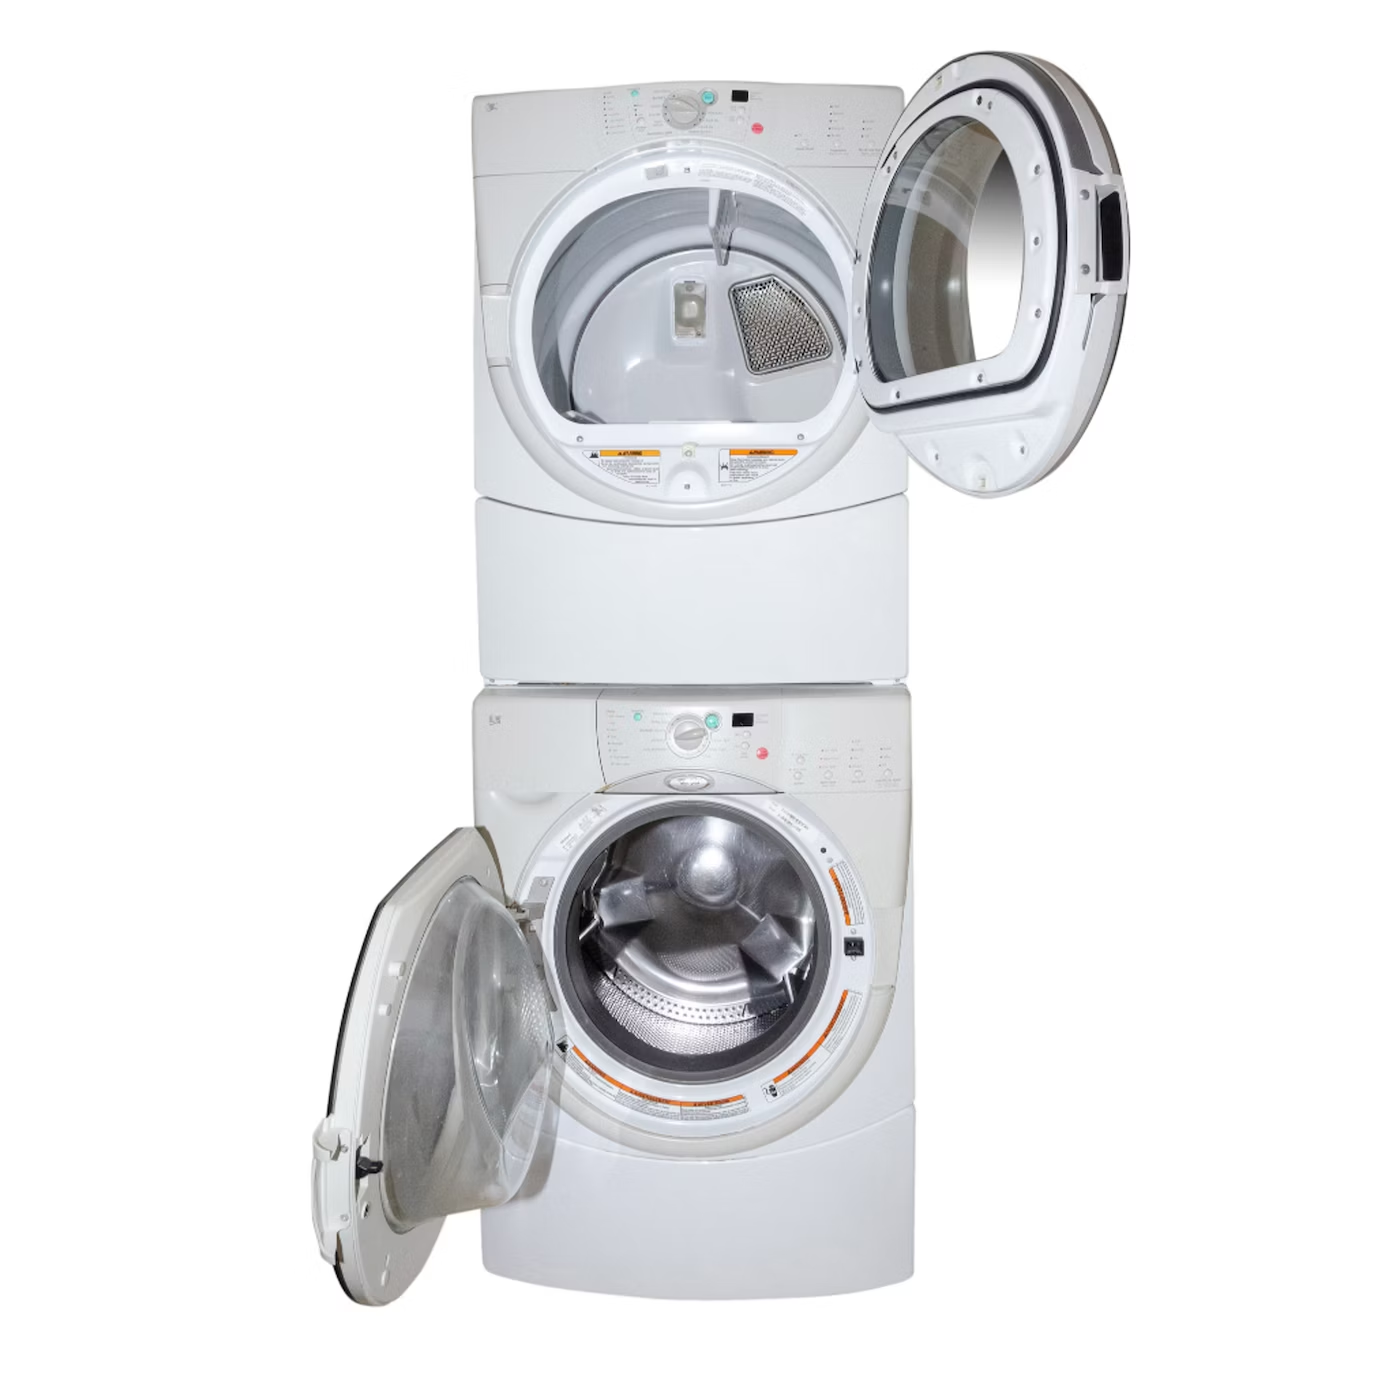
The next step in replacing the fuse on your Maytag stacked washer dryer is to locate the fuse panel. The fuse panel is where the fuses are housed and is usually located behind a cover on the back of the appliance.
To find the fuse panel, carefully move the washer dryer away from the wall to gain access to the back. It’s recommended to have someone assist you to ensure a safe and easy movement of the appliance.
Once you have a clear view of the back, look for a rectangular or square-shaped panel that is secured with screws. This panel covers the fuse compartment, and it may have the word “Fuse” or “Fuses” labeled on it for easy identification.
If you’re having trouble locating the fuse panel, consult the user manual or reference the manufacturer’s documentation. Each model may have a slightly different configuration, so it’s essential to follow the specific instructions for your Maytag stacked washer dryer.
Once you have located the fuse panel, it’s time to move on to the next step, where we will remove the fuse panel cover.
Step 4: Remove the fuse panel cover
With the fuse panel located, it’s time to remove the cover to gain access to the fuses. The cover is typically secured in place with screws, so you’ll need a screwdriver to remove them.
Take your screwdriver and carefully loosen and remove the screws that hold the fuse panel cover in place. Place the screws in a safe spot so you don’t misplace them during the repair process.
Once all the screws have been removed, gently lift off the fuse panel cover. Be cautious not to force it or apply excessive pressure to prevent any damage to the cover or surrounding components.
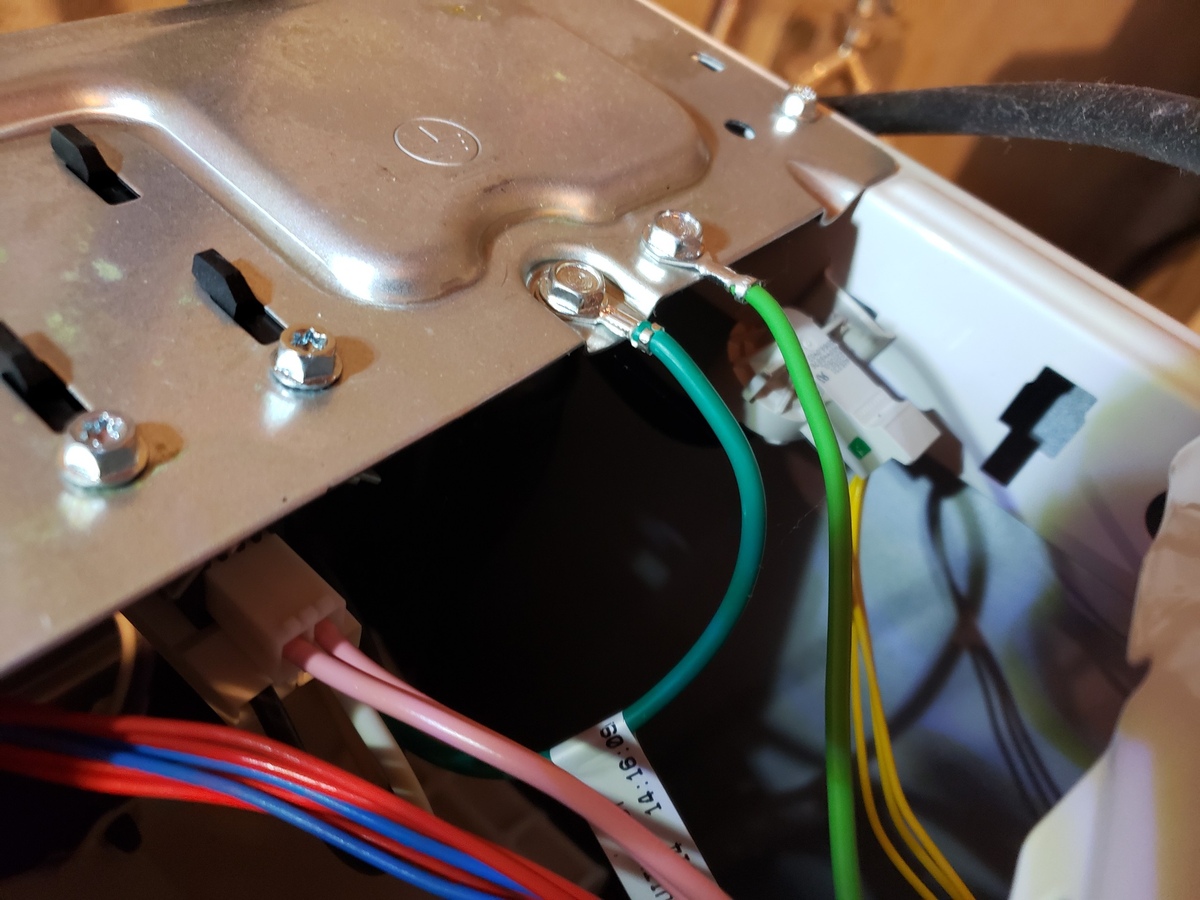
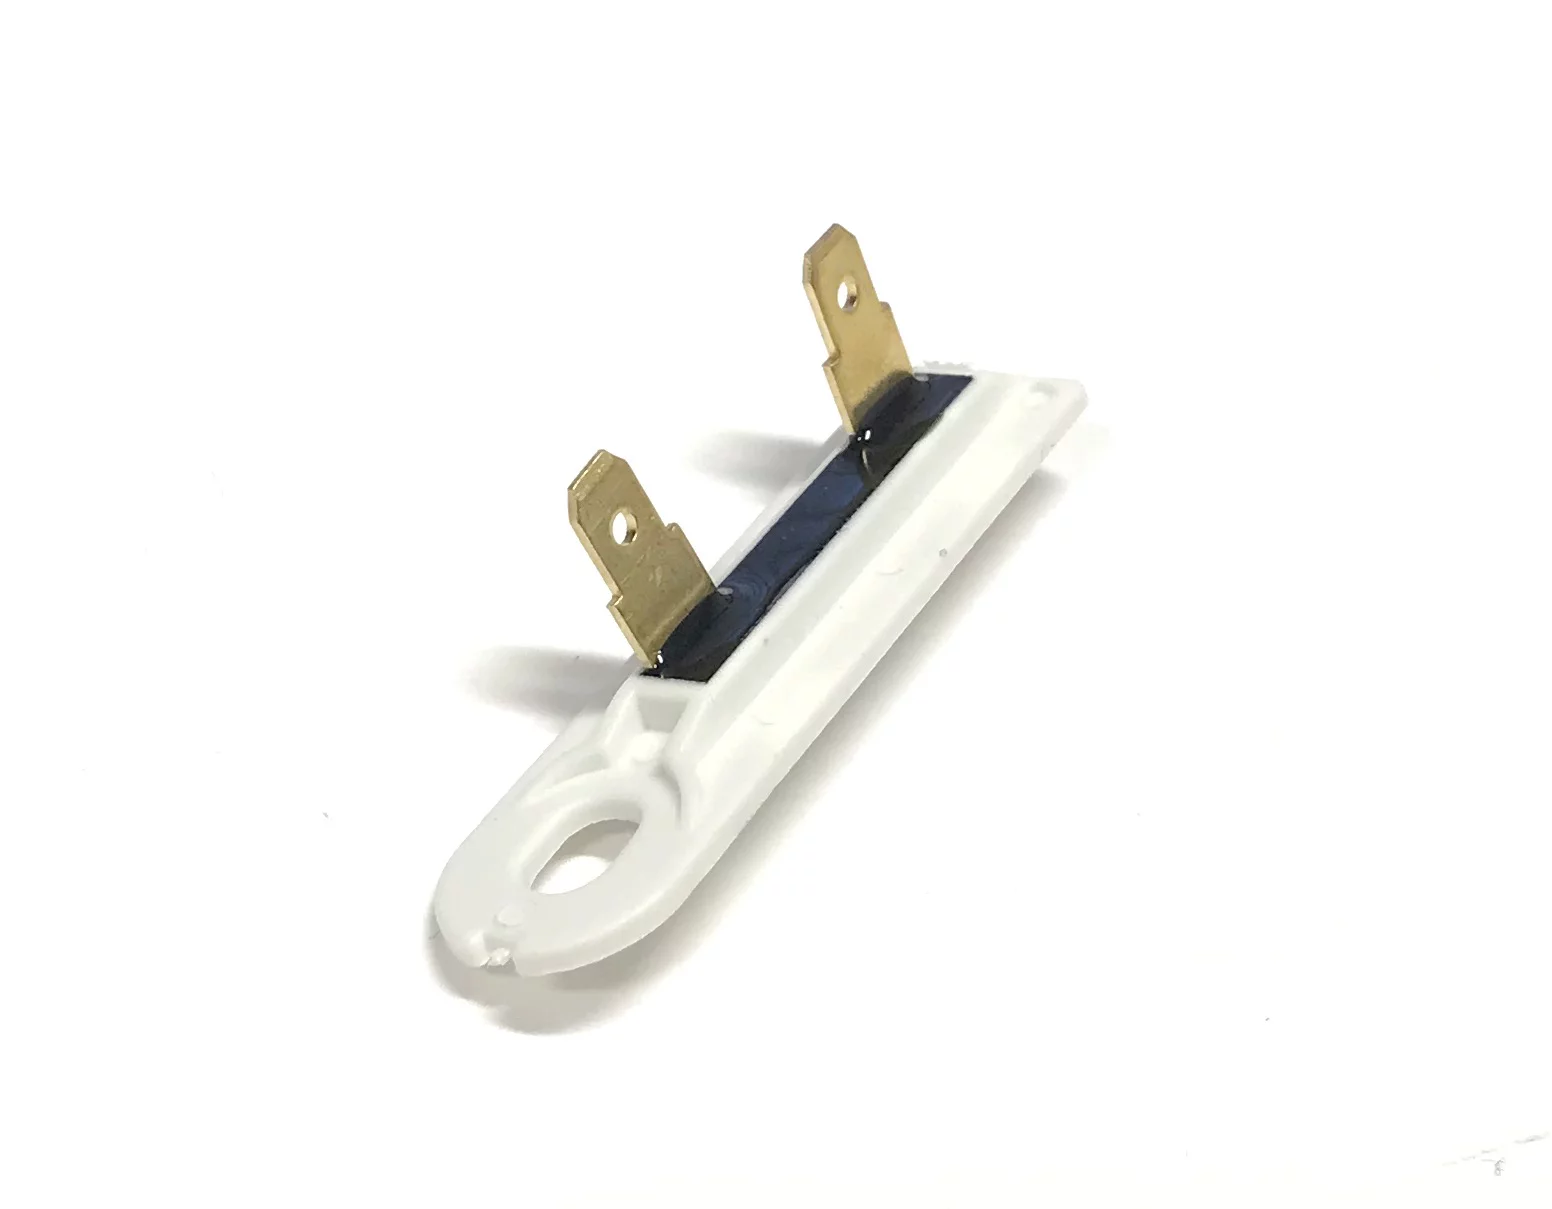
Upon removing the fuse panel cover, you’ll now have a clear view of the fuses. Take a moment to inspect the fuses for any signs of damage, such as discoloration or a broken filament. If a fuse appears to be blown, it’s essential to replace it with a new one of the same rating.
Now that the fuse panel cover has been removed and the fuses are visible, it’s time to move on to the next step: identifying the faulty fuse.
Read more: How To Remove A Stacked Washer And Dryer
Step 5: Identify the faulty fuse
Now that you have access to the fuses, it’s time to identify which one is faulty and needs to be replaced. A blown fuse will typically have a broken filament or appear dark or discolored compared to the other fuses.
Using a flashlight can help you get a better view of the fuses if the lighting is dim. Take a close look at each fuse and compare their appearances. If one fuse stands out as damaged or different from the others, it is likely the faulty one.
It’s worth noting that not all fuse panels may have individual indicators for each fuse. In such cases, you may need to refer to the user manual or research online for the specific fuse that controls the functionality that is giving you trouble.
If you’re unsure which fuse is the culprit, you can also consider testing the fuses with a multimeter to check for continuity. This will help you determine if a fuse is faulty or not. However, if a fuse appears visibly blown or damaged, it’s best to proceed with the assumption that it needs to be replaced.
Once you have identified the faulty fuse, you’re ready to move on to the next step: replacing the fuse.
When replacing the fuse on a Maytag stacked washer dryer, always make sure to unplug the unit and use the appropriate replacement fuse with the correct amperage to avoid any electrical issues.
Step 6: Replace the fuse
Now that you have identified the faulty fuse, it’s time to replace it with a new one. Make sure you have a replacement fuse of the same rating and type as the one you are removing.
Take hold of the faulty fuse and gently pull it out of its socket. Be careful not to apply too much force or twist the fuse, as this can cause damage to the fuse socket. Dispose of the blown fuse properly.
Next, take the new fuse and align it with the empty socket. Insert it firmly but gently, ensuring a secure connection. The fuse should fit snugly into place without any wobbling or loose contacts.
Double-check that the replacement fuse matches the specifications of the original fuse, such as the amperage and voltage ratings. Using a fuse with incorrect specifications can result in further electrical issues or damage to your appliances.
Once the new fuse is properly inserted, you have successfully replaced the faulty fuse. Now, move on to the next step to reassemble the fuse panel cover.
Step 7: Reassemble the fuse panel
With the new fuse in place, it’s time to reassemble the fuse panel and secure it back onto your Maytag stacked washer dryer.
Take the fuse panel cover and align it with the fuse panel. Carefully place it over the fuses, ensuring that it lines up with the screw holes on the appliance’s back.
Once the panel cover is properly aligned, take the screws that you set aside earlier and use your screwdriver to secure them back into place. Tighten the screws firmly, but be cautious not to over-tighten or strip the screw threads.
As you secure the fuse panel cover, double-check that it is flush with the appliance’s back and there are no gaps or loose areas. This ensures a proper seal and protection for the fuses.
Once you have successfully reassembled the fuse panel cover and tightened the screws, you’ve completed the process of replacing the fuse on your Maytag stacked washer dryer. Now, it’s time to move on to the next step: plugging in the washer and dryer.
Step 8: Plug in the washer and dryer
Now that you have completed the fuse replacement and reassembled the fuse panel, it’s time to plug in your Maytag stacked washer and dryer. This step will restore power to your appliances and allow you to test their functionality.
Take the power cord of the washer and dryer and insert it into a nearby electrical outlet. Ensure that the plug is firmly inserted and make sure there are no loose connections or exposed wires.
Once the washer and dryer are plugged in, you should see power indicators or lights turn on, indicating that the appliances are receiving electricity. This signifies that the fuse replacement was successful and that the appliances are ready to be tested.
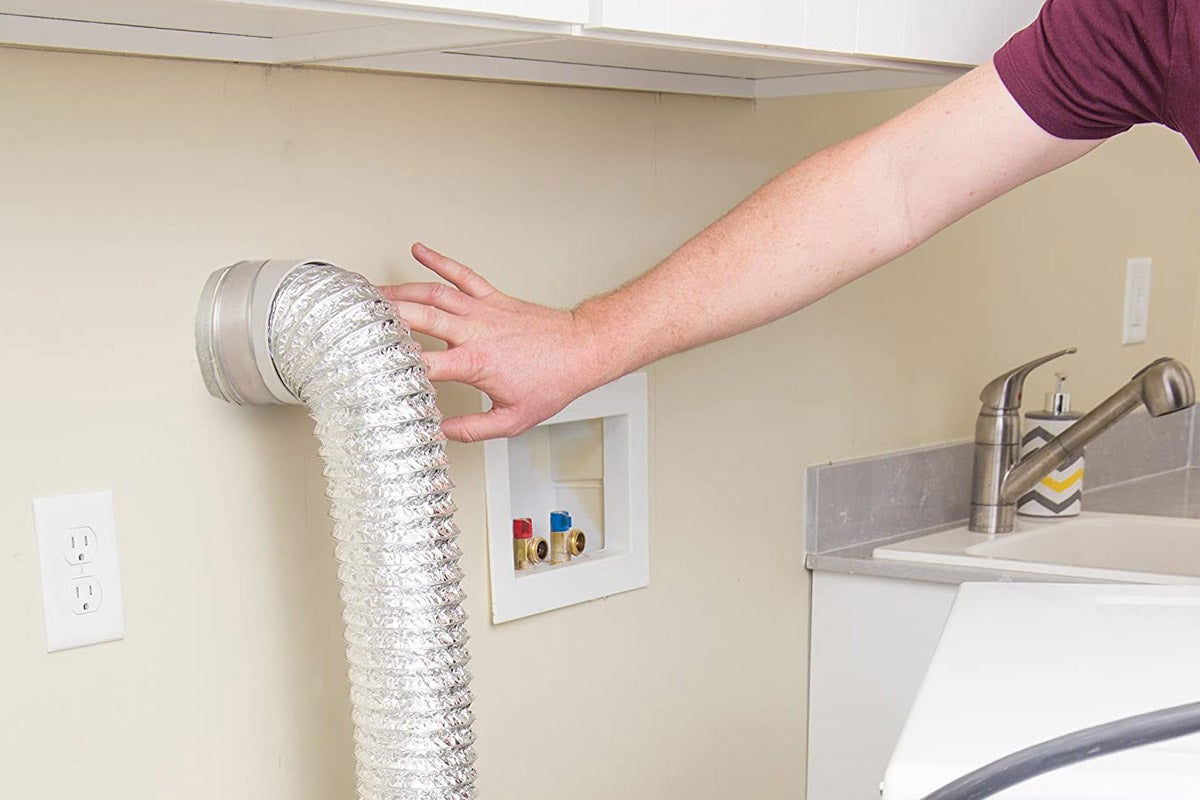
However, before testing the washer and dryer, it’s important to run a few quick checks to ensure everything is properly set up and safe to operate. Verify that the control knobs or buttons are in the correct positions, the water supply is connected, and that the dryer vent is properly installed and free of obstructions.
Now that you have successfully plugged in your Maytag stacked washer and dryer, it’s time for the next step: testing the washer and dryer to ensure they are working as expected.
Read more: How Tall Is A Stacked Washer Dryer
Step 9: Test the washer and dryer
With the fuse replaced and the appliances plugged in, it’s time to test the functionality of your Maytag stacked washer and dryer. Testing will help you ensure that the repairs were successful and that the appliances are working properly.
Start by selecting a small load of laundry for testing purposes. Follow the manufacturer’s instructions for loading the washer and dryer, including any detergent or fabric softener recommendations.
Once the laundry is loaded, adjust the settings on both the washer and dryer as needed. Select the appropriate wash and drying cycles, temperature settings, and any other options specific to your appliance model.
After everything is set, initiate the wash cycle on the washer and observe if it starts and runs smoothly. Pay attention to any unusual noises or vibrations that could indicate further issues.
If the washer completes the cycle without any problems, move on to the next step: testing the dryer. Start by closing the dryer door securely and adjusting the settings for the desired drying time and temperature.
Press the “Start” button or turn the dryer knob to start the drying process. Ensure that the dryer is producing heat and the drum is spinning smoothly. Keep an eye out for any unusual smells or problems with air circulation.
If the washer and dryer are operating as expected and completing their respective cycles without any issues, congratulations! You have successfully replaced the fuse and restored the functionality of your Maytag stacked washer and dryer.
However, if you encounter any problems during testing, such as the appliances not starting or still experiencing issues, it may be necessary to consult a professional technician or the manufacturer’s customer service for further assistance.
Remember, proper maintenance and regular inspections of your appliances can help prevent future issues and ensure their longevity. If you notice any recurring problems or significant changes in performance, it’s always recommended to seek professional help.
To conclude, the testing phase completes the process of replacing the fuse on your Maytag stacked washer and dryer. With functional appliances, you can now enjoy the convenience of clean and dry laundry once again.
Conclusion
Replacing the fuse on your Maytag stacked washer dryer is a relatively simple and cost-effective solution to resolve electrical issues and restore the functionality of your appliances. By following the step-by-step guide outlined in this article, you can confidently replace the fuse yourself and save time and money on unnecessary repairs or service calls.
Remember to prioritize safety throughout the process by unplugging your washer and dryer before starting any work. Take the time to gather the necessary tools and equipment, such as a replacement fuse and a screwdriver, to ensure a smooth repair process.
Locating the fuse panel, identifying the faulty fuse, and replacing it with a new one are crucial steps in the repair process. Carefully reassembling the fuse panel cover and plugging in your appliances completes the repair. The final step involves testing the washer and dryer to ensure they are functioning properly.
If you encounter any difficulties during the repair process or if the issues persist even after replacing the fuse, it may be best to seek professional assistance. Consulting a professional technician or contacting the manufacturer’s customer service can provide you with the necessary expertise and guidance.
Regular maintenance and inspections of your washer and dryer can help prevent future issues and extend their lifespan. By taking the time to address and resolve electrical problems promptly, you can enjoy the convenience of clean and dry laundry for years to come.
We hope this guide has provided you with the necessary knowledge and confidence to replace a fuse on your Maytag stacked washer dryer. Remember to always refer to the manufacturer’s documentation and follow safety guidelines when working with electrical components.
Thank you for reading and happy repairing!
Ready to upgrade your laundry setup or tackle more DIY repairs around your home? If you've enjoyed mastering the fuse replacement on your Maytag stacked washer dryer, you'll definitely want to check out our comprehensive guide on choosing the best stacked washer dryer for your needs in the upcoming year. Plus, don't miss our detailed walkthrough on fuse replacement in a GE microwave oven, perfect for keeping all your appliances running smoothly without a hitch. Dive into these reads to ensure your home runs like a well-oiled machine!
Frequently Asked Questions about How To Replace Fuse On Maytag Stacked Washer Dryer
Was this page helpful?
At Storables.com, we guarantee accurate and reliable information. Our content, validated by Expert Board Contributors, is crafted following stringent Editorial Policies. We're committed to providing you with well-researched, expert-backed insights for all your informational needs.


0 thoughts on “How To Replace Fuse On Maytag Stacked Washer Dryer”