Articles
How To Use Ryobi Sander
Modified: December 7, 2023
Learn how to use the Ryobi Sander with our helpful articles. Find step-by-step guides, tips, and tricks for achieving smooth and flawless sanding results.
(Many of the links in this article redirect to a specific reviewed product. Your purchase of these products through affiliate links helps to generate commission for Storables.com, at no extra cost. Learn more)
Introduction
Welcome to the world of woodworking and DIY projects! If you’re looking to achieve smooth and flawless surfaces on your woodworking projects, a reliable sander is a must-have tool. One popular option in the market is the Ryobi Sander – a versatile and user-friendly power tool that can help you achieve professional results.
In this article, we will guide you on how to effectively use the Ryobi Sander to achieve outstanding finishes on your various woodworking projects. From safety precautions to choosing the right sandpaper and mastering sanding techniques, we will cover everything you need to know to make the most out of this powerful tool.
Before we dive into the details, it’s important to note that safety should always be your top priority when working with power tools. Remember to wear appropriate protective gear, such as safety goggles, ear protection, and a dust mask, to safeguard yourself from potential hazards.
Now, let’s get started and unlock the full potential of your Ryobi Sander!
Key Takeaways:
- Safety, Understanding, and Mastery
Prioritize safety, understand the Ryobi Sander’s features, and master sanding techniques for outstanding results. From setup to troubleshooting, unleash the sander’s potential with confidence and care. - Sandpaper Selection and Maintenance
Choose the right sandpaper for smooth finishes, and maintain the sander for longevity. With proper grit, technique, and care, achieve professional woodworking results with the Ryobi Sander.
Read more: How To Use A Palm Sander
Safety Precautions
When working with any power tool, including the Ryobi Sander, it is crucial to prioritize safety. By following these safety precautions, you can minimize the risk of accidents and ensure a safe working environment:
- Read the manual: Before using the Ryobi Sander, thoroughly read and understand the user manual. Familiarize yourself with the tool’s features, functions, and safety guidelines.
- Protective gear: Wear safety goggles to protect your eyes from flying debris, and use ear protection to prevent hearing damage caused by the sander’s noise. Additionally, a dust mask is essential to protect your respiratory system from fine dust particles.
- Secure your workpiece: Make sure your workpiece is securely clamped or in a stable position before sanding. This will prevent it from moving and causing potential accidents.
- Avoid loose clothing and jewelry: Tie back long hair and avoid wearing loose clothing and accessories that could get caught in the sander or other machinery.
- Unplug before making adjustments: Always unplug the Ryobi Sander from the power source before making any adjustments or changing sandpaper. This will prevent accidental starts and reduce the risk of injury.
- Keep a clean work area: Maintain a clutter-free work area to prevent tripping hazards and ensure better control over the sander.
- Use the right sandpaper grit: Choosing the appropriate grit for your project is not only essential for achieving the desired finish but also for preventing excessive strain on the sander and potential damage to the workpiece.
- Take breaks: Sanding for long periods can be tiring. Take regular breaks to rest and recharge to maintain focus and prevent fatigue-related accidents.
- Disconnect power when not in use: When taking breaks or when you have completed your sanding session, be sure to disconnect the Ryobi Sander from the power source. This ensures that it cannot accidentally start up when you are not actively using it.
- Store the sander properly: After use, store the Ryobi Sander in a safe, dry place away from the reach of children and pets. Keep the power cord neatly coiled to prevent it from being damaged.
By adhering to these safety precautions, you can minimize the risk of accidents and create a safe working environment when using the Ryobi Sander. Remember, safety should always come first!
Understanding the Ryobi Sander
Before you can effectively use the Ryobi Sander, it’s important to understand its features and components. By familiarizing yourself with the tool, you’ll be able to make the most out of its capabilities. Here’s a breakdown of the key aspects of the Ryobi Sander:
Sander Types
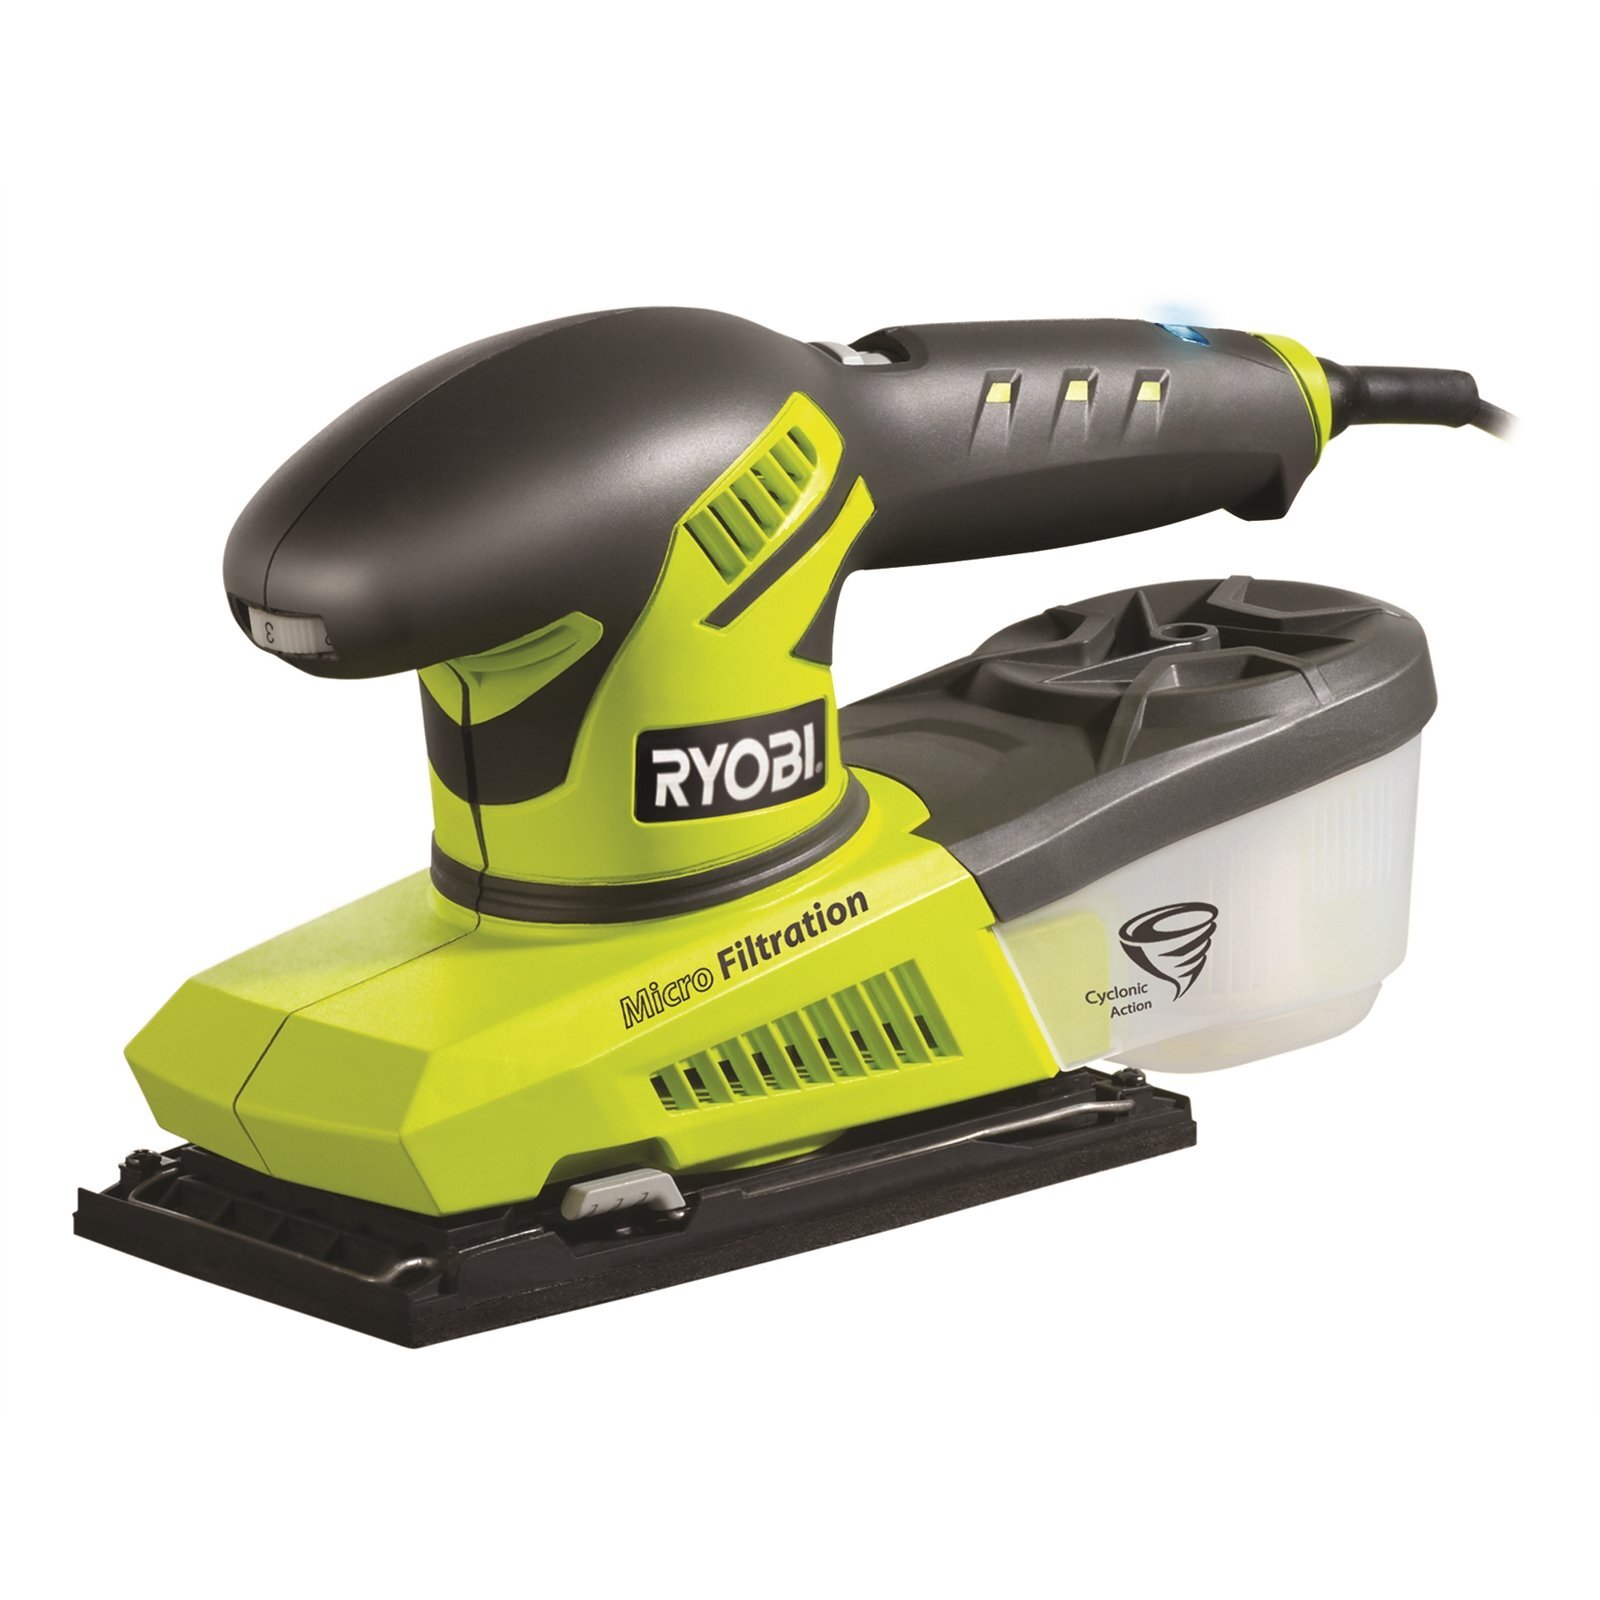
The Ryobi brand offers a range of sanders, including belt sanders, orbital sanders, and sheet sanders. Each type of sander is designed for specific applications and provides different levels of aggressiveness or precision. Understanding the type of Ryobi Sander you have will help you determine its optimal use for your projects.
Power Source
The Ryobi Sander is typically powered by electricity, either through a corded or cordless model. Corded sanders provide continuous power but require an electrical outlet, while cordless sanders offer the convenience of mobility but may have limited battery life. Depending on your needs and preferences, choose the power source that suits your working environment.
Read more: How To Use An Orbital Floor Sander
Sanding Surface
Ryobi Sanders are designed with a flat sanding surface, either in the form of a sanding pad or a sanding belt. This surface comes into direct contact with the workpiece and is responsible for removing the material and creating a smooth finish. It’s important to keep the sanding surface clean and free from debris to maintain the sander’s effectiveness.
Sanding Speed and Pressure Adjustment
Most Ryobi Sanders offer variable speed control, allowing you to adjust the sanding speed based on the material and desired finish. Additionally, some models also feature pressure adjustment options, enabling you to control the amount of pressure applied to the workpiece. Understanding and utilizing these adjustable settings will help you achieve the desired sanding results.
Dust Collection System
Ryobi Sanders often come equipped with a dust collection system, which helps minimize the amount of dust and debris generated during sanding. The system may include a dust bag or a port for connecting to a vacuum cleaner, keeping your work area cleaner and improving visibility. Proper dust collection not only maintains a clean work environment but also reduces the risk of respiratory issues caused by dust inhalation.
By familiarizing yourself with these key aspects of the Ryobi Sander, you’ll have a better understanding of how to utilize its features effectively. With this knowledge, you’ll be ready to set up the sander and embark on your sanding projects with confidence.
Setting Up the Ryobi Sander
Properly setting up your Ryobi Sander is essential to ensure optimal performance and achieve the best sanding results. Follow these steps to set up your sander before getting started:
Read more: How To Use Ryobi Router
1. Check the Power Source
If you have a corded Ryobi Sander, ensure that you have a nearby electrical outlet and a suitable extension cord if needed. Make sure the outlet is in good working condition. For cordless models, ensure that the battery is fully charged before starting your project.
2. Attach Sandpaper
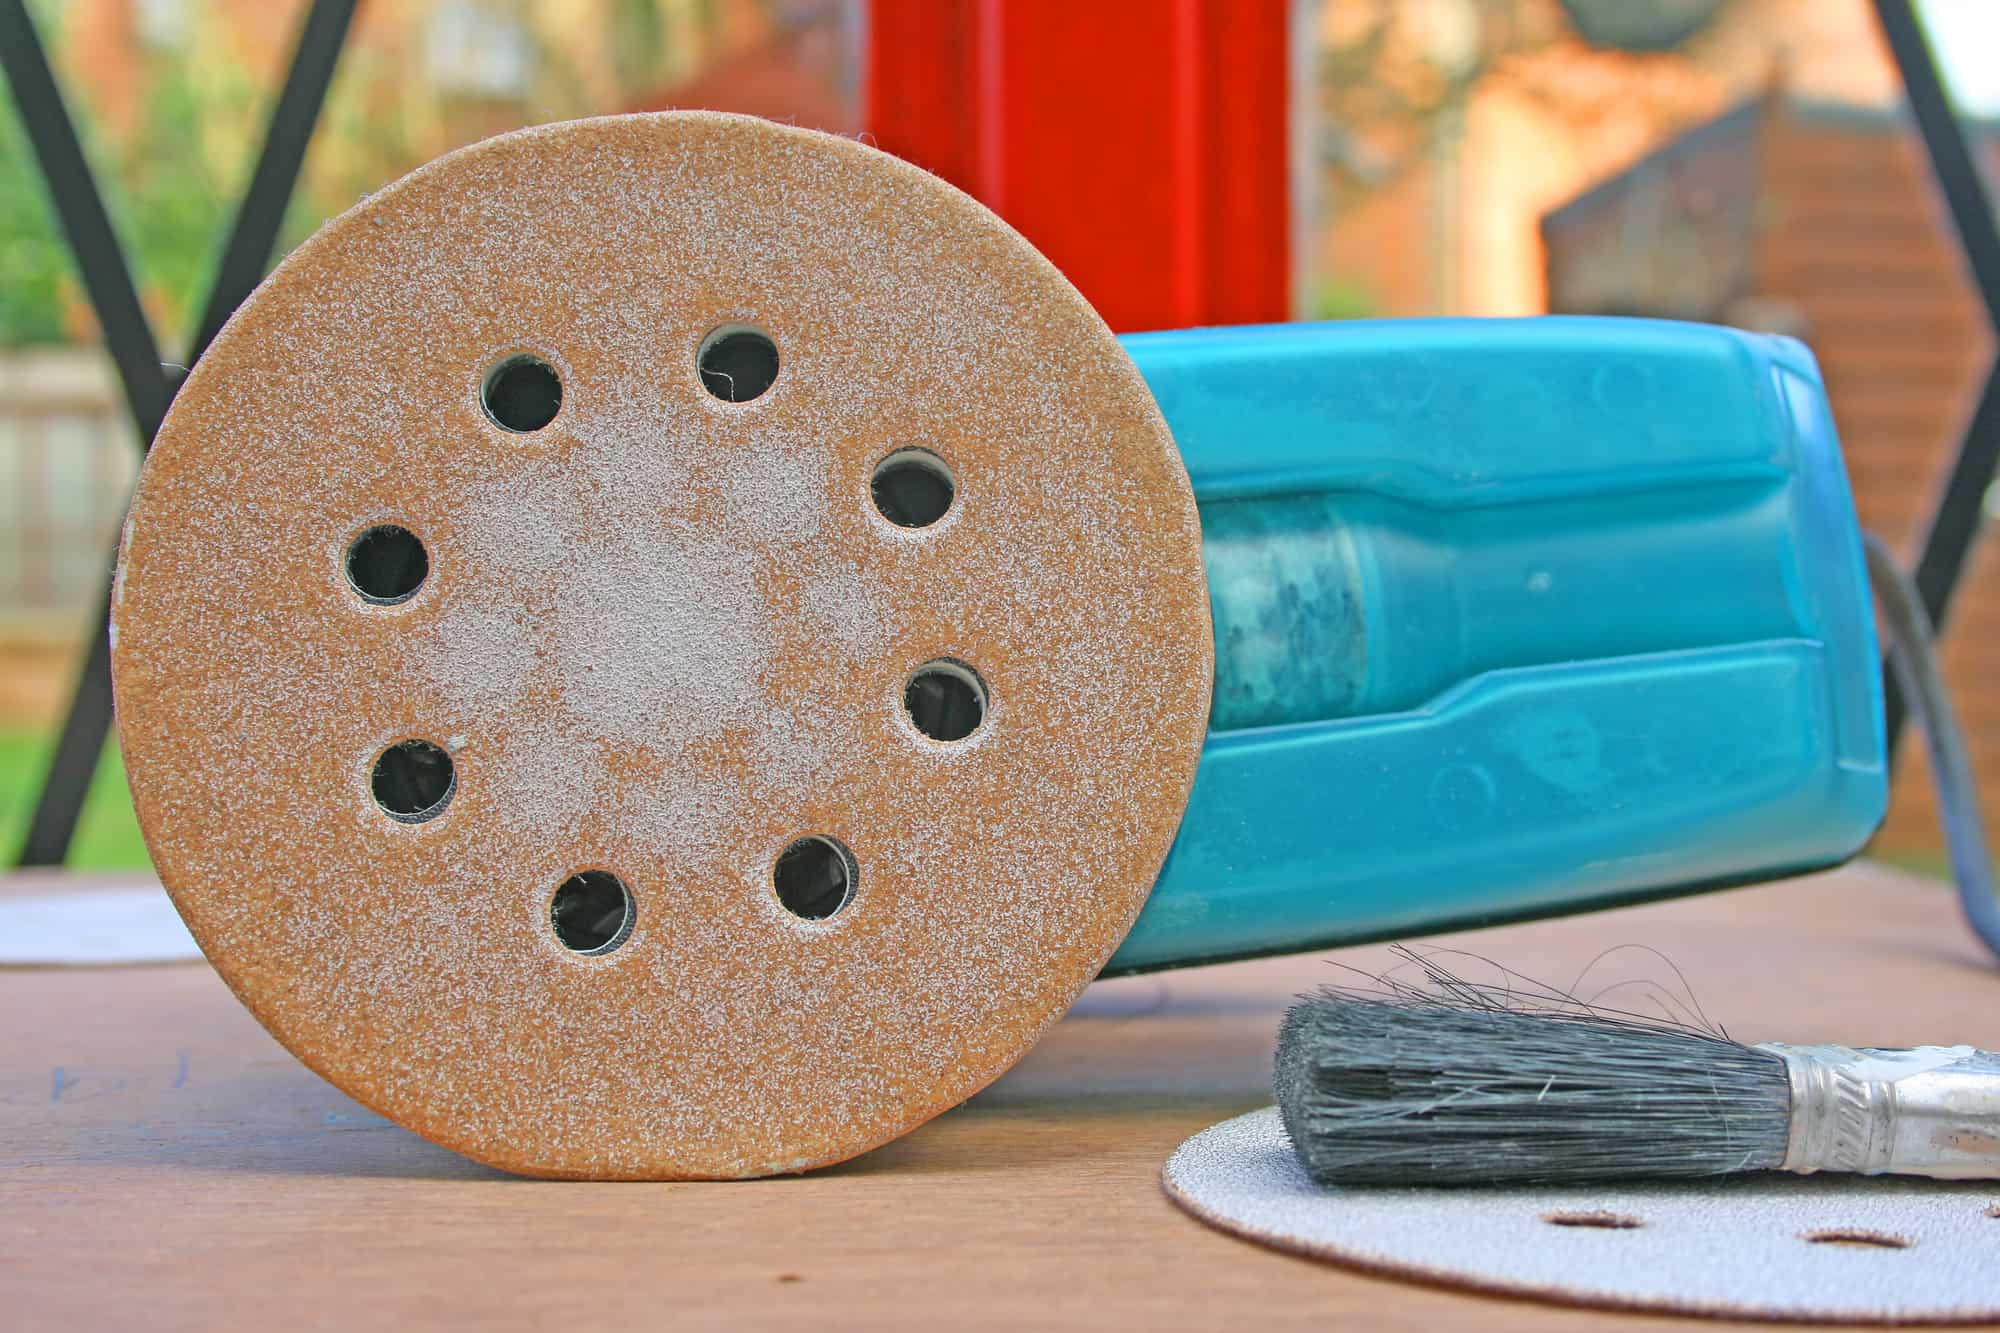
Depending on the type of Ryobi Sander you have, you will either attach sandpaper sheets, discs, or belts. Follow the specific instructions provided in the user manual to correctly attach the sanding media to the sander’s sanding surface. Ensure that the sandpaper is securely fastened to prevent any slippage during use.
3. Adjust Speed and Pressure
If your Ryobi Sander has speed and pressure adjustment options, set them according to the requirements of your project. Start with lower speed and pressure settings and gradually increase as needed. This will help you avoid damaging the workpiece and achieve better control during sanding.
4. Connect Dust Collection System
If your Ryobi Sander has a dust collection system, such as a dust bag or a port for a vacuum cleaner, make sure it is properly connected. This will help minimize dust and debris and improve the visibility of your work area. Empty the dust bag or ensure that your vacuum cleaner is ready for use.
Read more: How To Use Ryobi Planer
5. Secure the Workpiece
Before starting the sanding process, ensure that the workpiece is securely clamped or held in place. This will prevent it from moving or vibrating during sanding, allowing for more accurate and effective sanding results.
6. Test Run
Before beginning your actual sanding project, it’s always a good idea to perform a test run on a scrap piece of material. This will allow you to get familiar with the sander and make any necessary adjustments before moving on to your actual workpiece.
By following these steps, you’ll be able to properly set up your Ryobi Sander and ensure that it is ready for use. Taking the time to set up your sander correctly will help you achieve smoother sanding results and maintain the longevity of your tool.
Choosing the Right Sandpaper
Selecting the appropriate sandpaper is crucial for achieving the desired finish and maximizing the effectiveness of your Ryobi Sander. Here are some factors to consider when choosing the right sandpaper:
Grit Size
The grit size of sandpaper refers to the coarseness or fineness of the abrasive particles on its surface. The higher the grit number, the finer the sandpaper. For rough material removal and leveling surfaces, use a lower grit sandpaper such as 80 or 100. For fine finishing and smoothing, opt for higher grits like 180 or 220. It’s wise to have a range of grits available to address different stages of your sanding project.
Read more: How To Use Ryobi Drill
Material Compatibility
Consider the material you’re working on when selecting sandpaper. Certain materials, like softwood, may require lower grit sandpaper to prevent excessive material removal. Harder materials, like hardwood or metal, may require higher grit sandpaper for effective smoothing. Always refer to your sander’s user manual or consult with experienced woodworkers to determine the best sandpaper for your specific project.
Backing Type
The backing of sandpaper can be categorized into two types: paper and cloth. Paper-backed sandpaper is more common and suitable for most woodworking projects. Cloth-backed sandpaper has more durability and flexibility, making it ideal for sanding curved or irregular surfaces. Choose the backing type based on your project’s requirements and the level of flexibility needed.
Sanding Discs, Belts, or Sheets
Depending on your Ryobi Sander model, you will need sanding discs, belts, or sheets to fit the sanding surface. Ensure that you have the right size and shape to properly attach and use with your sander. Some sandpaper comes with a peel-and-stick adhesive backing, while others require clamps or fasteners for attachment.
Durability and Cost
Consider the durability of the sandpaper and your budget. Higher quality sandpaper tends to last longer and provide better results, but it can be more expensive. Balance your requirements with your budget to ensure a cost-effective and efficient sanding process.
It’s important to note that during your sanding project, the sandpaper will wear down over time. Regularly inspect the sandpaper for signs of wear or clogging and replace it as needed to maintain optimal sanding performance.
By carefully selecting the right sandpaper for your Ryobi Sander, you’ll be able to achieve smoother finishes and effectively address different sanding requirements. Experimentation and experience will also play a role in determining the best sandpaper for your specific projects, so don’t be afraid to try different grits and types to find your preferred combination.
Operating the Ryobi Sander
Now that you have your Ryobi Sander set up and the right sandpaper in place, it’s time to learn how to operate the tool effectively. Follow these steps to ensure a smooth sanding experience:
1. Position and Grip
Hold the sander securely with both hands, ensuring a comfortable and firm grip. Position yourself in a stable stance with your feet shoulder-width apart for better balance and control. Keep a relaxed but firm grip on the sander throughout the sanding process.
2. Start the Sander
If your Ryobi Sander has a power switch, simply switch it on. For models with a trigger-controlled switch, squeeze the trigger to start the sander. Verify that the sanding surface is clear of the workpiece before turning the sander on to avoid accidental damage or injury.
3. Begin Sanding
Place the sanding surface of the Ryobi Sander on the workpiece, applying firm and even pressure. Move the sander in the direction of the wood grain for the best results. Avoid tilting or angling the sander to prevent creating uneven surfaces or causing damage to the workpiece.
Read more: How To Use A Ryobi Stud Finder
4. Constant Movement
Keep the sander moving at a steady pace to prevent sanding a specific area for too long, which can result in unevenness or wood removal. Make overlapping passes across the surface, ensuring each pass slightly overlaps the previous one. This helps distribute the sanding evenly and avoids creating visible lines or swirl marks.
5. Let the Sander Do the Work
Avoid exerting excessive force on the sander. Let the Ryobi Sander’s motor and the sandpaper’s abrasive action do the work for you. Applying too much pressure can lead to uneven sanding or cause the motor to strain, reducing its effectiveness and potentially damaging the workpiece.
6. Avoid Edges and Corners
Be cautious when sanding near edges or corners, as the sander’s aggressive action can easily damage or round them. In these areas, consider using a different sanding technique, such as hand sanding or using a smaller accessory attachment, to achieve the desired finish without compromising the workpiece.
7. Monitor Dust Collection
Pay attention to the dust collection system of your Ryobi Sander. If using a dust bag, empty it regularly to maintain optimal performance. If you have a vacuum attachment, ensure that it is effectively collecting the dust and debris. A clean work area not only improves visibility but also reduces health risks associated with dust inhalation.
Read more: How To Use Ryobi Paint Sprayer
8. Finish and Clean Up
Gradually decrease the sanding speed or release the trigger, depending on your sander’s design, as you approach the end of the sanding process. Allow the sander to come to a complete stop before placing it down. Clean up the work area by removing any remaining dust and debris using a brush or vacuum cleaner.
By following these steps, you’ll be able to operate your Ryobi Sander effectively and achieve smooth and professional sanding results. Remember to remain attentive, maintain a consistent sanding technique, and prioritize safety throughout your sanding projects.
Sanding Techniques
When using the Ryobi Sander, employing the right sanding techniques can make a significant difference in achieving desired results. Here are some techniques to enhance your sanding process:
1. Start with Coarse Grit
Begin your sanding process with a coarse grit sandpaper to remove any imperfections or unevenness on the surface. This will provide a smooth foundation for subsequent sanding passes with finer grits.
2. Work in Progressively Finer Grits
As you move along in your sanding process, gradually transition to finer grit sandpapers. This helps refine the surface, remove coarse scratches left by the previous grit, and achieve a smoother finish.
Read more: How To Use Ryobi Lawn Mower
3. Sand in the Direction of the Grain
Always sand in the direction of the wood grain to avoid creating visible sanding marks. Sanding against the grain can lead to scratches and surface irregularities.
4. Use Light to Moderate Pressure
Apply enough pressure to keep the sander in contact with the workpiece, but avoid using excessive force. Let the sander’s weight and the sandpaper’s abrasive action do the work. Too much pressure can result in uneven sanding and premature wear on the sandpaper.
5. Oscillate for Orbital Sanders
If using an orbital sander, oscillate the sander in small circular or figure-eight motions. This helps distribute the sanding action evenly and prevents the sander from creating visible swirl marks.
6. Move in Straight Lines for Belt Sanders
For belt sanders, move the sander in straight lines along the length of the workpiece. Overlap each pass slightly for consistent sanding coverage and to avoid creating noticeable lines.
Read more: How To Use Ryobi Table Saw
7. Taper Edges and Corners
When sanding edges or corners, use a lighter touch or a sanding block to avoid rounding them off. Tapering the sanding action gradually around these areas helps maintain their sharpness and integrity.
8. Check the Surface Regularly
Periodically inspect the sanded surface to ensure evenness and progress. Stop sanding as soon as you achieve the desired smoothness to prevent over-sanding and potentially altering the shape or dimensions of the workpiece.
9. Hand Sanding for Finishing Touches
After using the Ryobi Sander, consider utilizing hand sanding for final touches and finer control. A sanding block or folded sandpaper can help address intricate areas, contours, or edges that may require more attention.
10. Clean the Surface After Sanding
Thoroughly clean the sanded surface after each sanding session. Remove all dust and debris using compressed air, a vacuum cleaner, or a damp cloth. This ensures a clean surface for finishing or applying protective coatings.
By employing these sanding techniques with your Ryobi Sander, you’ll be able to achieve smooth and professional finishes on your woodworking projects. Don’t forget to be mindful of the sanding process and take breaks when needed to maintain concentration and precision throughout your sanding endeavors.
Read more: How To Use Ryobi Trimmer As Edger
Cleaning and Maintenance
Proper cleaning and maintenance of your Ryobi Sander are essential to ensure its longevity and optimal performance. Regular maintenance will help keep the sander in good working condition and extend its lifespan. Follow these guidelines for effective cleaning and maintenance:
Dust Removal
After each sanding session, remove all dust and debris from the sander. Use a brush or compressed air to dislodge any particles that may have accumulated on the sanding surface, inside the dust collection system, and around the motor housing. This prevents clogging and ensures efficient operation.
Cleaning the Sanding Surface
Over time, the sanding surface may become coated with residue or embedded materials from the workpiece. To clean the sanding surface, detach the sandpaper and use a cleaning solution suitable for the type of residue present. Gently scrub the surface with a soft brush or cloth, and rinse with water if necessary. Allow the surface to dry completely before reattaching new sandpaper.
Inspect and Replace Sandpaper
Frequently inspect the sandpaper for signs of wear, tear, or clogging. Replace the sandpaper as needed to maintain optimal sanding performance. When attaching new sandpaper, ensure it is securely fastened to prevent any slippage during use.
Read more: How To Use Ryobi Pressure Washer
Lubricate Moving Parts
Periodically lubricate the moving parts of the sander to ensure smooth operation. Consult the user manual for recommended lubrication points and use a suitable lubricant. Be sure to wipe off any excess lubricant to prevent it from getting on the workpiece during sanding.
Check Power Cord and Connections
Regularly inspect the power cord for any signs of damage, fraying, or exposed wires. If any issues are detected, replace the power cord immediately to prevent electrical hazards. Check the connections between the cord and the sander to ensure they are secure and in good condition.
Store in a Dry and Secure Place
When not in use, store your Ryobi Sander in a clean, dry, and secure location. Moisture can cause damage to the sander and its electrical components, so it’s important to keep it in a moisture-free environment. Additionally, store the sander in a place where it is protected from potential impacts and damage.
Regular Maintenance Checks
Perform routine maintenance checks on your Ryobi Sander, including examining the motor, switches, and any other moving parts. If you notice any unusual noise, vibrations, or performance issues, consult the user manual or seek professional assistance for troubleshooting and repairs.
By following these cleaning and maintenance guidelines, you’ll be able to keep your Ryobi Sander in excellent condition and ensure its consistent performance throughout your sanding projects. Remember, maintaining your tools not only extends their lifespan but also enhances your overall woodworking experience.
Read more: How To Use Ryobi Circular Saw
Troubleshooting Common Issues
While the Ryobi Sander is a reliable tool, occasional issues may arise during its operation. Here are some common problems you may encounter and troubleshooting steps to help resolve them:
1. Sander Not Powering On
If your Ryobi Sander does not power on, check that it is properly connected to a functioning power source. Ensure that the power cord is securely plugged in and that the outlet is providing power. If the cord and outlet are fine, there may be an issue with the switch or motor. Consult the user manual for further troubleshooting steps or seek professional assistance.
2. Sander Not Sanding Properly
If the Ryobi Sander is not sanding effectively, the first thing to check is the sandpaper. Ensure that it is securely attached and not worn out or clogged. If the sandpaper is fine, there may be an issue with the sanding surface. Check for any debris or buildup and clean it thoroughly. If the problem persists, the sander’s sanding mechanism may require adjustment or repair.
3. Excessive Vibration or Noise
If your sander is producing excessive vibrations or making unusual noises, there may be an issue with the motor or internal components. Check that all screws and fasteners are securely tightened. If the problem continues, there may be a mechanical issue that requires professional attention.
Read more: How To Use Ryobi Rotary Tool
4. Poor Dust Collection
If the dust collection system of your Ryobi Sander is not effectively collecting dust and debris, check that the dust bag or vacuum attachment is installed correctly and not full. Clear any clogs or obstructions from the dust collection port. If the issue persists, consider using an external dust extraction system or consult the user manual for further troubleshooting steps.
5. Uneven Sanding or Scratches
If you’re experiencing uneven sanding or scratches on the workpiece, check your sandpaper grit and technique. Ensure that you are using the appropriate grit for the specific sanding stage and material. Review your sanding technique to ensure even and consistent pressure and movement. If the problem persists, you may need to adjust the sander’s speed or consult with experienced woodworkers for guidance.
6. Overheating
If you notice your Ryobi Sander getting excessively hot during use, it may be due to prolonged operation or sanding a heavy workload. Allow the sander to cool down and use it in shorter intervals to prevent overheating. If the problem continues, there may be an issue with the motor or electrical components, and professional assistance is advised.
If you encounter any other issues with your Ryobi Sander that are not covered here, refer to the user manual or contact Ryobi customer support for further assistance. Remember to prioritize safety and consult with professionals when needed to avoid potential damage to the sander or workpiece.
Conclusion
Congratulations! You have now learned how to effectively use the Ryobi Sander to achieve outstanding sanding results on your woodworking projects. By following the safety precautions, understanding the tool, setting it up correctly, choosing the right sandpaper, mastering sanding techniques, and maintaining the sander, you are well-equipped to take on any sanding task with confidence.
Remember that safety should always be your top priority when working with power tools. Wear appropriate protective gear, secure your workpiece, and be mindful of your surroundings throughout the sanding process.
Understanding the various features and components of the Ryobi Sander, such as the power source, sanding surface, speed and pressure adjustment, and dust collection system, ensures optimal performance and convenience during operation.
Choosing the right sandpaper, considering the grit size, material compatibility, backing type, and durability, is essential for achieving smooth finishes and preventing unnecessary strain on the sander.
Operating the Ryobi Sander with proper sanding techniques, such as sanding in the direction of the grain, using light to moderate pressure, and employing oscillating or straight-line movements, will result in consistent and professional-looking finishes.
Regular cleaning and maintenance of the sander, including dust removal, cleaning the sanding surface, inspecting and replacing sandpaper, lubricating moving parts, checking power cords and connections, and storing the sander properly, will help prolong its lifespan and ensure continuous performance.
Lastly, by familiarizing yourself with troubleshooting common issues, you can quickly address any problems that may arise during the sanding process, ensuring minimal downtime and optimal tool usage.
With all this knowledge and guidance, you are well-equipped to unleash the full potential of your Ryobi Sander and achieve exceptional results on your woodworking projects. So, put on your safety gear, grab your sander, and get ready to transform your creations with smooth and flawless finishes!
Frequently Asked Questions about How To Use Ryobi Sander
Was this page helpful?
At Storables.com, we guarantee accurate and reliable information. Our content, validated by Expert Board Contributors, is crafted following stringent Editorial Policies. We're committed to providing you with well-researched, expert-backed insights for all your informational needs.
0 thoughts on “How To Use Ryobi Sander”