Articles
How To Use Ryobi Trimmer As Edger
Modified: May 6, 2024
Learn how to use your Ryobi trimmer as an edger with our informative articles. Discover tips, techniques, and step-by-step instructions for achieving professional-looking lawn edges.
(Many of the links in this article redirect to a specific reviewed product. Your purchase of these products through affiliate links helps to generate commission for Storables.com, at no extra cost. Learn more)
Introduction
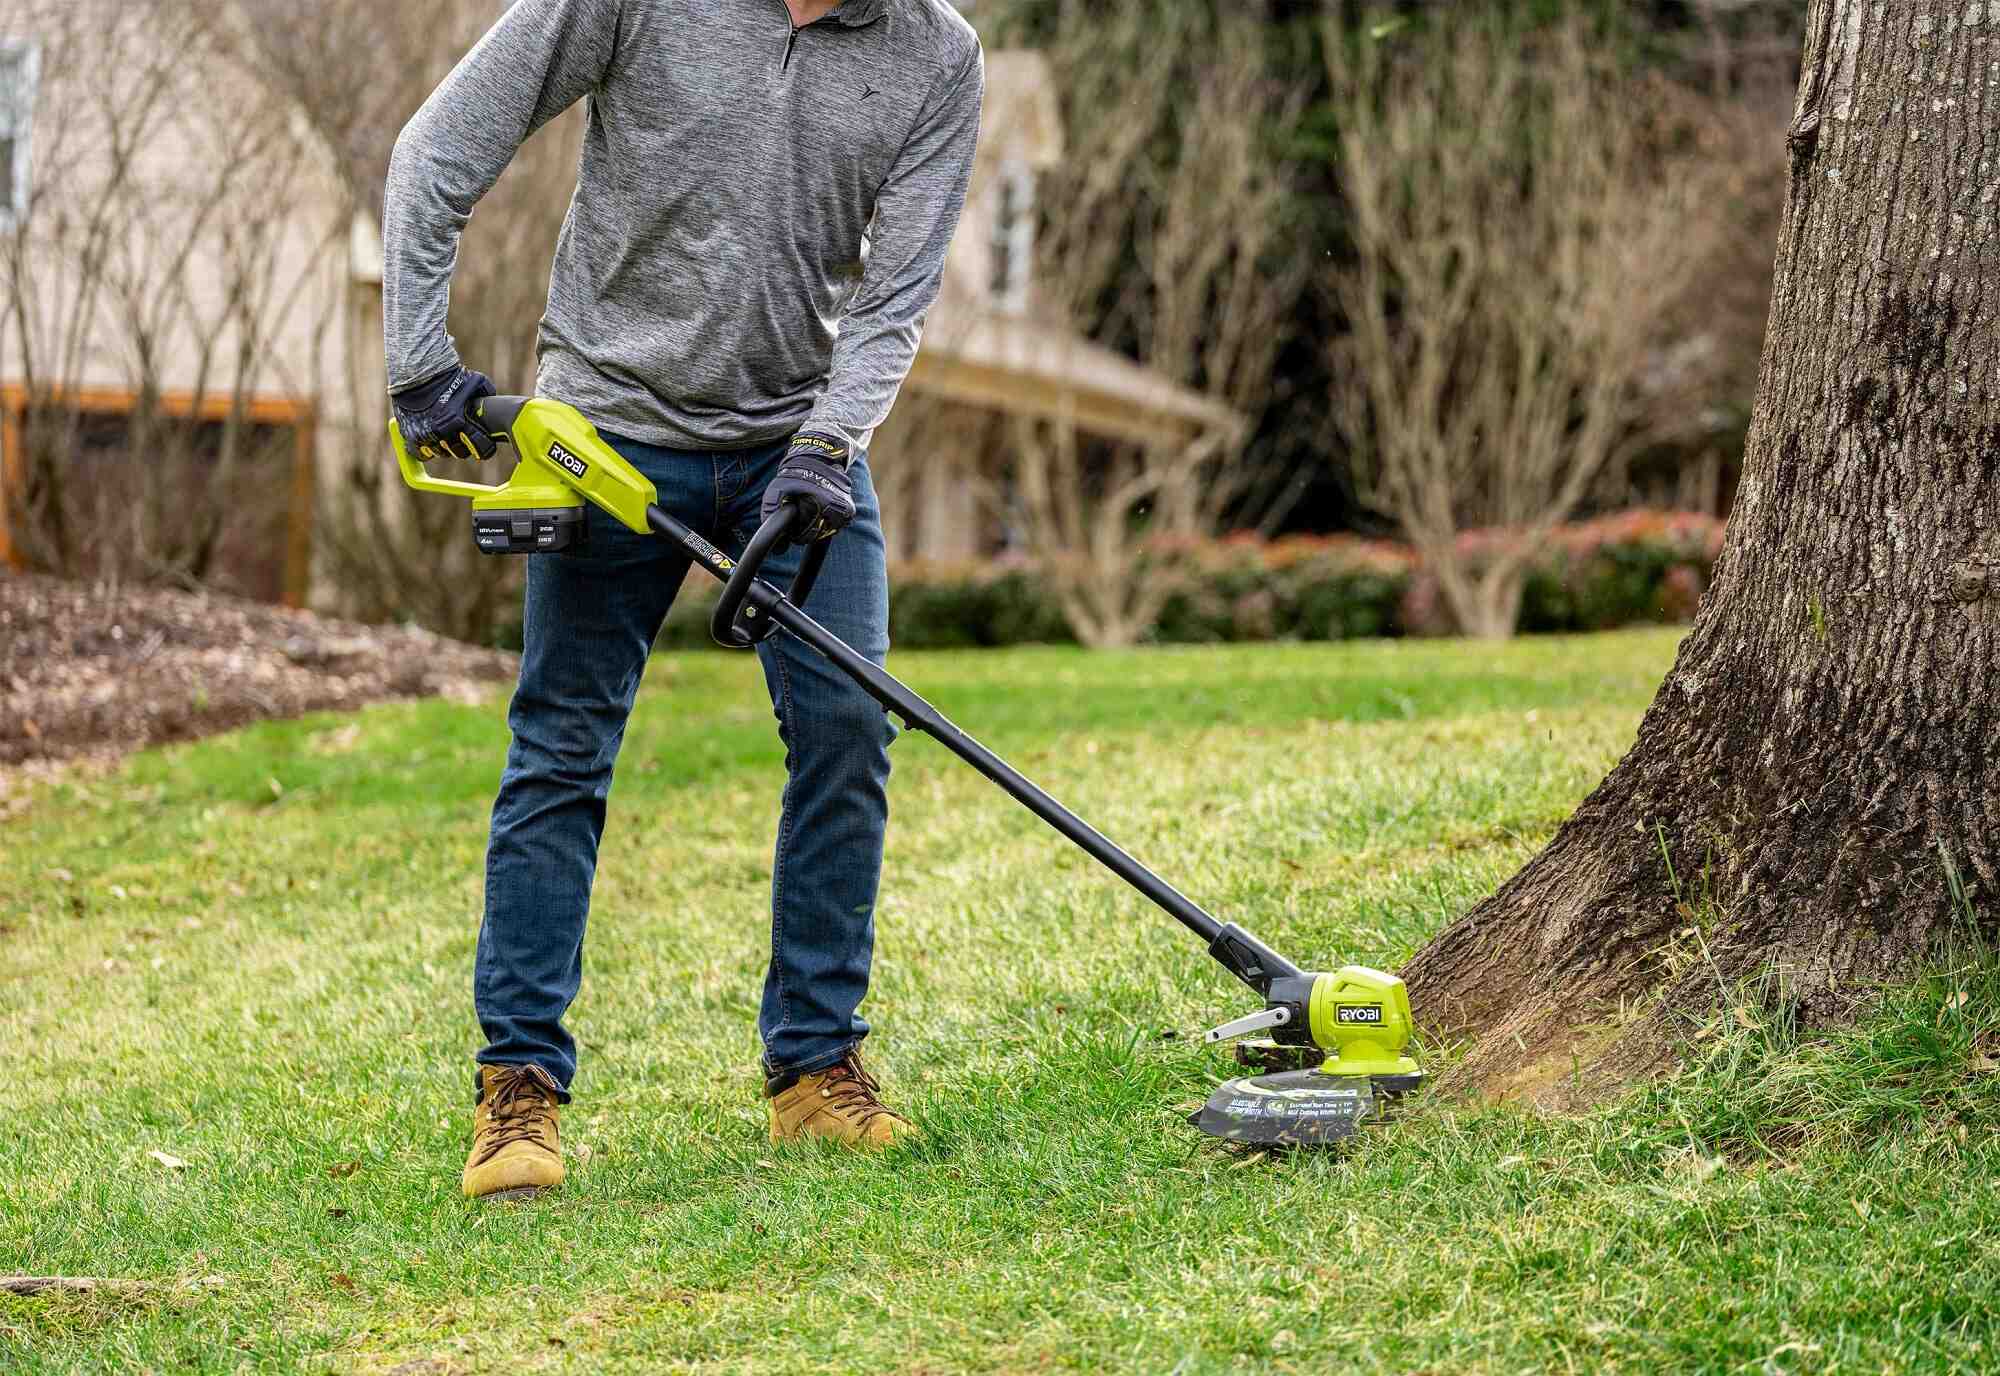
Welcome to this guide on how to use your Ryobi trimmer as an edger. If you’re looking to give your lawn that professional, manicured look, edging is an essential step. While traditional edging tools can be cumbersome and time-consuming, using your Ryobi trimmer as an edger offers a convenient and efficient alternative.
Not only does this method save you time and effort, but it also allows you to achieve clean and precise edges along driveways, walkways, and garden beds. Whether you’re a seasoned gardener or just starting to tackle your lawn’s maintenance, learning how to use your Ryobi trimmer as an edger will undoubtedly prove to be a valuable skill.
Before we dive into the steps, let’s take a moment to gather the tools and equipment you’ll need:
Key Takeaways:
- Transform your yard into a professionally manicured space by using your Ryobi trimmer as an edger. Follow the steps to achieve clean, precise edges and maintain them for a pristine lawn all year round.
- Master the art of edging with your Ryobi trimmer, from adjusting the trimmer head to finishing touches. Regular maintenance and patience will help you create beautifully manicured edges that enhance your lawn’s overall aesthetics.
Read more: How To Advance String On Ryobi Trimmer
Tools and Equipment Needed
Before you begin using your Ryobi trimmer as an edger, it’s important to gather the necessary tools and equipment. Fortunately, you won’t need much beyond the trimmer itself and a few additional items:
- Ryobi Trimmer: Make sure you have a Ryobi trimmer that is compatible with edging. While most Ryobi trimmers can be used as edgers, it’s always a good idea to check the user manual or consult the manufacturer’s website to confirm.
- Protective Gear: Safety should always be a top priority, so be sure to wear protective gear including safety glasses, gloves, and ear protection.
- Extension Cord: Depending on the size of your yard, you may need an extension cord to provide sufficient power to your trimmer. Ensure that the cord is long enough to reach all areas you plan to edge.
- Work Gloves: Using work gloves will provide a better grip on the trimmer and protect your hands from potential injuries.
- Marking Spray or Garden Hose: To ensure a straight edge, consider using marking spray or a garden hose to outline the desired edging area.
Once you have all the necessary tools and equipment gathered, you’re ready to move on to the next step of adjusting the trimmer head.
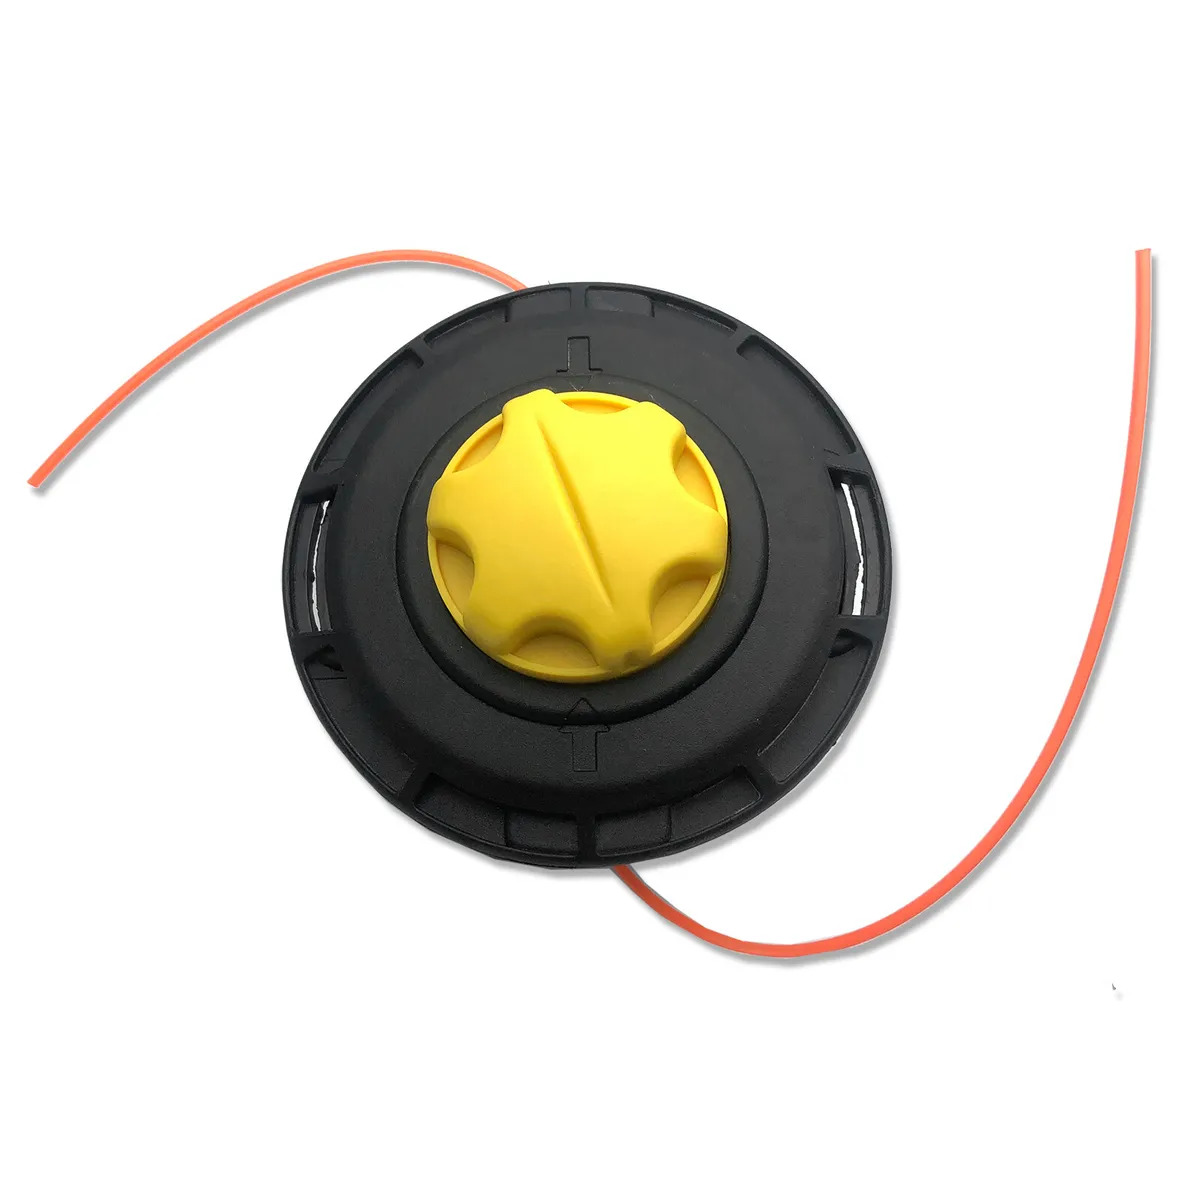
Step 1: Adjusting the Trimmer Head
The first step in using your Ryobi trimmer as an edger is to adjust the trimmer head. This adjustment will allow you to position the cutting blade at the proper angle for edging. Follow these steps to make the necessary adjustments:
- Power off the Trimmer: Before making any adjustments, make sure to turn off the power to the trimmer and unplug it from the power source. This will help prevent any accidents or injuries.
- Position the Trimmer Properly: Place the trimmer on a flat surface, such as a workbench or the ground. Ensure that it is stable and won’t move or tilt during the adjustment process.
- Locate the Trimmer Head Adjustment Screw: Look for the adjustment screw located on the trimmer head. This screw allows you to change the angle of the cutting blade.
- Loosen the Adjustment Screw: Using the appropriate screwdriver or tool, loosen the adjustment screw. This will allow you to move the trimmer head and adjust the angle of the cutting blade.
- Adjust the Angle: Carefully position the trimmer head at the desired angle for edging. A 90-degree angle is typically recommended for clean and precise edging. However, you may need to experiment with slightly different angles to find what works best for your specific lawn.
- Tighten the Adjustment Screw: Once you have set the trimmer head at the desired angle, tighten the adjustment screw securely. This will keep the blade in place during the edging process.
With the trimmer head properly adjusted, you’re ready to move on to the next step and learn the edging technique.
Step 2: Getting Familiar with the Edging Technique
Now that you have adjusted the trimmer head, it’s time to familiarize yourself with the edging technique using your Ryobi trimmer. Edging requires precision and control to create clean lines along the desired area. Follow these steps to get started:
- Hold the Trimmer Properly: Ensure that you have a firm grip on the trimmer, holding it with both hands. Your dominant hand should be on the handle, while the other hand supports the trimmer’s shaft.
- Maintain a Comfortable Stance: Stand with your feet shoulder-width apart and maintain a comfortable position while edging. This will provide stability and balance as you move along the edging area.
- Position the Trimmer: Hold the trimmer so that the cutting blade is parallel to the ground. This will allow the blade to effectively trim the grass along the edges.
- Start the Trimmer: If your Ryobi trimmer has a pull-start mechanism, use a swift and steady motion to start the trimmer. If it has an electric start, simply press the start button.
- Practice the Horizontal Edging Motion: Get a feel for the edging technique by practicing a horizontal motion along a test area. Hold the trimmer at a consistent height while moving it steadily along the edge. This motion will help create a clean and even edge.
- Keep the Trimmer Moving: It’s important to maintain a continuous motion and avoid lingering in one spot for too long. This prevents uneven cutting and potential damage to the grass.
- Pay Attention to the Cutting Depth: Depending on the thickness of the grass along the edge, you may need to adjust the cutting depth. Some Ryobi trimmers have adjustable cutting heights, so make sure to set it to an appropriate depth for your lawn.
By practicing these techniques, you’ll gain confidence and familiarity with using your Ryobi trimmer as an edger. Ready to start edging along the desired area? Move on to the next step.
Step 3: Starting the Edging Process
Now that you’re comfortable with the edging technique, it’s time to start the edging process using your Ryobi trimmer. Follow these steps to begin:
- Mark the Edging Area: If necessary, use marking spray or a garden hose to outline the desired edging area. This will serve as a guide as you edge along the edges.
- Position the Trimmer: Stand on the outside of the edging area with the trimmer in your hands. Ensure that the cutting blade is parallel to the ground and aligned with the area you want to edge.
- Start the Trimmer: Begin by starting the trimmer using the appropriate method for your Ryobi model. Make sure to follow the manufacturer’s instructions.
- Edge in a Smooth Motion: Slowly guide the trimmer along the marked edge, keeping a constant and smooth motion. Allow the trimmer’s cutting blade to trim the grass as you move forward.
- Remain Consistent: Aim to maintain a consistent distance from the edge as you move along. This will ensure an even and uniform edge throughout the entire area.
- Pay Attention to Your Surroundings: Be mindful of any obstacles or hazards in the edging area, such as rocks, sprinkler heads, or garden fixtures. Adjust your path or trimmer height accordingly to avoid damaging them.
- Continue Edging: Move along the entire length of the marked edge, keeping the trimmer in a steady and controlled motion. Take your time and be thorough to achieve the desired result.
Remember, practice makes perfect, so don’t worry if your first attempts aren’t flawless. With time, you’ll become more adept at using your Ryobi trimmer as an edger. Once you have edged along the desired area, proceed to the next step for maintaining a consistent edge.
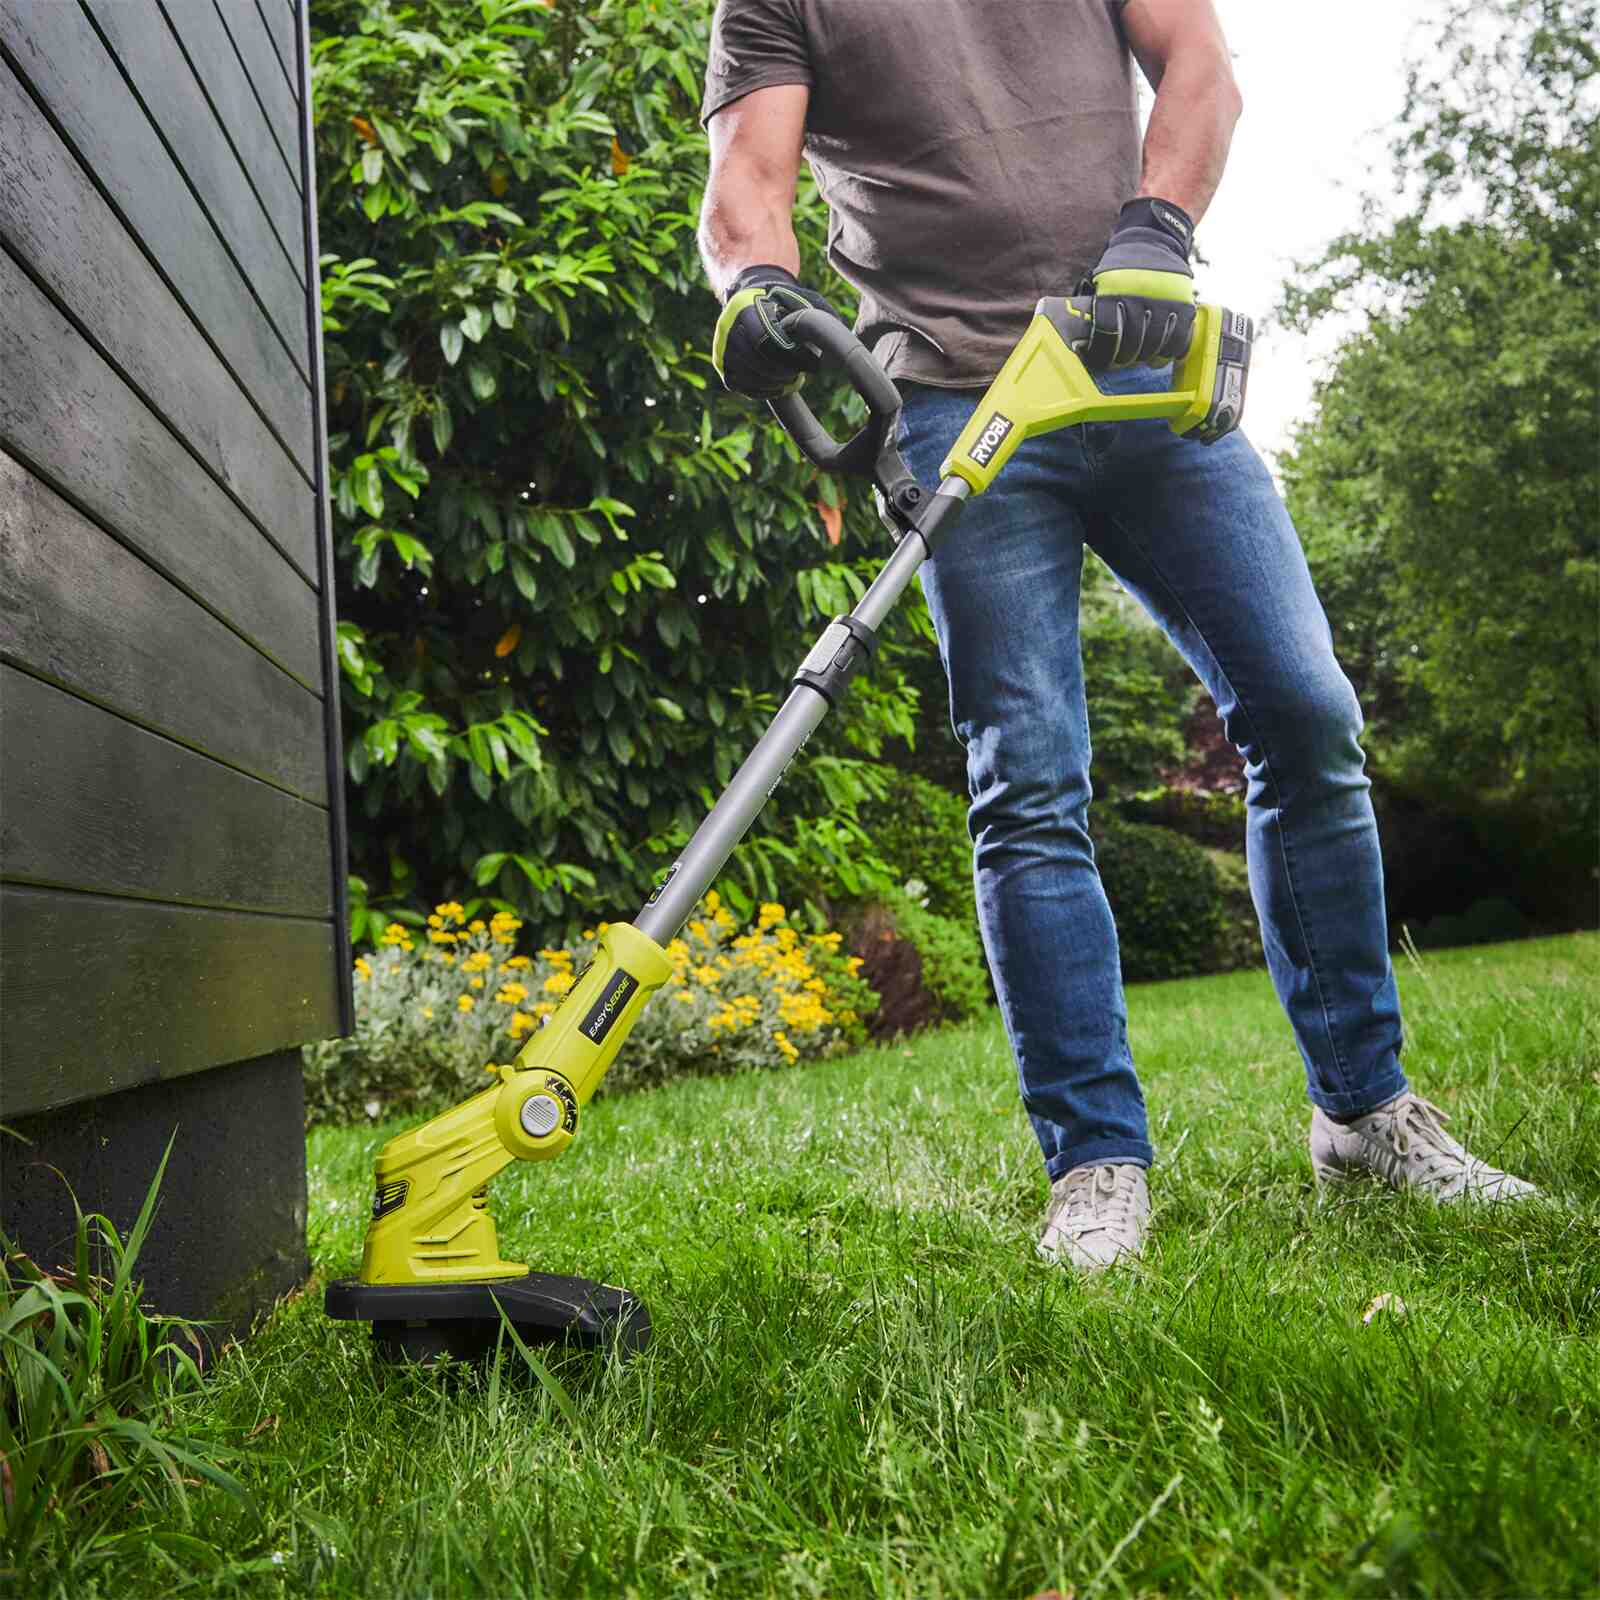
To use a Ryobi trimmer as an edger, simply adjust the cutting head to a 90-degree angle and use the edge guide to maintain a straight line along sidewalks, driveways, and garden beds.
Read more: How To Rotate Ryobi Trimmer Head
Step 4: Edging Along the Desired Area
Now that you have started the edging process, it’s time to focus on edging along the desired area using your Ryobi trimmer. Follow these steps to ensure a clean and professional-looking edge:
- Maintain a Consistent Height: As you edge along, make sure to keep the trimmer at a consistent height. This will help create a uniform and defined edge throughout the entire area.
- Follow the Marked Line: If you have used marking spray or a garden hose to outline the edging area, guide your trimmer along that line. This will ensure that your edges are straight and well-defined.
- Overlap Slightly: To achieve a seamless look, overlap each pass slightly with the previous one. This helps to eliminate any missed areas and creates a cohesive edge.
- Pay Attention to the Depth: Adjust the cutting depth of your Ryobi trimmer as needed to ensure that you are only cutting the grass, not digging into the soil. This will prevent any damage to your lawn or garden beds.
- Take Breaks as Needed: Edging can be physically demanding, especially if you have a large area to cover. Take breaks when necessary to rest and rehydrate, ensuring that you maintain your focus and precision.
- Inspect and Make Adjustments: Periodically pause and inspect your edges to make sure they are even and uniform. If you notice any areas that need further attention, go back and touch them up as needed.
- Clean Up Any Debris: After edging along the desired area, take the time to clean up any grass clippings or debris that may have accumulated. This will leave your edges looking clean and tidy.
By following these steps, you’ll be able to create beautifully edged areas that enhance the overall appearance of your lawn. Once you’ve completed edging your desired area, let’s move on to the next step: maintaining a consistent edge.
Step 5: Maintaining a Consistent Edge
Now that you have successfully edged along the desired area using your Ryobi trimmer, it’s important to maintain a consistent edge to keep your lawn looking pristine. Follow these steps to ensure that your edges remain clean and well-defined:
- Regularly Inspect the Edges: Take the time to periodically inspect your edges to ensure they maintain their shape and crispness. This will allow you to catch any potential issues early on.
- Touch Up as Needed: If you notice any areas where the edge has become uneven or overgrown, use your Ryobi trimmer to touch up those sections. Simply follow the same edging process to re-establish a clean edge.
- Remove Grass Clippings: After each mowing session, be sure to clean up any grass clippings that may have accumulated on the edges. This will help maintain the visibility and definition of your edging.
- Consider Using a Edging Blade Attachment: Ryobi offers edging blade attachments that can be used with your trimmer to achieve even more precise and professional-looking edges. These attachments allow you to dig deeper into the soil for a more defined edge.
- Maintain a Regular Lawn Maintenance Routine: Keep your lawn healthy and well-maintained by following a regular lawn care routine, including mowing, watering, and fertilizing. This will help prevent excessive growth and keep your edges clean for longer periods.
- Pay Attention to Soil Erosion: If you notice any signs of soil erosion along the edges, such as crumbling or shifting soil, take the time to address the issue. Adding mulch or gravel can help stabilize the soil and preserve the integrity of your edges.
- Be Mindful of Garden Beds: When edging along garden beds or flower borders, exercise caution to avoid damaging any plants or flowers. Take your time and use a gentle touch to create a clean separation between the lawn and the garden beds.
By following these steps and incorporating regular edge maintenance into your lawn care routine, you’ll be able to enjoy beautifully manicured edges throughout the year. Now, let’s move on to the final step: finishing touches and clean up.
Step 6: Finishing Touches and Clean Up
Congratulations on reaching the final step of using your Ryobi trimmer as an edger! Now, it’s time to put the finishing touches on your newly edged areas and perform any necessary clean up. Follow these steps to complete the process:
- Inspect the Edges: Take a moment to walk around and inspect the edges you have created. Ensure that they are clean, crisp, and meet your desired level of precision.
- Trim Excess Grass: If you notice any stray or overgrown blades of grass along the edges, use your Ryobi trimmer to trim them down. This will help maintain the polished appearance of your edges.
- Remove Debris: Clear away any grass clippings, dirt, or other debris that may have accumulated during the edging process. Use a broom, leaf blower, or a garden rake to gather and dispose of the debris properly.
- Maintain a Clean Work Area: If you have used marking spray or a garden hose to outline the edging area, make sure to remove any residue left behind. This will help keep your yard looking clean and tidy.
- Store Your Trimmer Properly: After completing the edging process, be sure to clean the trimmer and store it in a safe and dry location. This will help prolong its lifespan and ensure it’s ready for future use.
- Admire Your Work: Take a step back and admire the finished result of your edging efforts. The clean and defined edges will enhance the overall appearance of your lawn and give it a professionally maintained look.
Congratulations! You have successfully used your Ryobi trimmer as an edger, creating beautifully edged areas that enhance the overall aesthetics of your lawn. By incorporating regular maintenance and keeping up with your lawn care routine, you can enjoy the benefits of clean and crisp edges for a long time to come.
Thank you for following this guide, and happy edging with your Ryobi trimmer!
Conclusion
Using a Ryobi trimmer as an edger offers a convenient and efficient way to achieve clean and precise edges for your lawn. By following the steps outlined in this guide, you can transform your yard into a professionally manicured space that will enhance your overall landscape.
Throughout this guide, we discussed how to adjust the trimmer head, get familiar with the edging technique, start the edging process, edge along the desired area, maintain a consistent edge, and finish with the necessary clean-up. Each step plays a crucial role in creating well-defined edges that showcase the beauty and symmetry of your lawn.
Remember, practice and patience are key when it comes to mastering the art of using your Ryobi trimmer as an edger. As you gain experience, you’ll become more comfortable and confident in your technique, allowing you to achieve even better results.
Regular maintenance is essential to preserve the clean edges you have created. This includes inspecting and touching up the edges as needed, removing debris, and maintaining a consistent lawn care routine. By making these tasks part of your regular yard maintenance, you can enjoy beautifully manicured edges all year round.
Thank you for following this guide on how to use your Ryobi trimmer as an edger. We hope that you find success and satisfaction as you transform your lawn into a well-defined and professionally maintained oasis. Happy edging!
Now that you've mastered using your Ryobi trimmer as an edger, why not expand your skills further with indoor gardening? Our upcoming article on essential garden tools will guide you through selecting the perfect equipment to enhance your green space in 2024. Don't miss out on crafting your indoor oasis with the right tools at your disposal!
Frequently Asked Questions about How To Use Ryobi Trimmer As Edger
Was this page helpful?
At Storables.com, we guarantee accurate and reliable information. Our content, validated by Expert Board Contributors, is crafted following stringent Editorial Policies. We're committed to providing you with well-researched, expert-backed insights for all your informational needs.


0 thoughts on “How To Use Ryobi Trimmer As Edger”