Home>Renovation & DIY>Tools & Equipment>How To Use A Ryobi Stud Finder

Tools & Equipment
How To Use A Ryobi Stud Finder
Modified: January 4, 2024
Learn how to effectively use a Ryobi stud finder to locate studs and other objects behind walls. Get expert tips and tricks for using this essential tool. Ideal for DIY enthusiasts and professionals in the tools and equipment industry.
(Many of the links in this article redirect to a specific reviewed product. Your purchase of these products through affiliate links helps to generate commission for Storables.com, at no extra cost. Learn more)
Introduction
Welcome to the world of DIY home improvement! Whether you're a seasoned DIY enthusiast or a novice looking to spruce up your living space, having the right tools is essential for any project. One such tool that can significantly simplify your renovation endeavors is the Ryobi stud finder.
In this comprehensive guide, we will delve into the ins and outs of using a Ryobi stud finder effectively. From understanding its features to mastering its operation, you'll gain valuable insights that will empower you to confidently locate studs and other hidden objects behind your walls.
So, grab your tool belt and let's embark on a journey to demystify the art of using a Ryobi stud finder. Whether you're hanging shelves, mounting a TV, or undertaking any other wall-mounted project, this trusty device will be your steadfast companion in navigating the intricate framework of your home's interior. Let's get started!
Key Takeaways:
- Master the art of using the Ryobi stud finder by preparing it properly, scanning methodically, and verifying findings manually. With practice, you’ll confidently locate studs for your DIY projects.
- Enhance your stud-finding skills with the Ryobi stud finder by moving slowly, scanning multiple times, and considering wall coverings. This versatile tool empowers you to confidently navigate wall structures for your home improvement projects.
Read more: How To Use Hart Stud Finder
Understanding the Ryobi Stud Finder
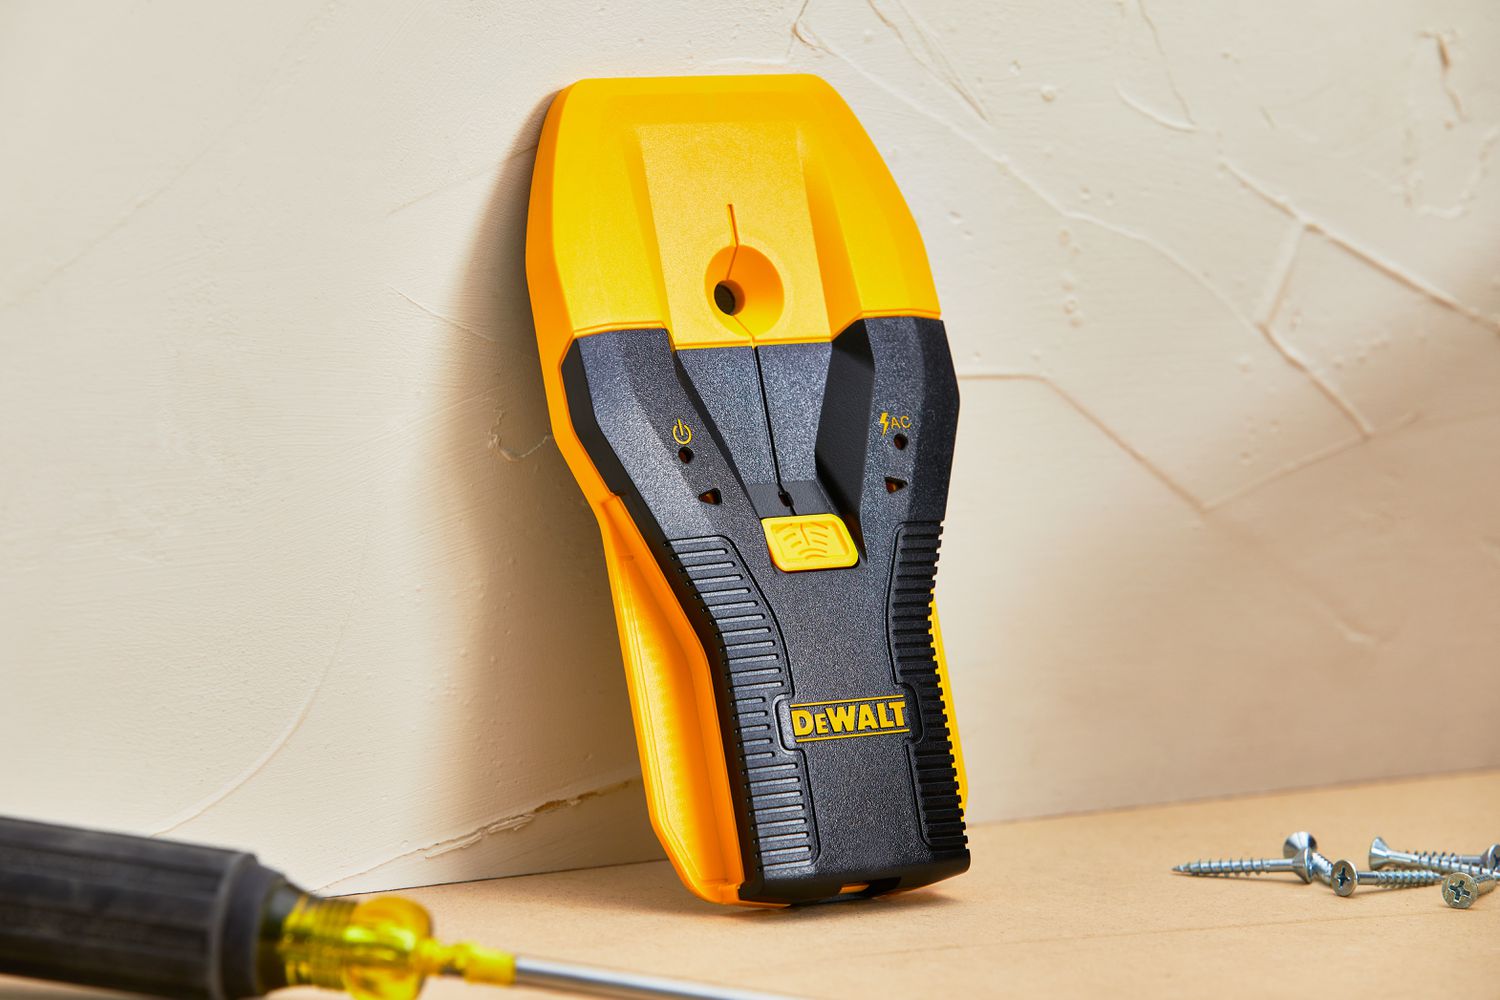
The Ryobi stud finder is a handheld electronic device designed to detect studs, joists, and other hidden objects behind walls. Equipped with advanced sensor technology, this tool can locate wood and metal studs, as well as live AC wires, offering a comprehensive solution for safely and accurately identifying wall structures.
One of the key features of the Ryobi stud finder is its ability to detect multiple stud types, making it suitable for a wide range of construction and renovation projects. Its intuitive design and user-friendly interface ensure that even beginners can easily grasp its functionality.
Moreover, the Ryobi stud finder typically includes an LCD screen that displays essential information, such as the location of studs and the presence of live wires. This real-time feedback enables users to make informed decisions when marking out wall areas for drilling, mounting, or any other tasks that require knowledge of the underlying structure.
By understanding the capabilities and limitations of the Ryobi stud finder, you can harness its power to streamline your projects and minimize the guesswork associated with wall modifications. With this knowledge in hand, you'll be well-equipped to take on various home improvement endeavors with confidence and precision.
Preparing the Ryobi Stud Finder for Use
Before diving into the actual operation of the Ryobi stud finder, it’s crucial to ensure that the device is properly prepared for use. This involves a few simple yet essential steps to maximize its effectiveness and accuracy.
1. Install the Batteries: Most Ryobi stud finders are battery-operated. Begin by installing fresh batteries according to the manufacturer’s instructions. This ensures that the device has sufficient power to perform its scanning functions reliably.
2. Calibrate the Device: To optimize the accuracy of the stud finder, it’s advisable to calibrate it according to the provided guidelines. This may involve holding the device against a known surface, such as an area free of obstructions, to establish a baseline reading. Calibration helps the stud finder differentiate between various materials and enhances its ability to detect hidden objects.
3. Familiarize Yourself with the Controls: Take a moment to familiarize yourself with the buttons, display, and any audible indicators on the device. Understanding the user interface will facilitate smooth operation and interpretation of the feedback provided by the stud finder.
4. Clear the Work Area: Before scanning, ensure that the area where you intend to use the stud finder is free of obstructions and unnecessary clutter. This allows the device to make unobstructed contact with the wall surface, minimizing interference and maximizing its scanning capabilities.
By diligently preparing the Ryobi stud finder for use, you set the stage for a seamless and productive experience when it comes to locating studs and other hidden elements within your walls. With these preliminary steps completed, you’re ready to harness the full potential of this versatile tool in your upcoming home improvement projects.
When using a Ryobi stud finder, make sure to calibrate it on a clear section of wall before scanning for studs. This will ensure accurate results and help you avoid any mistakes.
Using the Ryobi Stud Finder
Now that the Ryobi stud finder is primed for action, it’s time to delve into the process of effectively utilizing this indispensable tool. Whether you’re a seasoned DIY enthusiast or a first-time user, mastering the operation of the stud finder is key to achieving accurate and reliable results.
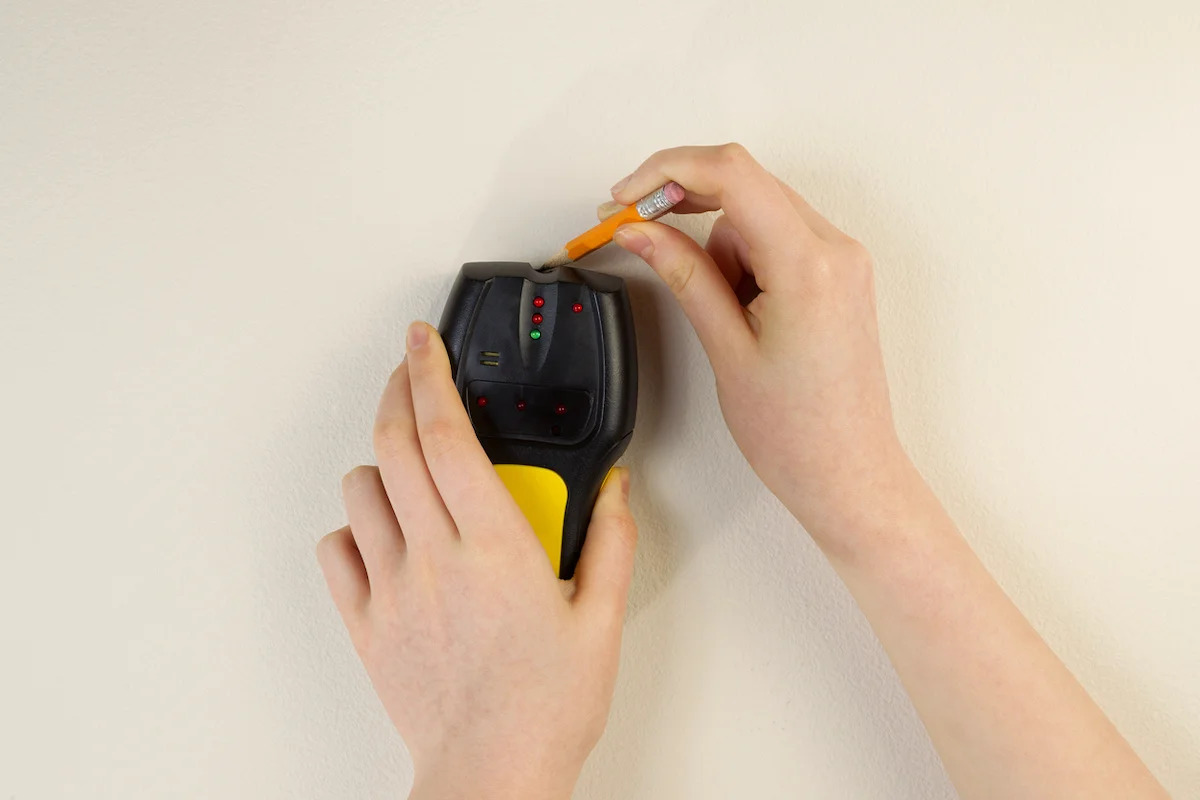
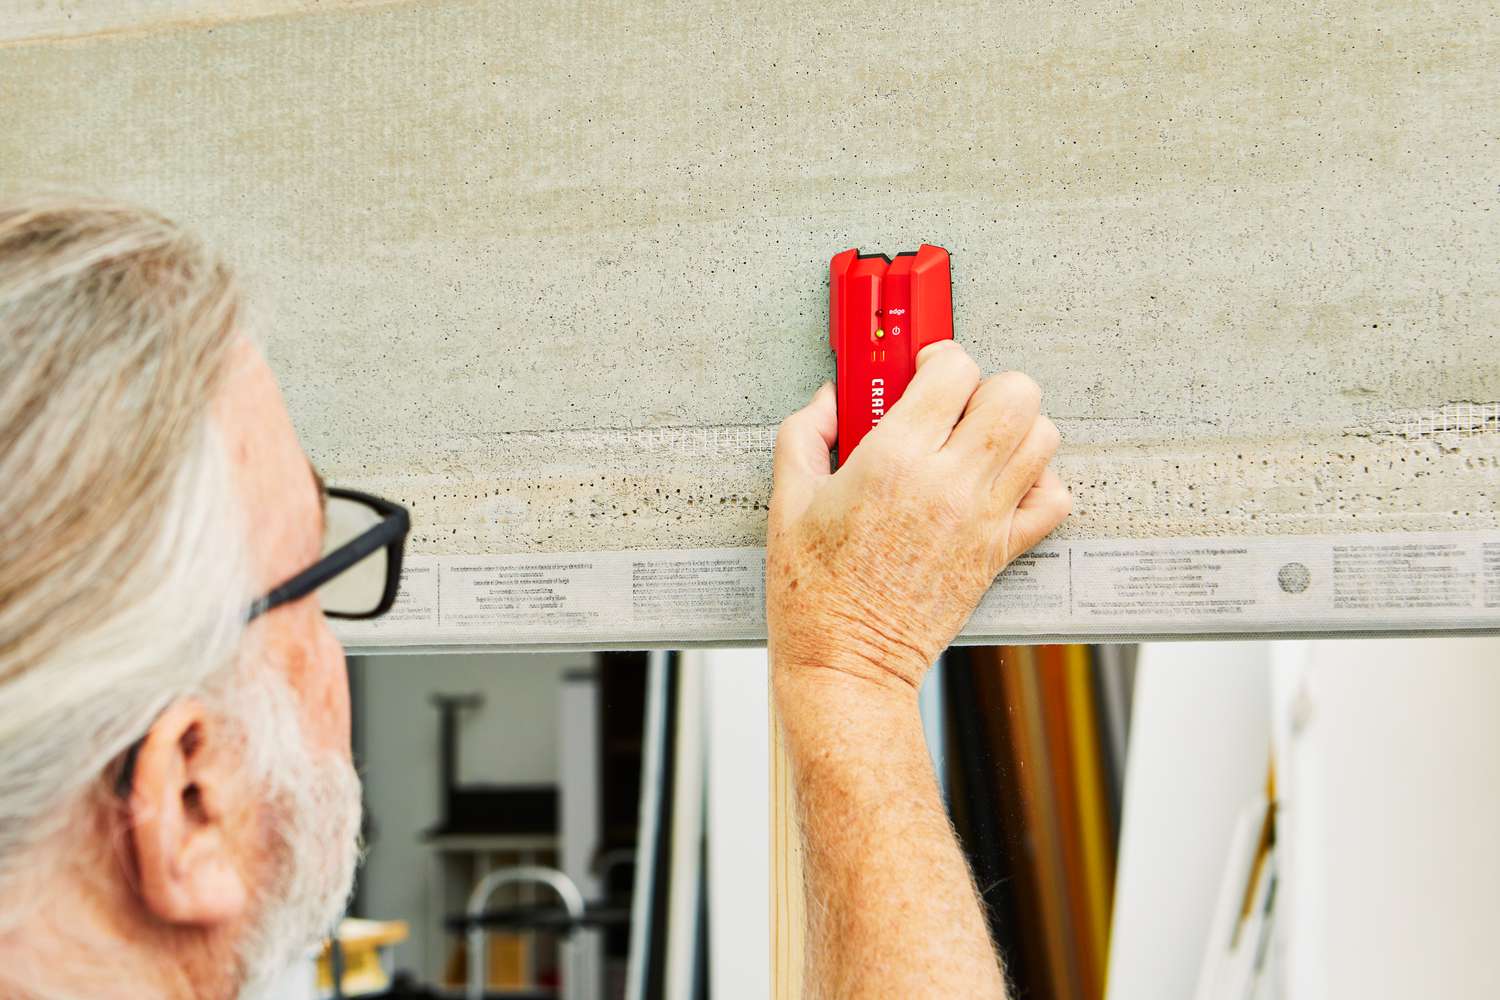
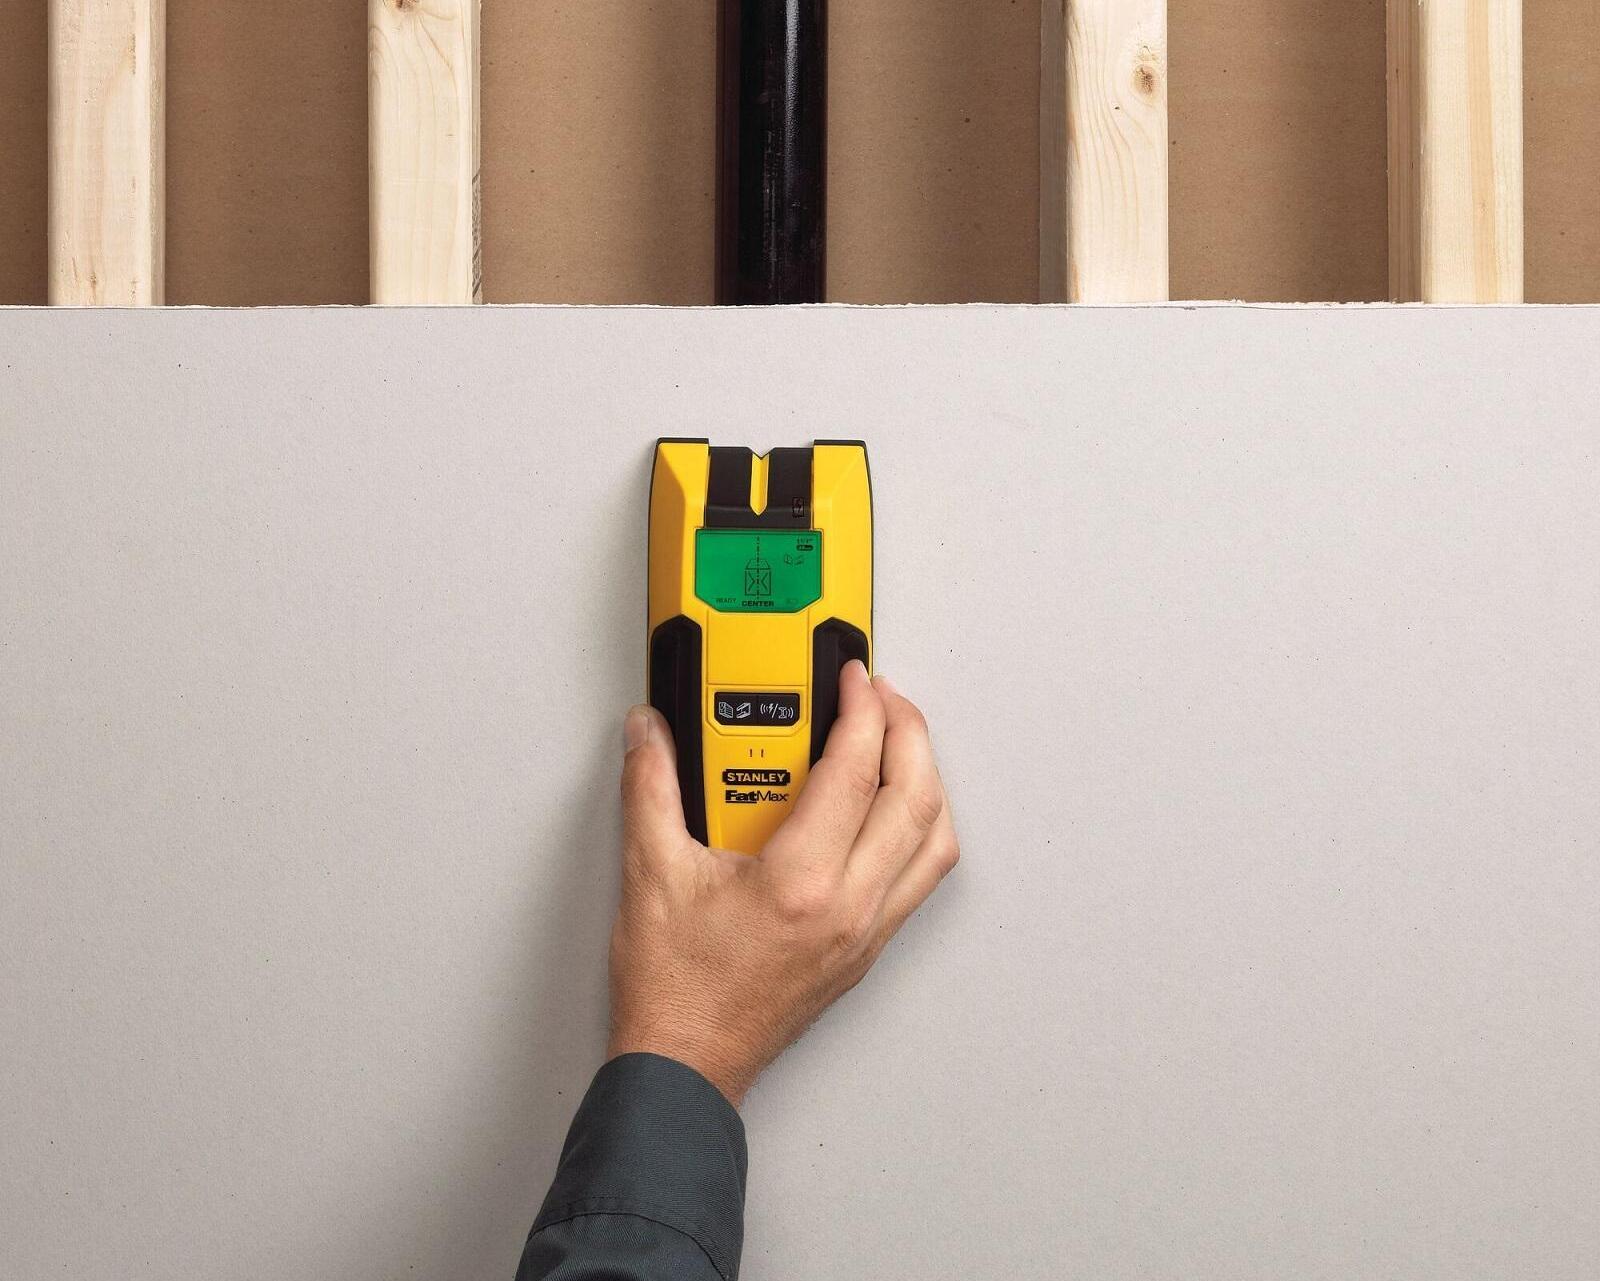
1. Positioning the Stud Finder: Begin by holding the stud finder against the wall surface in a horizontal orientation. Ensure that the device makes direct contact with the wall without applying excessive pressure, allowing its sensors to effectively scan the area.
2. Initiating the Scan: Activate the stud finder according to the manufacturer’s instructions. This may involve pressing a button or sliding a switch to commence the scanning process. As the device scans the wall, remain attentive to any visual or audible cues provided by the stud finder.
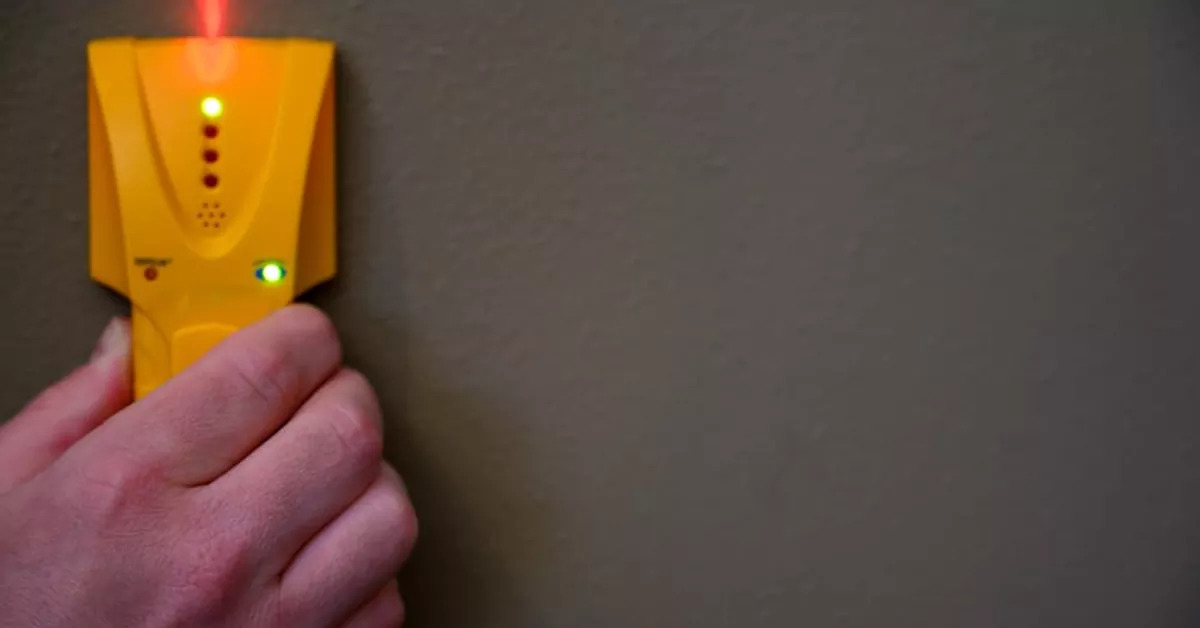
3. Interpreting the Feedback: Pay close attention to the feedback displayed on the stud finder’s screen. This may include indicators for the presence of studs, live wires, or other hidden elements. Some models also incorporate audible alerts to complement the visual feedback, enhancing the user’s ability to identify the location of studs accurately.
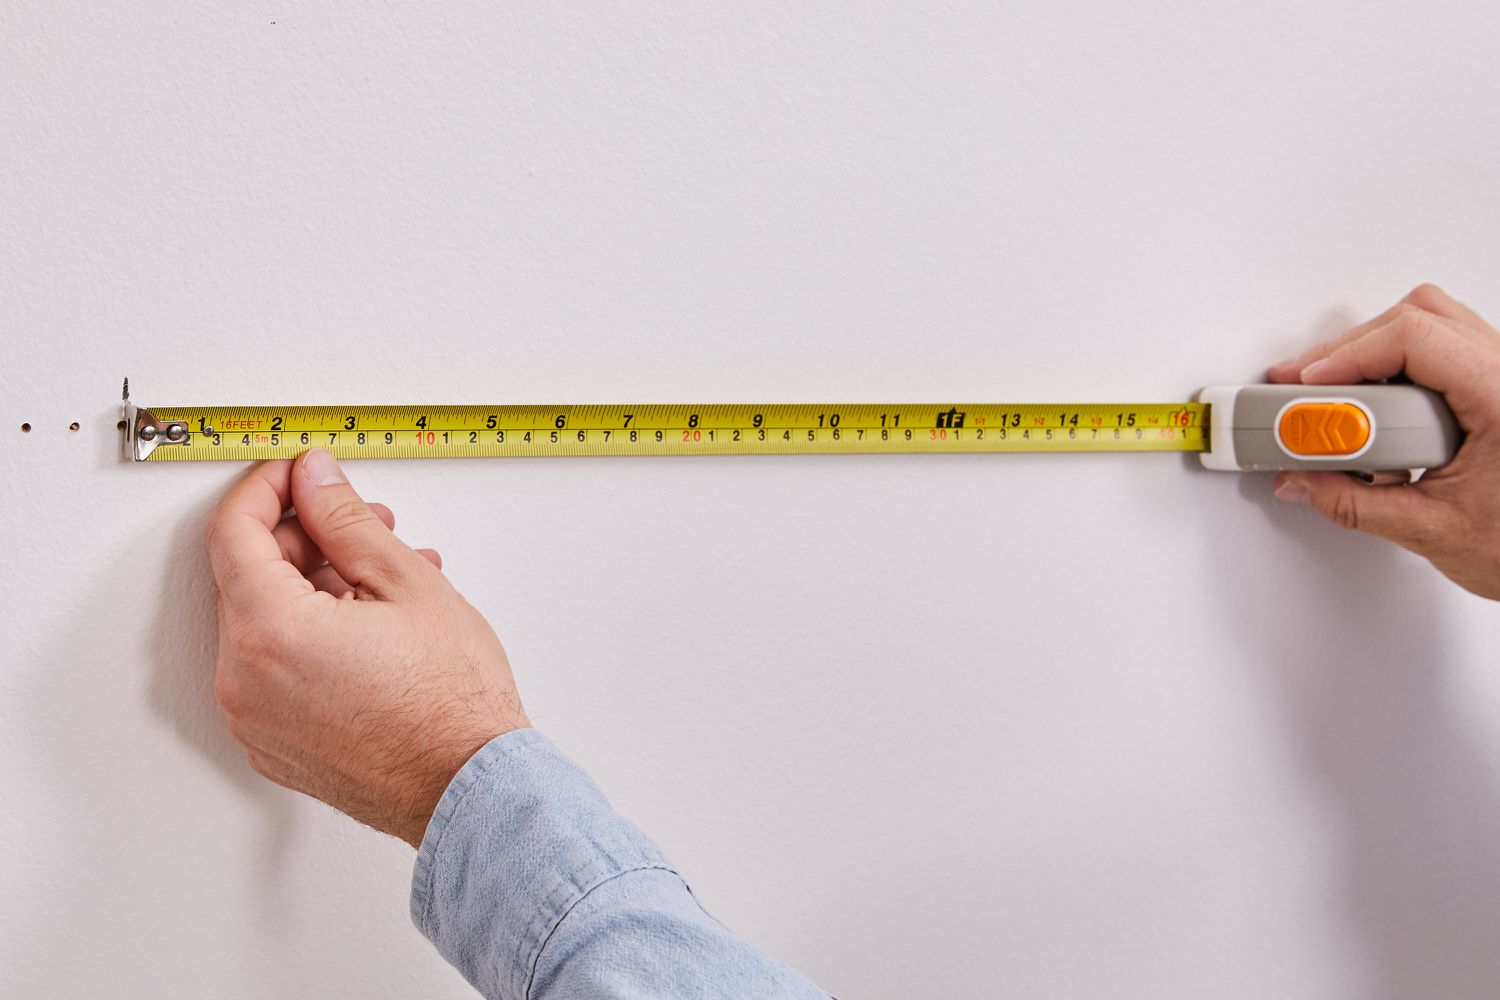
4. Marking the Stud Locations: As the stud finder detects the presence of studs, use a pencil or marking tool to delineate their positions on the wall. This step is crucial for mapping out the locations where you can confidently drive screws, nails, or other fasteners without compromising the structural integrity of the wall.
5. Verifying Stud Locations: To ensure precision, it’s advisable to verify the identified stud locations using alternative methods, such as tapping the wall to listen for solid areas or using a small nail to confirm the presence of a stud beneath the surface. This additional verification step adds an extra layer of confidence to your findings.
By following these steps and remaining attentive to the feedback provided by the Ryobi stud finder, you can effectively pinpoint the location of studs and navigate the intricate framework of your walls with precision and confidence. With practice, using the stud finder will become second nature, empowering you to tackle a myriad of wall-mounted projects with ease.
Tips for Using the Ryobi Stud Finder
While the Ryobi stud finder is a powerful ally in your home improvement endeavors, employing a few strategic tips can further enhance your experience and the accuracy of your stud detection. Consider the following insights to make the most of this indispensable tool:
- Slow and Steady Movement: When scanning for studs, move the stud finder across the wall surface at a slow and steady pace. Rushing the process may result in missed detections or inaccurate readings. By maintaining a deliberate scanning speed, you increase the likelihood of capturing precise data.
- Multiple Scans for Confirmation: To bolster confidence in the identified stud locations, perform multiple scans across the same area. This redundancy helps validate the consistency of the readings and minimizes the risk of false positives or negatives.
- Utilize Edge Scanning: In addition to scanning the central areas of the wall, consider running the stud finder along the edges of the targeted area. Studs are often situated near the edges of walls, and this approach can provide comprehensive coverage for detecting their presence.
- Account for Wall Coverings: If your walls are adorned with wallpaper, paneling, or other coverings, take into account the thickness of these materials when interpreting the stud finder’s readings. Adjust the depth settings if applicable, and exercise caution to avoid damage to delicate wall coverings during scanning.
- Verify with Manual Methods: While the stud finder is a valuable tool, it’s prudent to verify its findings using manual methods. Tapping the wall to listen for solid areas and employing a small nail to confirm the presence of a stud can serve as supplementary validation measures, bolstering your confidence in the identified stud locations.
By integrating these tips into your approach, you can elevate your proficiency in using the Ryobi stud finder and refine your ability to accurately locate studs and hidden objects within your walls. These strategic considerations not only enhance the effectiveness of the tool but also contribute to a more seamless and rewarding DIY experience.
Read more: How To Use Zircon Stud Finder
Conclusion
Congratulations! You’ve embarked on a journey to unravel the mysteries hidden within your walls, armed with the invaluable knowledge of using the Ryobi stud finder. As you conclude this comprehensive guide, it’s essential to reflect on the newfound expertise that will undoubtedly elevate your home improvement pursuits.
By understanding the Ryobi stud finder’s capabilities and nuances, you’ve gained a powerful ally in navigating the complex infrastructure concealed behind your walls. From effortlessly locating studs to identifying live wires and other hidden elements, this versatile tool empowers you to approach wall-mounted projects with confidence and precision.
As you venture into your next DIY endeavor, whether it involves hanging shelves, mounting a TV, or embarking on a renovation project, the insights gleaned from this guide will serve as your compass, guiding you through the intricacies of wall structures with ease.
Remember, the key to mastering the art of using the Ryobi stud finder lies in practice and patience. Embrace the process, experiment with different scanning techniques, and leverage the tool’s features to refine your proficiency. With each successful stud detection and flawlessly executed wall modification, your confidence in wielding this indispensable device will soar.
Armed with the tips, techniques, and a deep understanding of the Ryobi stud finder, you’re poised to embark on your DIY ventures with newfound assurance and expertise. Let the walls of your home become your canvas, and the stud finder, your trusted guide in unlocking their hidden potential.
So, as you prepare to embark on your next home improvement project, armed with the knowledge and prowess acquired from this guide, go forth and conquer the walls with the precision and finesse of a seasoned DIY maestro. The Ryobi stud finder awaits, ready to unveil the secrets that lie beneath the surface, empowering you to transform your living space with unparalleled skill and confidence.
Frequently Asked Questions about How To Use A Ryobi Stud Finder
Was this page helpful?
At Storables.com, we guarantee accurate and reliable information. Our content, validated by Expert Board Contributors, is crafted following stringent Editorial Policies. We're committed to providing you with well-researched, expert-backed insights for all your informational needs.


0 thoughts on “How To Use A Ryobi Stud Finder”